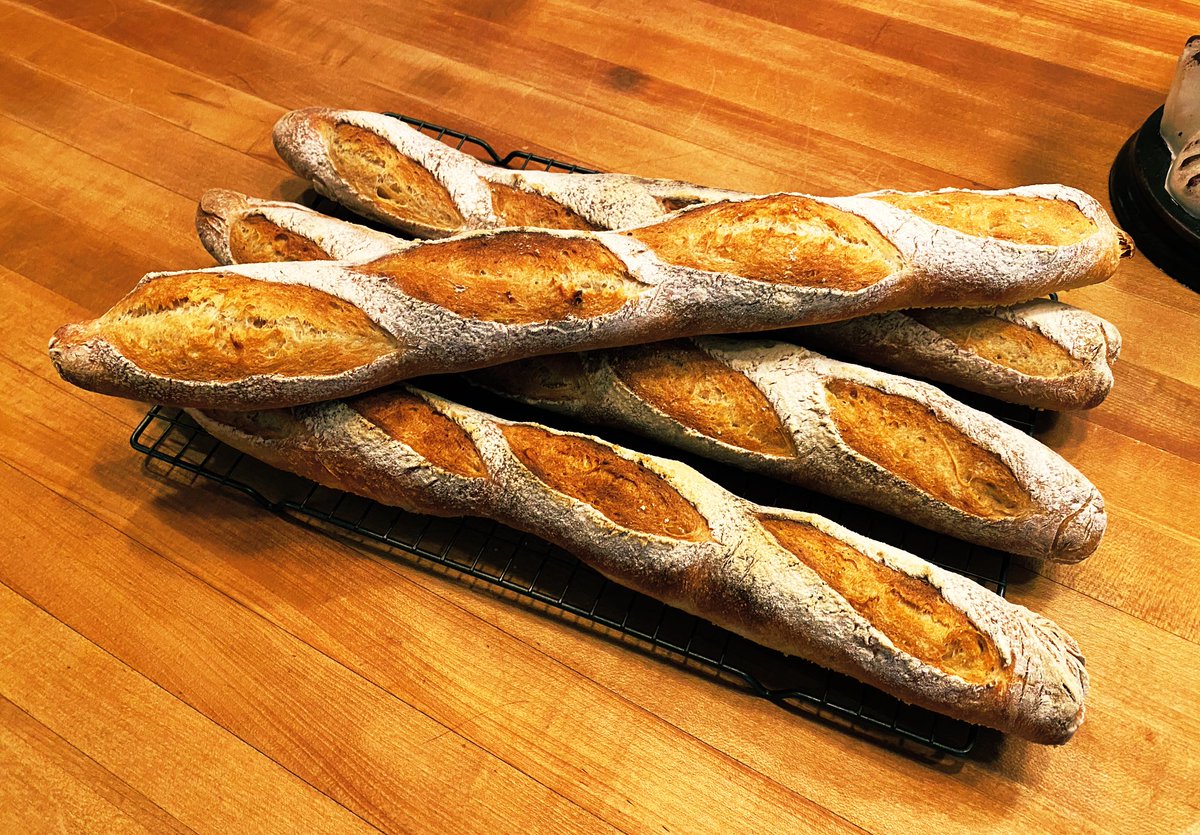
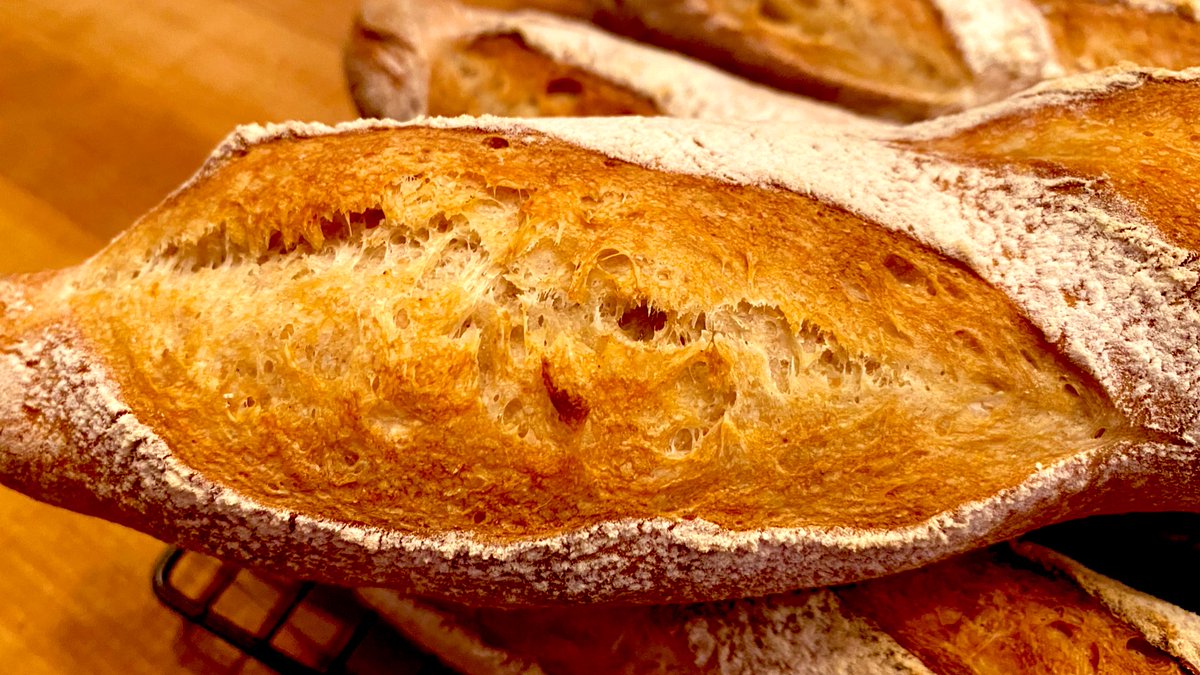
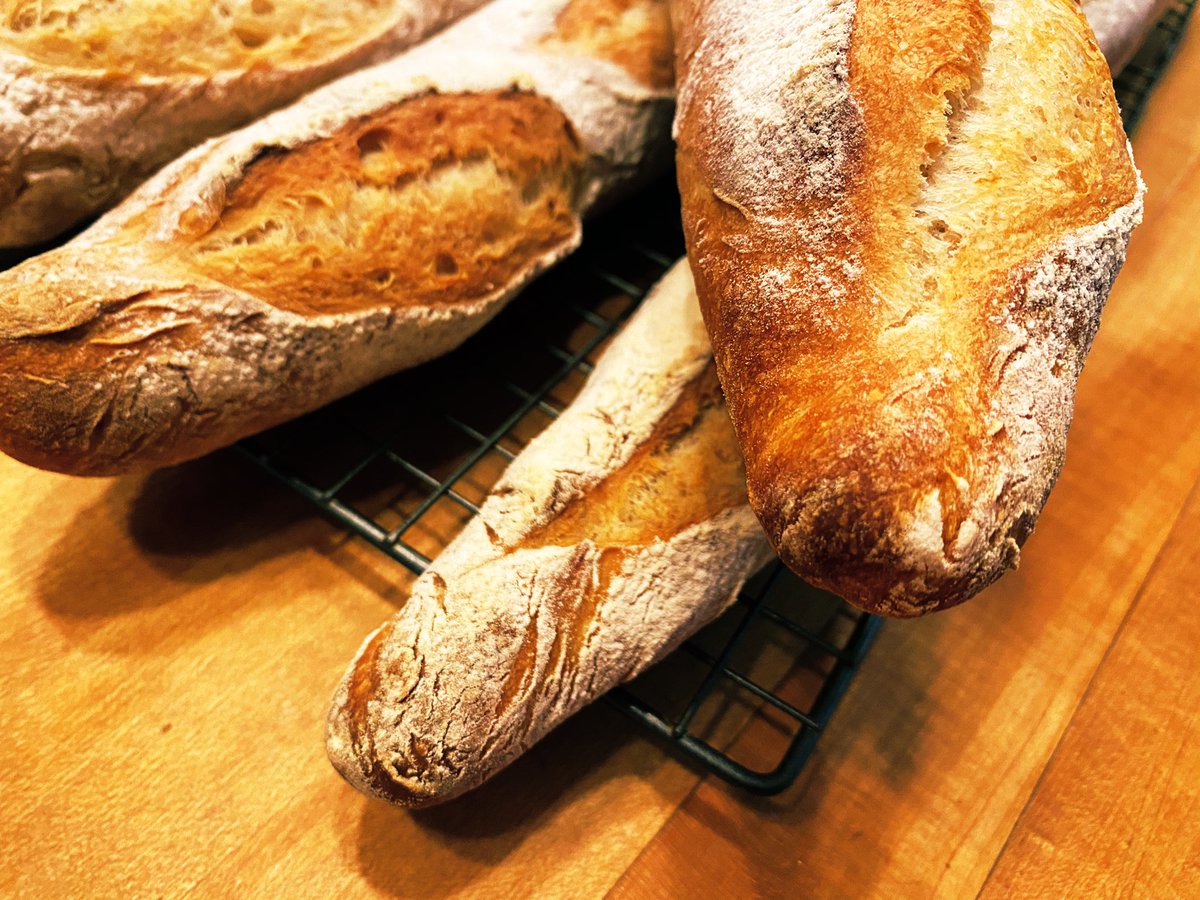
By request: Appellation Baguette Tutorial
I have been working hard to learn how to make Parisian baguettes that Follow The Rules. If you’re up for it, I’ll show you what I know so far, but be warned— simple ingredients with deep technique.
It takes practice.
I have been working hard to learn how to make Parisian baguettes that Follow The Rules. If you’re up for it, I’ll show you what I know so far, but be warned— simple ingredients with deep technique.
It takes practice.
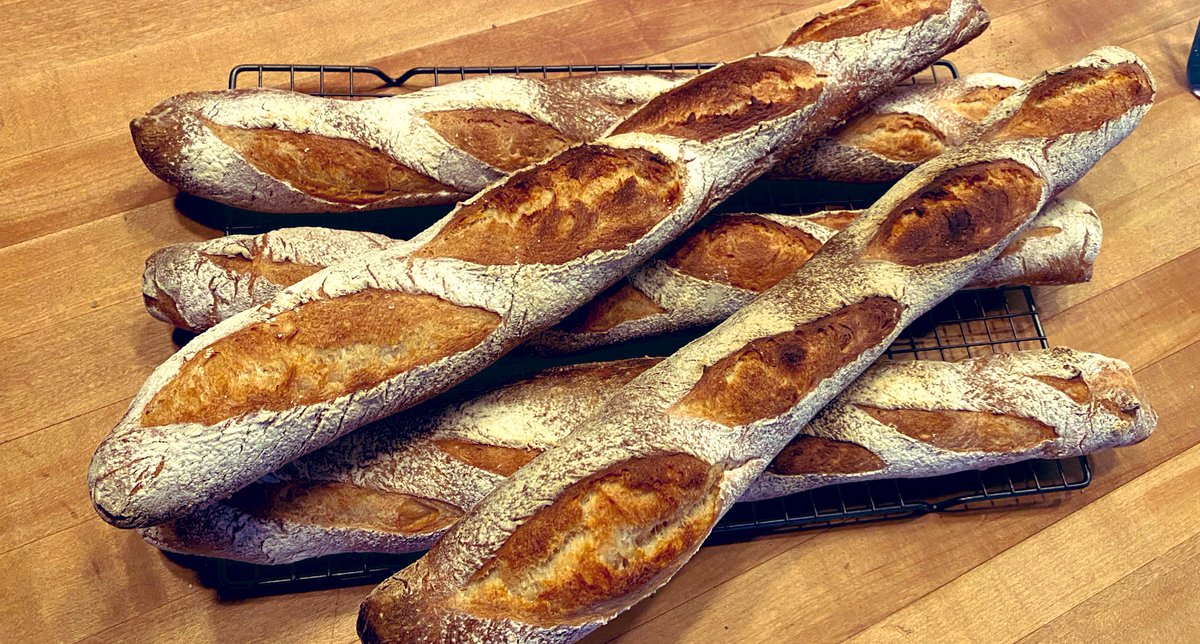
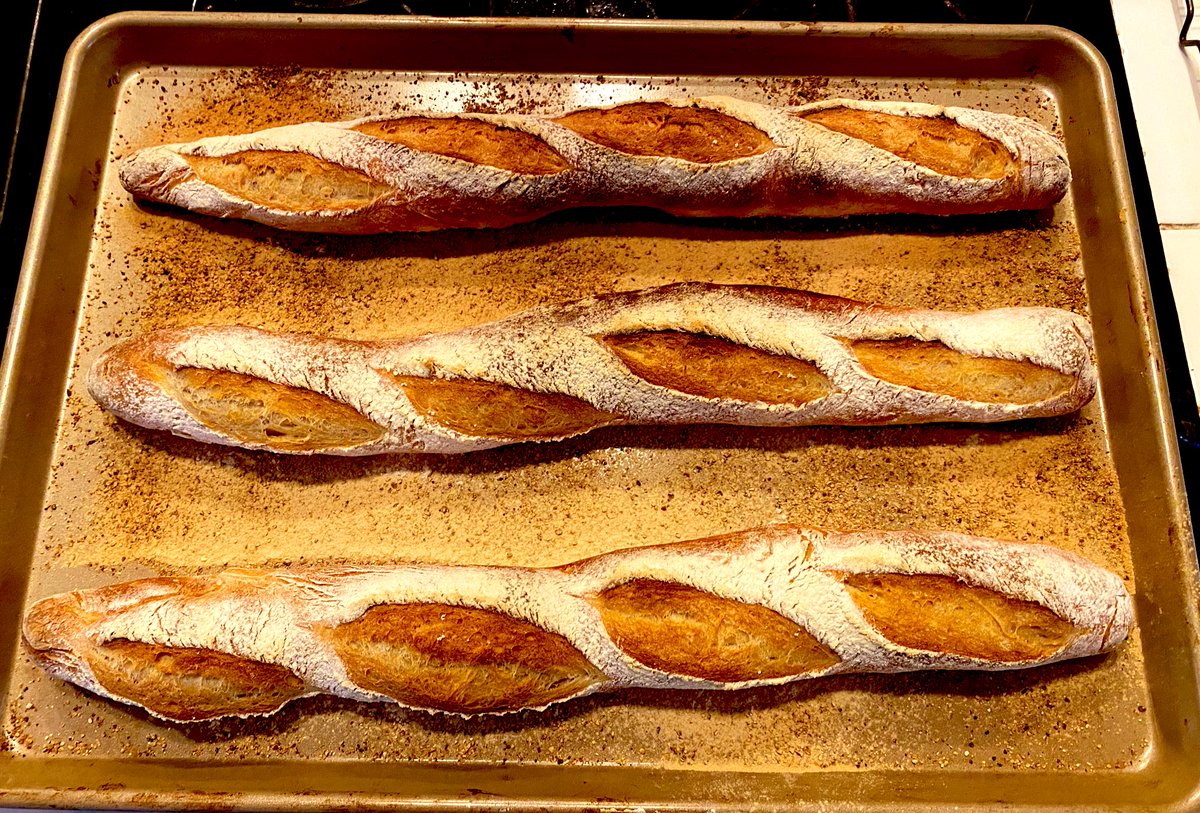
Here’s the target. This is one of those simple, yet infinitely complex and beautiful things. https://en.parisinfo.com/where-to-eat-in-paris/info/guides/the-parisian-baguette-queen-of-french-bread
FYI: I am not French, have never lived in Paris, and I’m not going to pretend to be some kind of fancy asshat Instagram poser. I’m interested in baguettes because I’m interested in baking, history, and science. Here’s my usual thing: https://twitter.com/seamusblackley/status/1241147124122677248
OK, we are going to be making “1993 Decree” baguettes. Because we aren’t in Paris (well maybe YOU are, in which case put this down and go buy baguettes), we can’t be perfect. But hey, nothing is perfect.
The ingredients are simple: flour, water, salt, microbes.
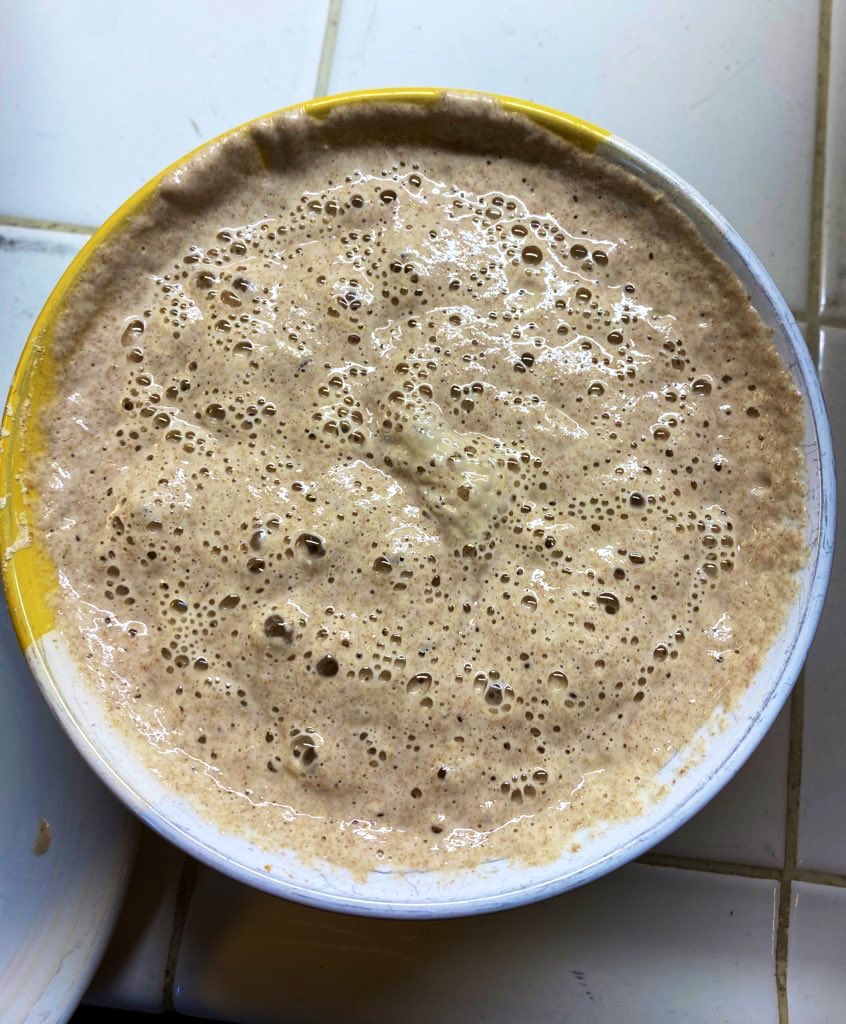
Microbes first:
The ingredients are simple: flour, water, salt, microbes.
Microbes first:
WARNING #1: THIS TAKES 2 DAYS
WARNING #2: YOUR FIRST BATCH WONT BE RIGHT
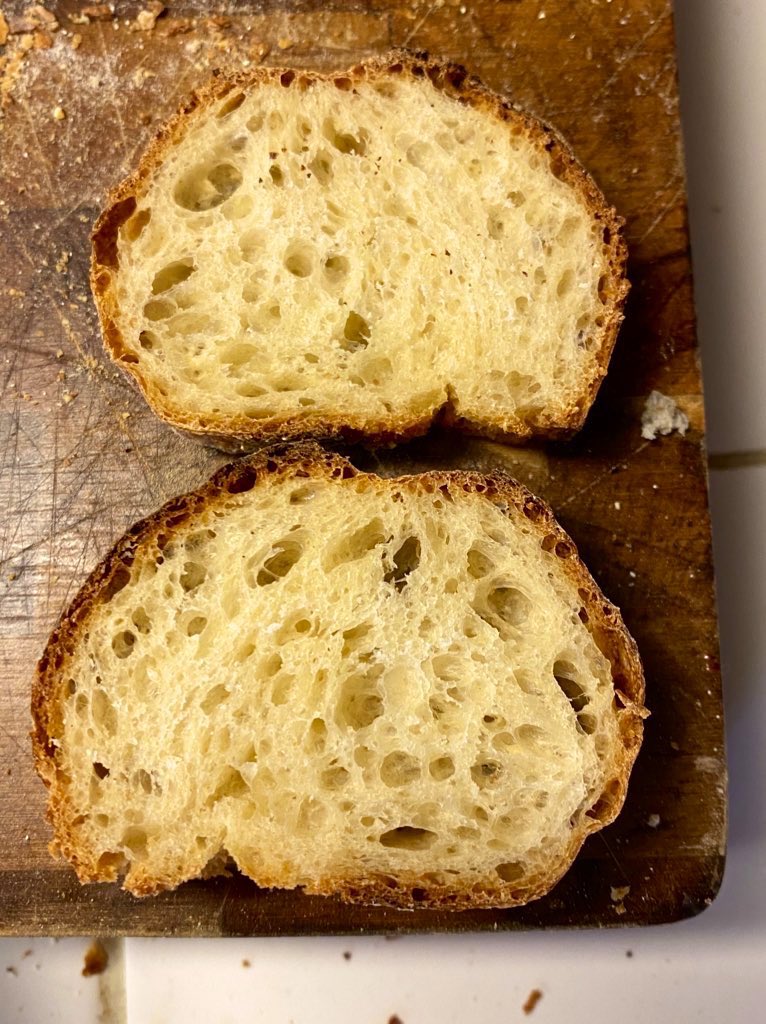
You’re seeing these now because they’re related to the biophysics of grain-dwelling microorganisms. Yeah really. The rich flavor of these baguettes comes from fermentation. So, let’s look at fermentation.
WARNING #2: YOUR FIRST BATCH WONT BE RIGHT
You’re seeing these now because they’re related to the biophysics of grain-dwelling microorganisms. Yeah really. The rich flavor of these baguettes comes from fermentation. So, let’s look at fermentation.
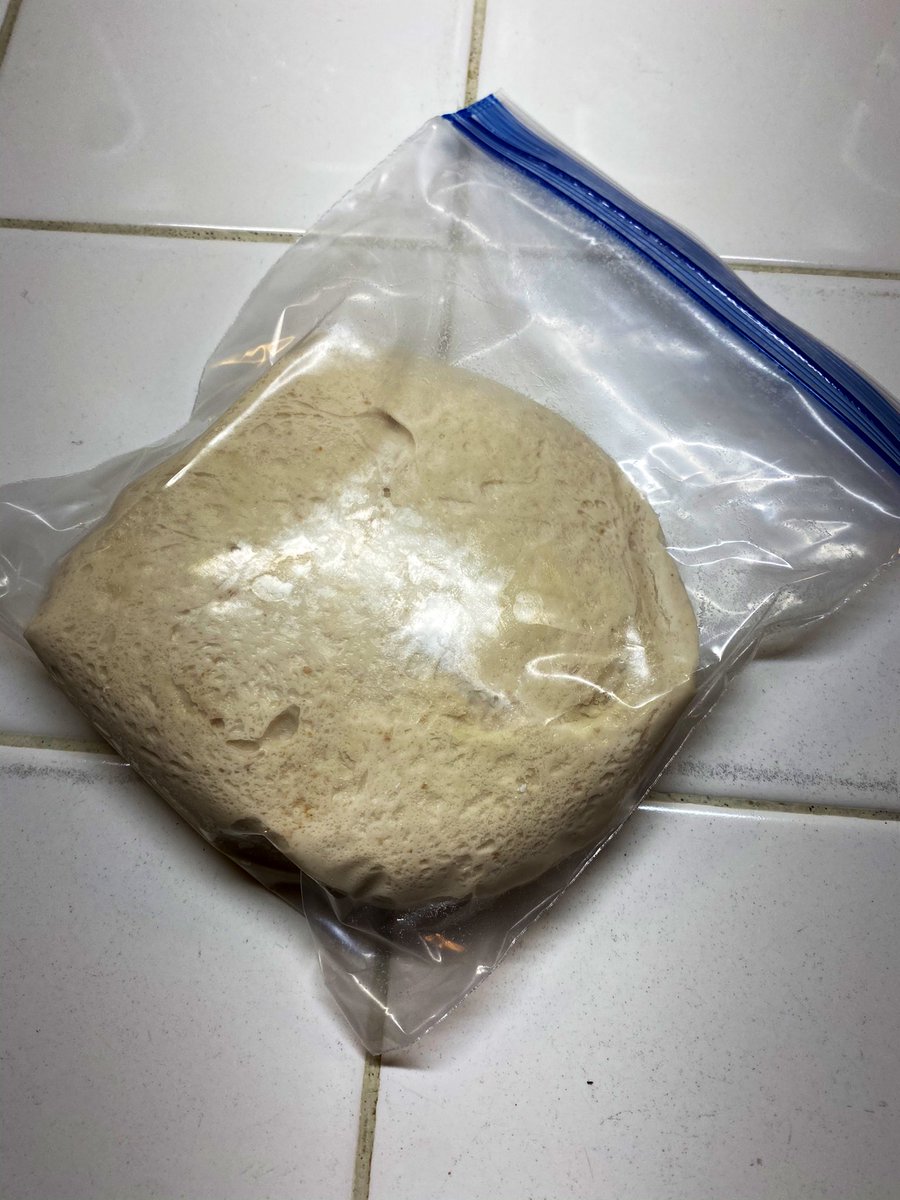
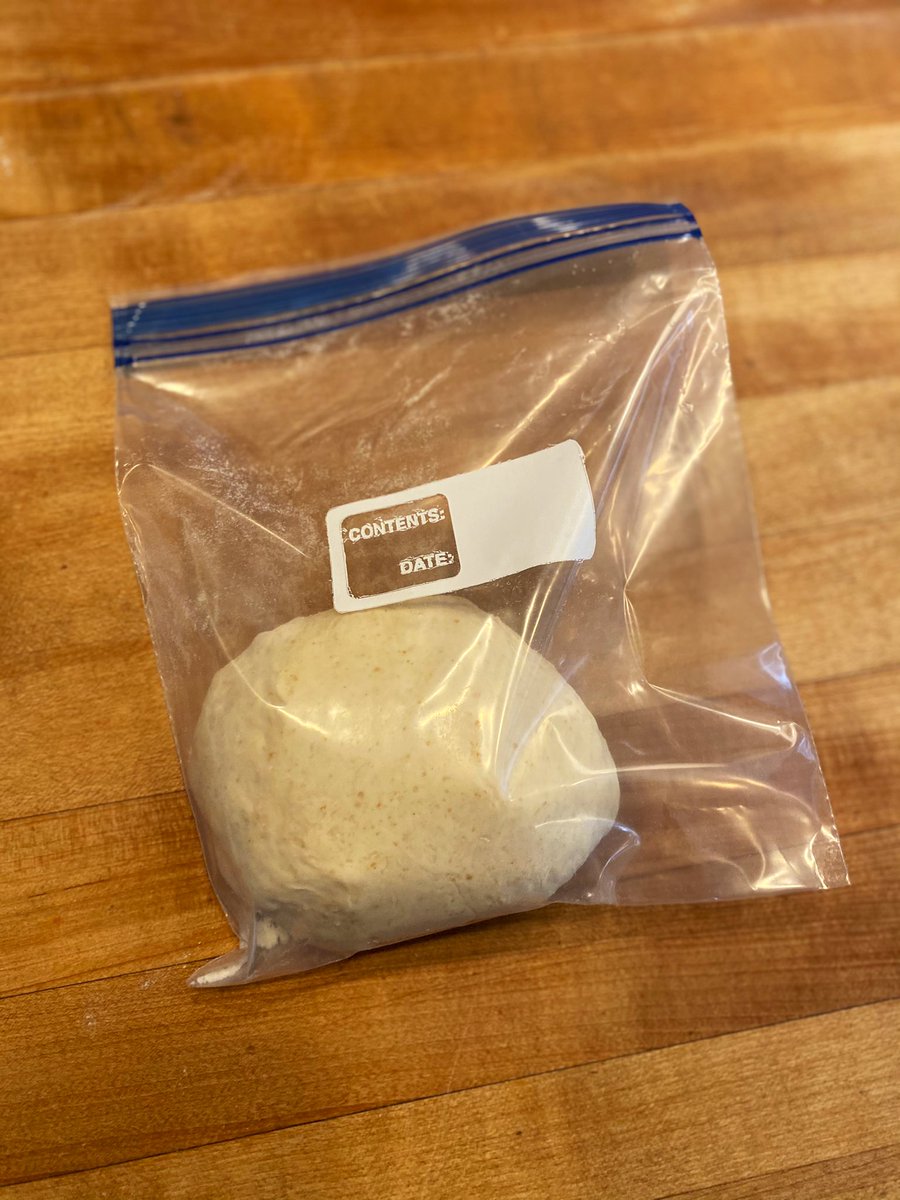
These baguettes have three sources of leavening microbes: a wild sourdough, French commercial yeast, and a portion of dough from the last batch, set aside to kickstart the new batch. THIS is why, no matter how well you do, the first batch can’t be complete.
The wild yeast I will use for this batch comes from the thread below. The thread has an irritating level of detail on how wild bread cultures work. Worse though, now that I have you here, and since you seem not to have anything else to do, let’s talk about baking micro-organisms. https://twitter.com/seamusblackley/status/1140945355992965121
The fundamental job of baking microorganisms is to eat simple sugars (monosaccharides) and poop out CO2 —whilst reproducing massively. To do this, they need to break apart starches (polysaccharides) in the flour into simple sugars. Yes, there is a point to this. Keep scrolling 

“Sourdough” is simply a wild microbial culture that has additional organisms that aid in this process. These organisms typically produce lactic acid, which is sour. Before modern biology allowed the isolation of yeast, ALL bread was sourdough. It wasn’t invented in San Francisco.
Let’s start. For each
* 1kg high extraction wheat flour
We will add
* 650g filtered water
* 300g “bangin’” sourdough starter
* 300-350g dough from last batch
* 1kg high extraction wheat flour
We will add
* 650g filtered water
* 300g “bangin’” sourdough starter
* 300-350g dough from last batch
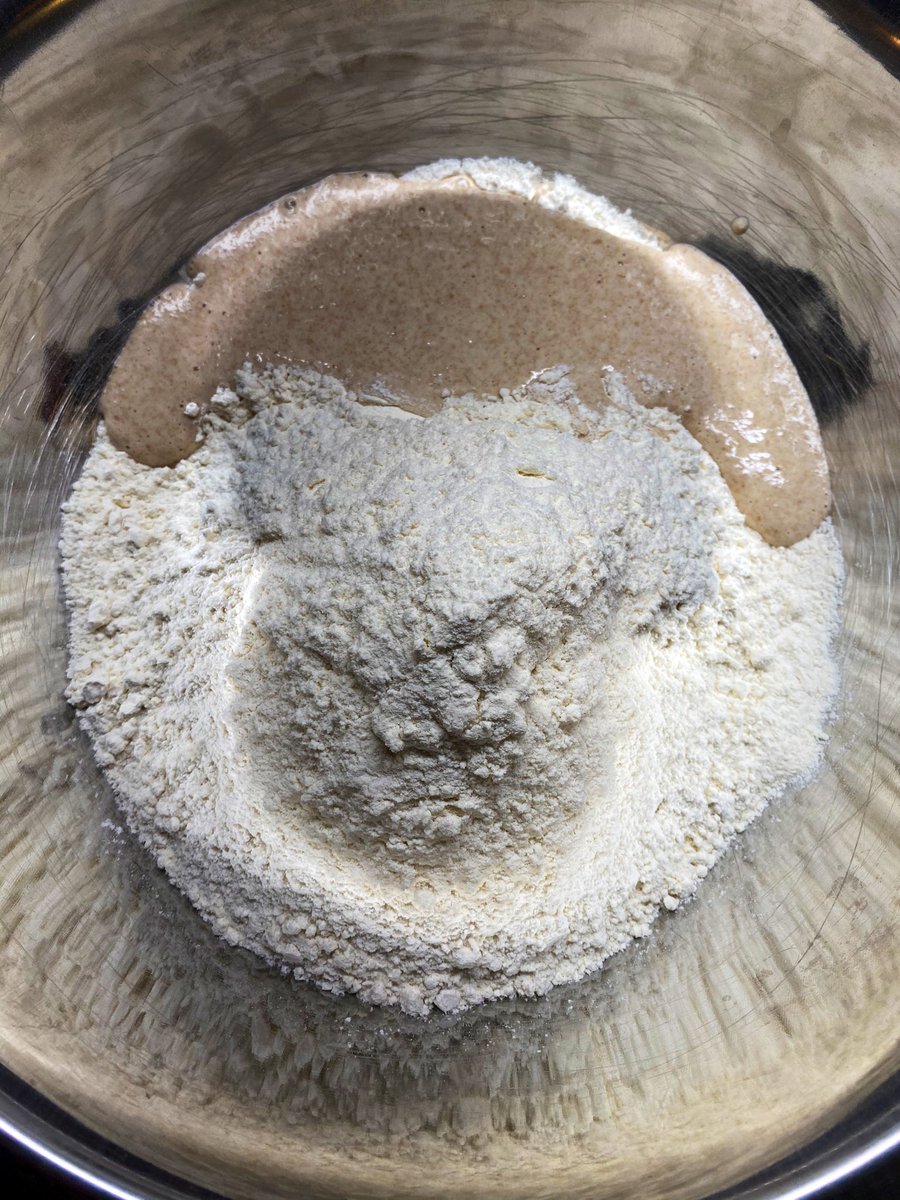
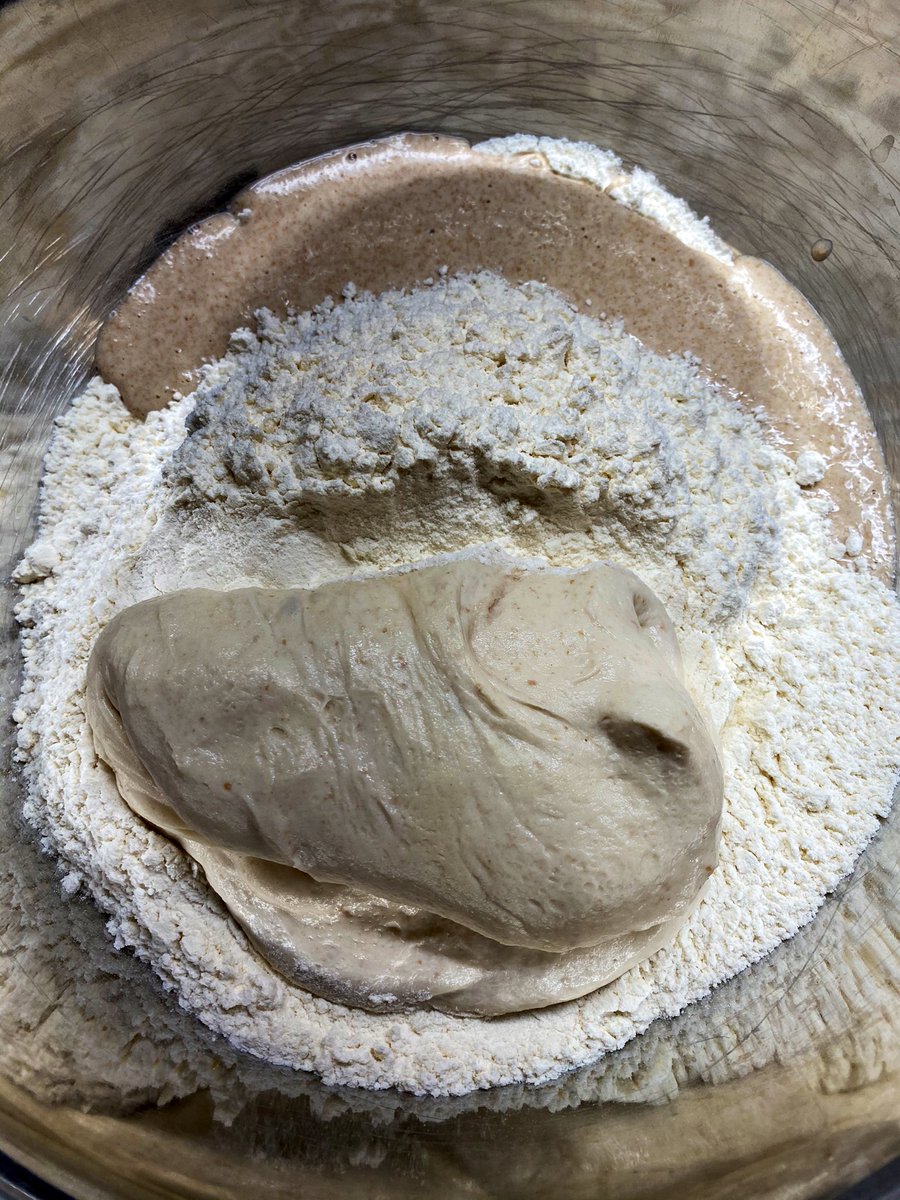
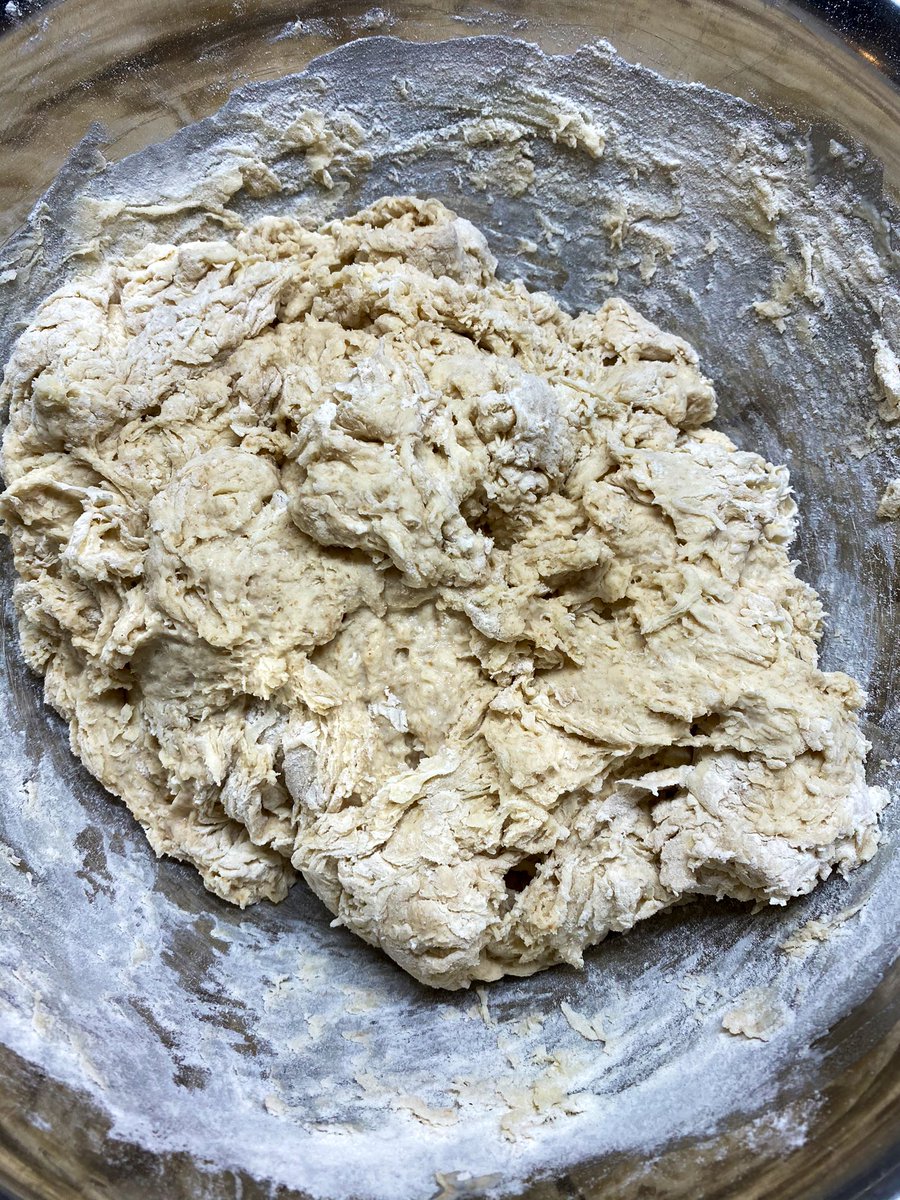
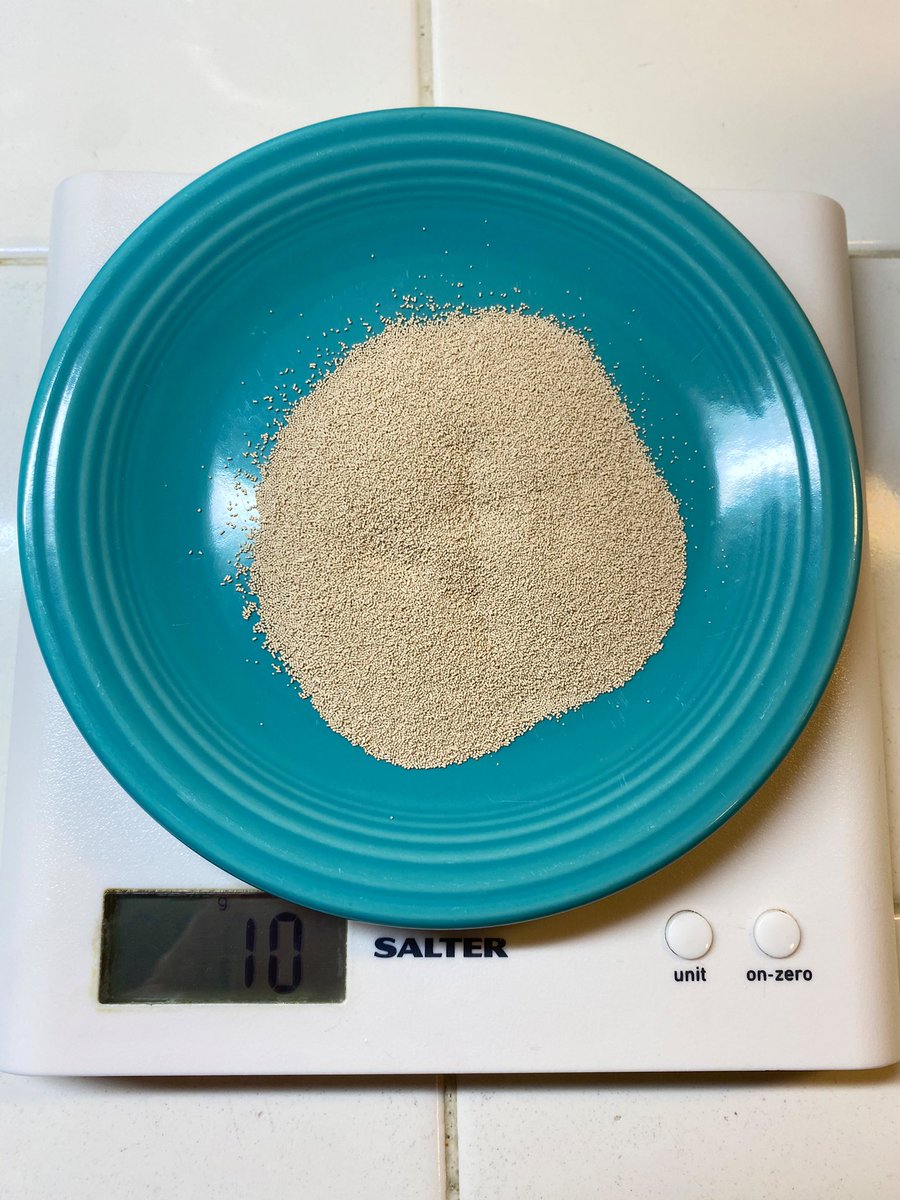
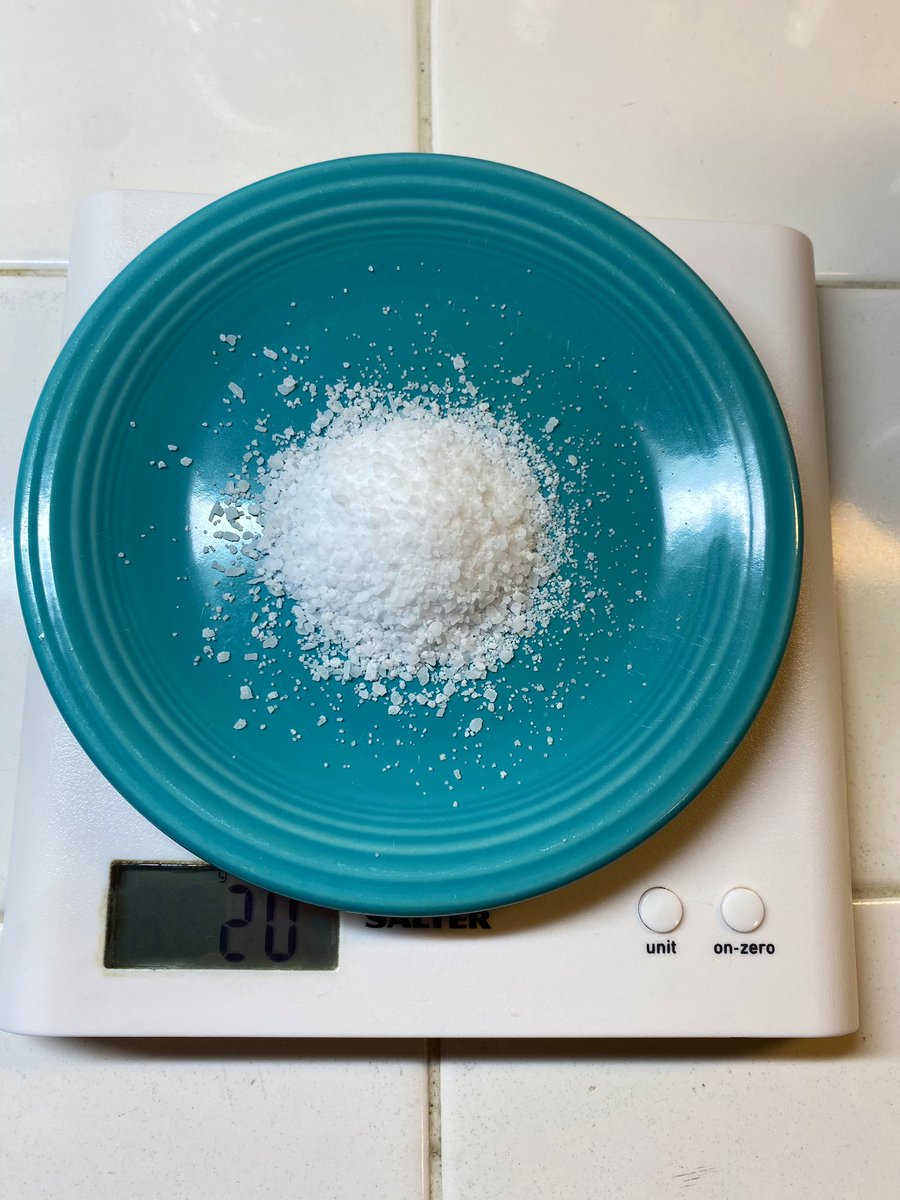
Mix well, with a wooden spoon or dough whisk if you’re a fancy dandy person. Let it rest for 20-25m. Get outside and stretch your legs. Oh, and measure 20g sea salt and 10g baker’s yeast. Mine’s from Montreal which I irrationally feel is a compromise between Paris and Pasadena.
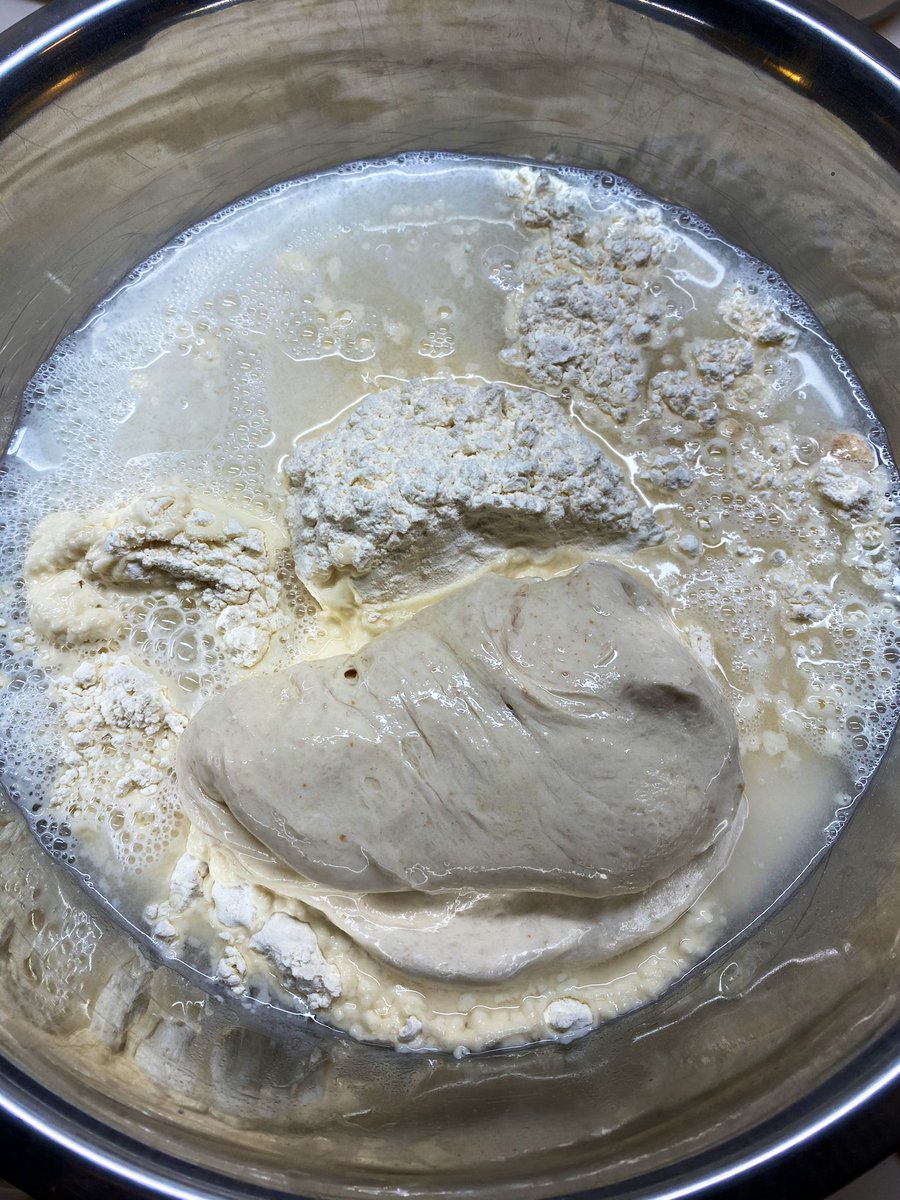
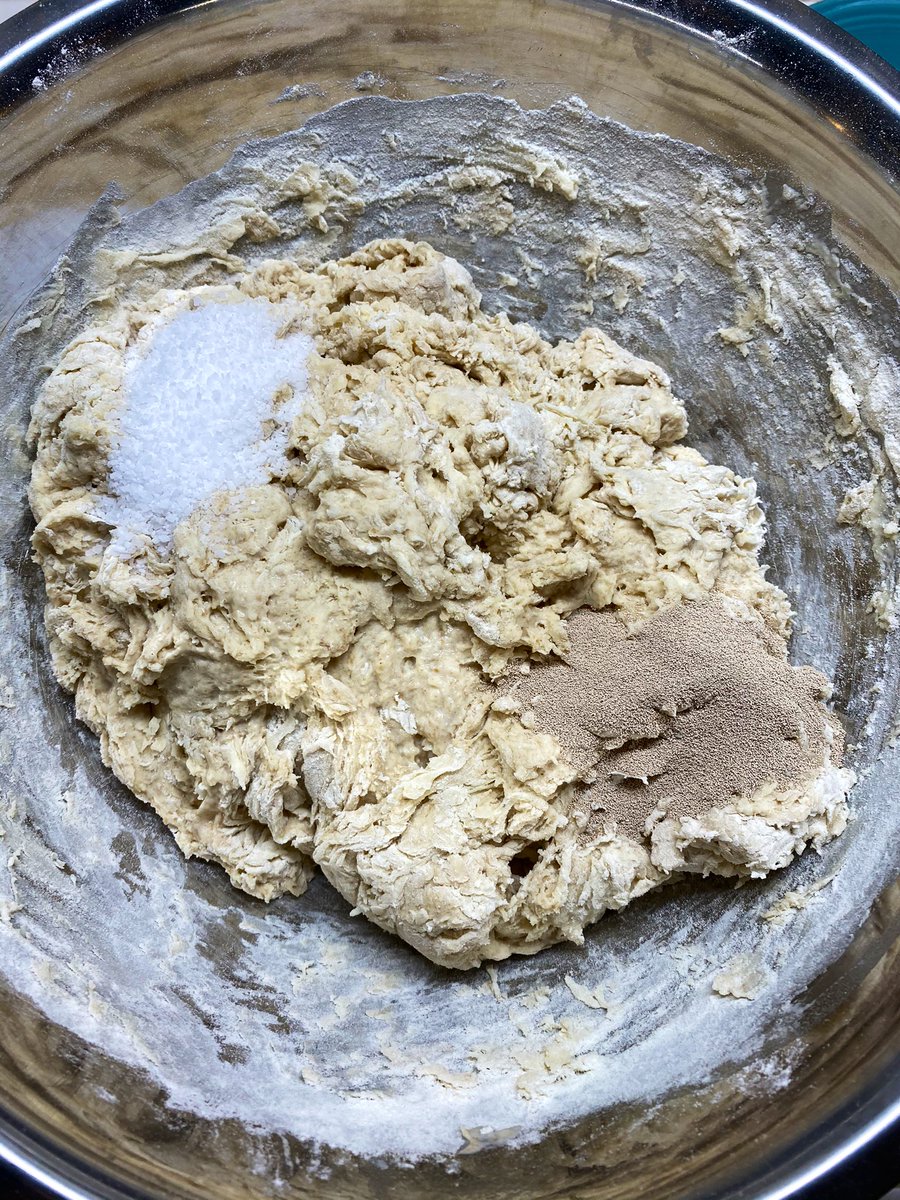
After the resting period, which YOU SHALL NOT SKIP, add the salt and yeast as shown. Salt kills microbes (which is why it’s a preservative), so while we will be mixing this, starting them at opposite corners of the cage fight will give the yeast a better shot off the line. Next->
Do about 3 minutes of this. It will be sticky and messy. That’s OK. It’s grade school fun time. And a magical thing will start to happen...
It will become dough! Now, do as below for 5 minutes. Time it. Work it. It’s good for your muscles. It boosts libido. It’s not hard. You’ll be fine. Just do it. No cheating.
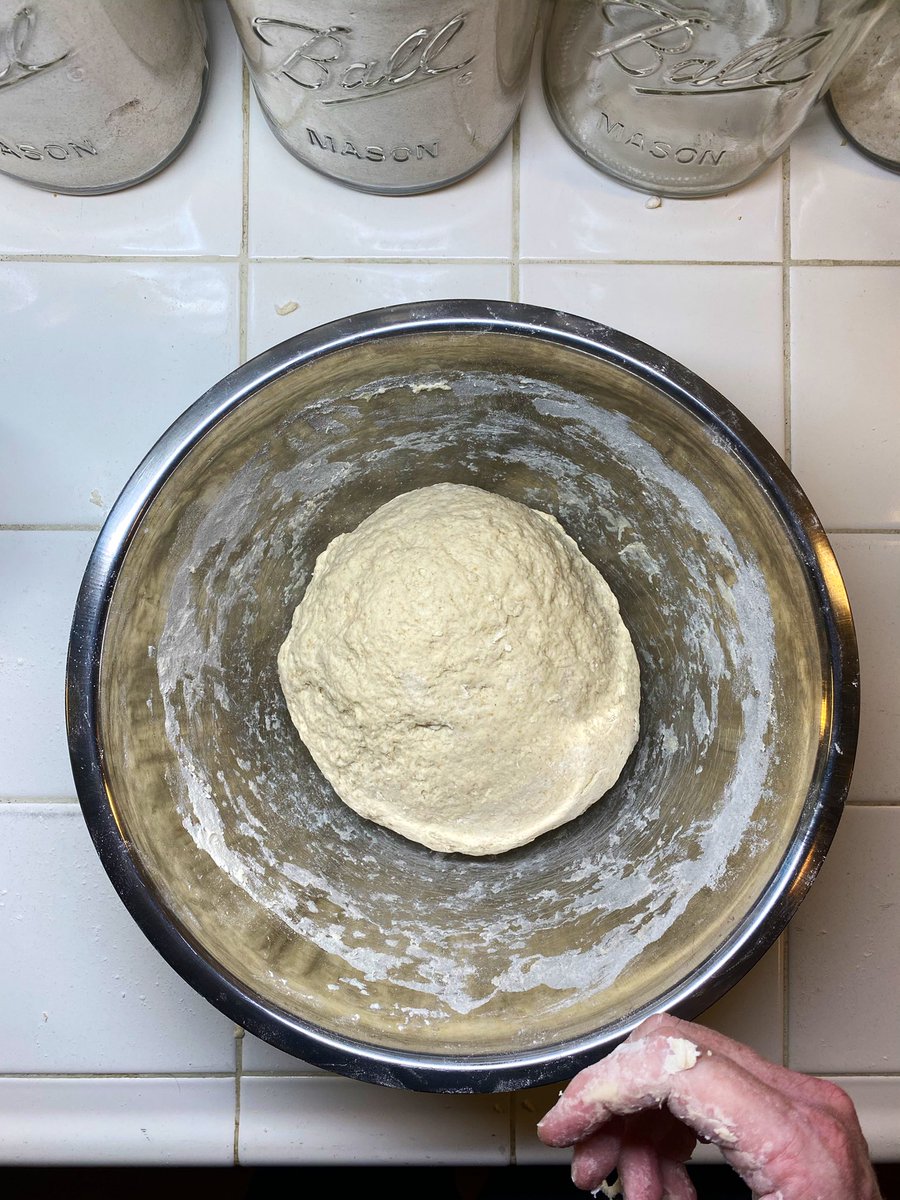
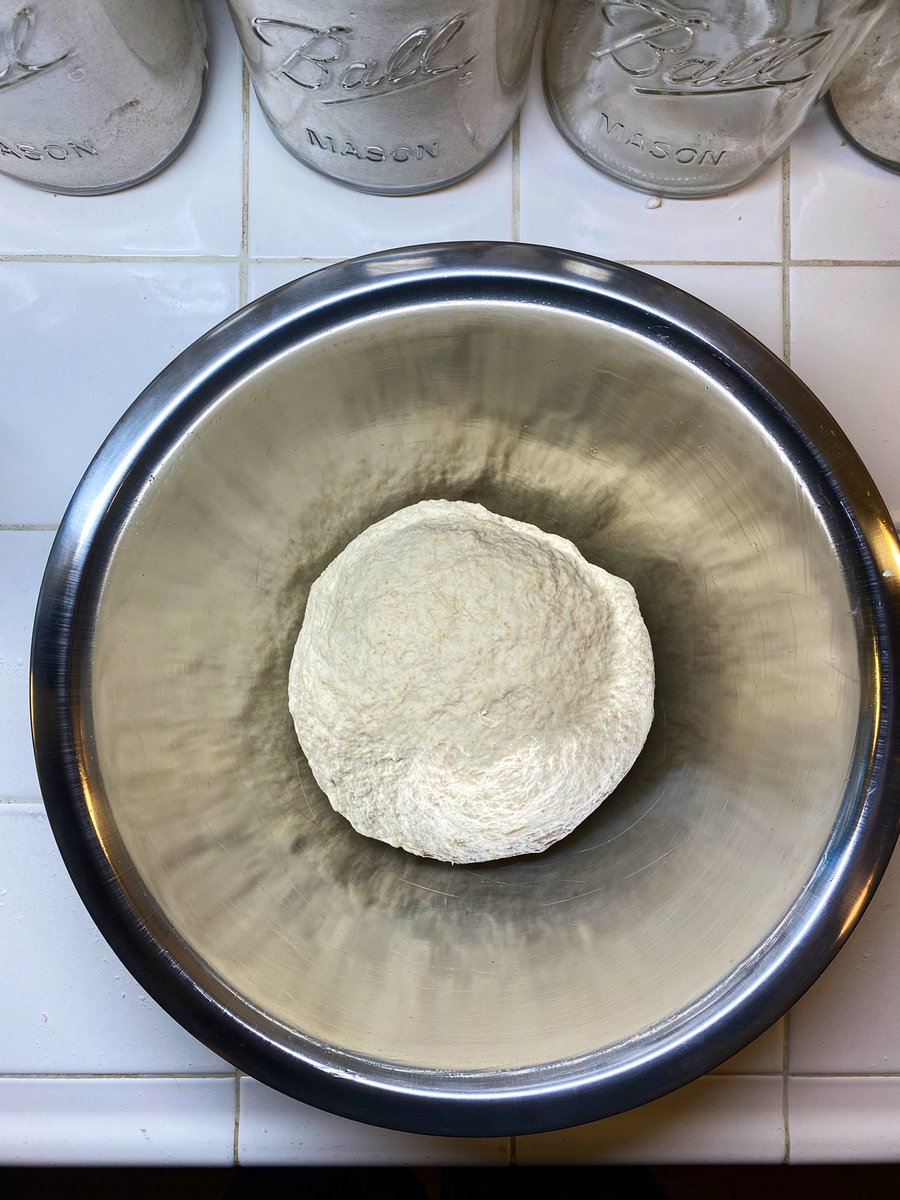
When it looks like this, very lightly oil a big bowl, and lay that baby inside. DO NOT WORRY about doing “window tests” and all that other jazz yet. That will come. Trust the microbes- they will align the proteins while you sleep. OK? Now->
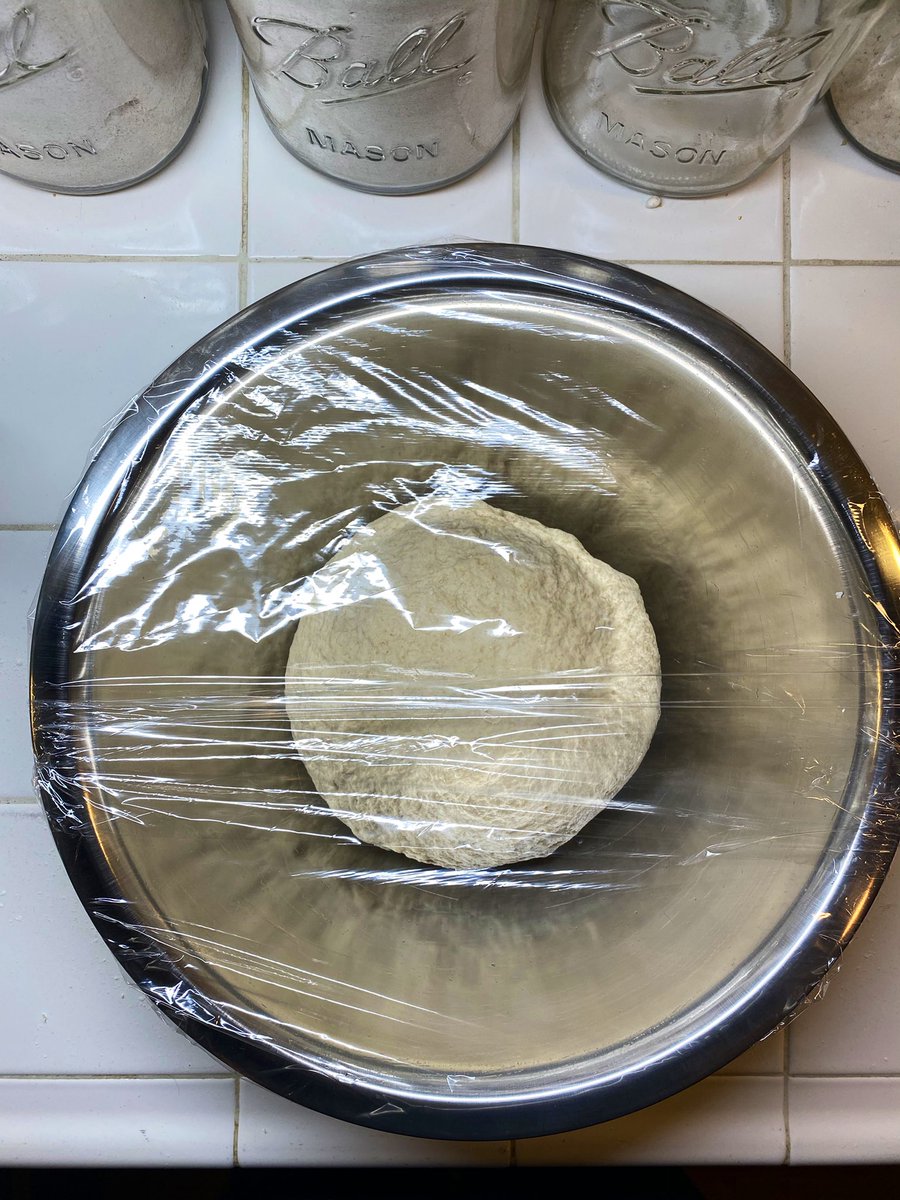
I generally hate plastic wrap, but it helps here to see everything. Cover the bowl airtight in a more responsible way than this. Put it in the fridge. Have a glass of nice Côtes du Rhône. The dough will refrigerate for 12-24 hours, and no less. So relax! The easy part is done.
OK now listen. That really was the easy part. But to get this right, you’re going to be doing this many times. So don’t stress on this one. Just learn and enjoy. It’s fun to see the dough relax then rise in the fridge. We will pick this up tomorrow. Good night. Sleep well. 


Some notes:
* You won’t have leftover dough the first time, just ignore it. The other measures stay the same. It’s math.
* If the dough is stupid sticky after the 3 minute mix, add a bit of flour-just a bit.
* the starter should be a 1:1 flour/water mix, and should be bubbly AF!
* You won’t have leftover dough the first time, just ignore it. The other measures stay the same. It’s math.
* If the dough is stupid sticky after the 3 minute mix, add a bit of flour-just a bit.
* the starter should be a 1:1 flour/water mix, and should be bubbly AF!
One last thing: first time out, if you’re new to wet, “high hydration” dough, reduce the water to 600g; it will be easier and won’t affect the crumb too much. OK good night! Big day tomorrow rest up!
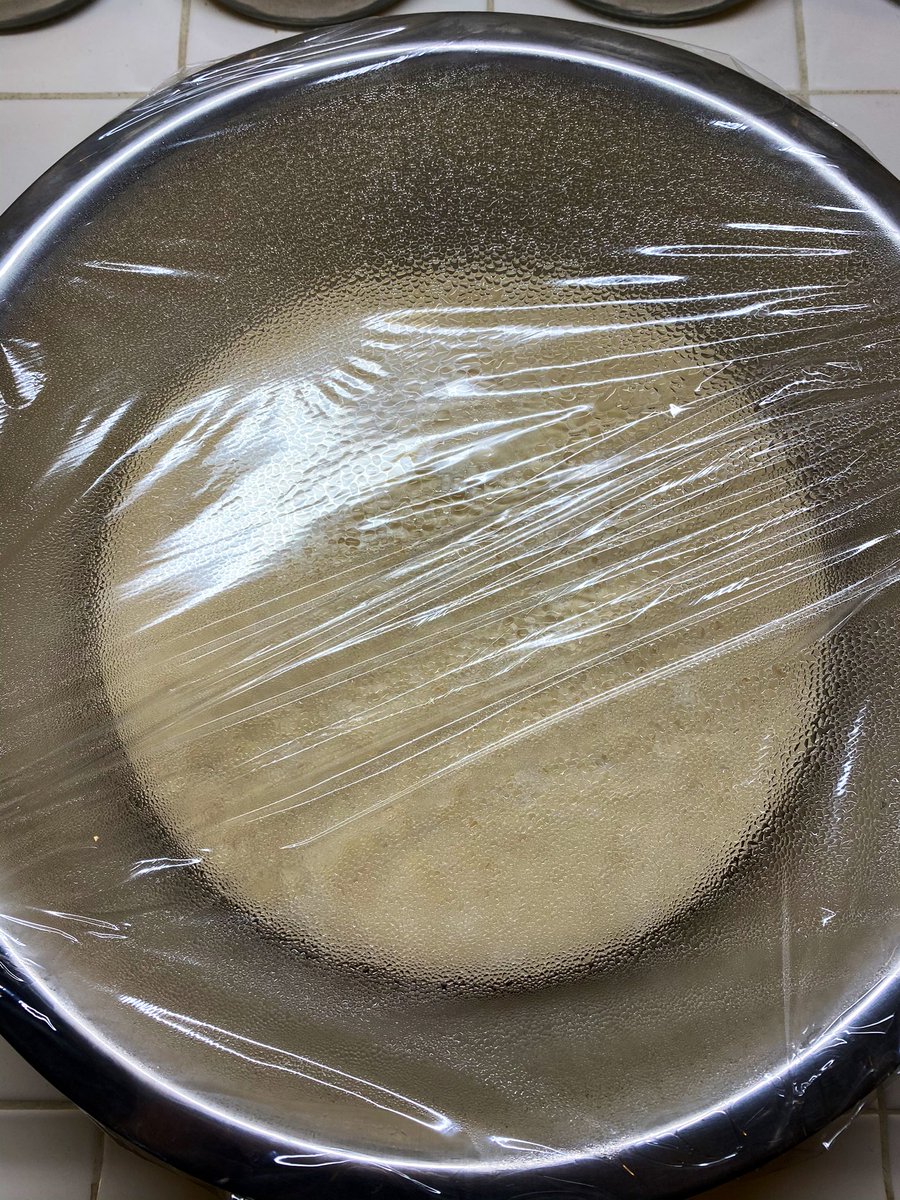
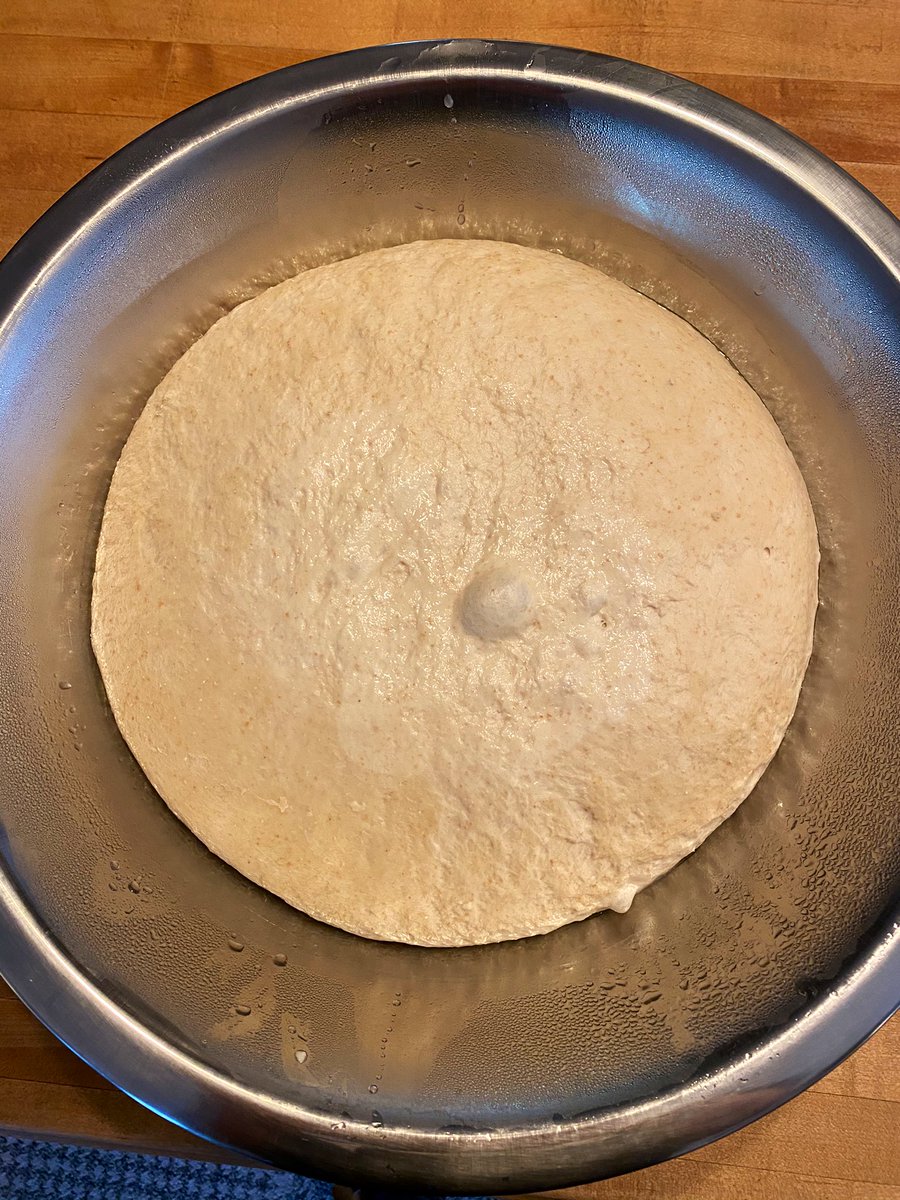
Good Morning, Pretend Parisian Boulangères et Boulangers. It’s both fun and historically appropriate to look in on your dough when you wake up. It should be bigger, maybe doubled, and a bit bubbly perhaps. BUT- don’t open it or take it out until you’re ready to bake!
Why historically appropriate? Because the reason for the existence of these funny stick-breads is that Napoleonic law forbade bakers to work all night. So they formulated a bread that could be quickly kneaded, rise overnight, and be baked in time for morning customers!
Today is the hard day, the baking day. Before you start, you’ll need things to be ready. But, the dough will wait for you, and will only get better with more fermentation. Now I’m going to give my dough microbes a stay on their execution by baking for a bit while I do my day job!
CRITICAL HISTORICAL ACCURACY UPDATE: @BienassisLoic who is an actual historian informs me that my Baguette origin story is incorrect. We will correct this incorrectness. And make it correctly correct. And cetera.
Here is a thread to read from an actual historian on the origins of the Baguette, an urban-optimized traditional king French bread: https://twitter.com/bienassisloic/status/1356286448786399233
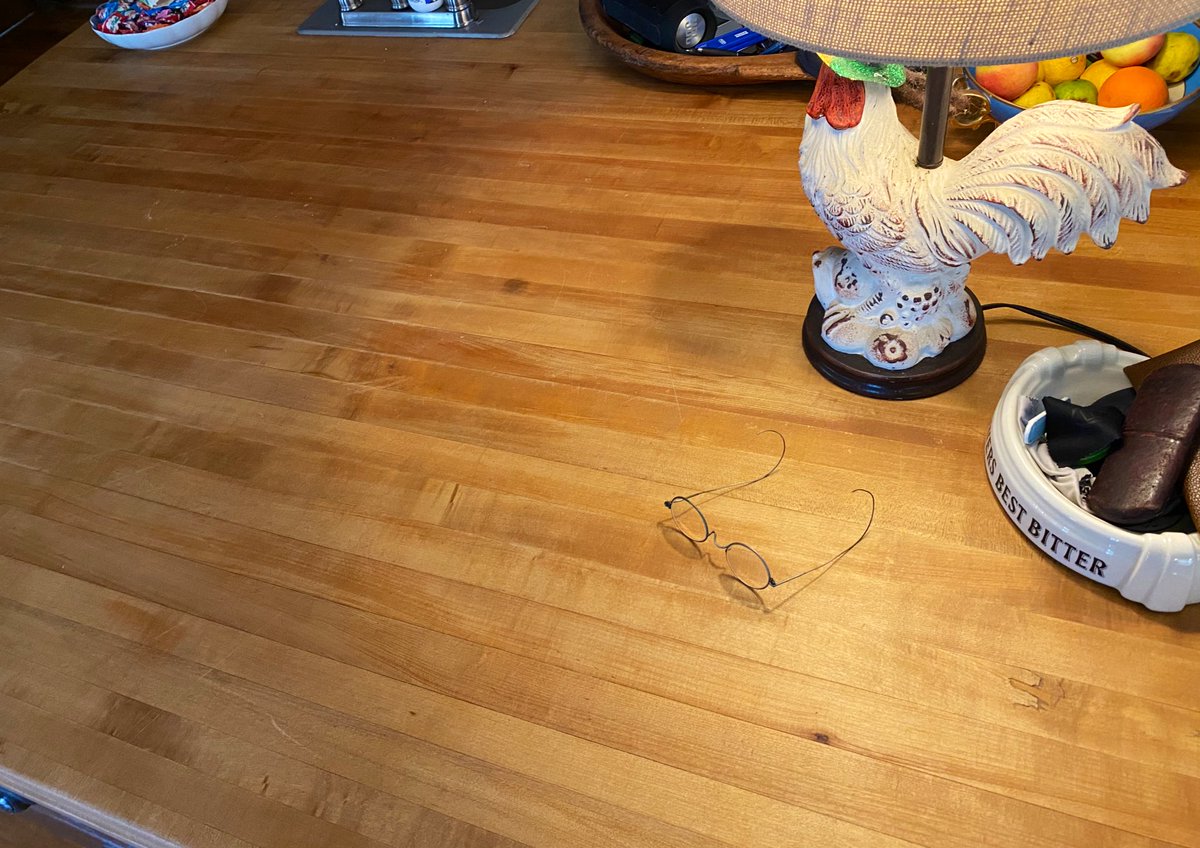
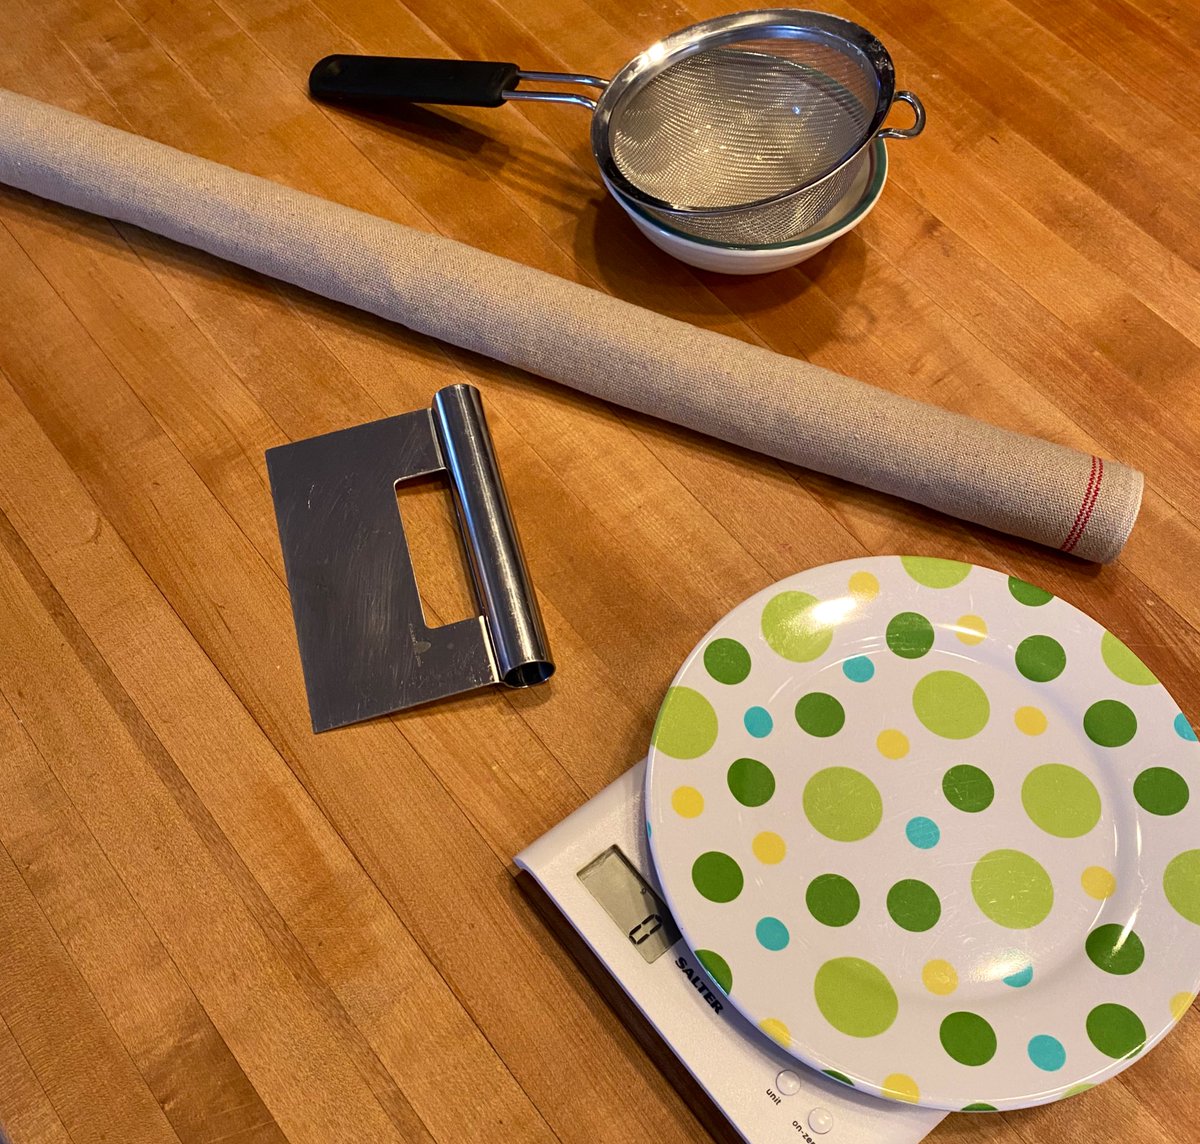
IT IS JUST ABOUT TIME to get started baking. This will take about three-and-a-half hours. Clear out a workspace. The coq avec chapeau Mardi Gras lamp is optional but preferred. You’ll also need the tools pictured: scale, pastry knife, sieve and bowl, and baguette couche.
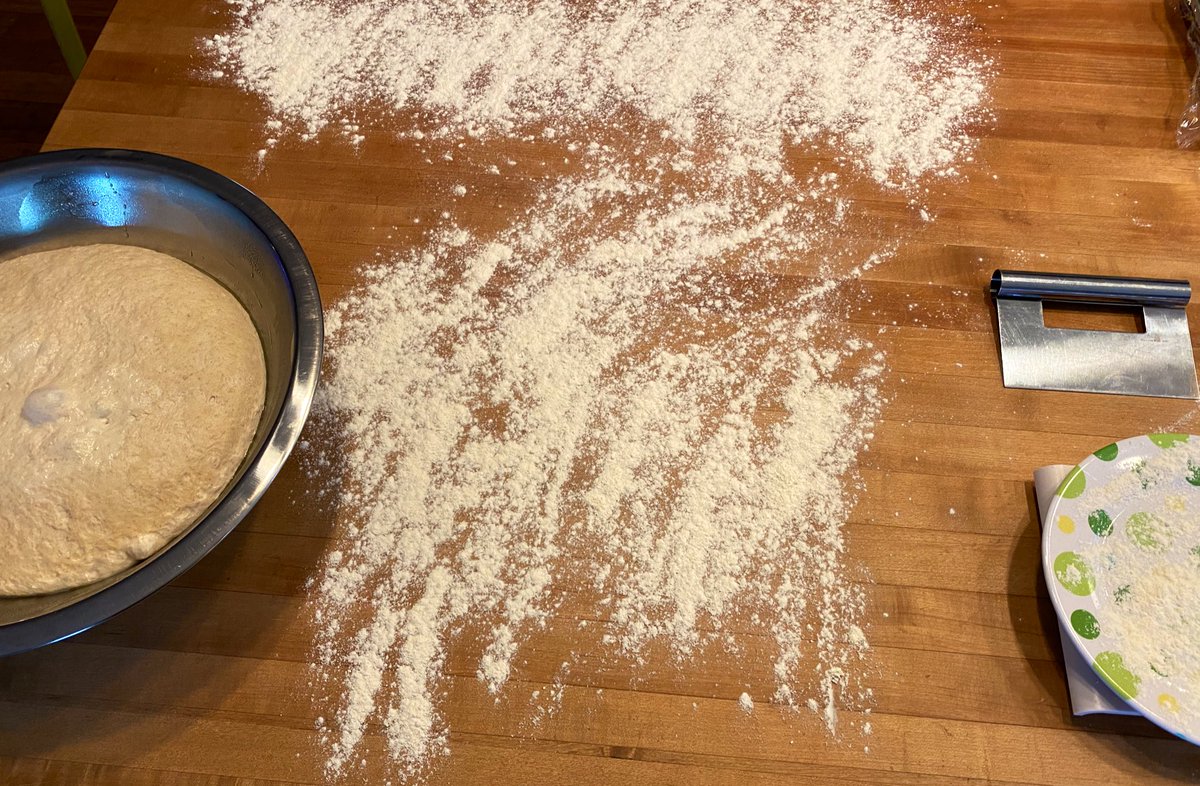
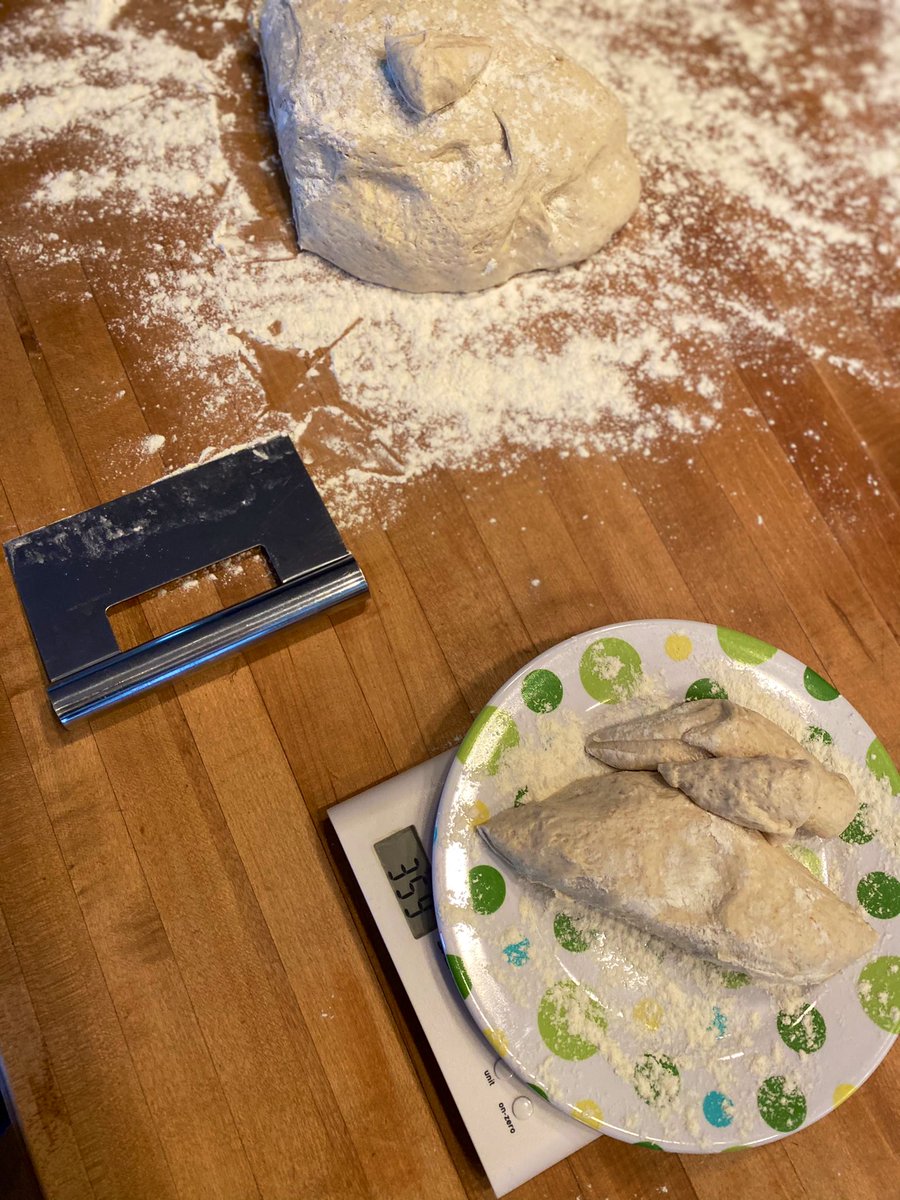
Let’s get going. Flour up two areas as shown. Dump the dough out, and use the pastry knife to cut ~350g of flour off. This is part of the ‘baguette de tradition française’ appellation so don’t screw this up, or French police may come.
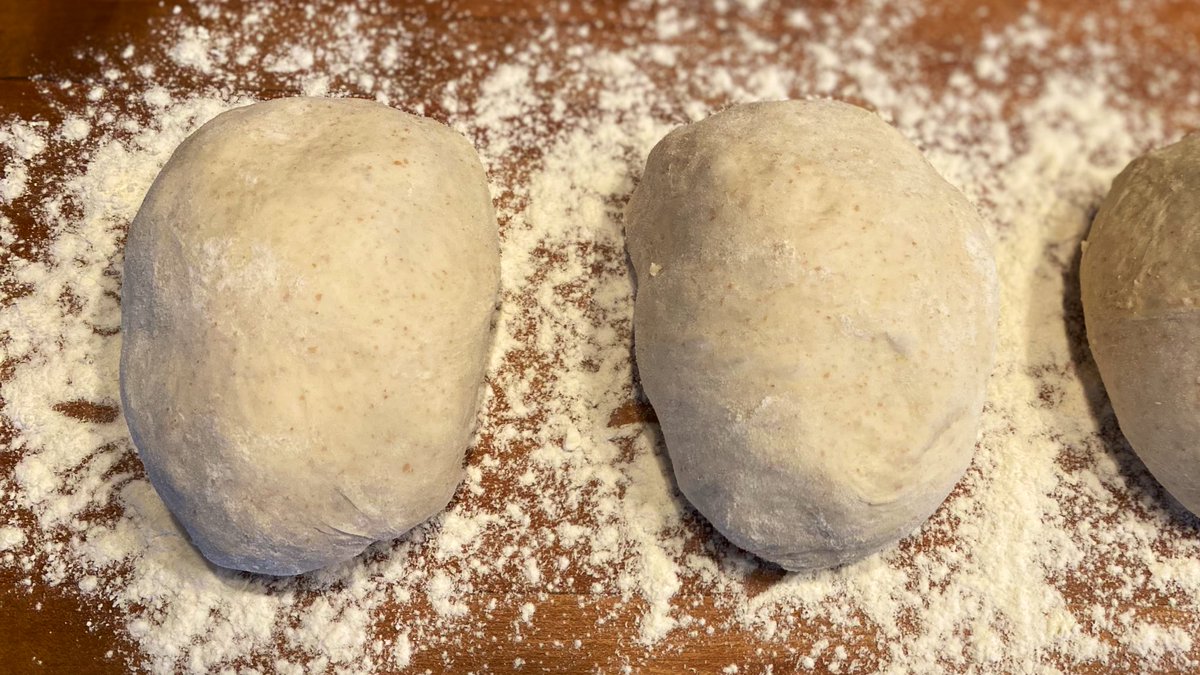
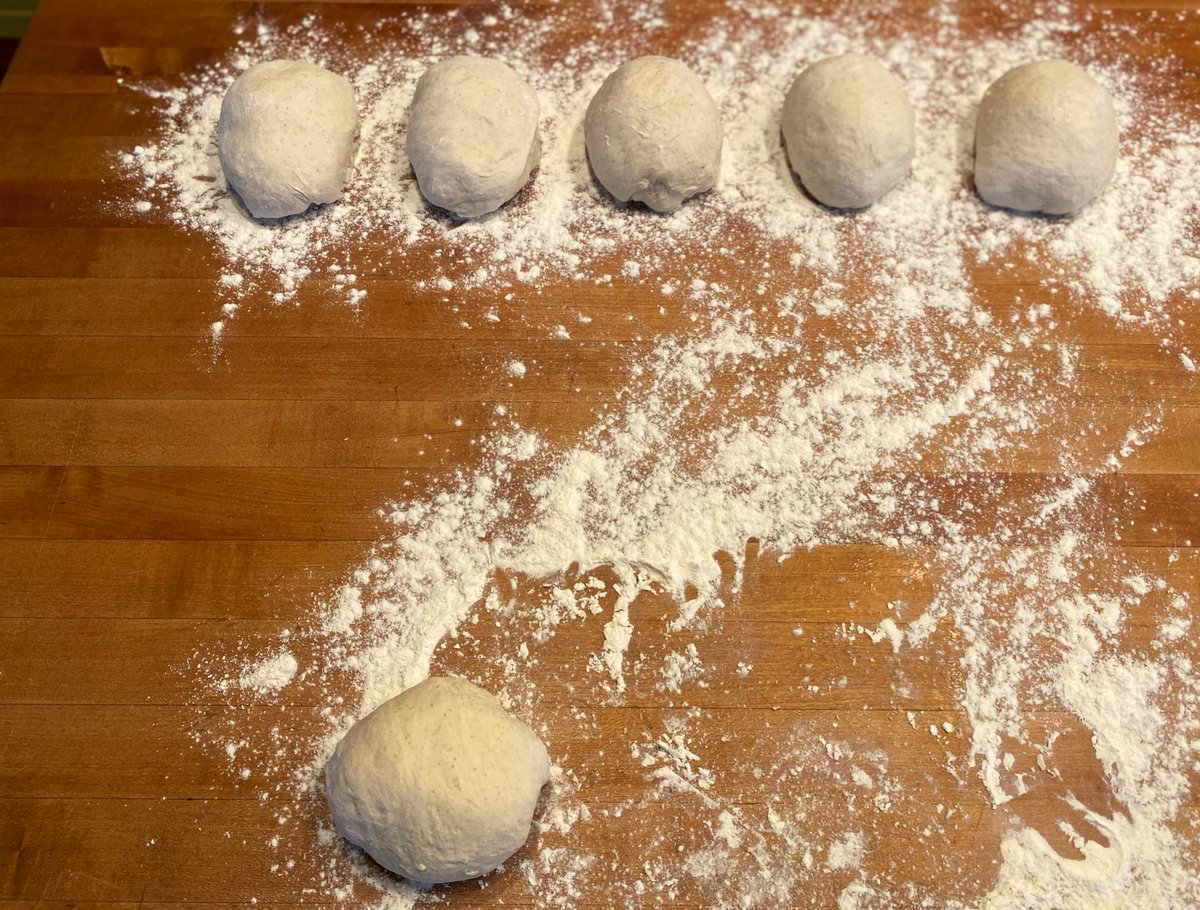
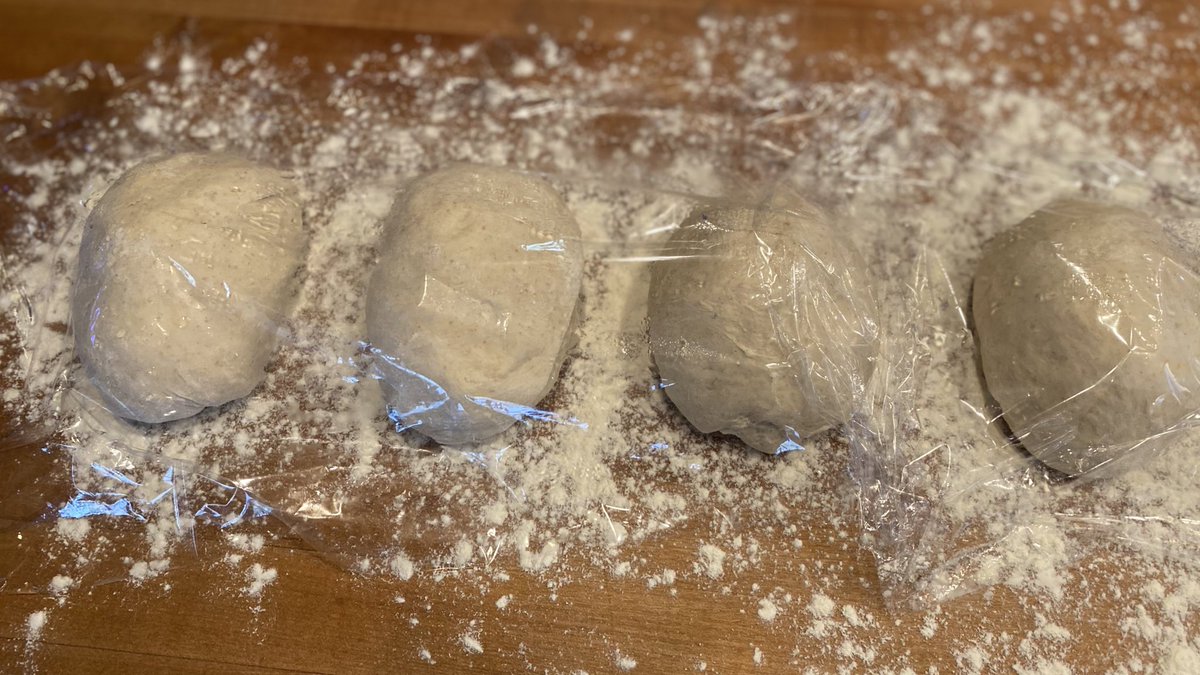
Take each 350g chunk and make little oblong balls like these. Stretch the top over and tuck the bottom underneath. Set them on the floured runway you made earlier, and re-use the plastic to cover so you feel less guilty. Save the remaining dough for next time. See?!
Set a timer for 120 minutes, and chill out. Get some chores done or do your actual job. This is the first of two warmings and fermentations. The hard part is coming up, so make sure you fully understand what to do before moving past here. But it will be OK! It’s worth the effort!
OK here we go. Watch carefully. What we are doing is TENSIONING the dough. Have your couche ready nearby. First step is to take a boule and form it into a rough rectangle.
Now we roll the front edge over a bit at a time, and push it down with the heel of the hand to stick it. We are winding the dough up like a spring. It’s not the hard but again watch carefully. This is the secret.
Now flip it around so the fold is facing you, and do the same to the other side. Remember. You’re stretching and tensioning the dough, like a watch spring.
OK last fold and tension before we shape the “stick.” The thing to focus on is building that spring tension. Don’t worry so much about the neatness of the shape. Keep it even. When it rises it will clean itself up. I promise.
Now, take your tensioned dough and massage it and lightly roll it into the classic shape. You can do a pointy or a rounded end. I’m doing pointy here. Be gentle here as you don’t want to release that tension. The opposite of a normal massage.
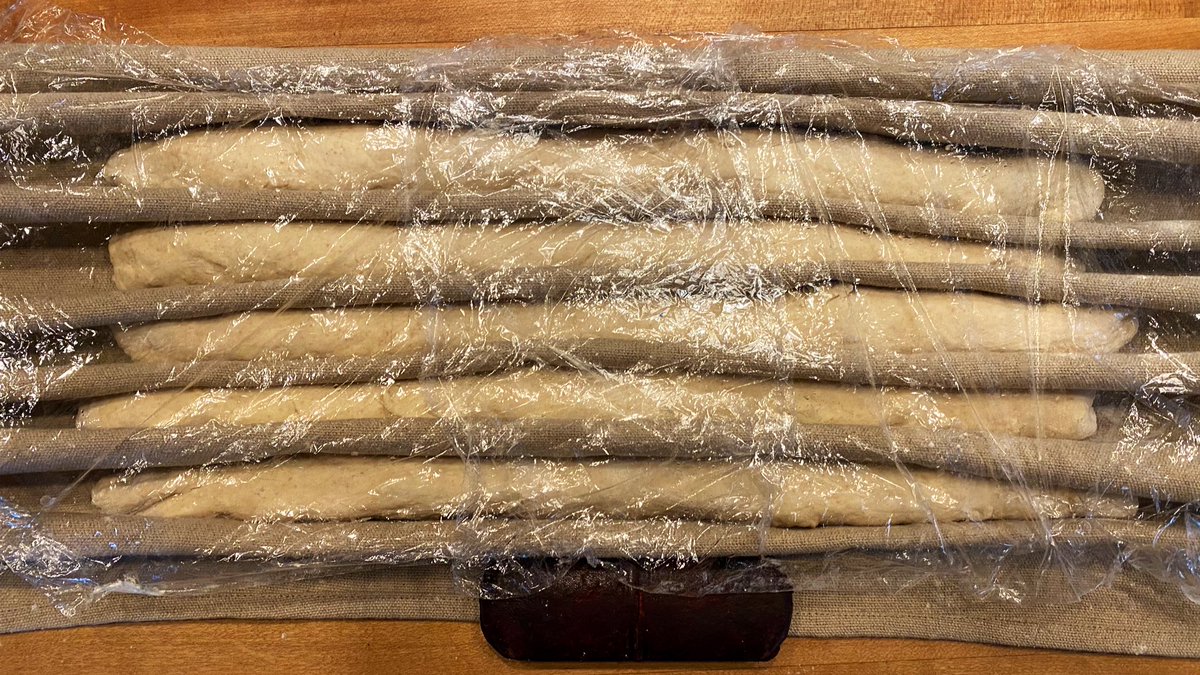
Here’s how to start laying the baguettes into the couche. You may need a small weight like your friend’s glasses case to hold the end down when you start. It will feel weird but then you realize it’s easy- it’s superb old technology.
Here’s the whole process in one shot. As you can see it’s not that big a deal. But- you need to keep in mind the importance of that springy tension you’re putting into the surface of the baguette! That’s the trick!
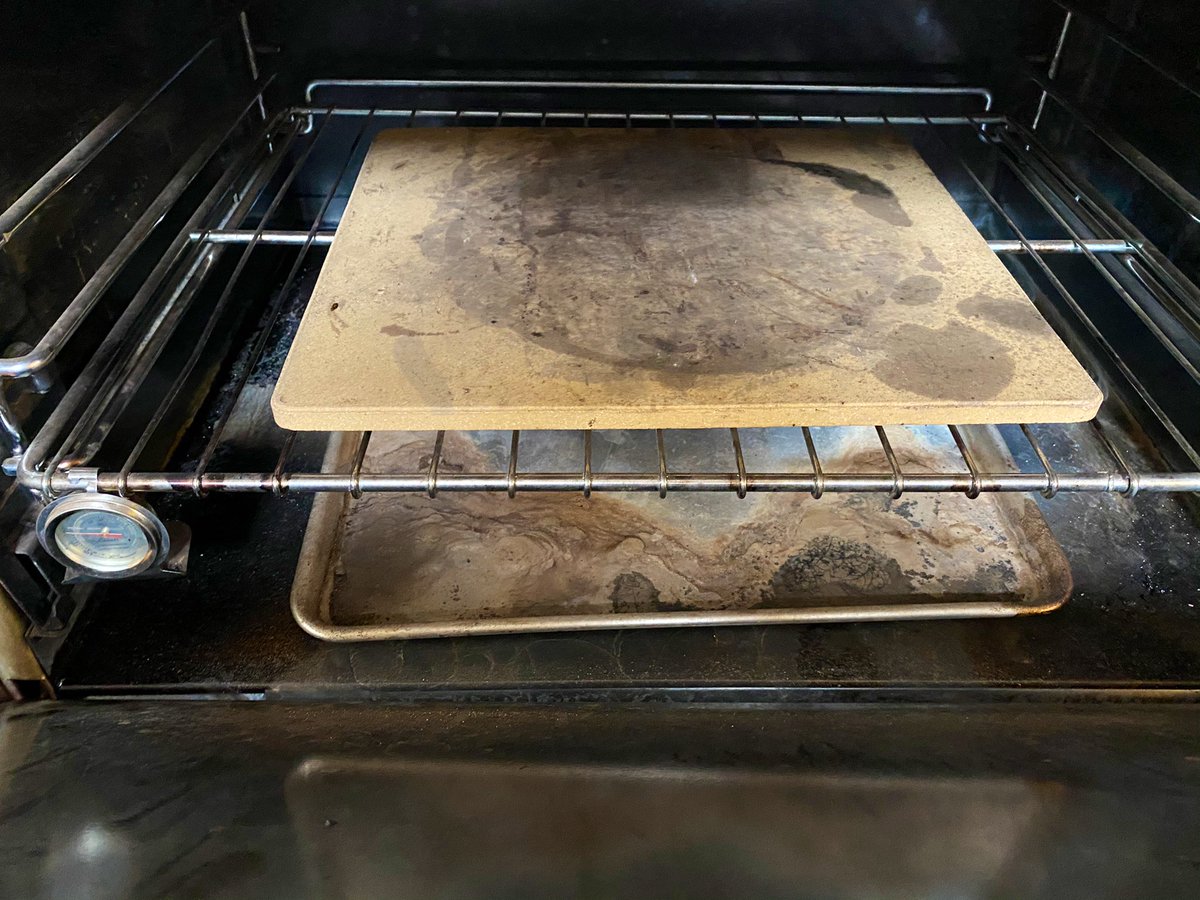
Cover the couche with the guilt-relieving recycled plastic. Set a timer for 1:20. Turn your oven on ALL THE WAY UP. We’d like 290C; most home ovens struggle to get to 270C so give it the whole 1:20. A baking stone really helps. Also, you will need a jelly roll tray in the bottom.
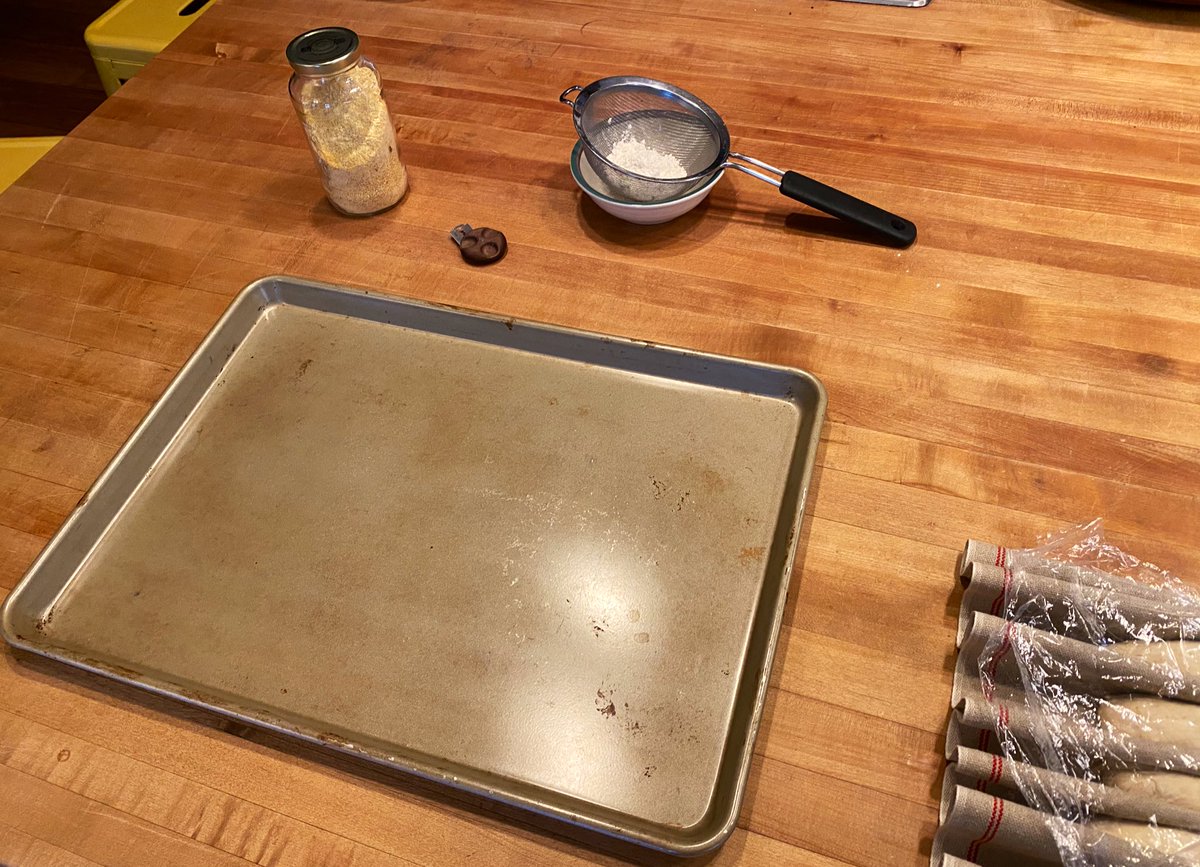
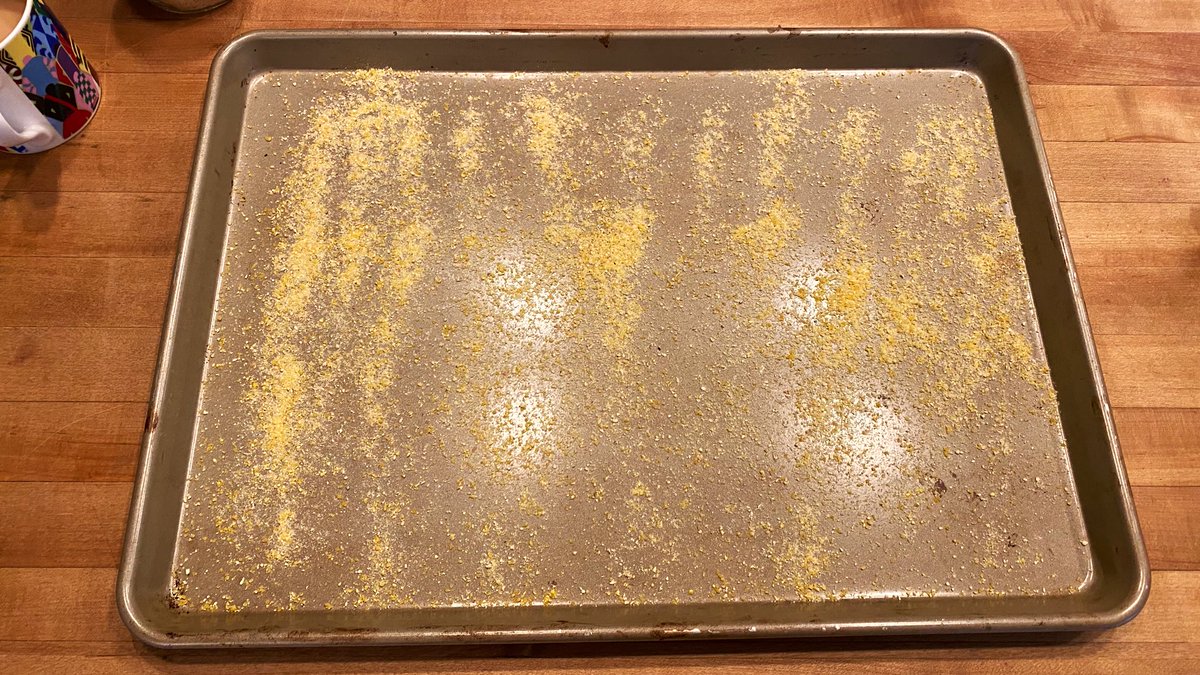
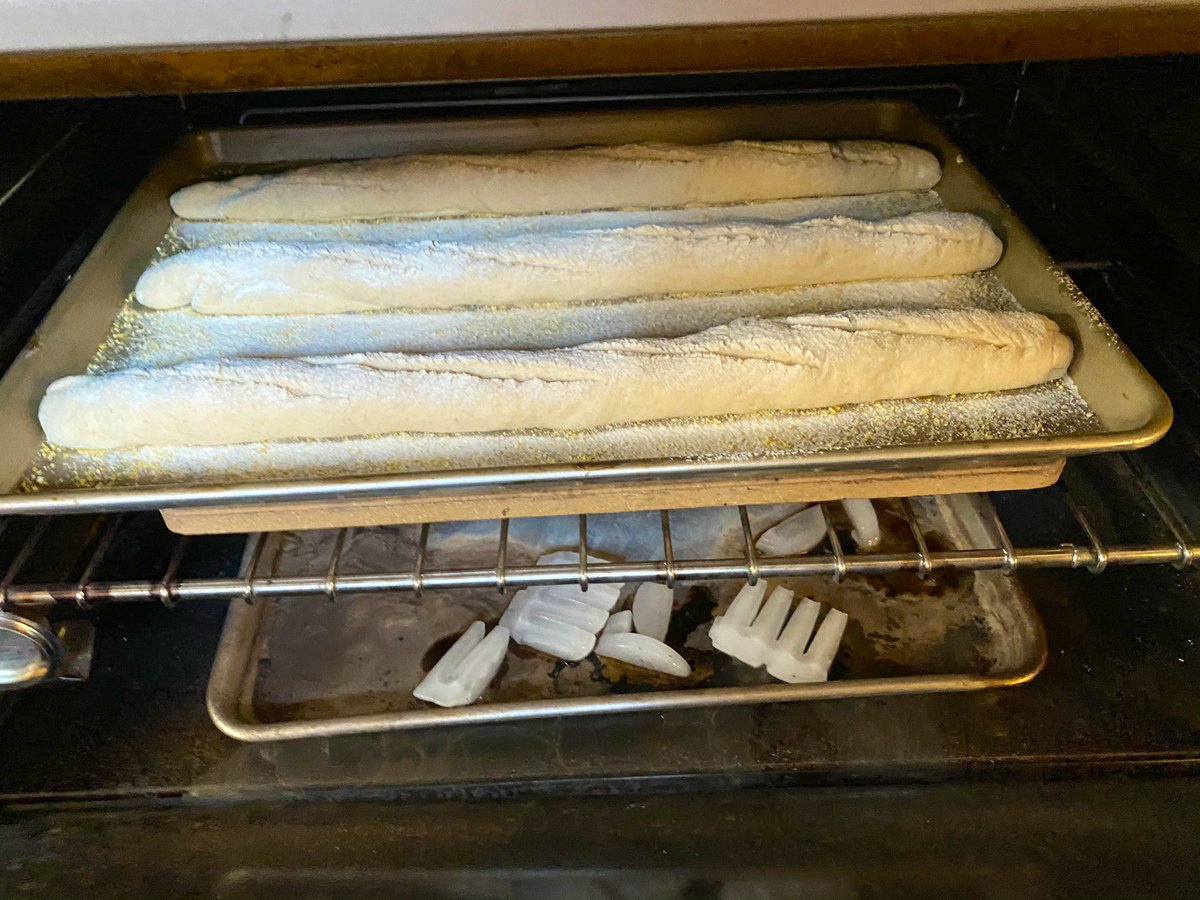
Here’s what you need ready next. Baking sheet, some semolina or cornmeal for nonstick, flour in a sieve for dusting, and a sharp AF blade for scoring. You’ll also need to have a couple good handfuls of ice or some hot water ready to put in the bottom of the oven for steam. Ready?
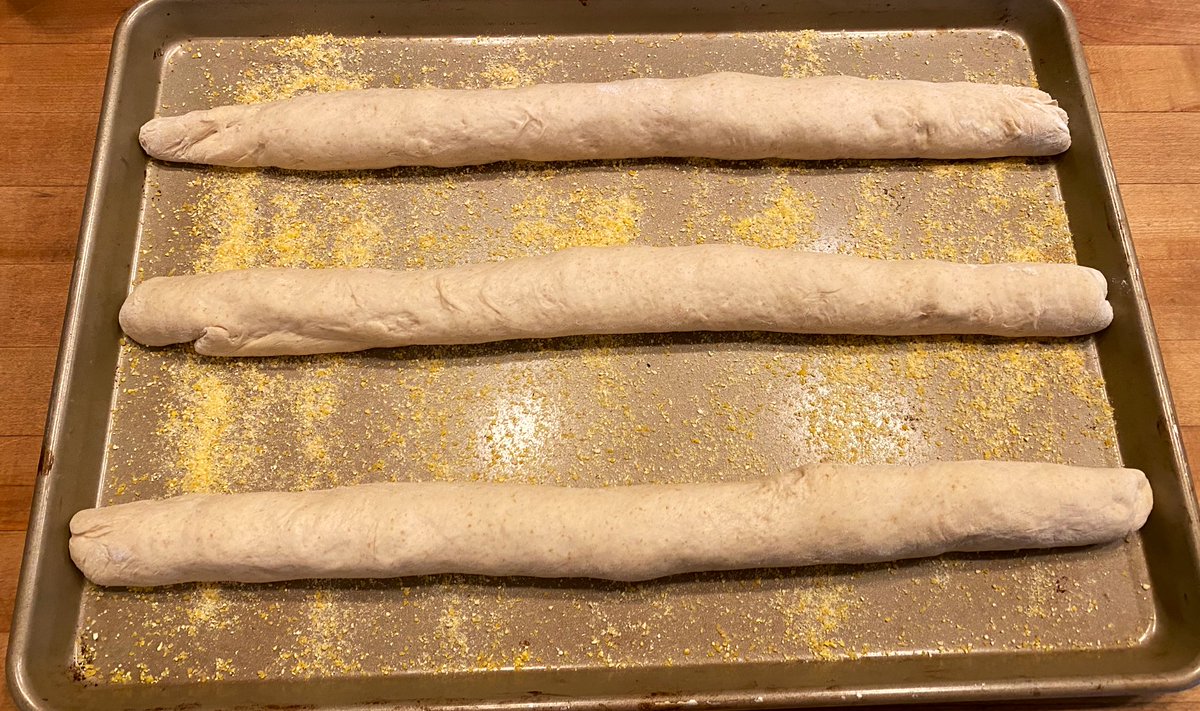
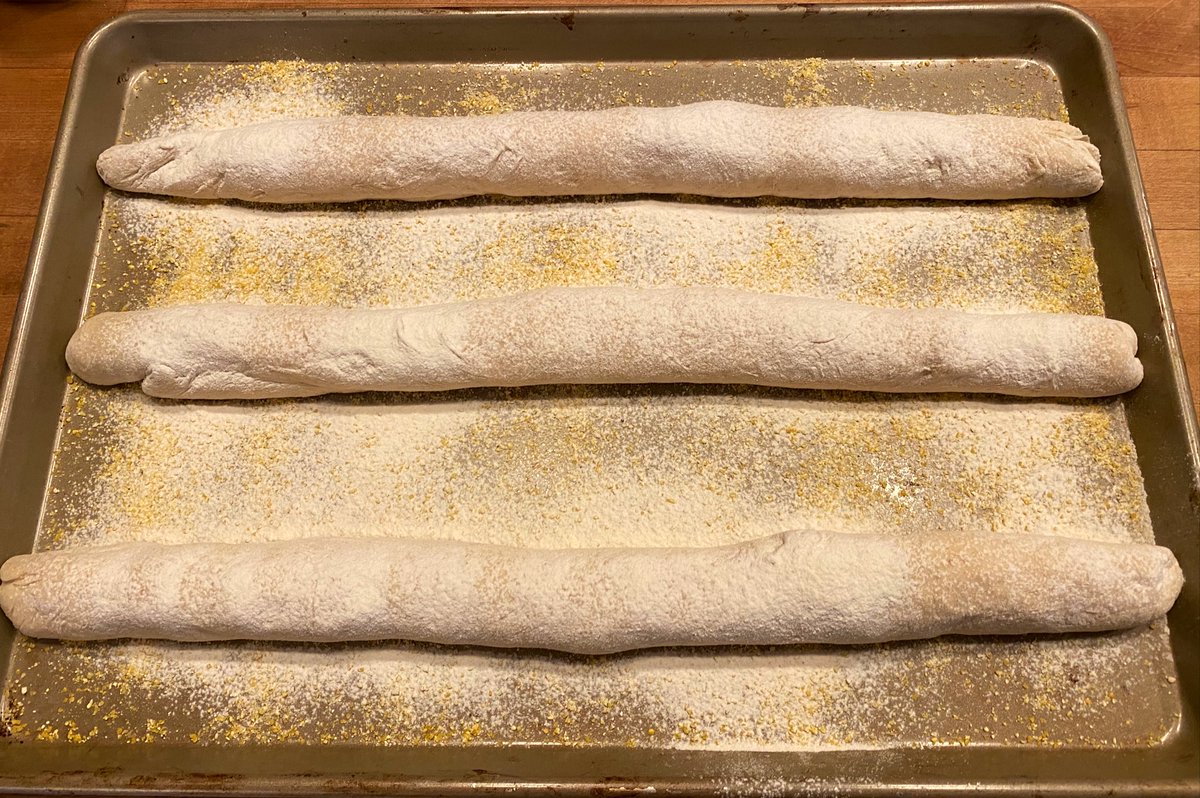
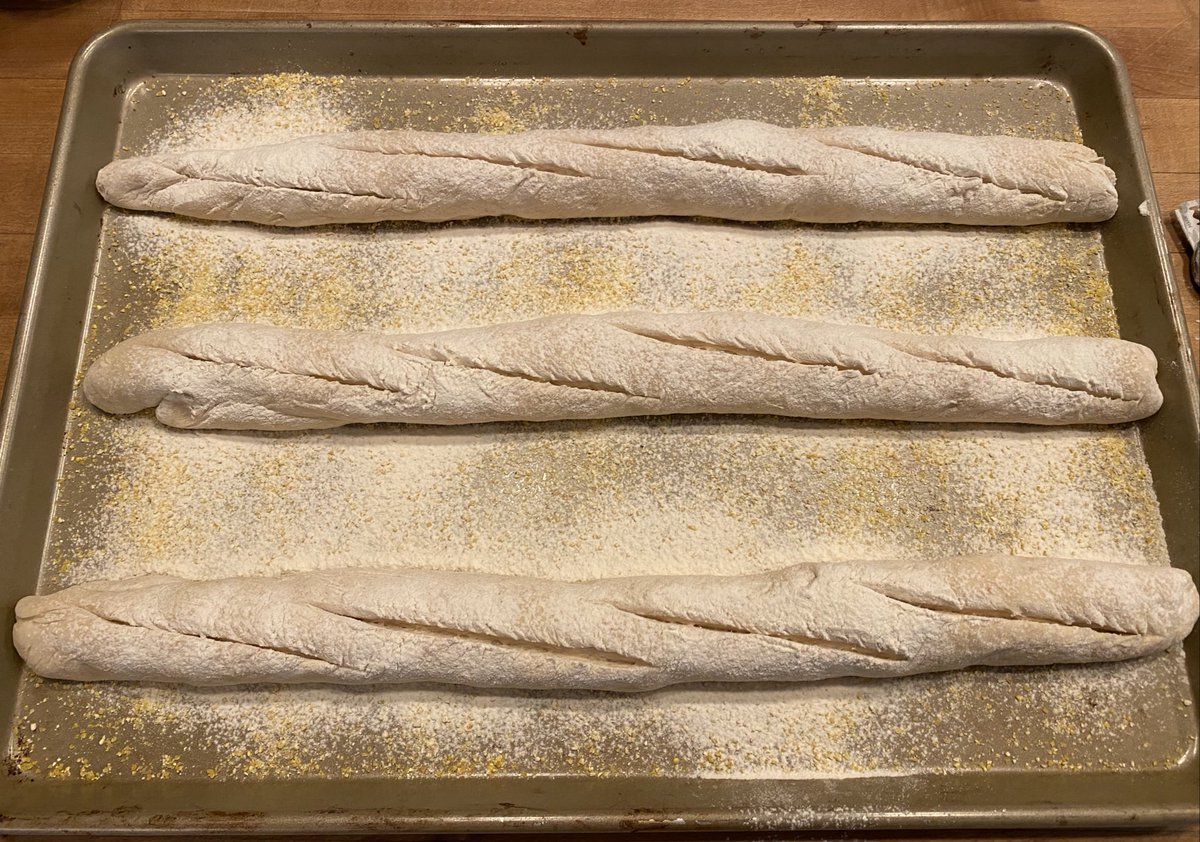
Put some cornmeal in the tray, lay the baguettes carefully over it by lifting from both ends. Dust with flour- it makes it seem fancy and like we know what we are doing. Then score, deeply, along the top middle 1/3 of the loaves. This will cause them to open dramatically.
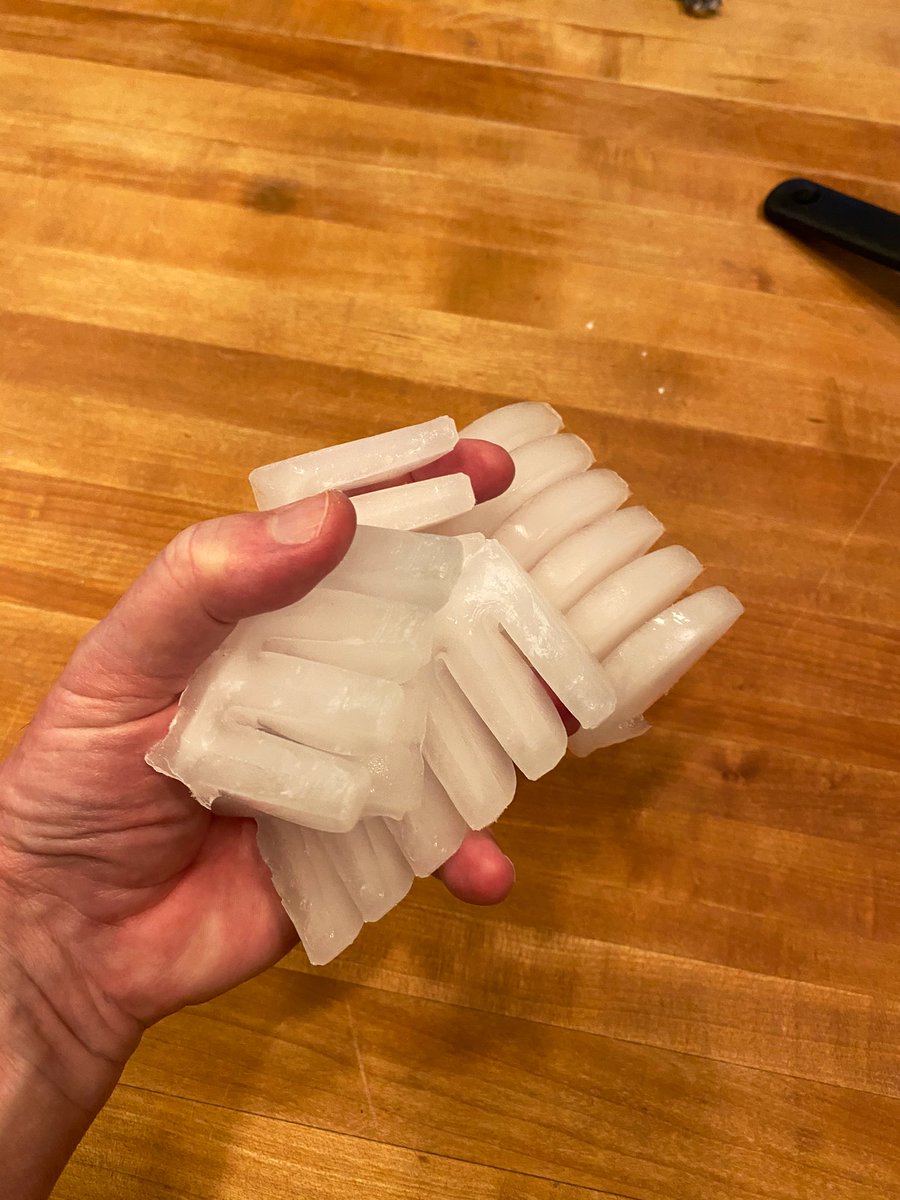
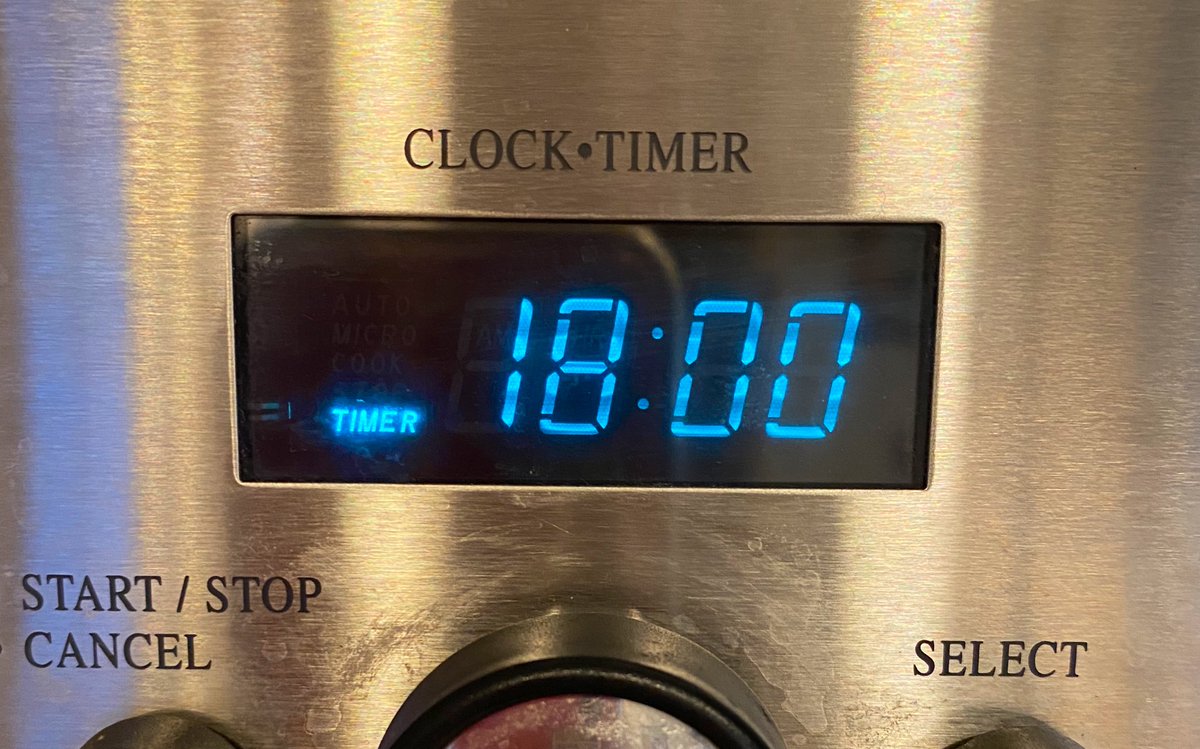
Put them in the hot oven! Throw about this much ice in the pan in the bottom! Close it up and no peeking for 18 minutes!
After 18 minutes, open the oven door and let the steam out. BE CAREFUL! ITS REALLY GODDAMN HOT! Now shut the door and wait another 7 minutes!

 Read on Twitter