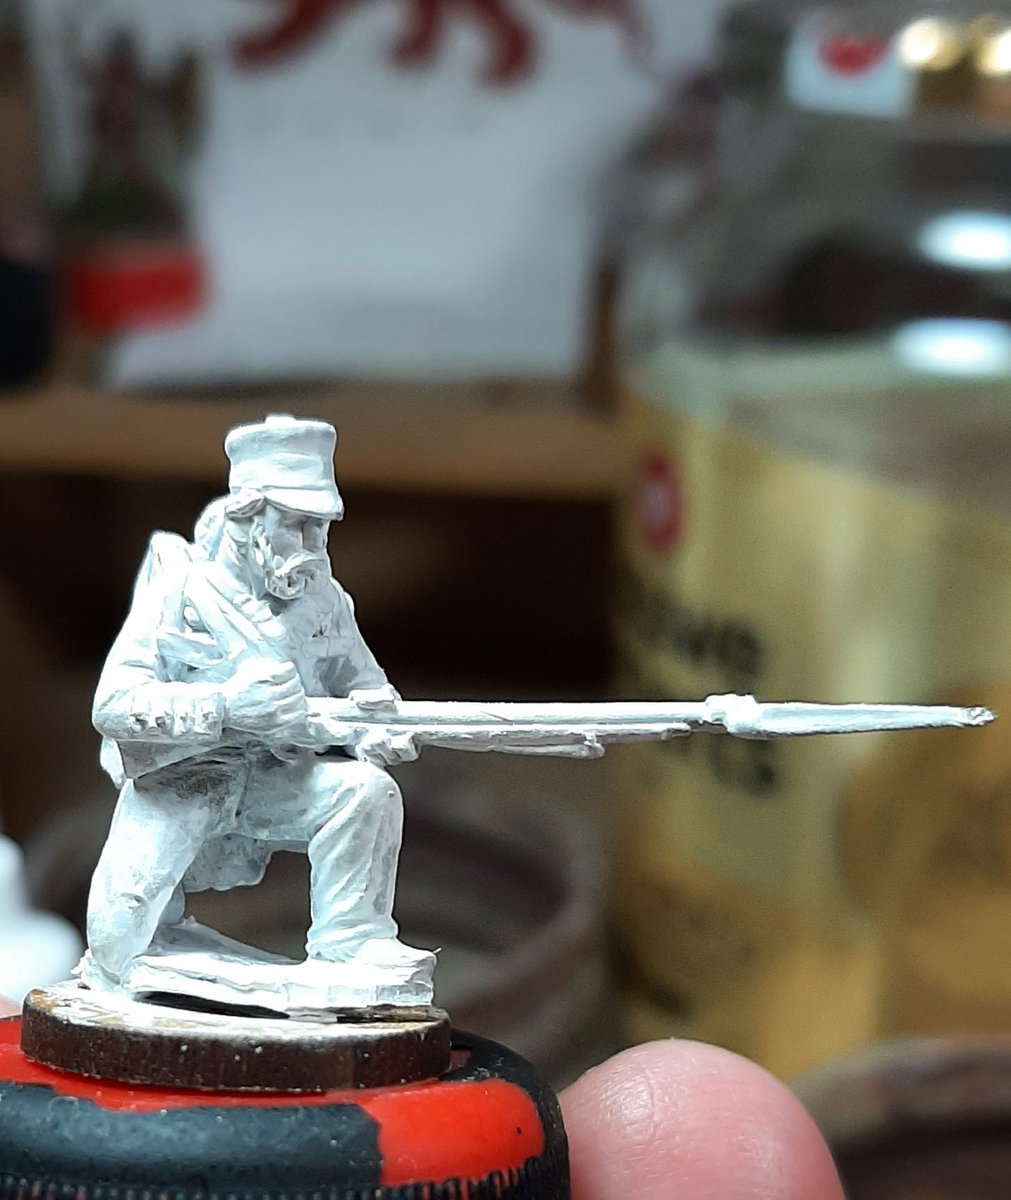
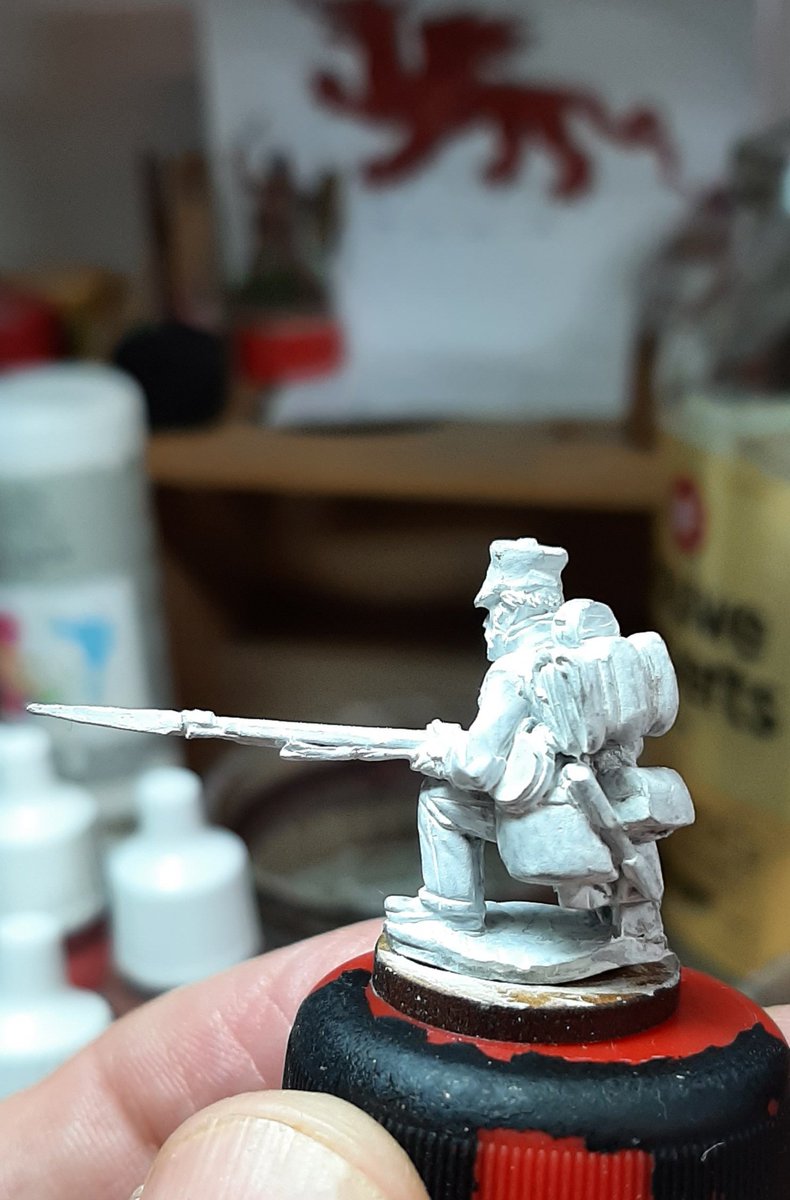
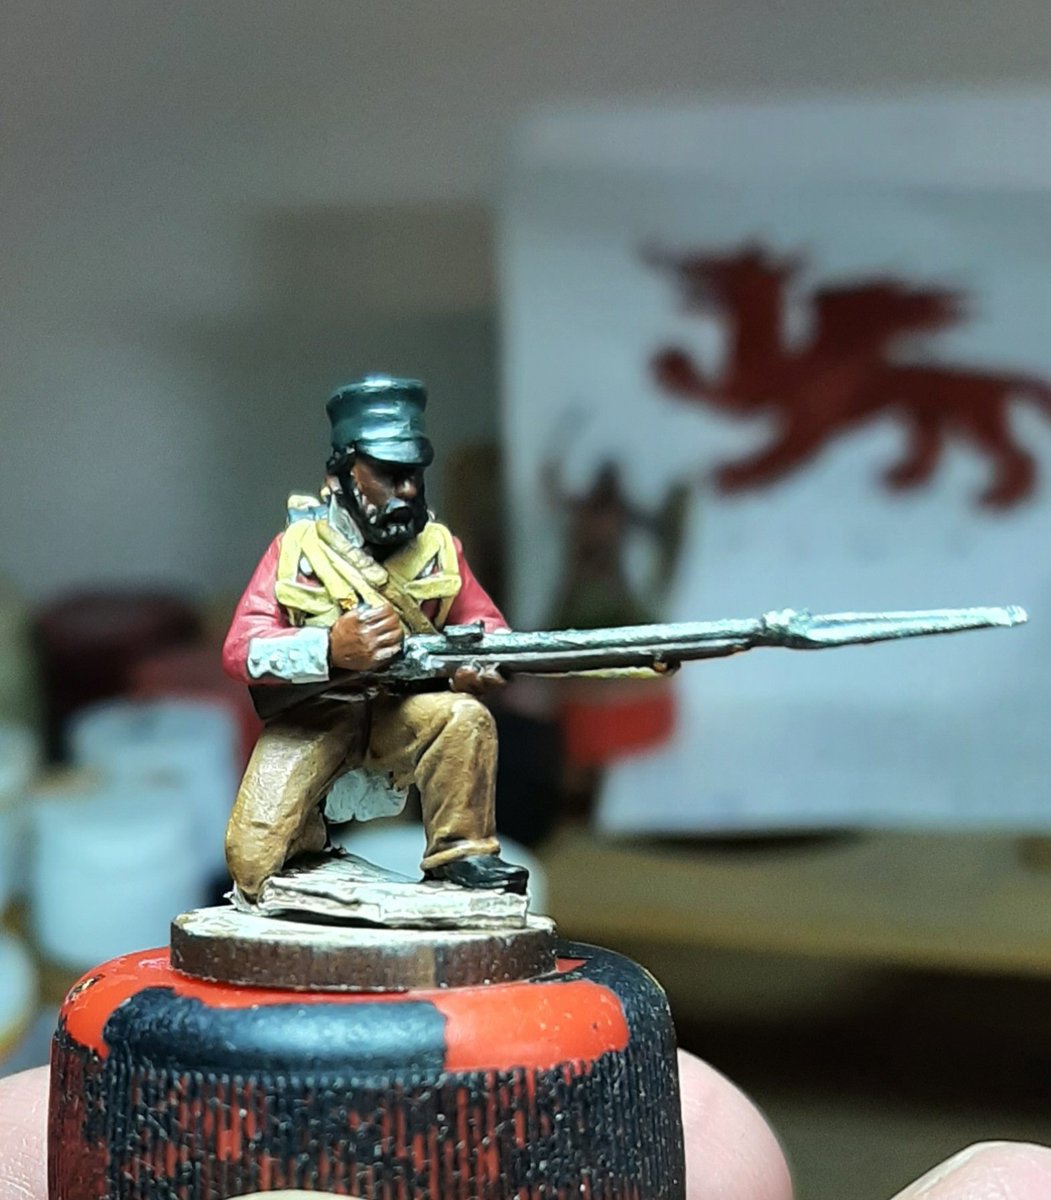
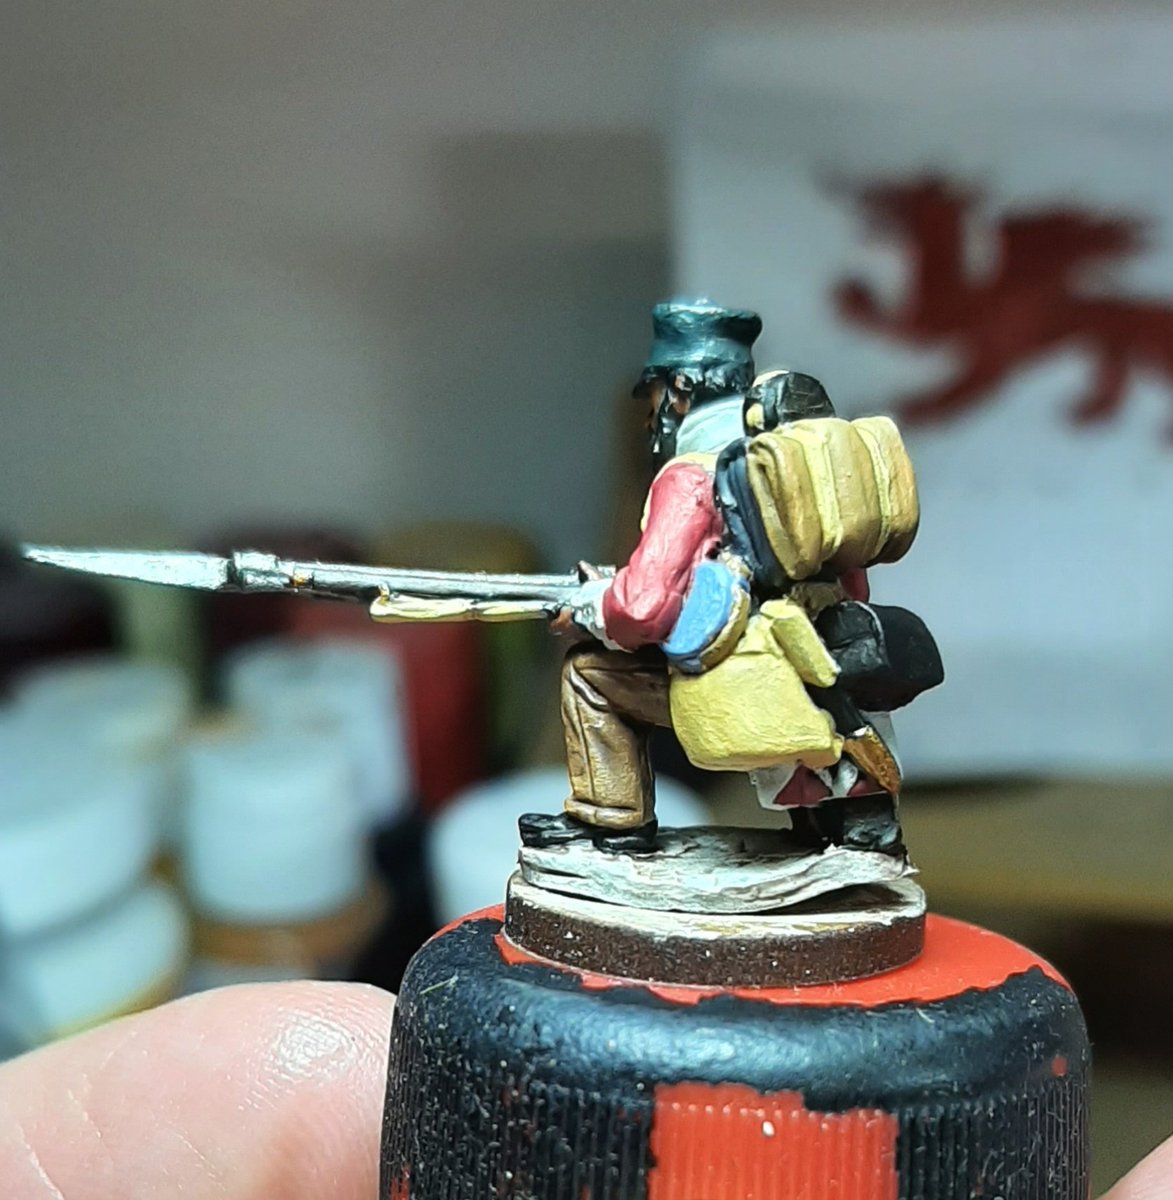
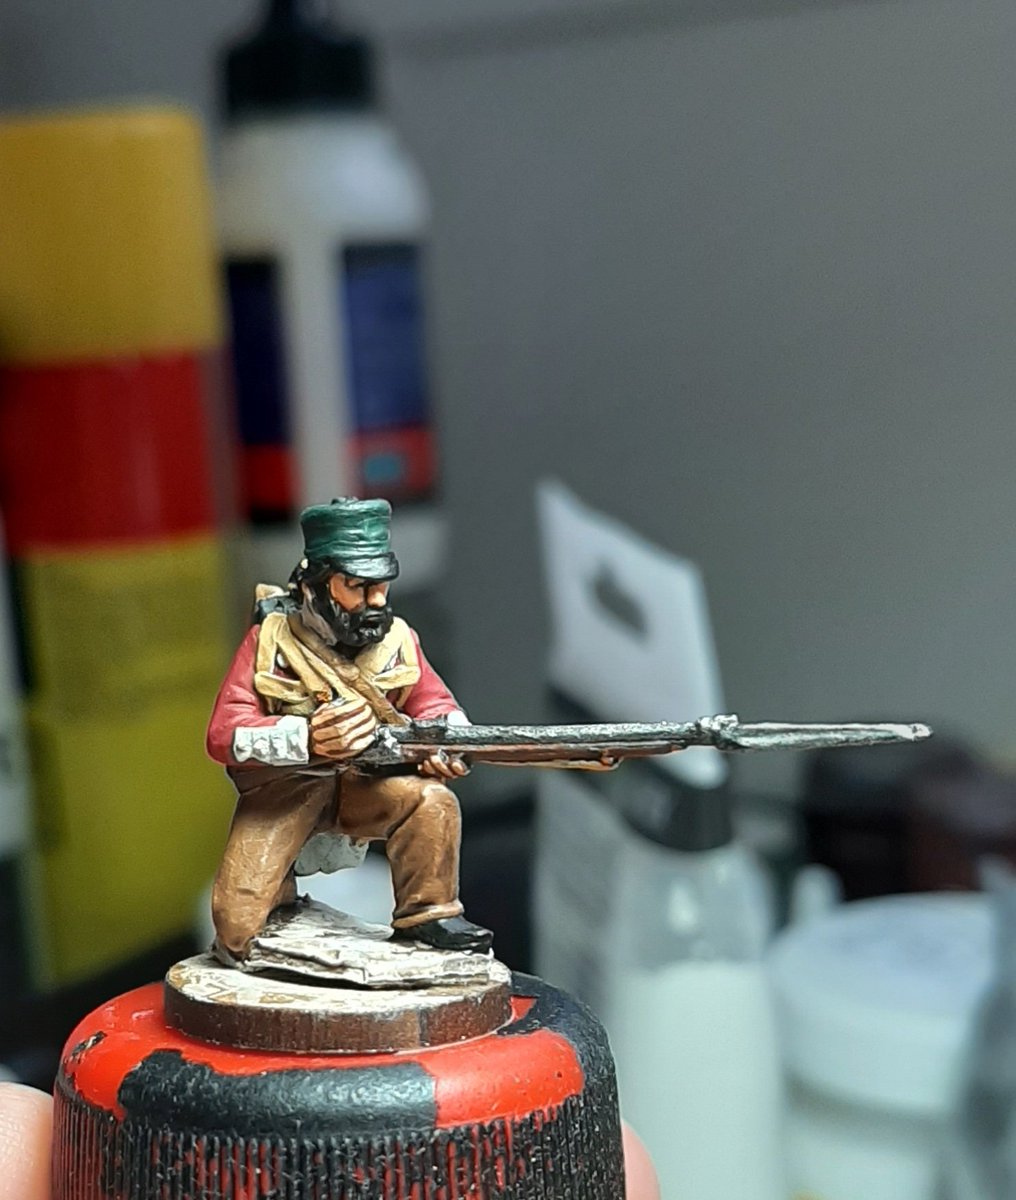
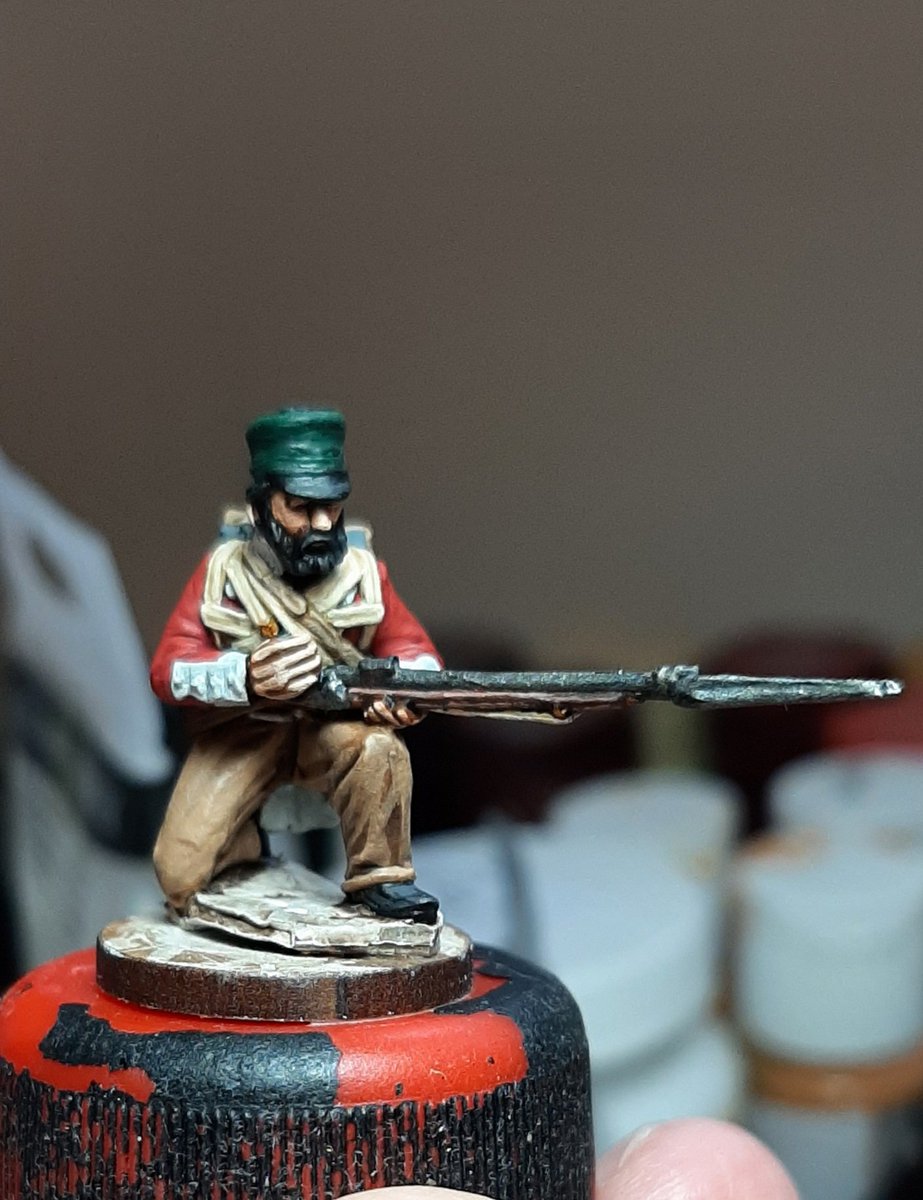
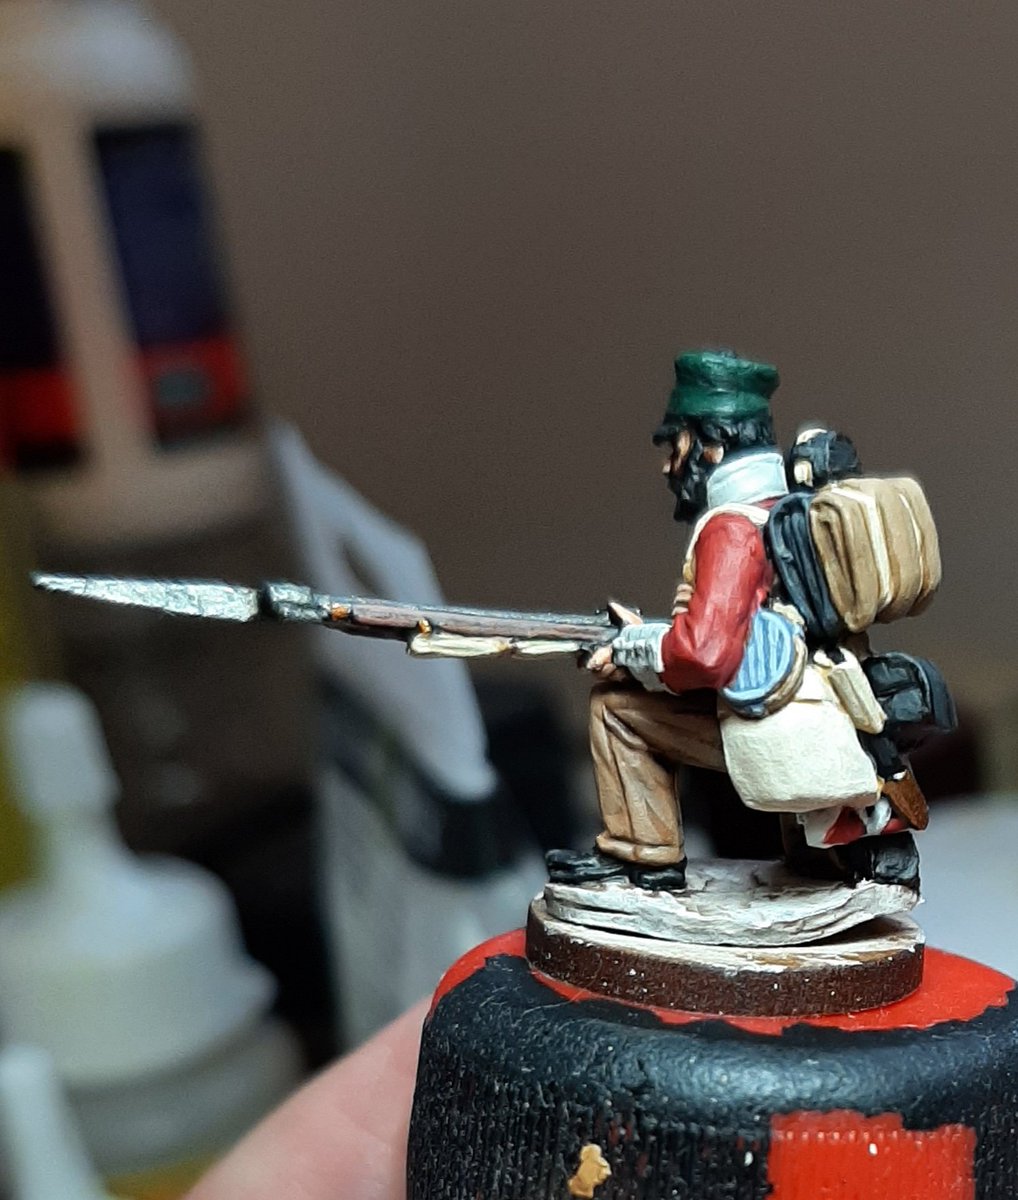
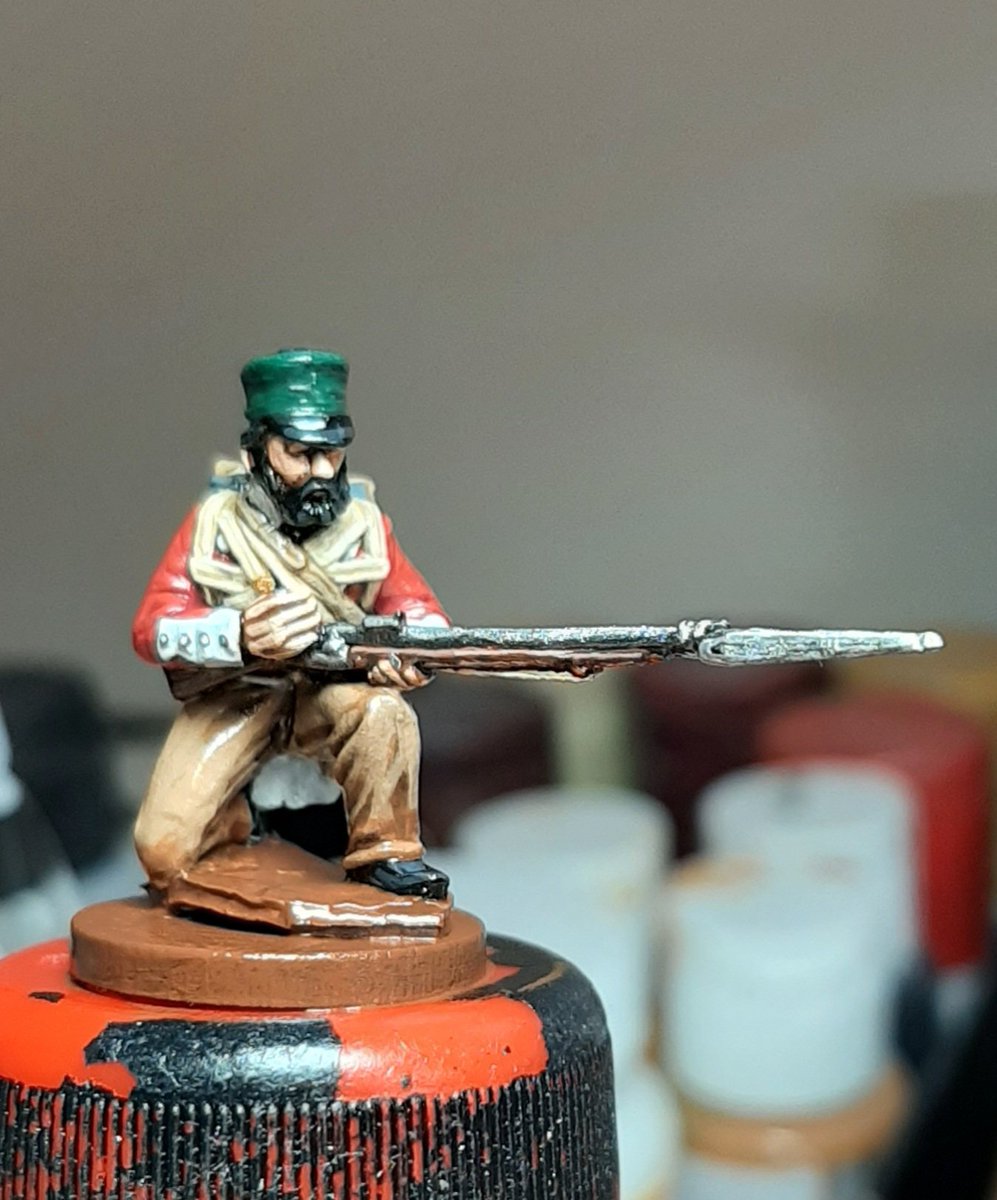
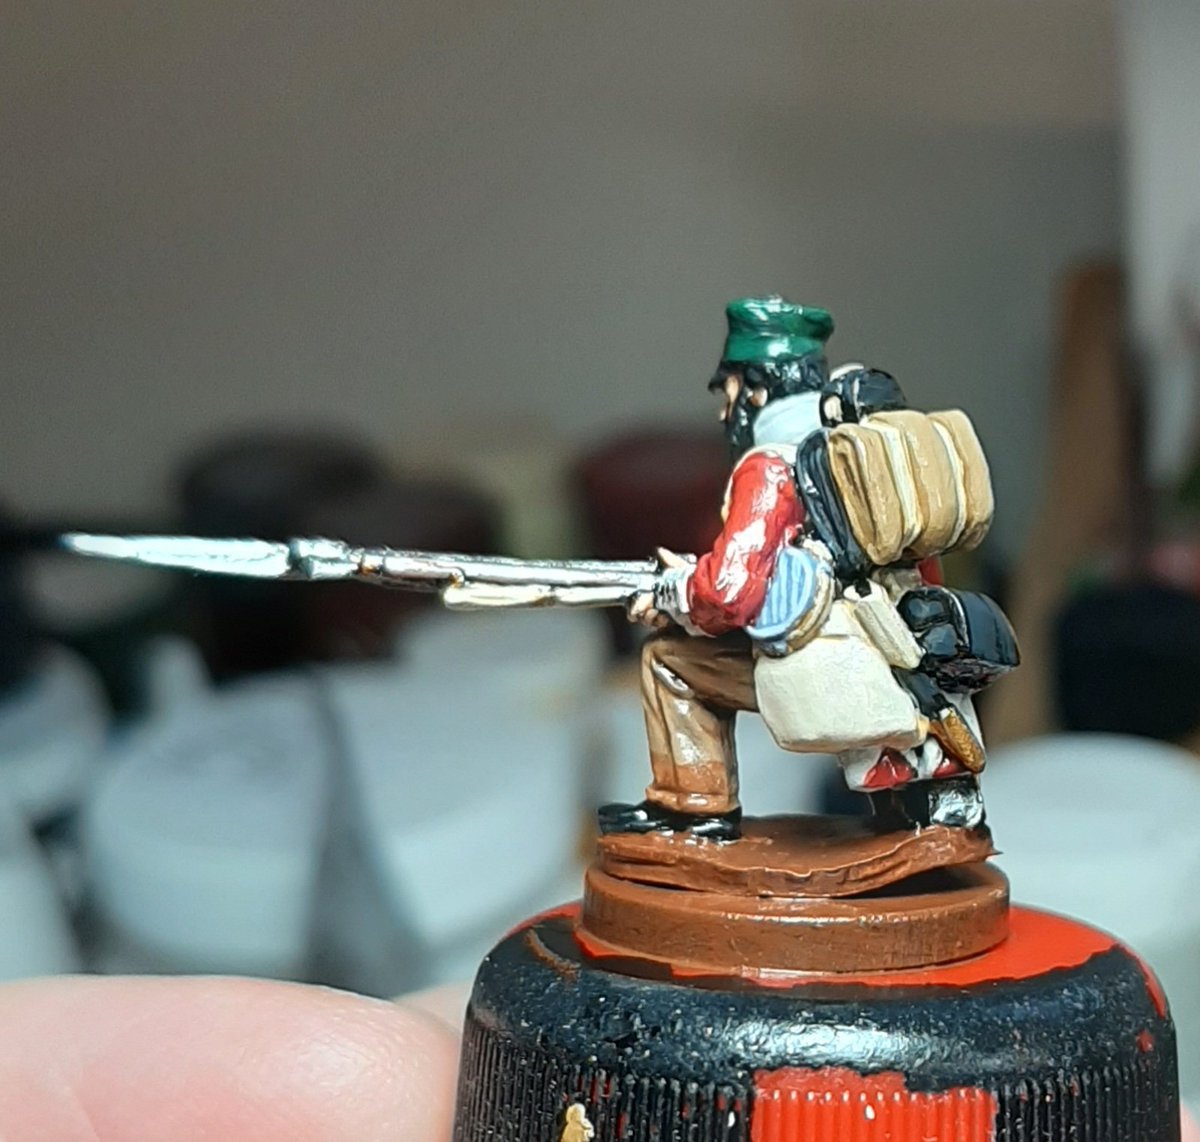
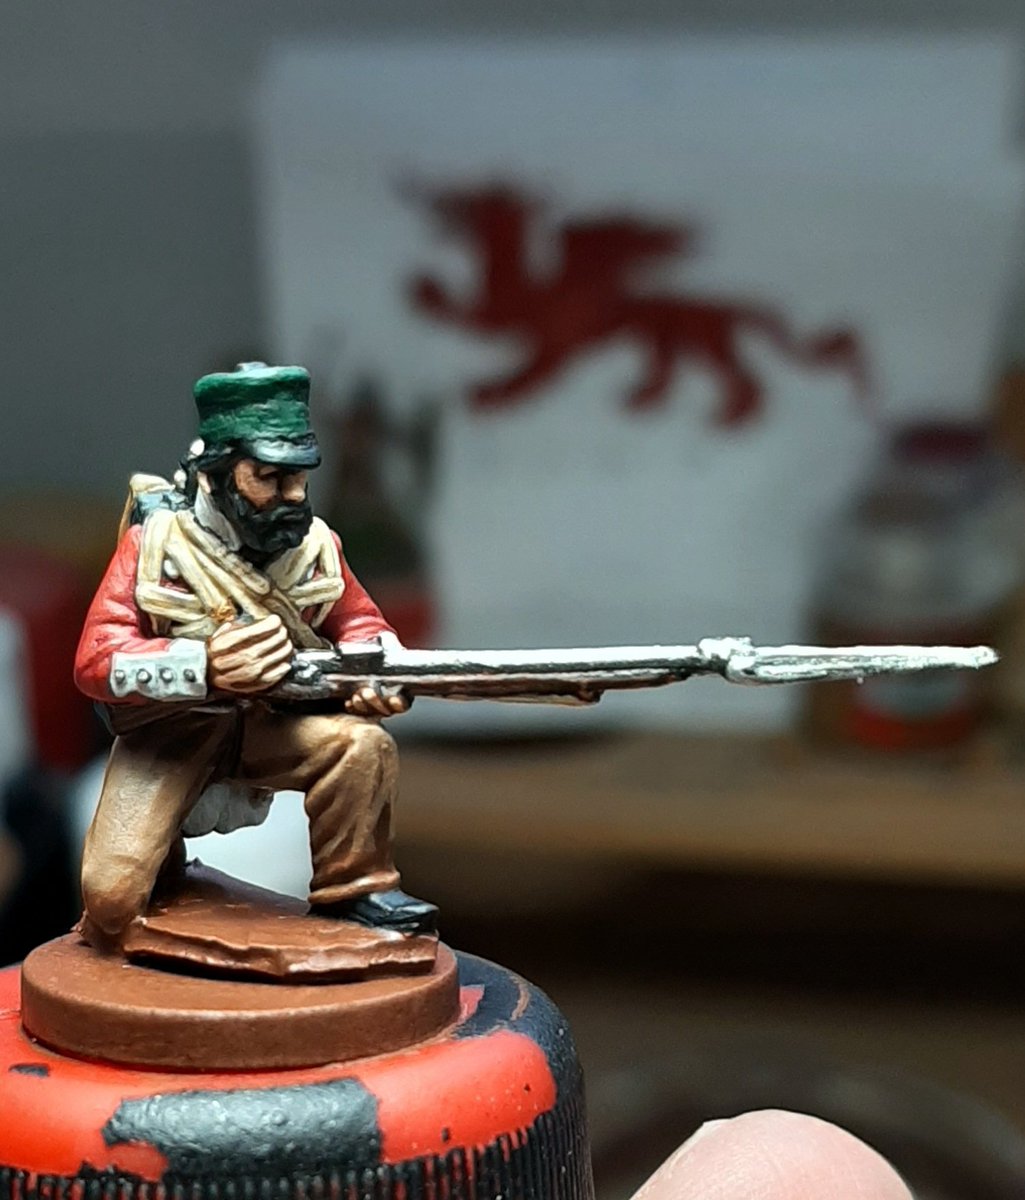
Painting by numbers, not sure of the value of this thread. Close ups really show the flaws but I expect its nice to see the figure go from primer to matt varnish.
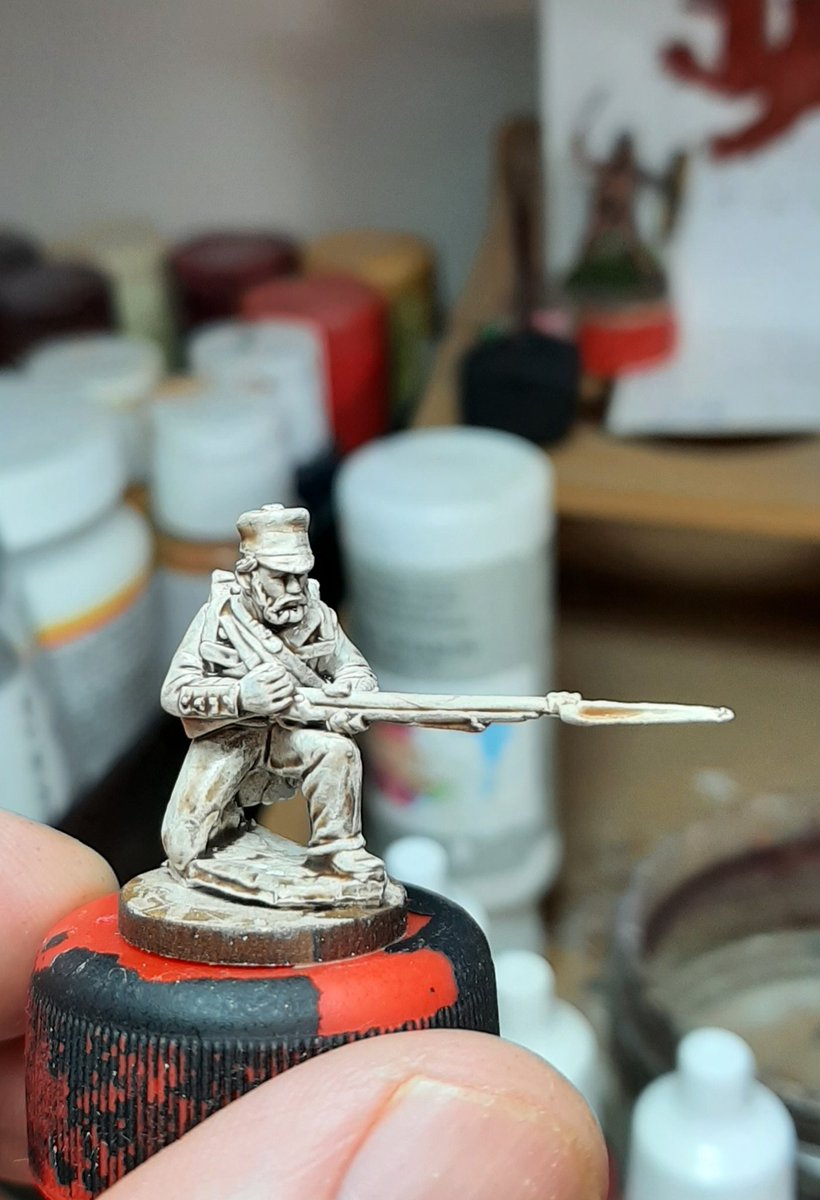
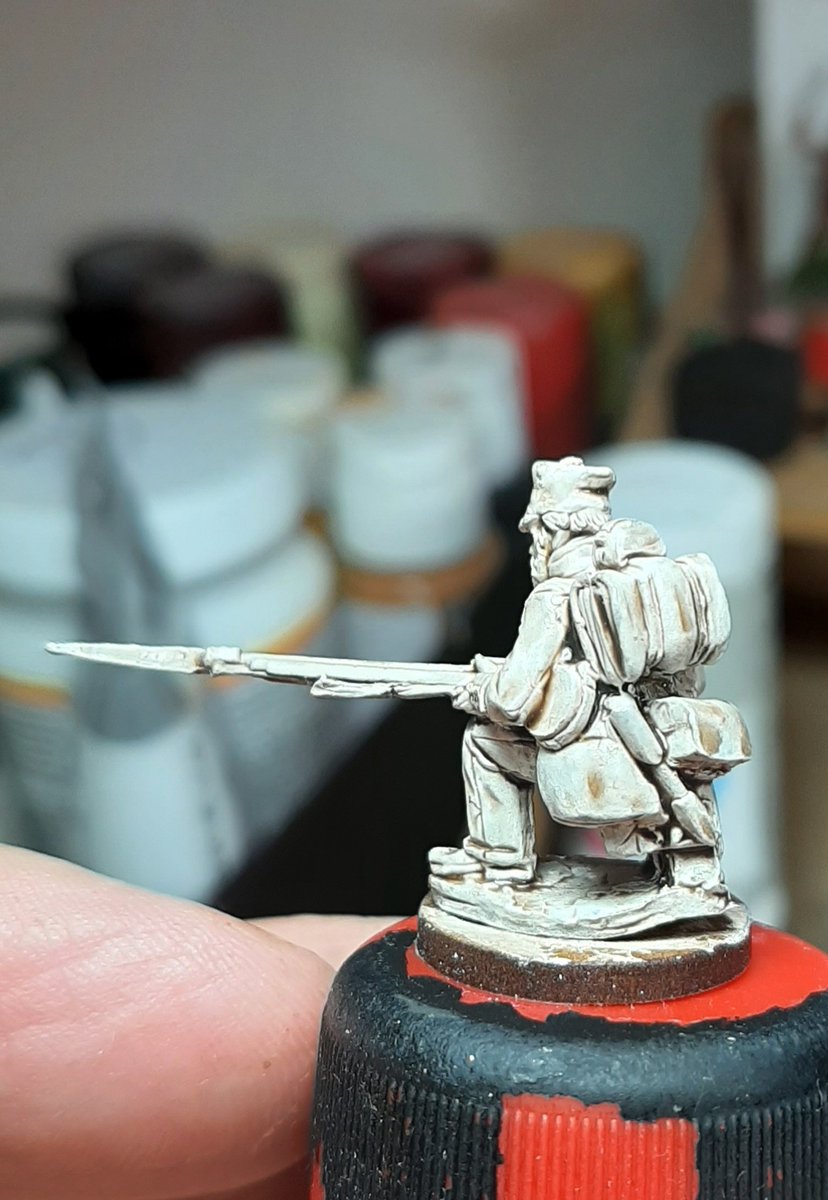
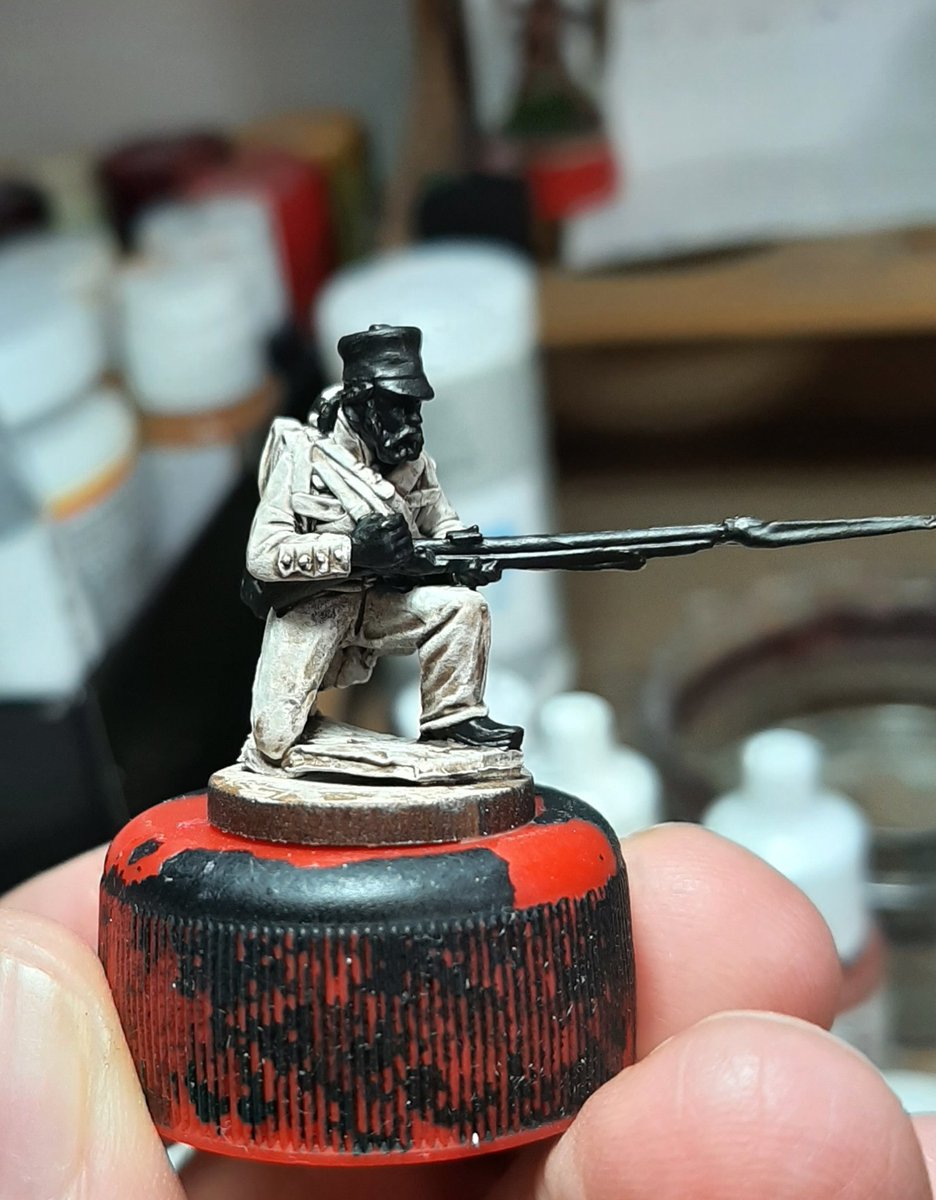
We start with a figure primed white, which I'm not keen on, so the first thing is to wash with Agrax earthshade.
We start with a figure primed white, which I'm not keen on, so the first thing is to wash with Agrax earthshade.
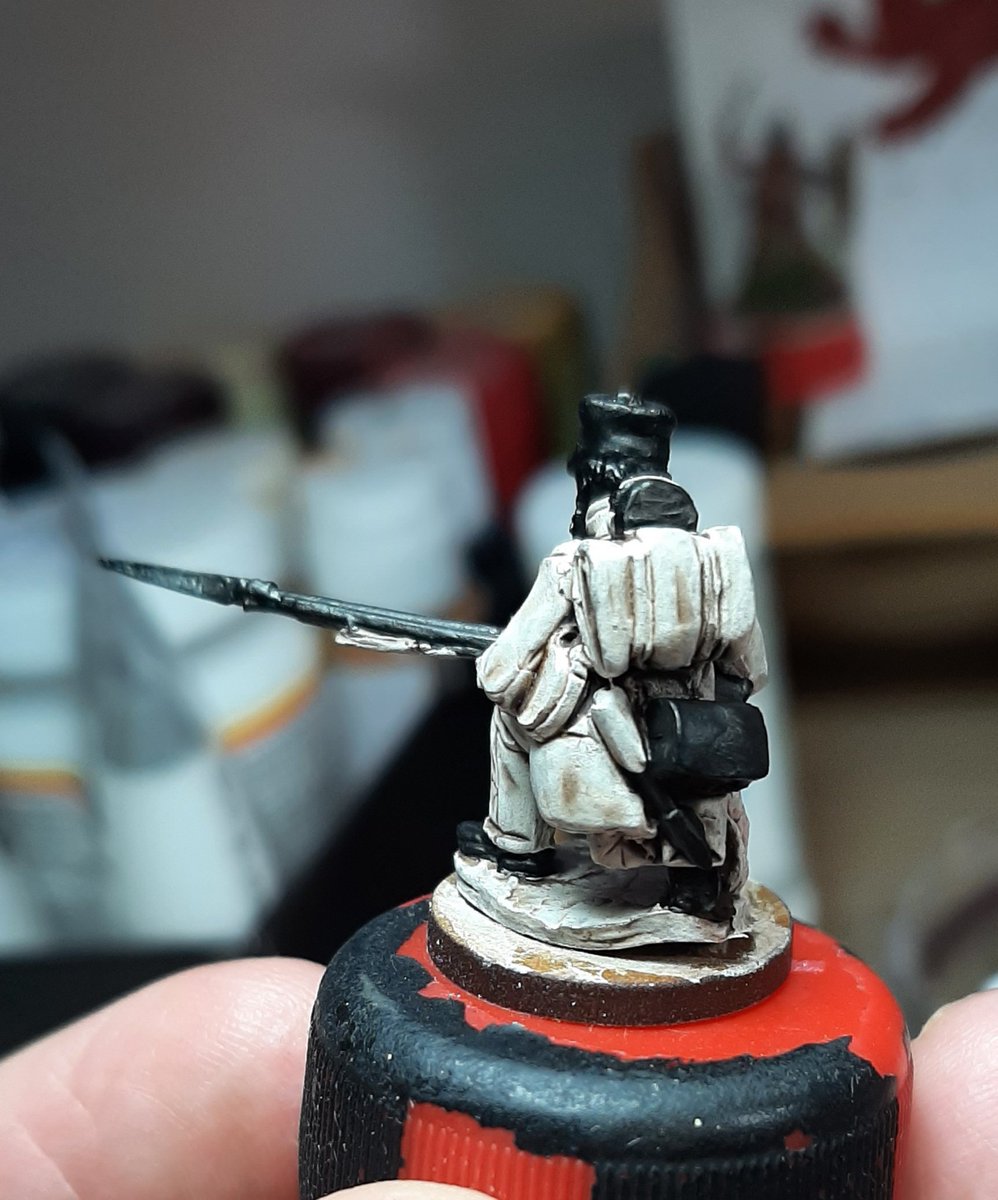
Next I painted some areas of the figure black, flesh and metal areas mostly and the areas that are black in colour like boots and ammo pouch.
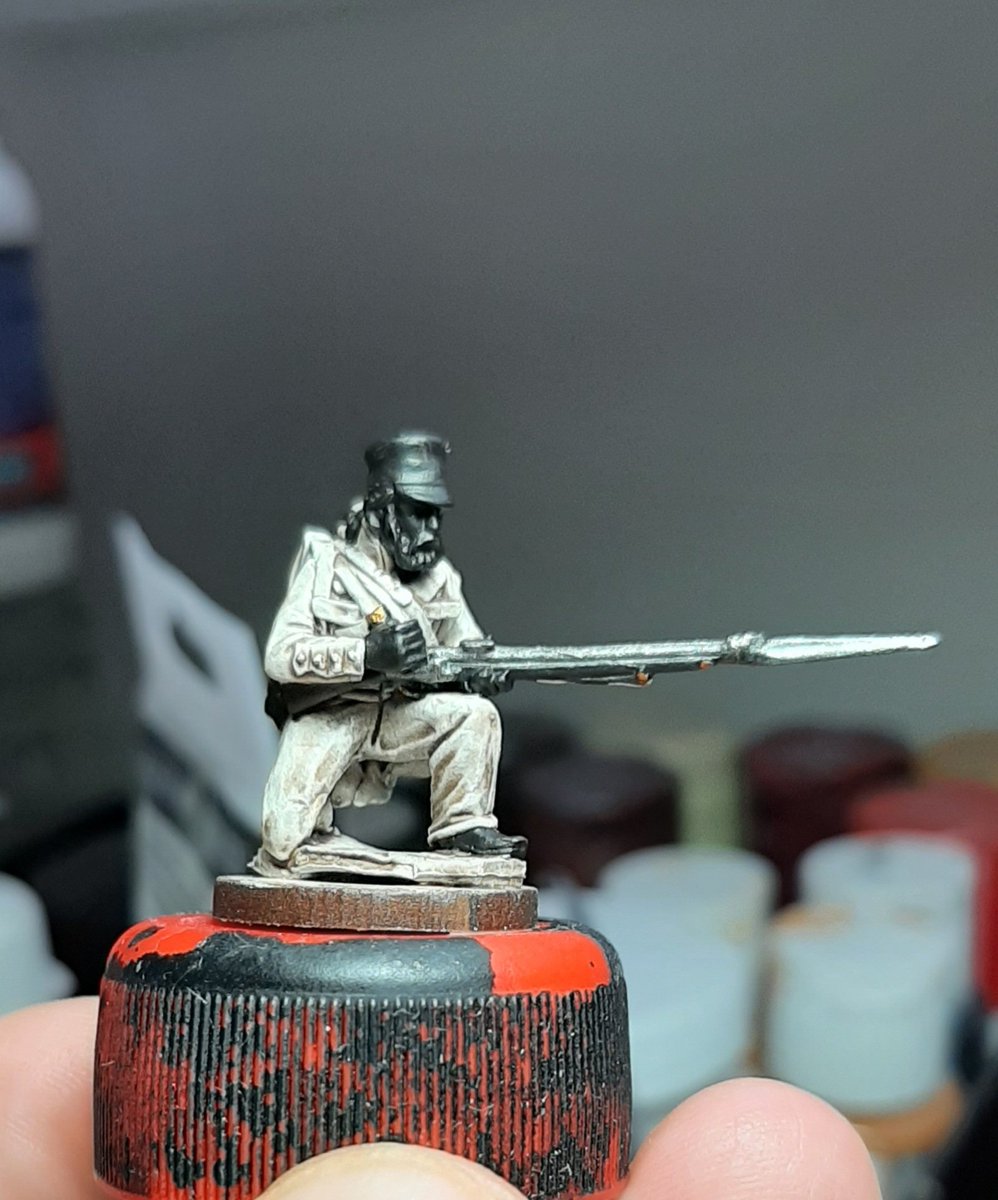
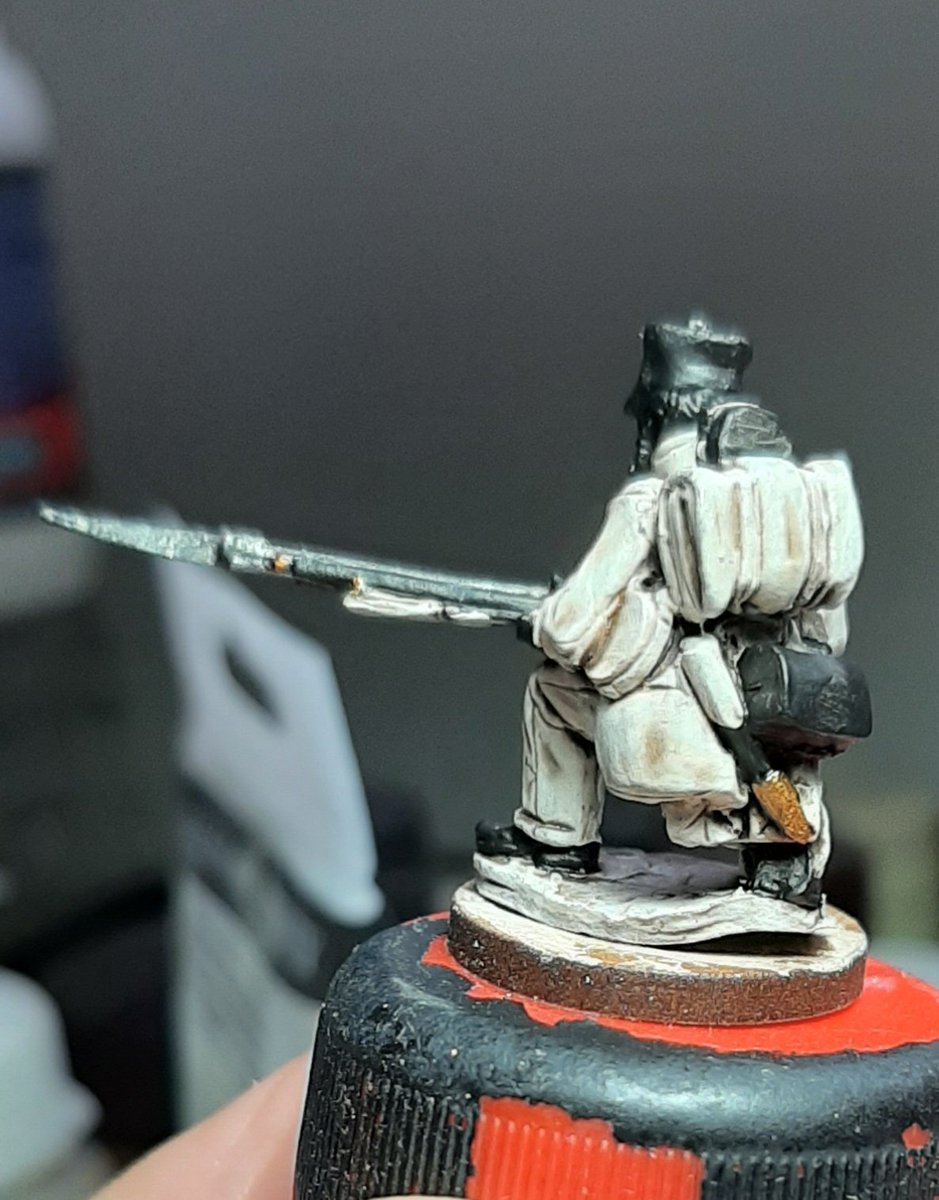
Paint the barrel and bayonet dark silver and areas of gold err gold, wash the silver with strong tone and the gold with brown ink
Paint the barrel and bayonet dark silver and areas of gold err gold, wash the silver with strong tone and the gold with brown ink
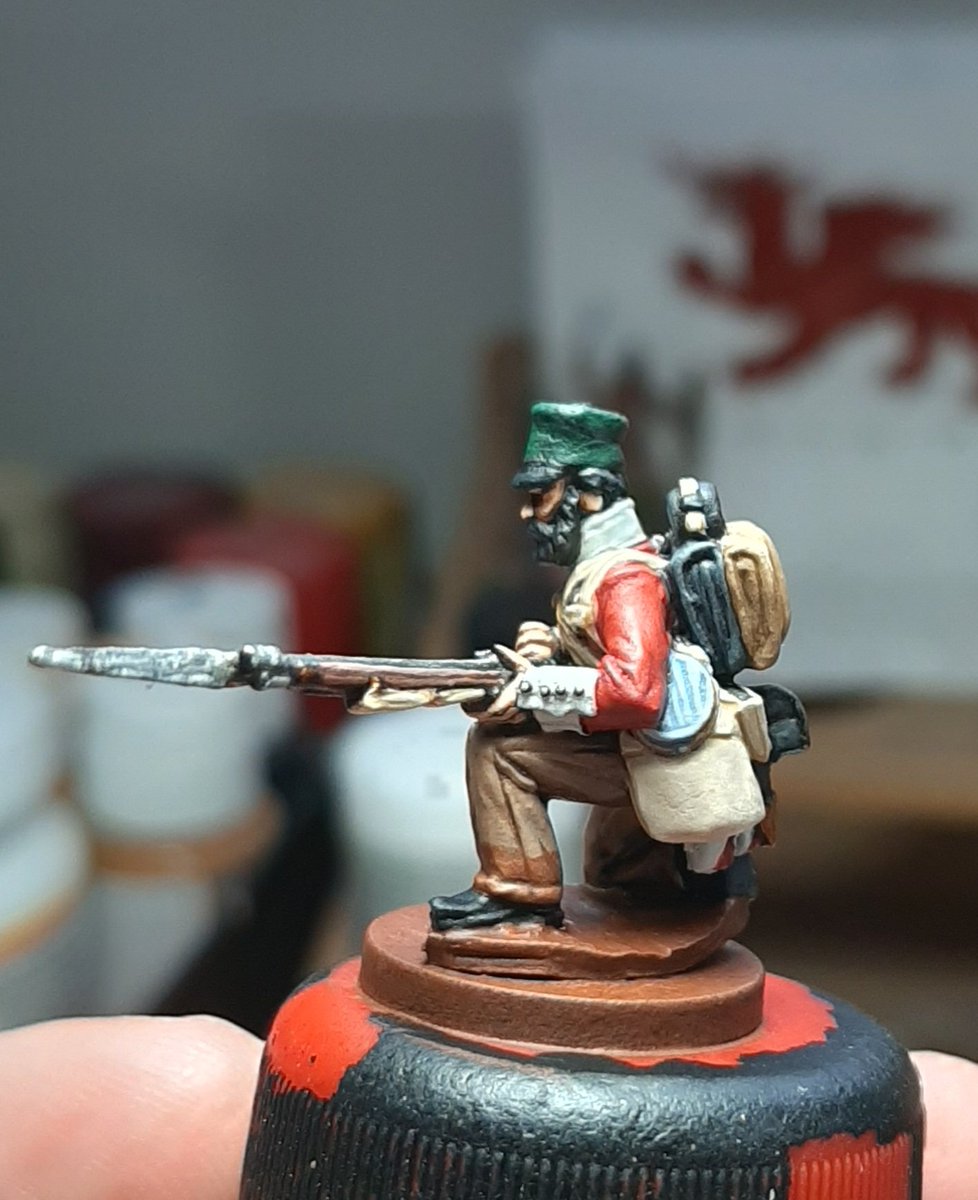
Next block in all the colours as carefully as you can, this chap is serving in South Africa in the 1850's but has all the straps of a Napoleonic soldier. He hasn't pipe clayed his straps and so the natural leather colour is bleeding through, giving it a creamy colour.
Next we take the colours up a level, hopefully you can see a little more depth, to add to the weathering the white on the coat will be left a light grey, initial woodgrain is added to the musket and flesh is painted onto hands and face.
All the colours are taken up to the third level, metal areas highlighted and final woodgrain painted on.
For me this is my favourite part of the painting, sort of brings the figure to life.
Then its time to gloss varnish the figure.
For me this is my favourite part of the painting, sort of brings the figure to life.
Then its time to gloss varnish the figure.
Last stage and I'll say, never underestimate the effect of a good matt varnish lol.
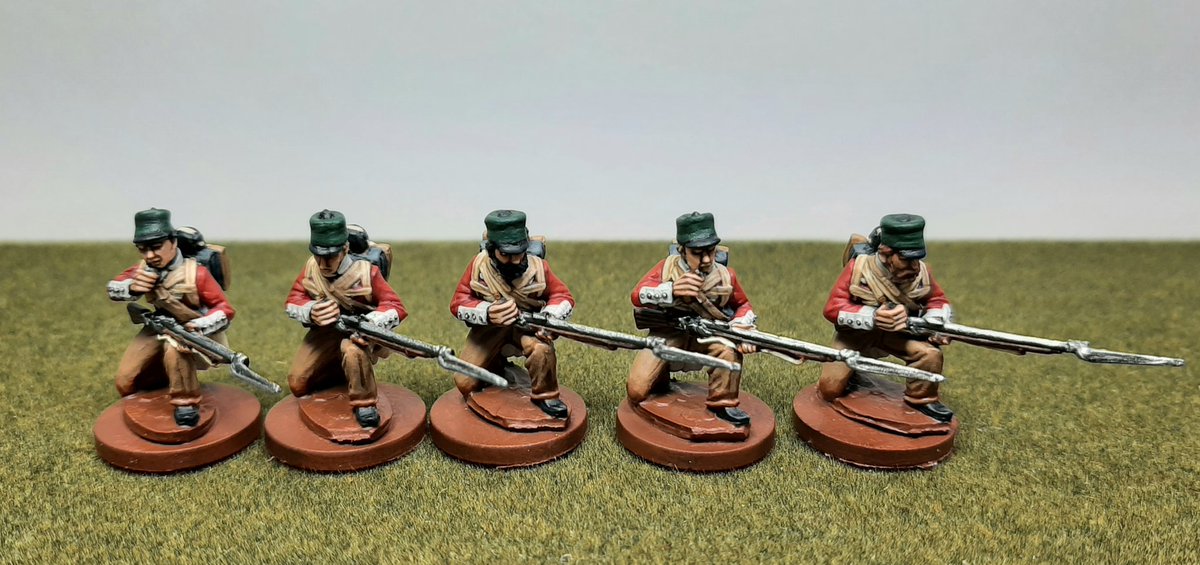
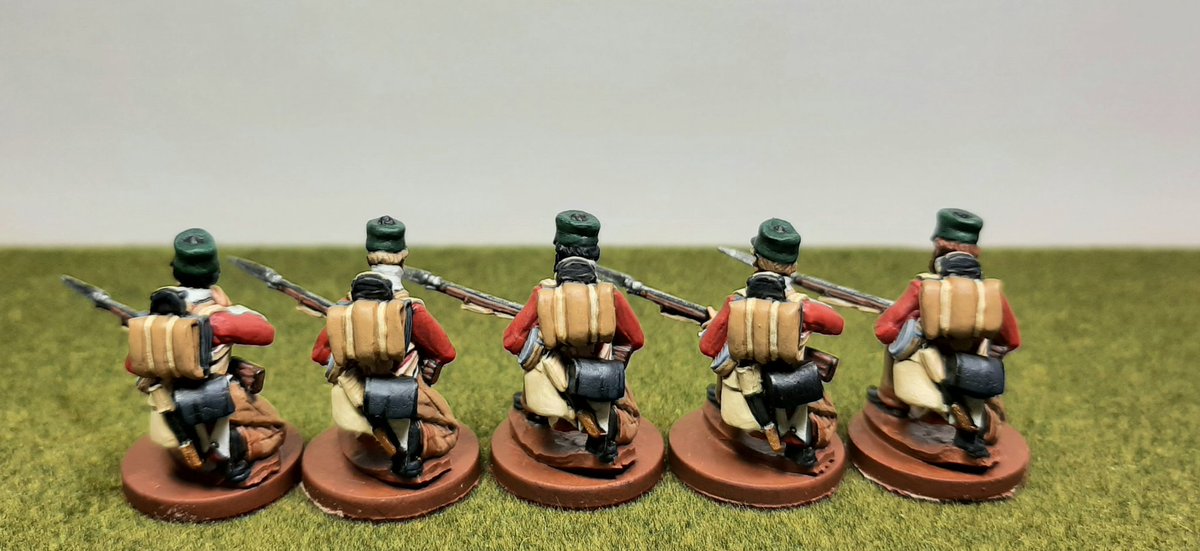
Flattens everything down and makes the colours look more natural. Here's the finished article with the his mates.
Just the basing left, but that'll be down to the owner to do
Flattens everything down and makes the colours look more natural. Here's the finished article with the his mates.
Just the basing left, but that'll be down to the owner to do

Three stage painting is a bit slower than washes and drybrushing etc. But it suits my style of painting I think.
Now back to some 15mm WW2
Now back to some 15mm WW2


 Read on Twitter