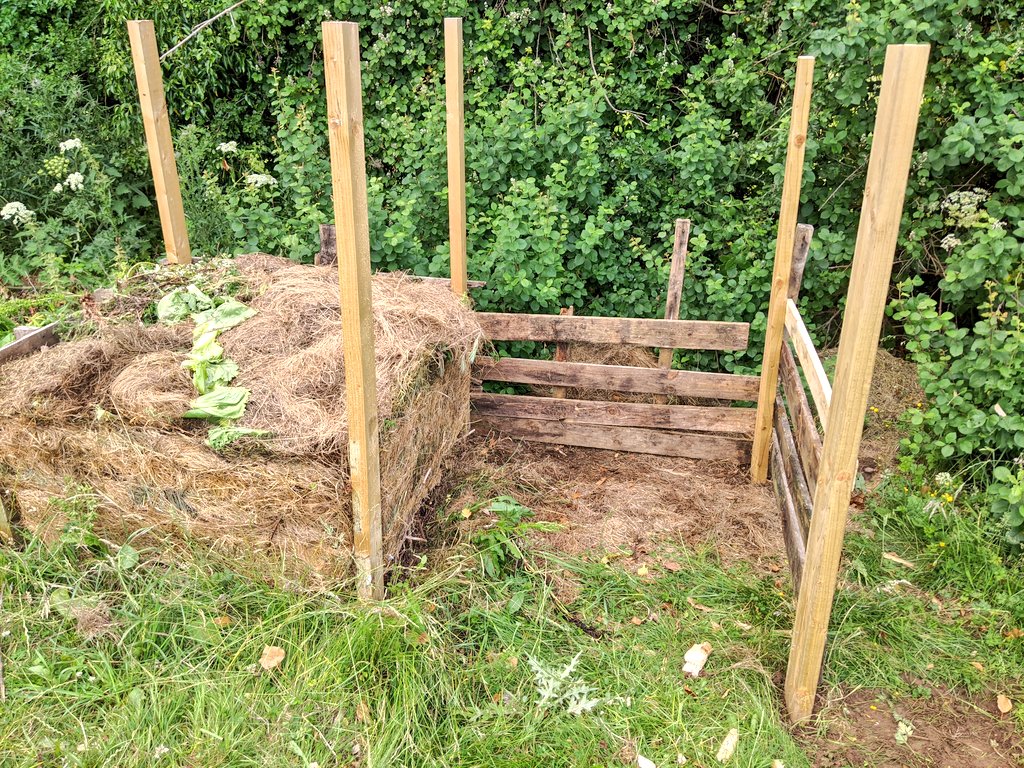
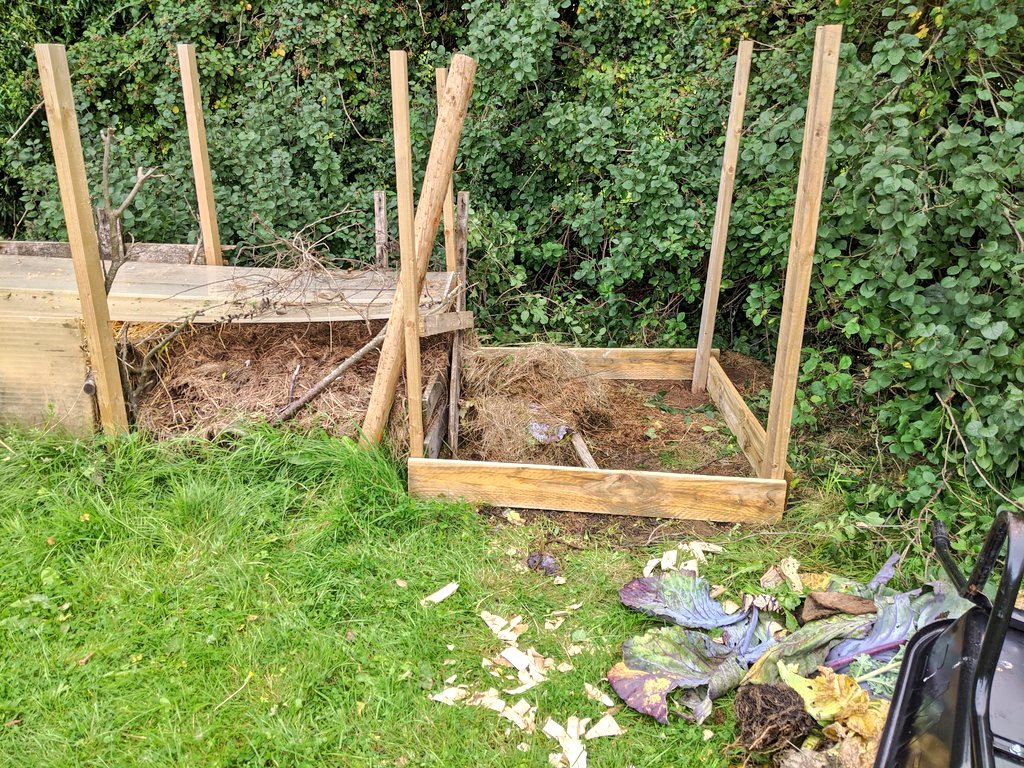
Making your own compost seems to be an important part of growing and it's either really simple or really hard depending who you ask! Either way, the sooner I try it for myself then the sooner I can improve. I put together an initial bay in March from 2*4s and old pallets.
The pallets were quite rotten and before a certain year when legislation was introduced, older types had nasty chemical preservatives. So I'm replacing them as I get new material. I don't plan to use this homemade compost on any crops anyways till I get things dialled in.
I hated not having a compost bin in Dublin but I felt it was too much hassle to have any form of one on the balcony, never mind the rodent risk. It was so nice to have a separate bin for all the compostables again! I started filling the first bay bit by bit.
Ideally I've read that you should build a heap all at once, keeping the materials separate in piles till you have enough. I tried to do this but it wasn't really practical so I just went for a green and a brown layer at a time. When it was time to turn it, I built another bay.
Compost needs to be a balanced mix of 'green' nitrogen heavy materials such as lawn clippings, kitchen waste etc and 'brown' woody carbon heavy materials such as straw, leaves, hay etc. Note the colour can be misleading, e.g coffee grounds count as green for this purpose!
Adding these in layers helps us to better estimate the ratios. Apart from those basic inputs, the process needs air and water for the bacteria to do their thing. Turning the heap at least once speeds up the process and reintroduces air.
A well balanced, active heap will heat up to ranges near 60' Celsius which should kill most weed seeds. Too hot and the bacteria themselves will perish so it is a balancing act, too much green material can cause the heat to runaway.
That's an overview of the theory but as always there are far better resources out there. Steve Solomon has a great free ebook on the subject http://www.gutenberg.org/ebooks/4342 . I built a third bay when the second heap was ready and turned the other two over into the adjacent bays.
As you can see in the pictures, I used some polycarbonate sheets to keep the rain off the first two heaps. It's necessary to avoid it getting totally sodden given our lovely climate. I may add a more permanent roof setup this year.
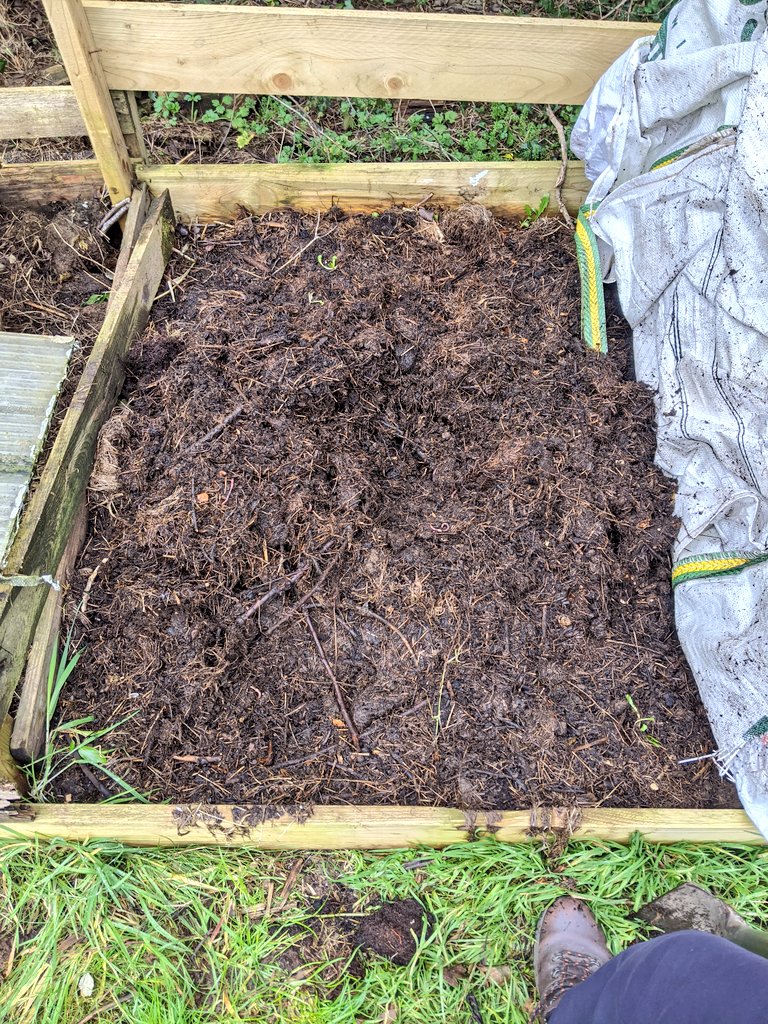
So, how did it turn out? I just took these pictures of the original heap now. The worms are a good sign! The final cooler stage is when worms, slugs, woodlice etc get to work. Overall I think I maybe had too much brown from the hay I added or at least it was too long and lumpy.
Pretty happy though, not a bad first result! I know now I need to keep it a bit more wet at the initial stages and to break up the hay more, run the lawnmower over it maybe. I'll keep a close eye on how many weeds germinate out of it this year too.
There are other methods out there to try too of course! Last week on @SmallholderIRL Anna detailed her method of filling bags with material and leaving to the side of the tunnel for the worms to work on, looks like a great setup! Interested to hear other views on the topic!
Here is a link to back to Anna's thread on the matter https://twitter.com/SmallholderIRL/status/1354011240788586496

 Read on Twitter


