 It's Tuesday and it's time for a thread.
 It's Part 2 of splitting & attaching trains, where we'll look at splitting trains.
#railwayfamily #railway #trains #railwaysexplained
 If you missed Part 1: Attaching trains, I suggest you look at that first, as I'll be referring to it in this part.
 https://twitter.com/DispatchJack/status/1353027648432332803?s=19
 When the train arrives, it stops in its normal position along the platform.
  Once the doors have released, we enter what will become the rear cab of the front train.
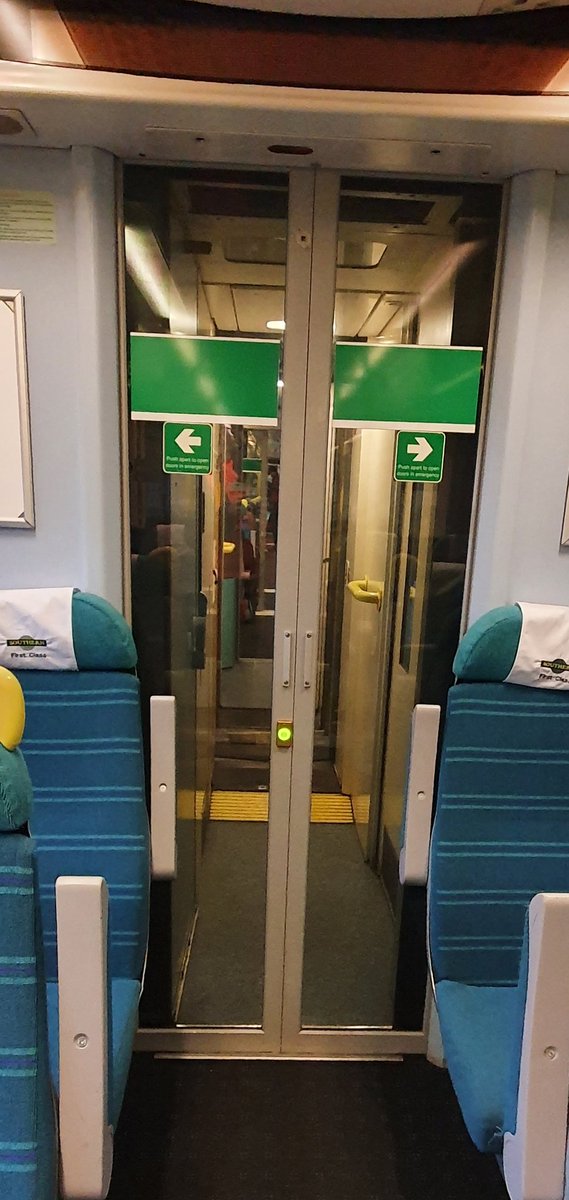
 The first thing we need to do is convert the corridor into a drivers cab. This is the exact same process as in part 1, just in reverse.
 First we set the Star Trek doors (fire screens) to hold in the open position by switching them off.
 First, we shut and lock the fly doors (yellow), followed by the weather doors (white).
  This needs to be done for both cabs. We usually walk through the corridor, closing all the doors behind us. Alternatively, this can be done one side at a time, but this takes longer. – bei Horsham Railway Station (HRH)
 Next, we set the tail lights by turning the right hand switch to the 3 o'clock position.
 All trains must display a tail light, to mark the rear train and confirm that the train is "complete" (not left any carriages behind unintentionally) – bei Horsham Railway Station (HRH)
 Now we go and speak to the driver who is going to split the train.
  We first ask them "Is the master key off at the front?" This is to ensure that the driver who brought the whole train in has turned their key off.
  Only one key can be on at a time. – bei Horsham Railway Station (HRH)
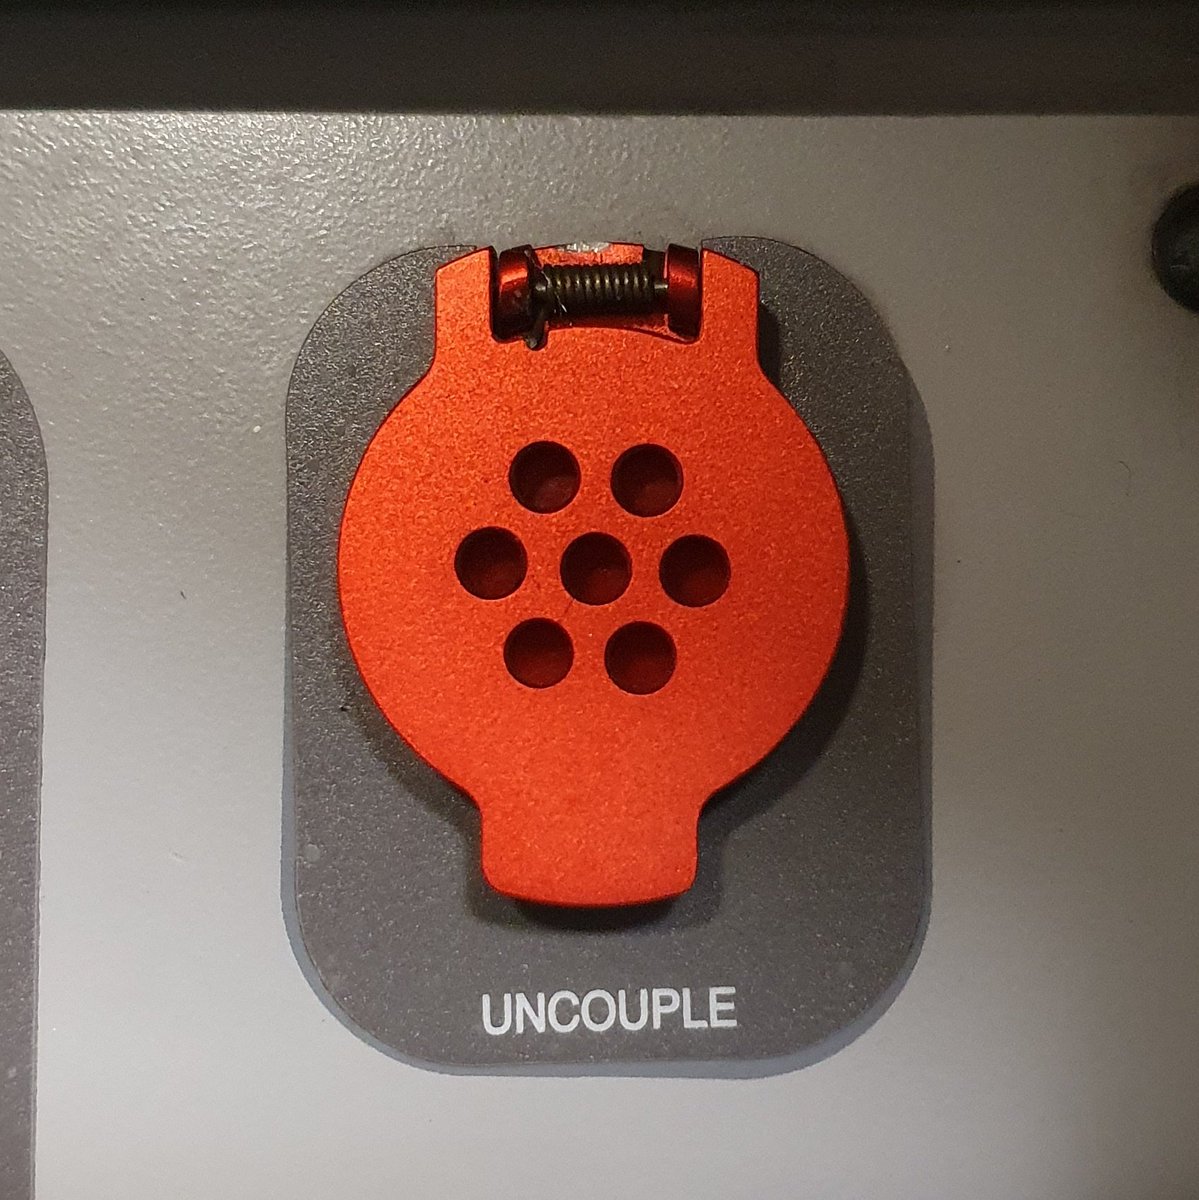
 The next instruction is "Press and hold the uncouple button, and make a safety announcement."
 The uncouple button is a red button protected with a flap to prevent accidental operation. – bei Horsham Railway Station (HRH)
 When the driver presses the uncouple button, the electrical coupling heads move apart and the covers close.
 The two units are now electrically separated, so when the driver makes their announcement, it will only play in the rear portion of the train.
 Trevor Stone - YT – bei Horsham Railway Station (HRH)
 Then, we ask the driver to close the doors. Again, because the trains are electrically uncoupled, only the rear portion's doors close.
 Just like during dispatch, we check that all the body indicator lights (BILs) extinguish, indicating that the doors are closed and locked. – bei Horsham Railway Station (HRH)
 Final instruction is "Ease up, then set back to 2ft and stop."
 "Ease up" is where the rear unit drives forwards into the front unit, which releases the tension in the coupler, allowing the mechanical latches to disengage. The rear unit then reverses to a safe distance. – bei Horsham Railway Station (HRH)
 We next contact the driver of the front portion using the cab-to-cab phone and tell them "detachment complete. It is now safe to put your key on."
 The front driver will now put their master key on and set up their trains ready for departure. – bei Horsham Railway Station (HRH)
 And that's it! All that's left to do is dispatch the two trains separately.
 Just like with attachments, we are given 4 minutes to complete a detachment.
 As always, feel free to ask me any questions or suggest topics for future threads.
#railwayfamily #railway #trains – bei Horsham Railway Station (HRH)

 Read on Twitter


