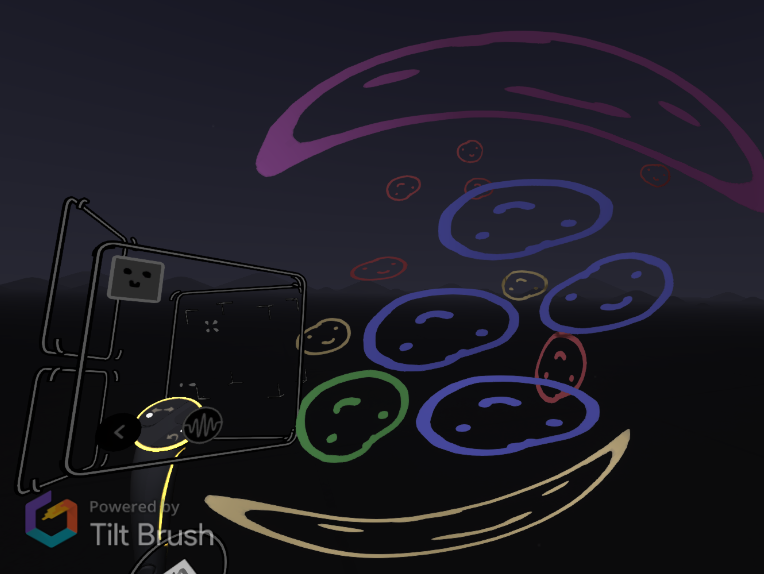
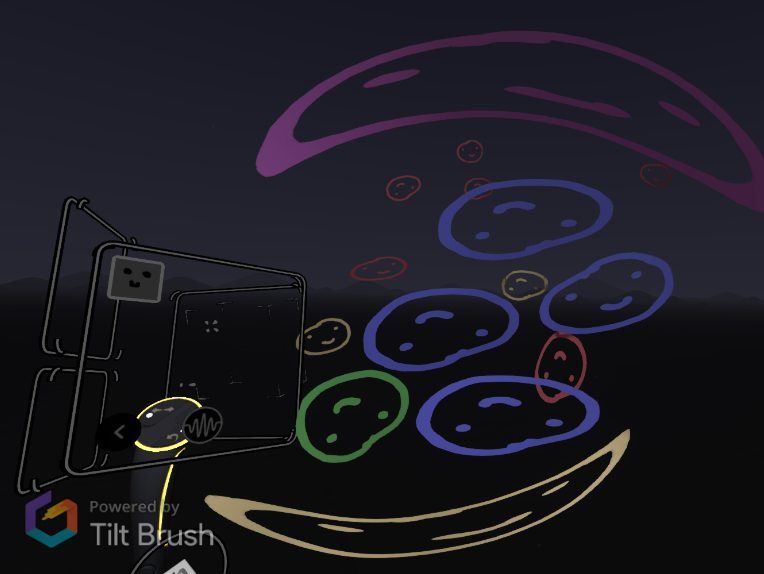
1/12 Sooo it turns out adding new, custom brushes in TiltBrush is extremely easy - even if you don't really know how to use Unity! Here's a thread on how to create a custom flat brush! You'll need to download Unity 2018.4 and clone the Tilt Brush repo ( https://github.com/googlevr/tilt-brush)
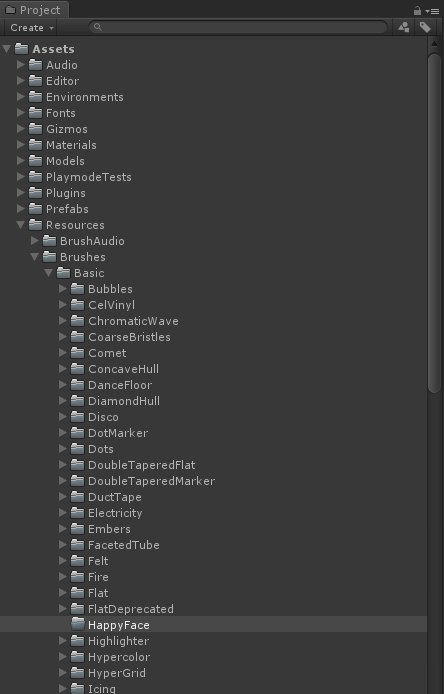
2/12 Create a new folder in the Assets/Resources/Brushes folder, and give it a name - it should be CapitalCase e.g. "happy face" becomes "HappyFace"
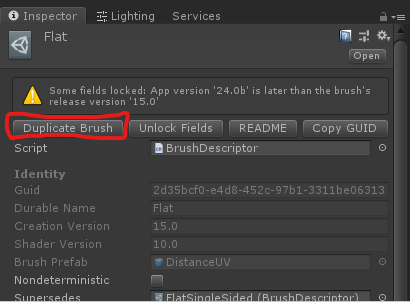
3/12 Find the Assets/Resources/Brushes/Flat/FlatSingleSided.asset (the one with the grey cube icon), select it, and click "Duplicate". Move it into your new folder, and give it the same name as your folder. This is your 'brush descriptor'
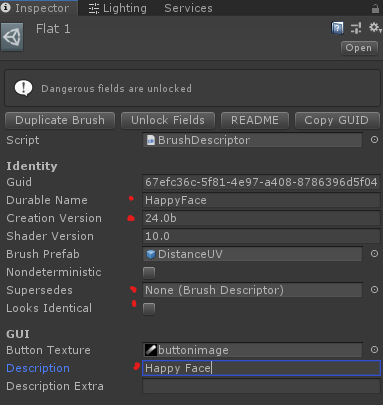
4/12 Click 'Unlock Fields', and change the essential settings - 'Durable Name' should match your folder name, 'Creation Version' should match the current TiltBrush version (24.0b rn), 'Supersedes' should be empty and 'Description' should be your name with spaces ("Happy Face")
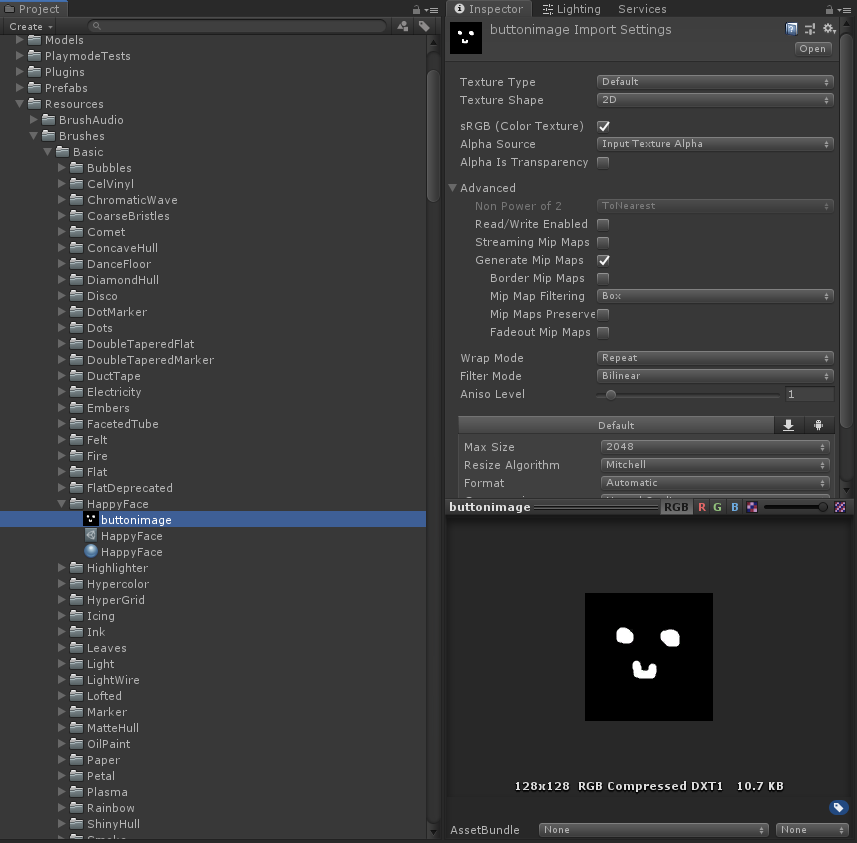
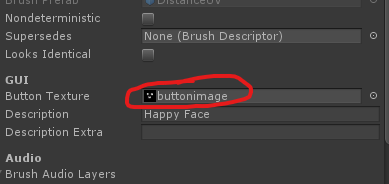
5/12 Create a 128x128 black-background, white-foreground image to use as the brush tile in the menu. Save it in the folder you created as 'buttonimage.png'. Assign it to the 'Button Texture' property on your brush descriptor.
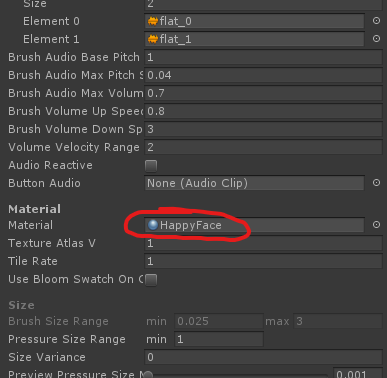
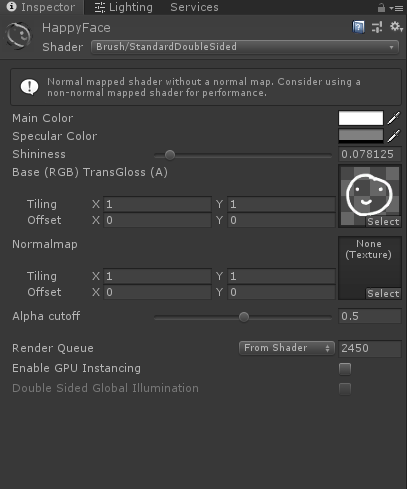
6/12 Create a new material in your brush folder, give it the same name as your brush folder and give it the 'Brush/StandardDoubleSided' shader. Assign it to the 'Material' property on your brush descriptor
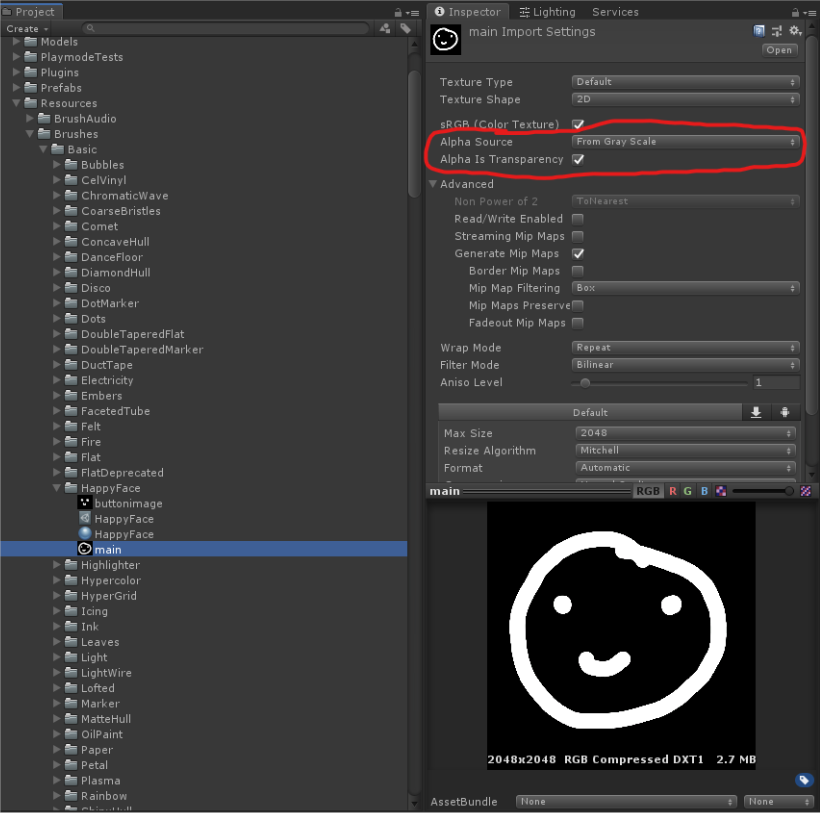
7/12 Create a black/white texture for your new brush and place it in your folder. Make sure you set the alpha settings correctly - Alpha Source = From Gray Scale, and Alpha Is Transparency = true, then click 'Apply'. Assign it to the first texture slot on your new material.
8/12 Mess around with the other settings in your brush descriptor! You can do things like change the volume, change how the brush responds to color, change what the minimum and maximum sizes are - there are loads of options to choose from! 

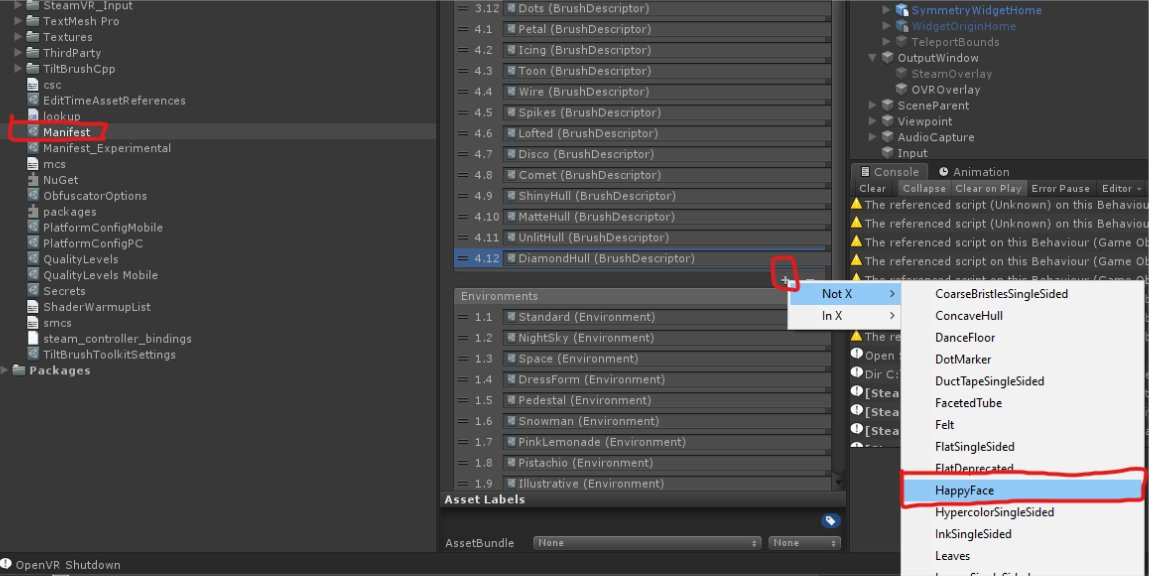
9/12 Go and find the Manifest file - its path is Assets/Manifest.asset. Select it, then at the bottom of the 'Brushes' box, click the small plus sign and add your new Brush! It'll be under 'Not X'
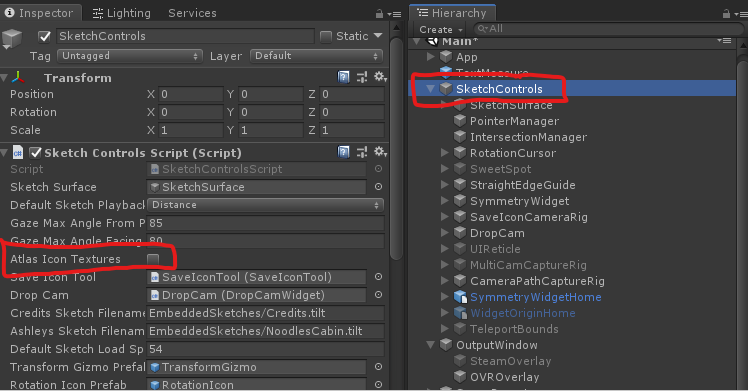
10/12 In the main scene (Scenes/Main.unity), find the object 'Sketch Controls' and in the Inspector, uncheck the box that says 'Atlas Icon Textures' to make sure your icon appears in the menu correctly
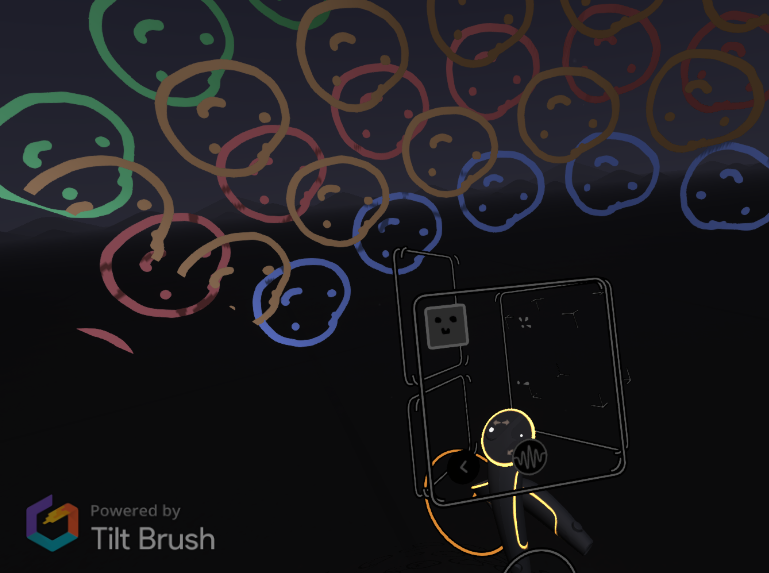
11/12 That's it! Press Play and test it out - your new brush should appear in a new page in the menu (or not, if you've previously removed other brushes)
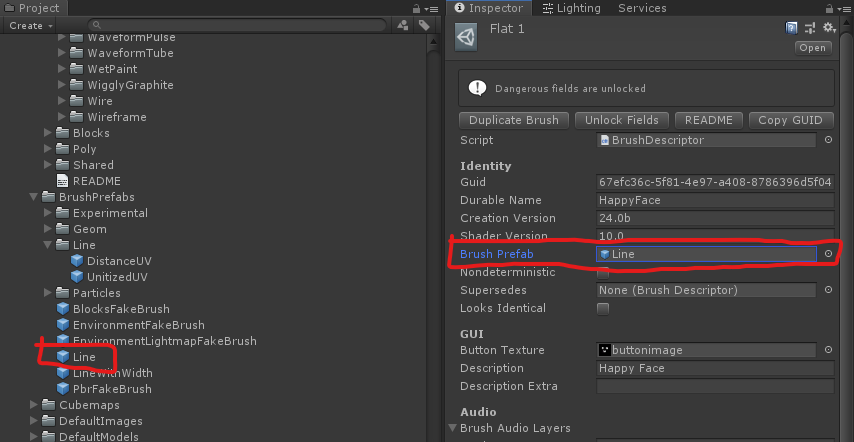
12/12 As a bonus - if you want your texture to stretch over your brush, rather than repeat, swap out the 'DistanceUV' brush prefab in your brush descriptor for 'Line' - it's in the folder Assets/BrushPrefabs/
13/12 This is just a taste of what you can do with custom brushes, but hopefully it gets you started! Have fun and happy experimenting!
Oops forgot hashtags... Hey Twitter, I made a tutorial on how to add custom brushes in 5 minutes to the newly #OpenSource #TiltBrush! #madewithunity #vr #creativecoding #noticemesenpai

 Read on Twitter