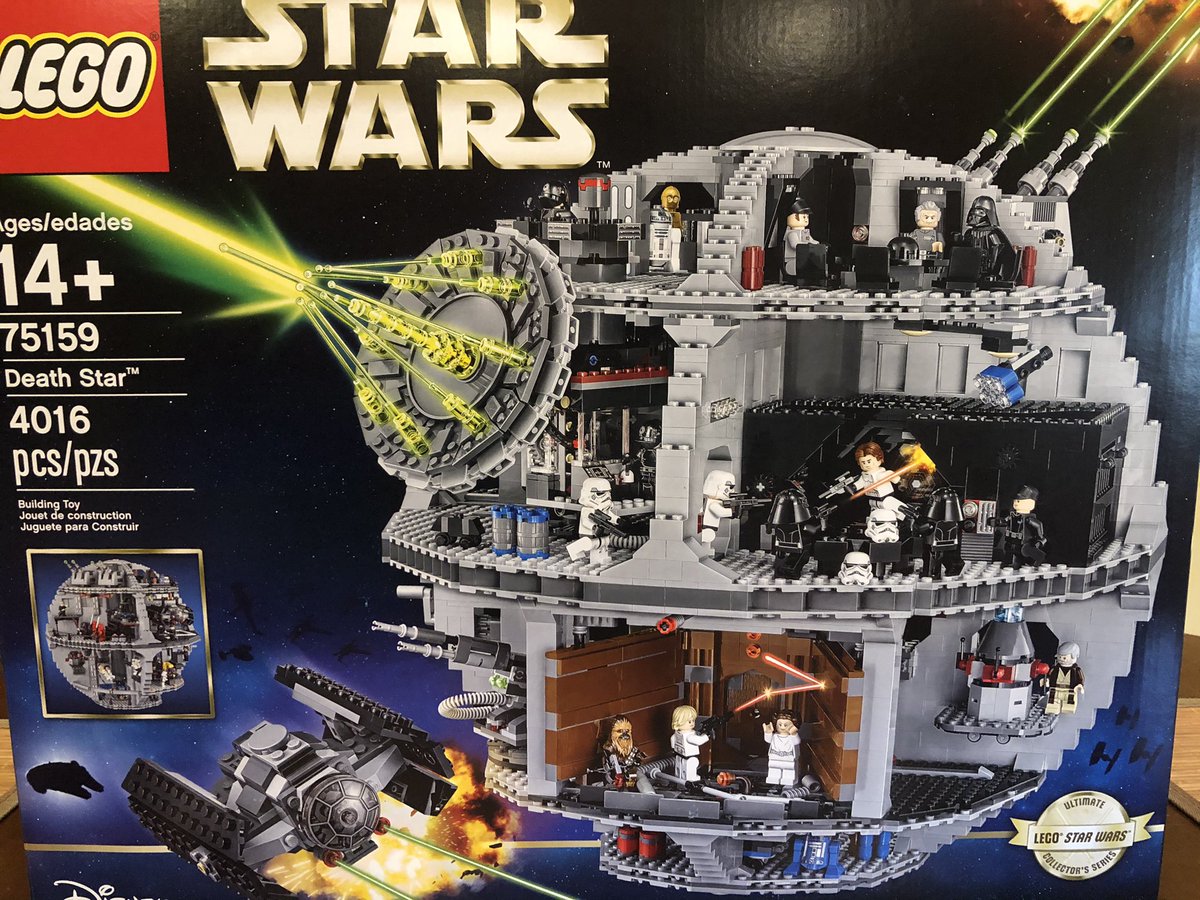
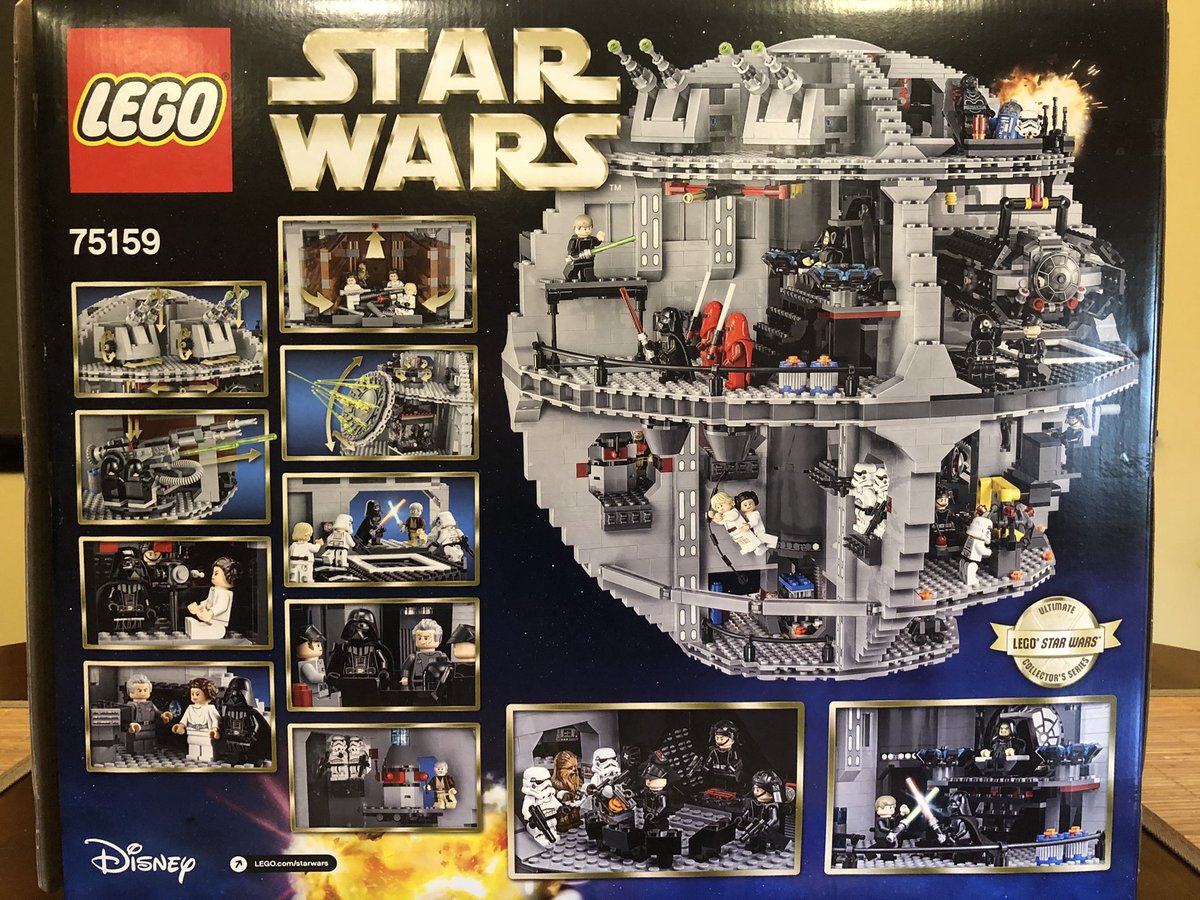
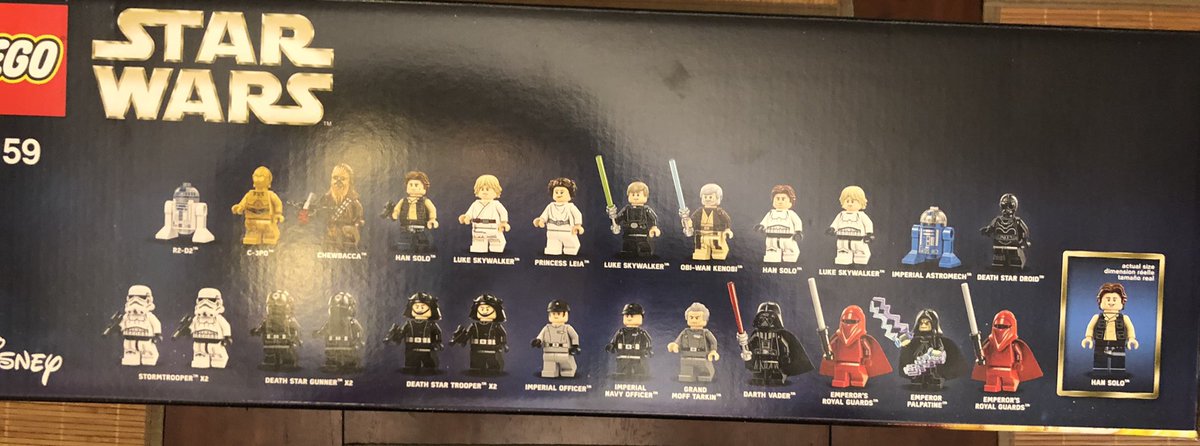
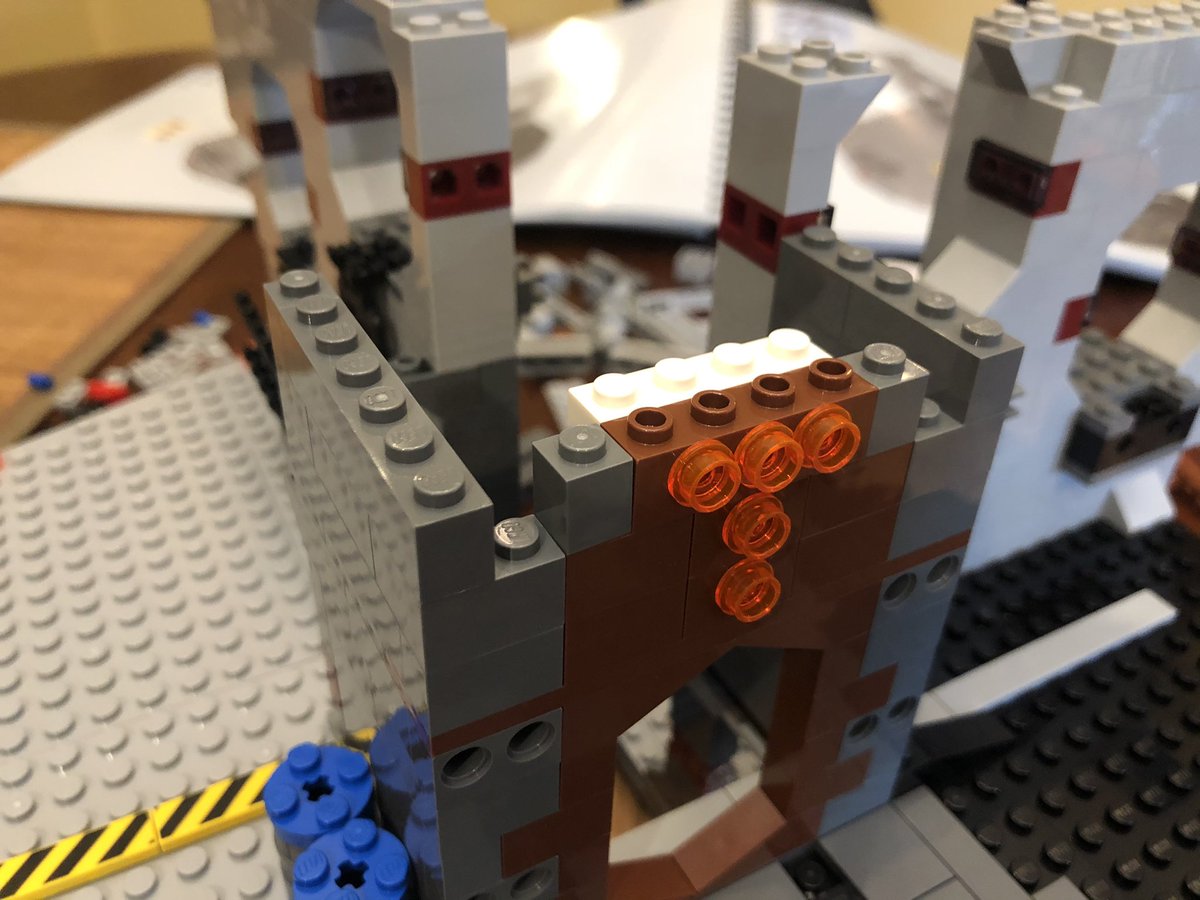
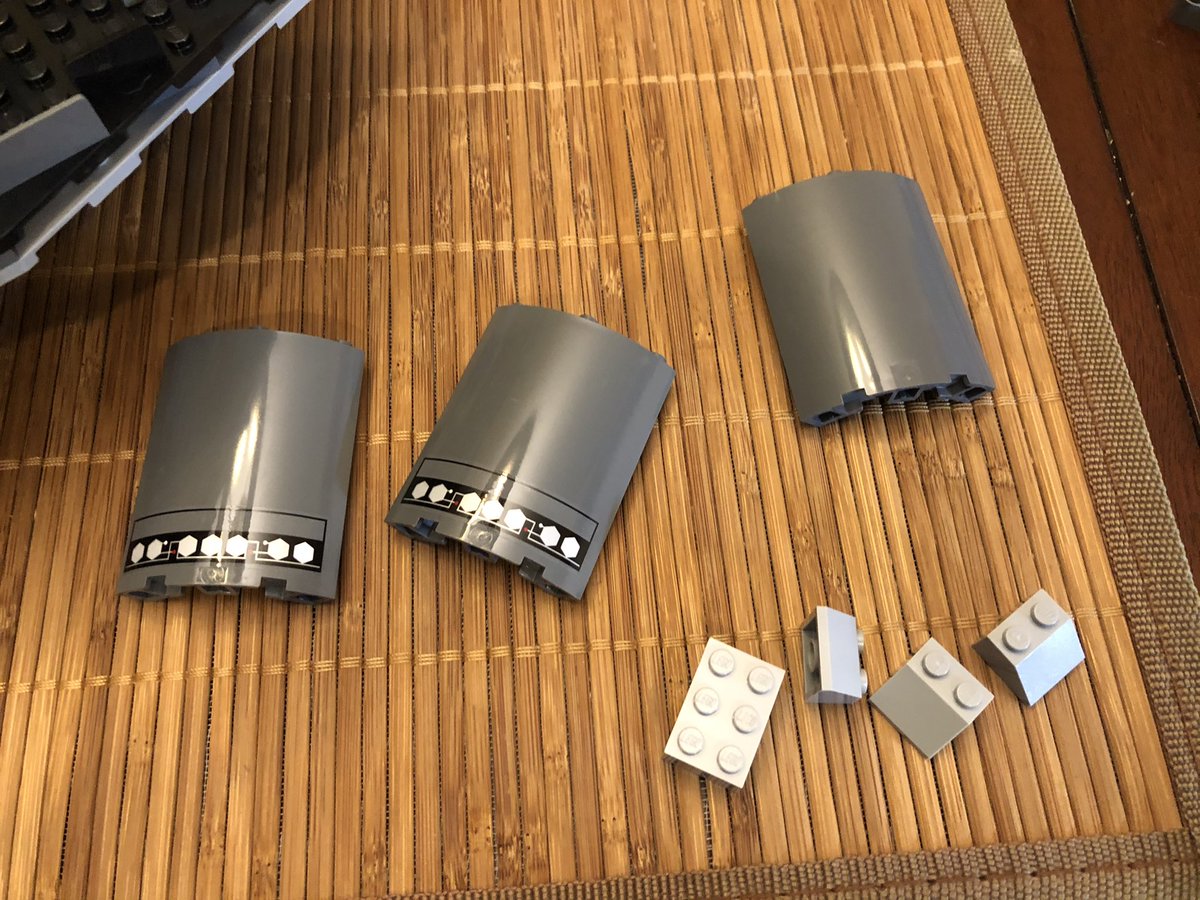
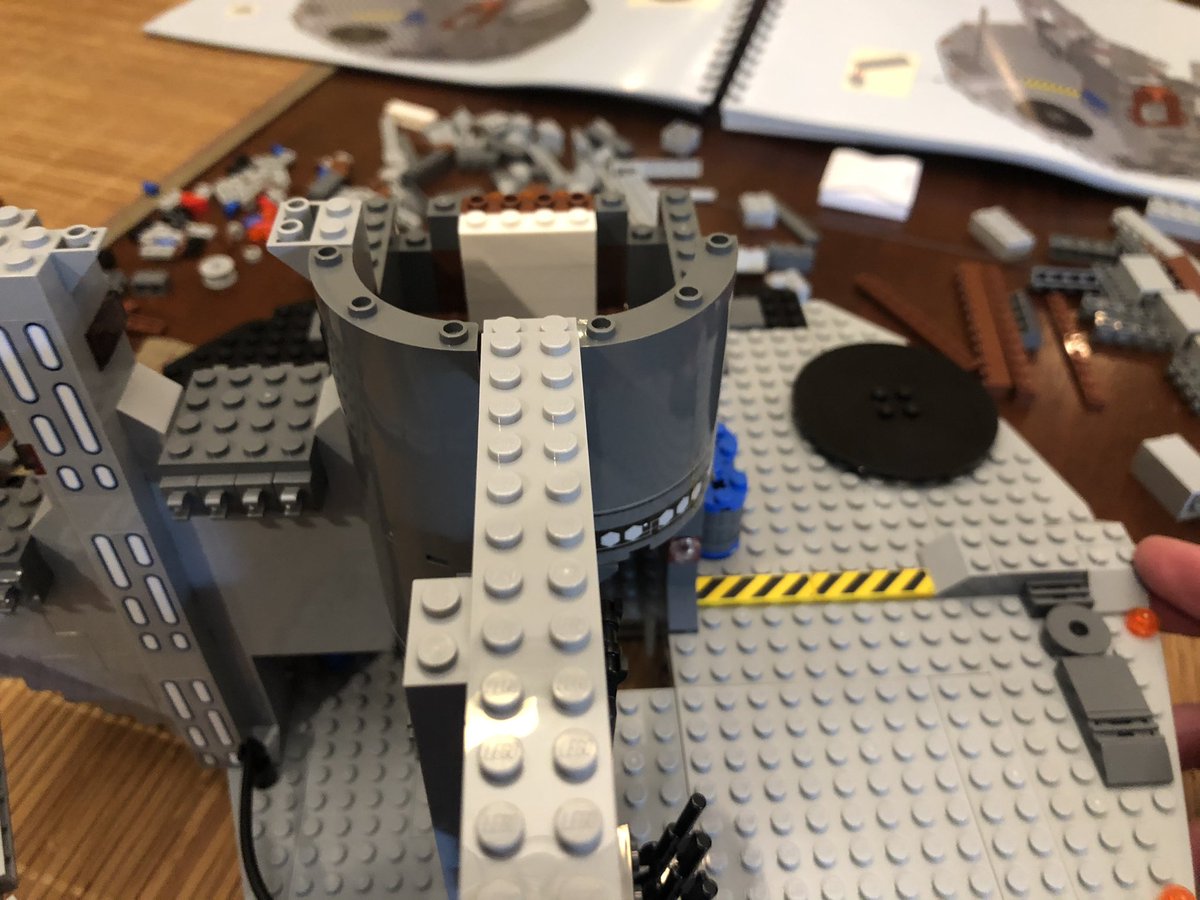
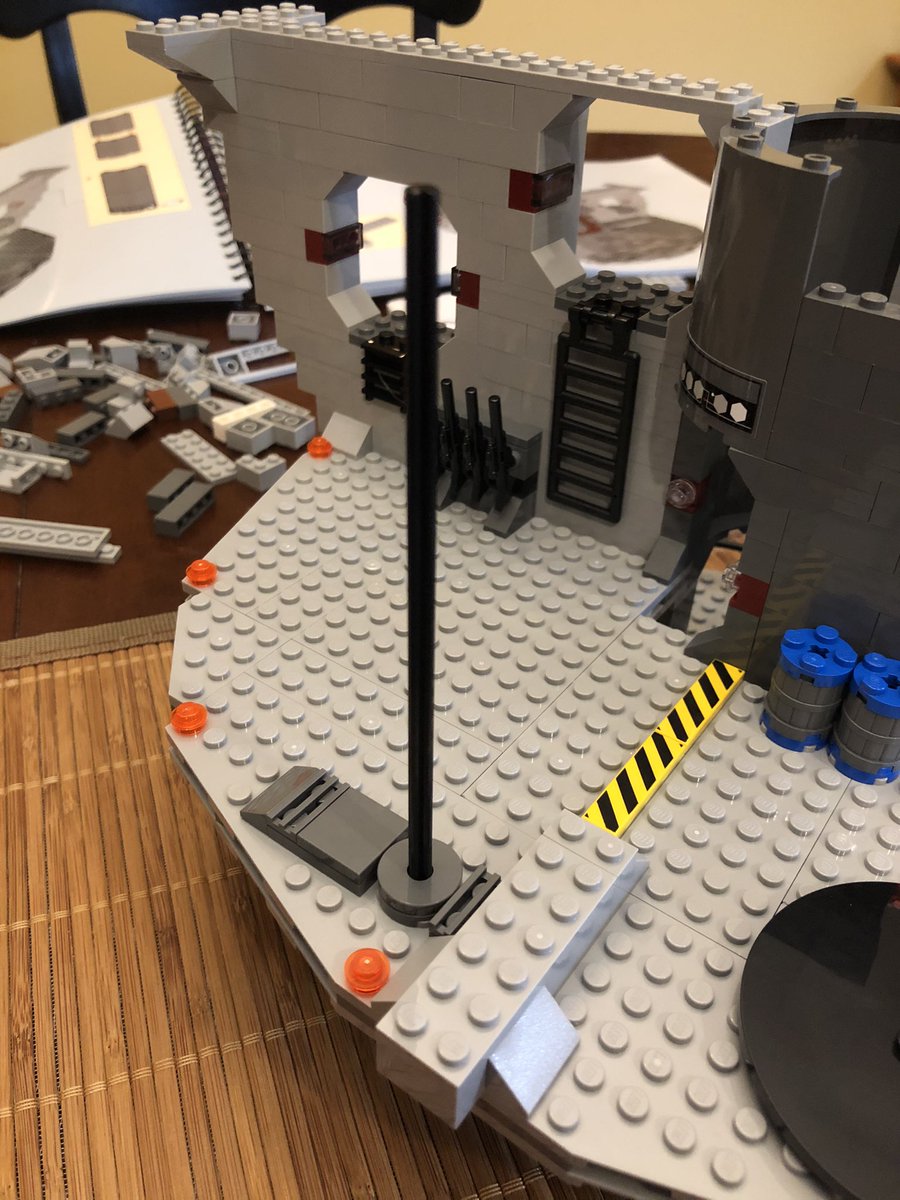
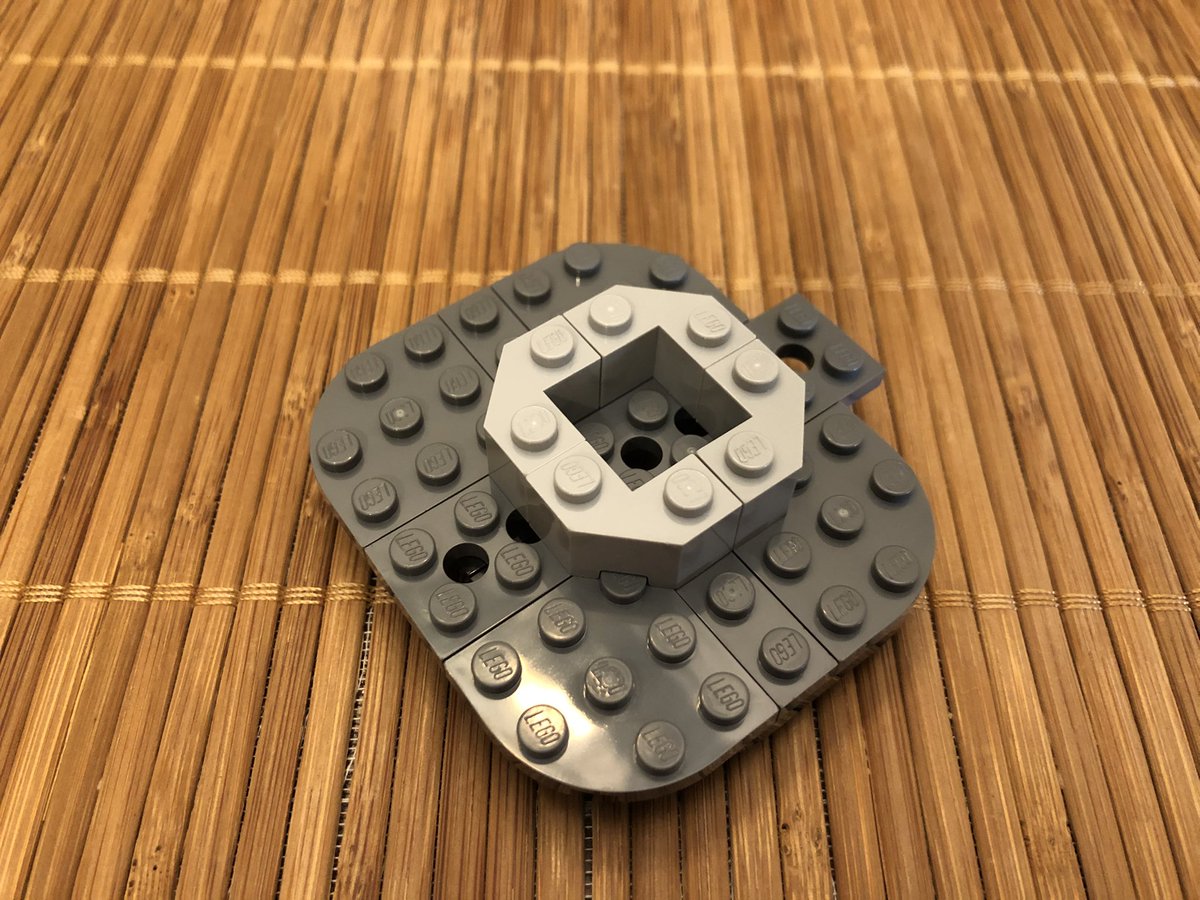
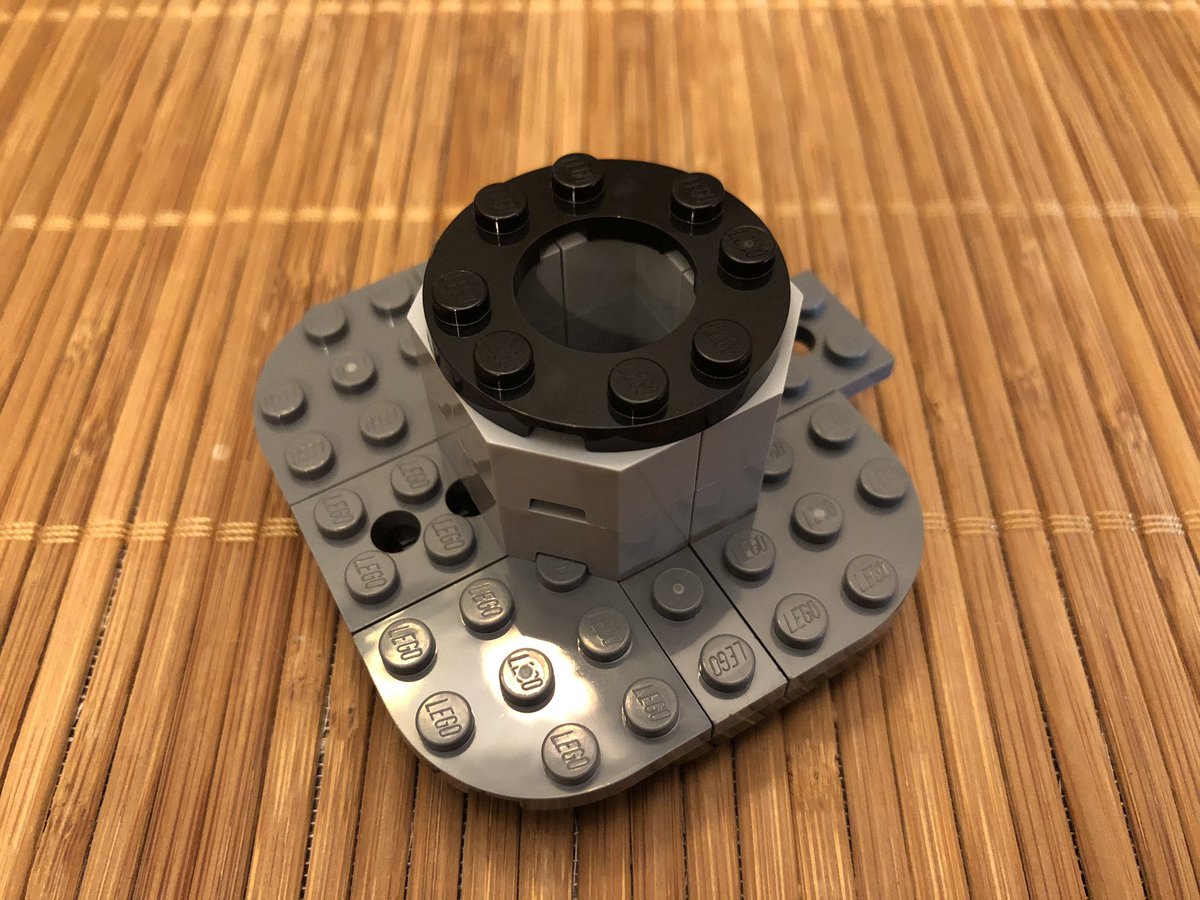
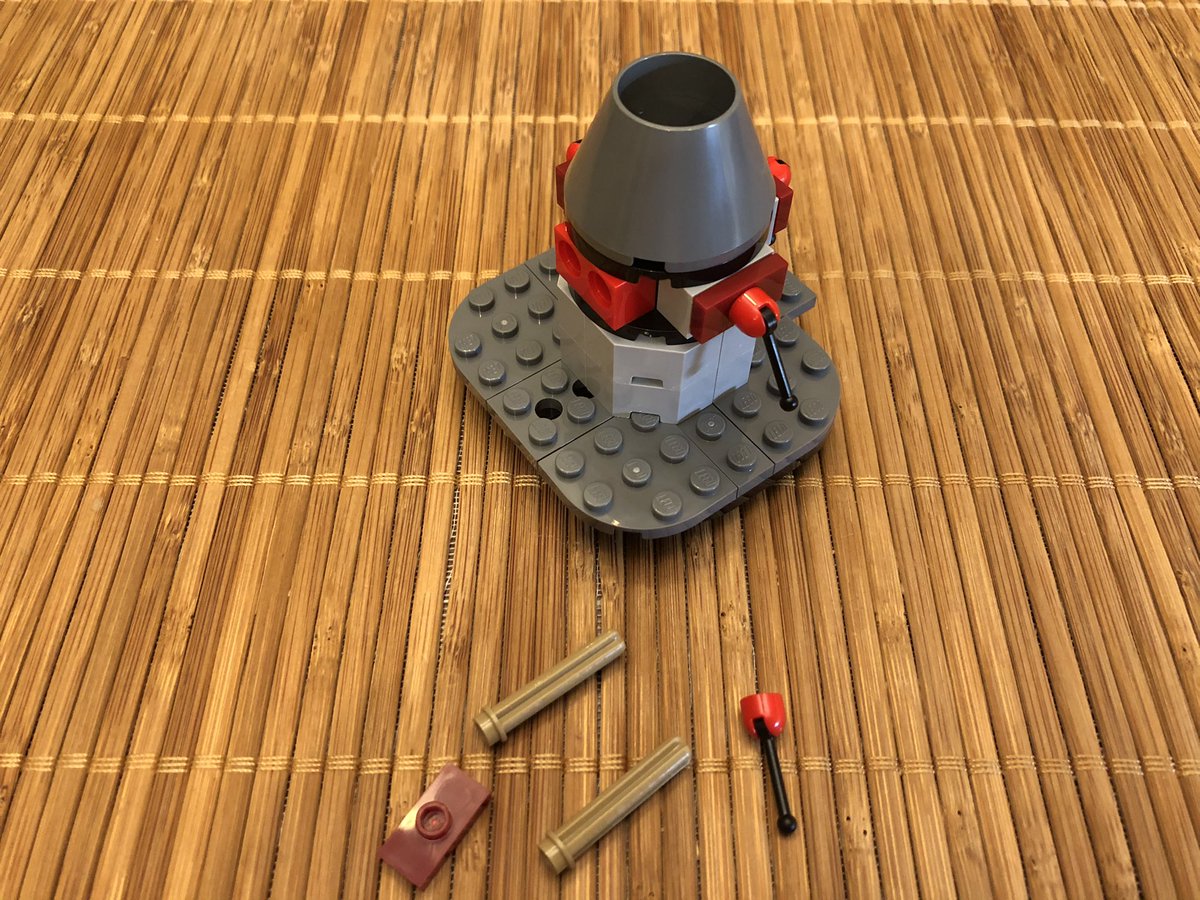
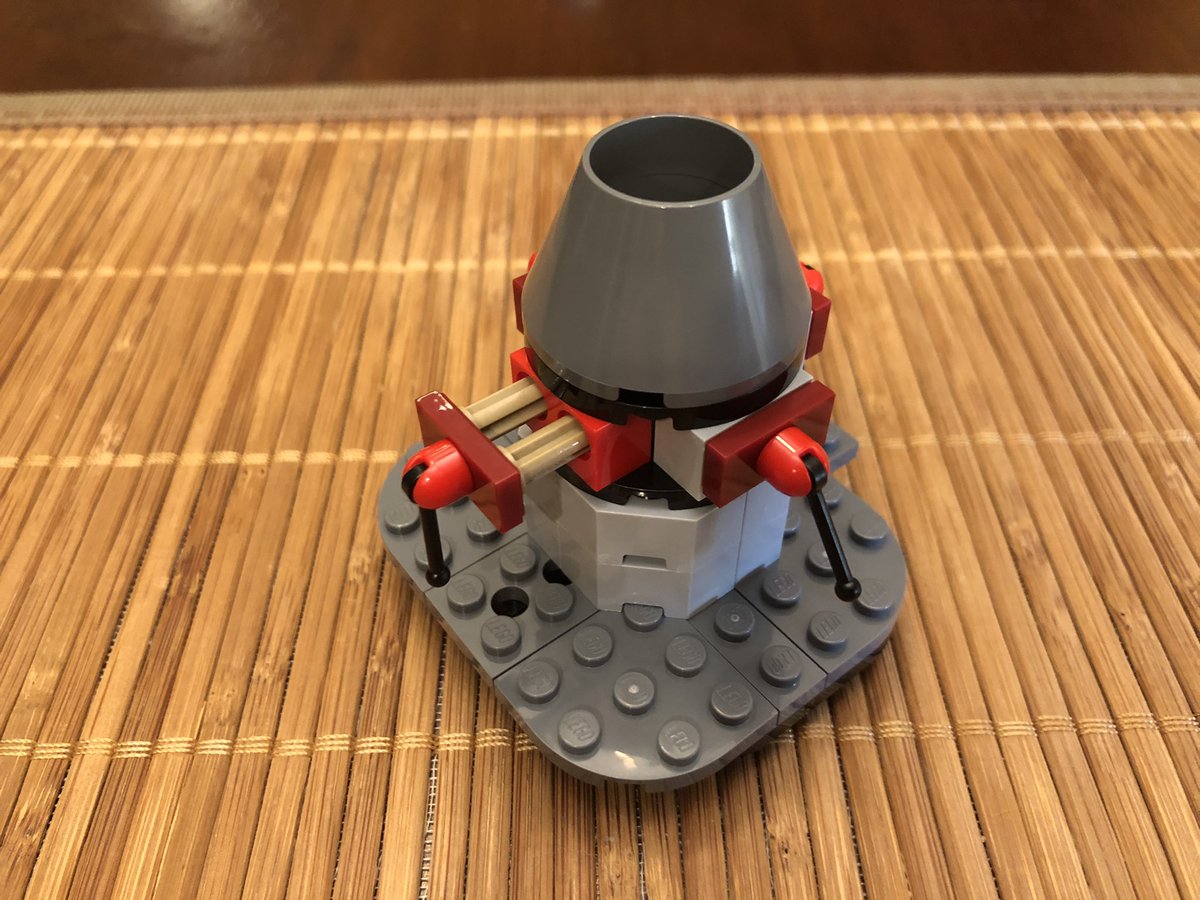
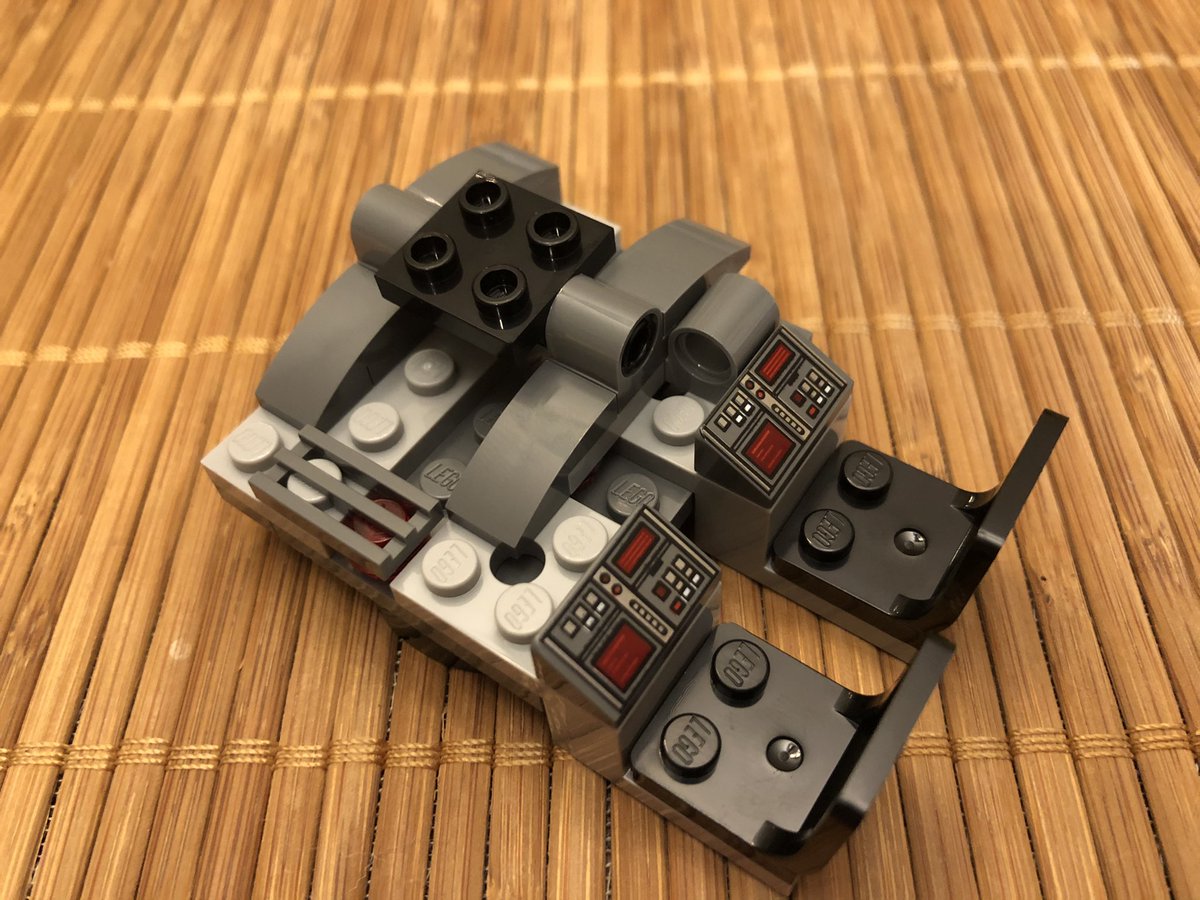
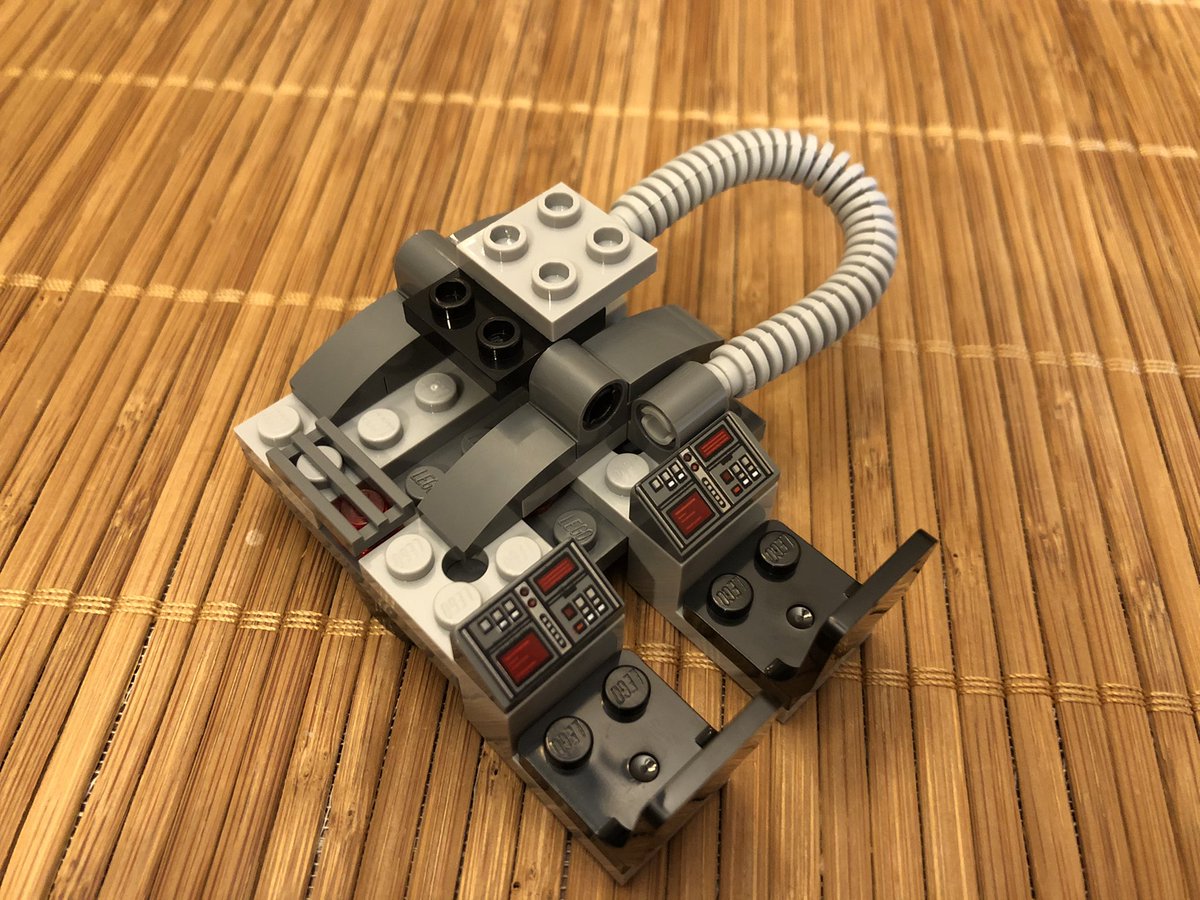
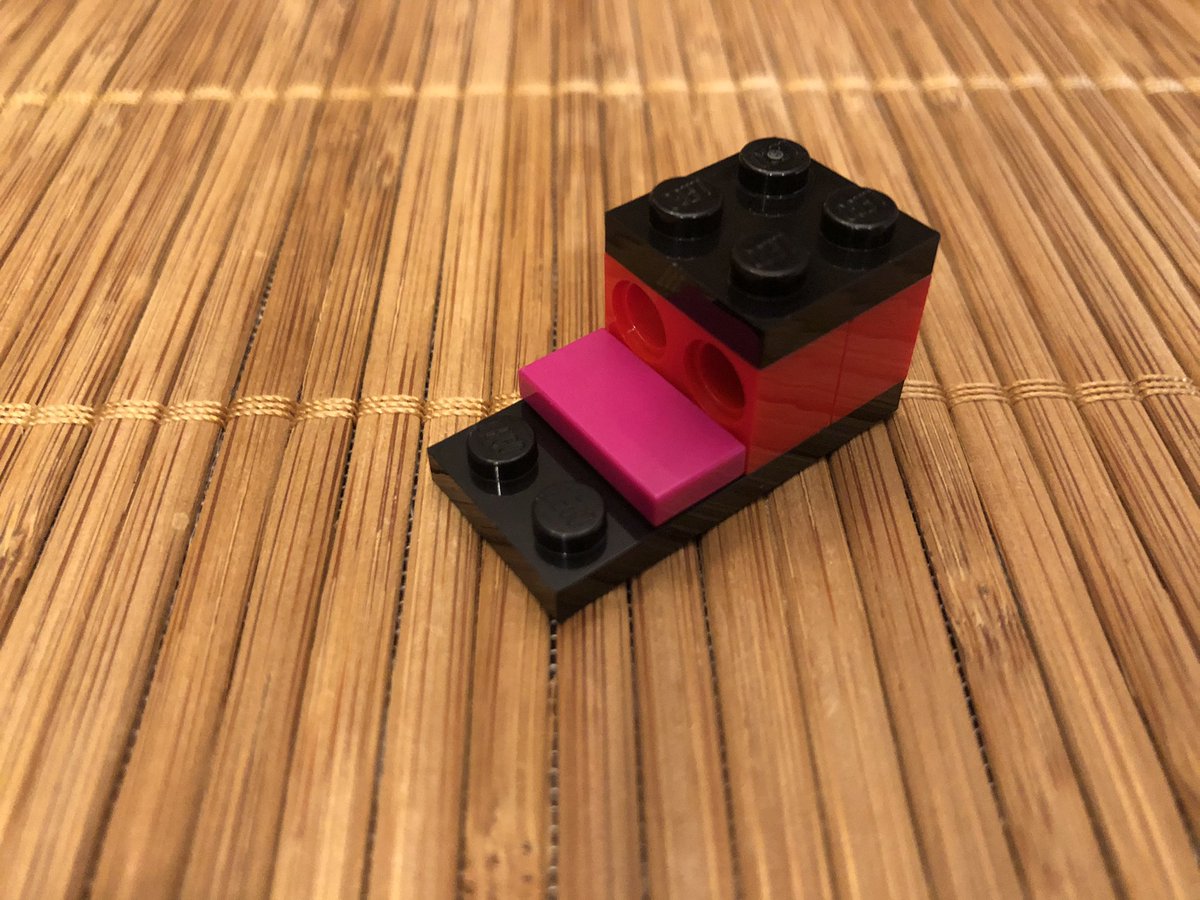
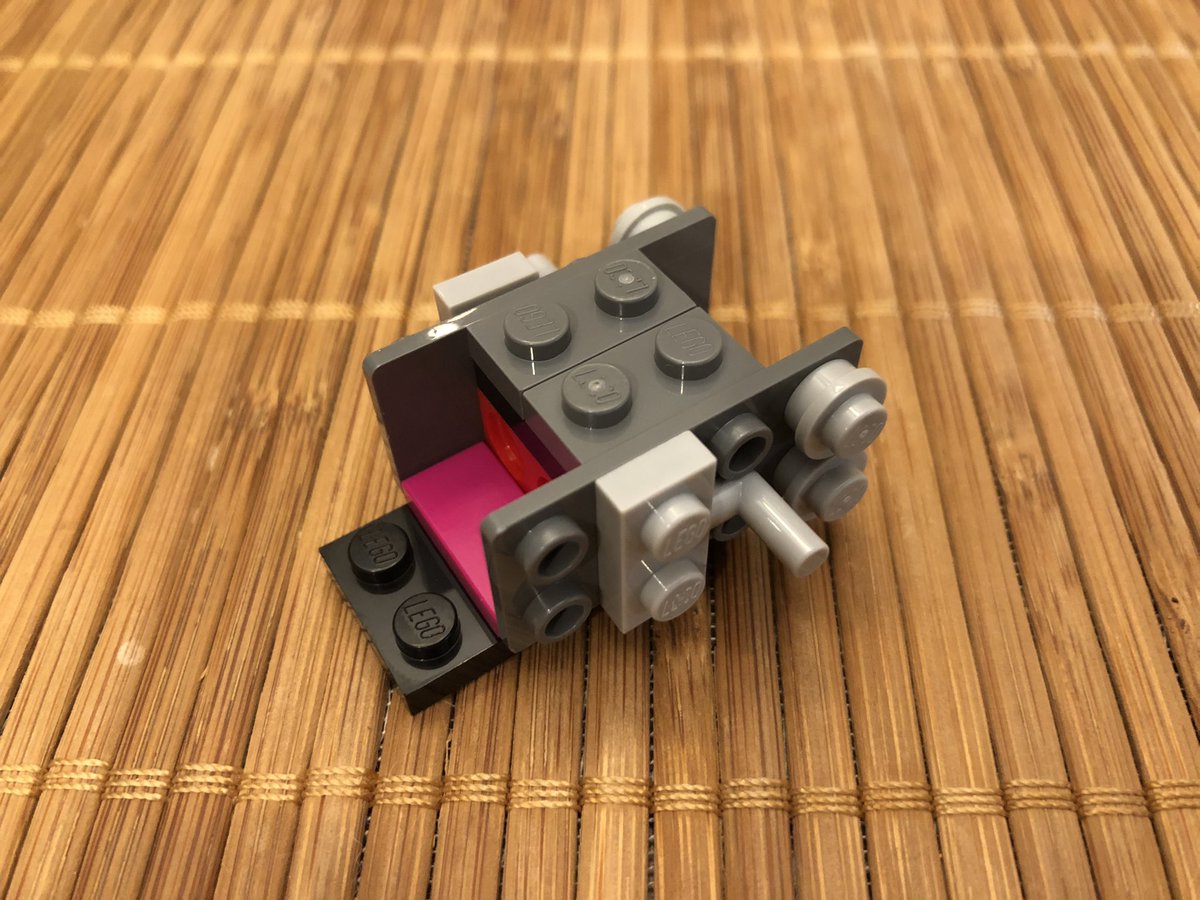
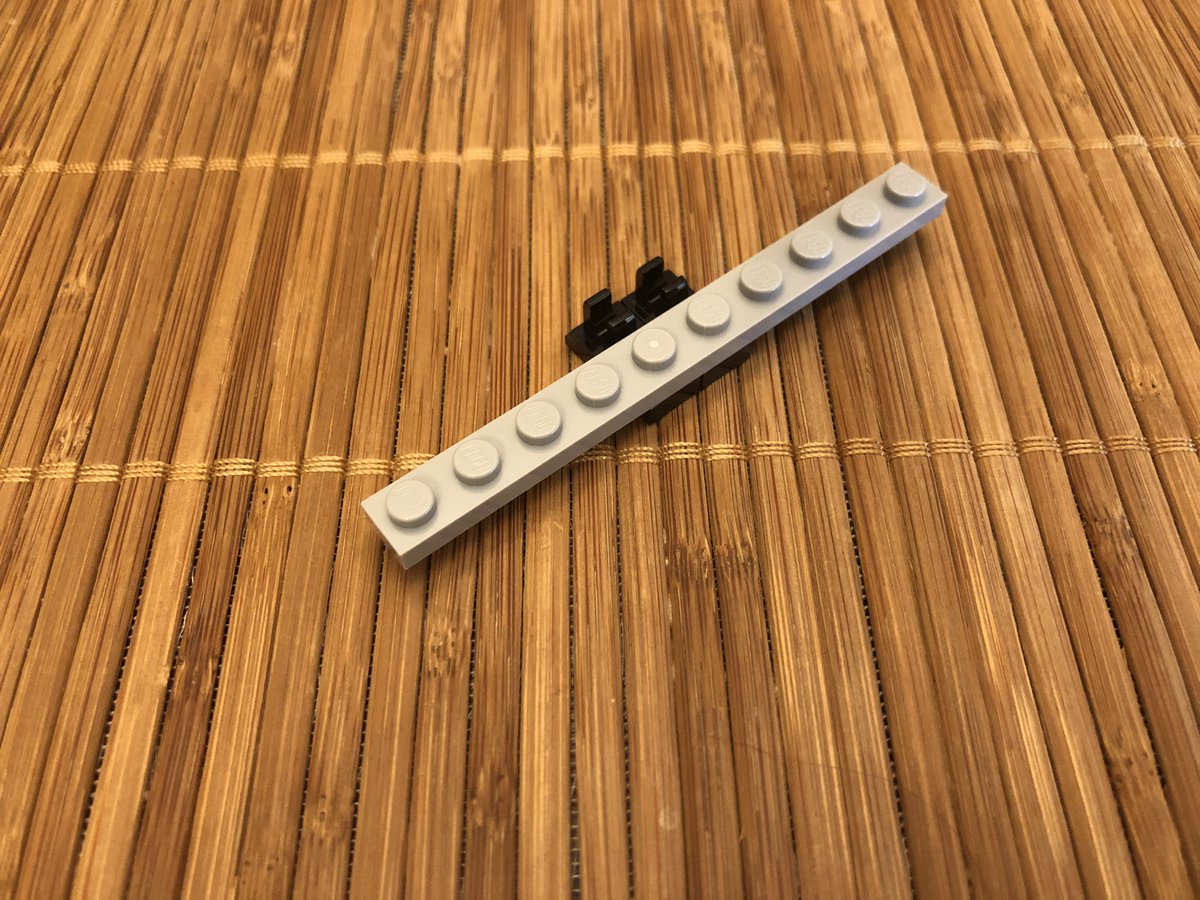
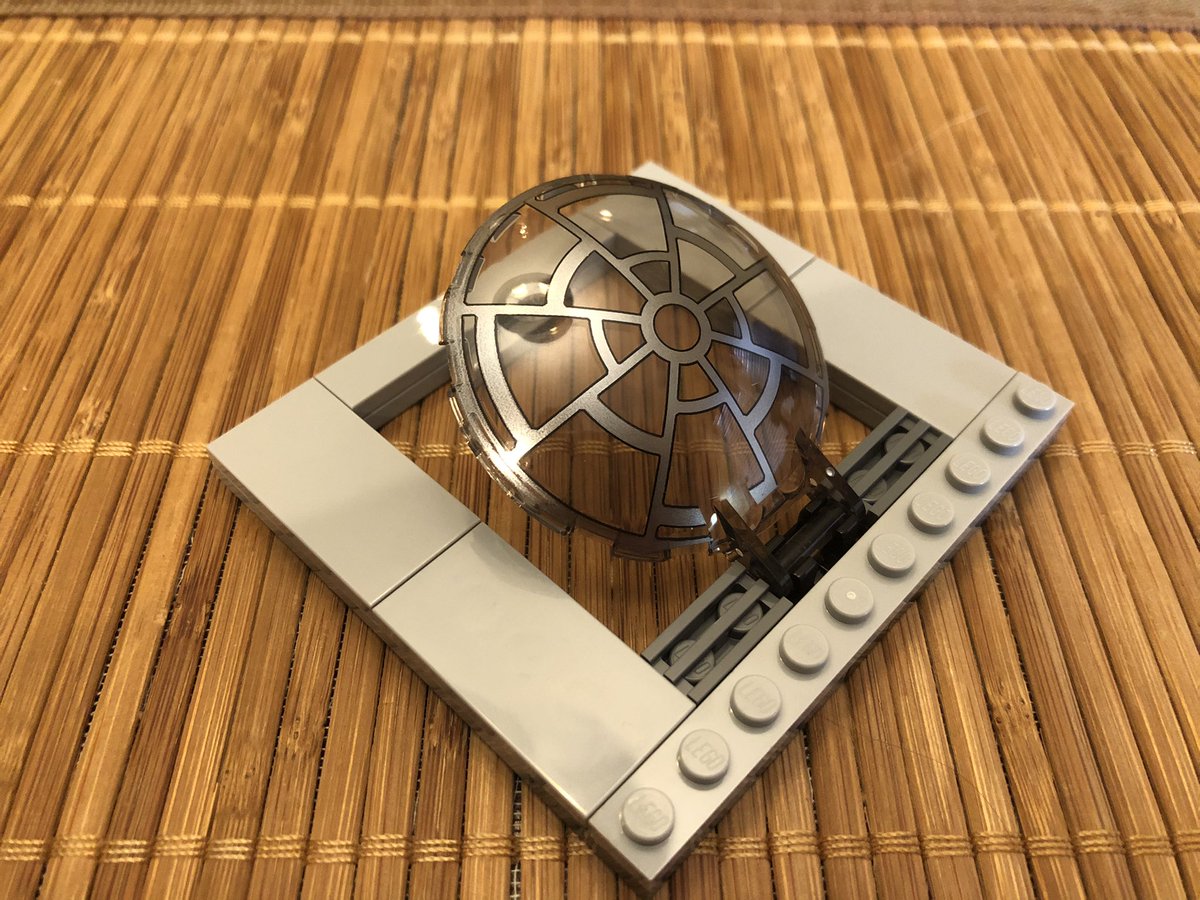
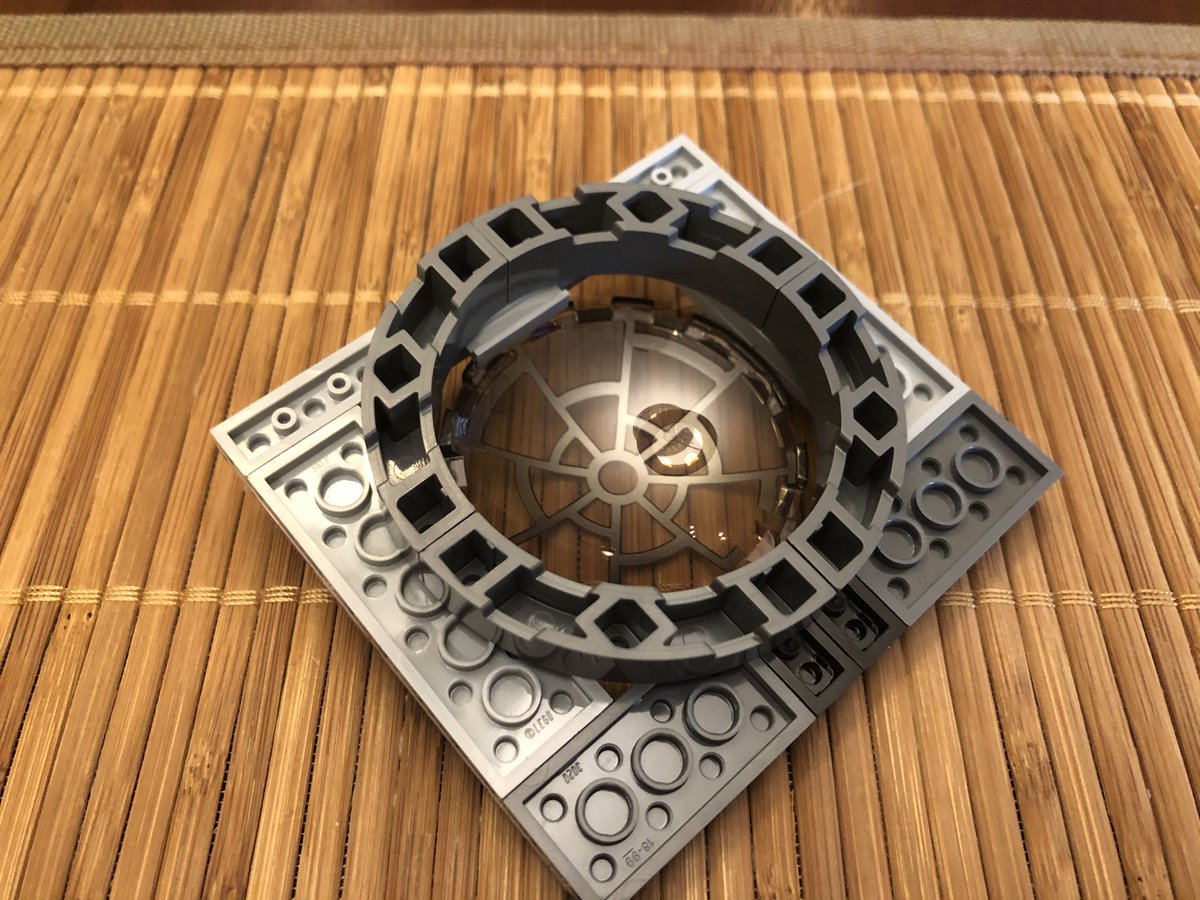
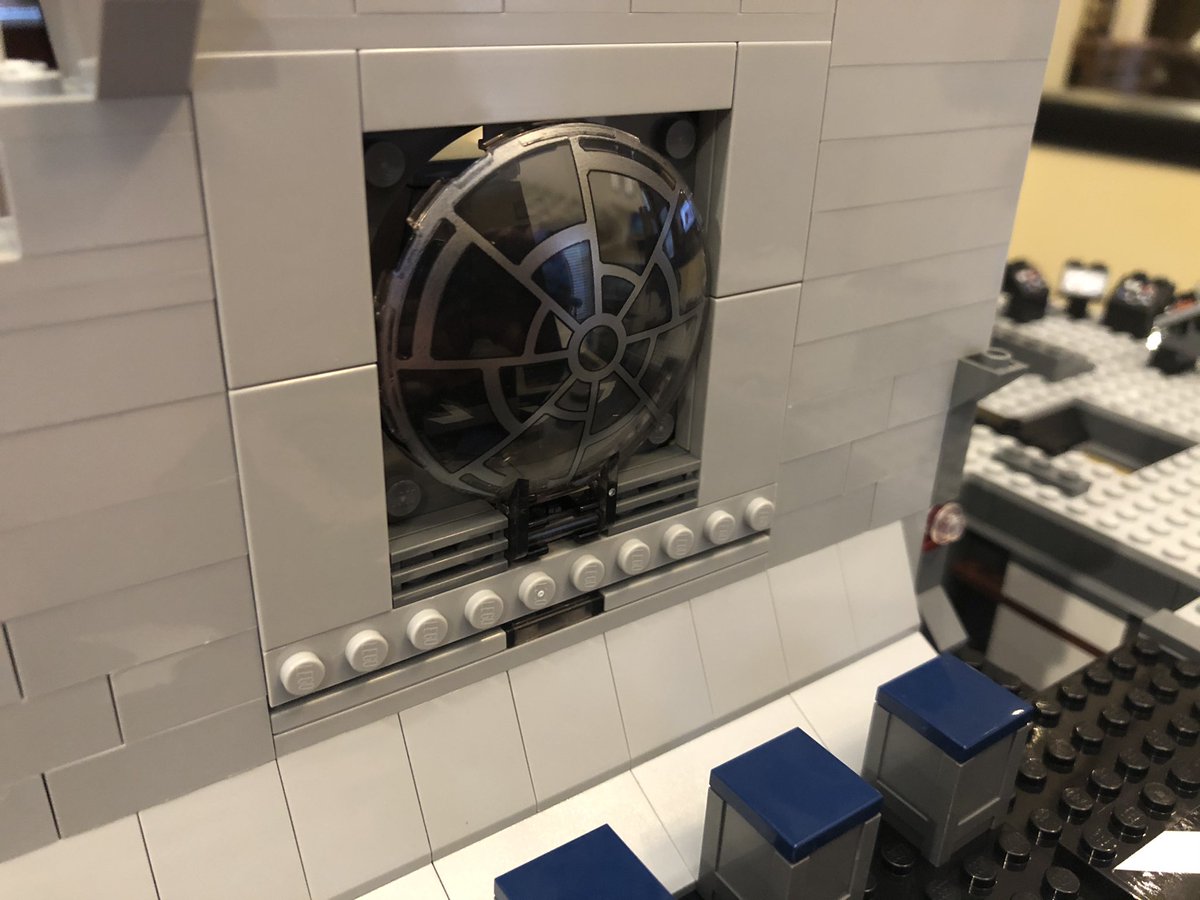
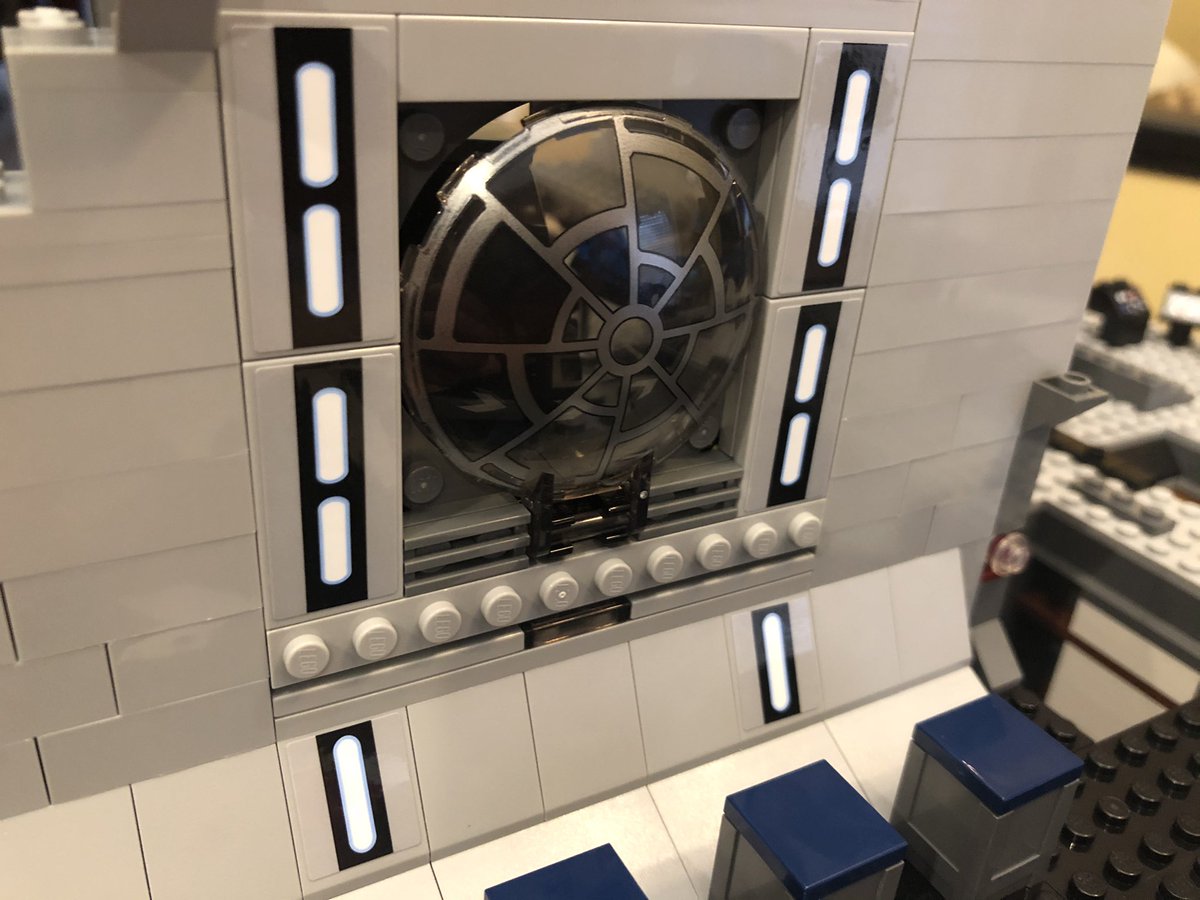
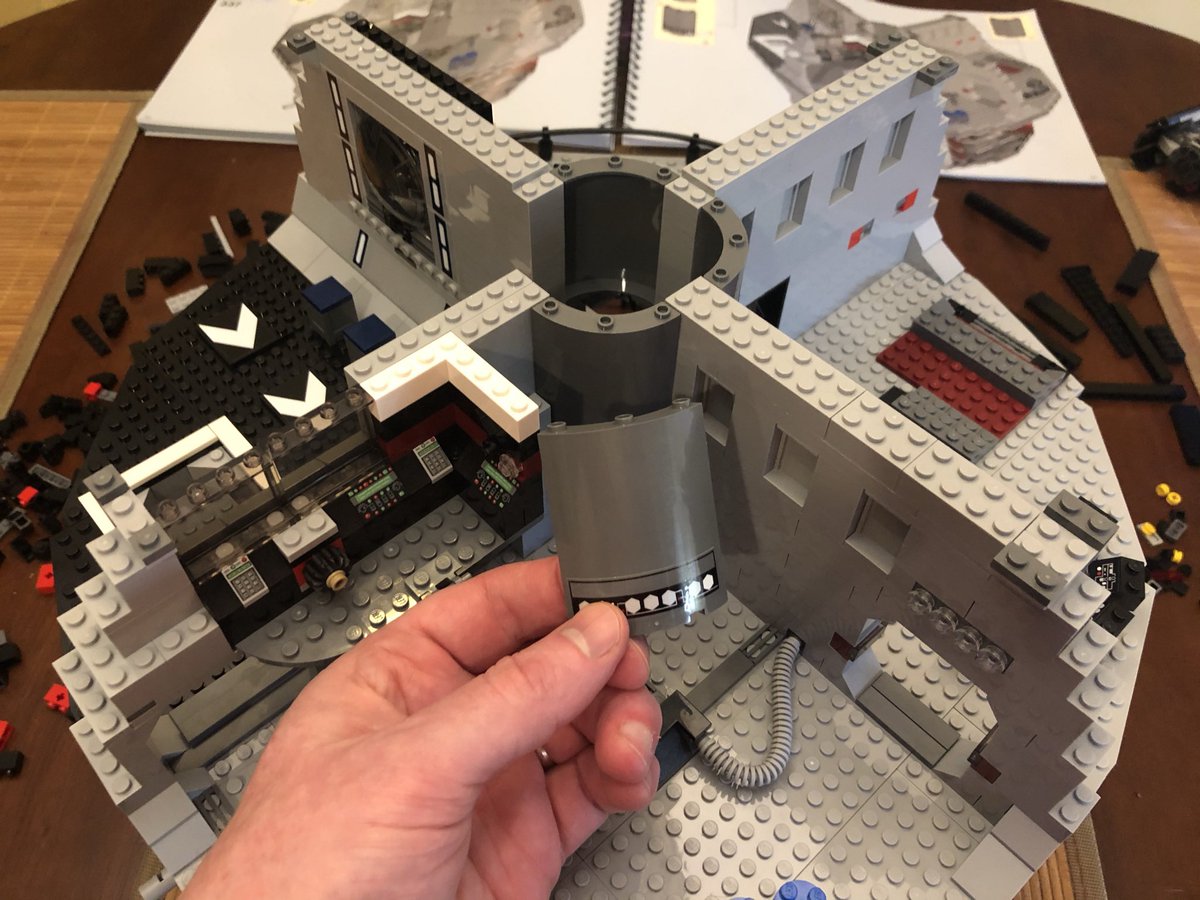
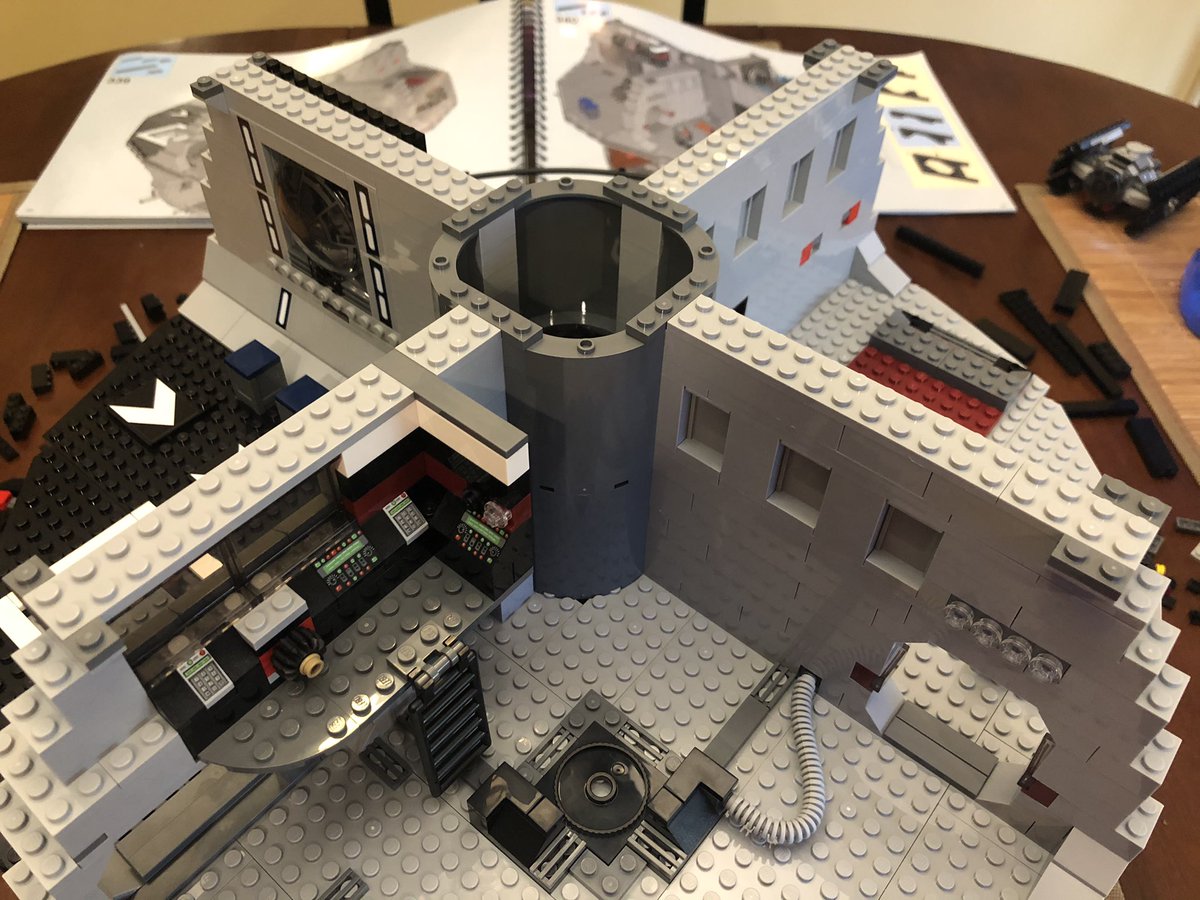
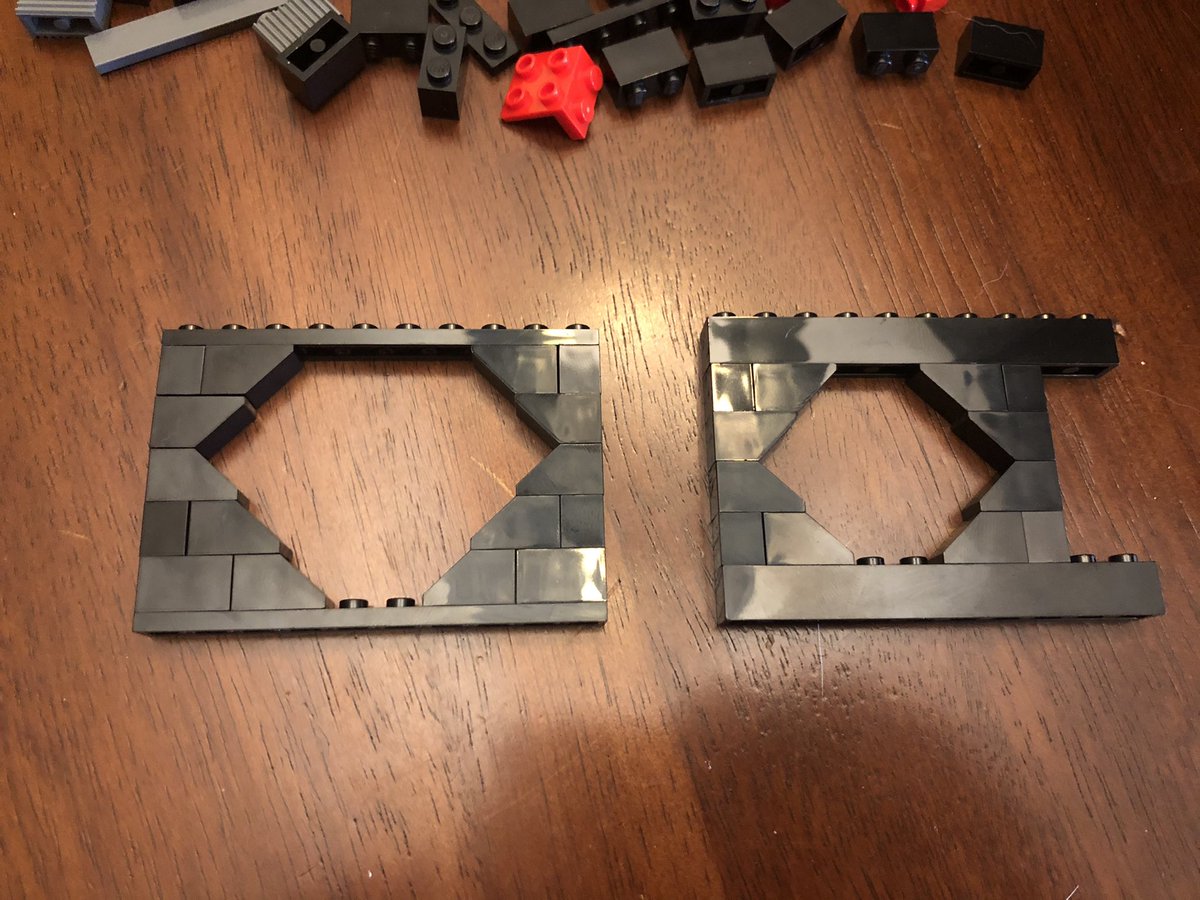
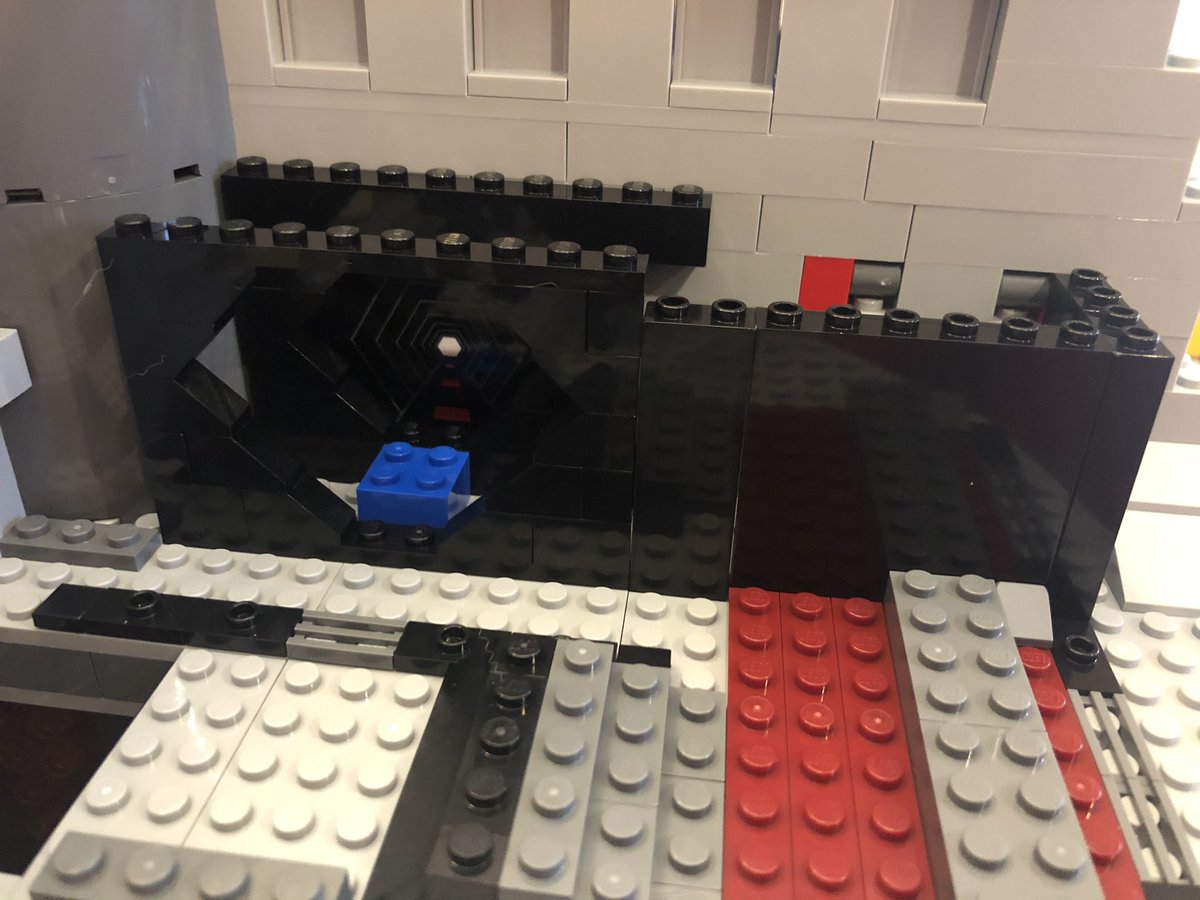
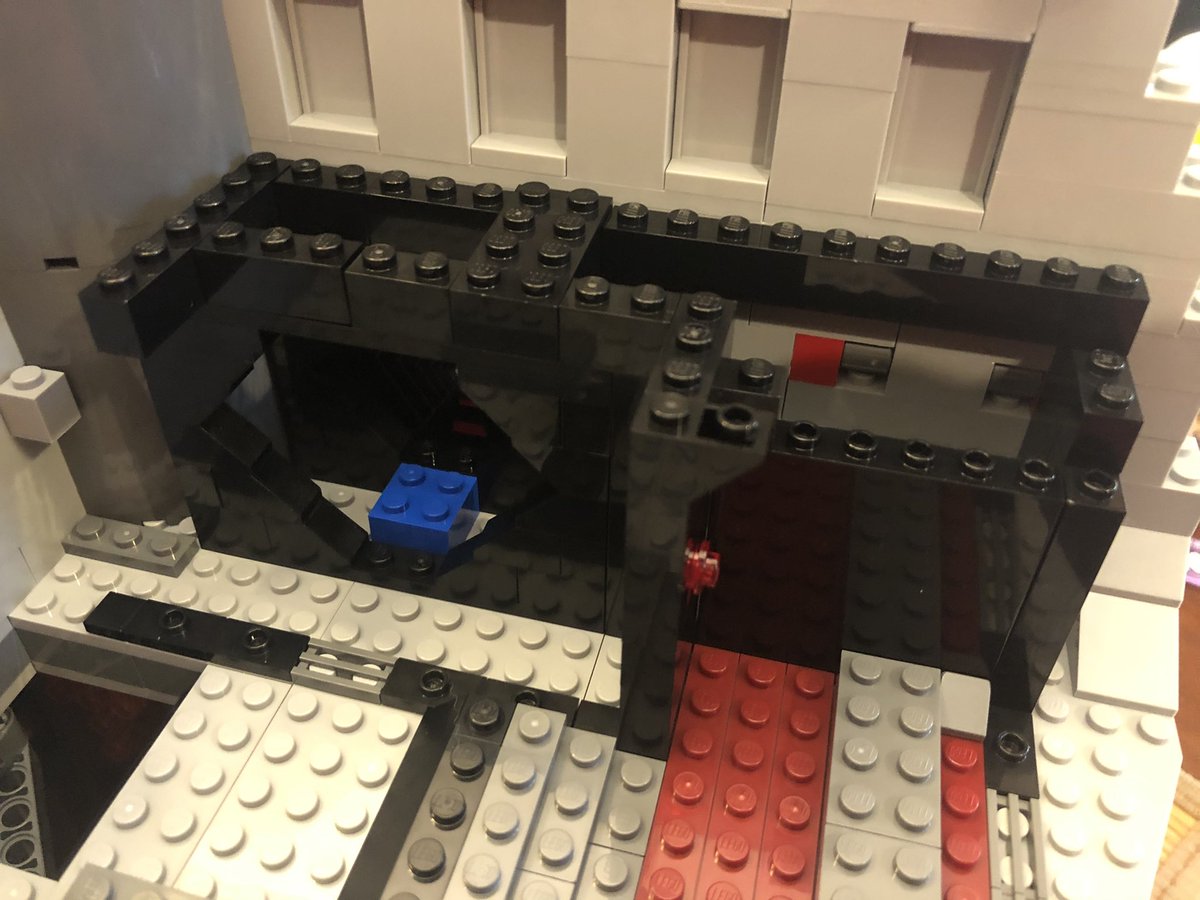
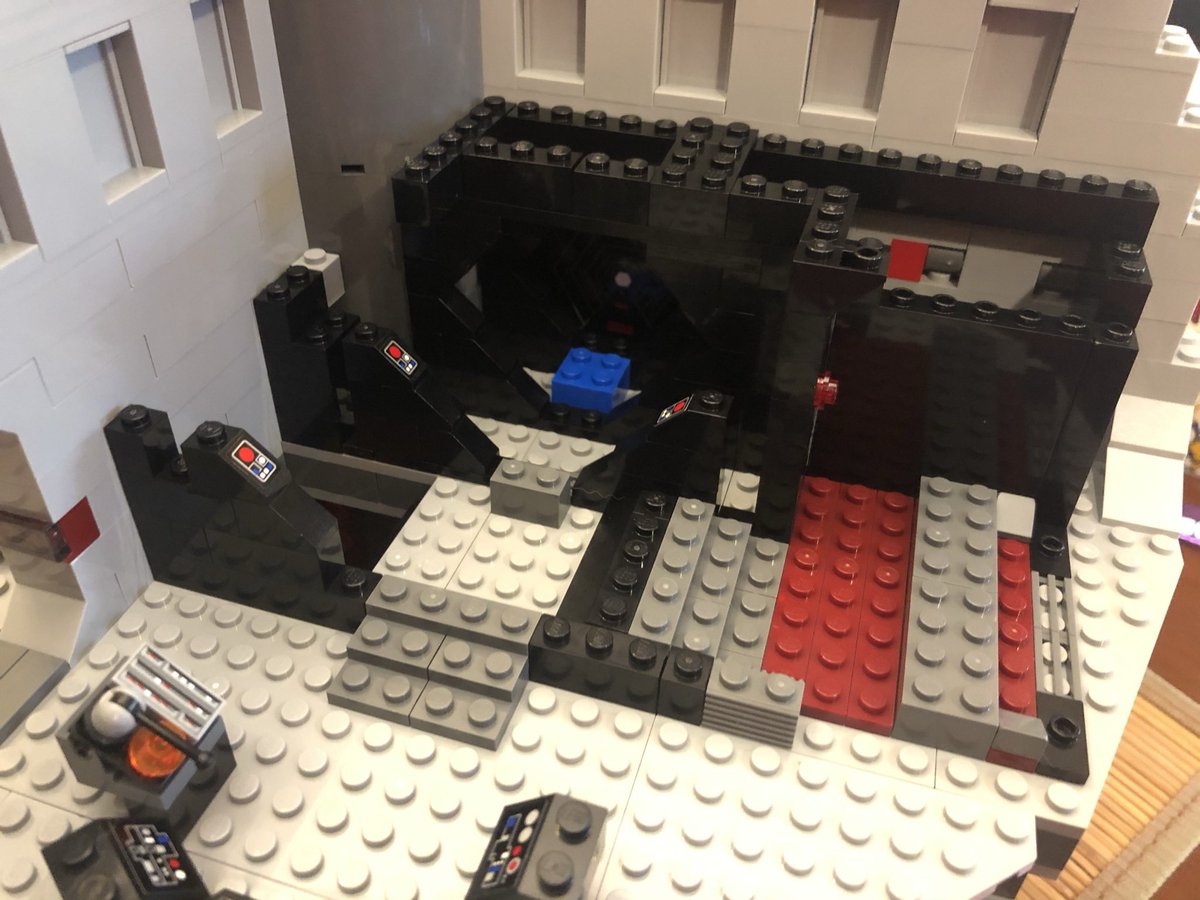
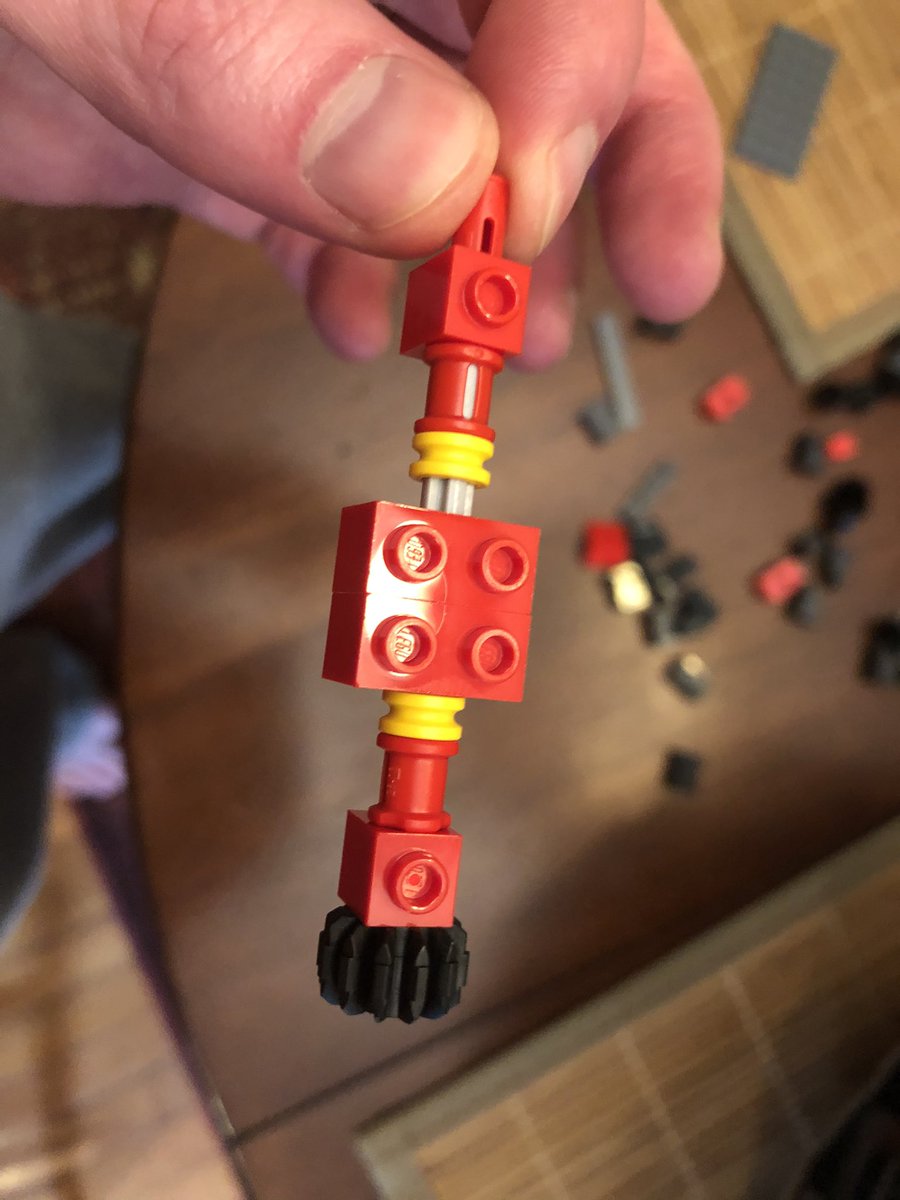
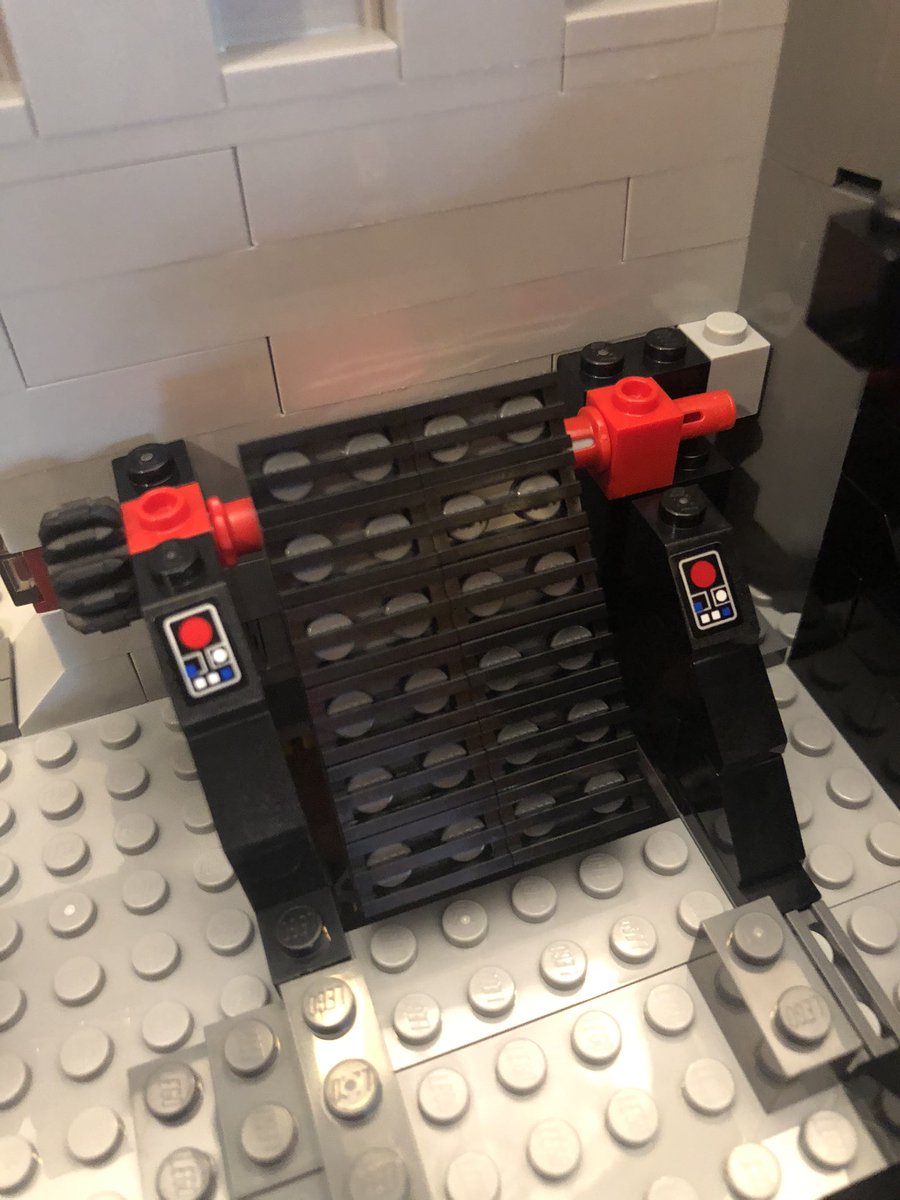
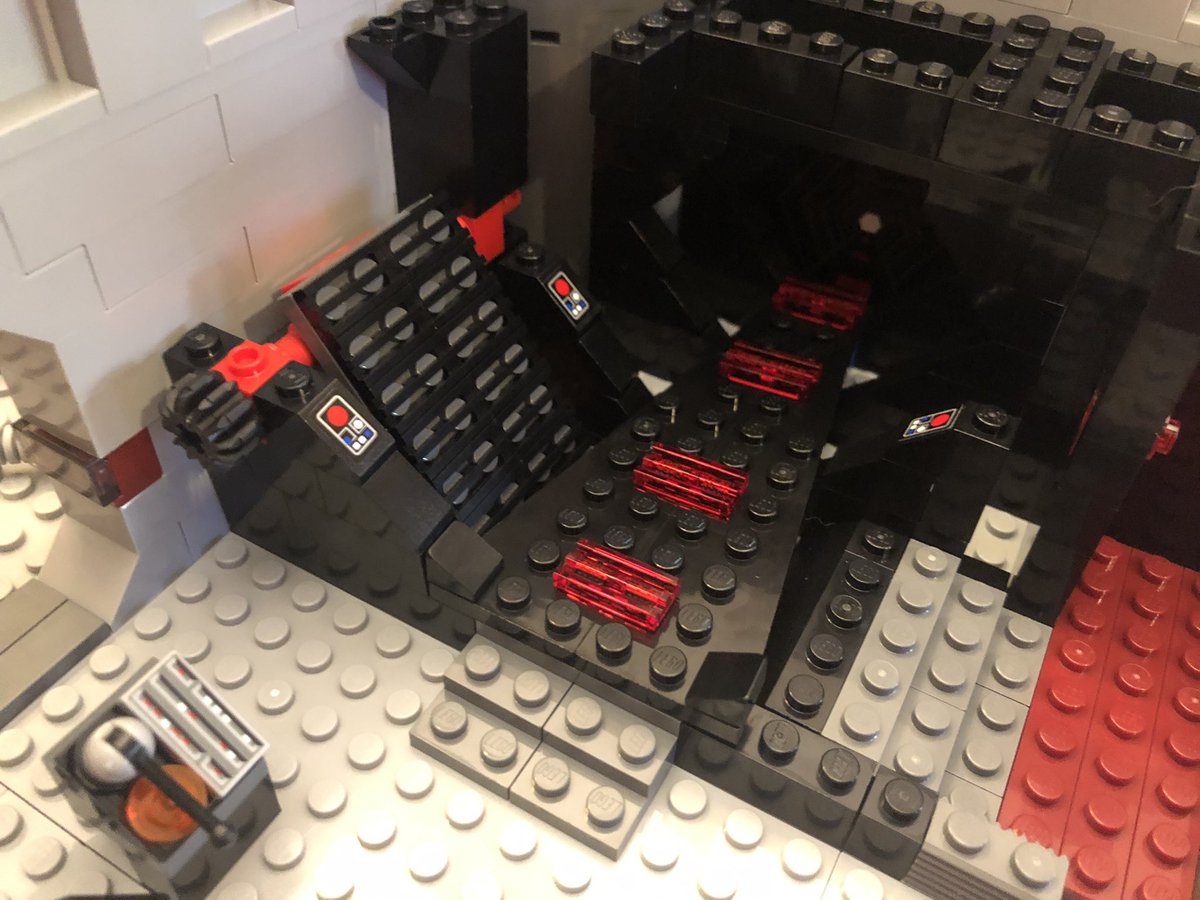
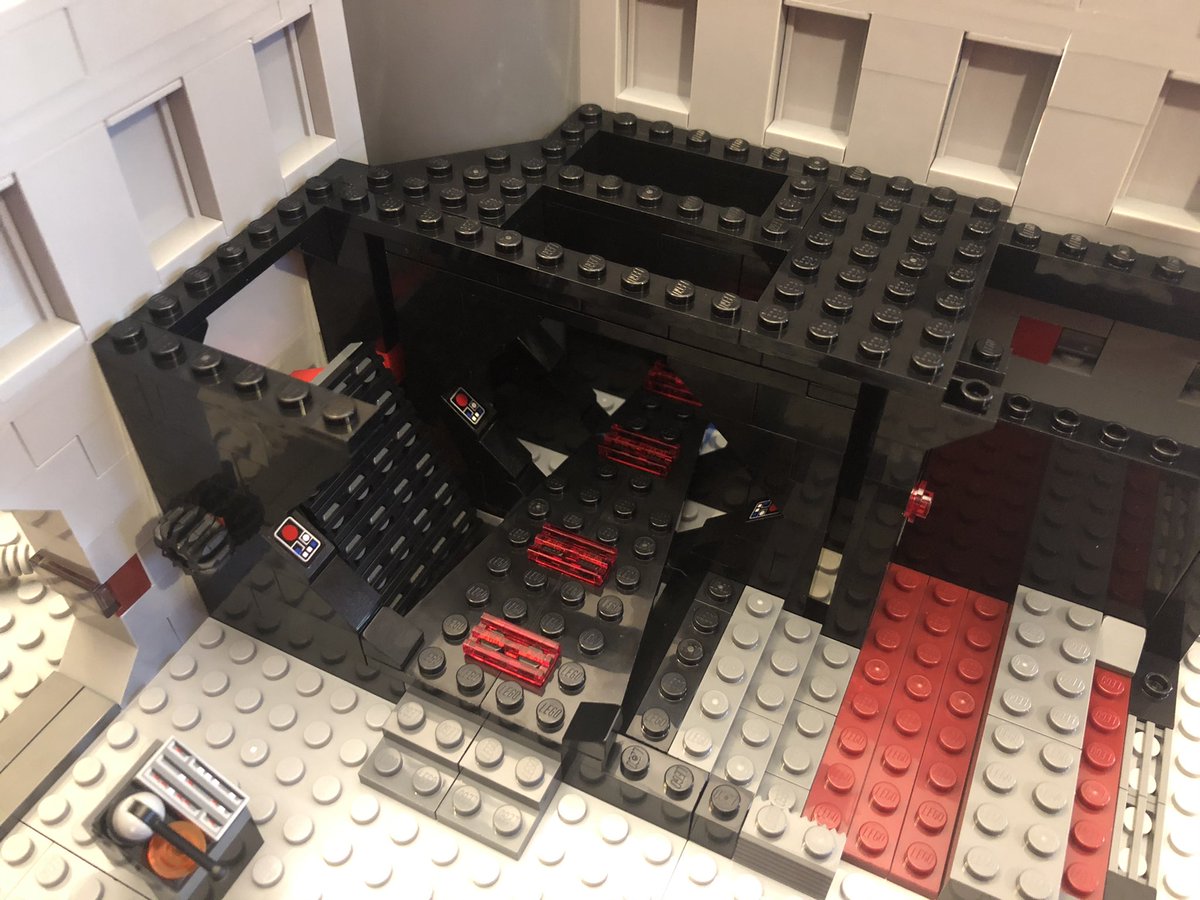
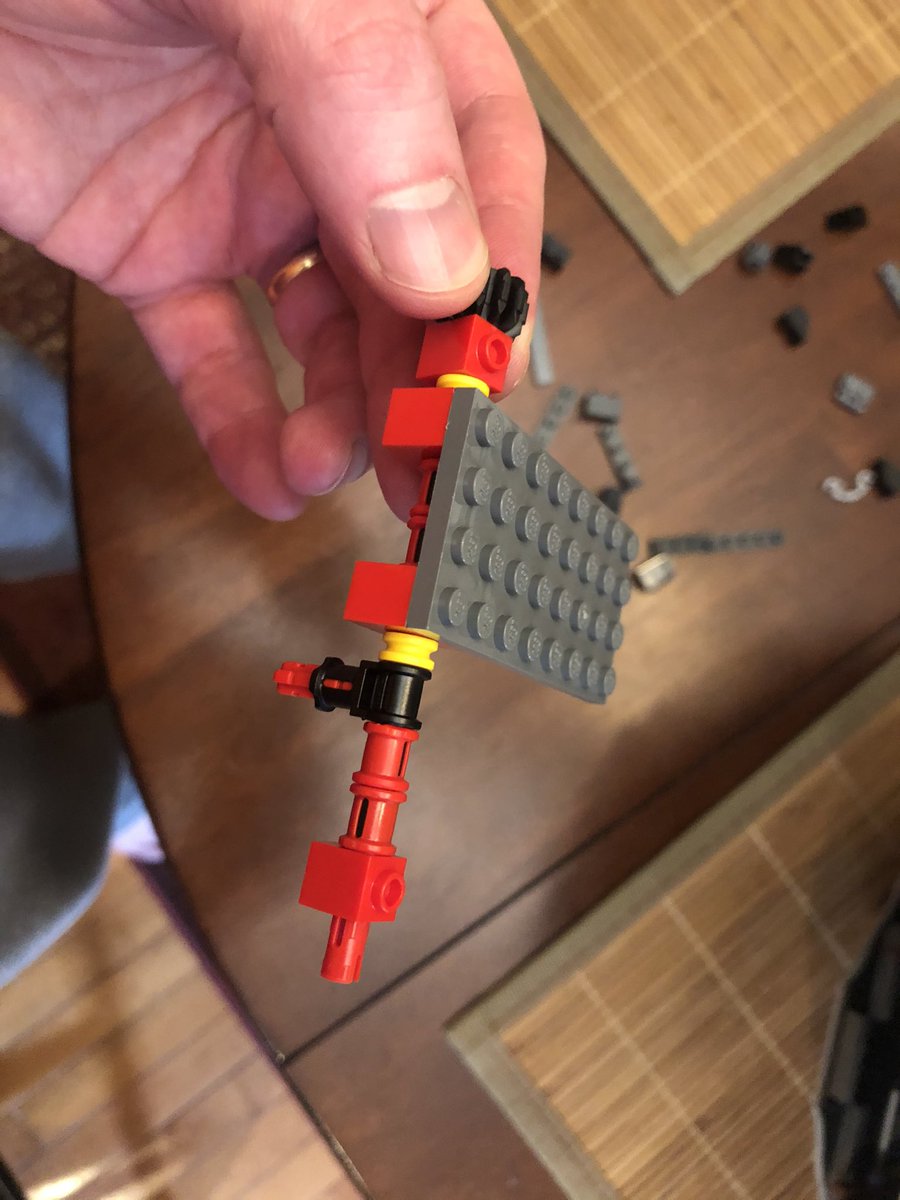
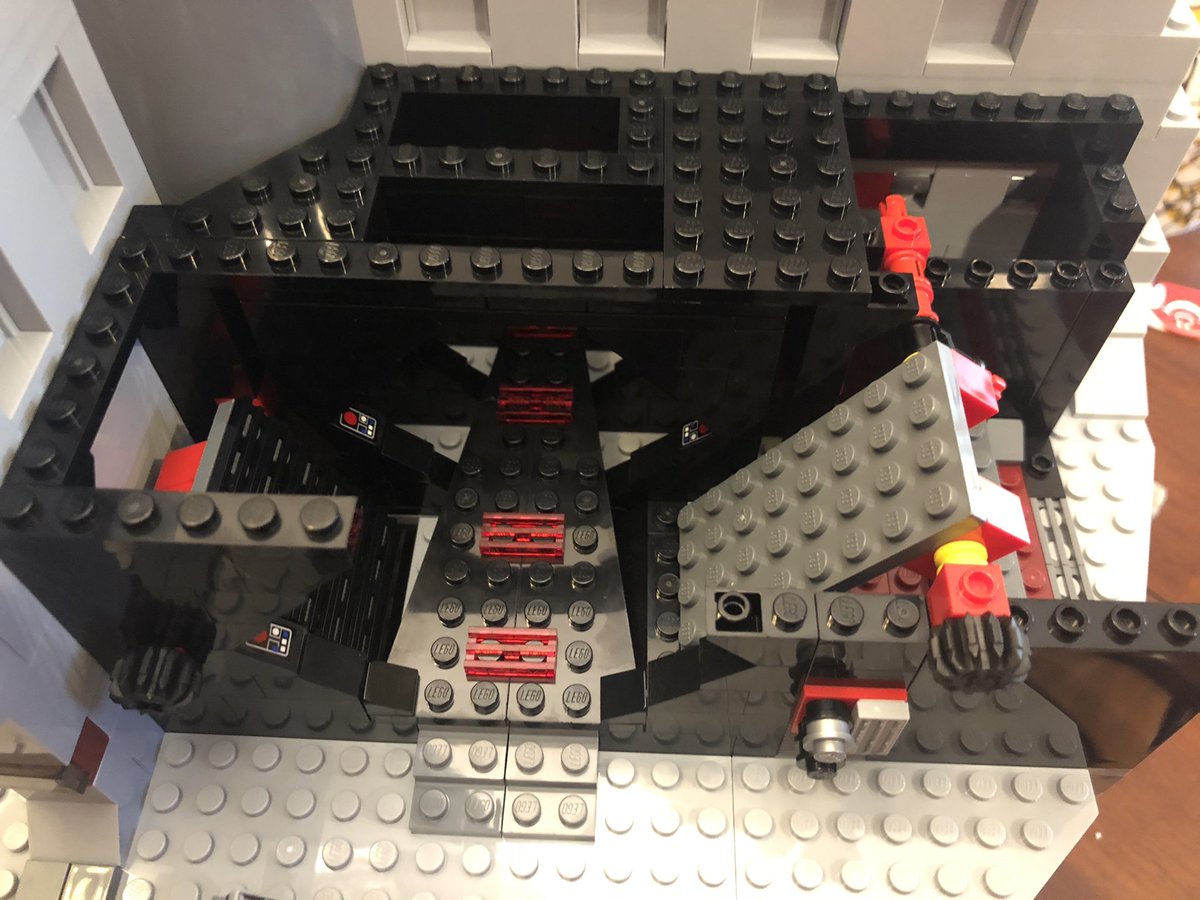
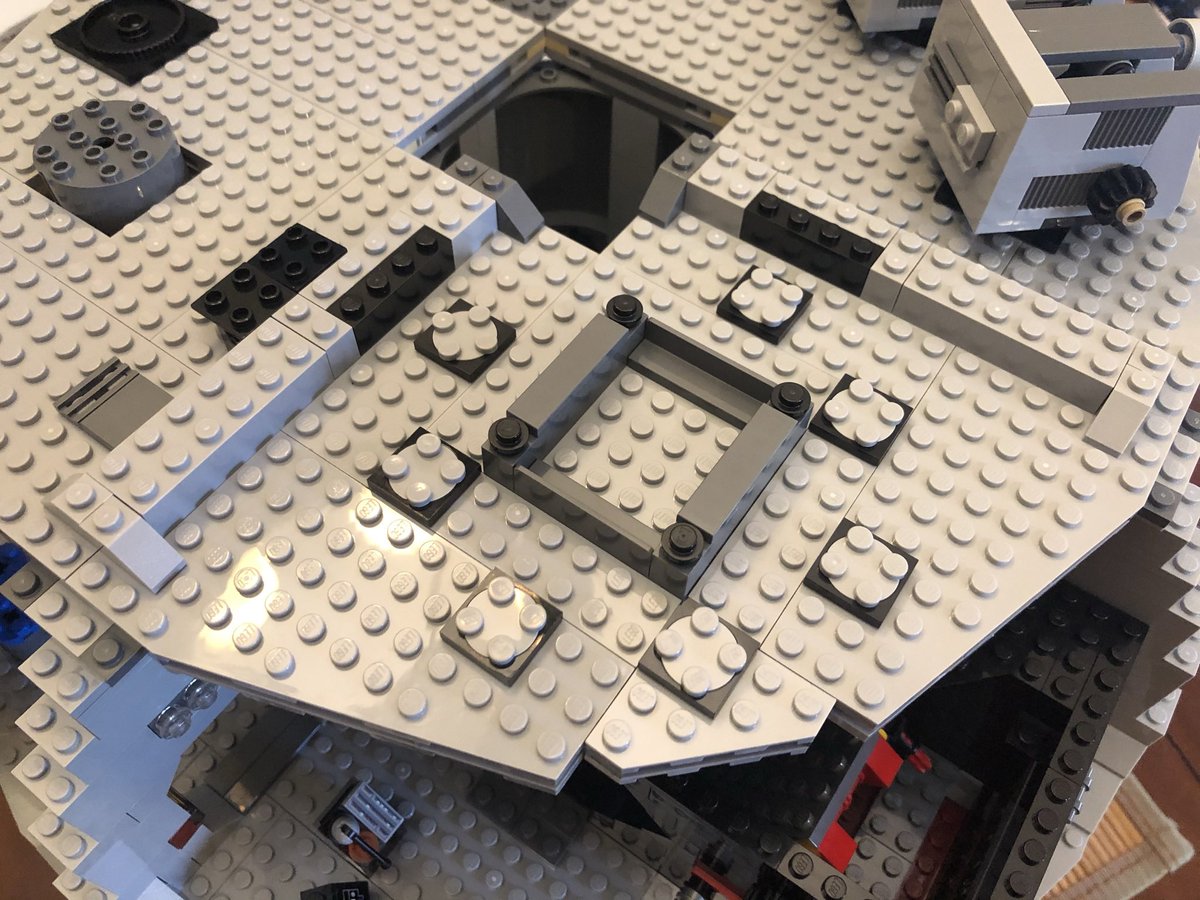
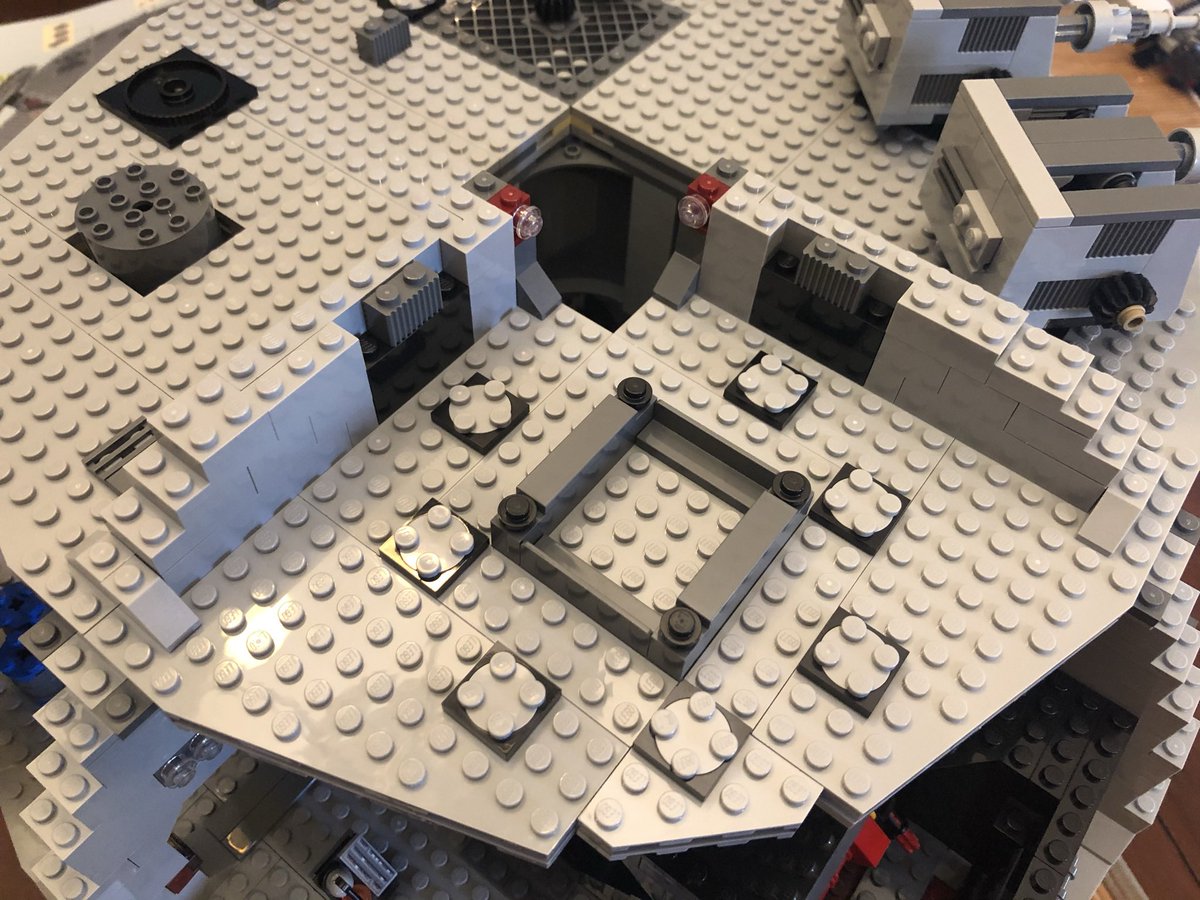
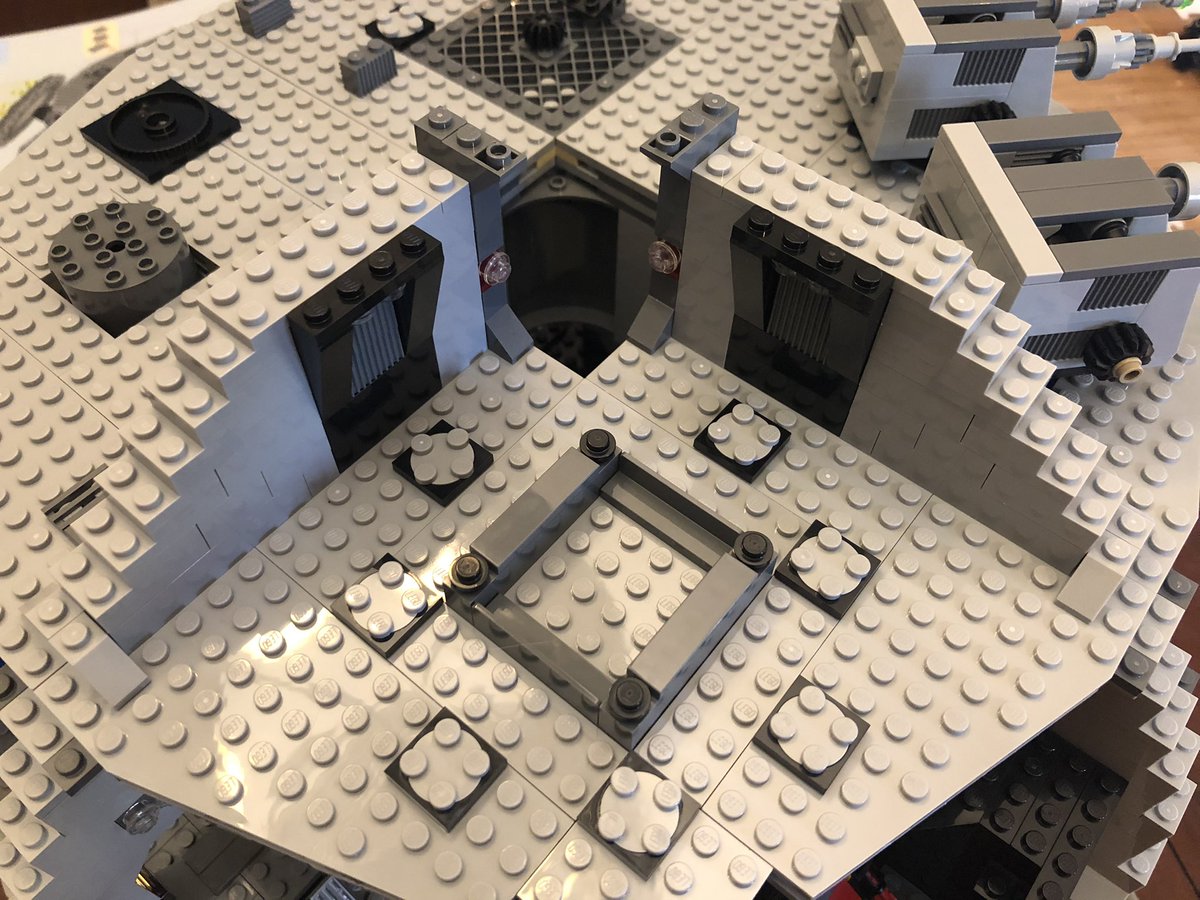
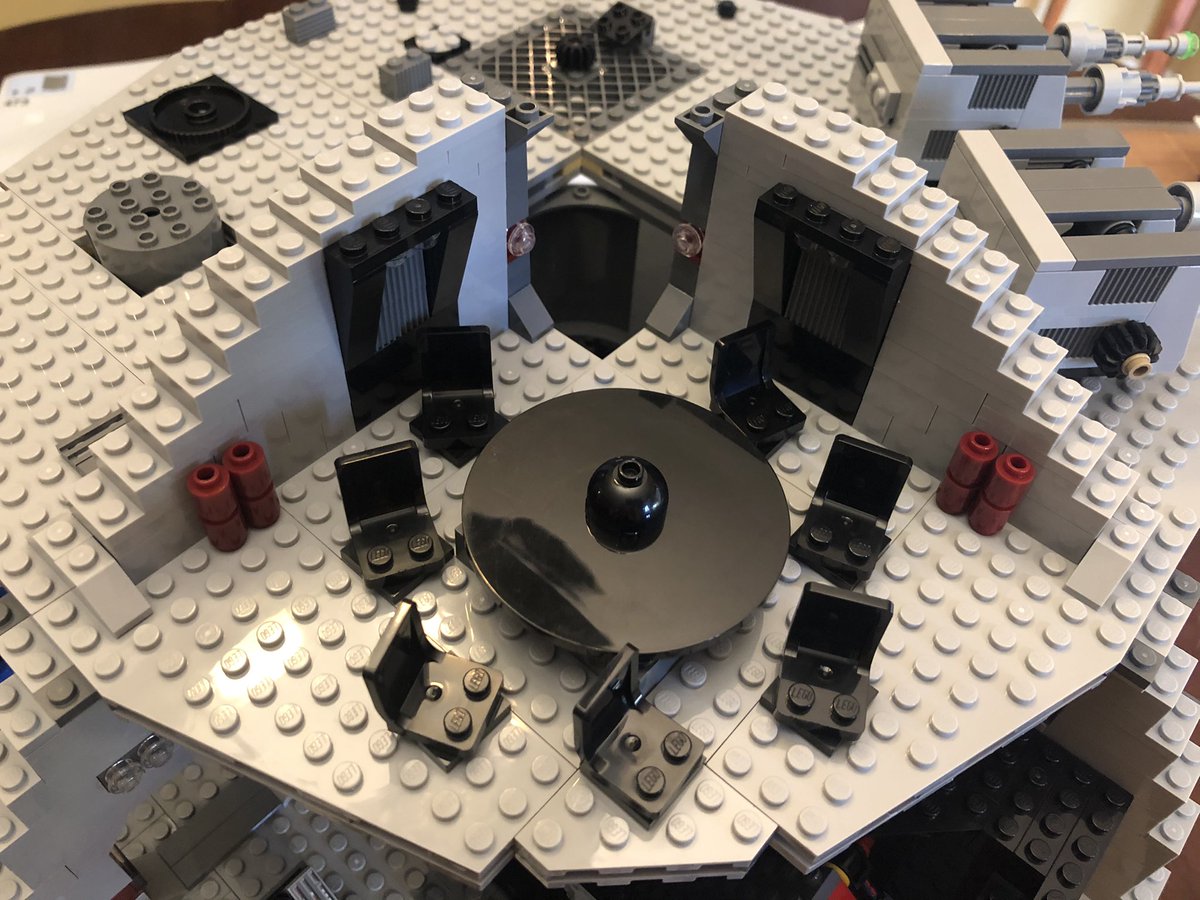
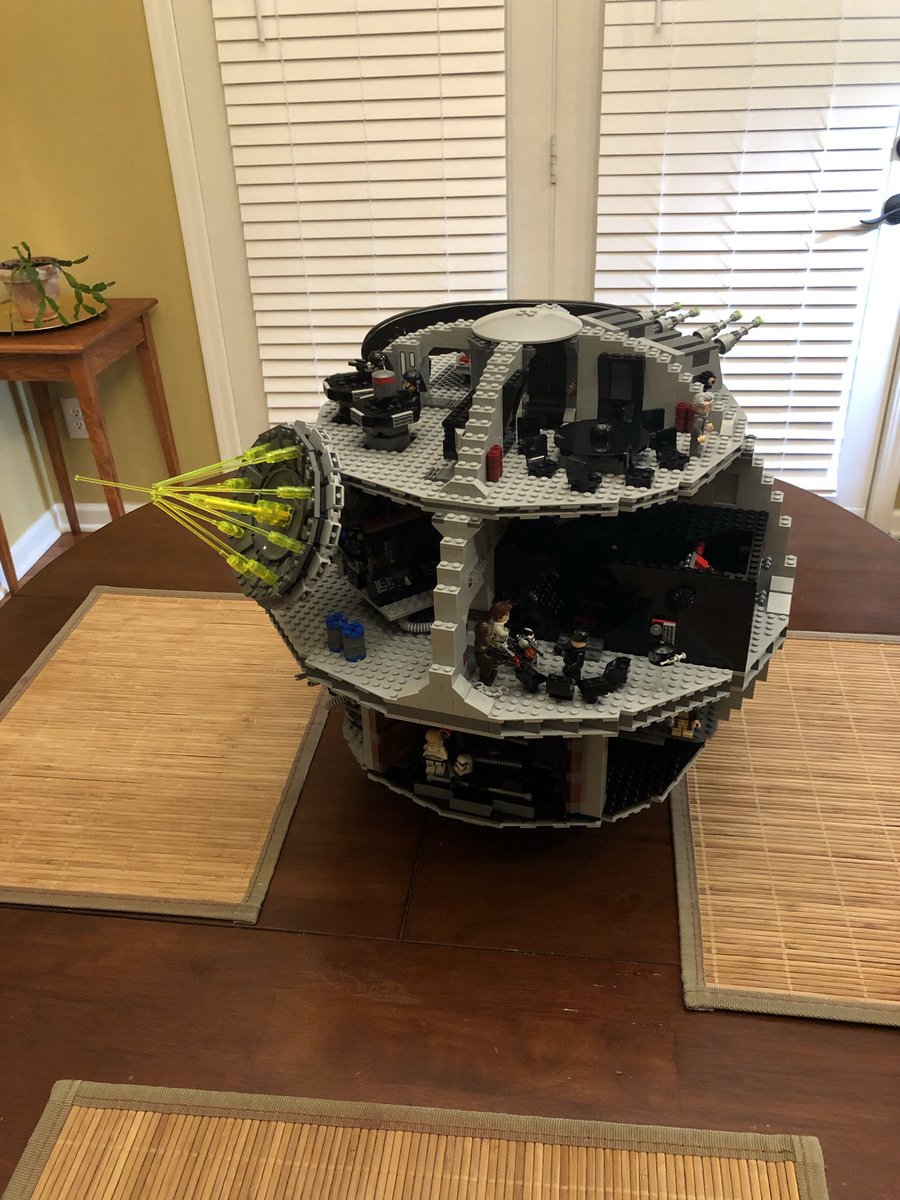
Time for the ultimate Star Wars #LEGO  - the Death Star! 4016 pieces. A dozen rooms. 25 figurines. This thing is massive, in a way even the Millenium Falcon isn’t! https://twitter.com/rnelson0/status/1349179752486207488
 - the Death Star! 4016 pieces. A dozen rooms. 25 figurines. This thing is massive, in a way even the Millenium Falcon isn’t! https://twitter.com/rnelson0/status/1349179752486207488
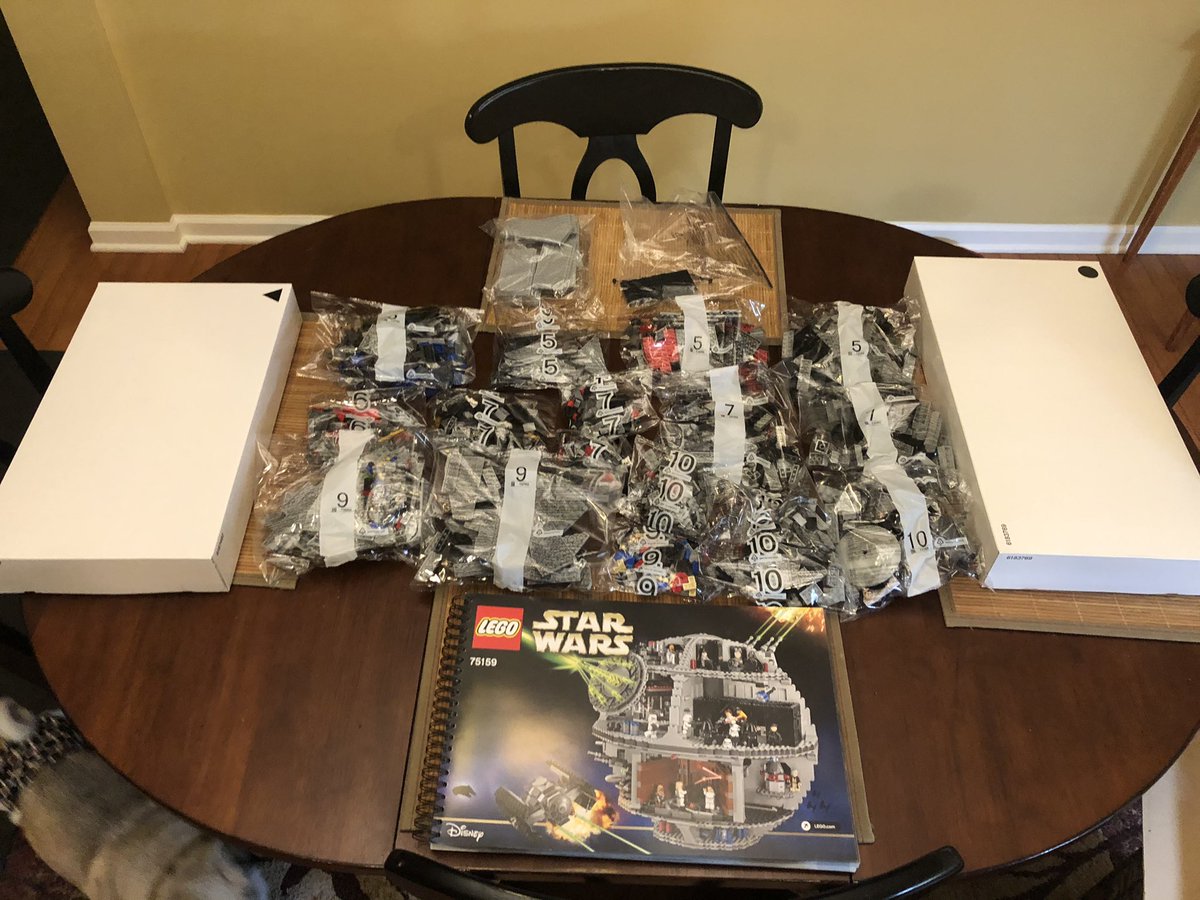
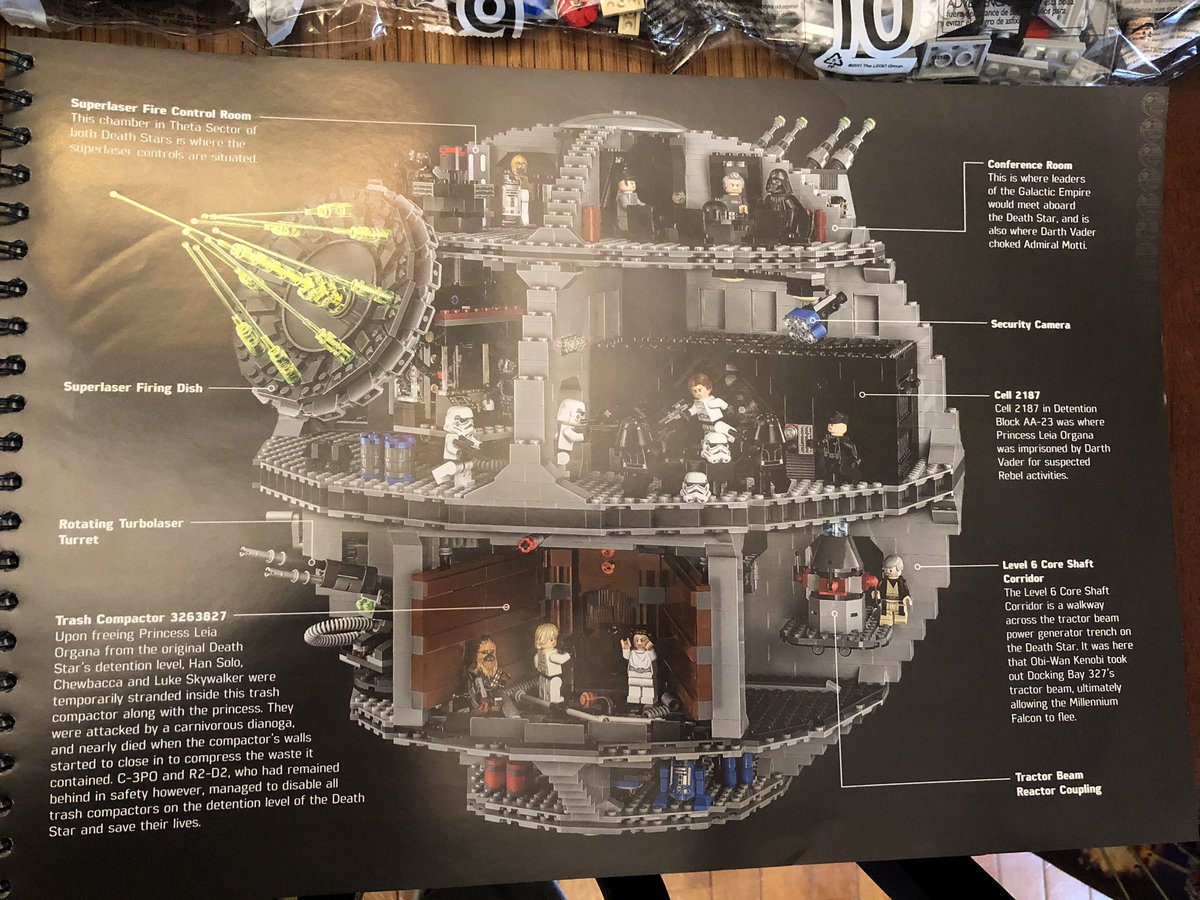
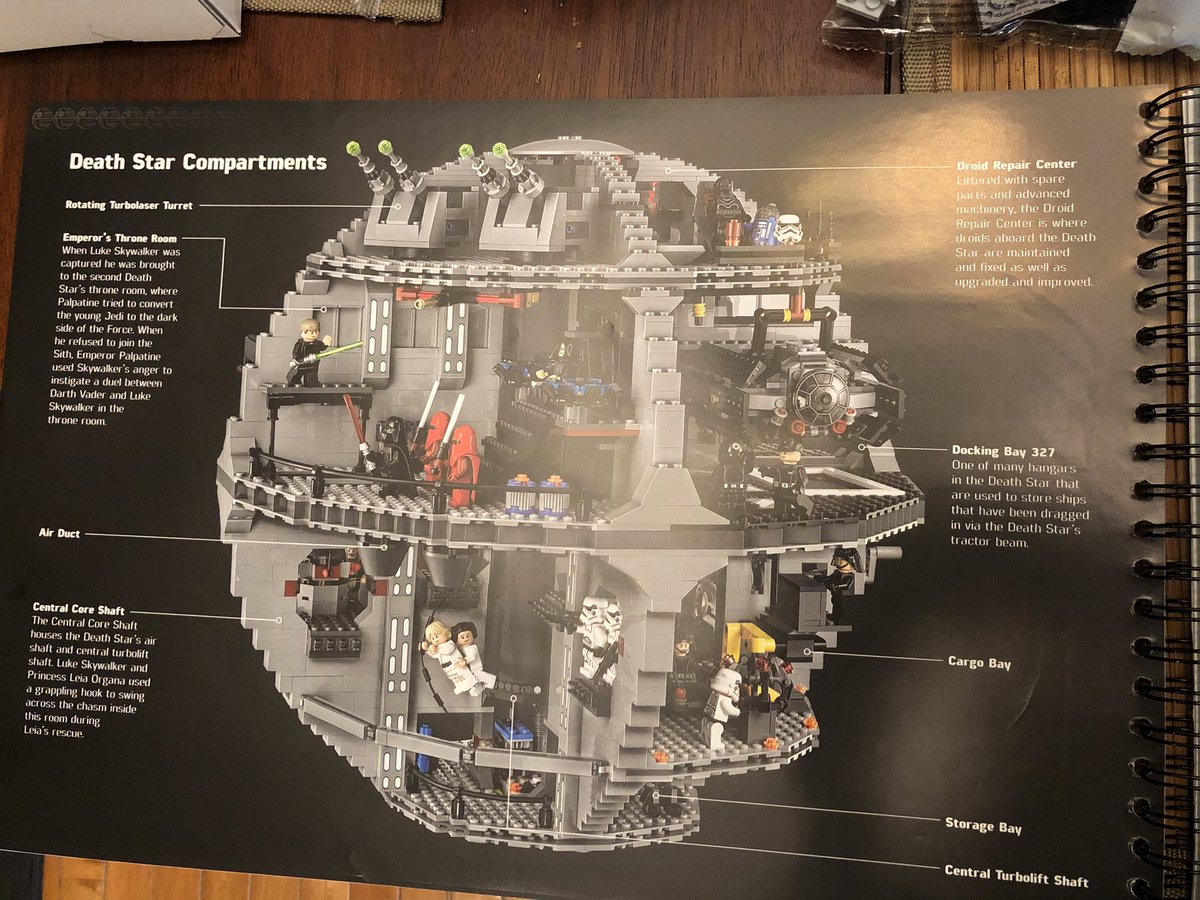
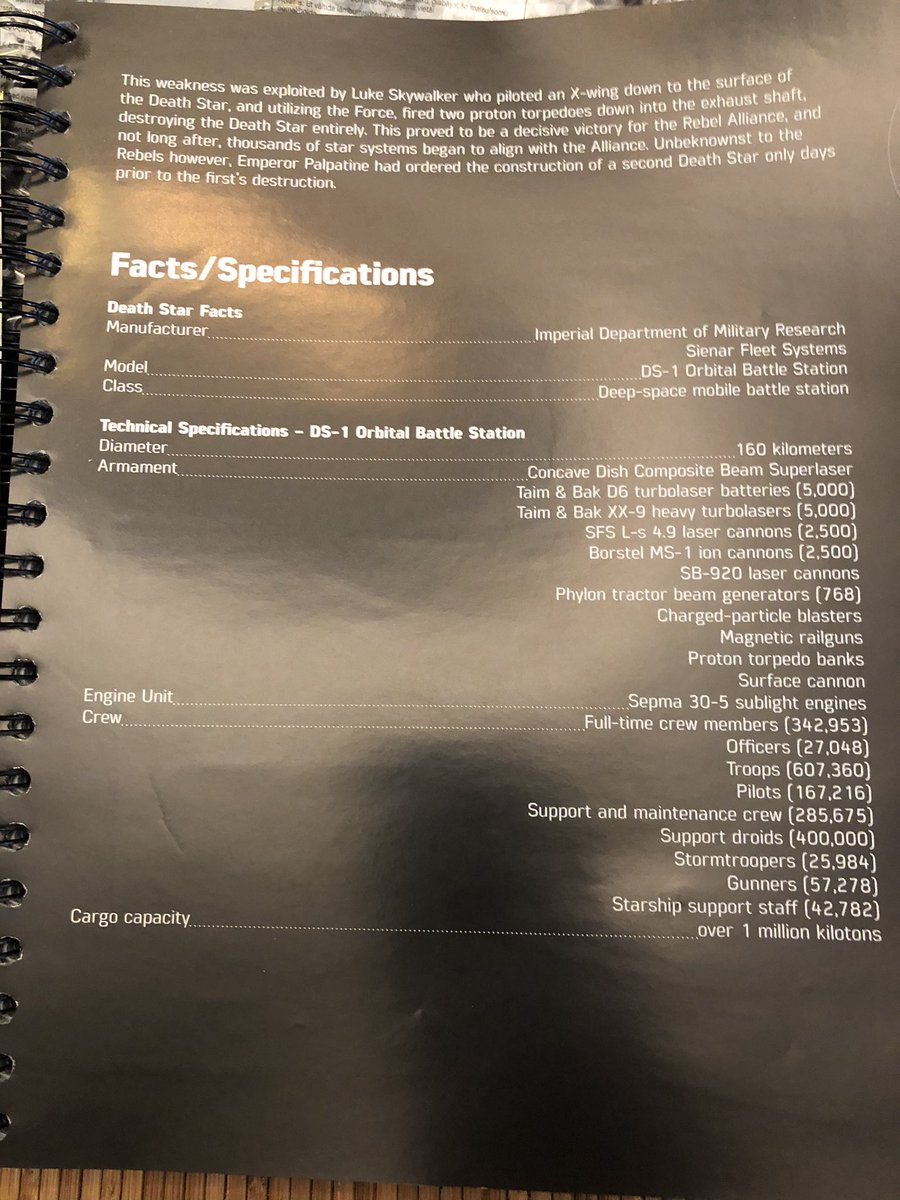
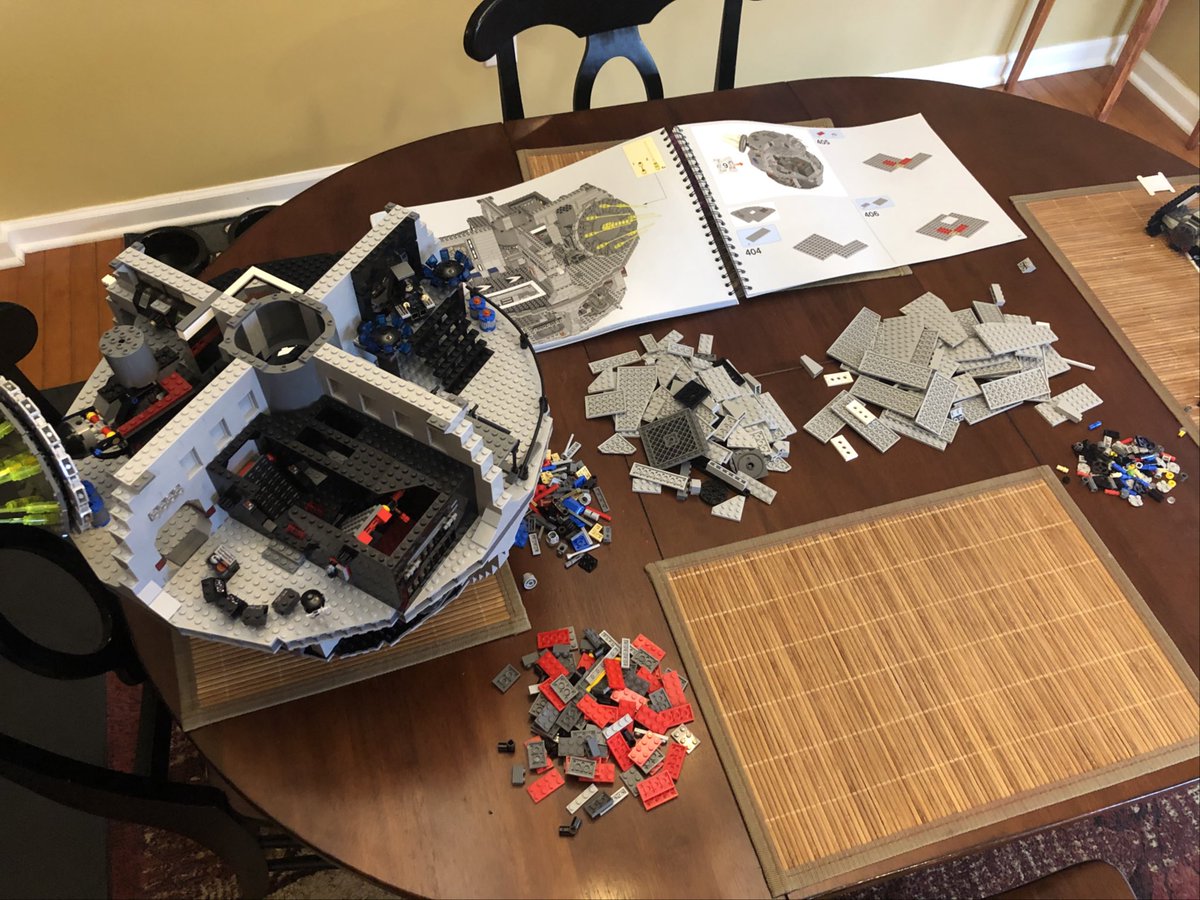
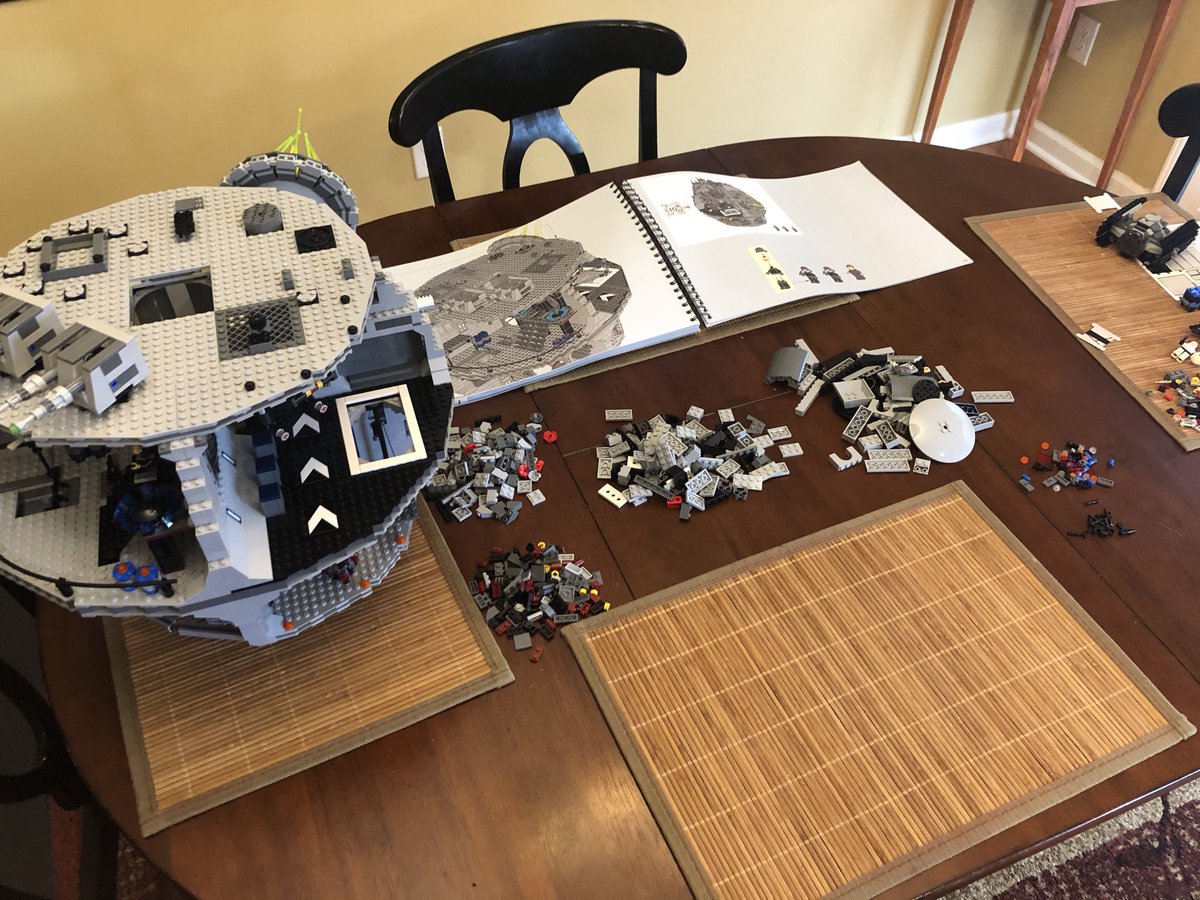
There’s soooo many parts. There’s 10 segments in almost 30 bags. Some are free and others in two boxes. The manual is over 300 pages and has some amazing photography and stats. There were 1.7M people on the 160km diameter station! #LEGO 

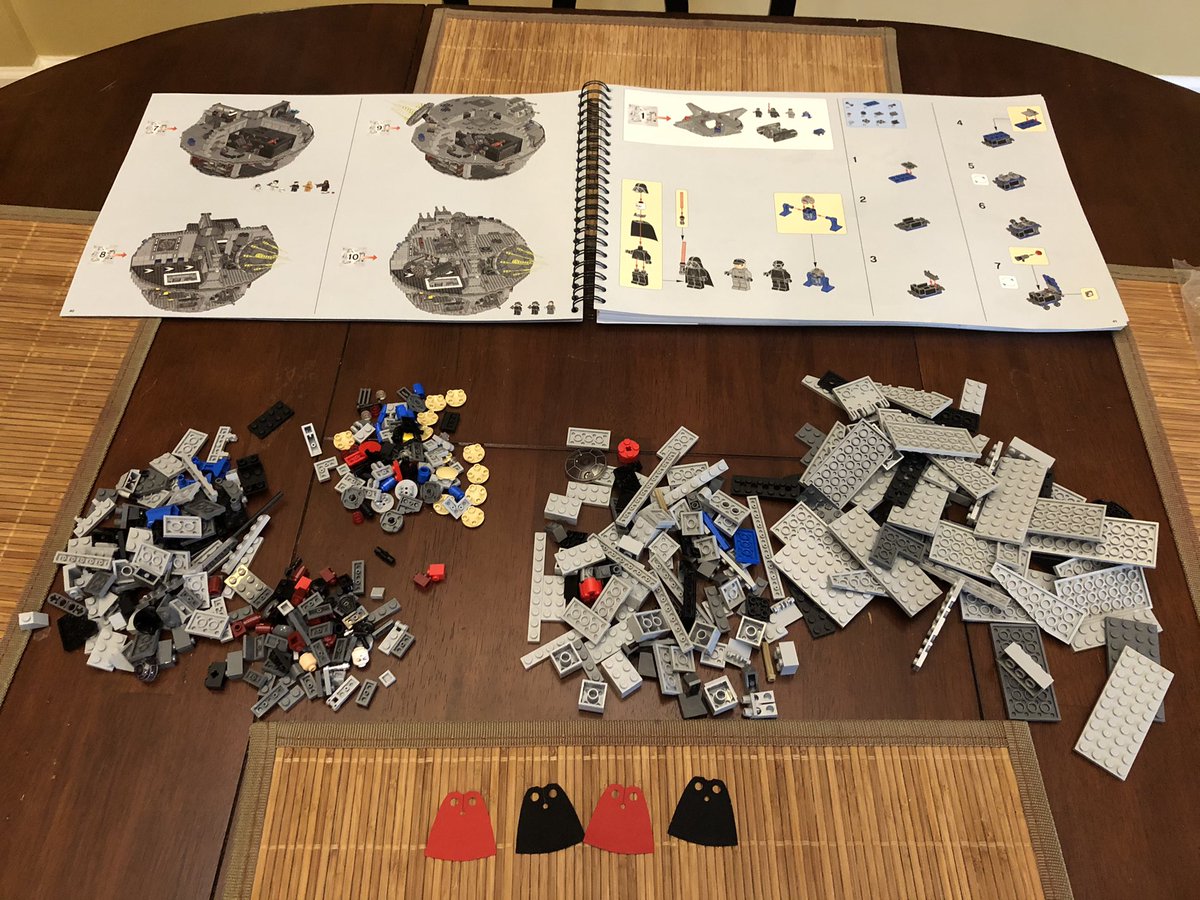
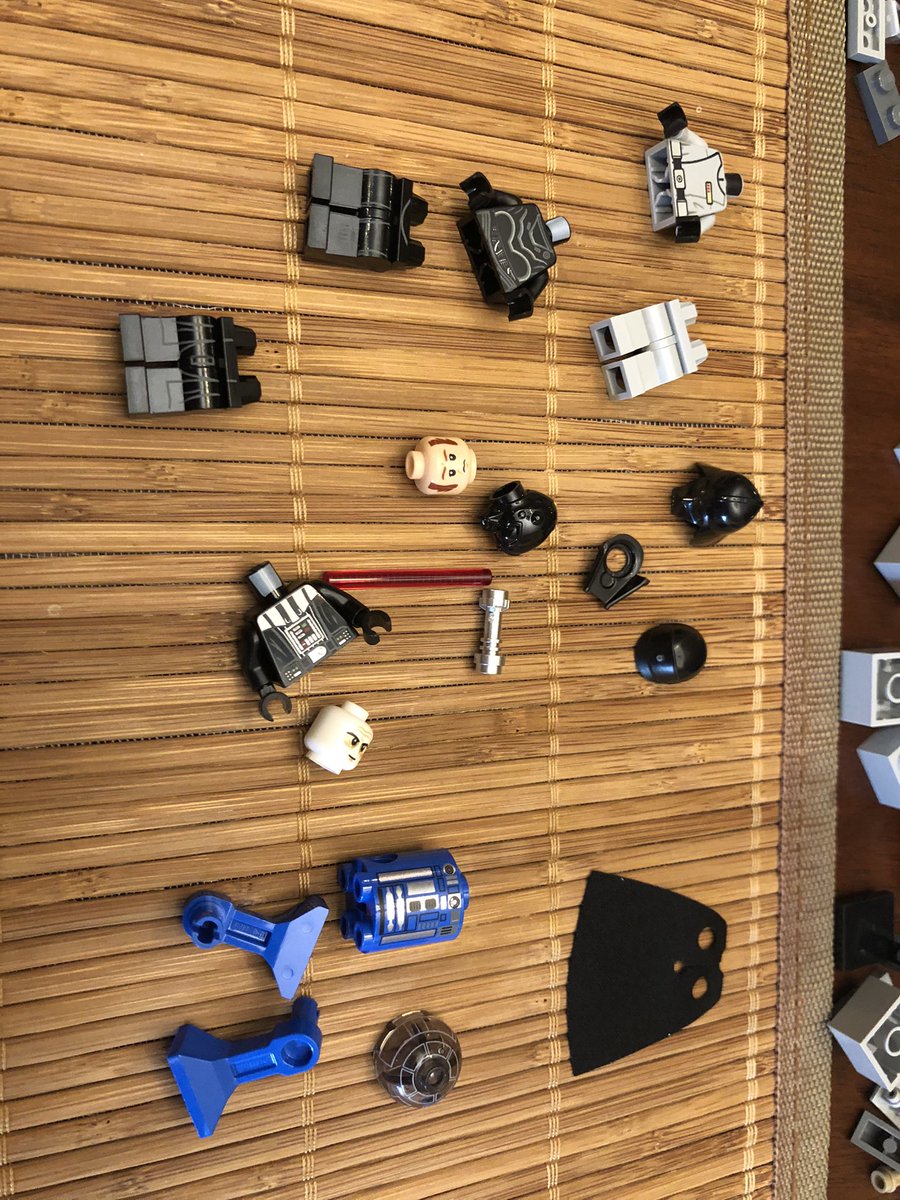
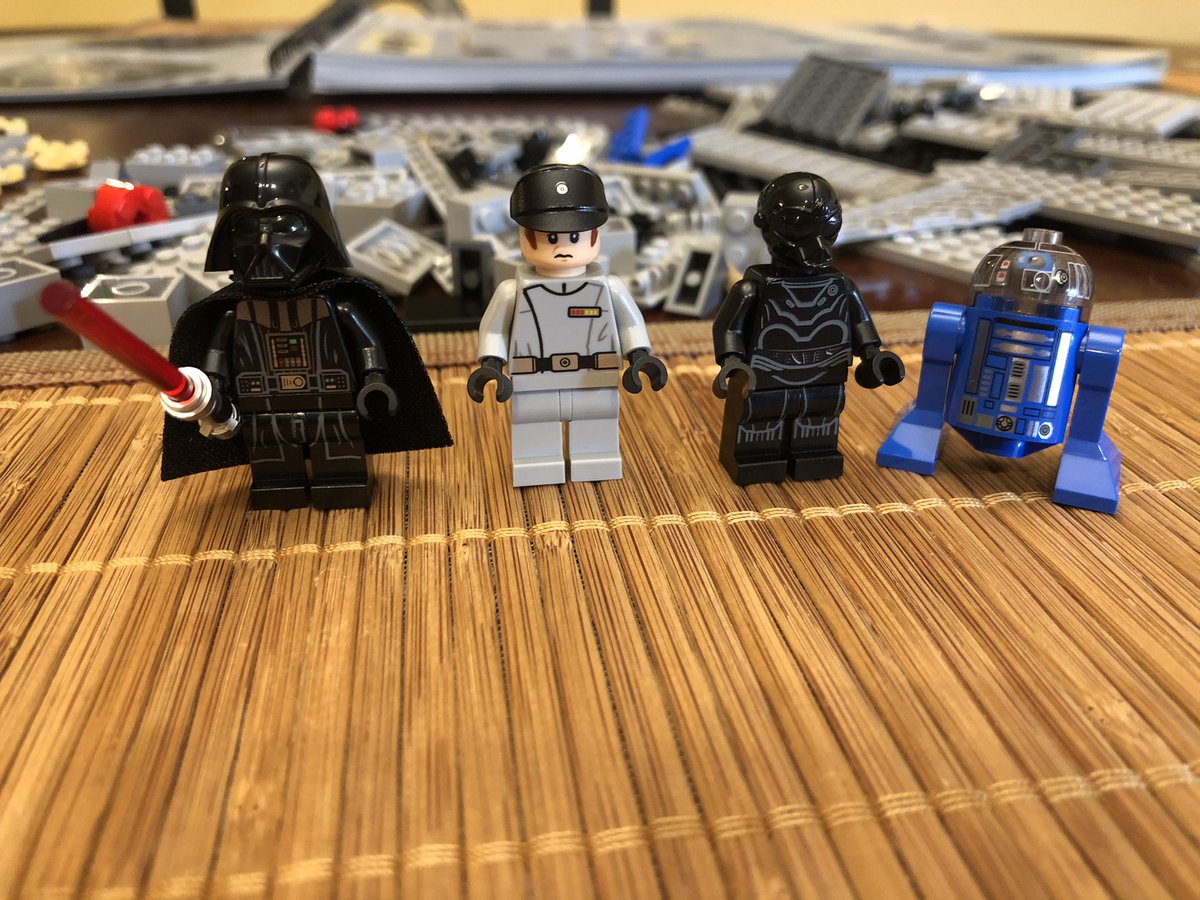
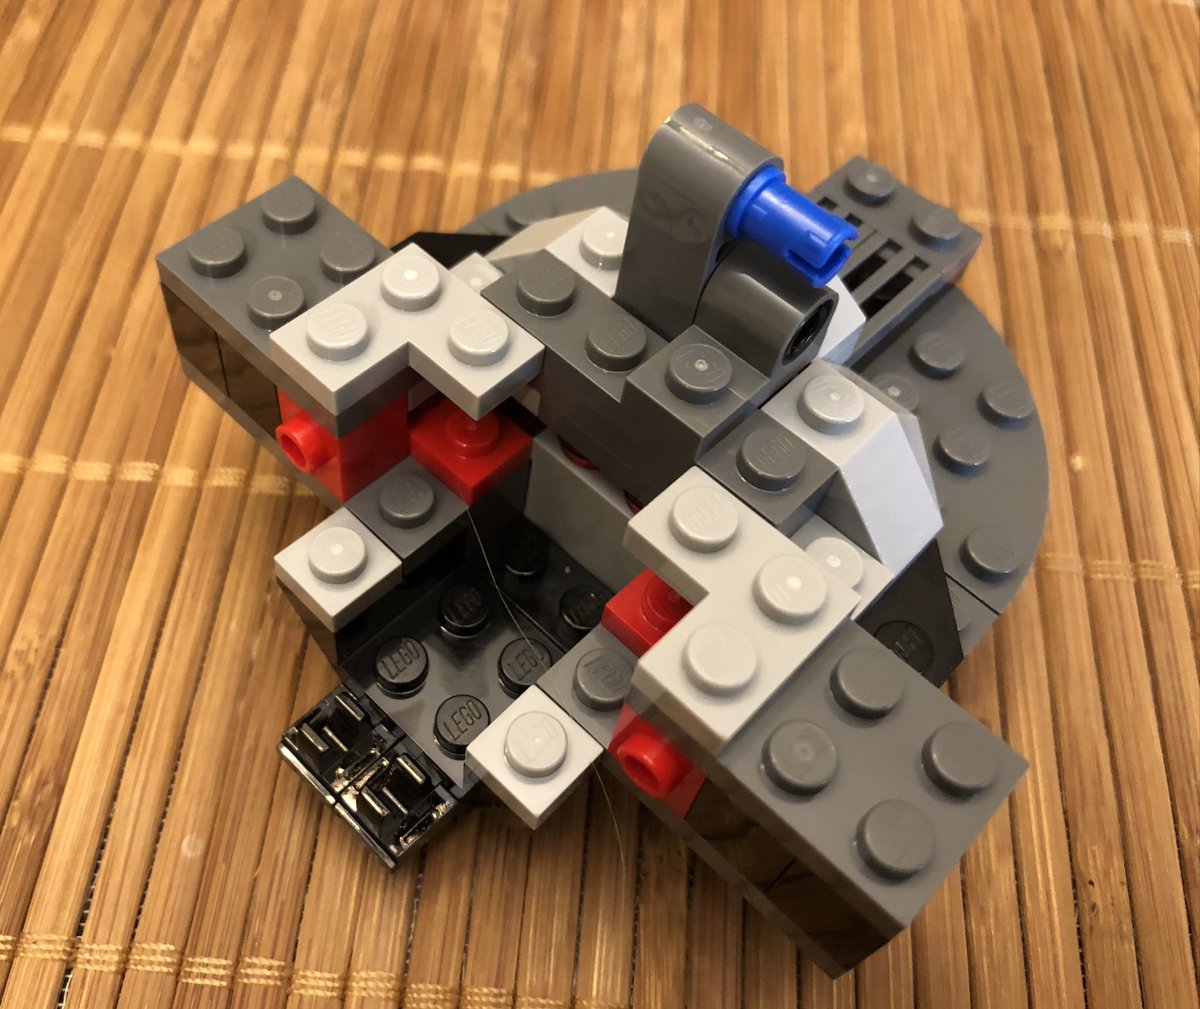
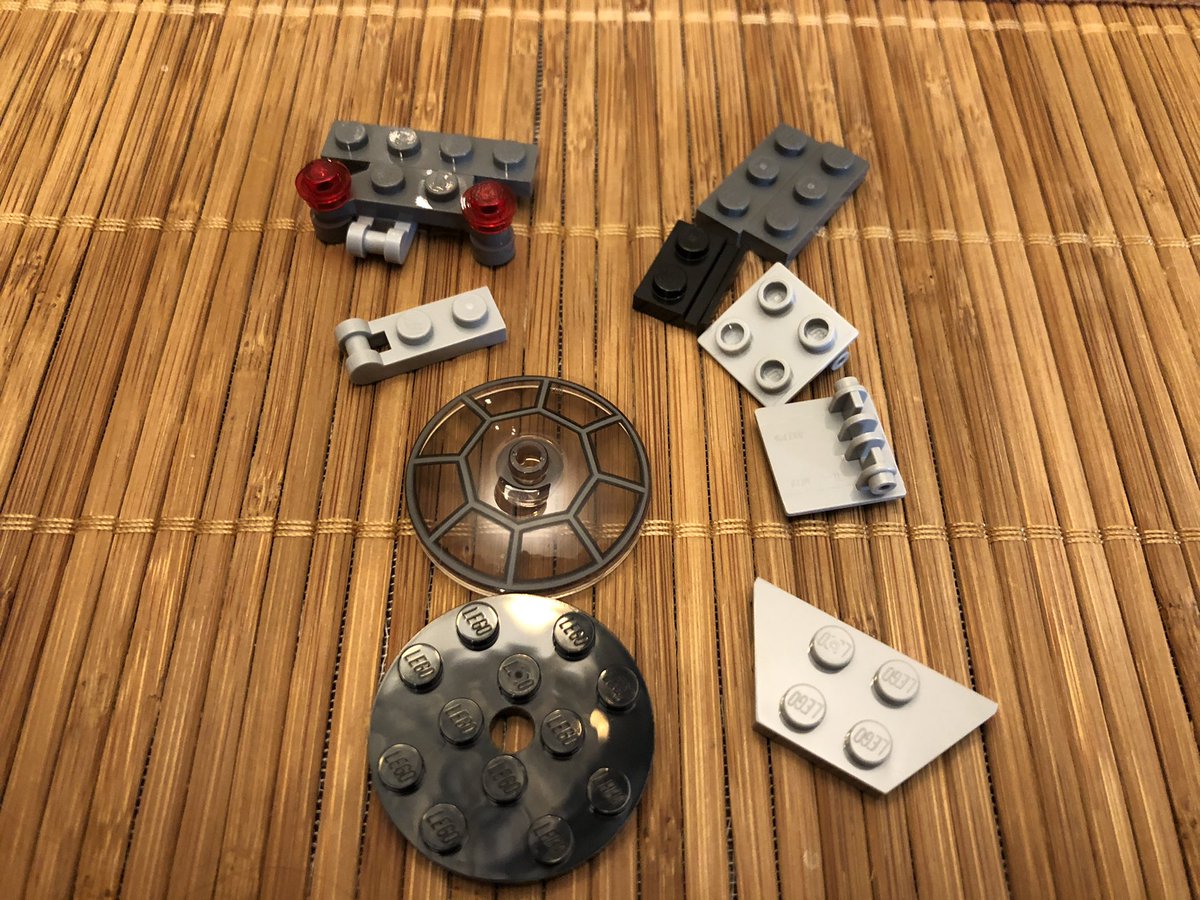
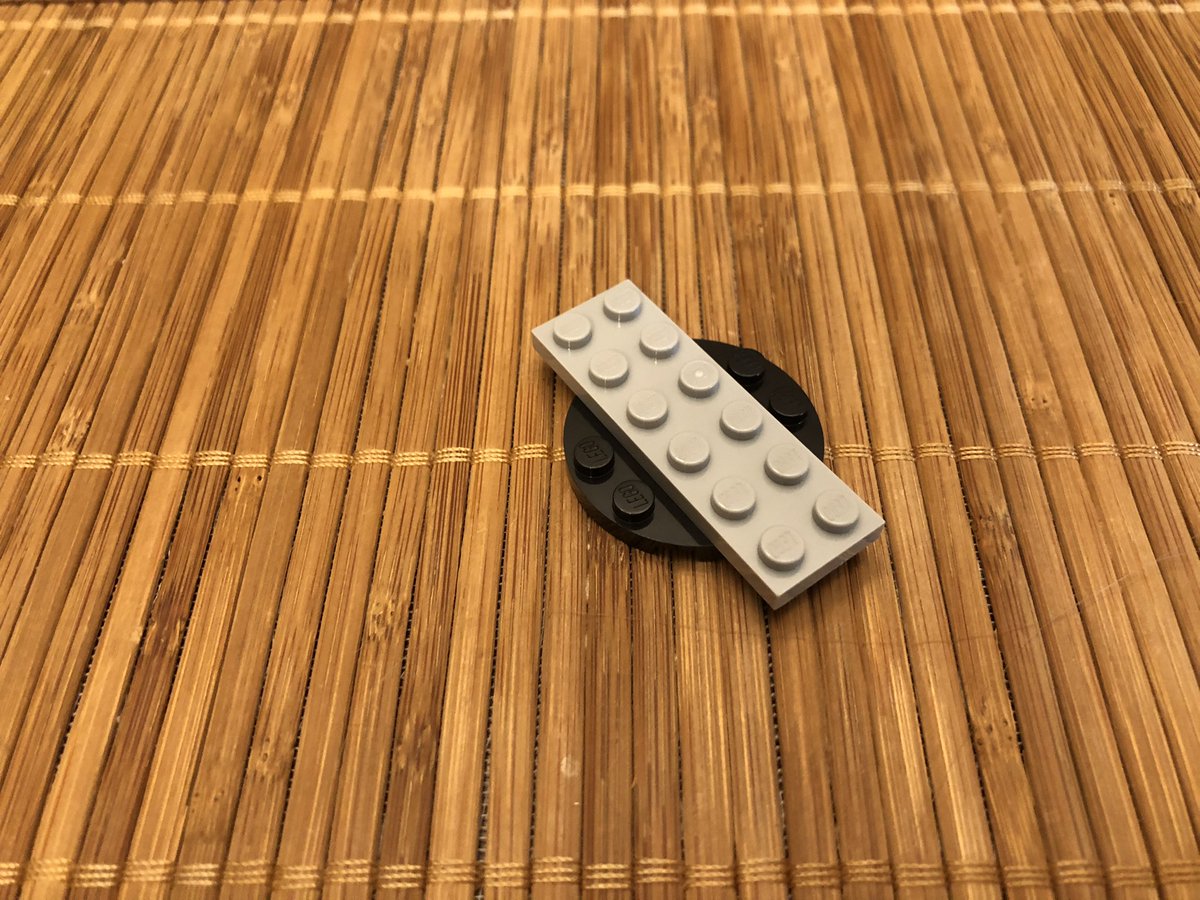
The first section is the bottom floor of the Death Star - and of course starts with some figurines. Death Vader, an officer, a Death Star droid, and an imperial astromech. #LEGO 

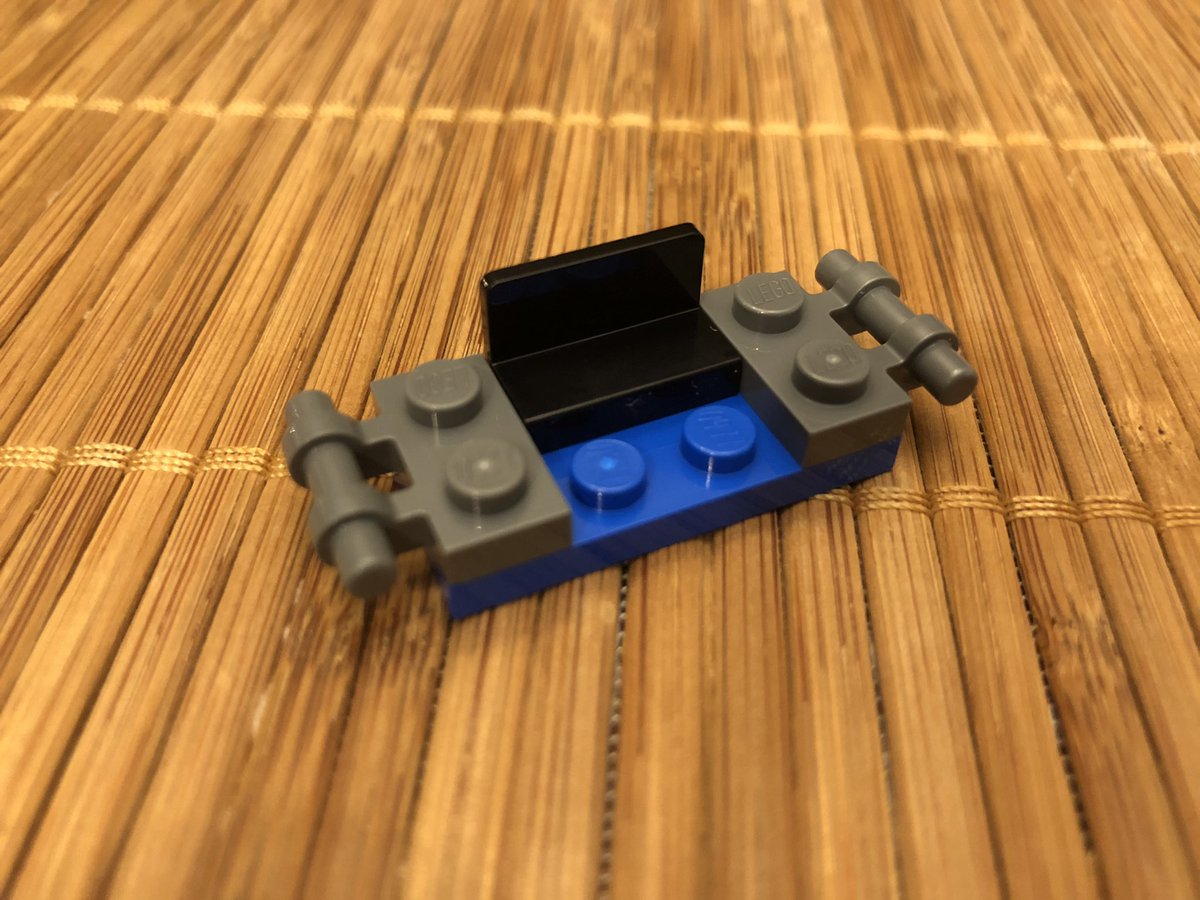
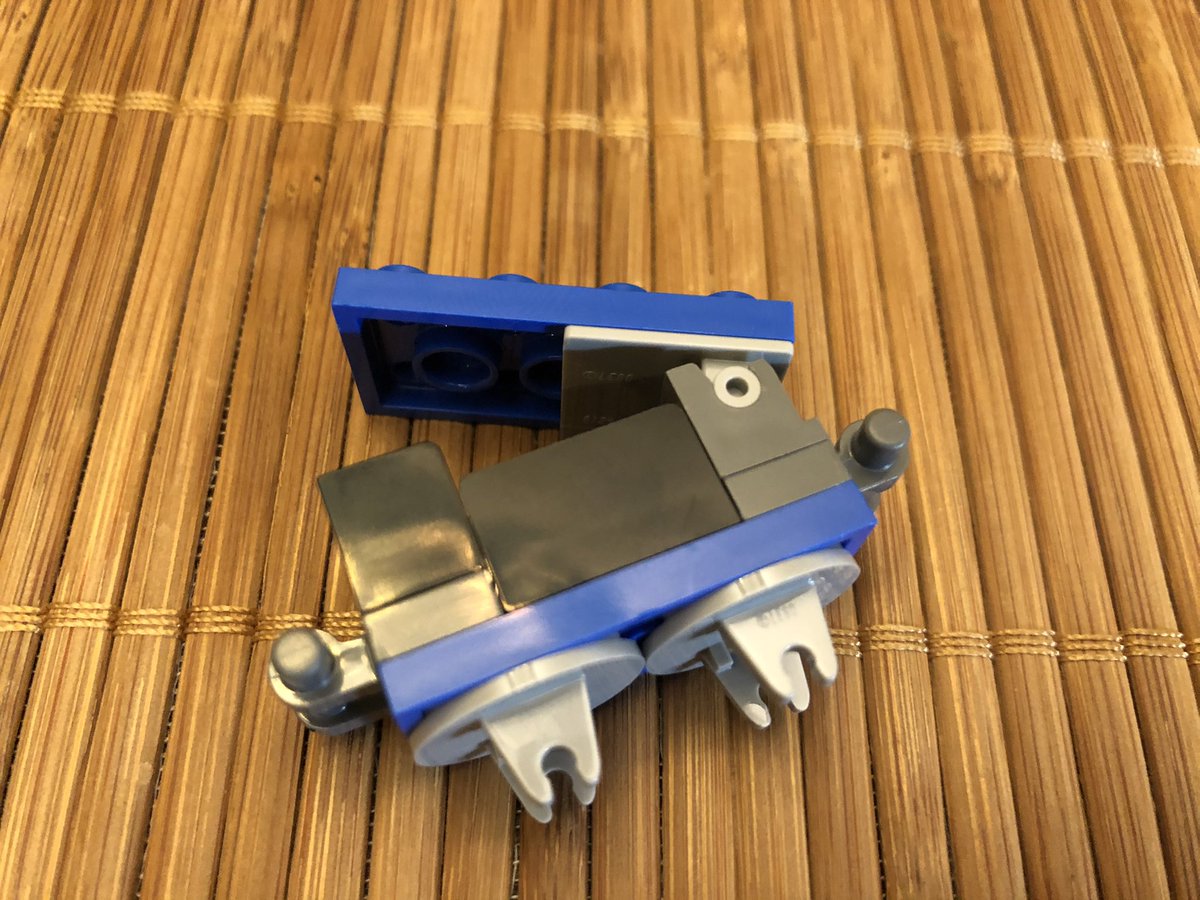
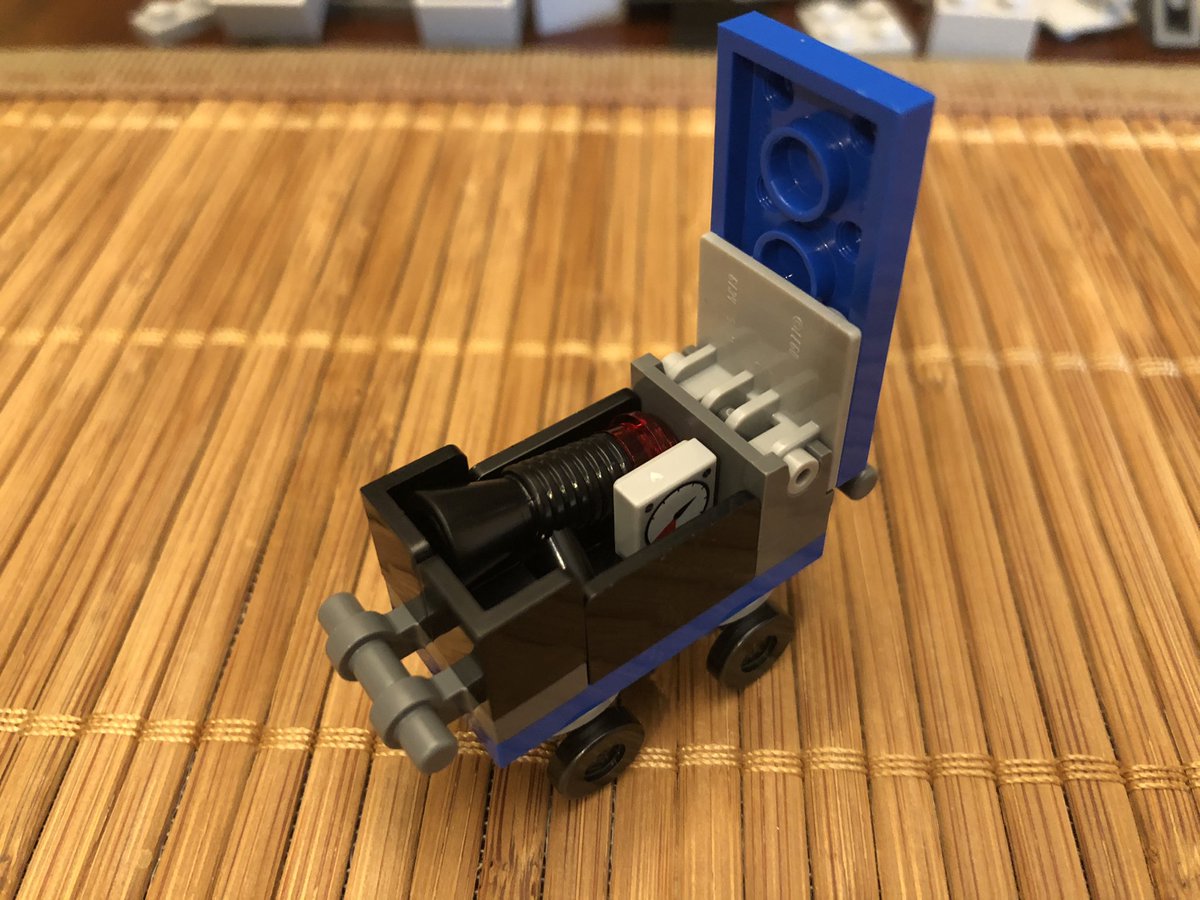
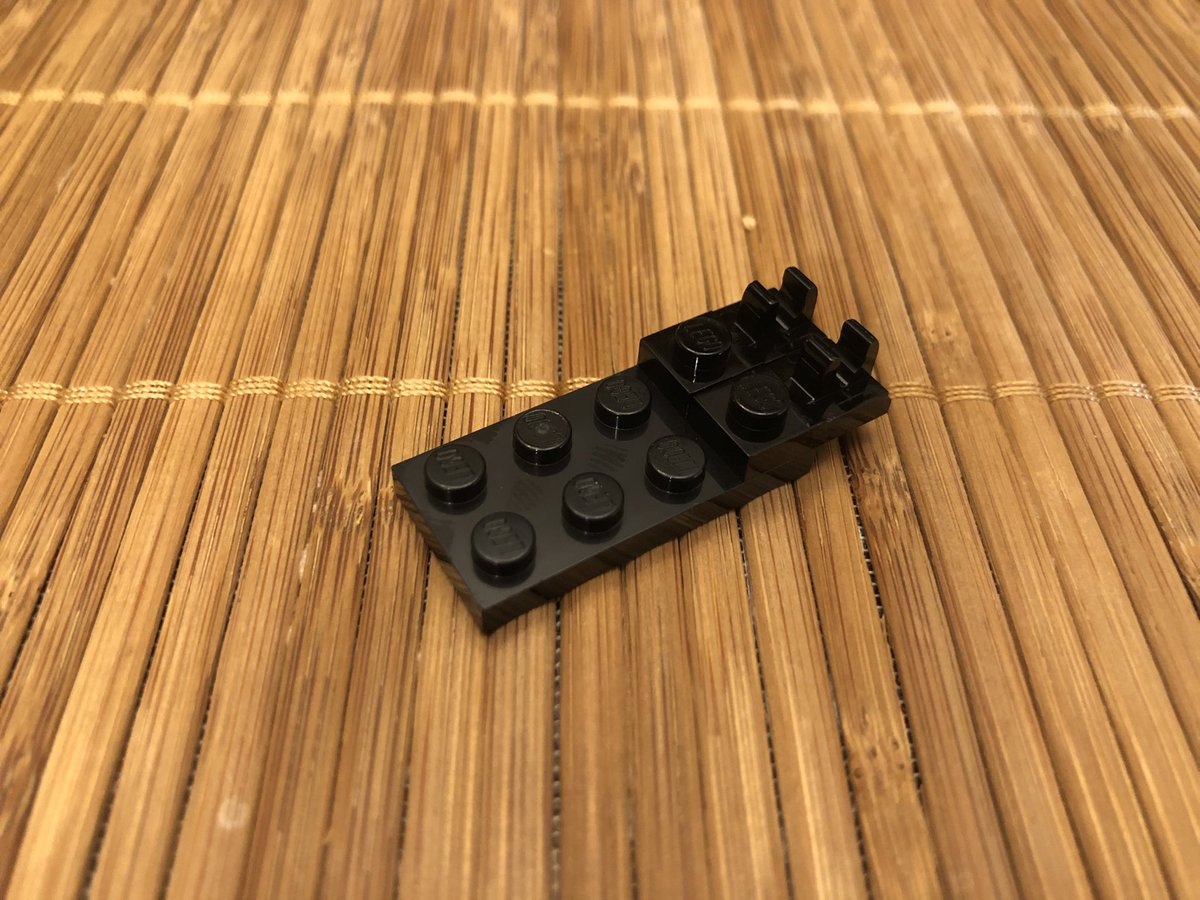
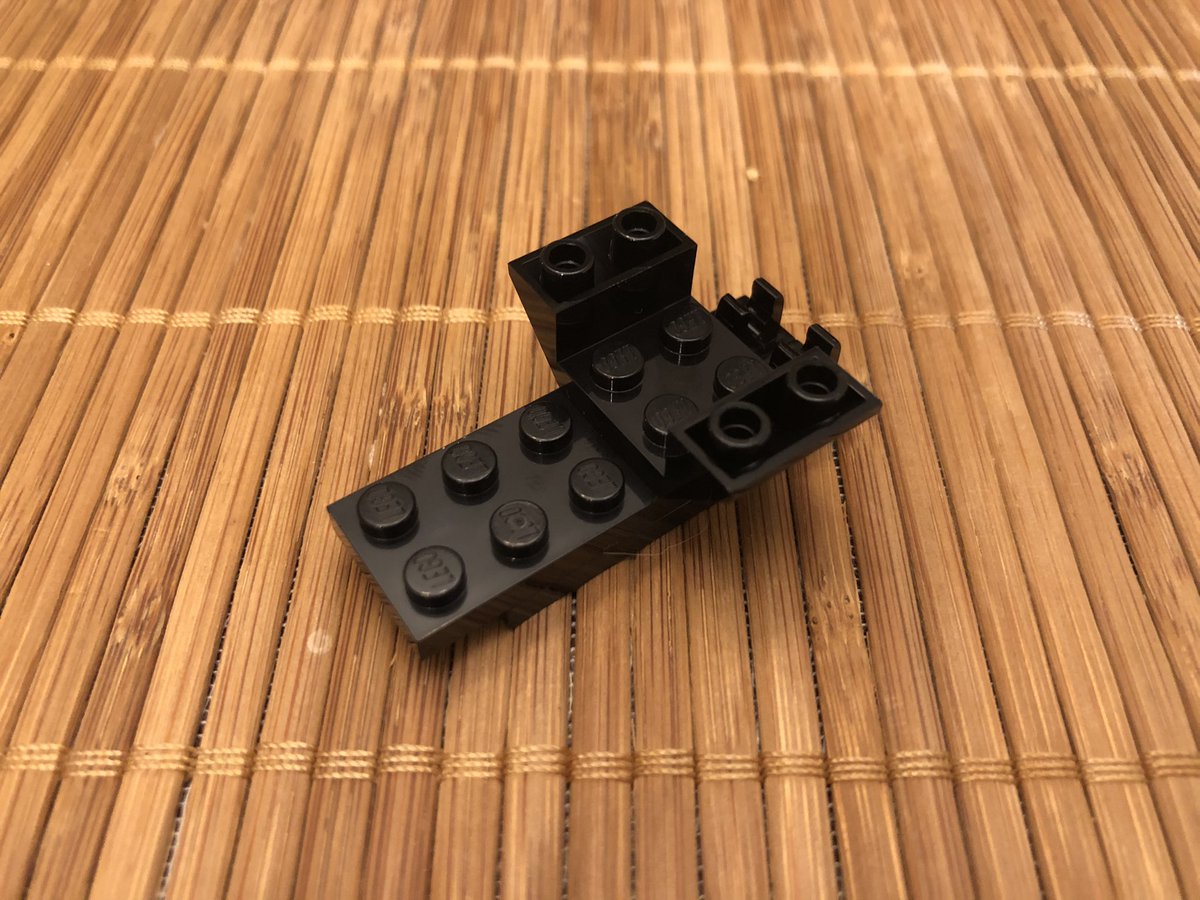
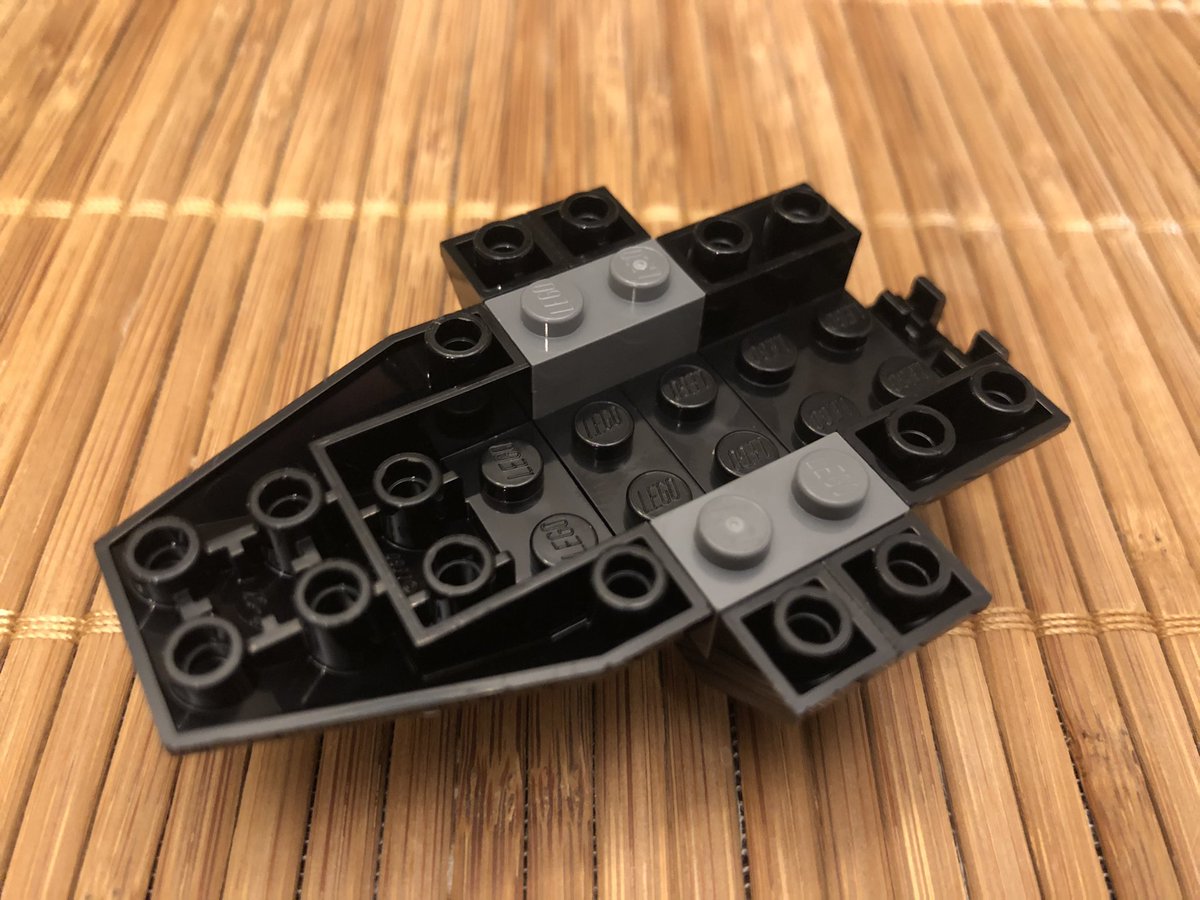
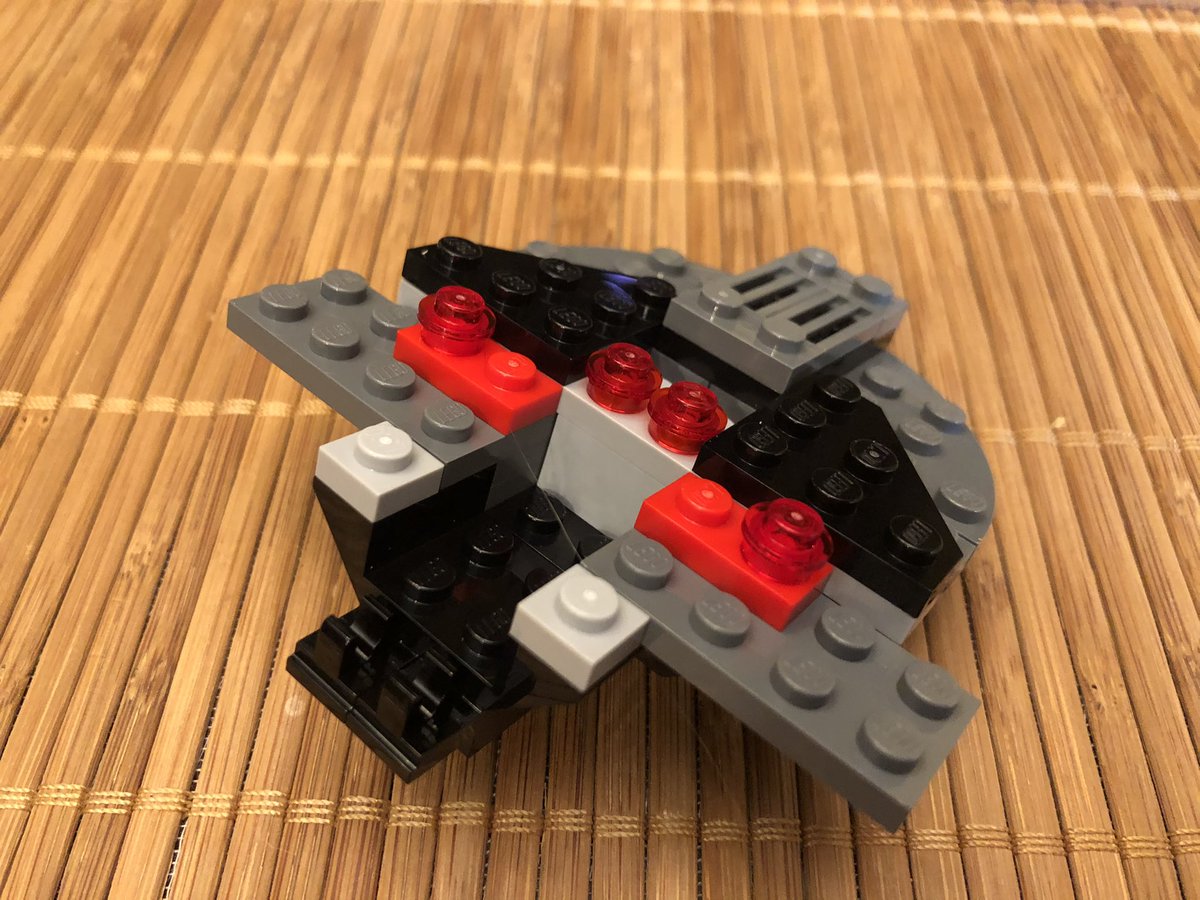
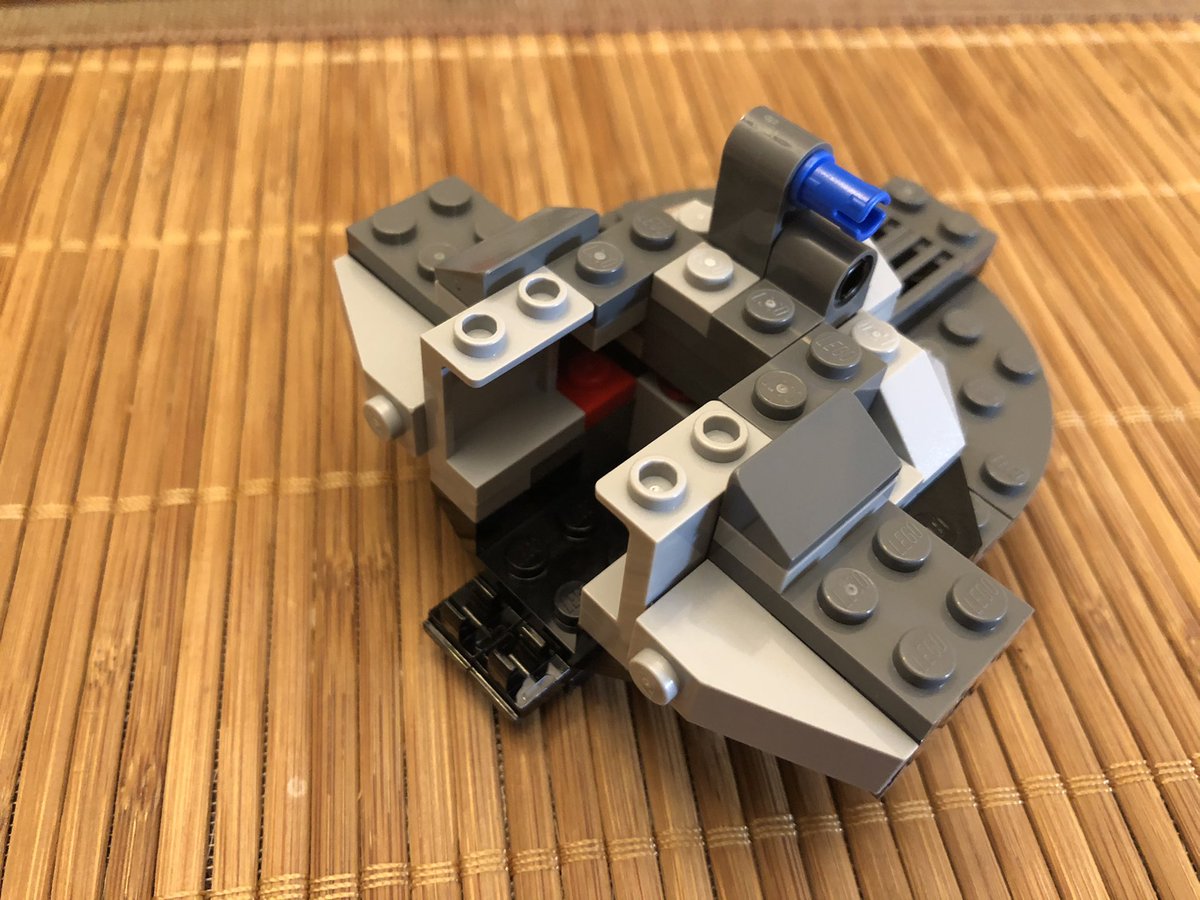
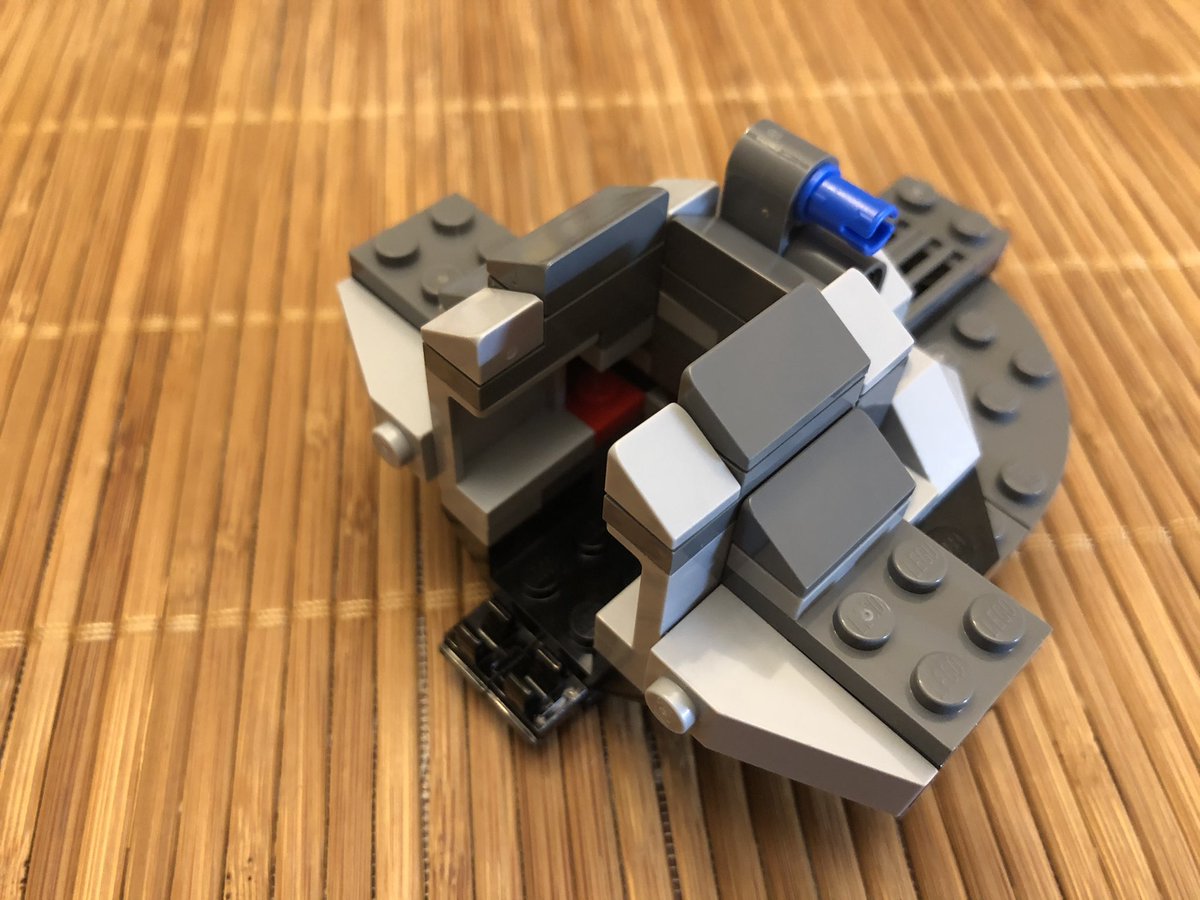
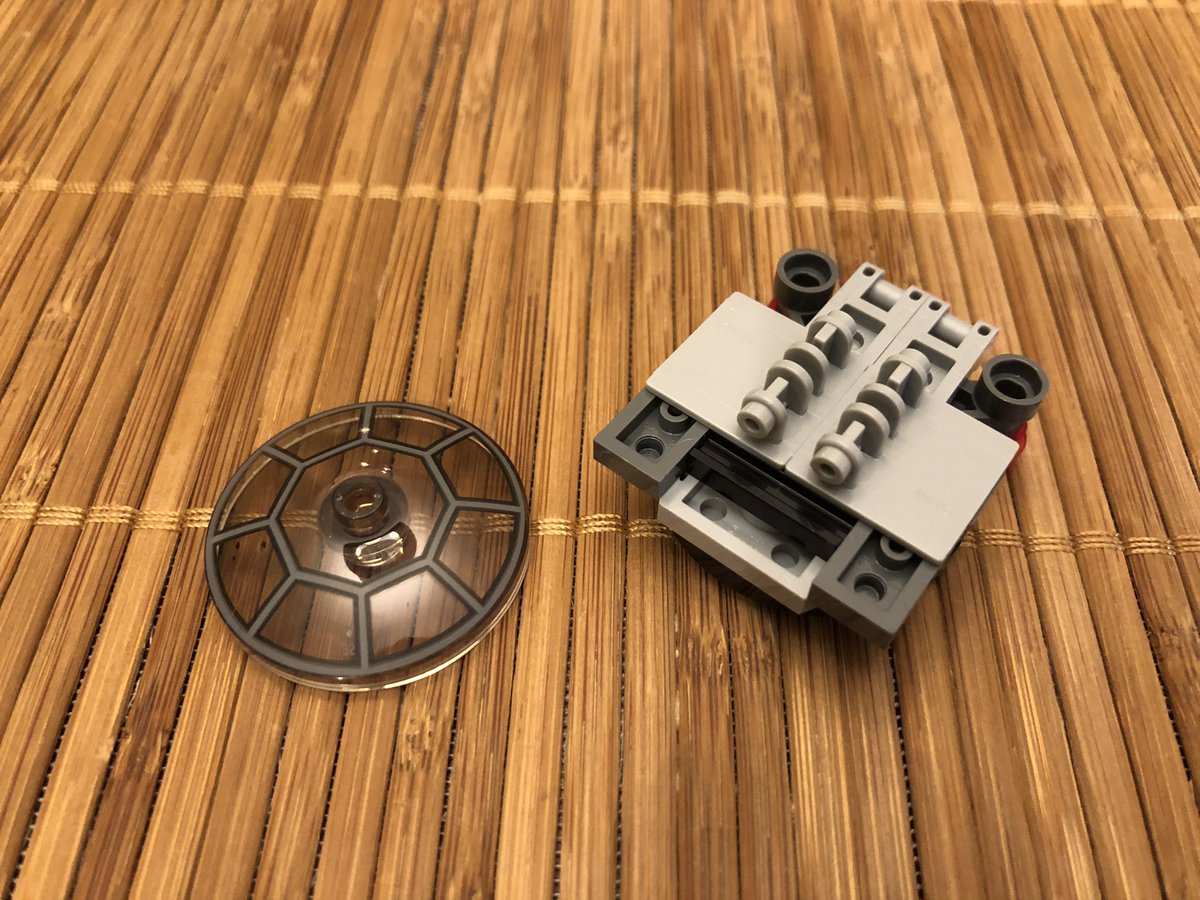
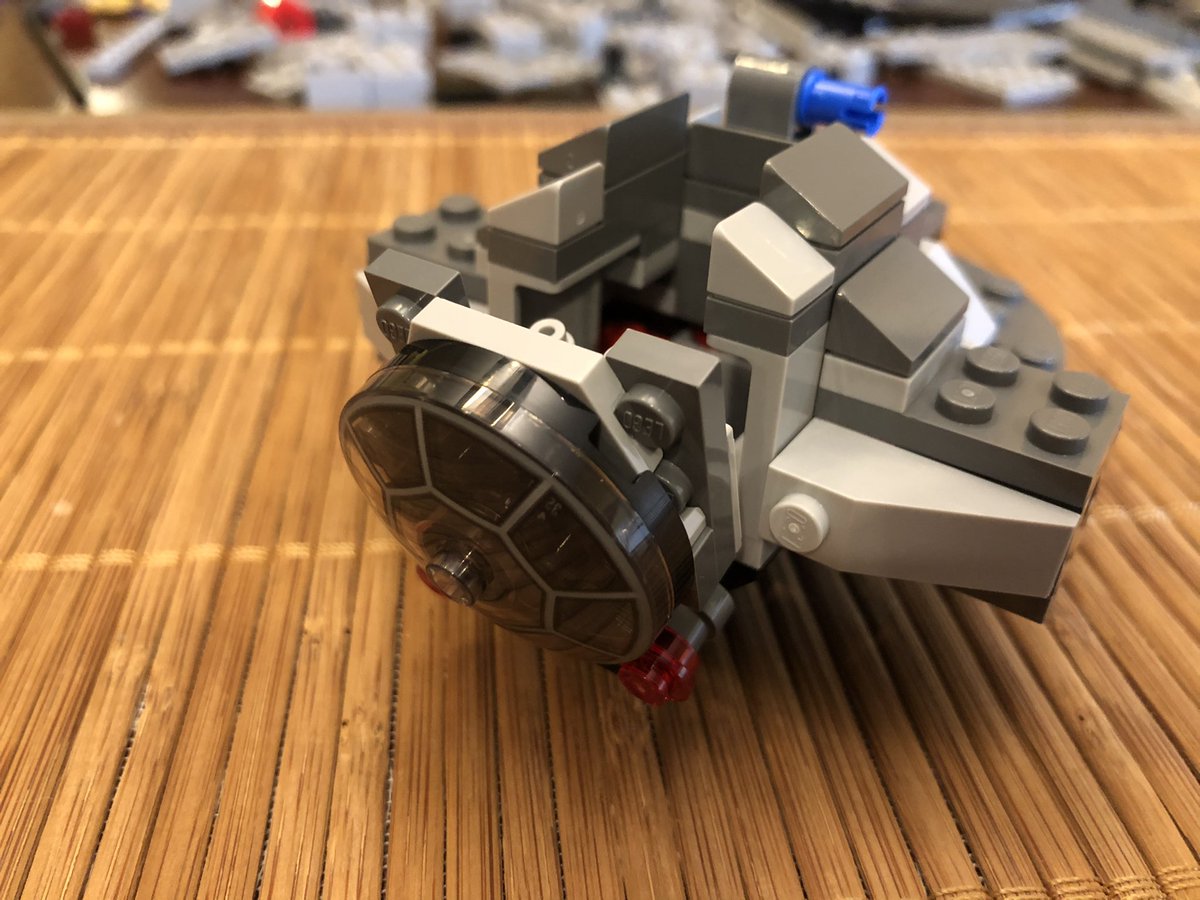
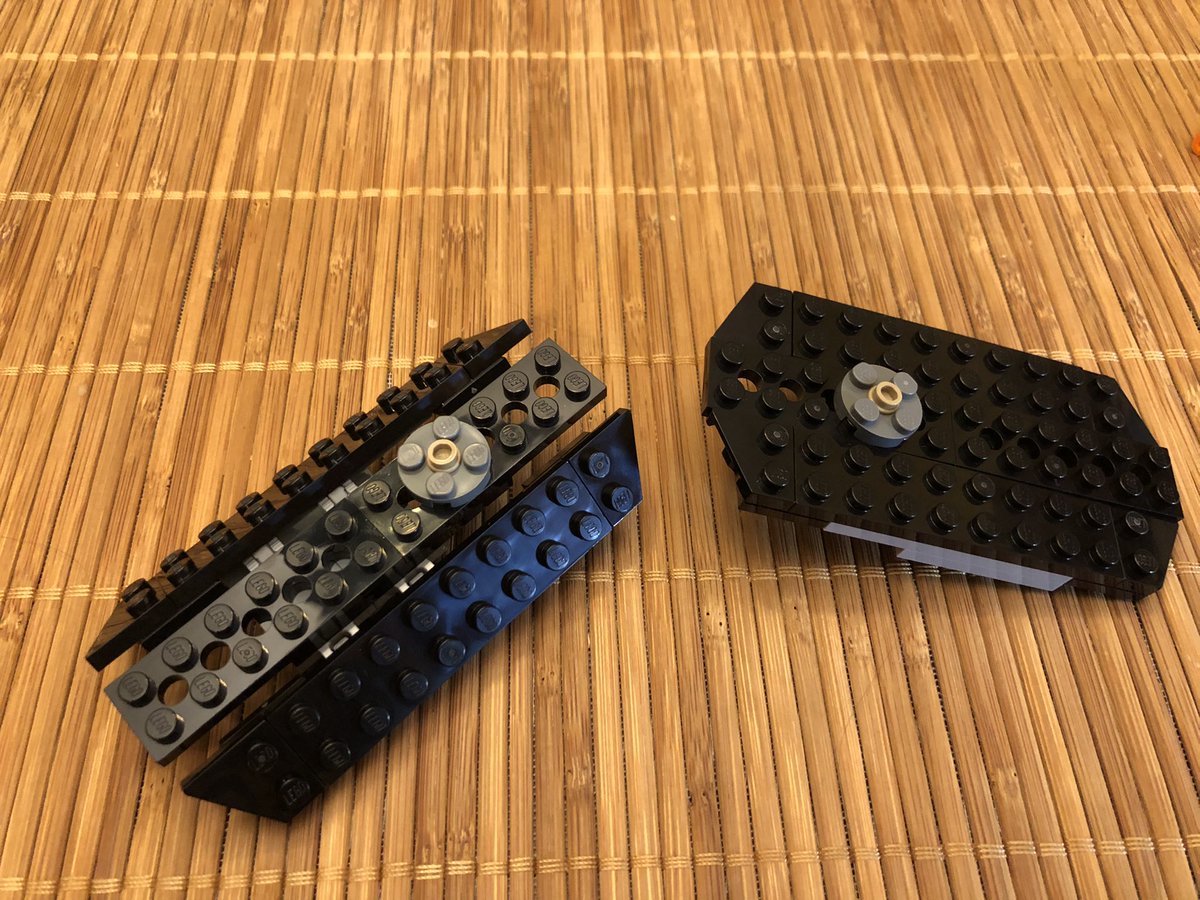
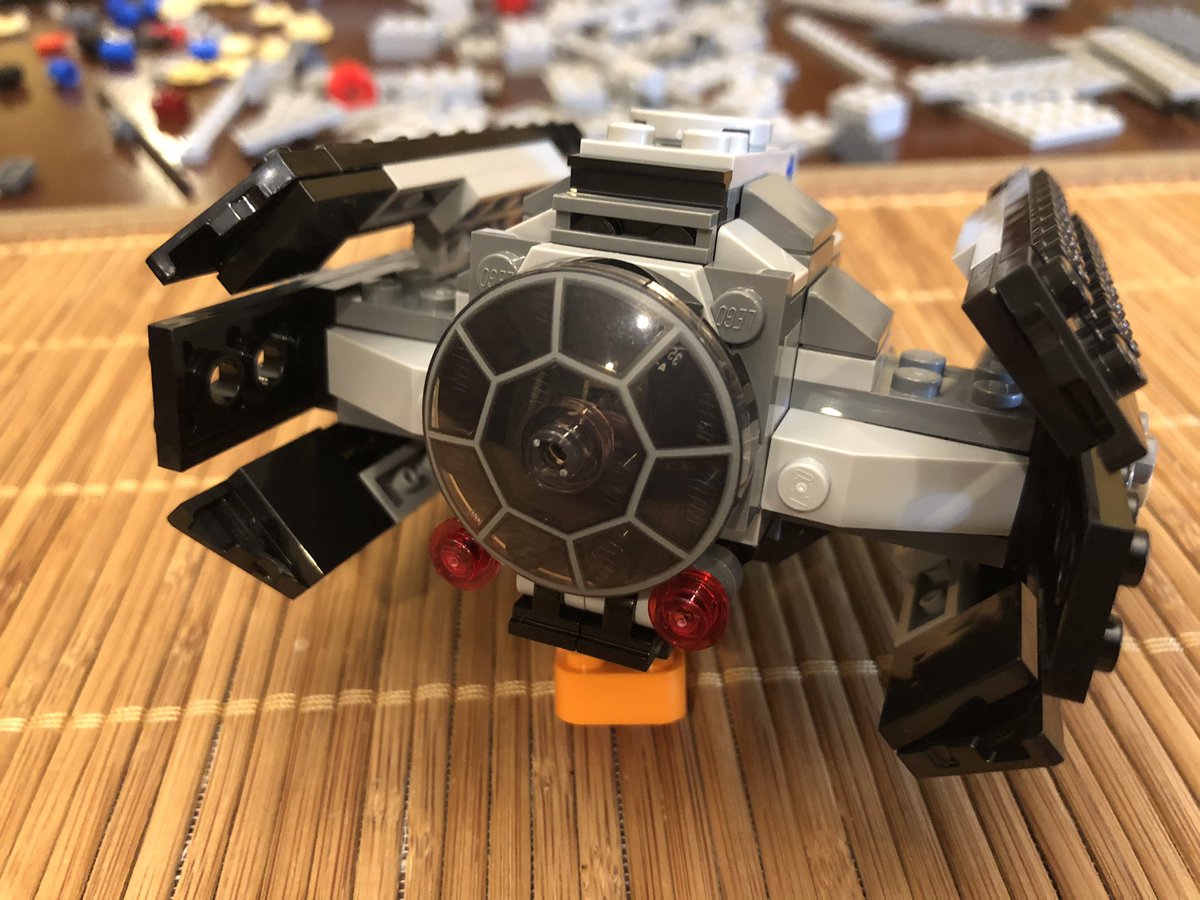
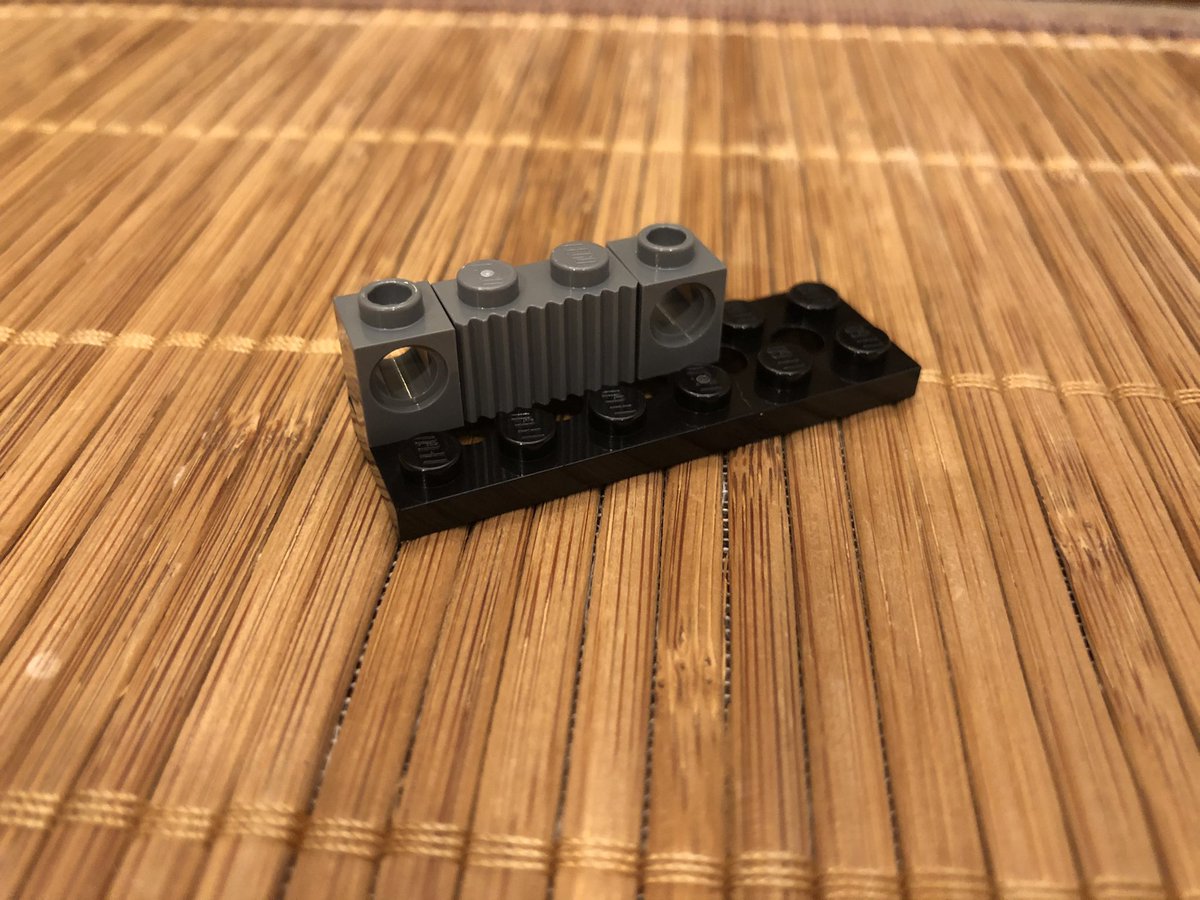
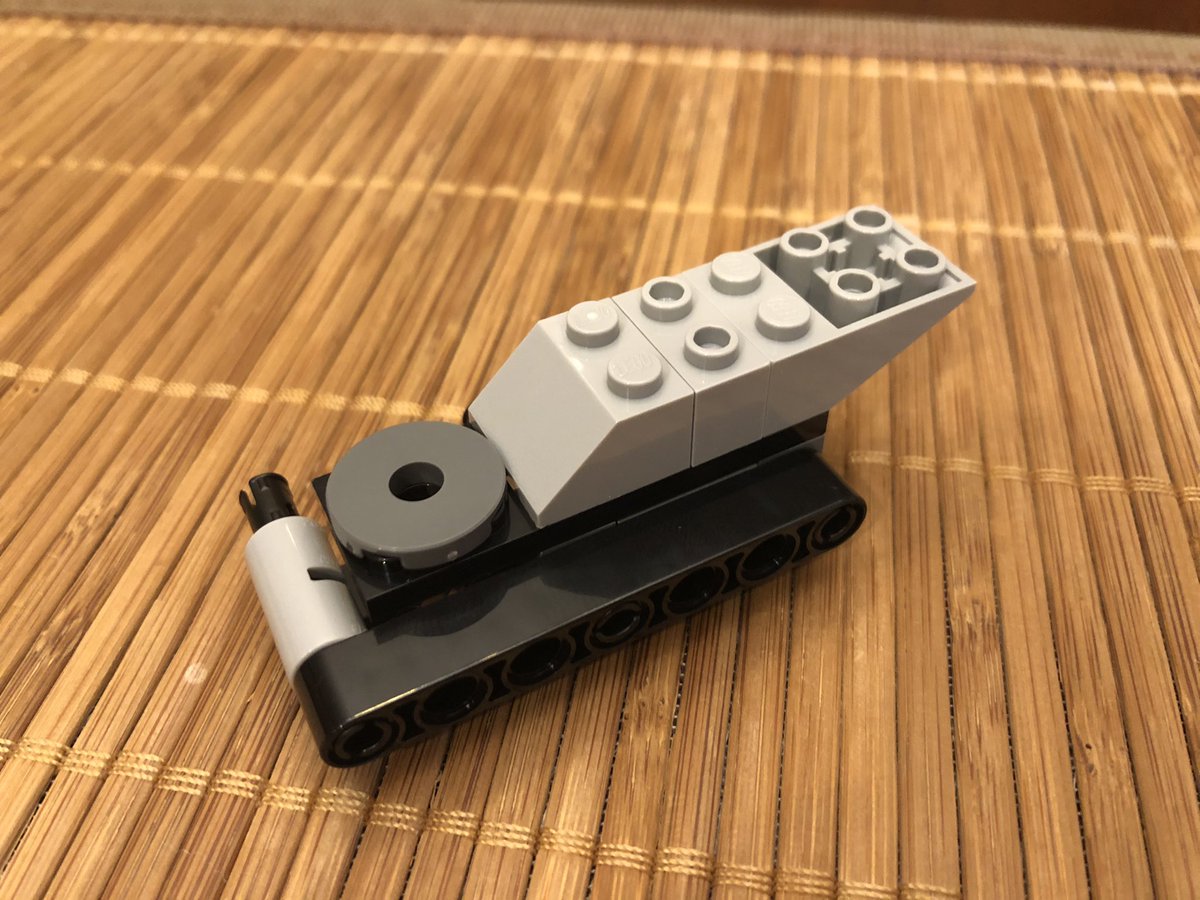
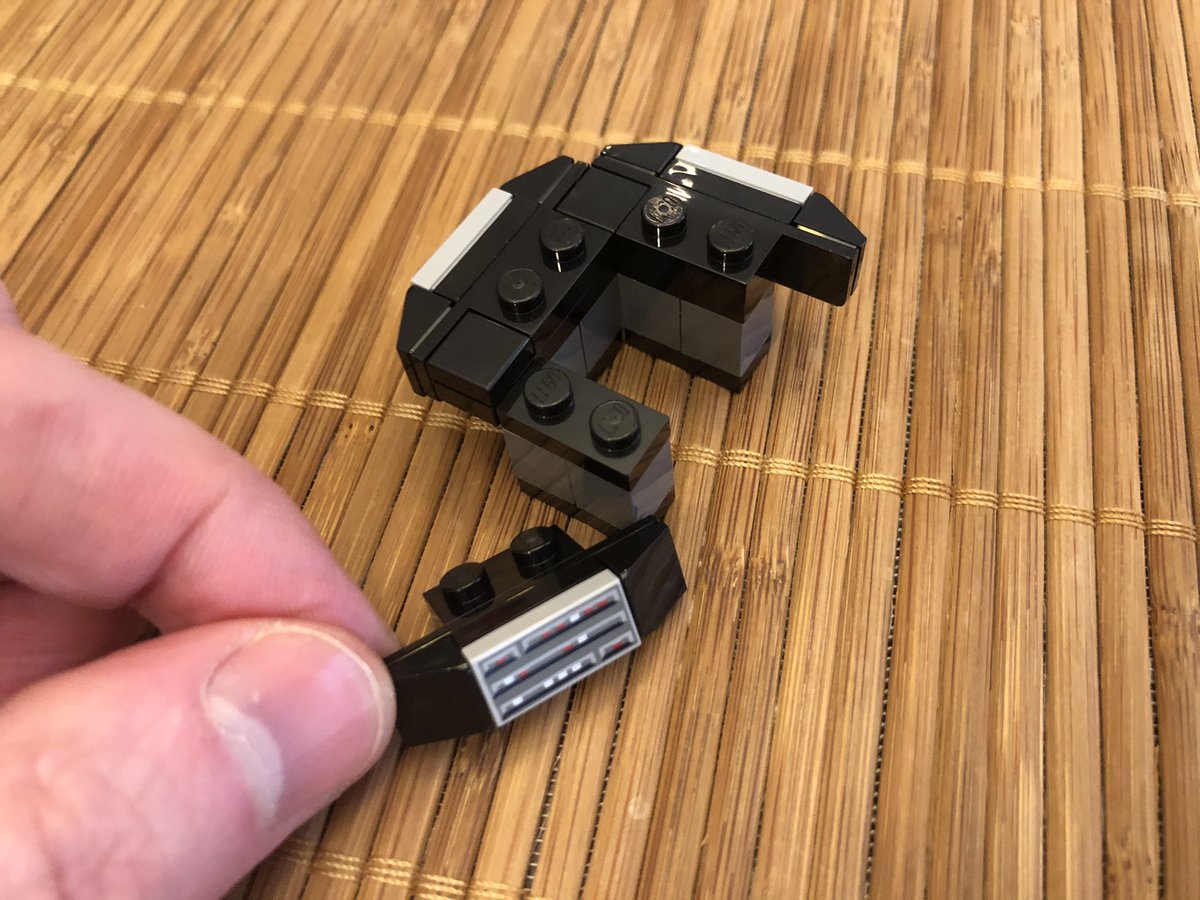
A few sloped blocks finish the chassis, then we build the front canopy and cockpit glass, which hinges forward. #LEGO 

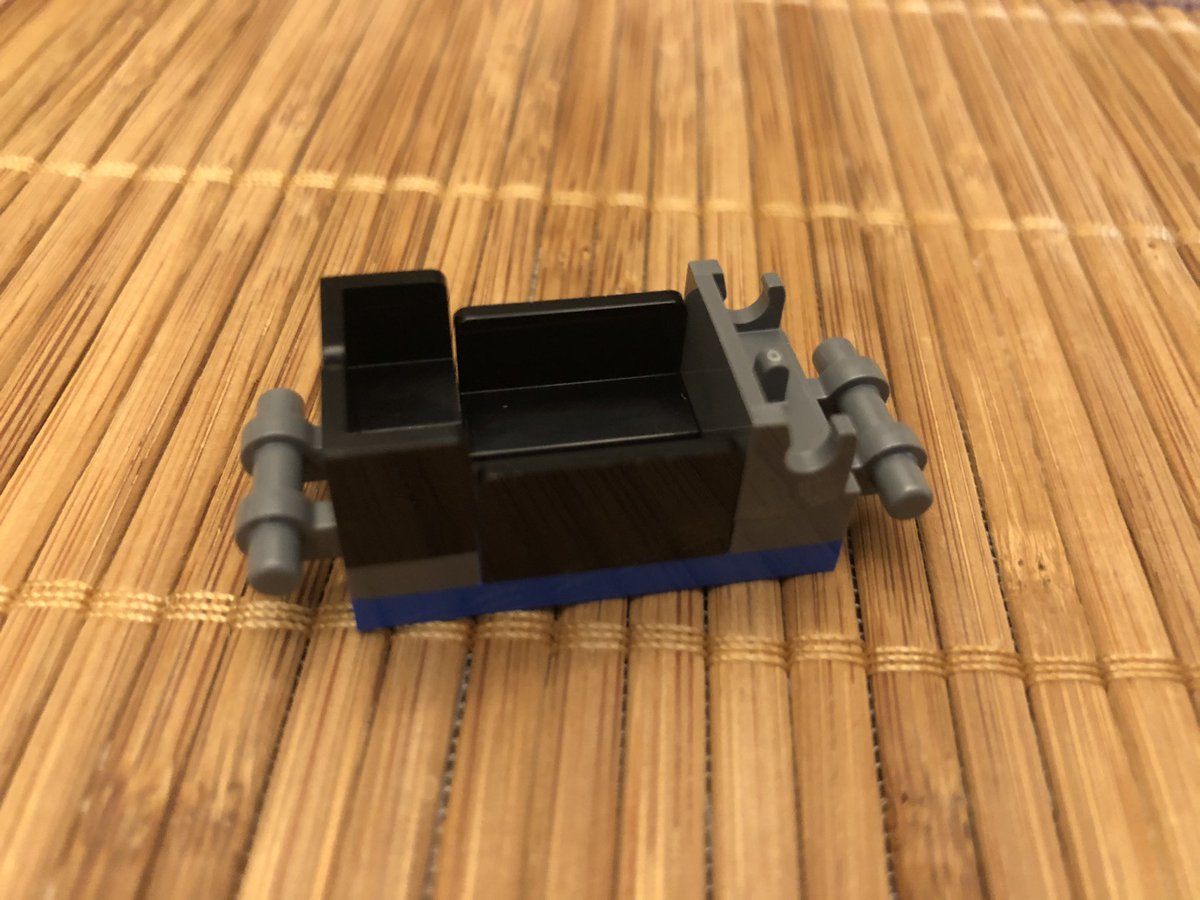
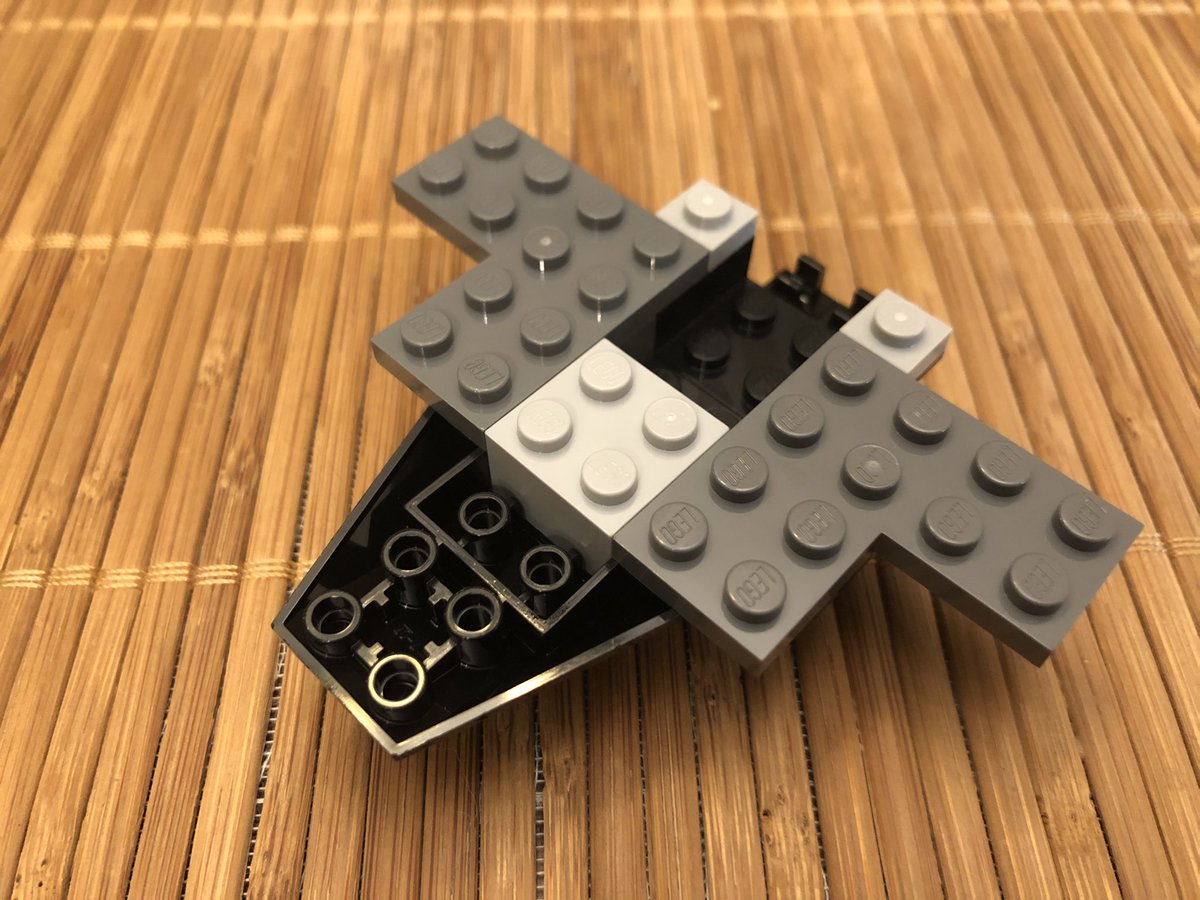
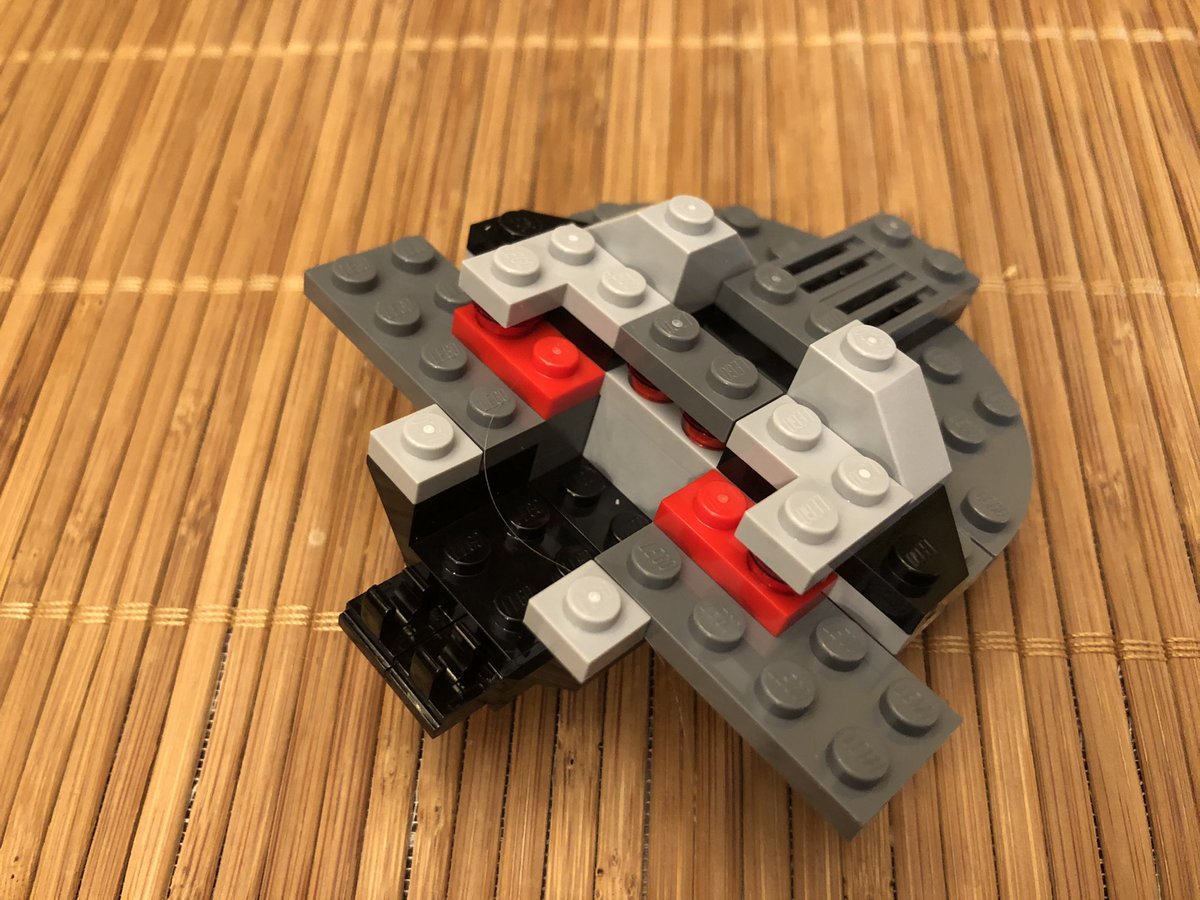
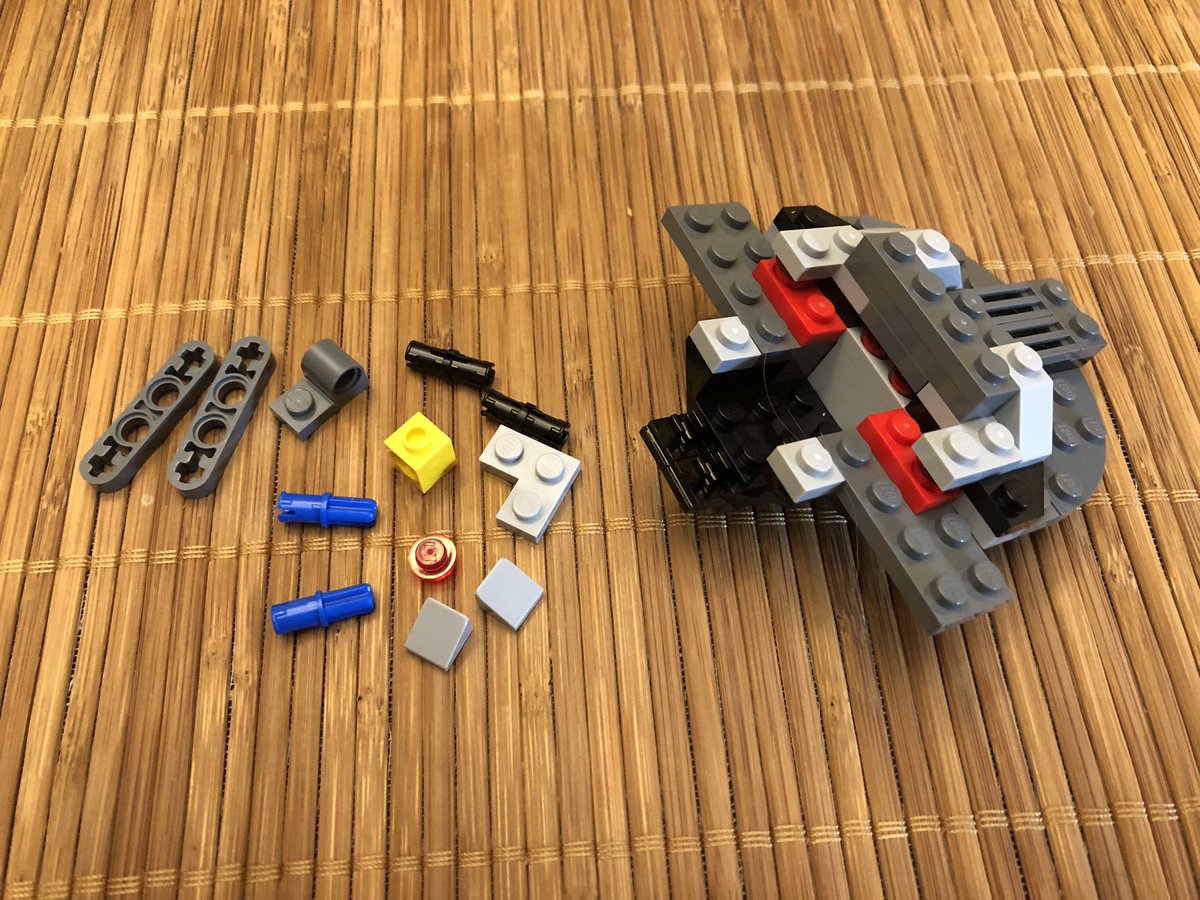
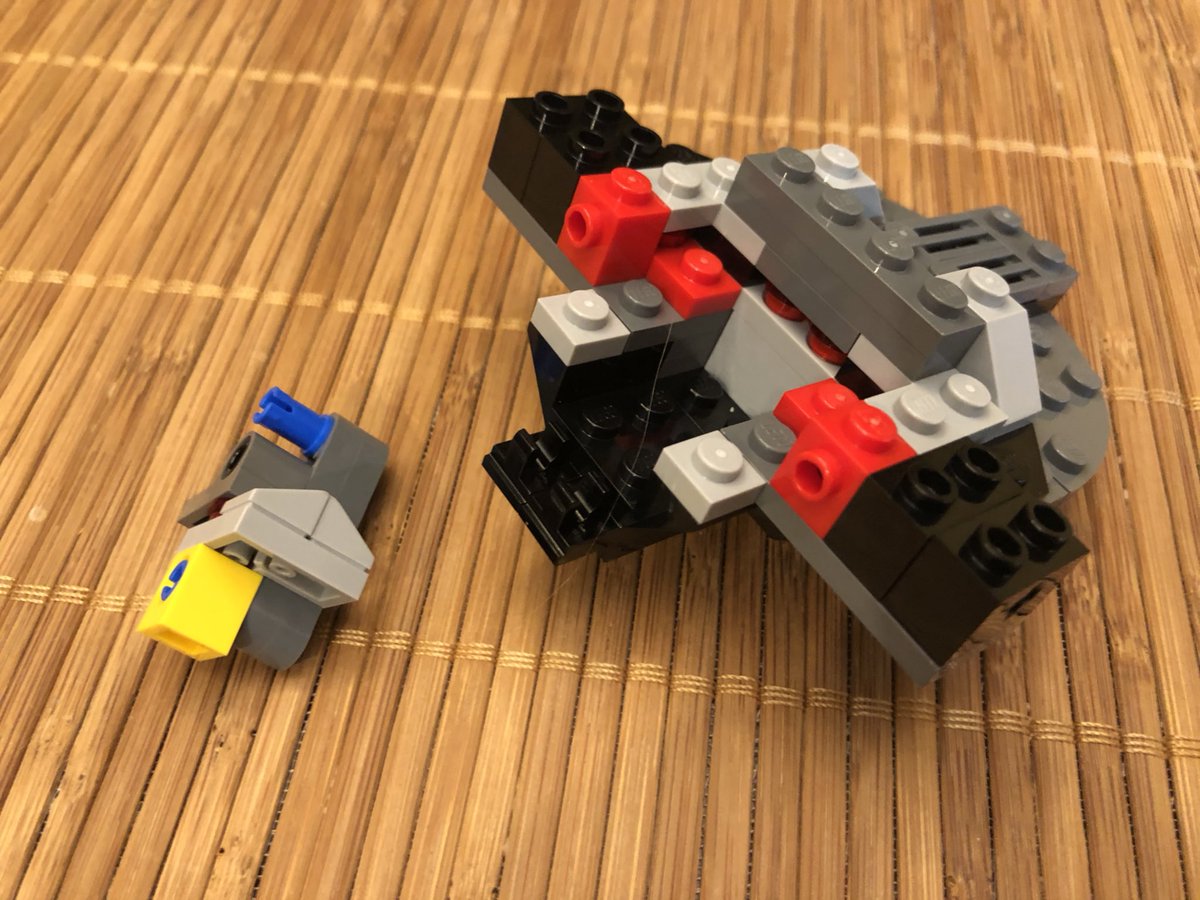
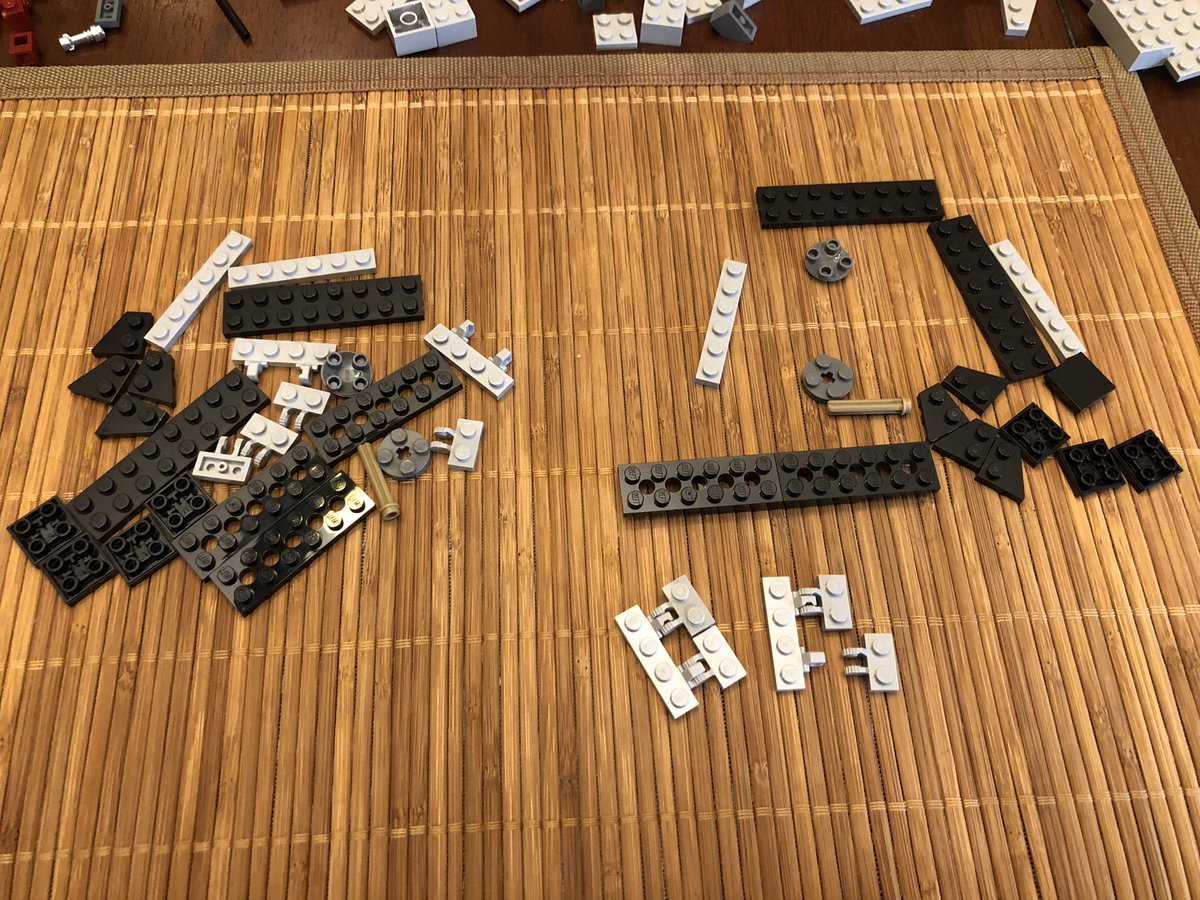
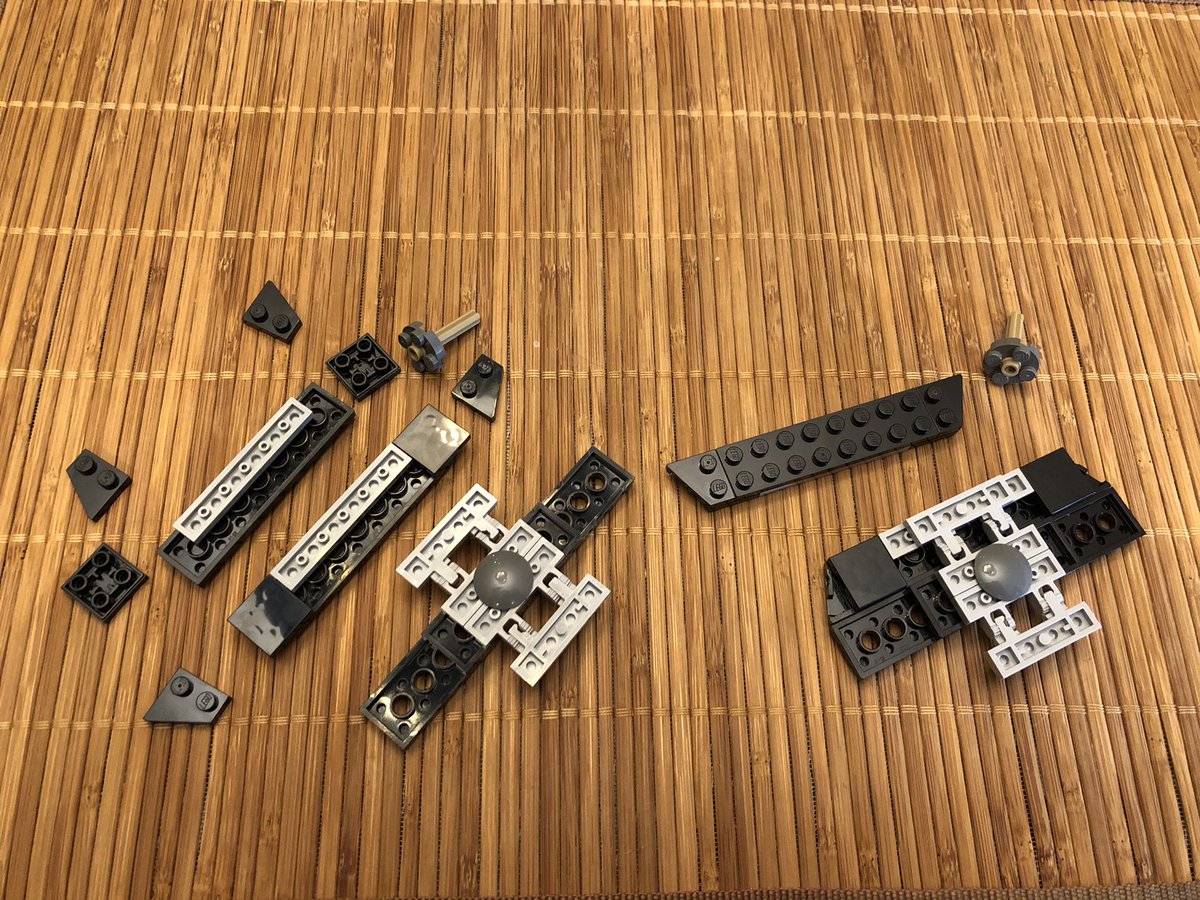
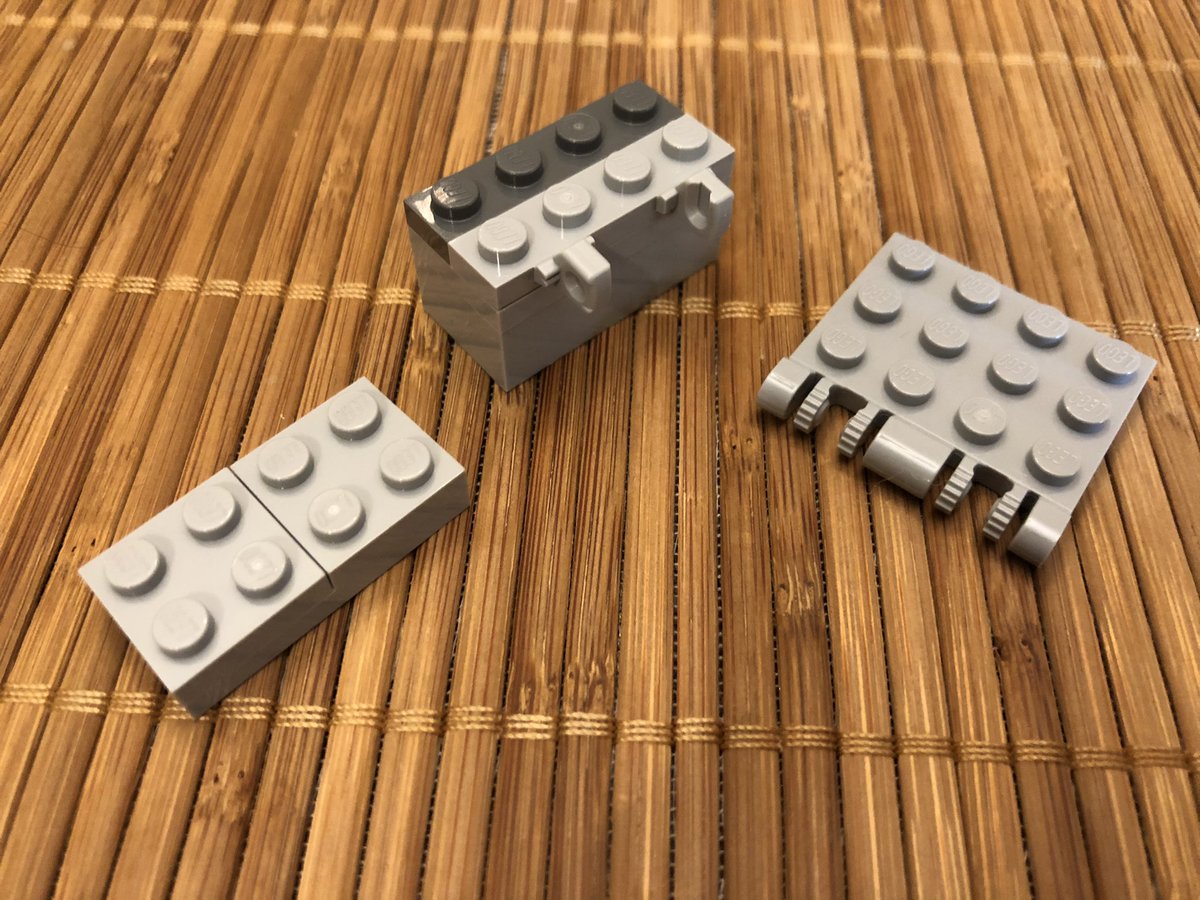
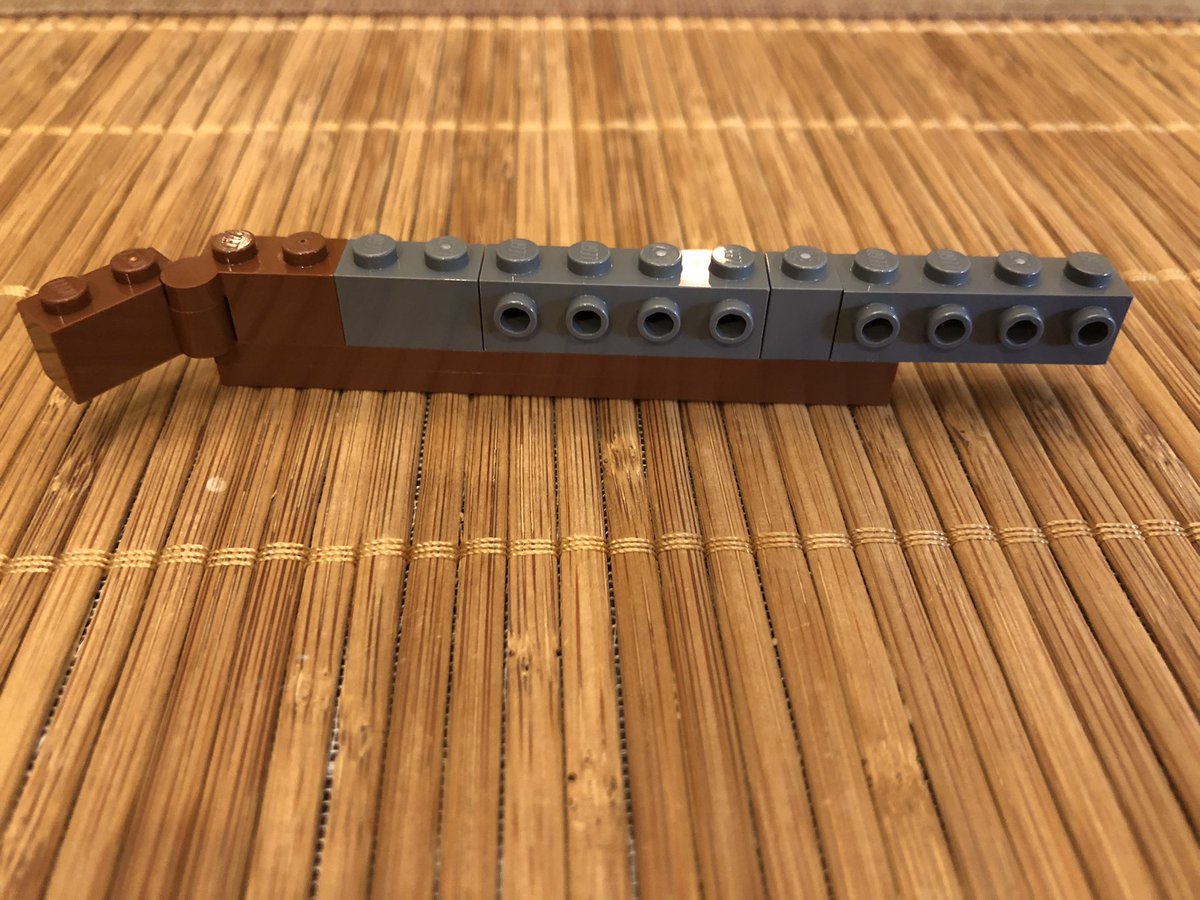
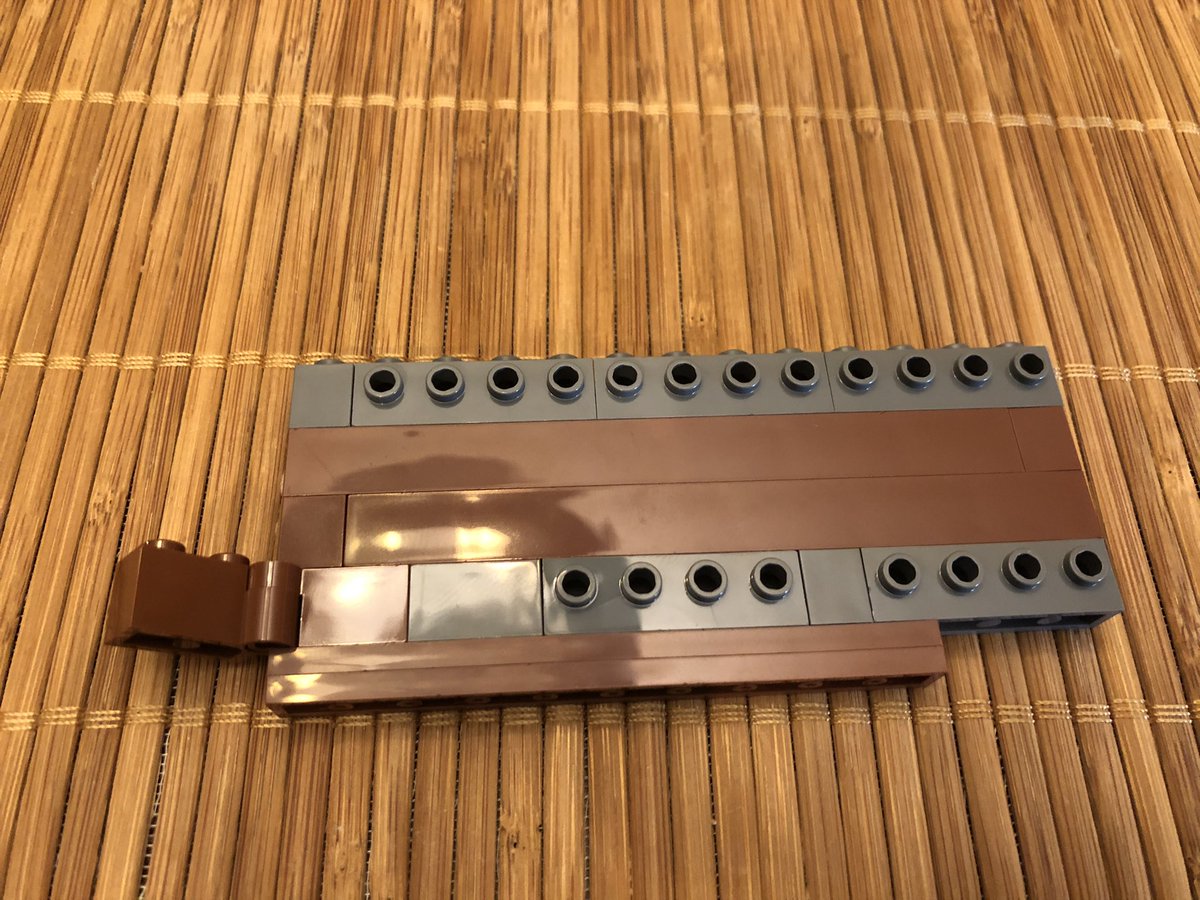
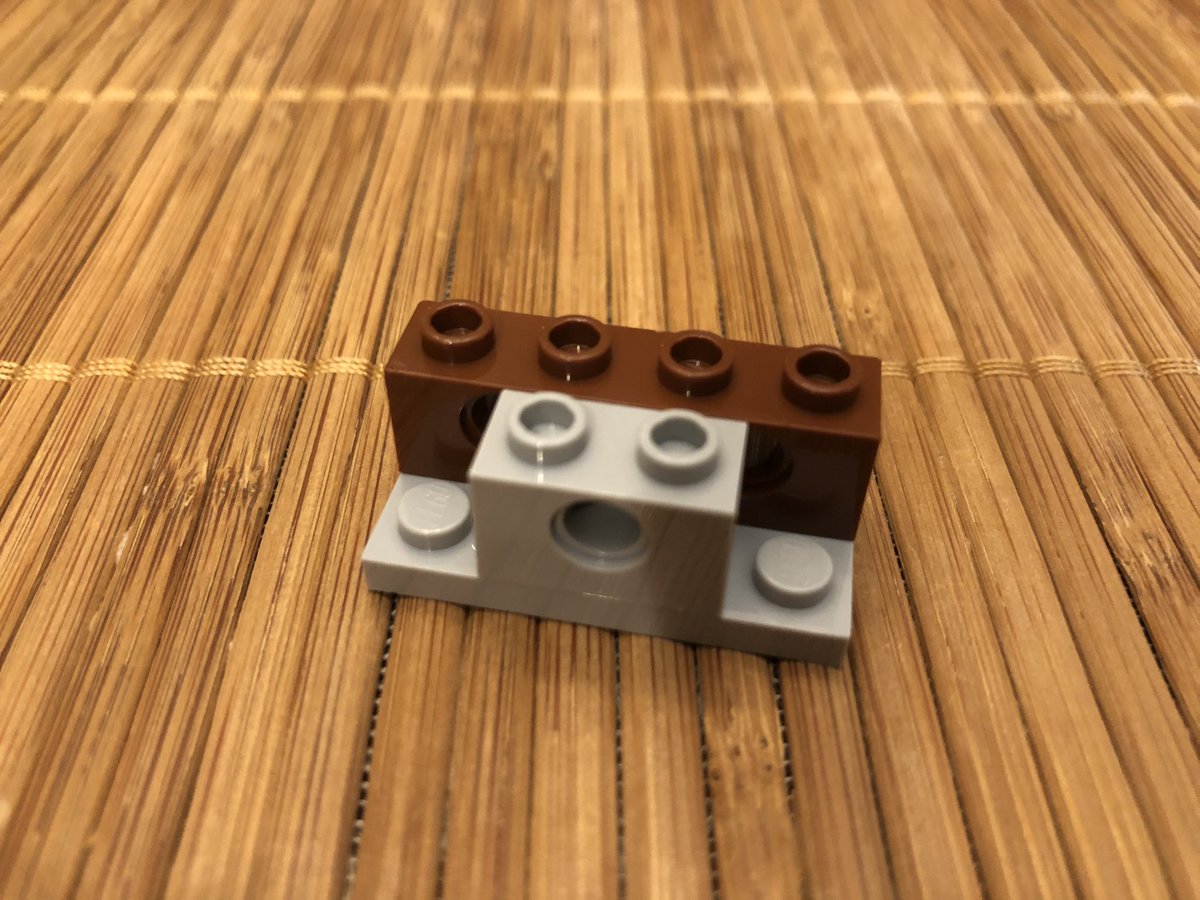
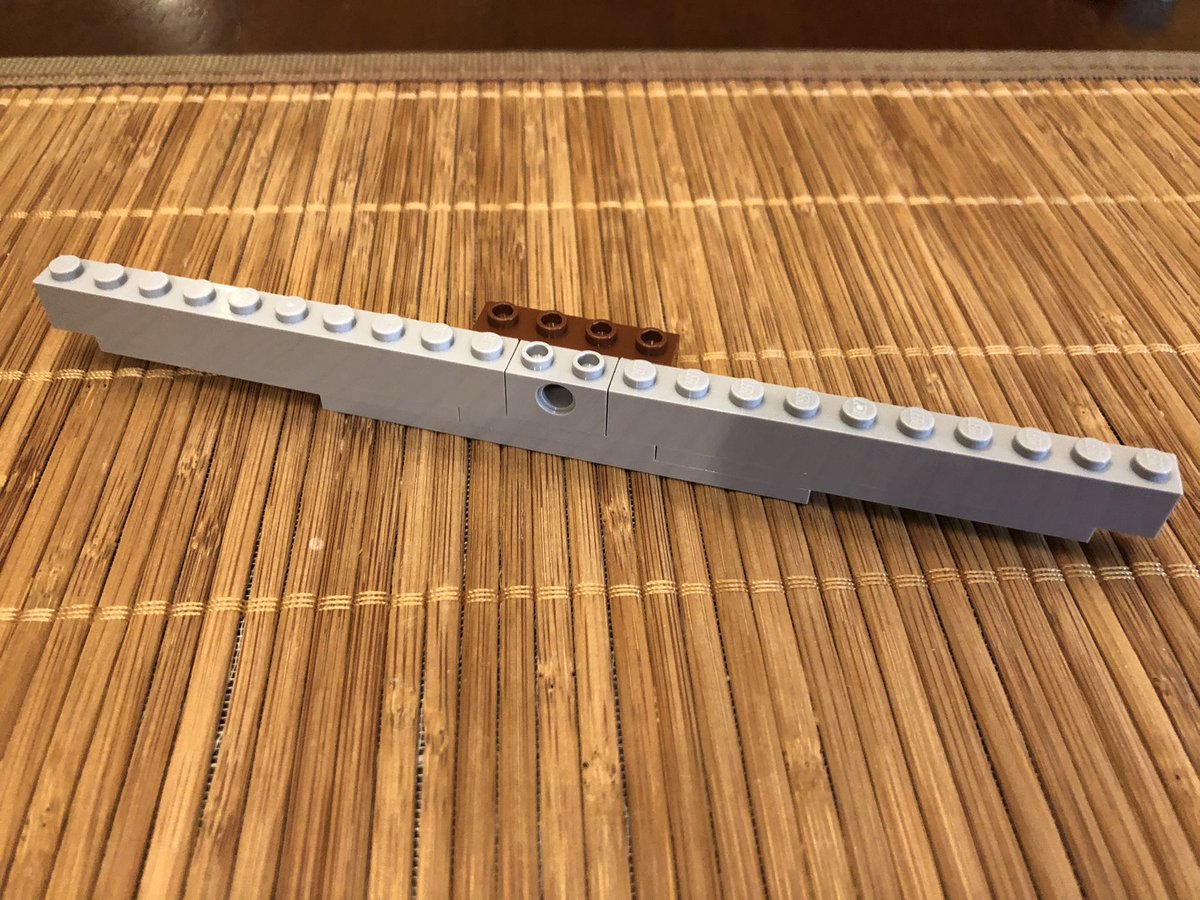
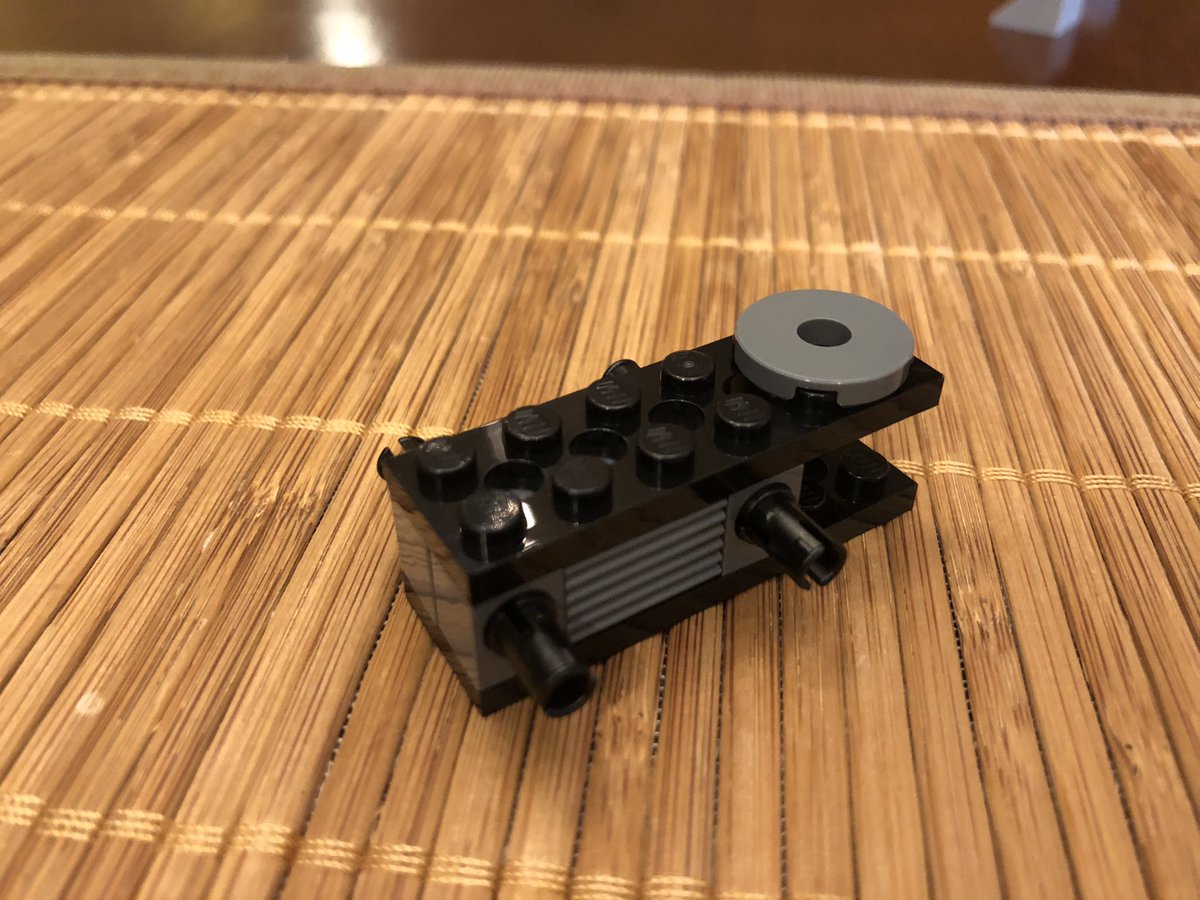
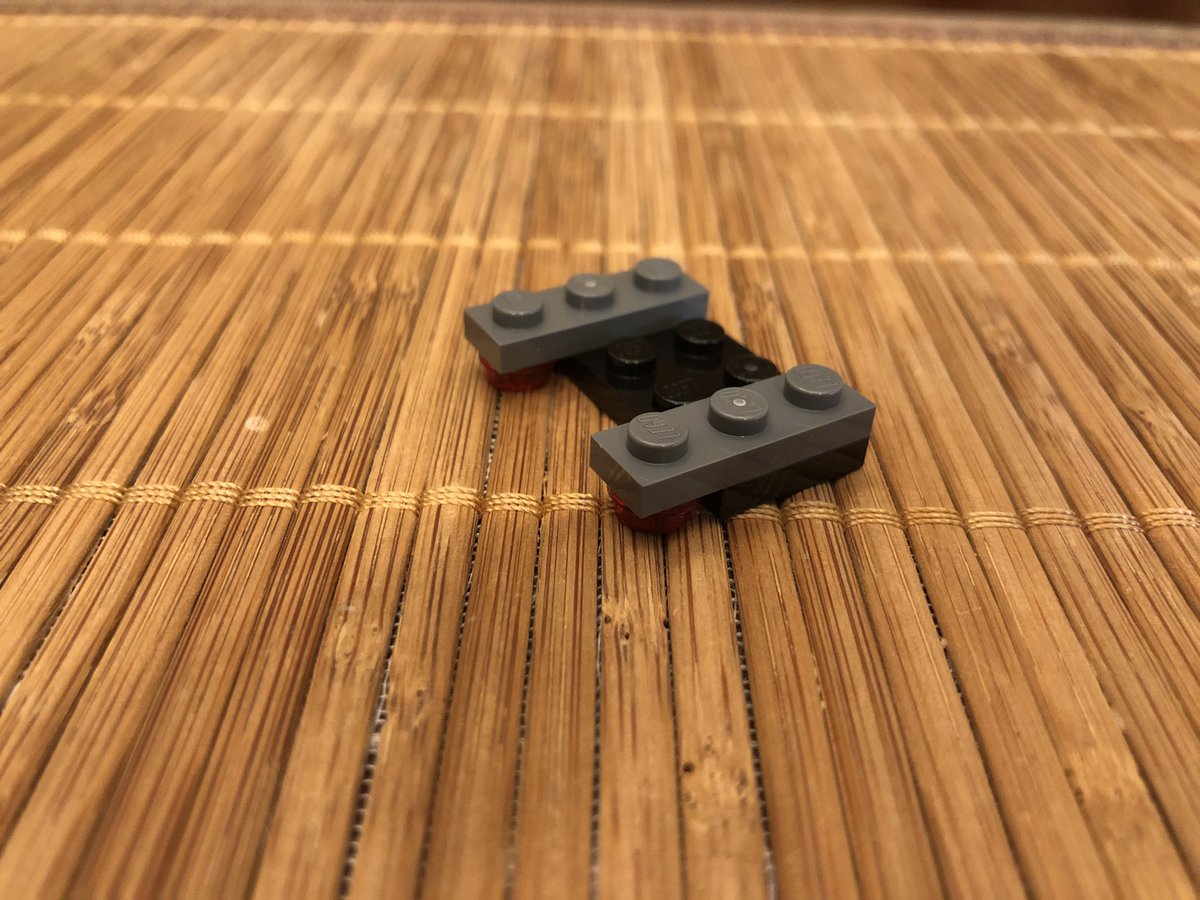
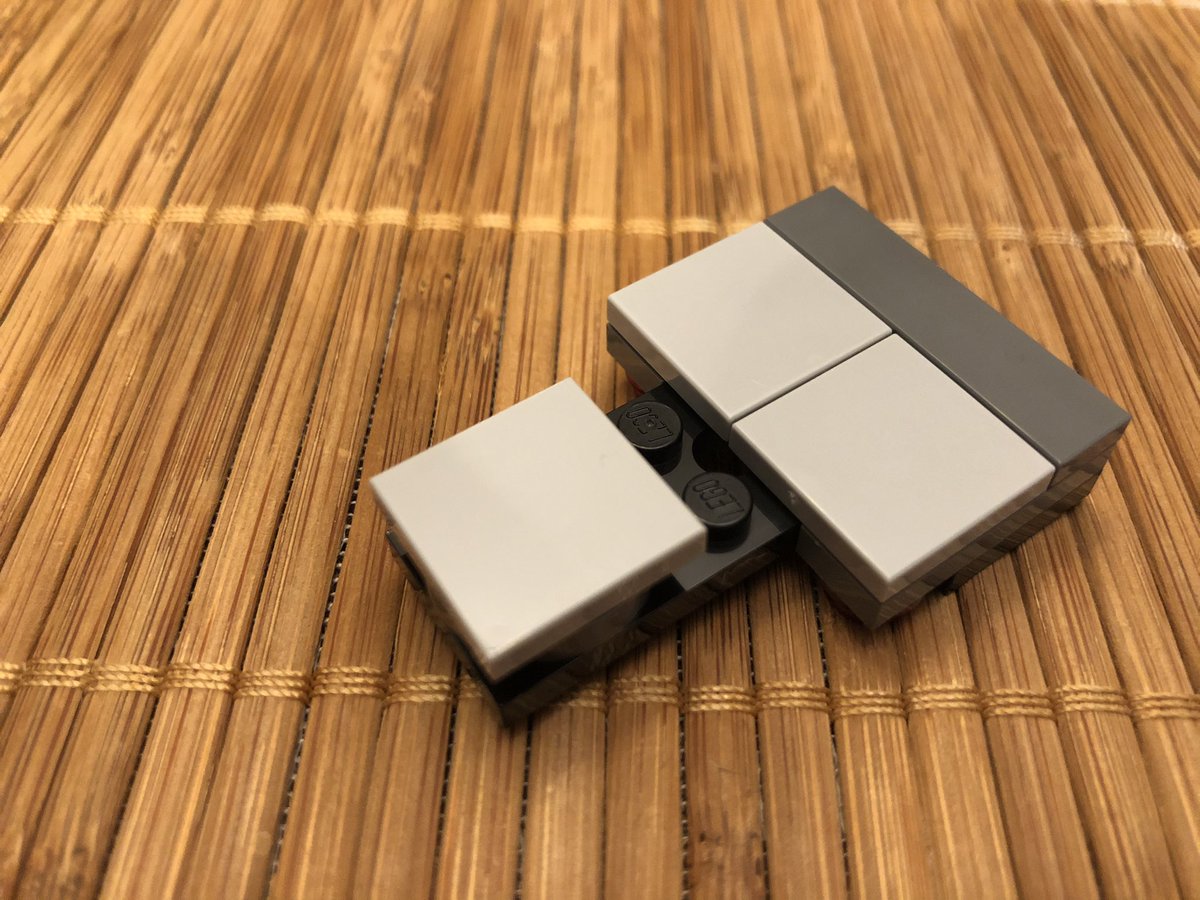
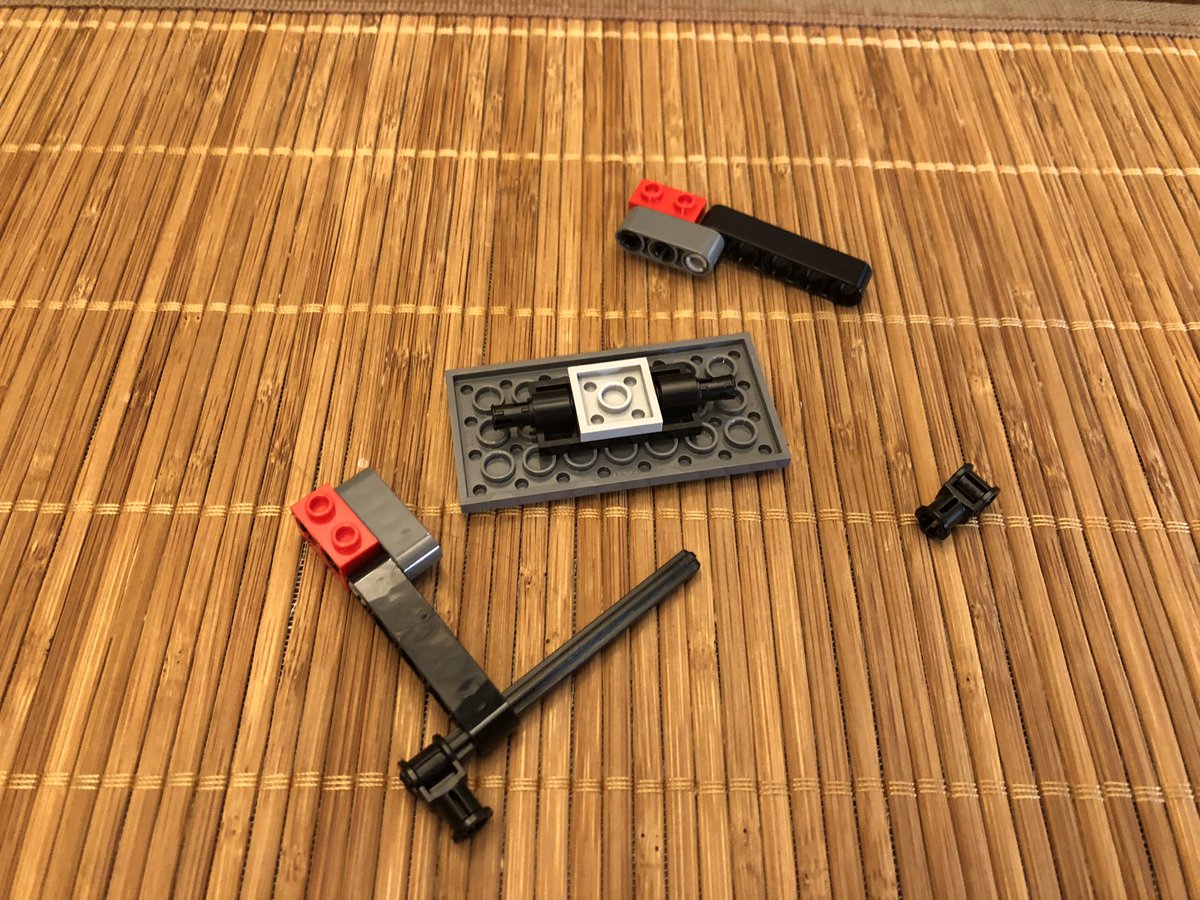
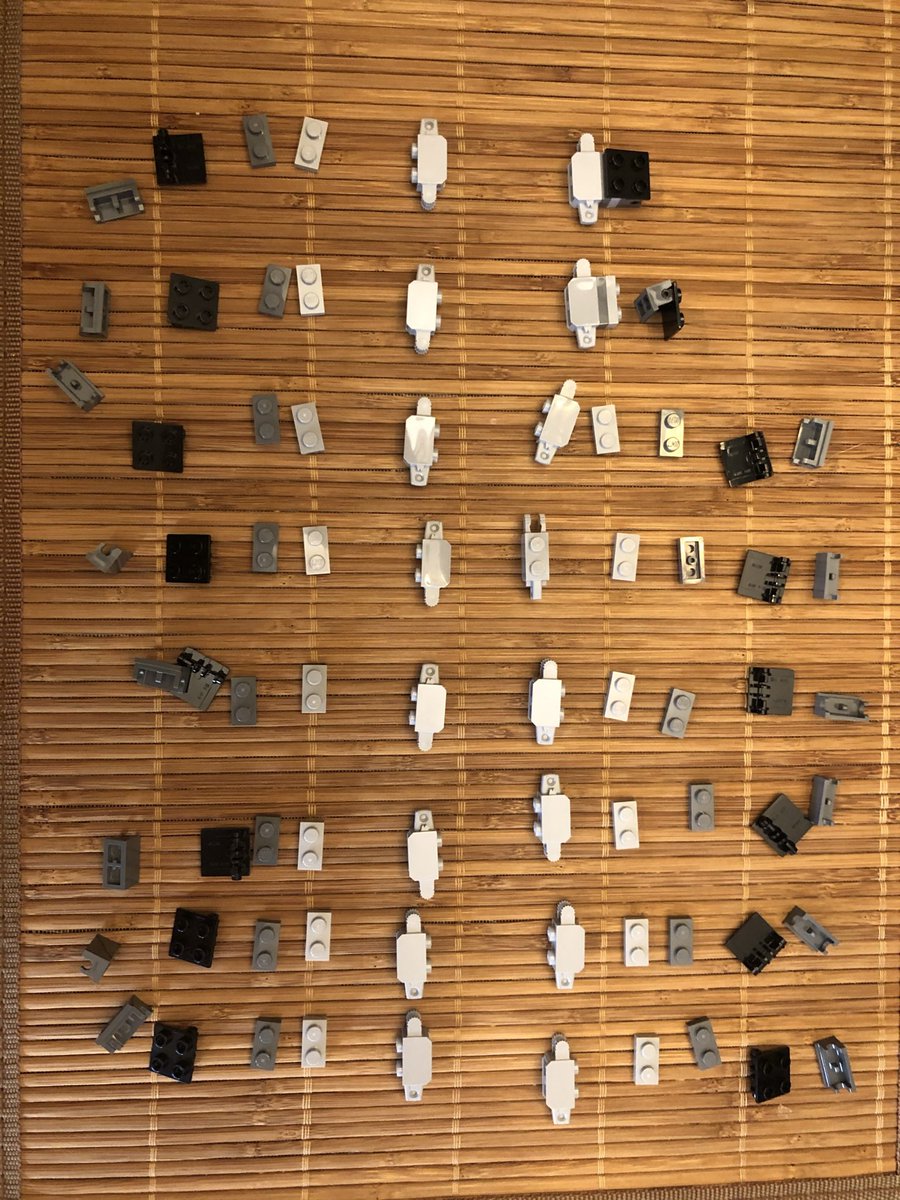
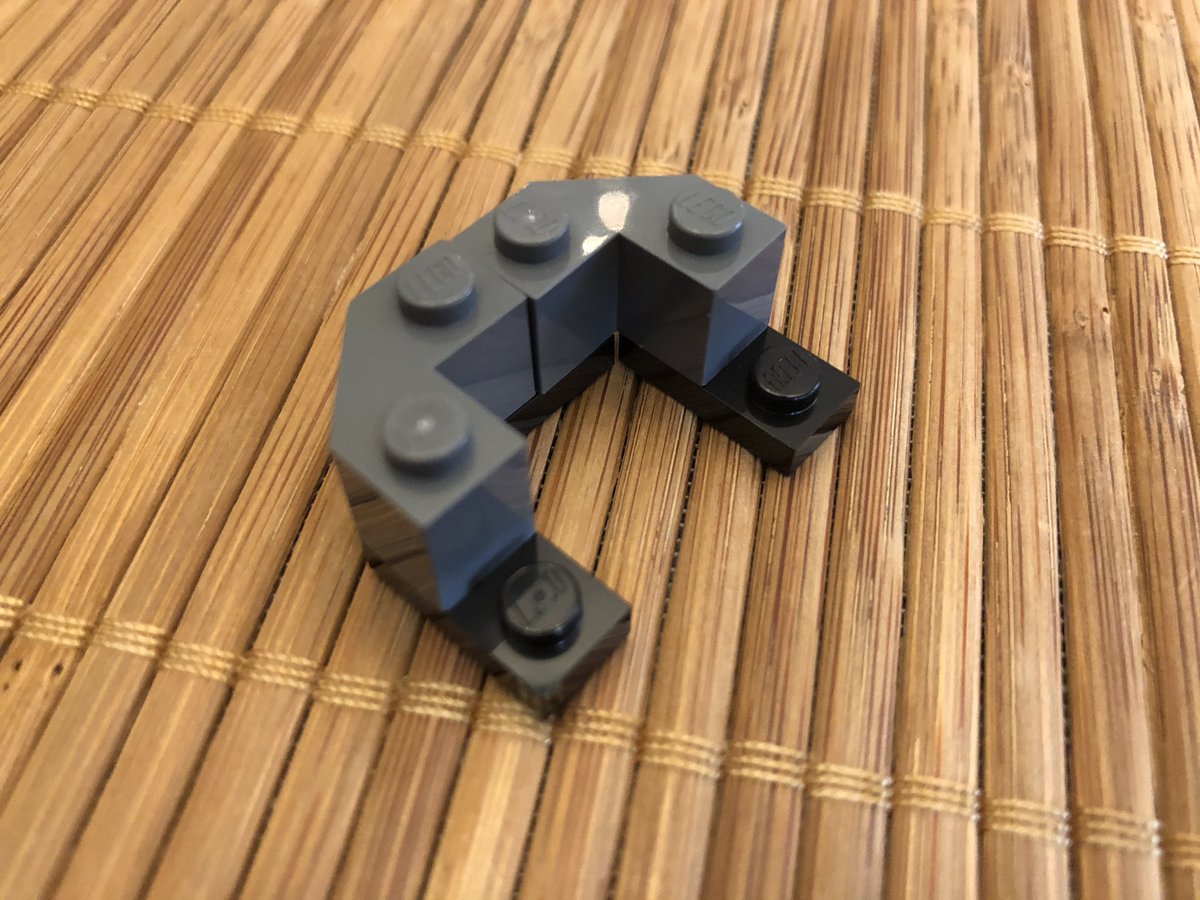
The last bit of the body is the entry hatch on top. Then we need to build the wings. Note that the hinged pieces should be offset, not centered like in the second photo, otherwise the posts won’t go through the wing. #LEGO 

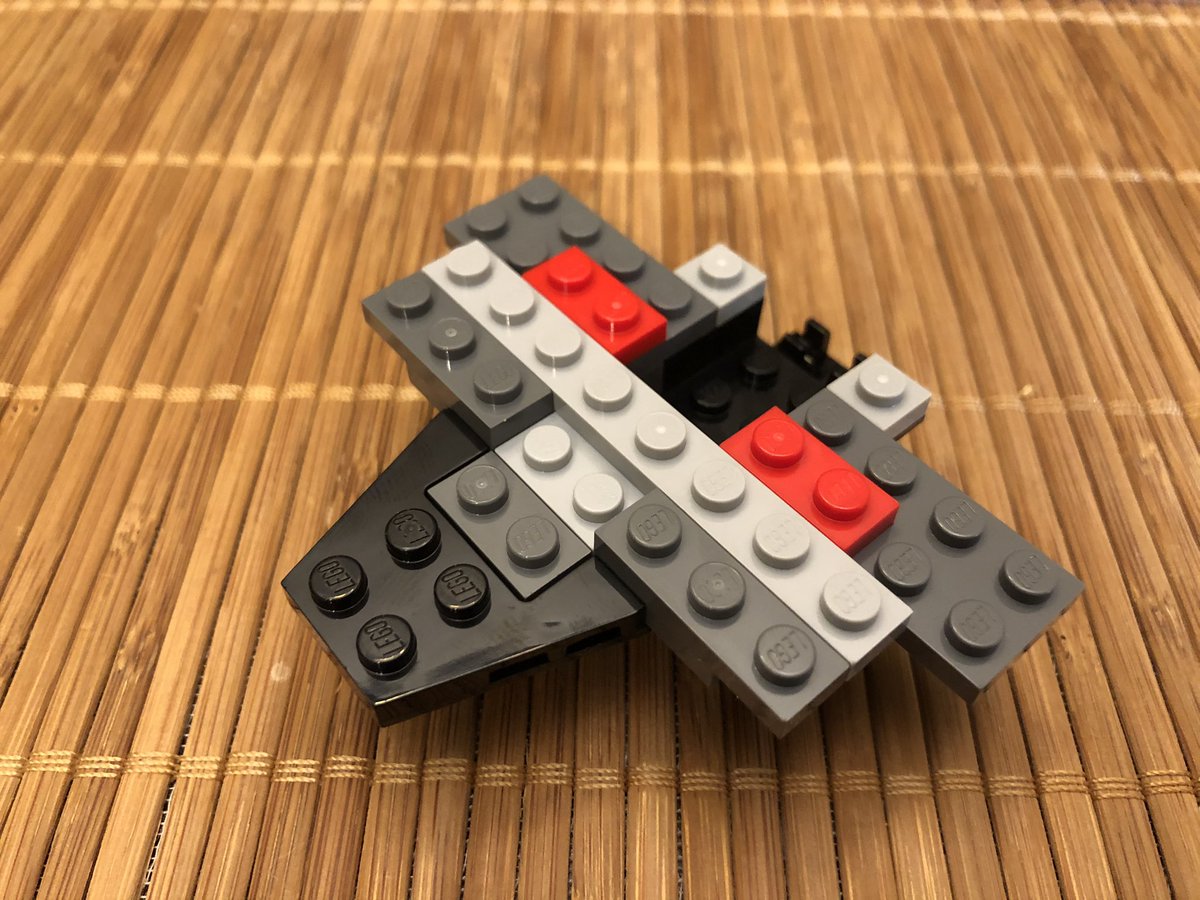
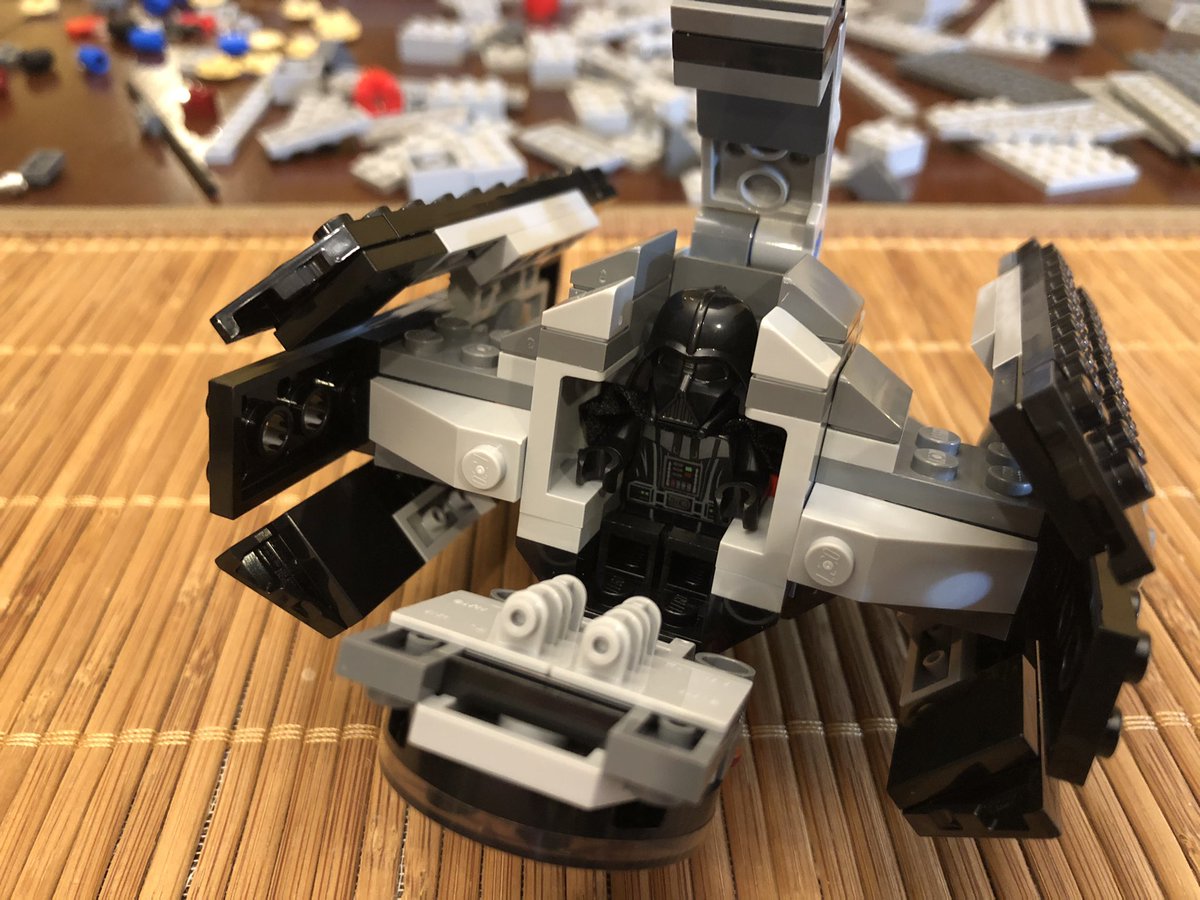
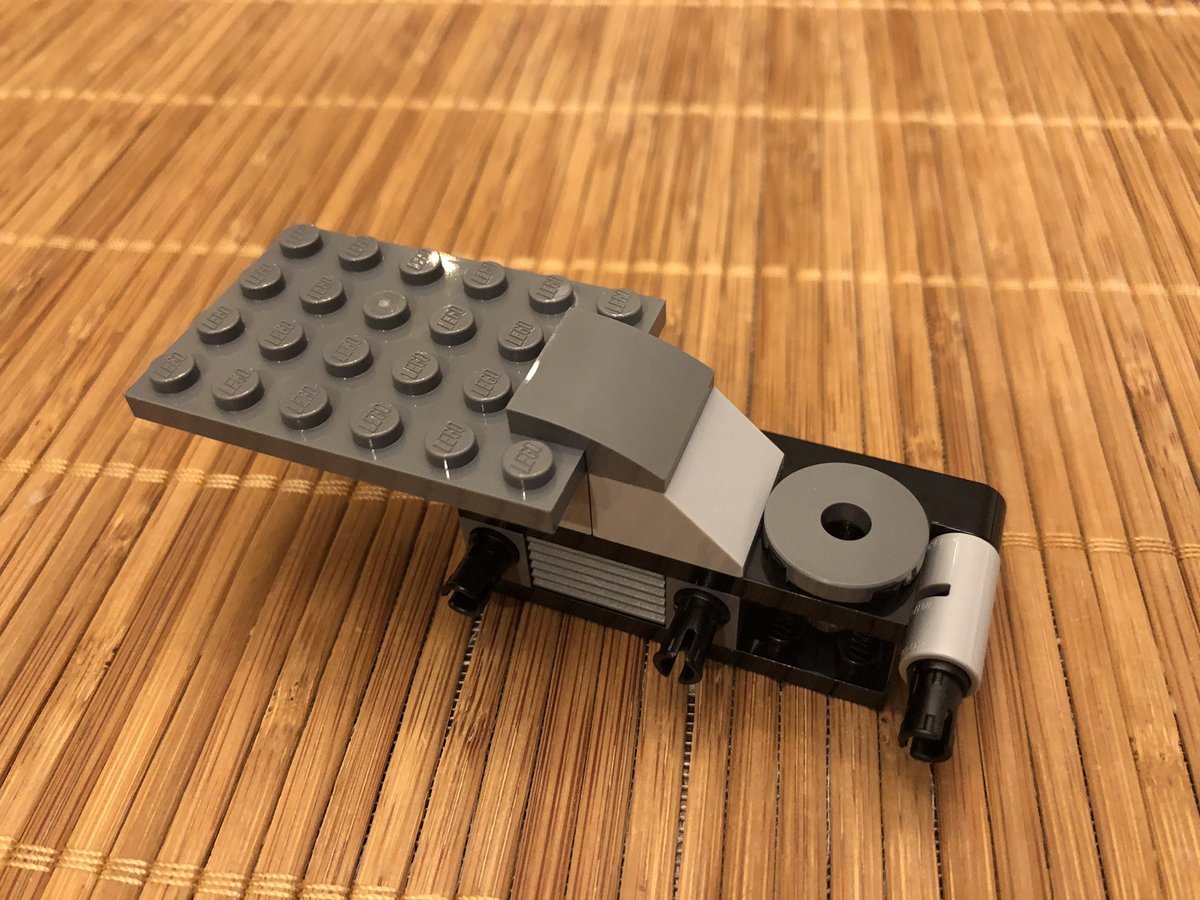
Attach the wings and bend the hinges a bit. Darth Vader has a very snug fit in his fighter! Unlike the larger models, there’s no working weapons on this one. #LEGO 

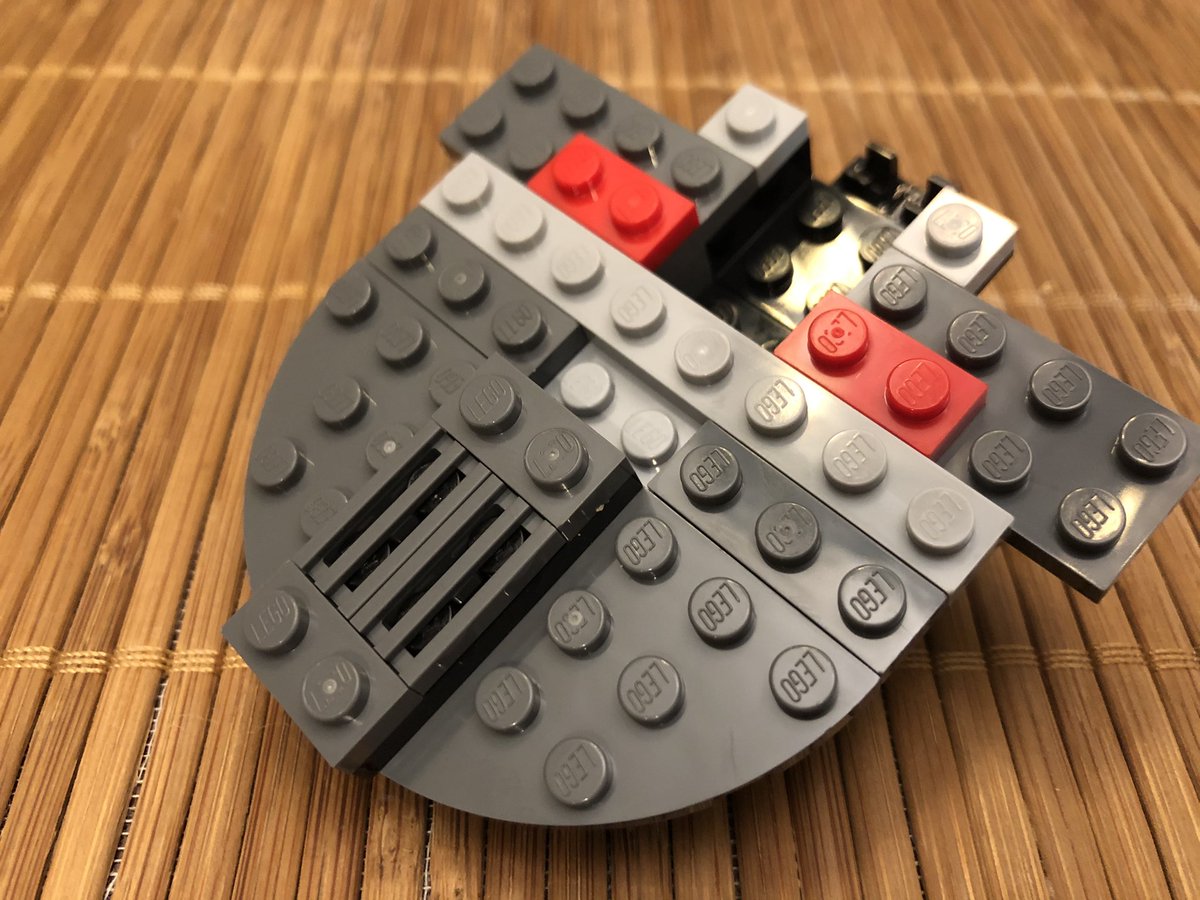
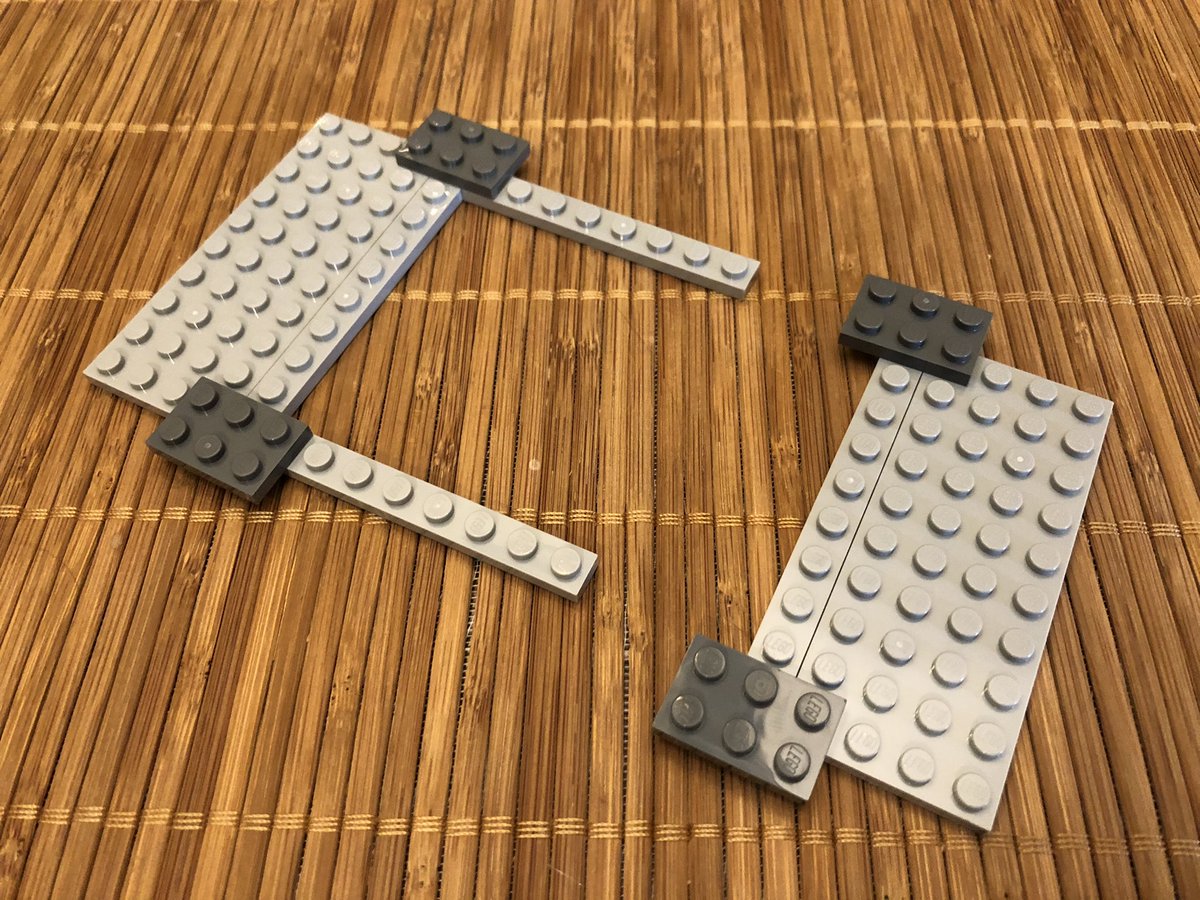
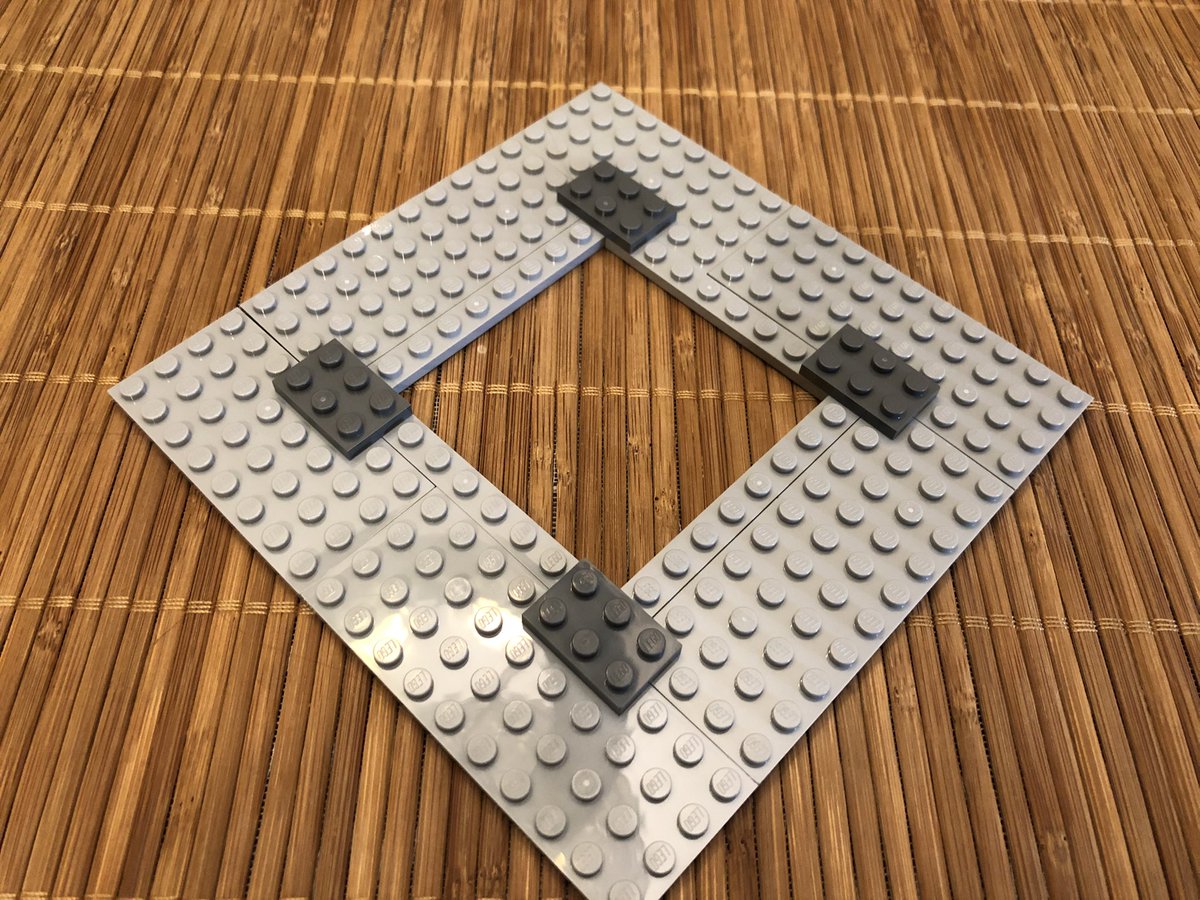
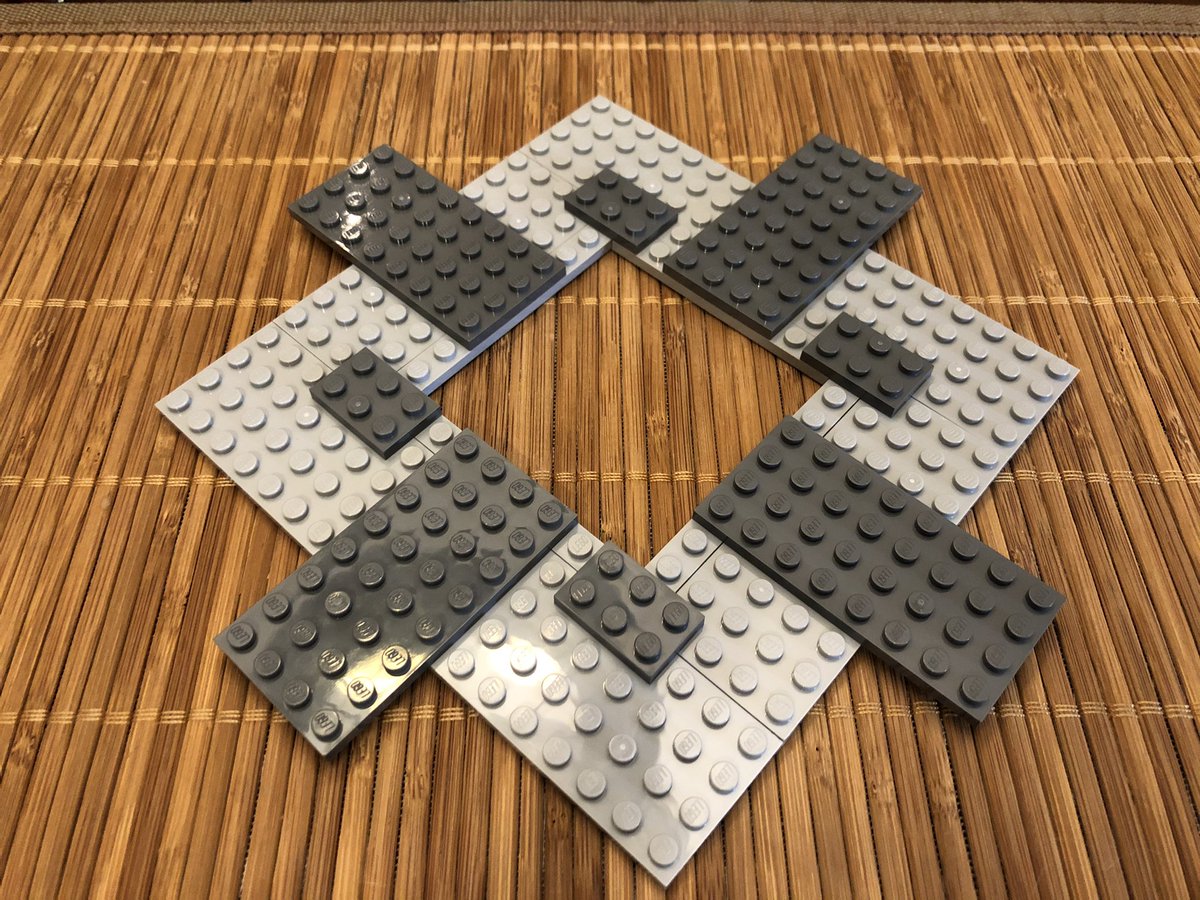
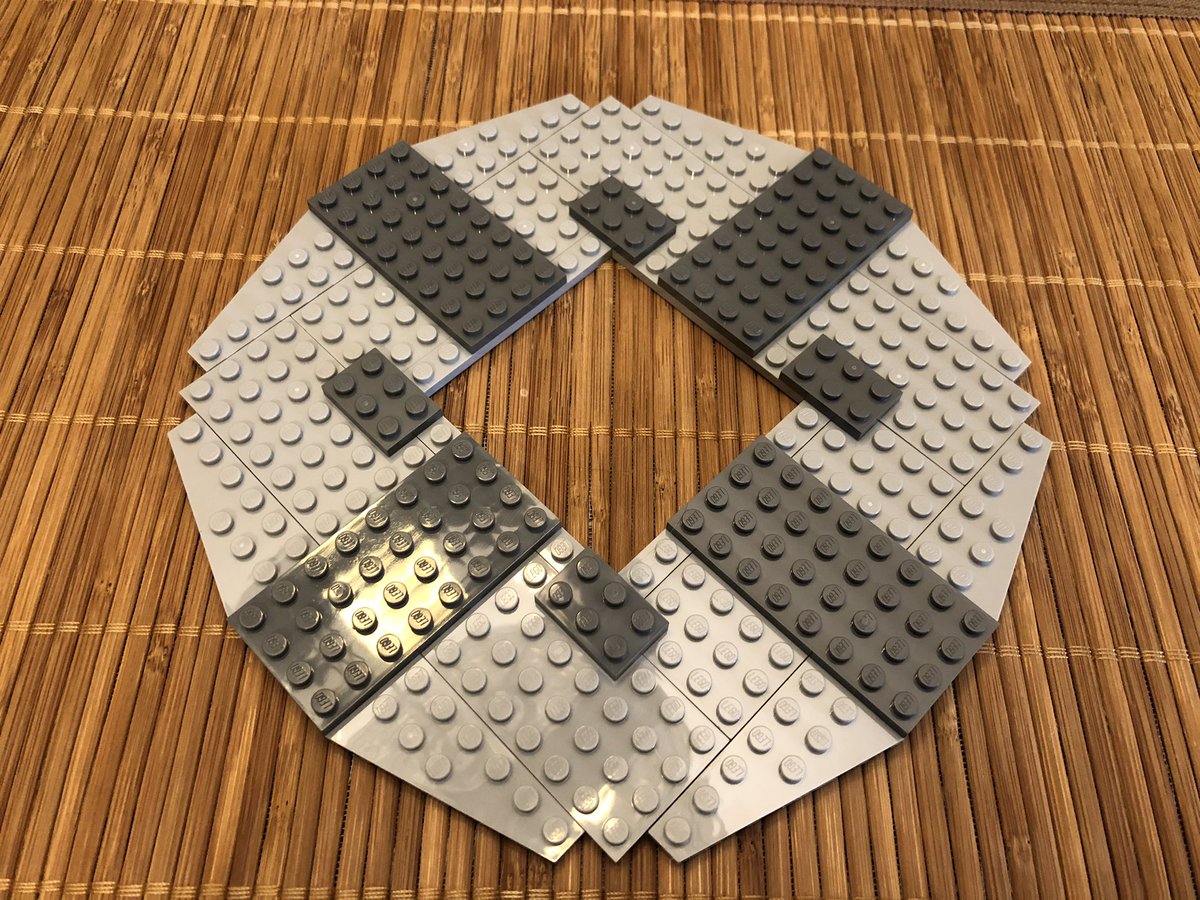
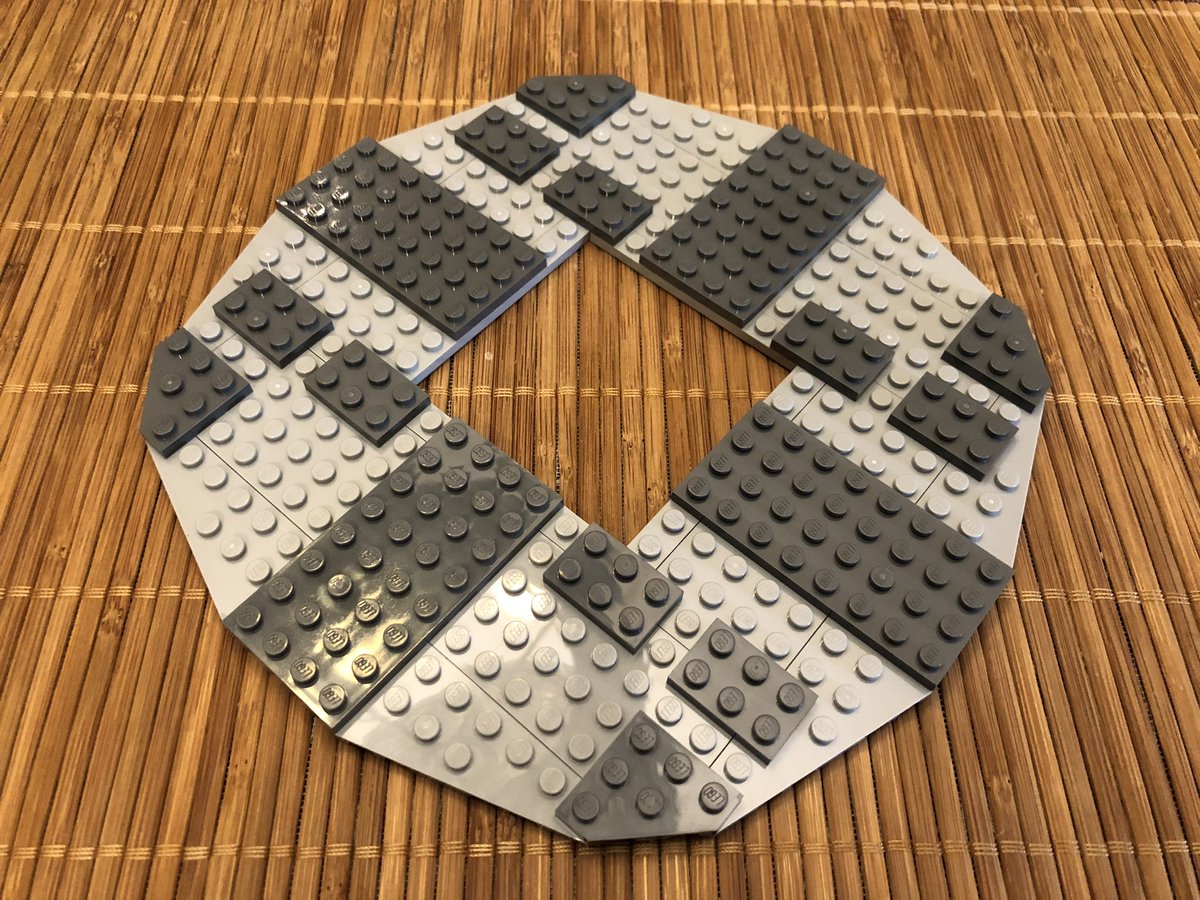
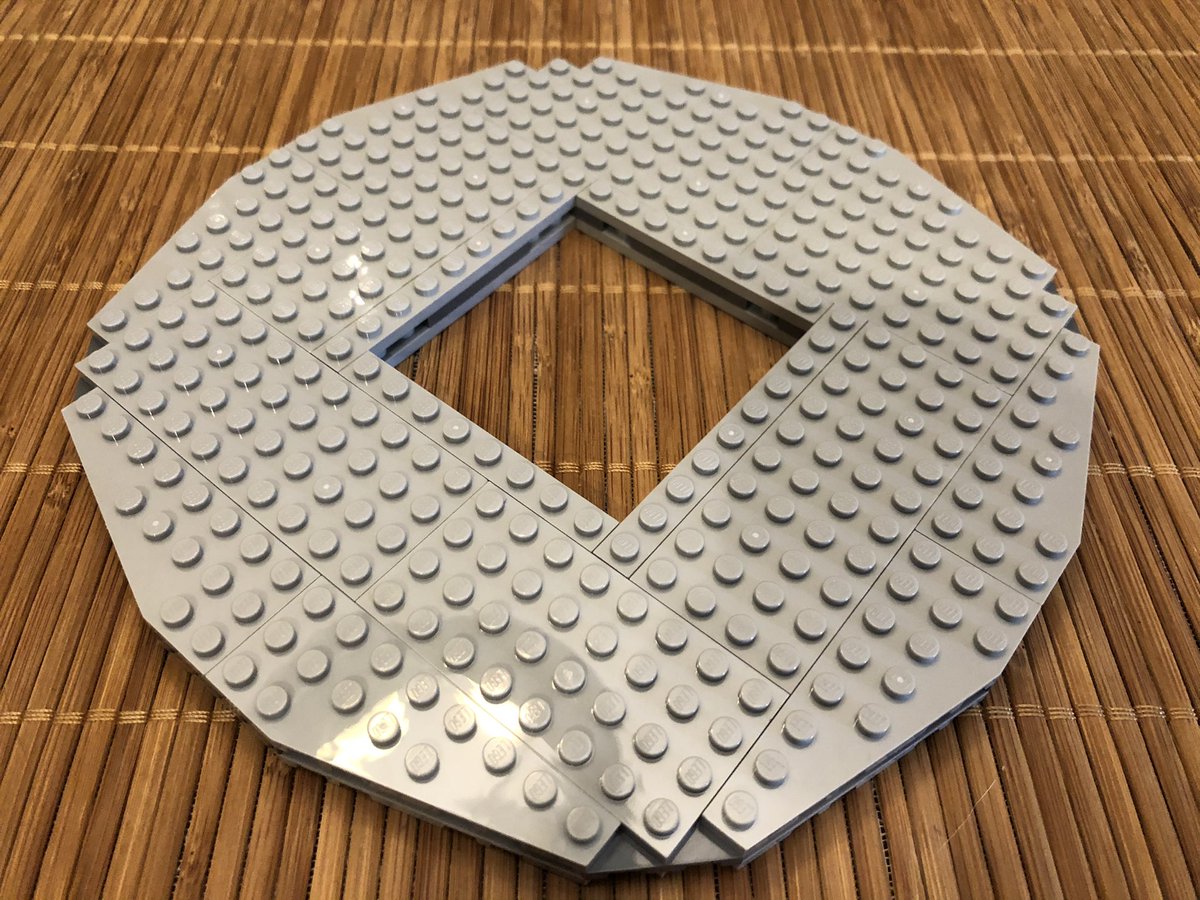
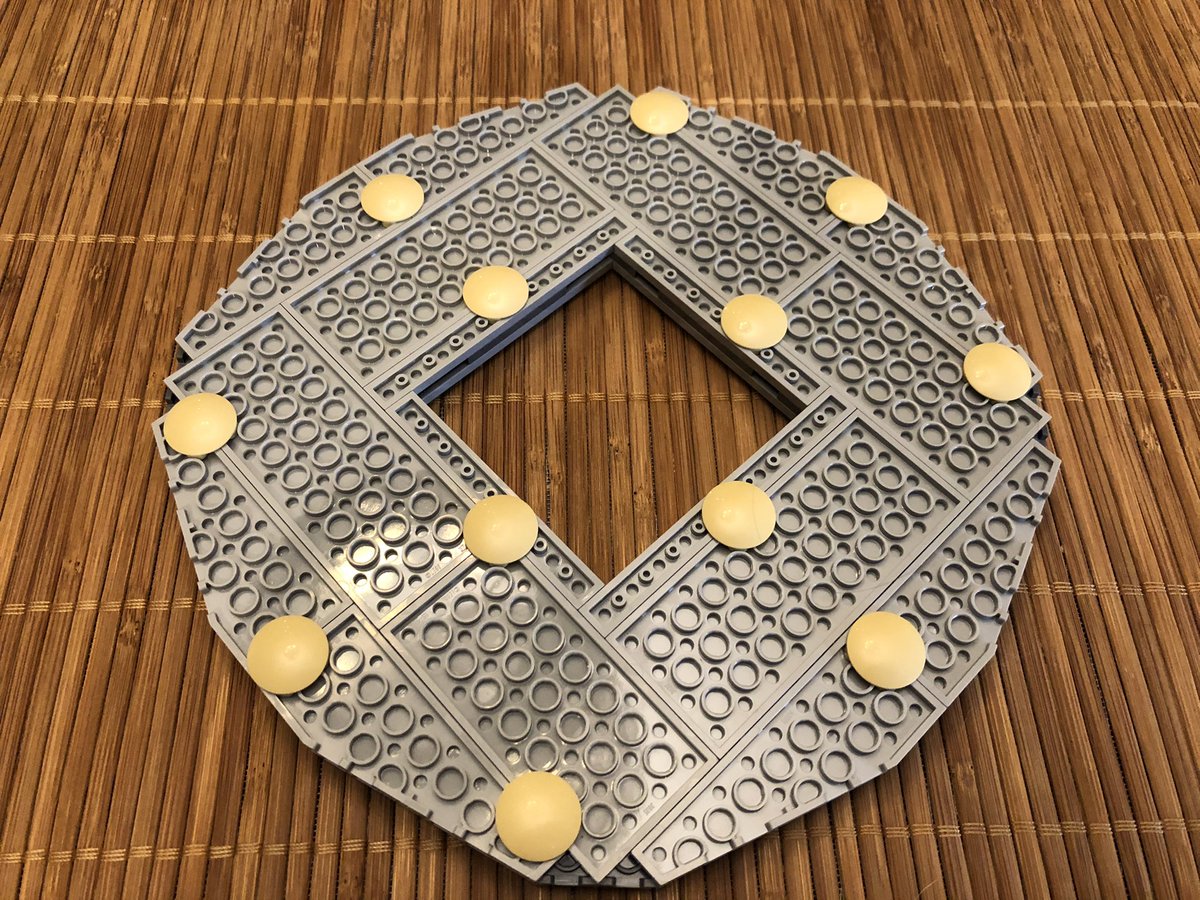
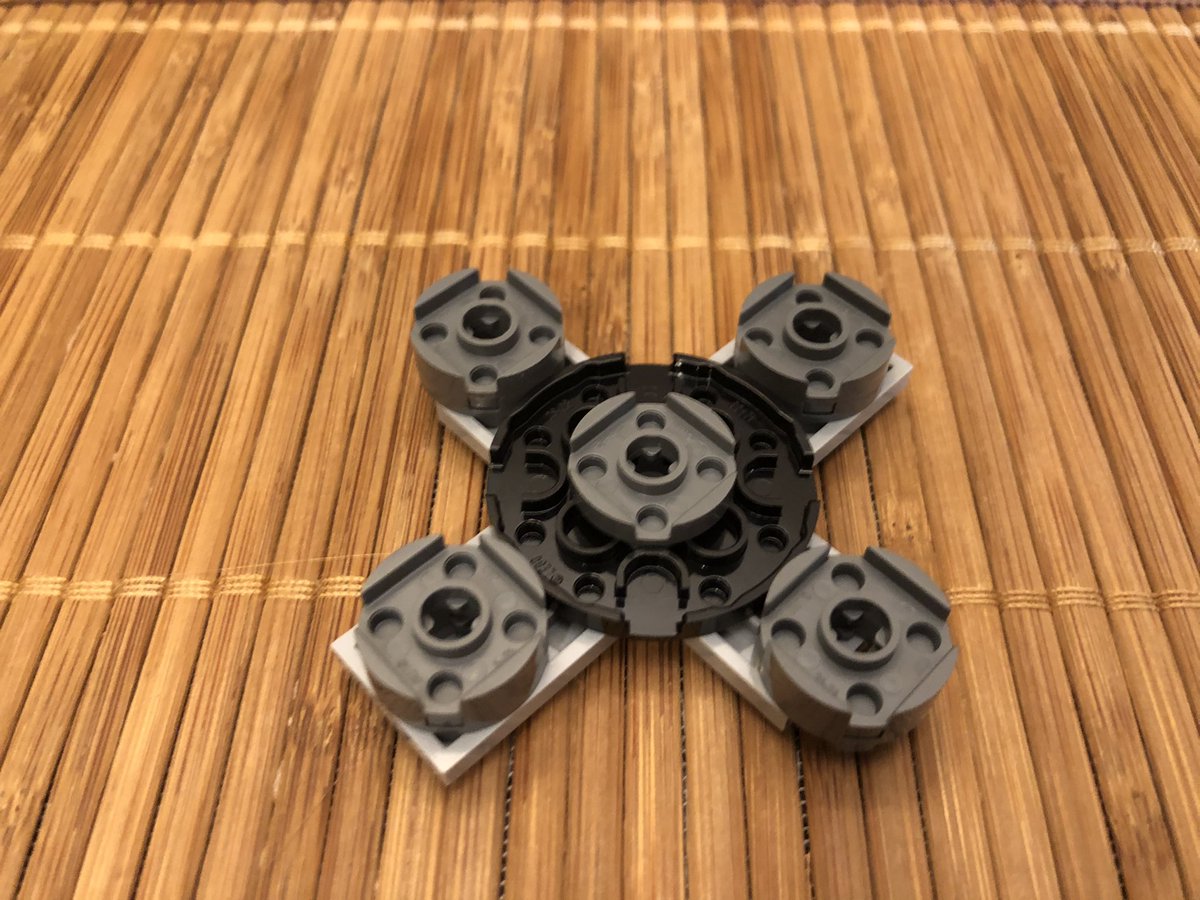
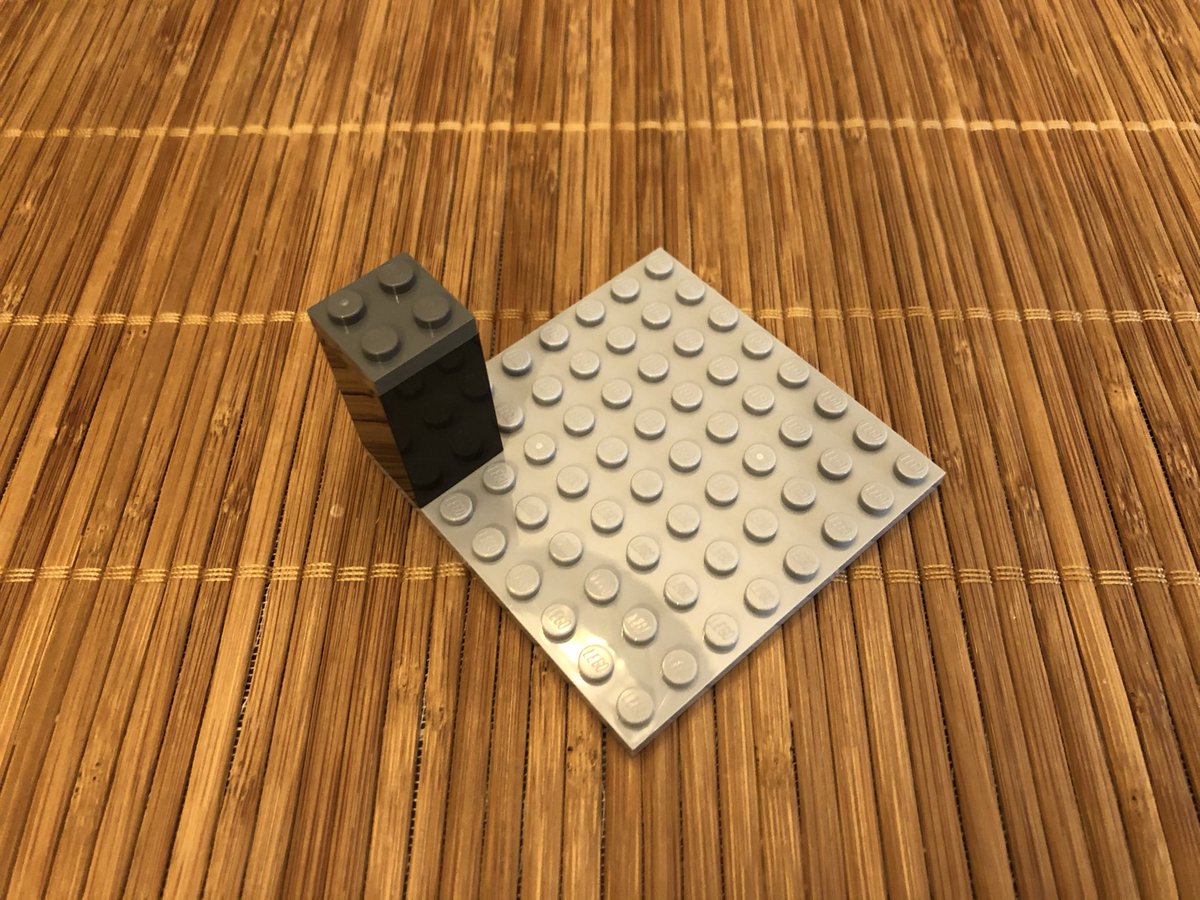
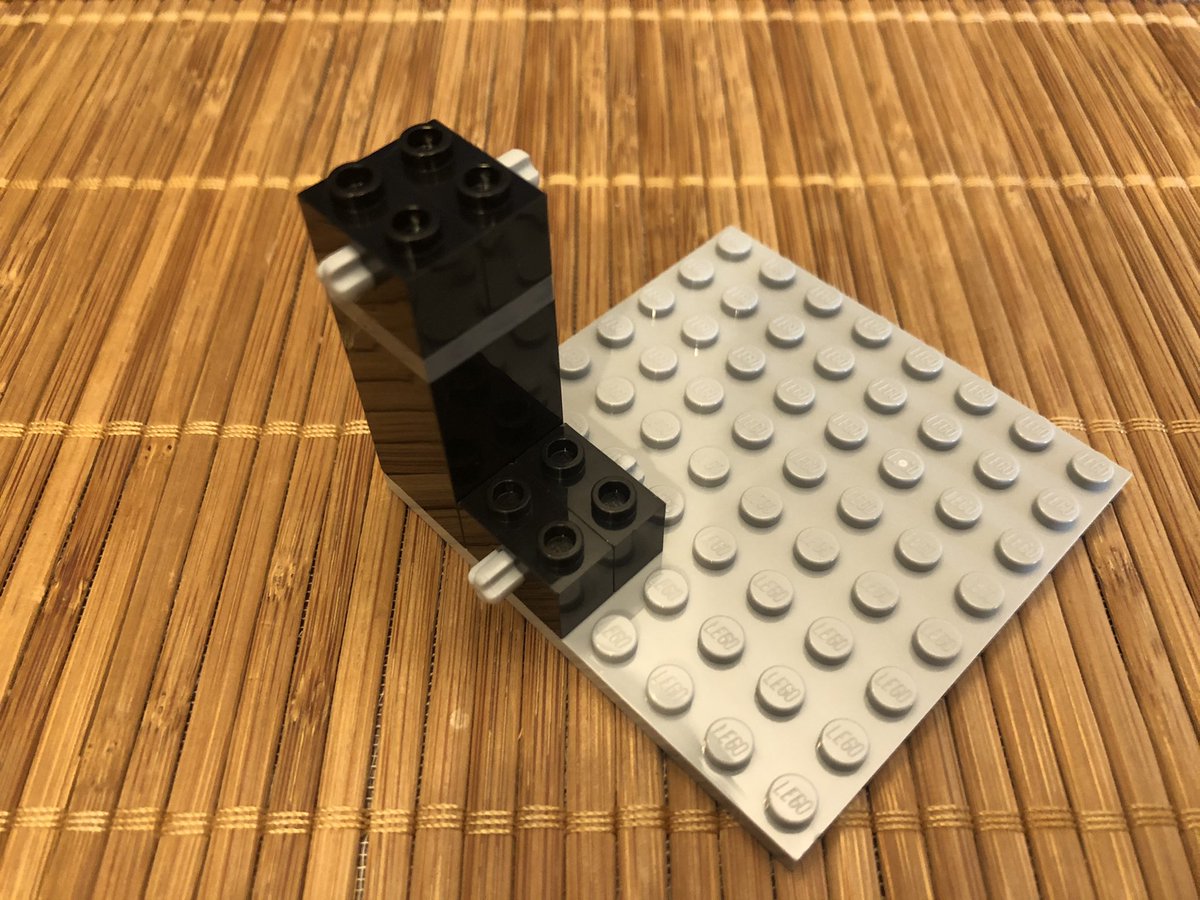
... but it gets more exciting when we start expanding it to a circular shape and adding the 2nd and 3rd layers. The bottom has some slides that also provide some stability across the plate junctures. #LEGO 

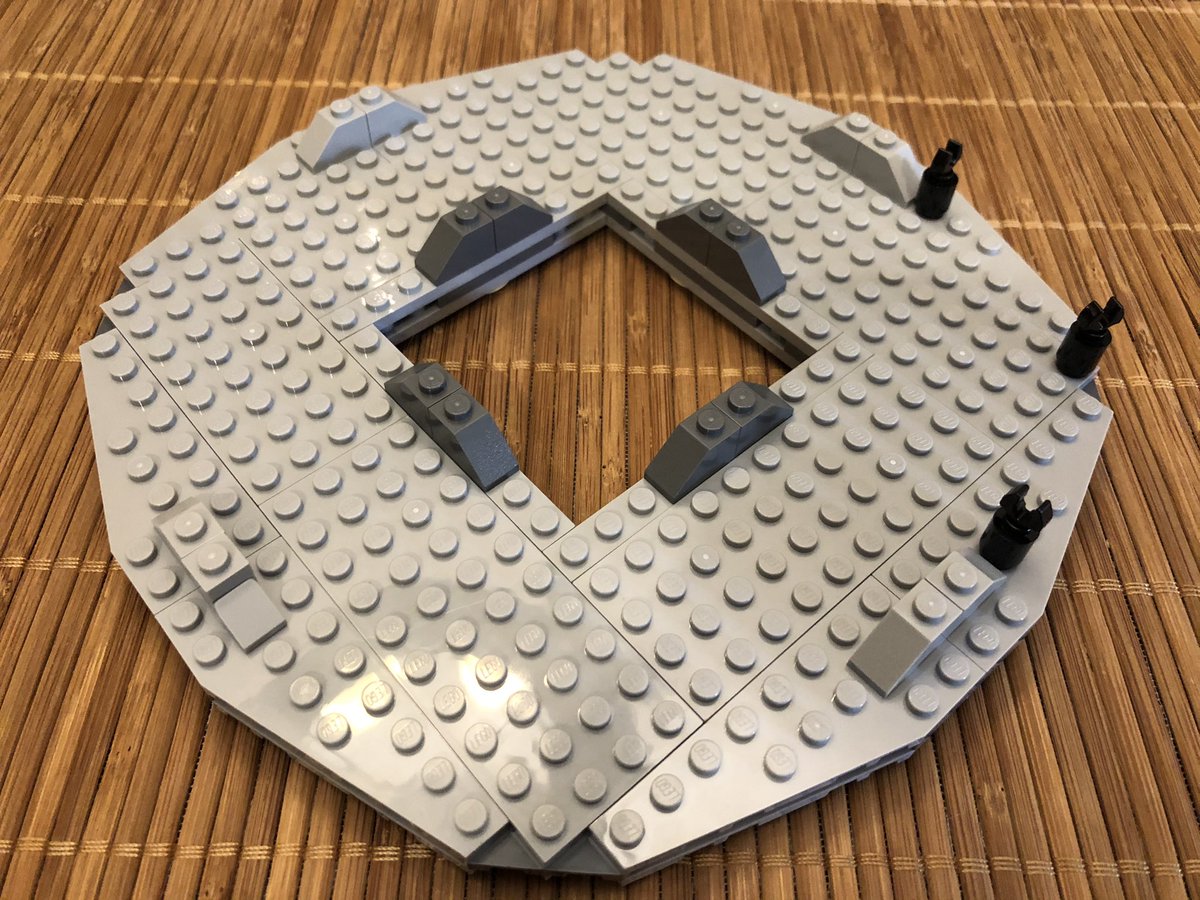
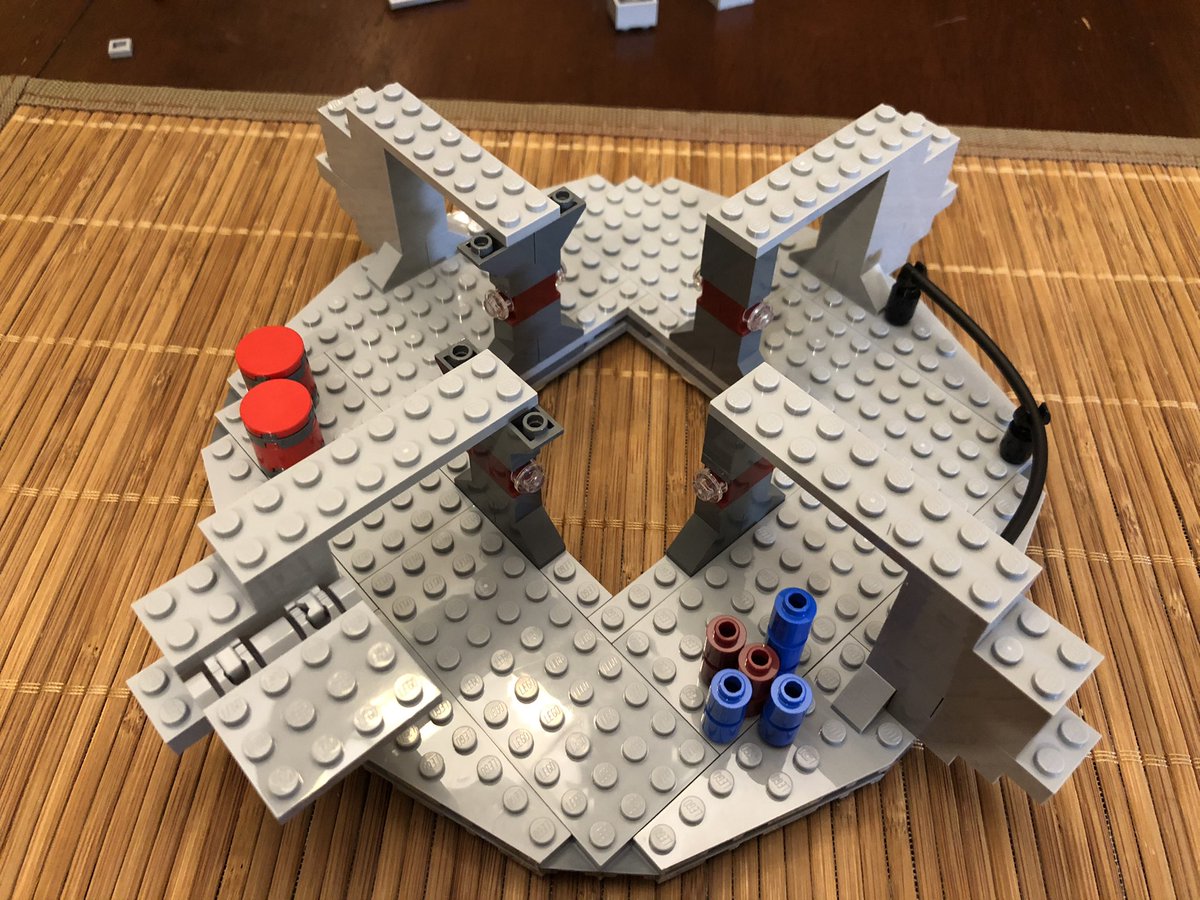
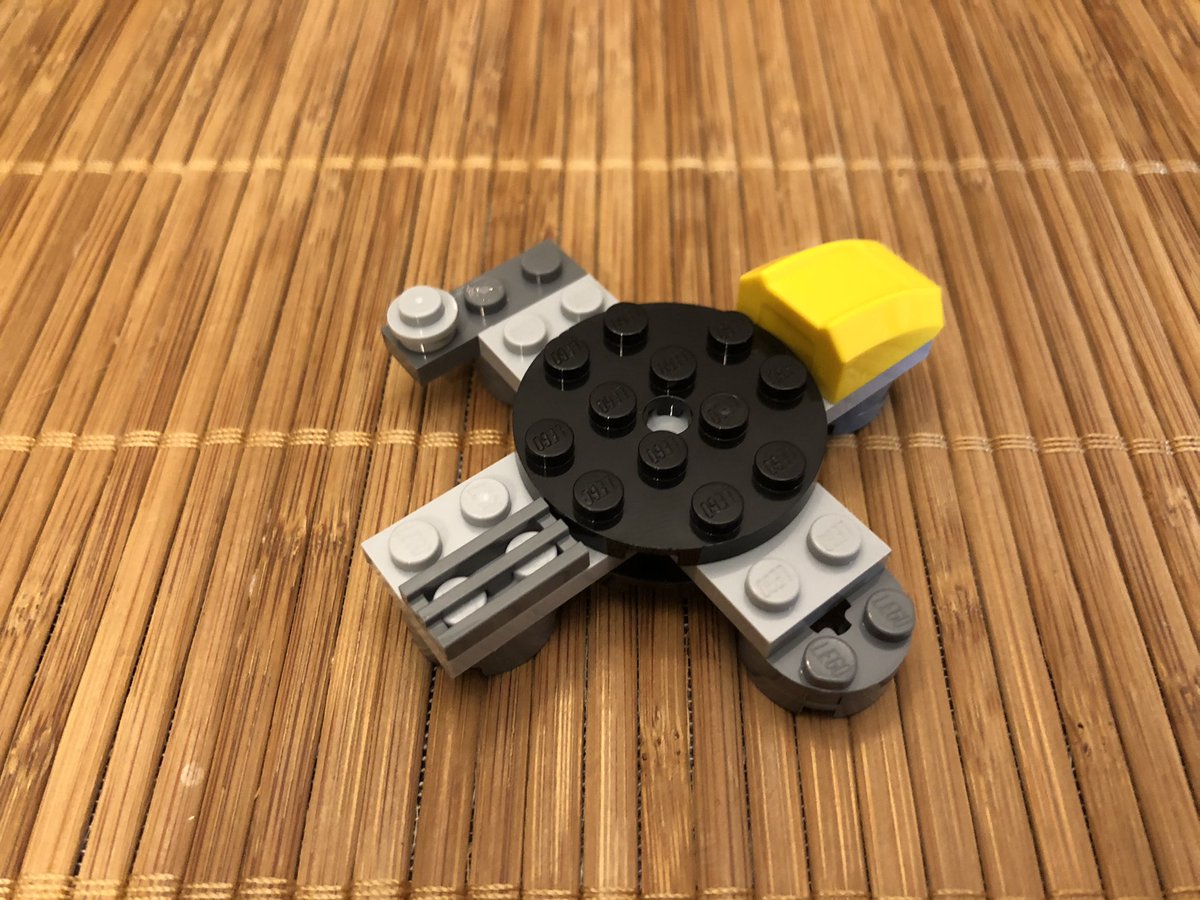
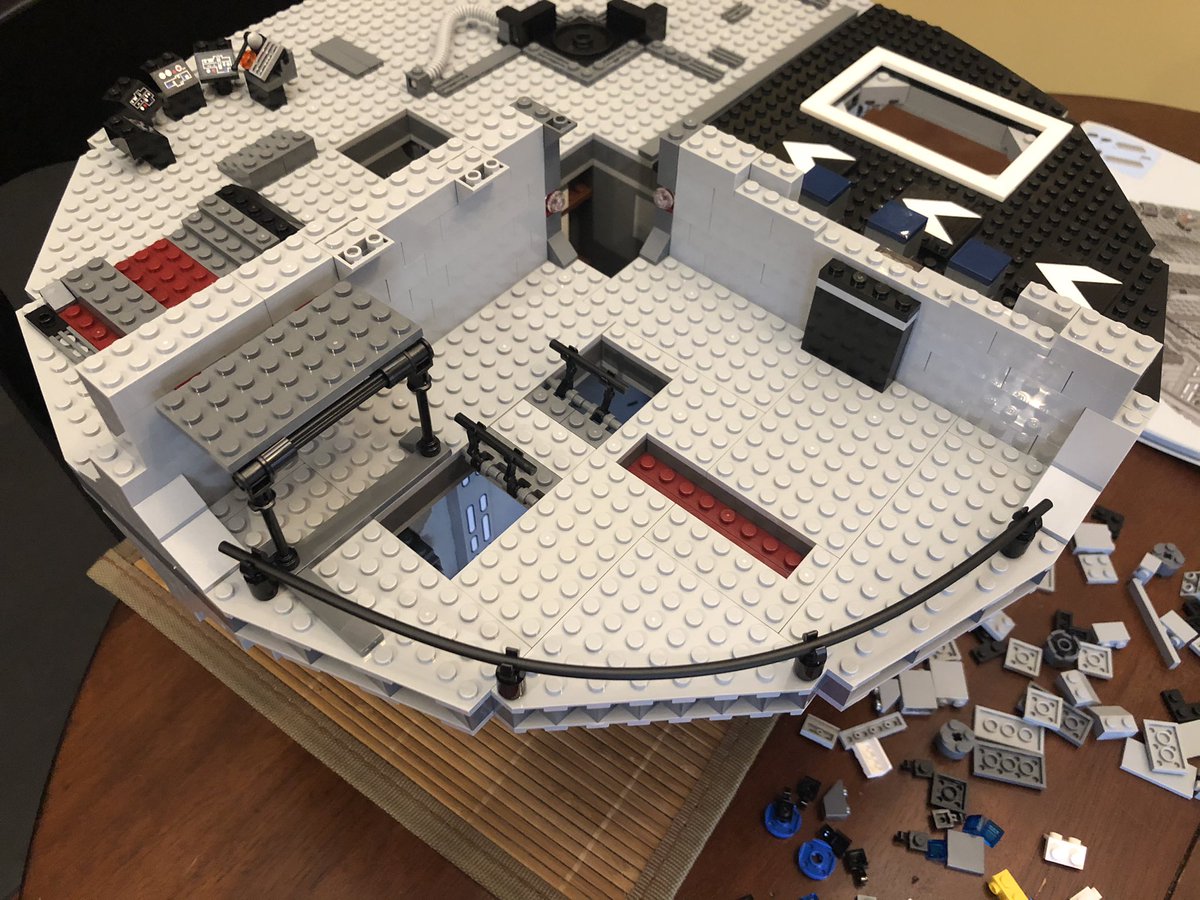
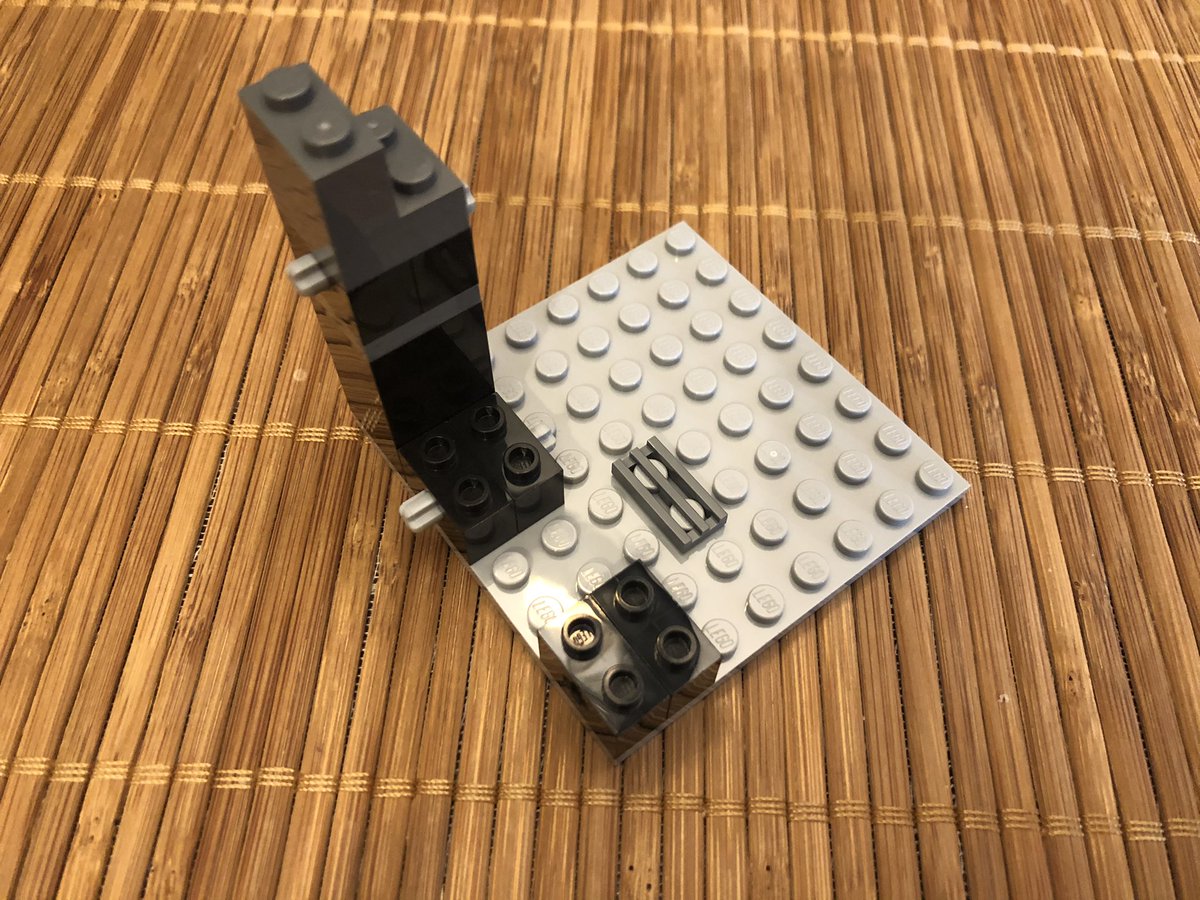
The bottom floor has some but minimal decoration. The curved railway is tricky, make sure it just barely connects on either end or the radius is too tight and pieces pop off. #LEGO 

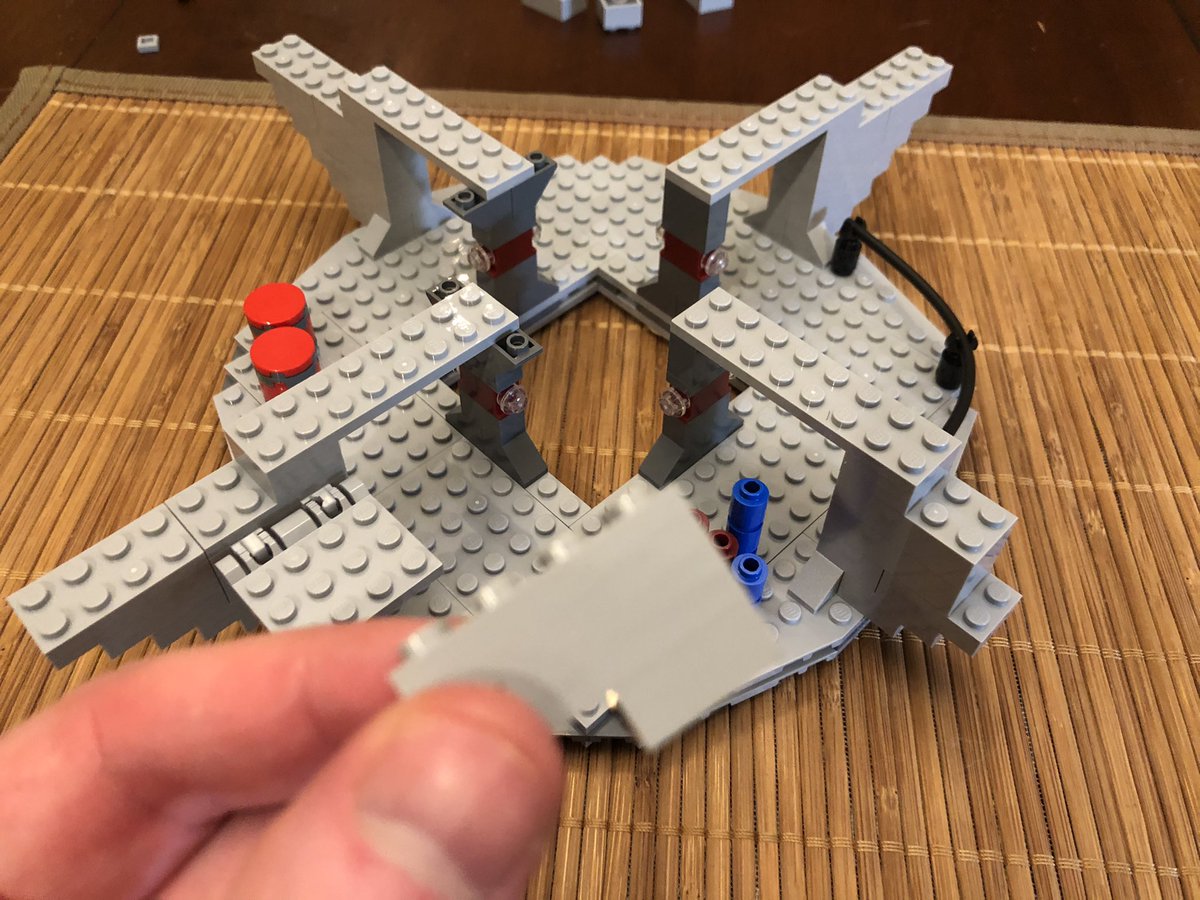
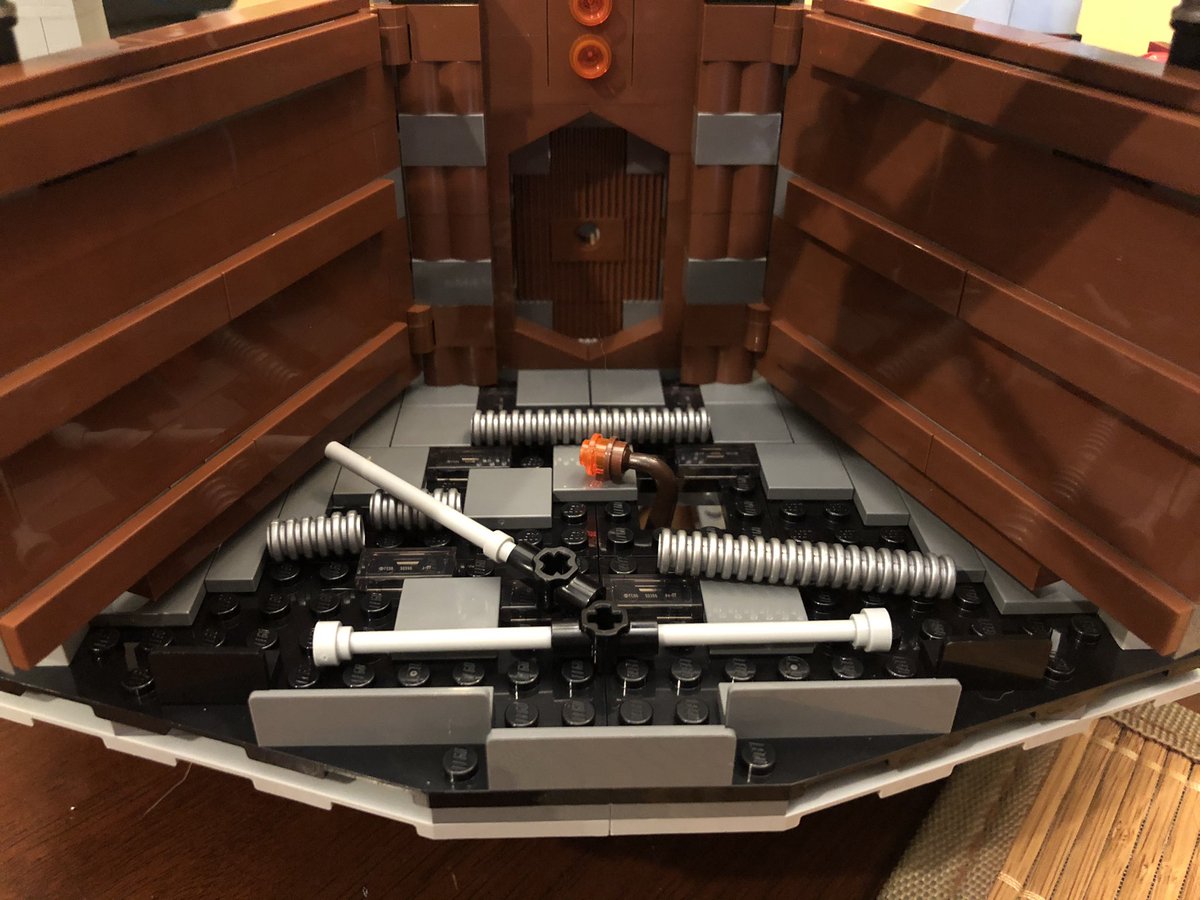
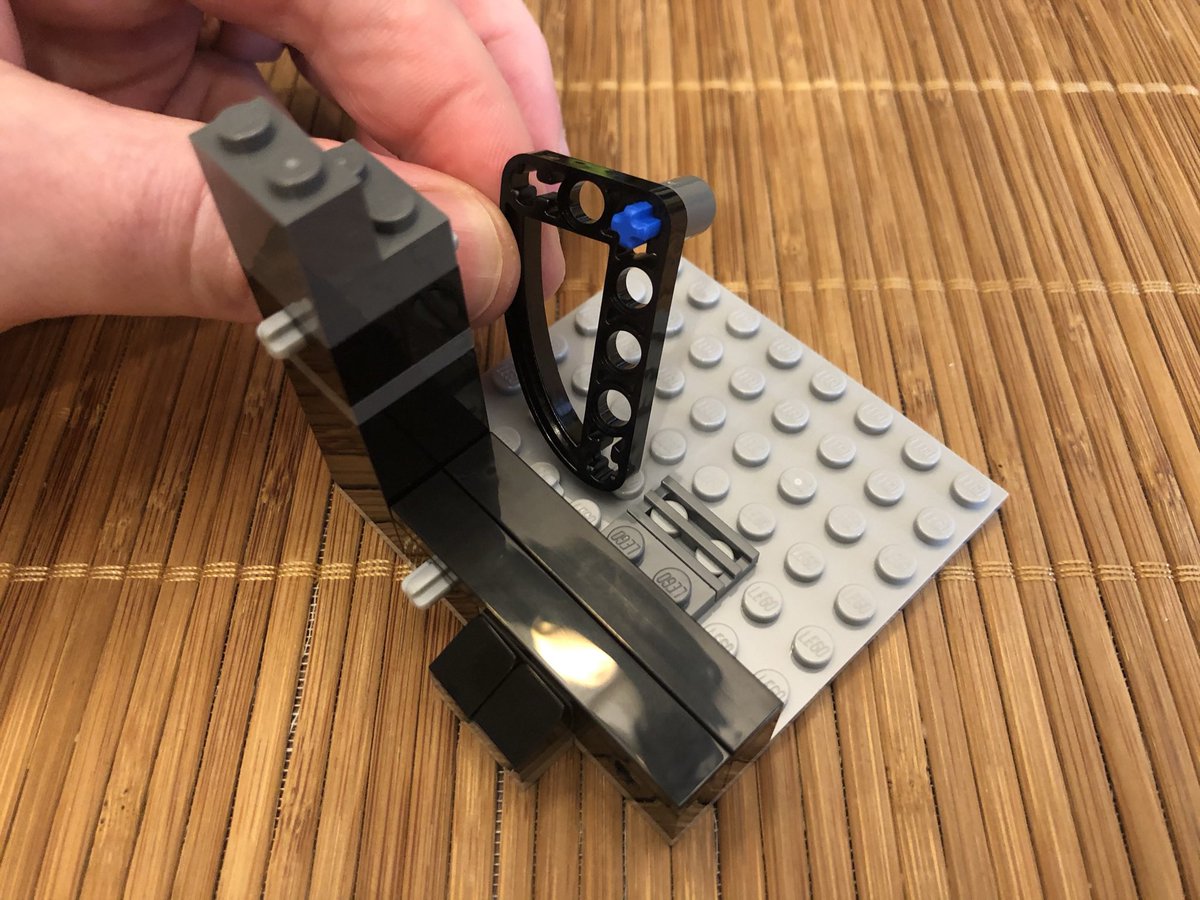
One room has a trap door, I guess, and otherwise we just work on building up the lates of the four spokes that eventually connect to the center.
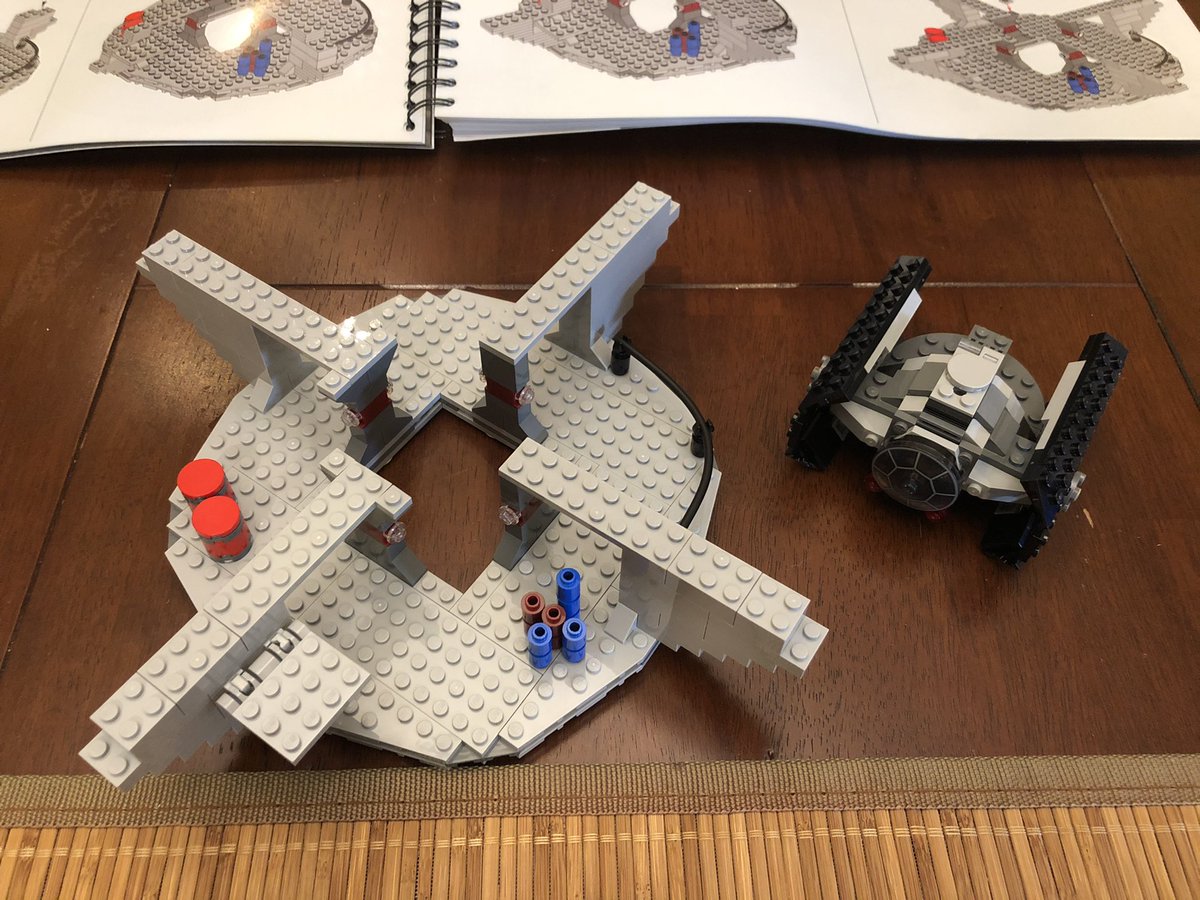
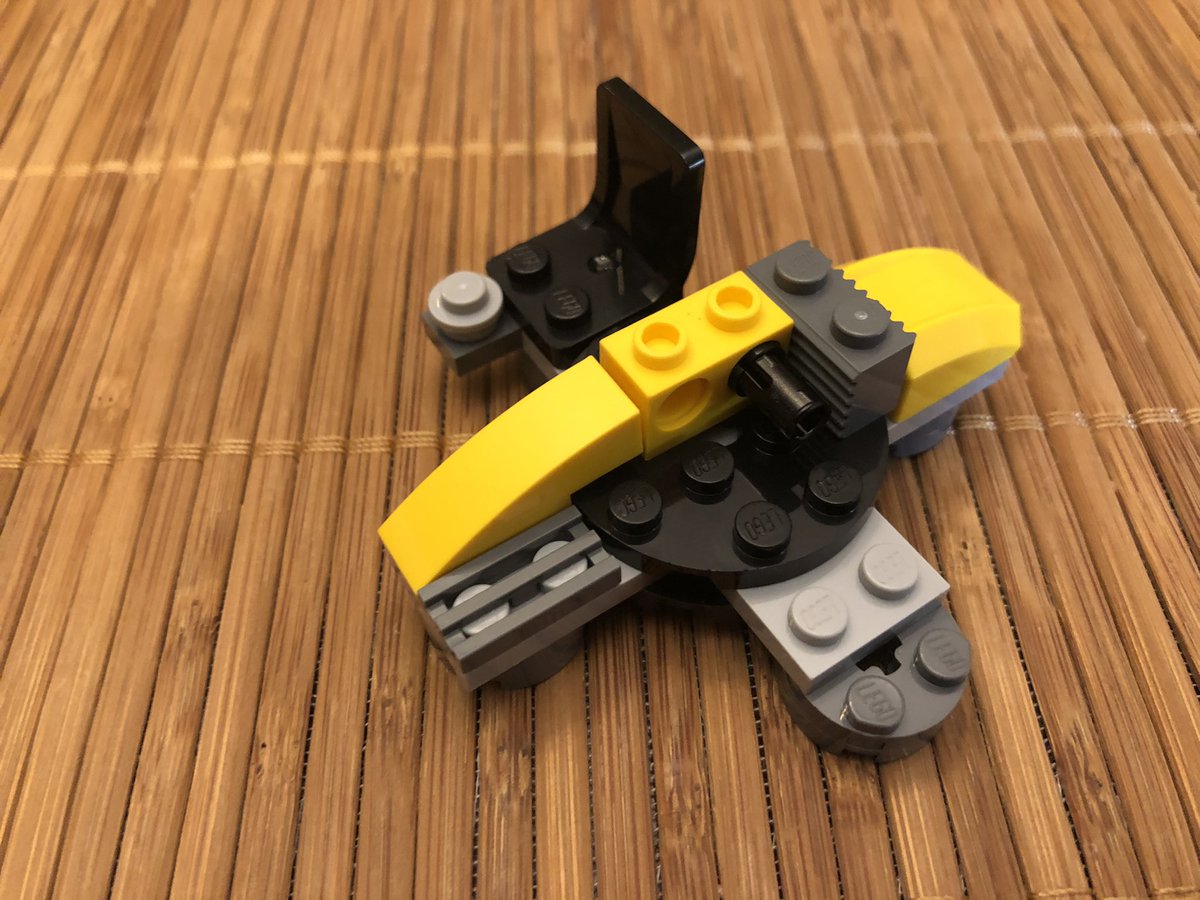
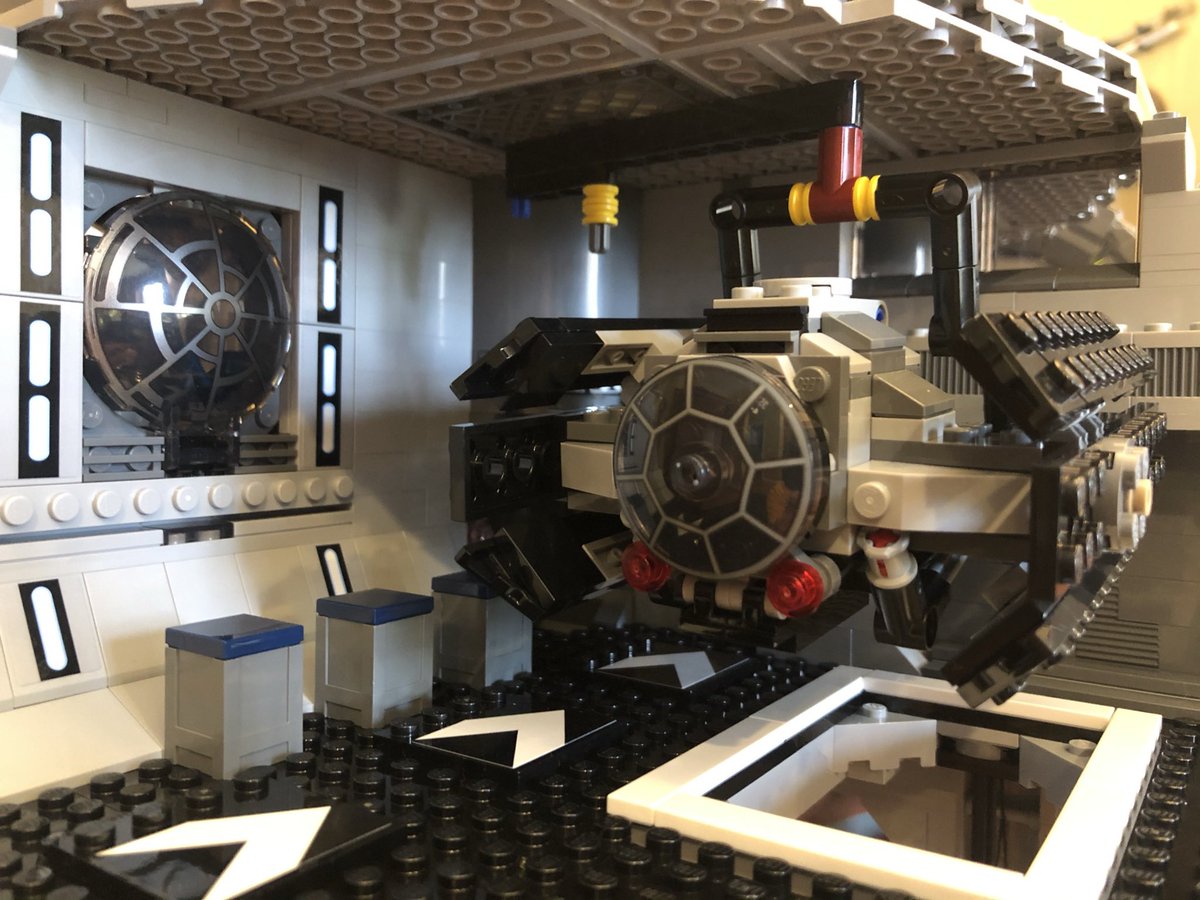
A few more pieces finish off section 1. We have an X-1 TIE Advanced and a very stable base for the rest of the Death Star. #LEGO 

I started on section two but it’s Impressively MASSIVE. I will hopefully finish it up tomorrow and then share some pictures. #LEGO 

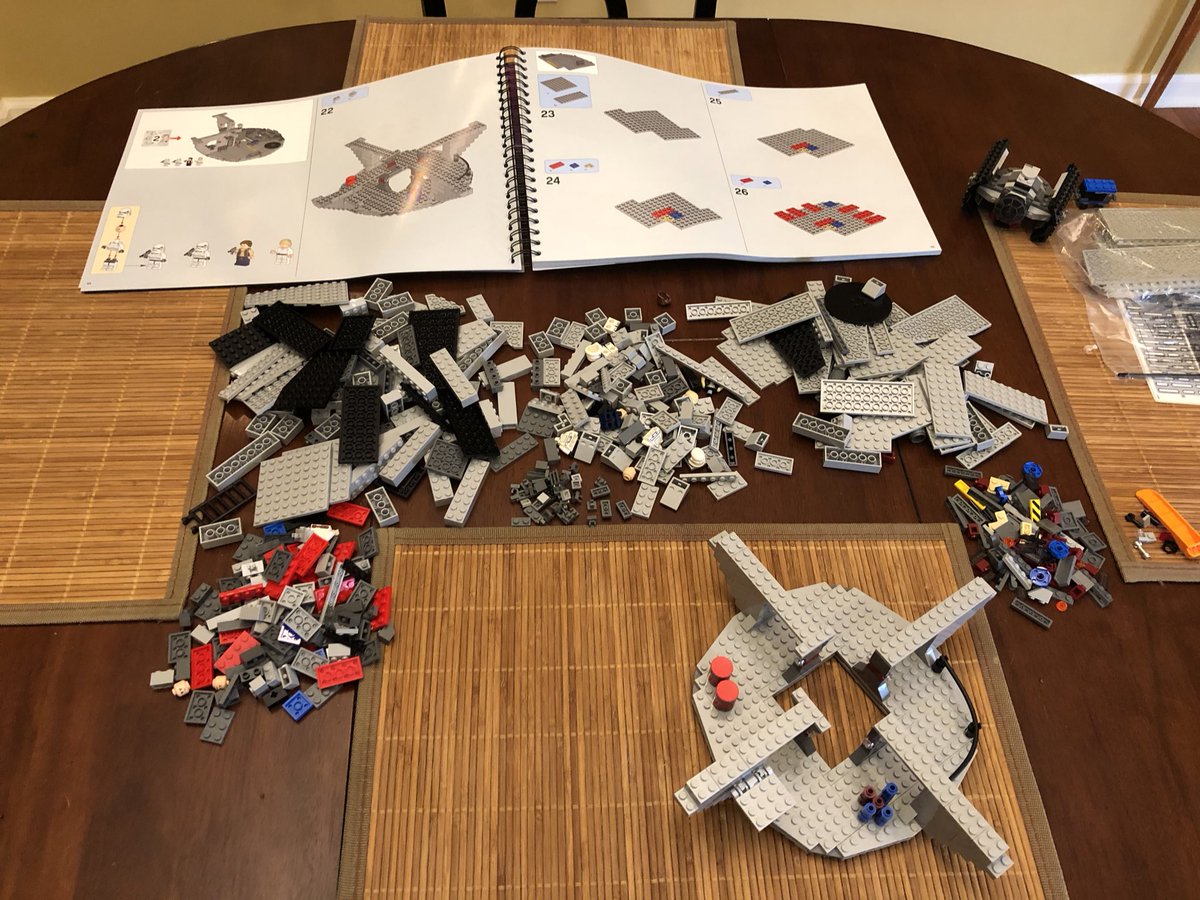
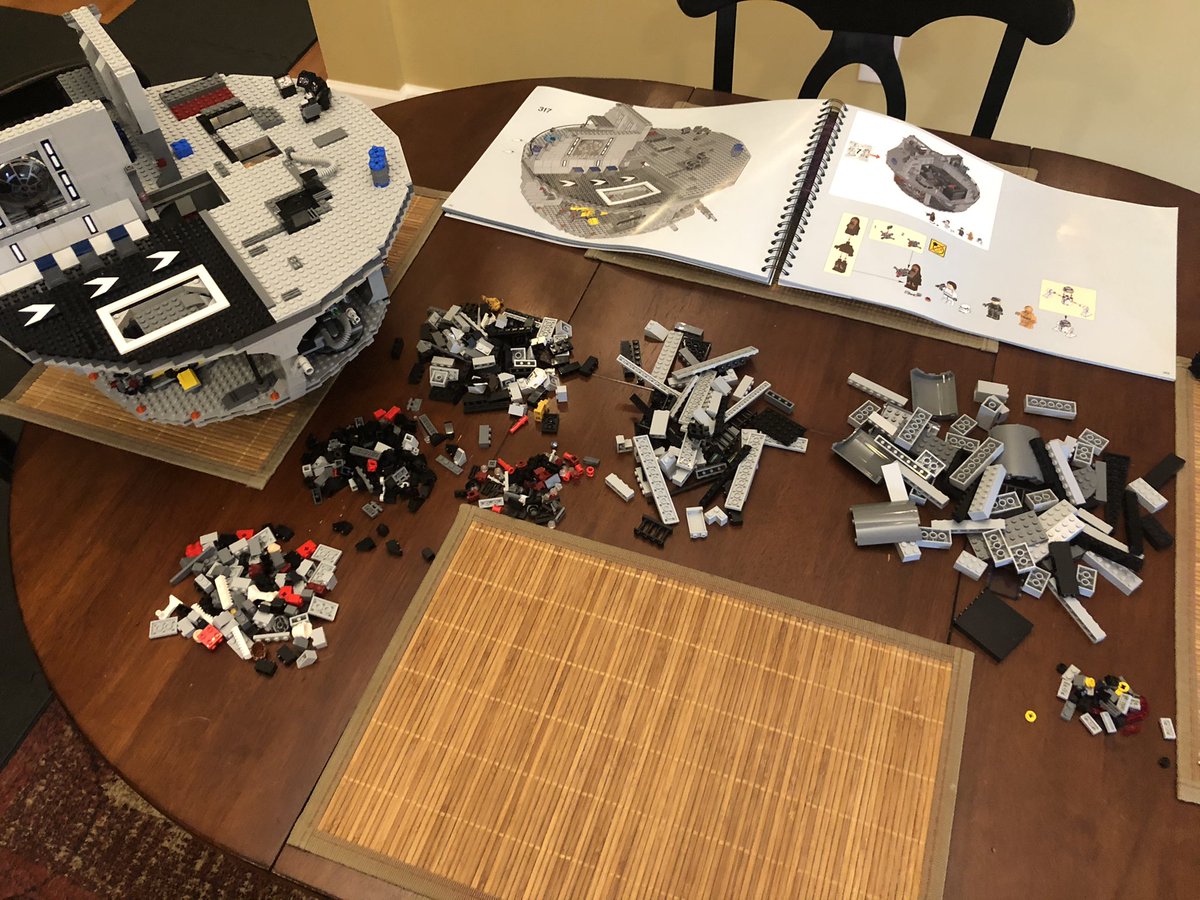
Let’s begin section 2! These sections are, frankly, massive. It’s becoming difficult to take photos of all the pieces, so expect less detail from here out.
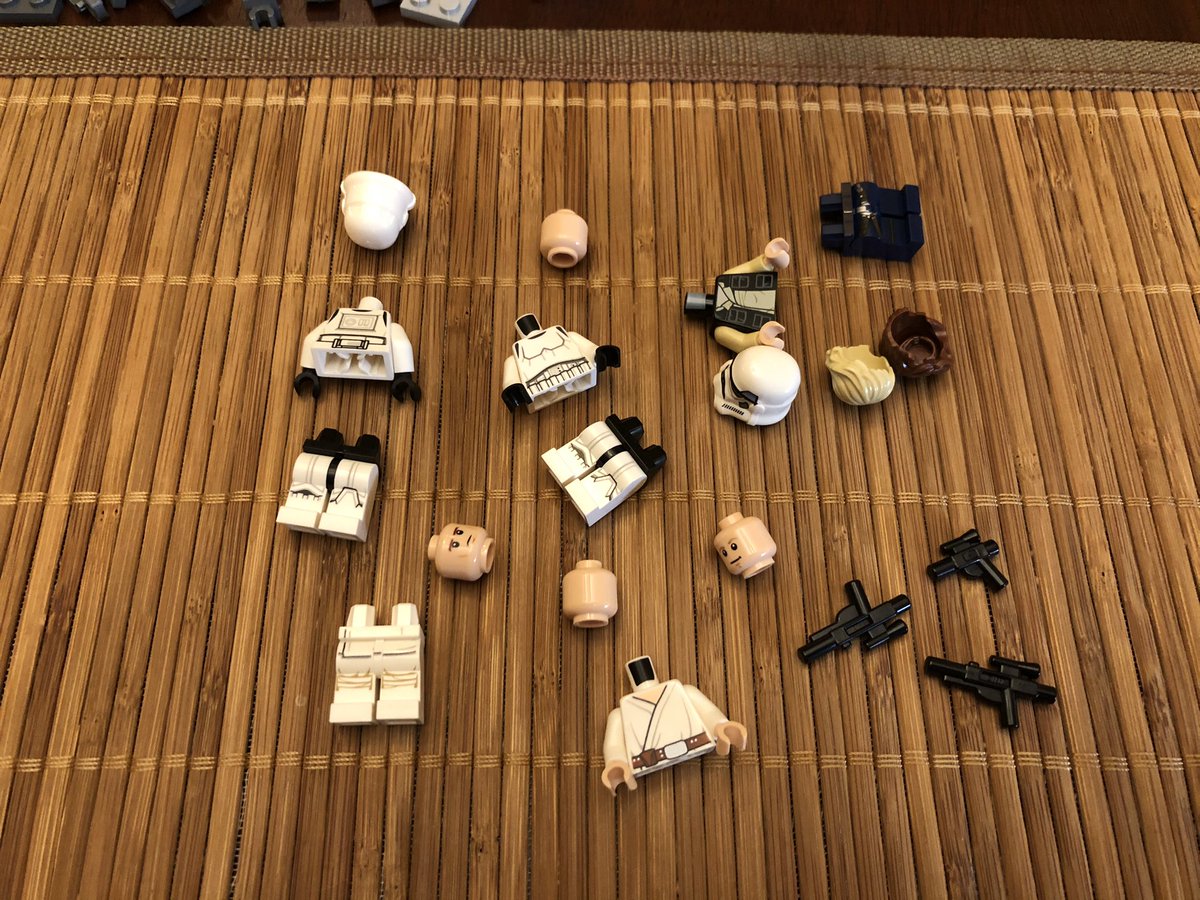
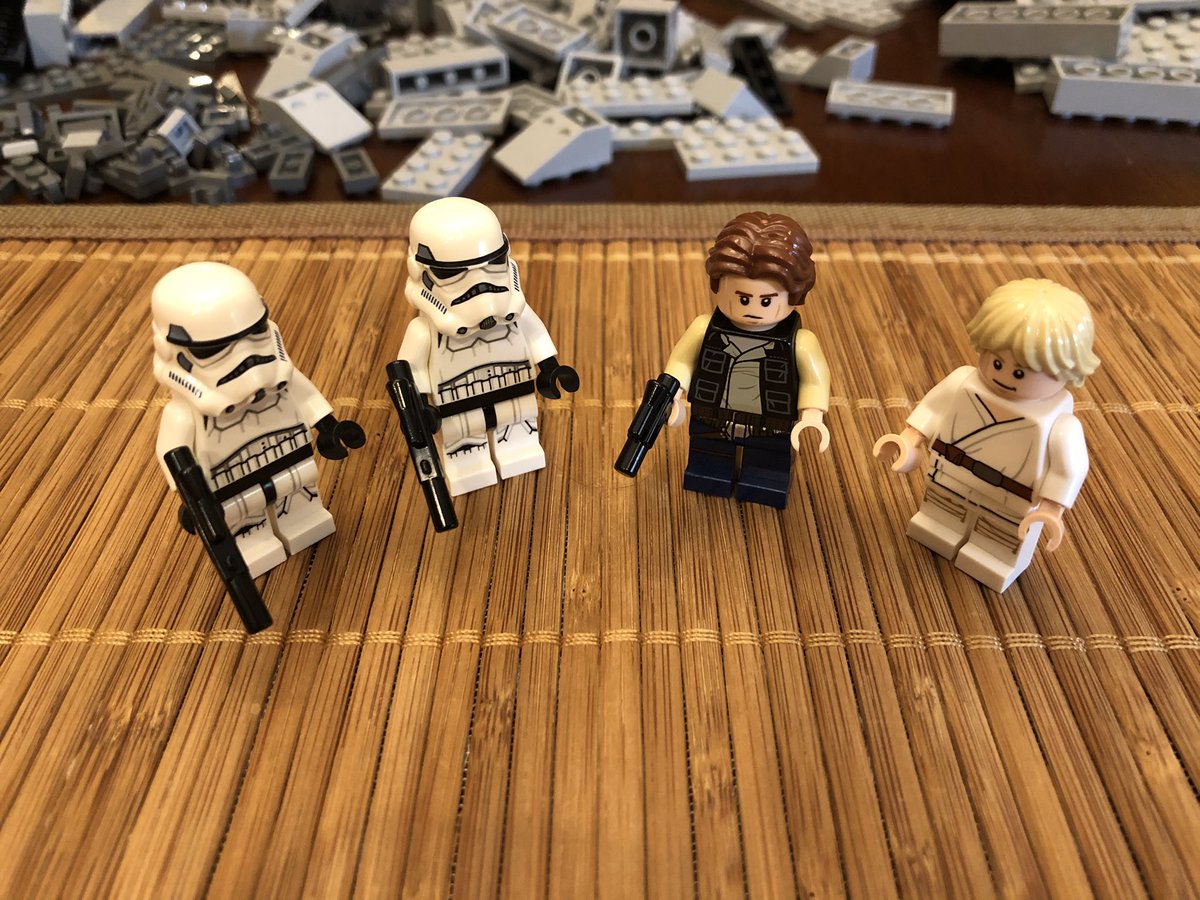
As always, figure first: Luke (Tatooine), Han, and two stormtroopers.
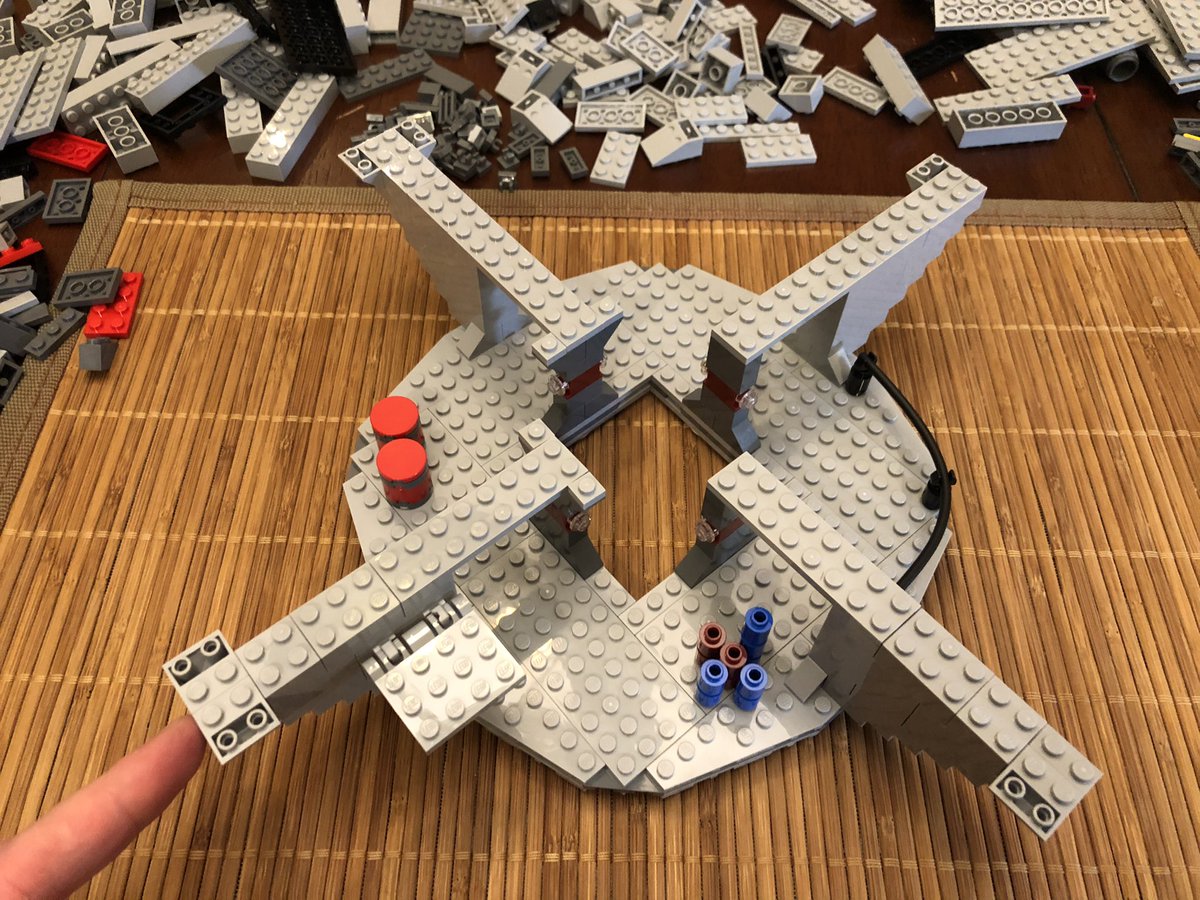
The first pieces widen the supports at top. #LEGO
As always, figure first: Luke (Tatooine), Han, and two stormtroopers.
The first pieces widen the supports at top. #LEGO

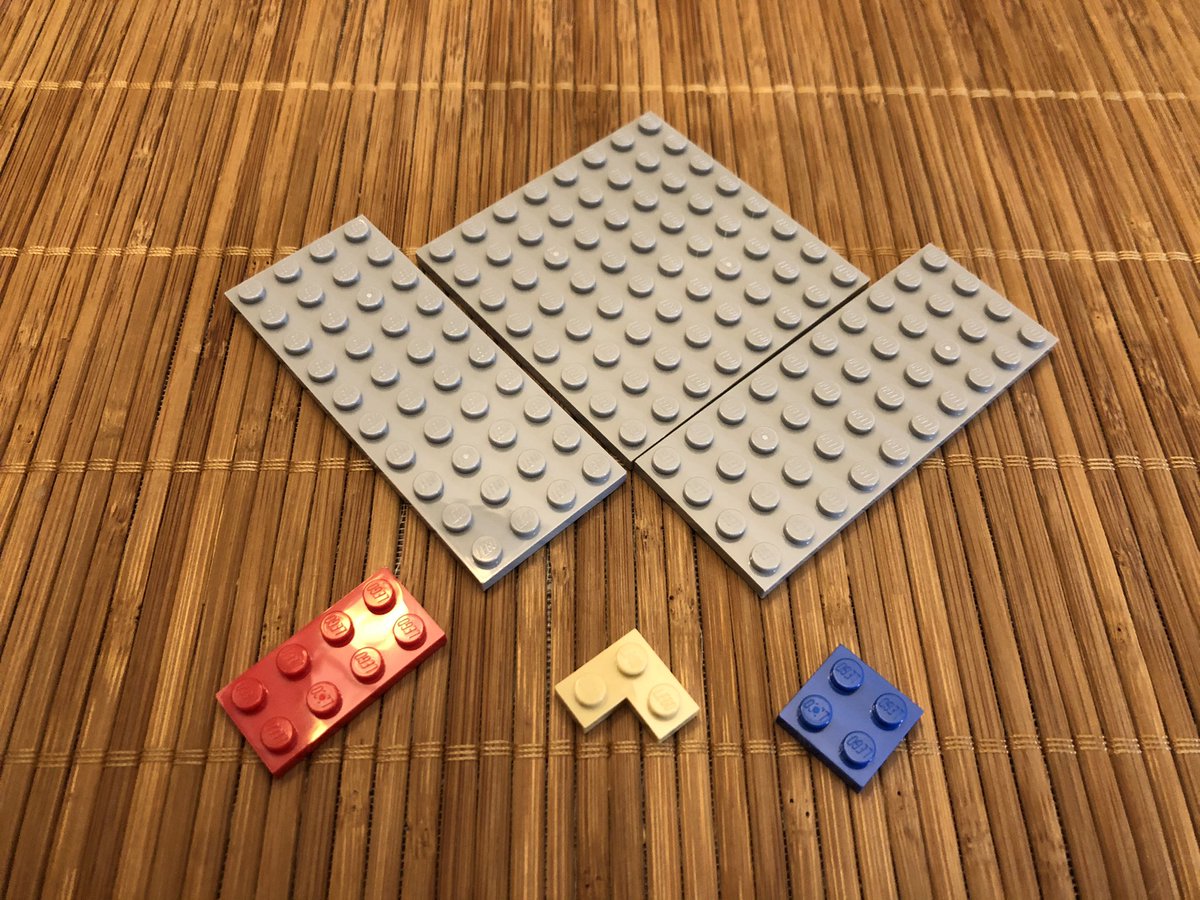
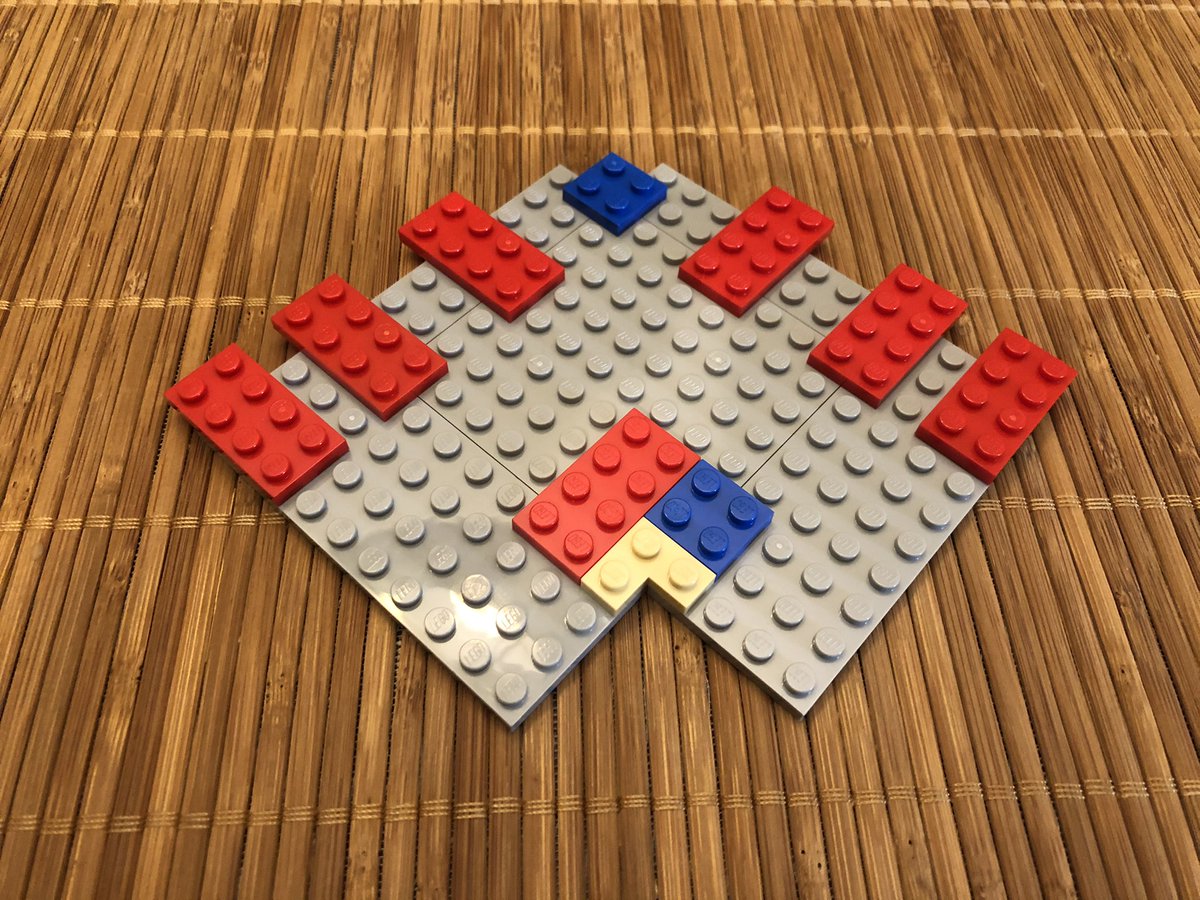
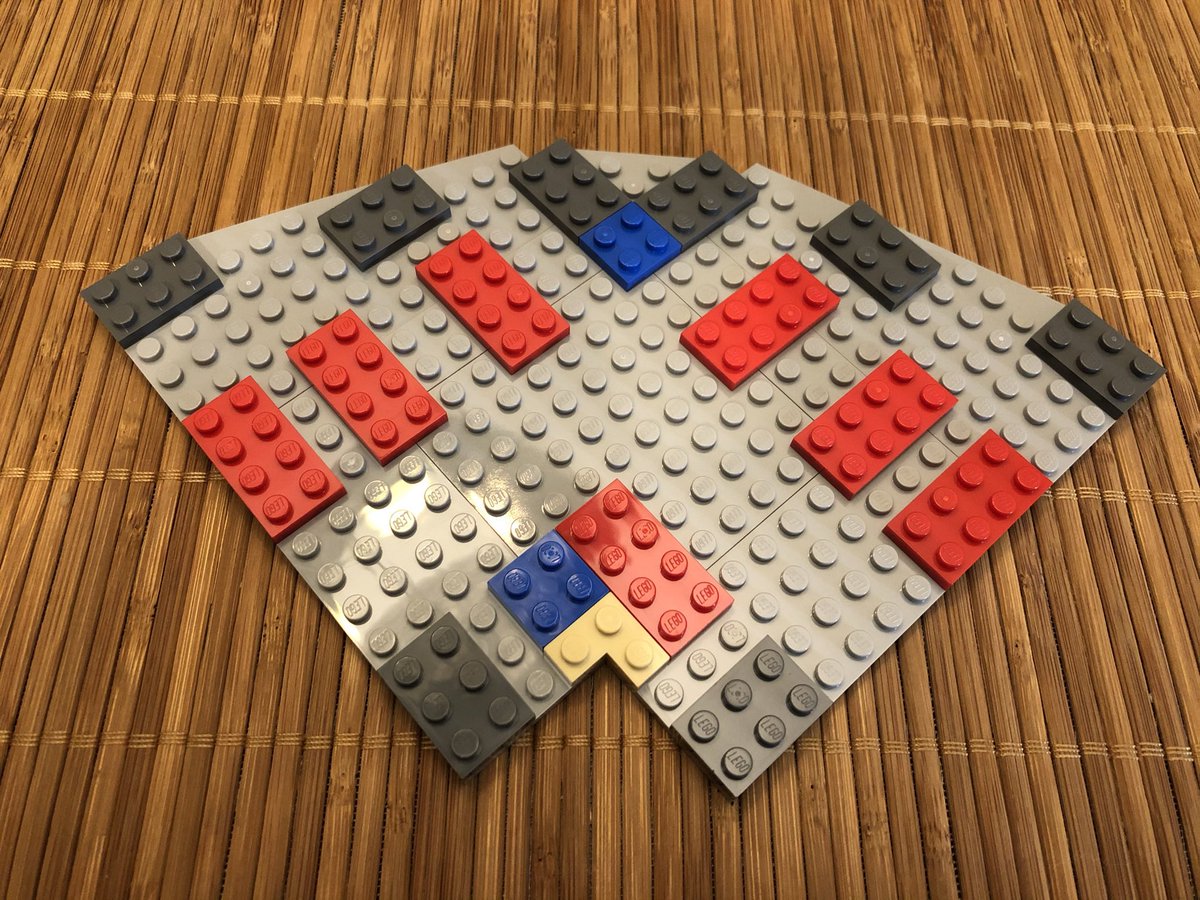
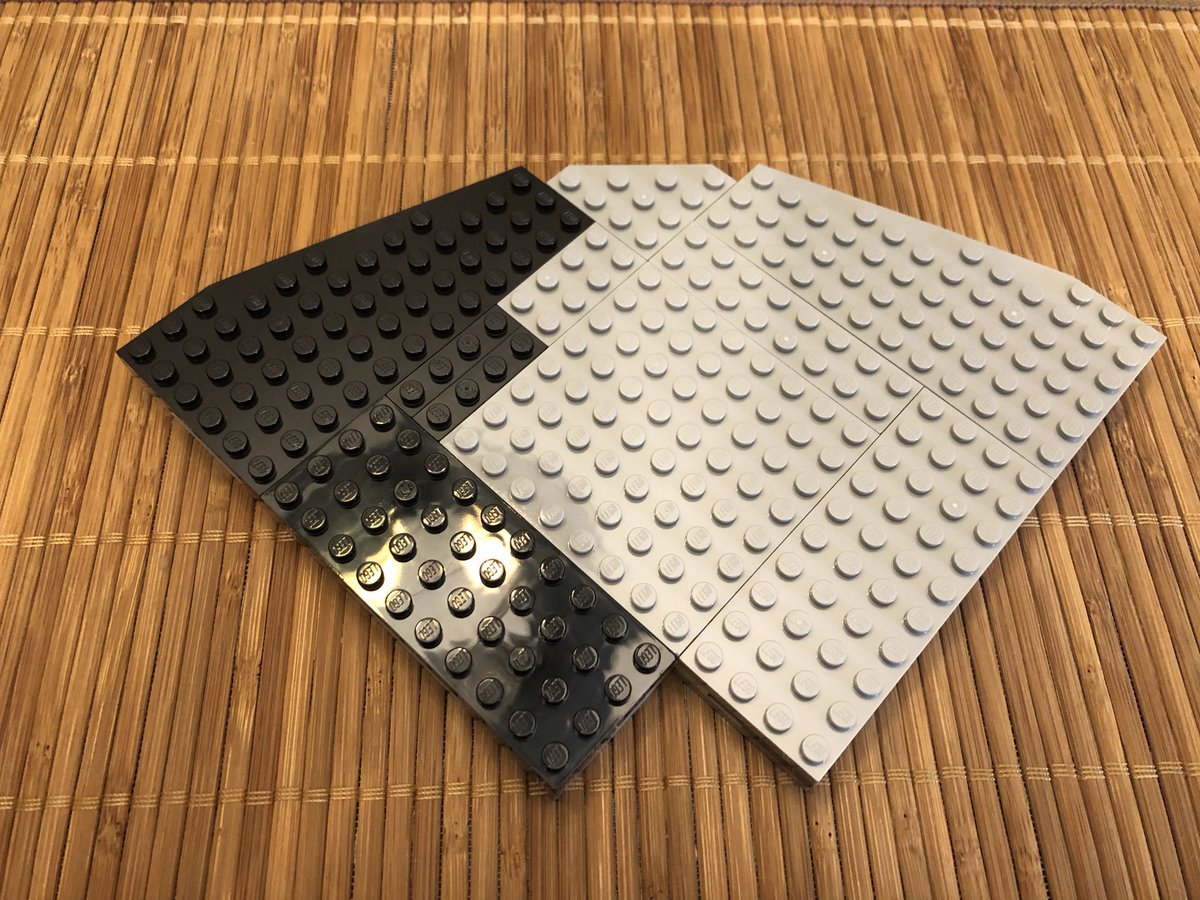
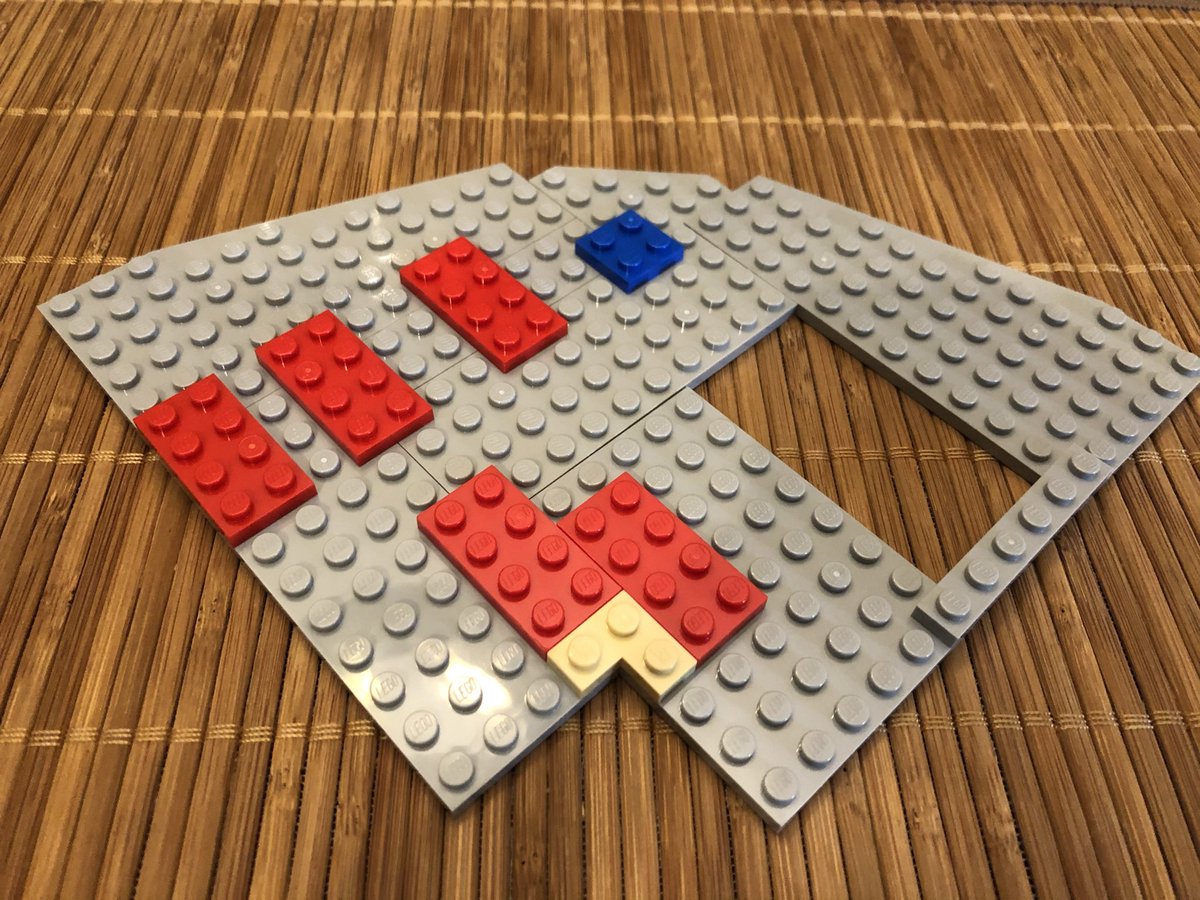
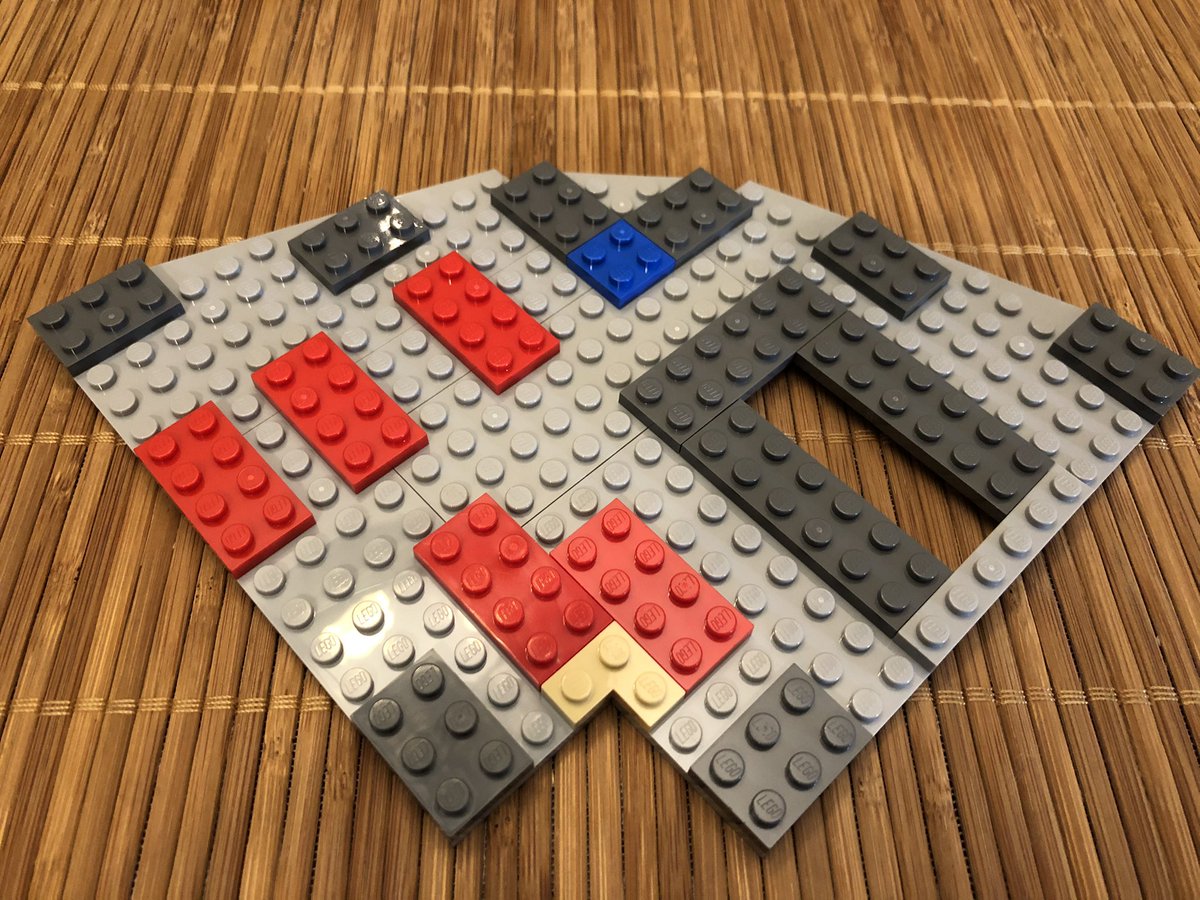
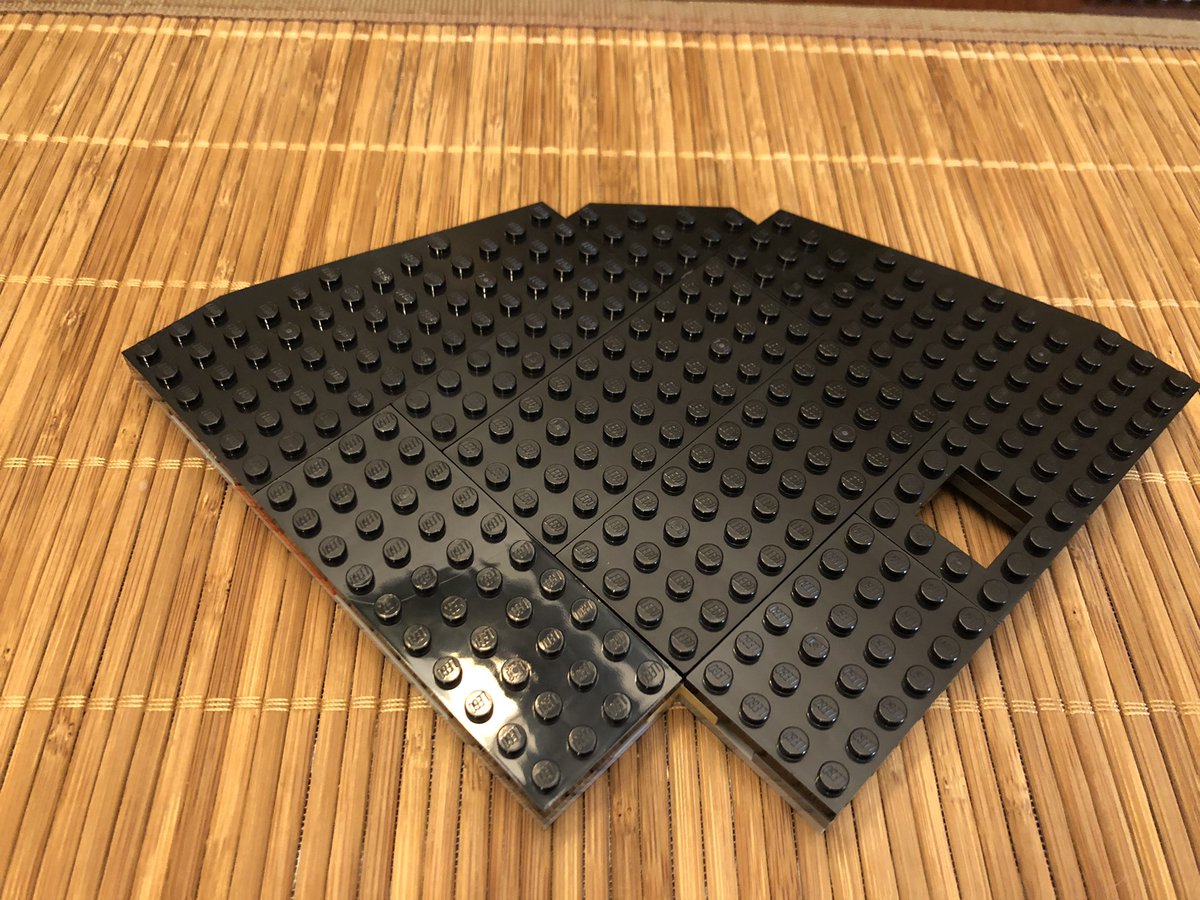
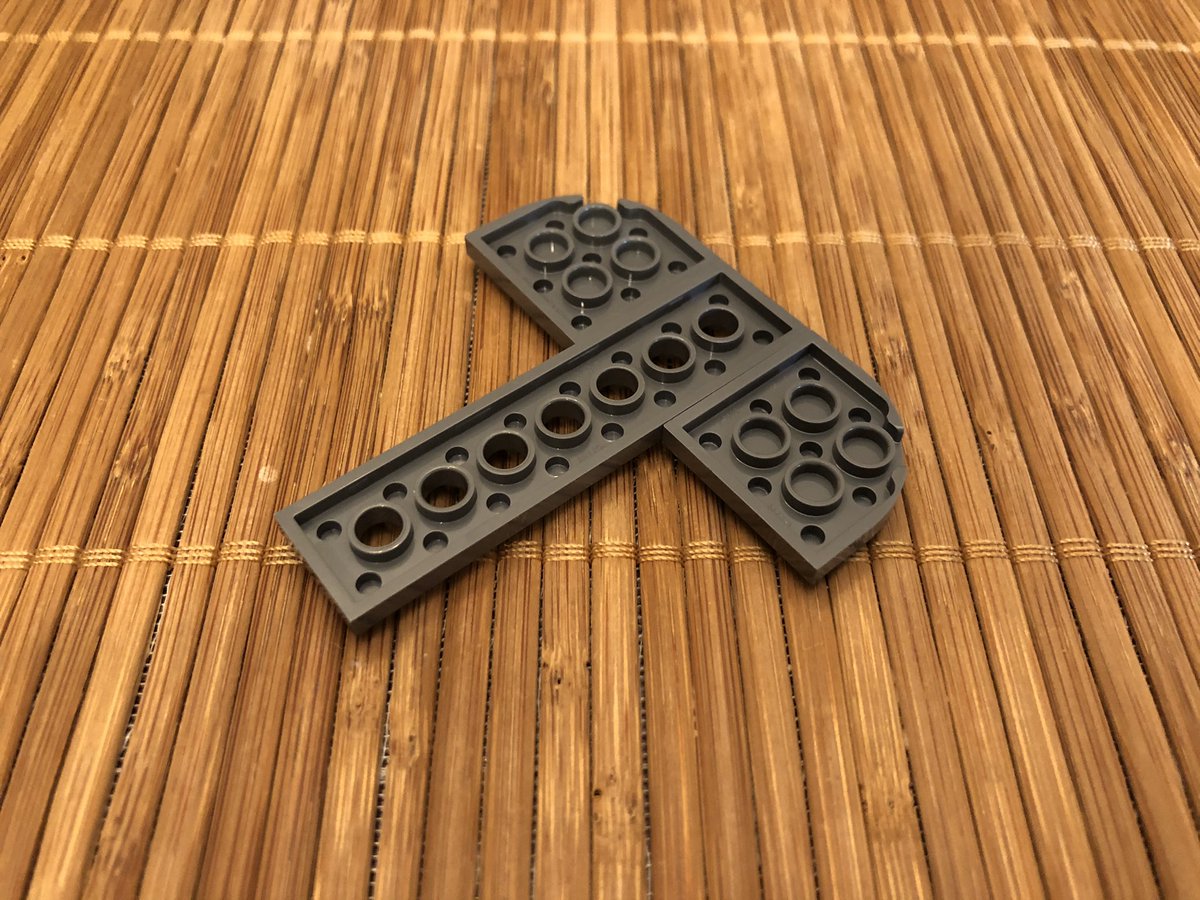
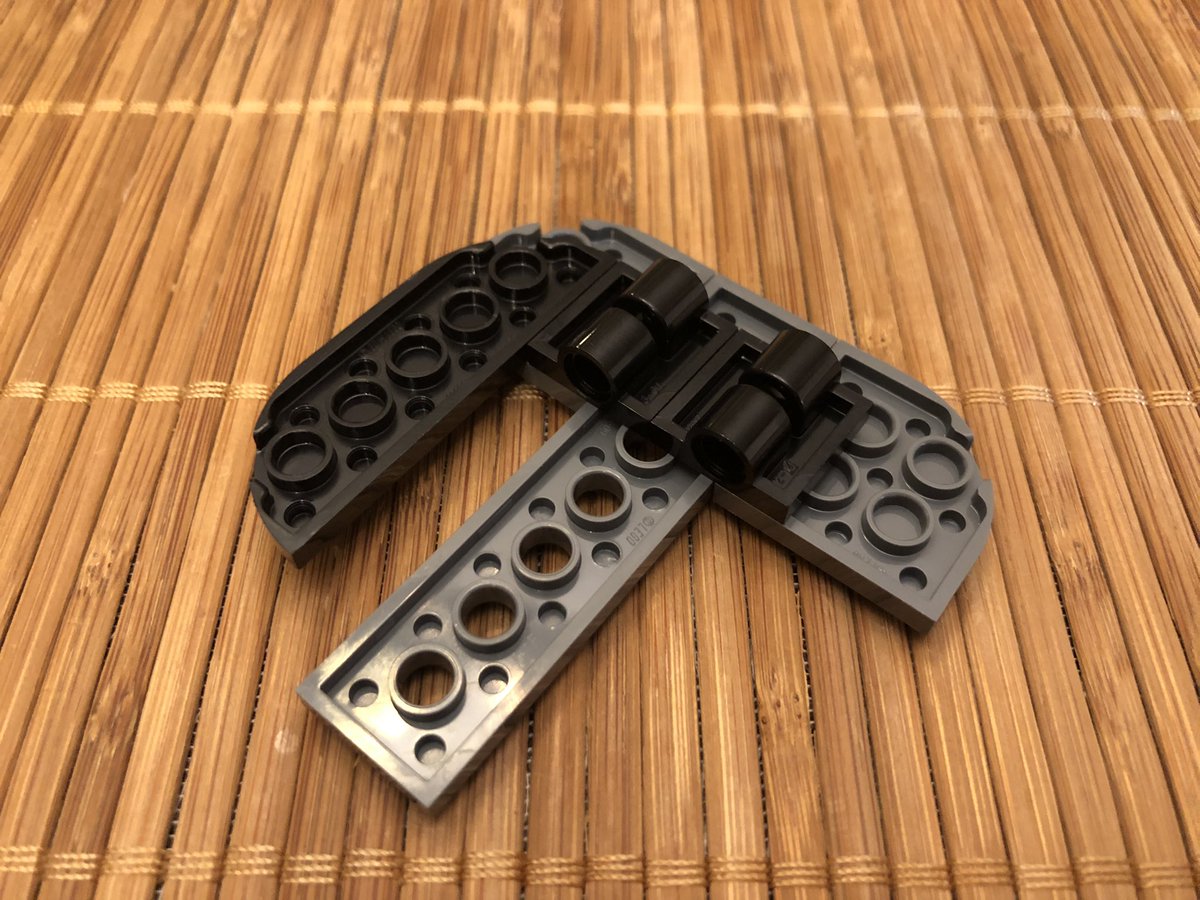
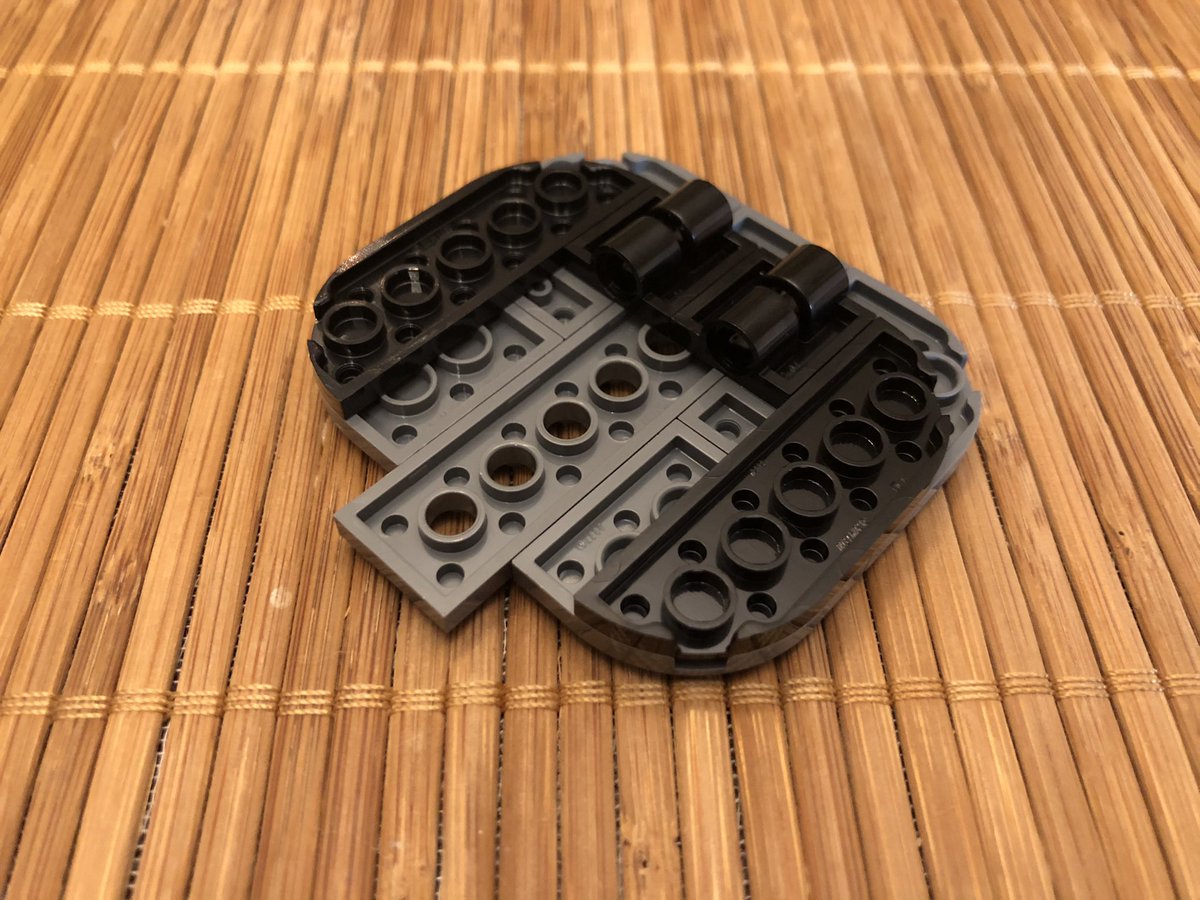
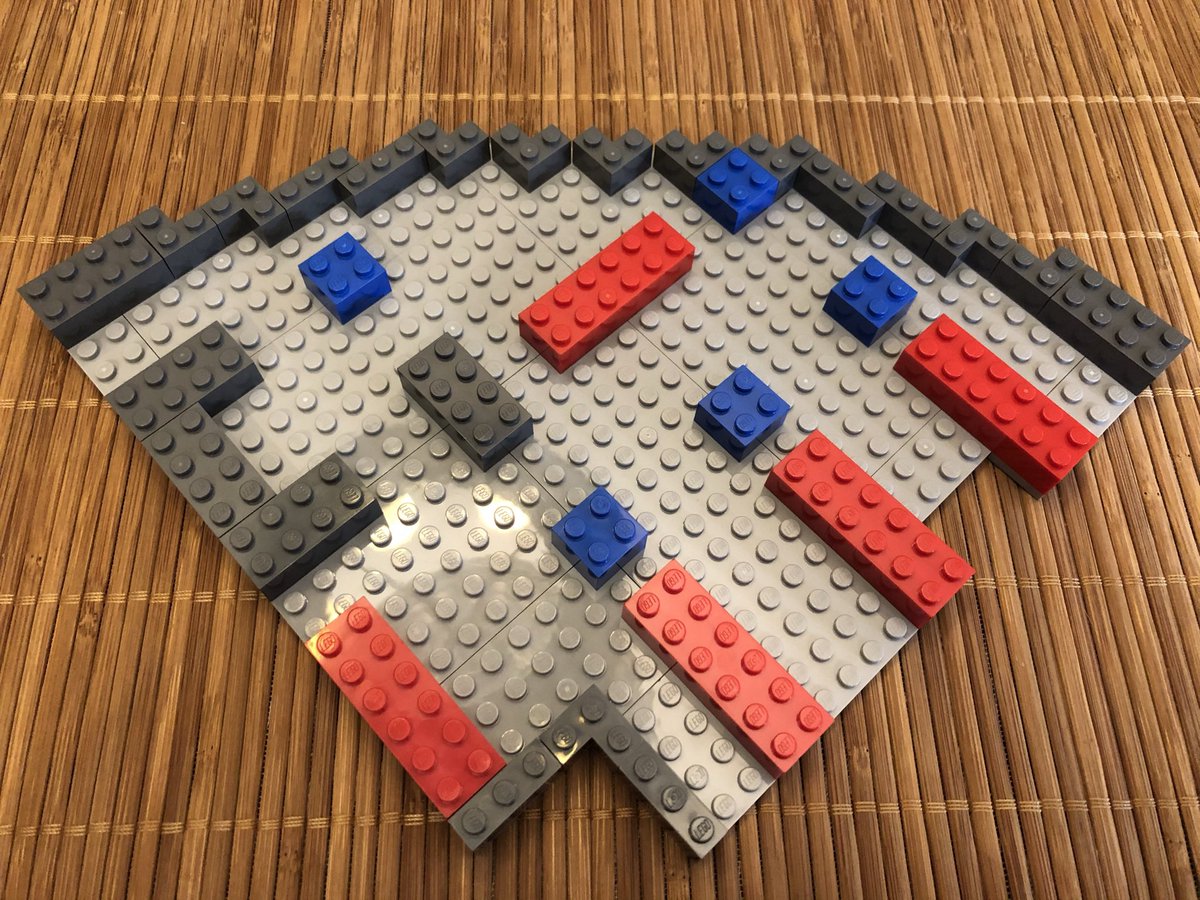
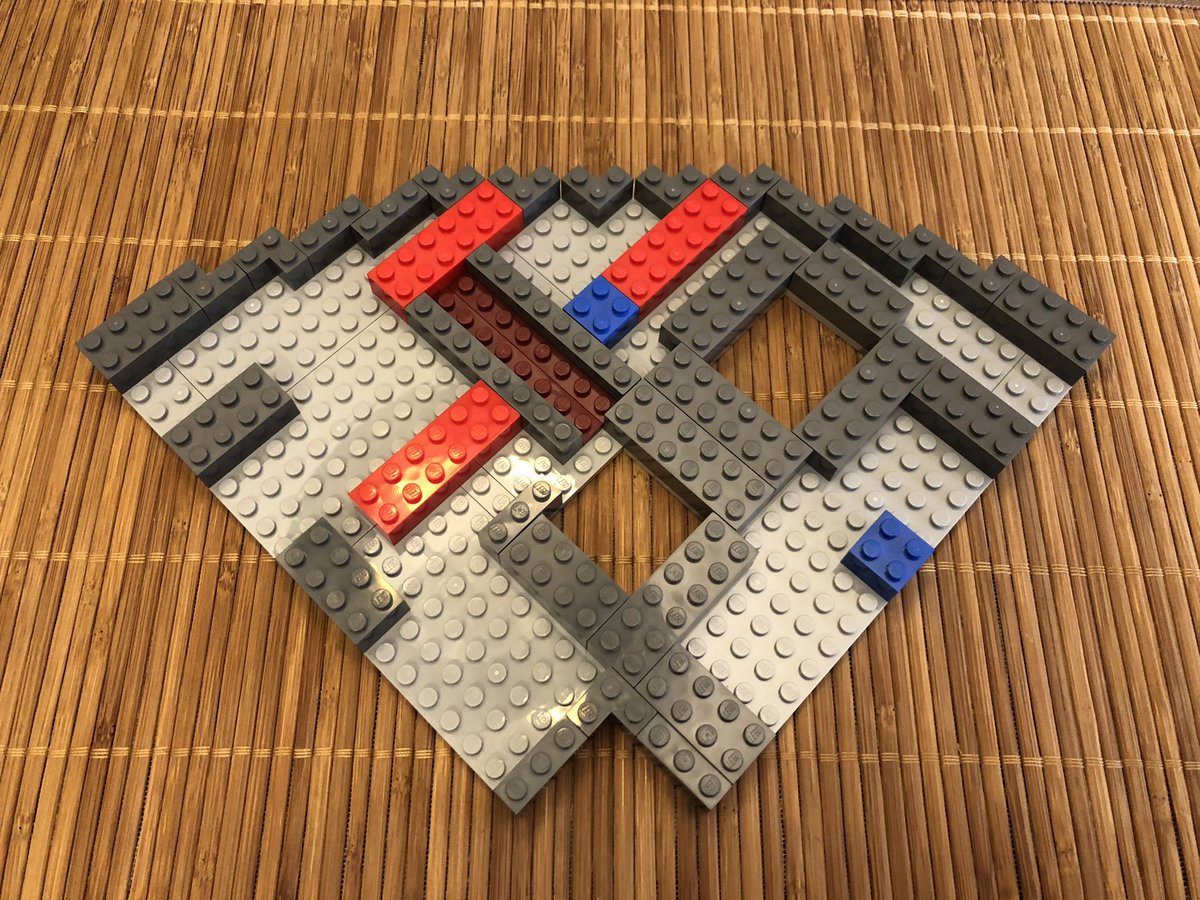
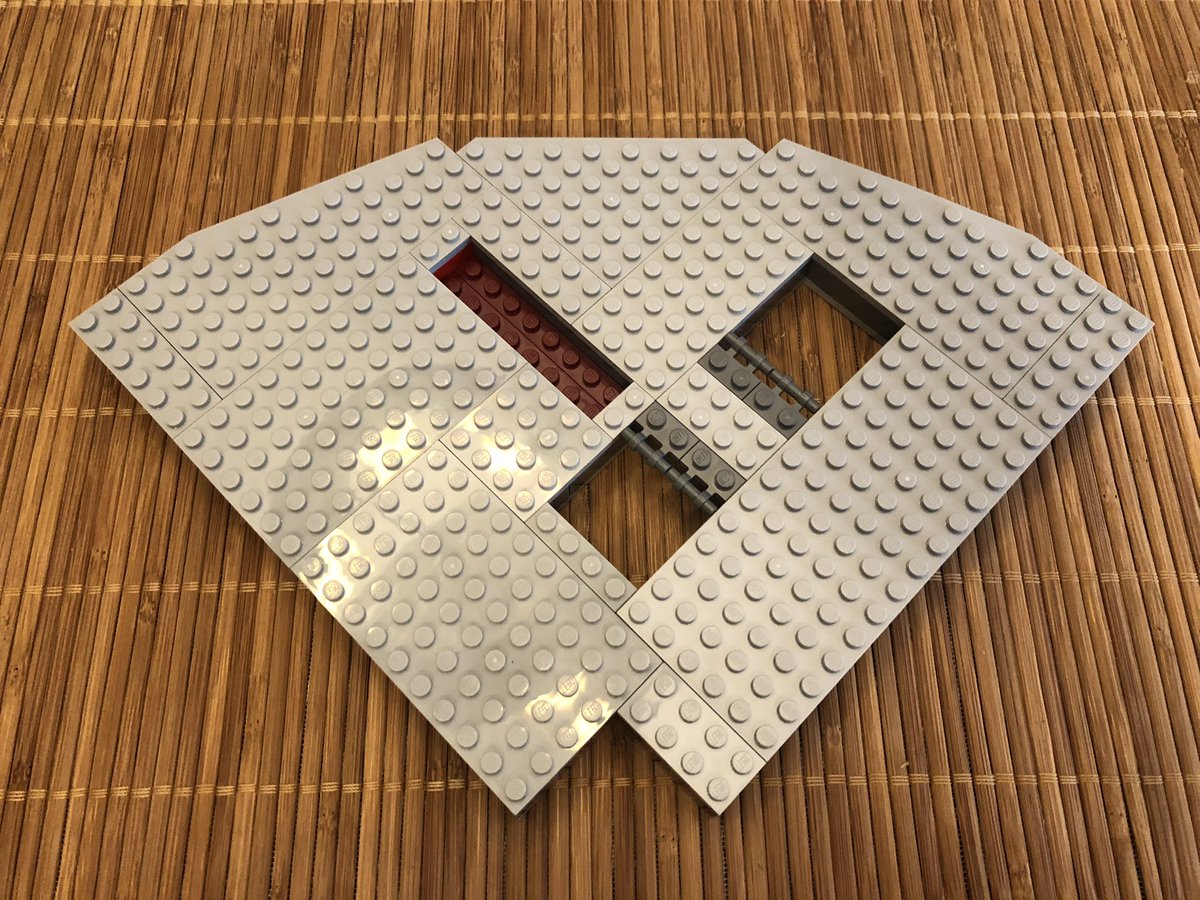
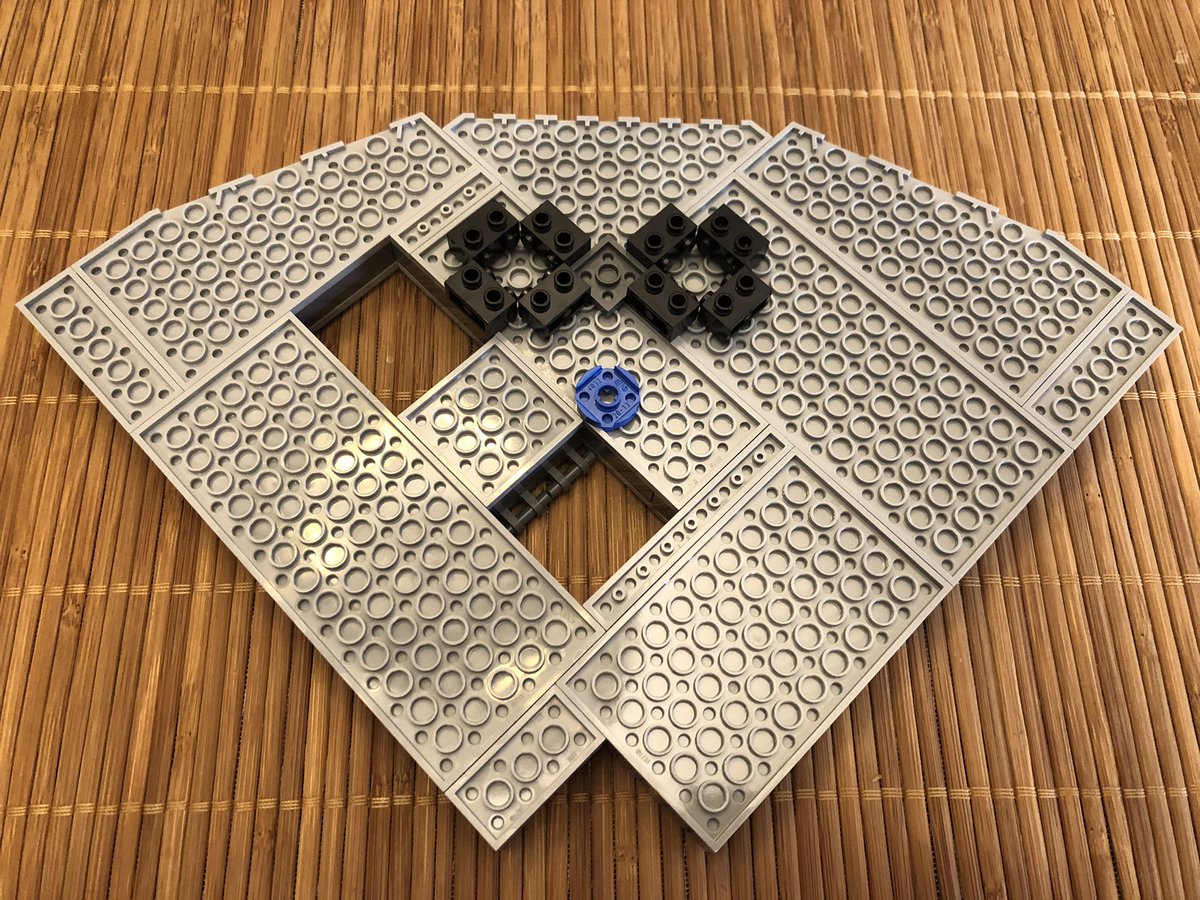
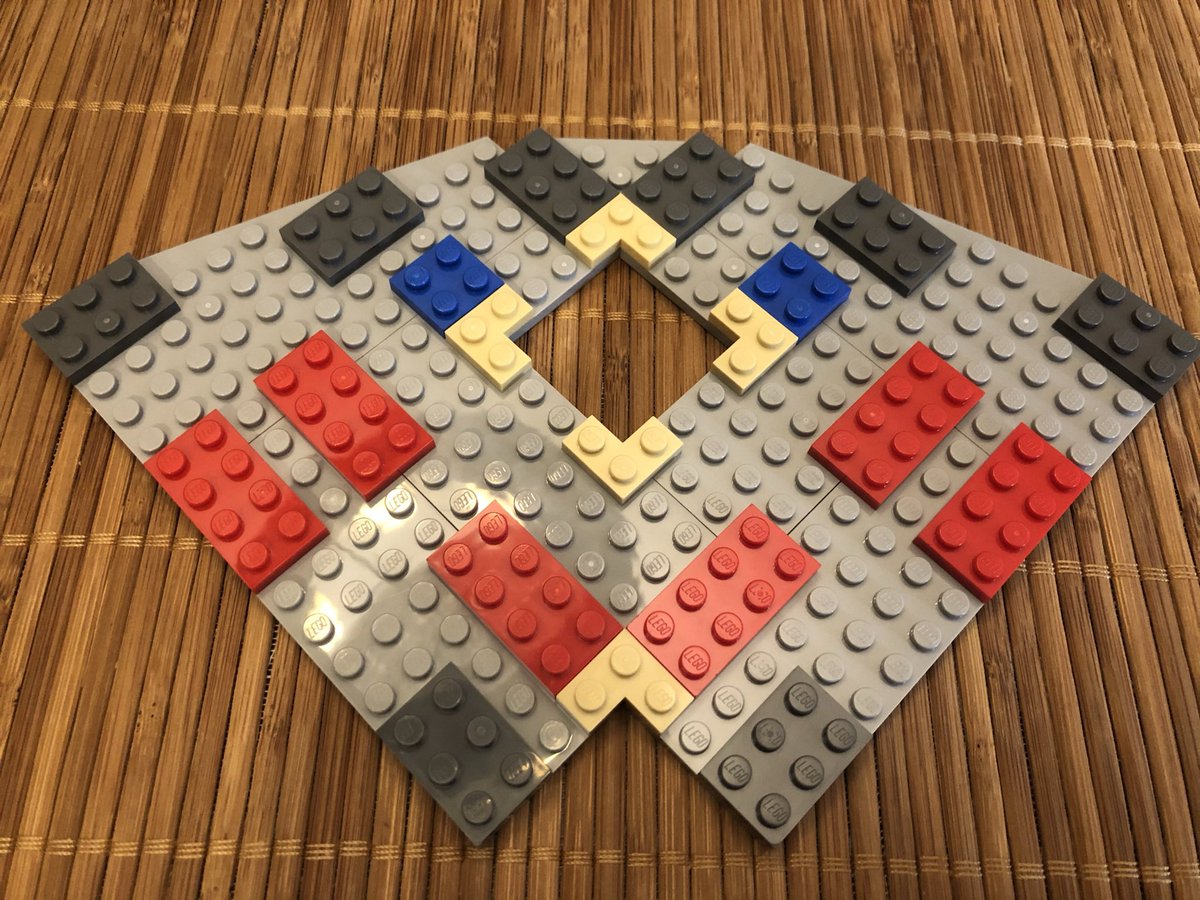
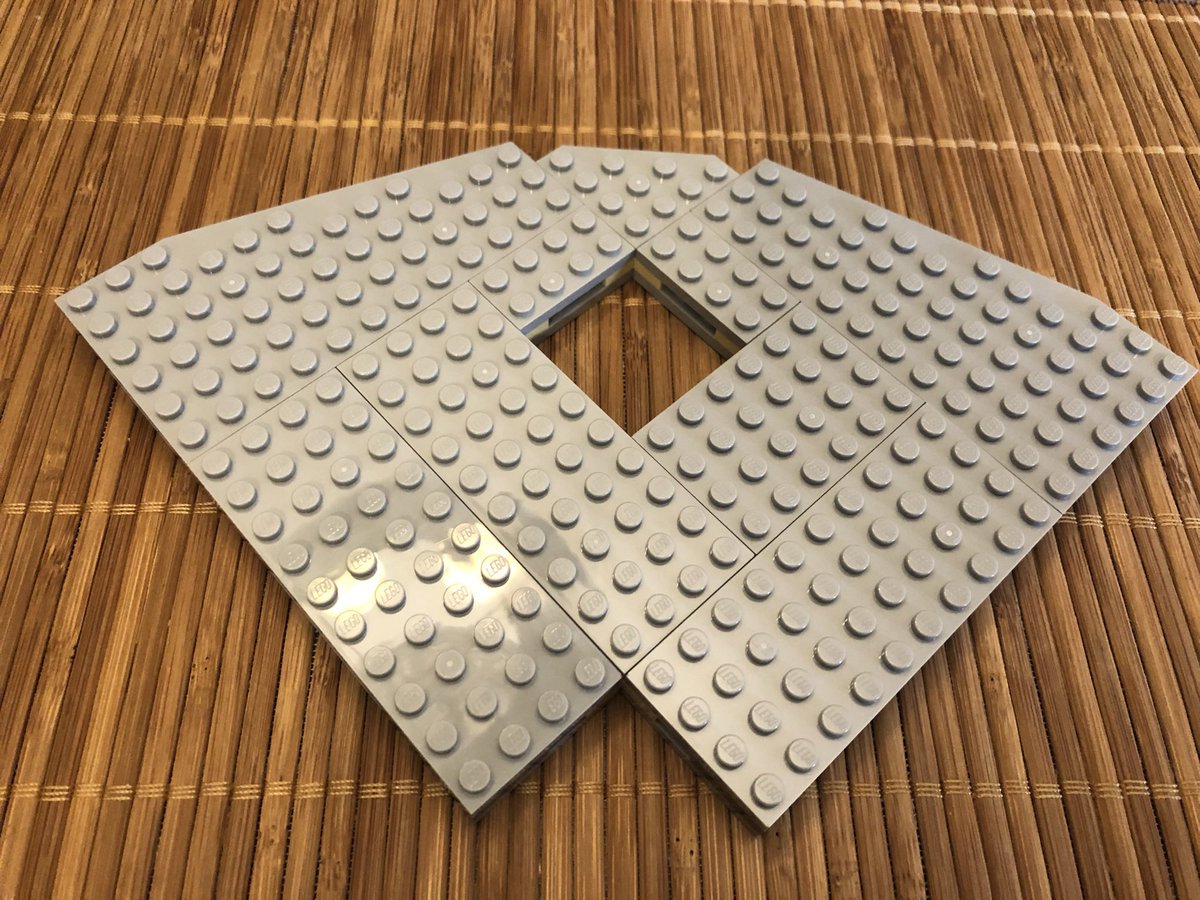
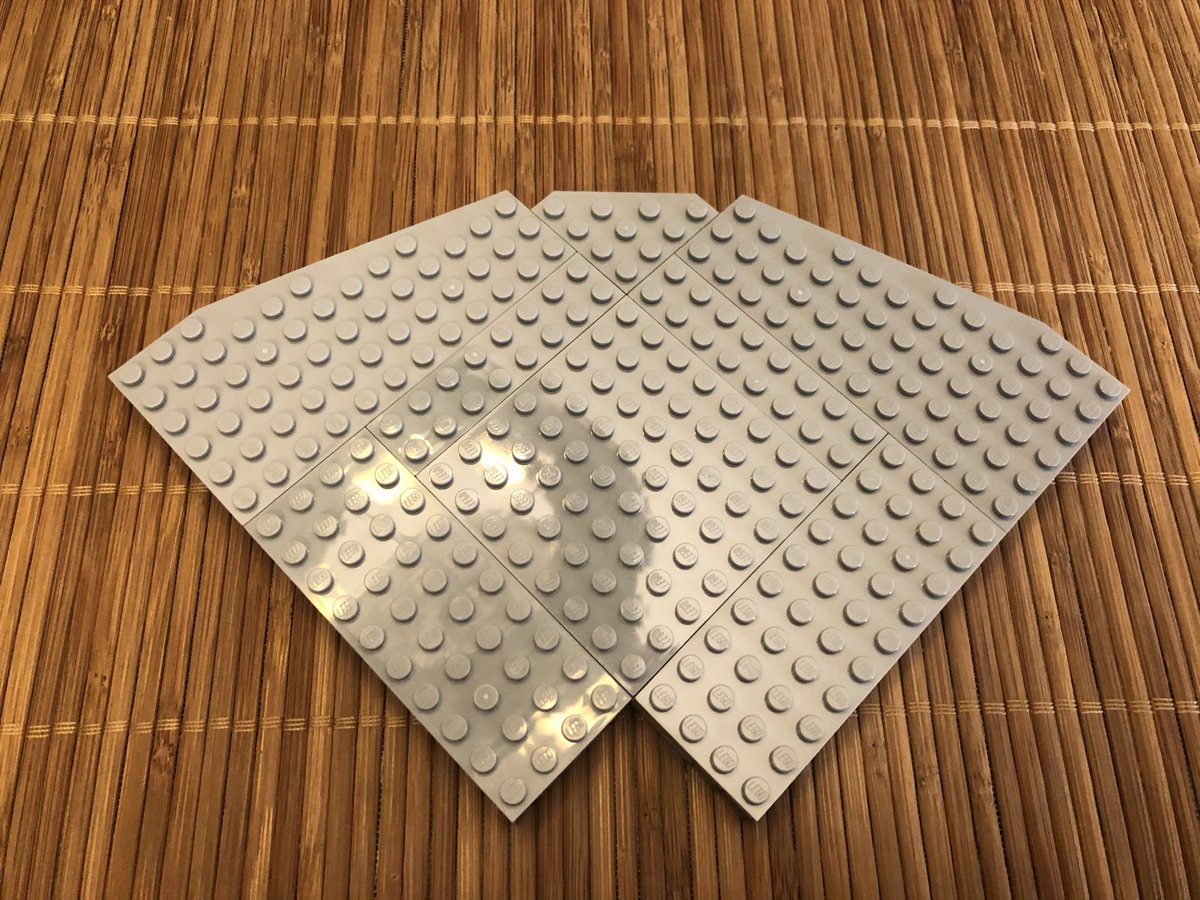
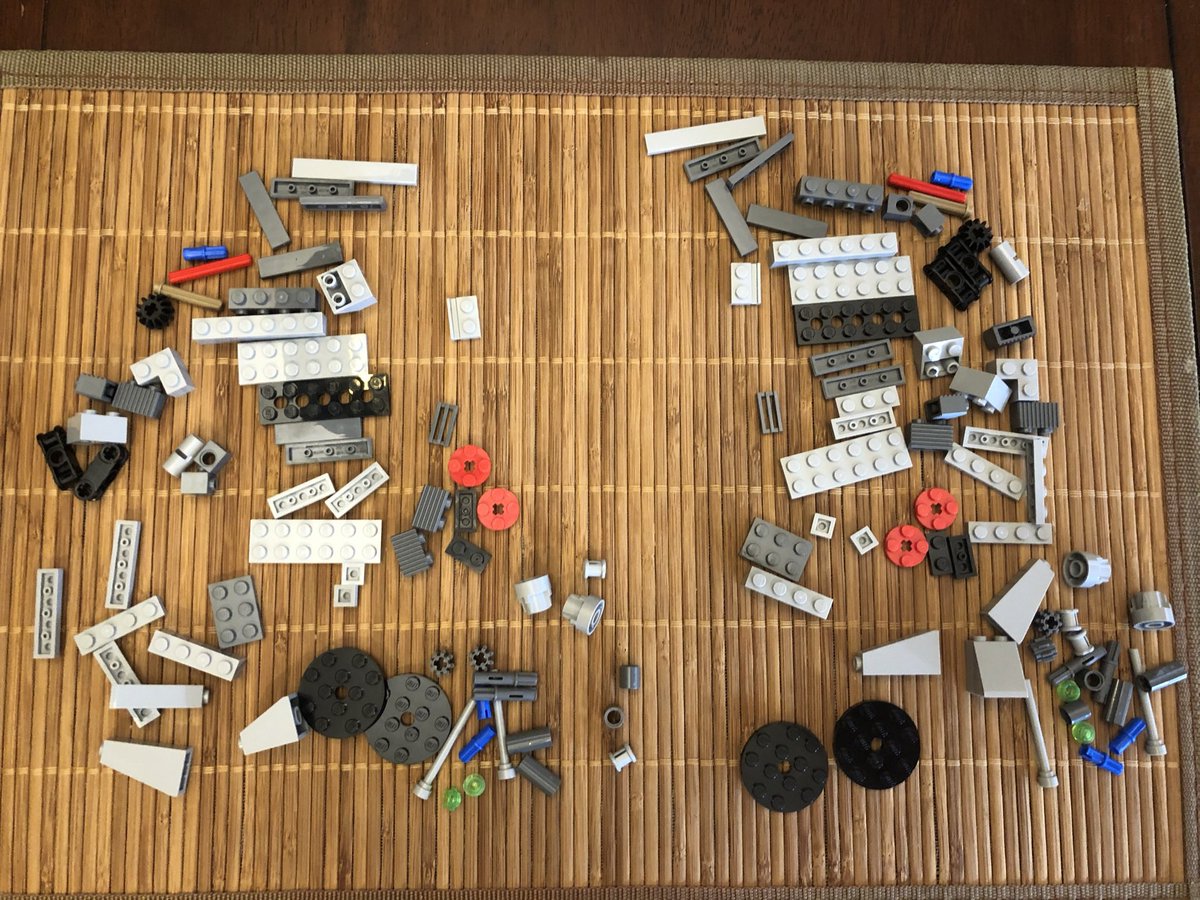
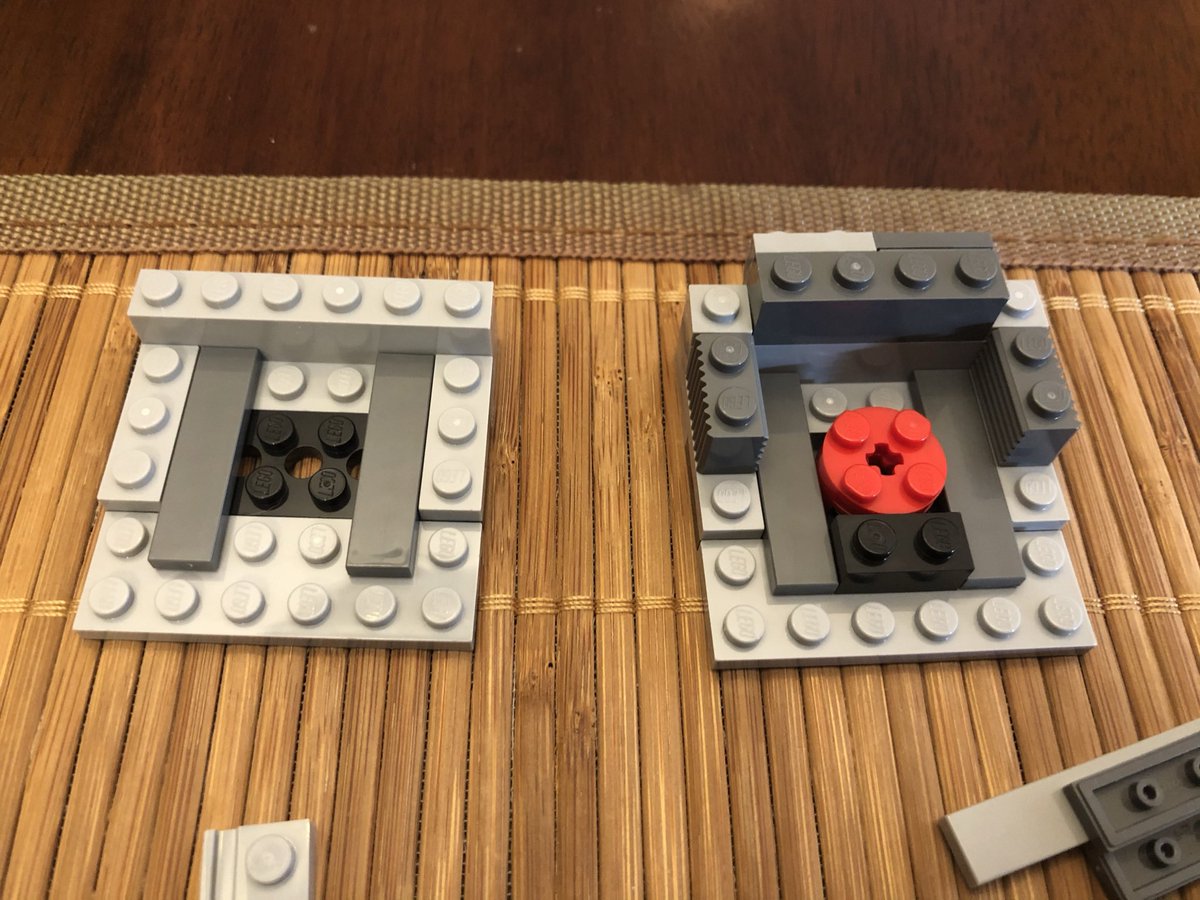
For the next level, there’s two very wide plate sections. Giant plates everywhere, and smaller ones for connection and support. This gives us 2 layers first... #LEGO 

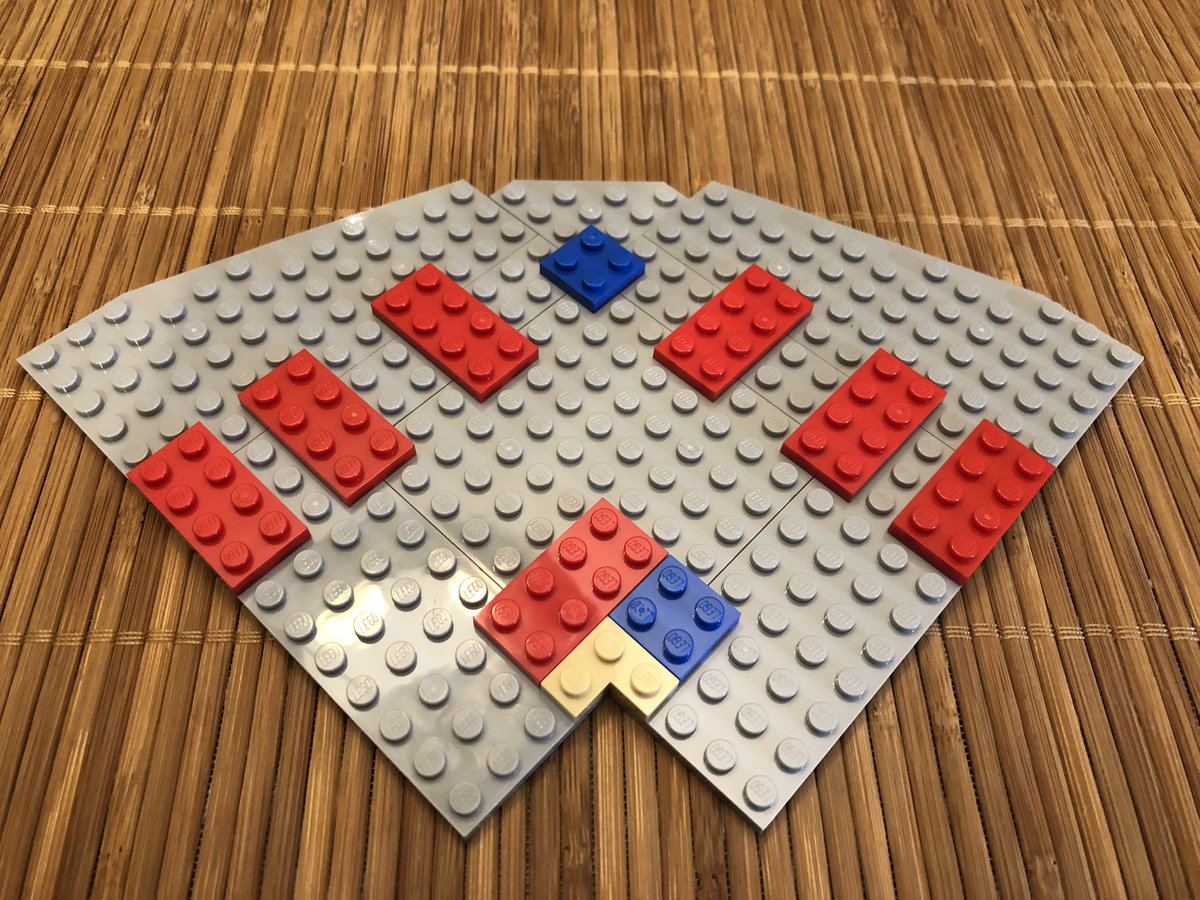
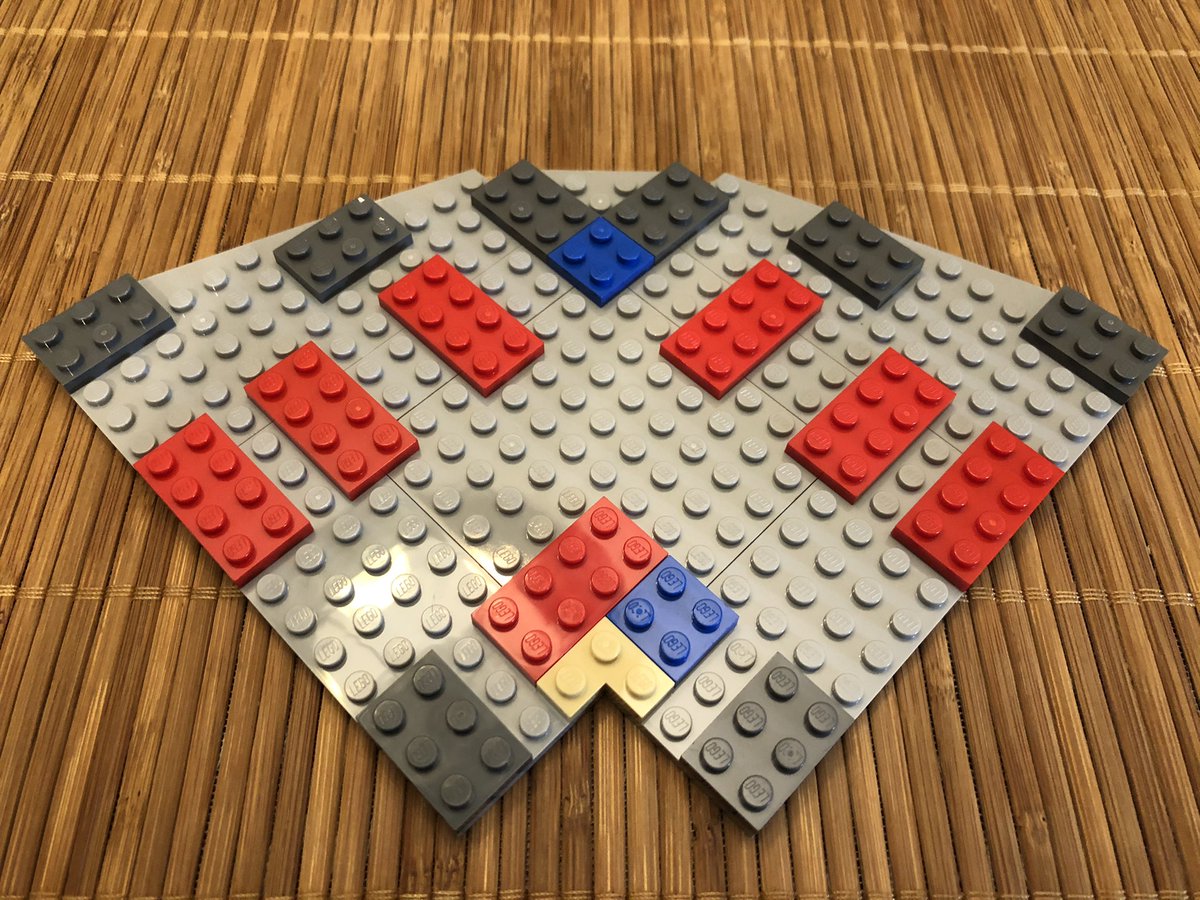
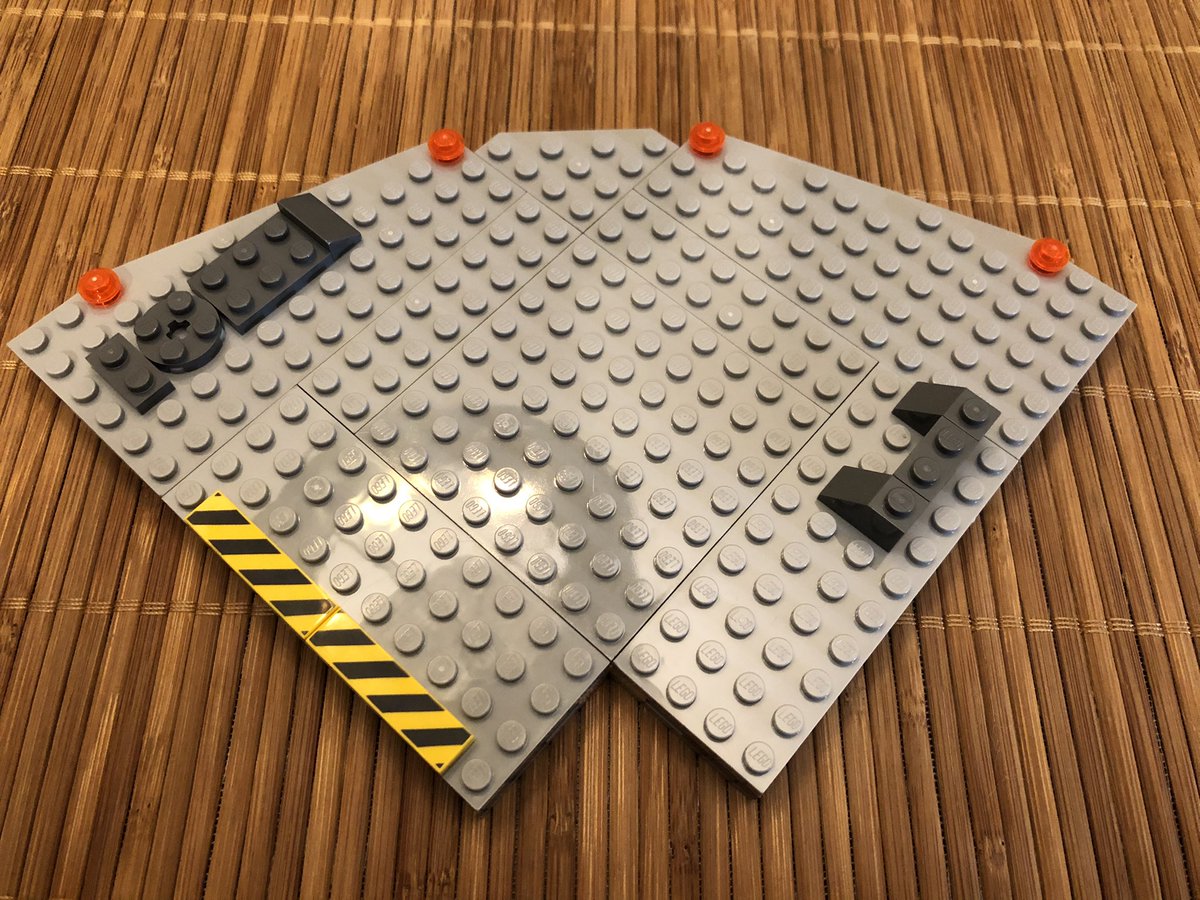
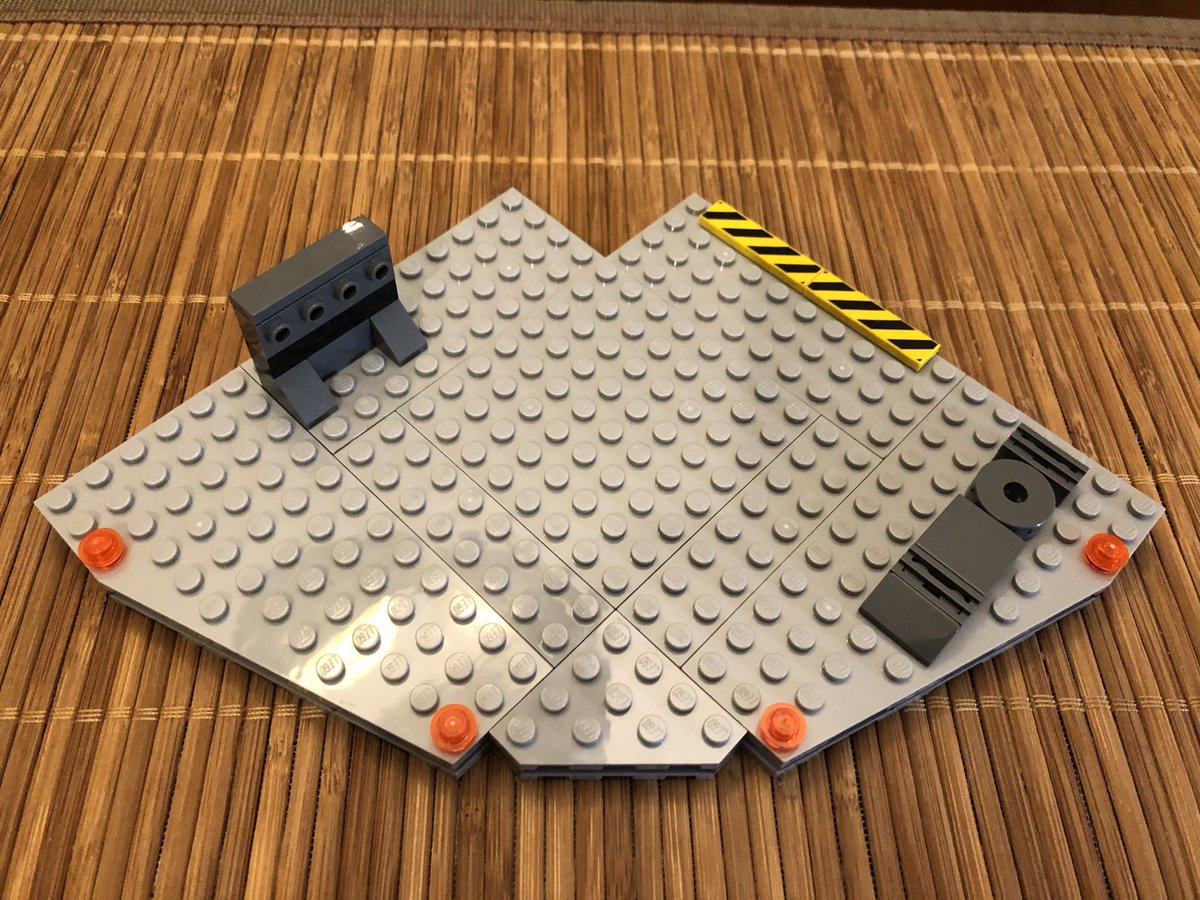
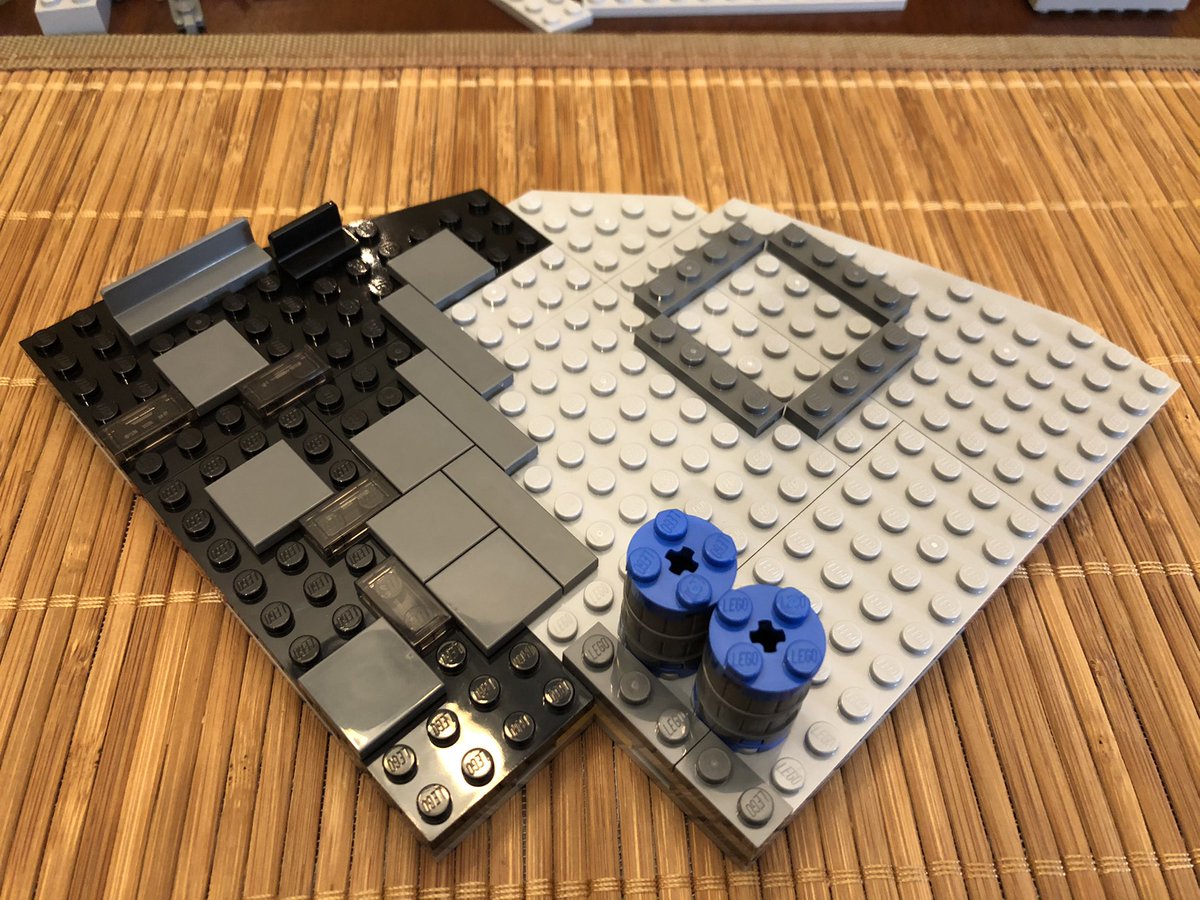
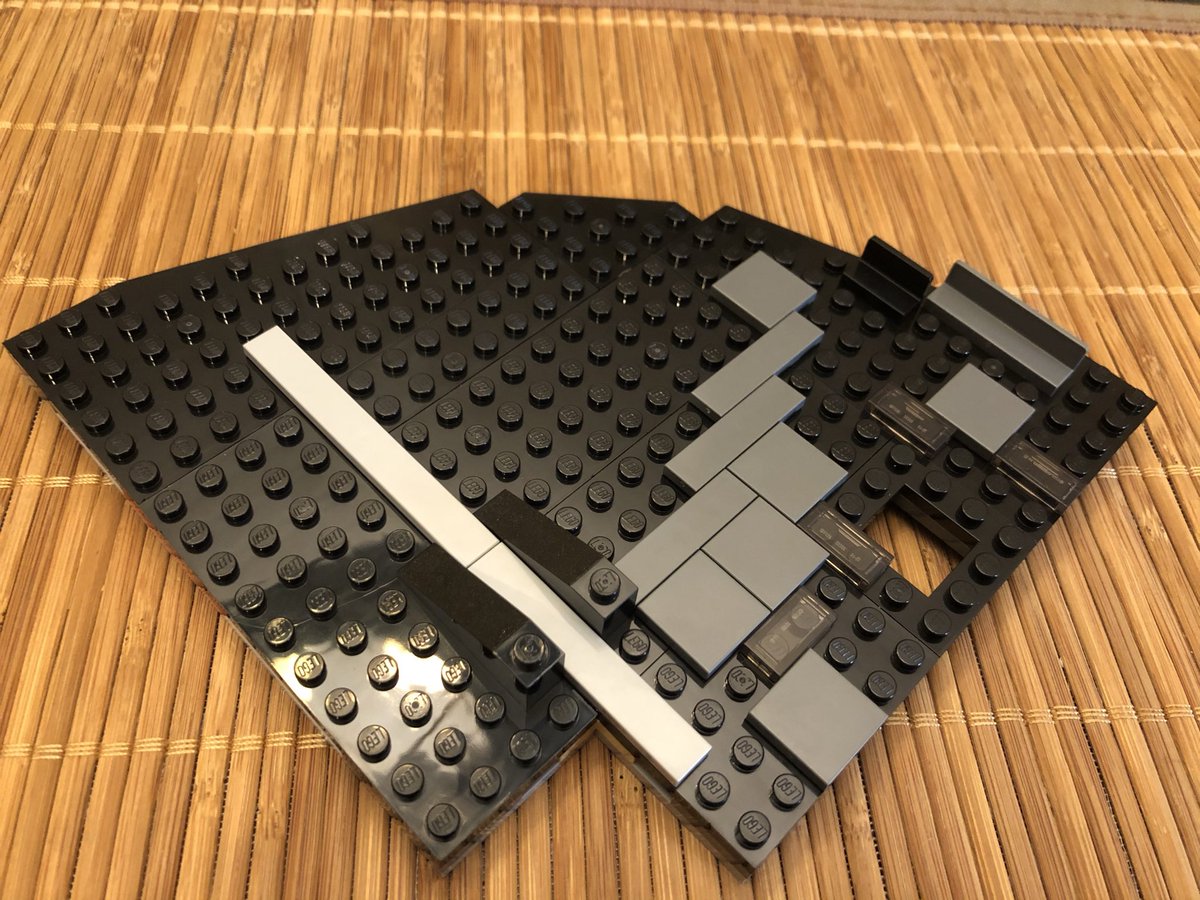
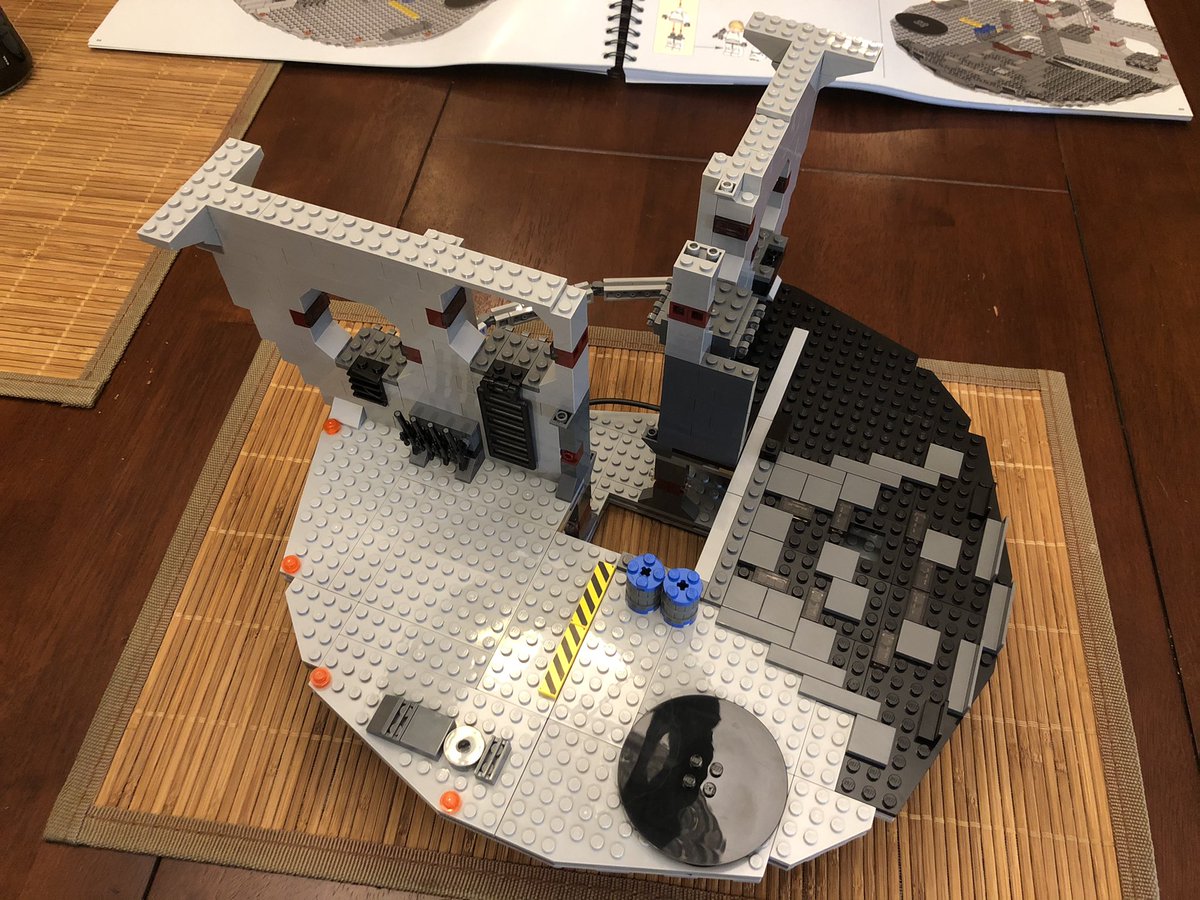
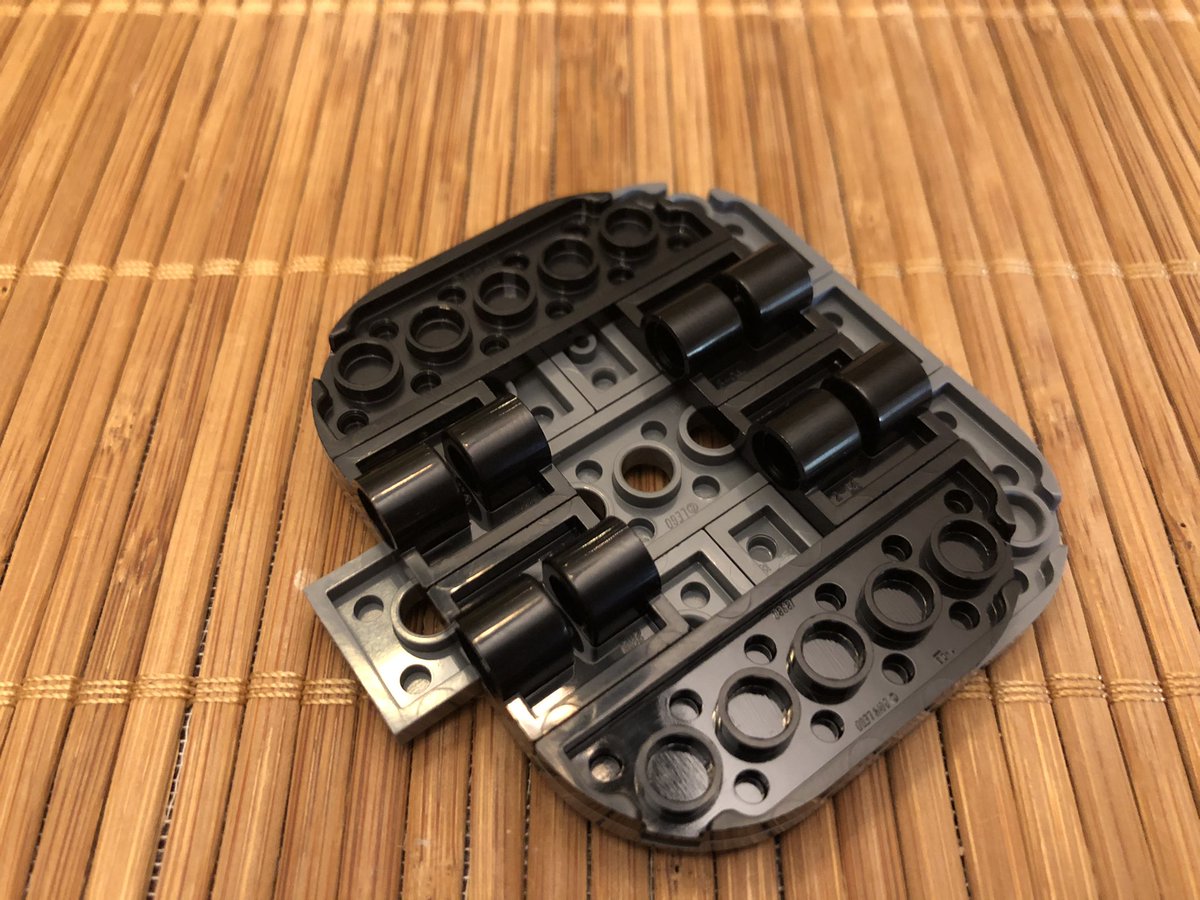
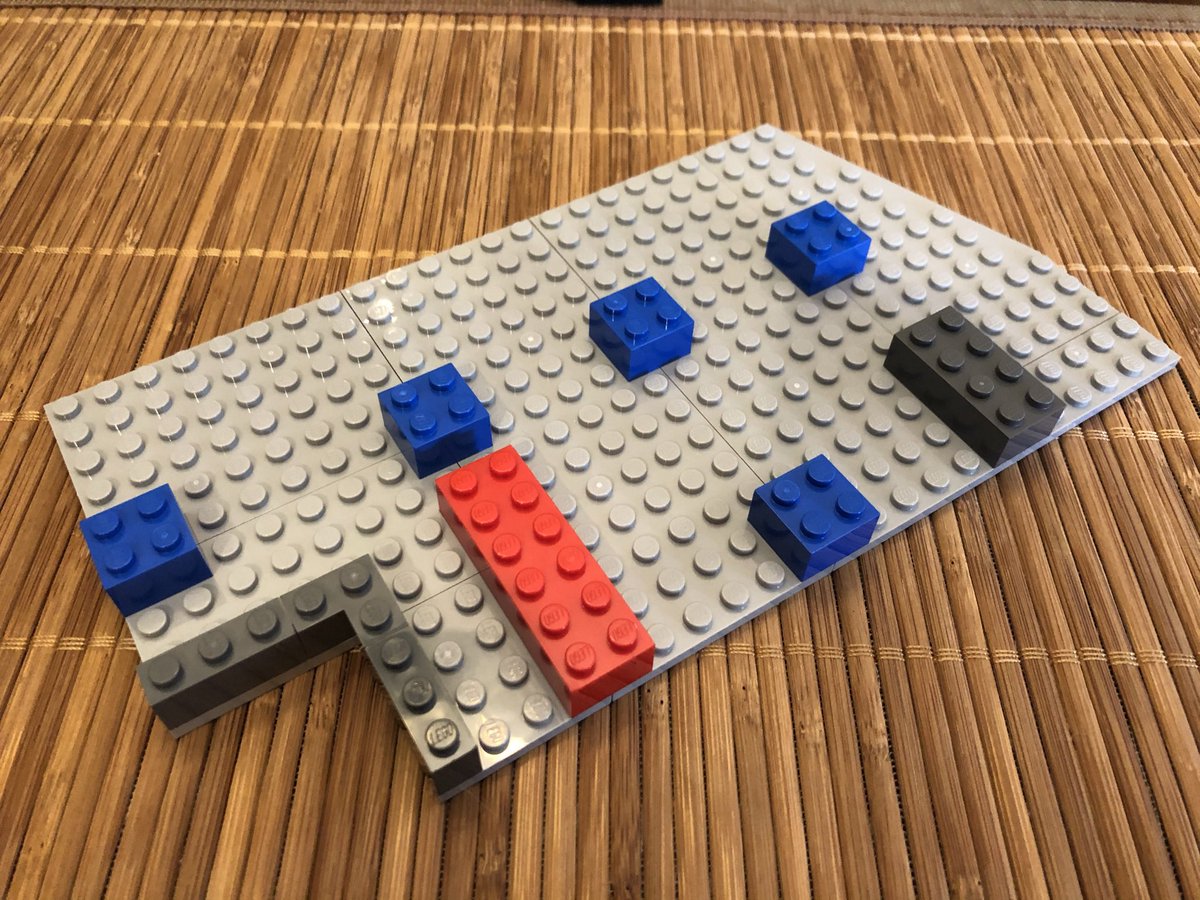
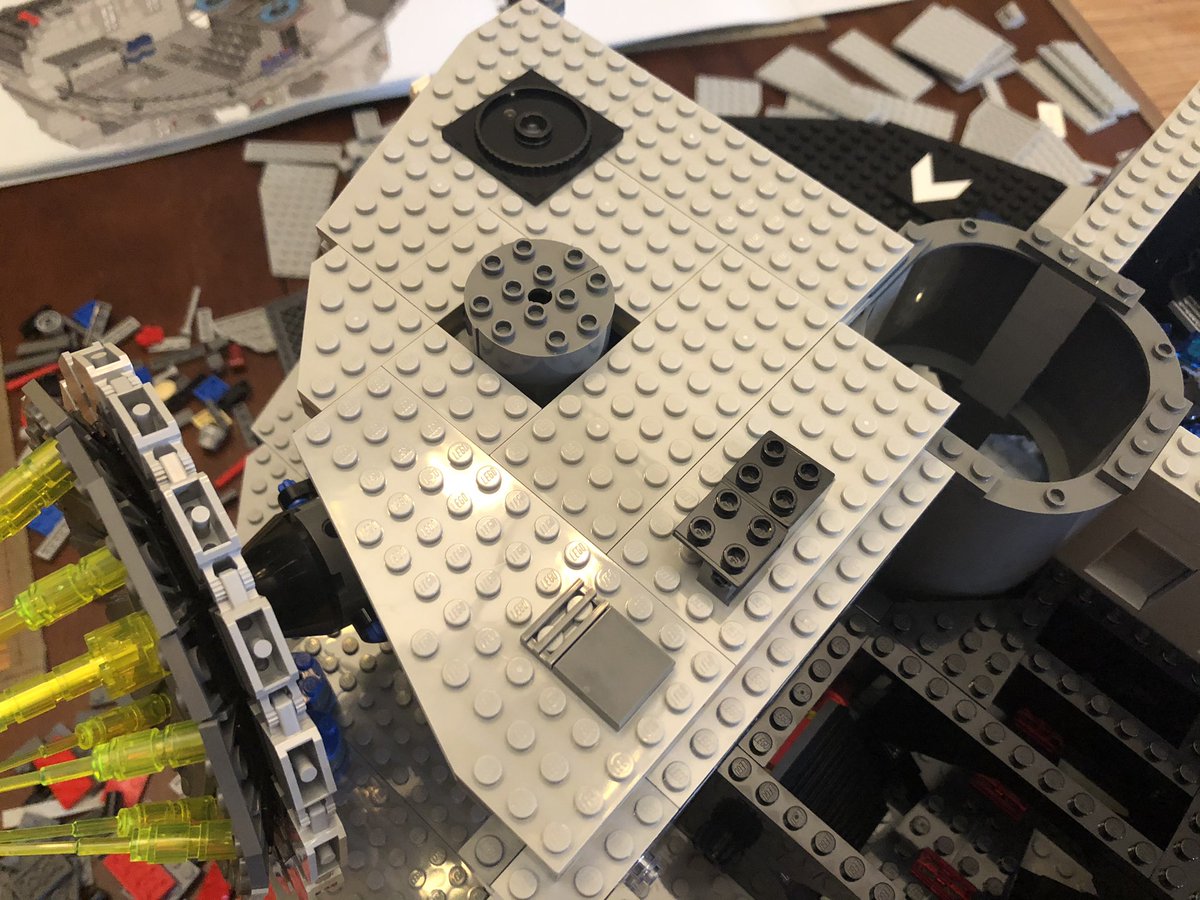
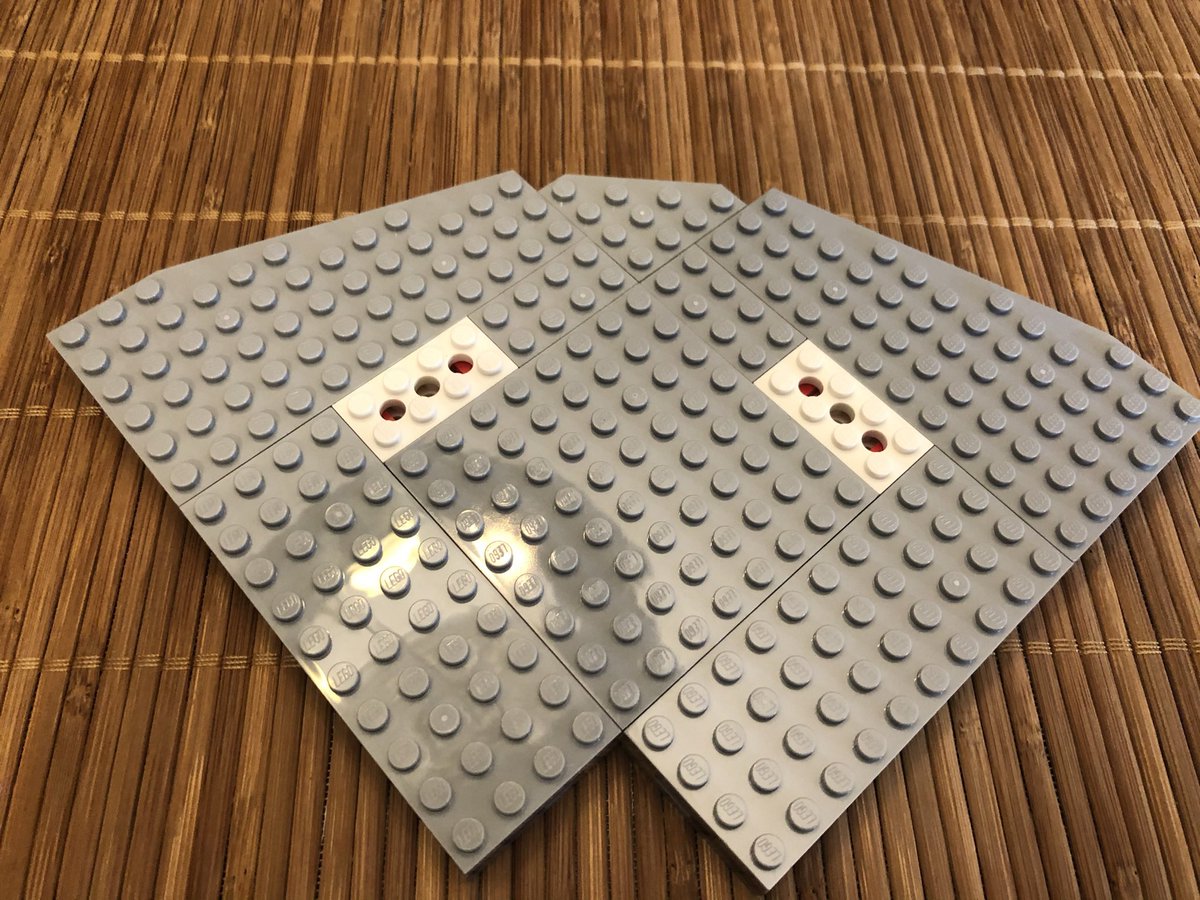
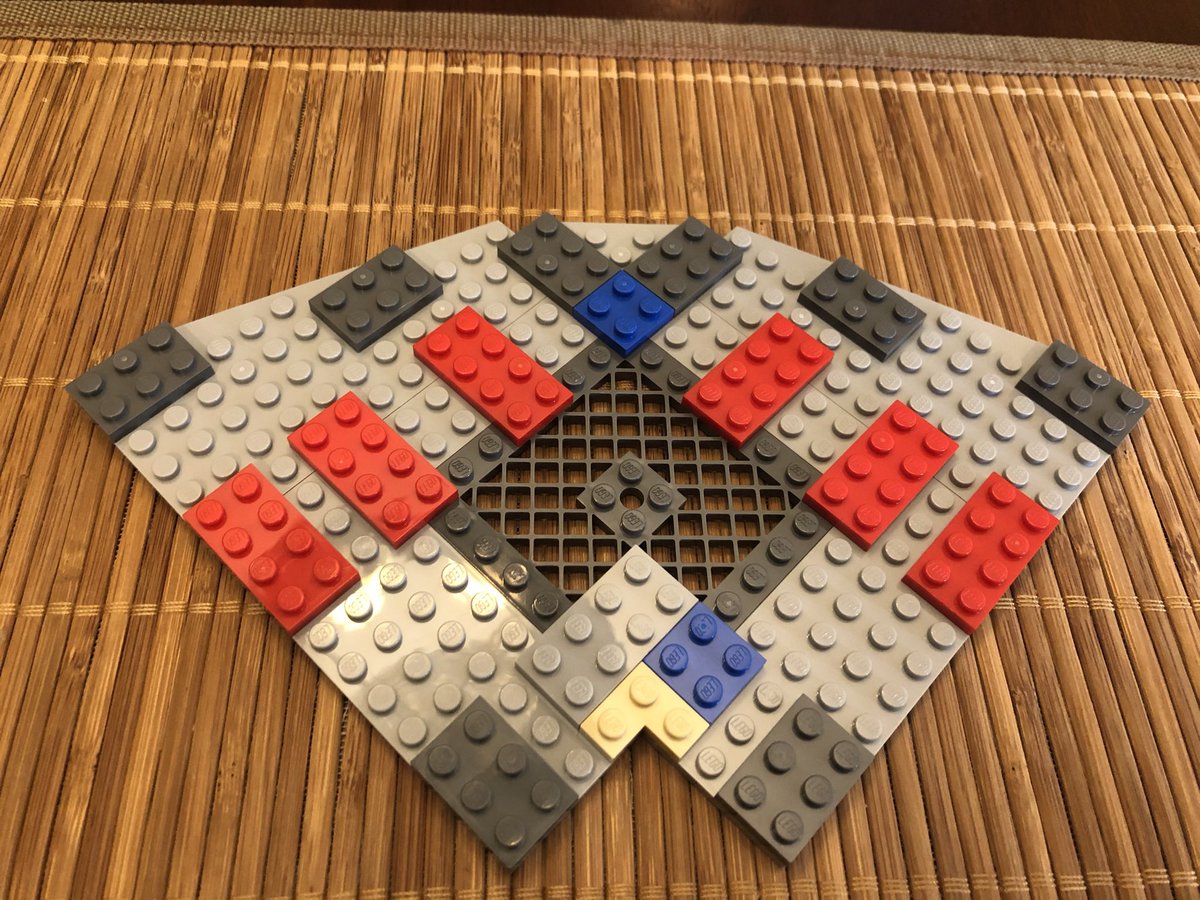
Then the same plates as in the first layer go on top, giving us a section as thick as a regular block. A little decoration goes on top - warning tape and lights, and two devices. The plate goes over one quadrant. #LEGO 

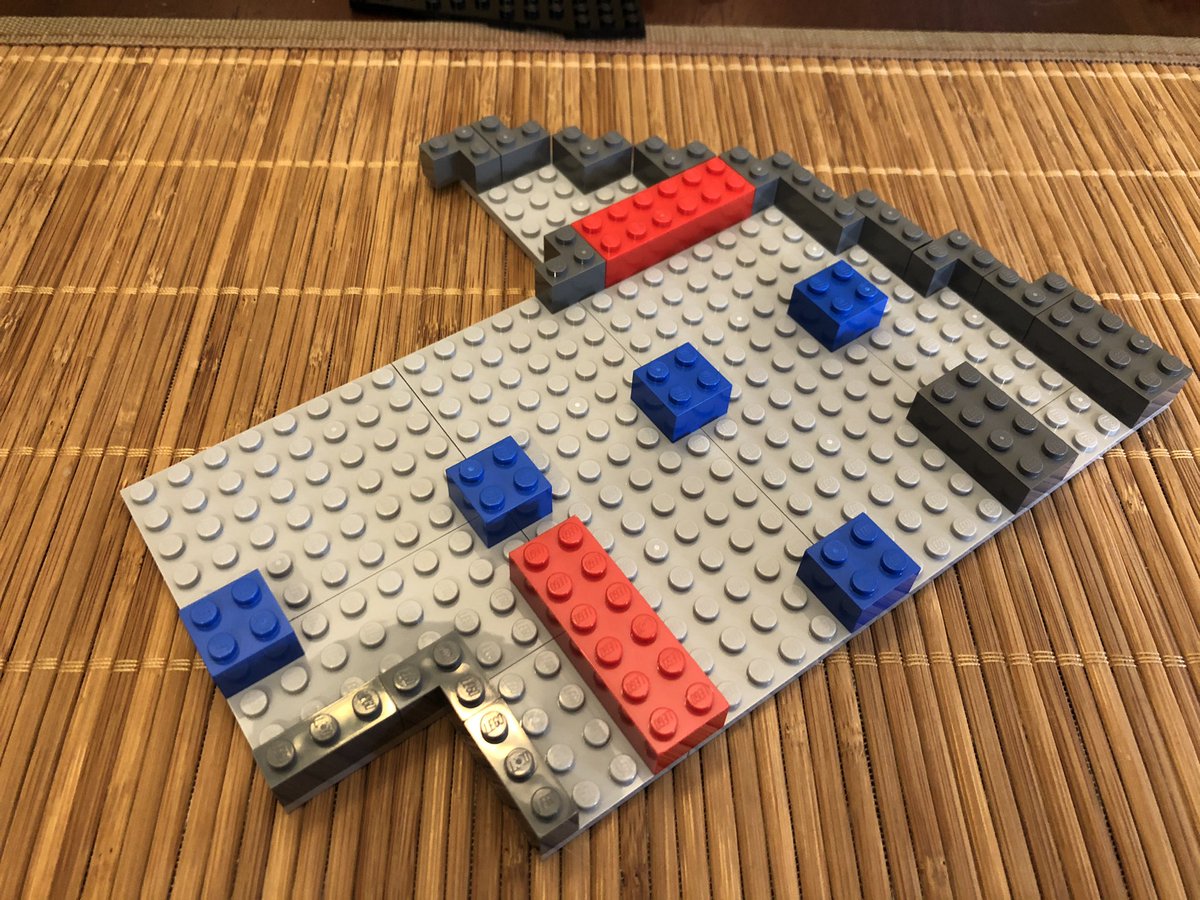
We build another quadrant that’s much the same on the bottom, but has some different colored plates on top. Plop it counter-clockwise of the previous section. #LEGO 

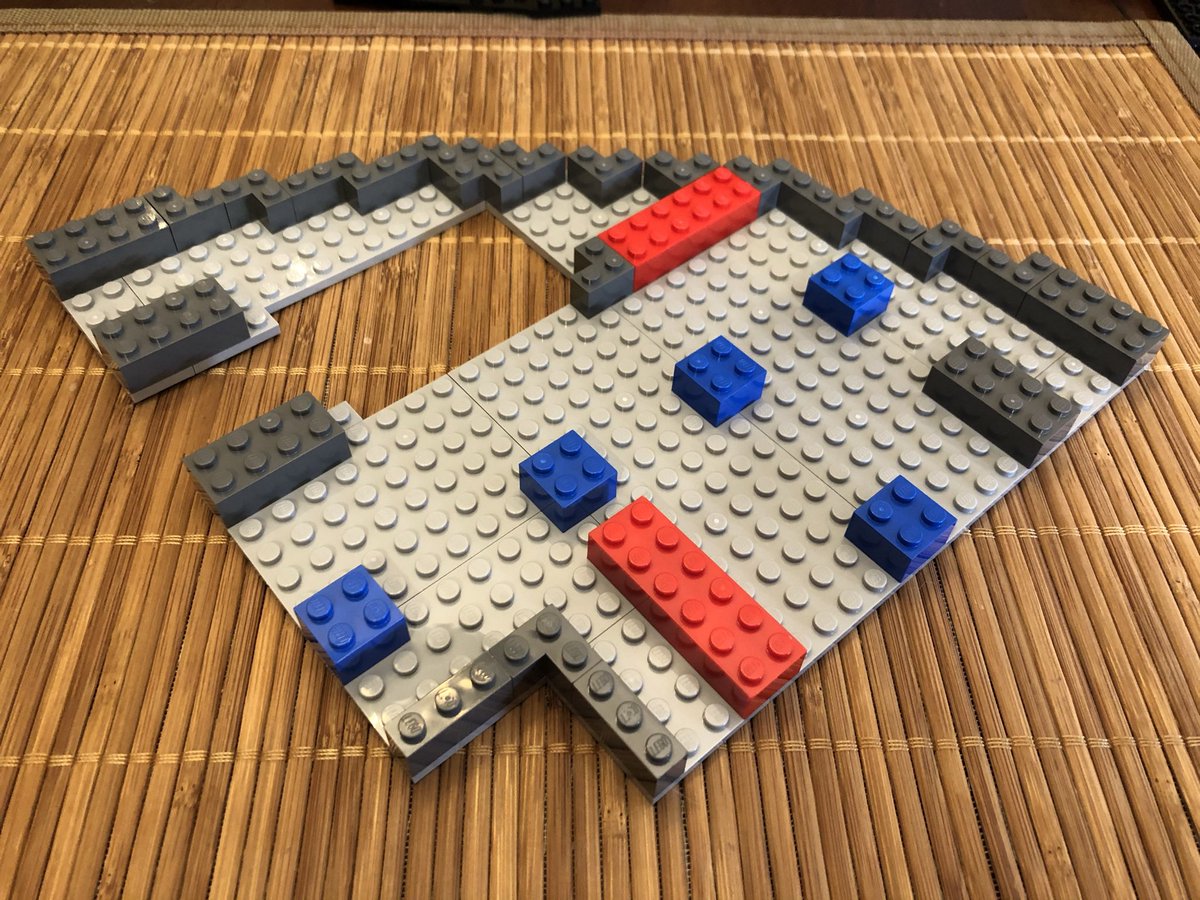
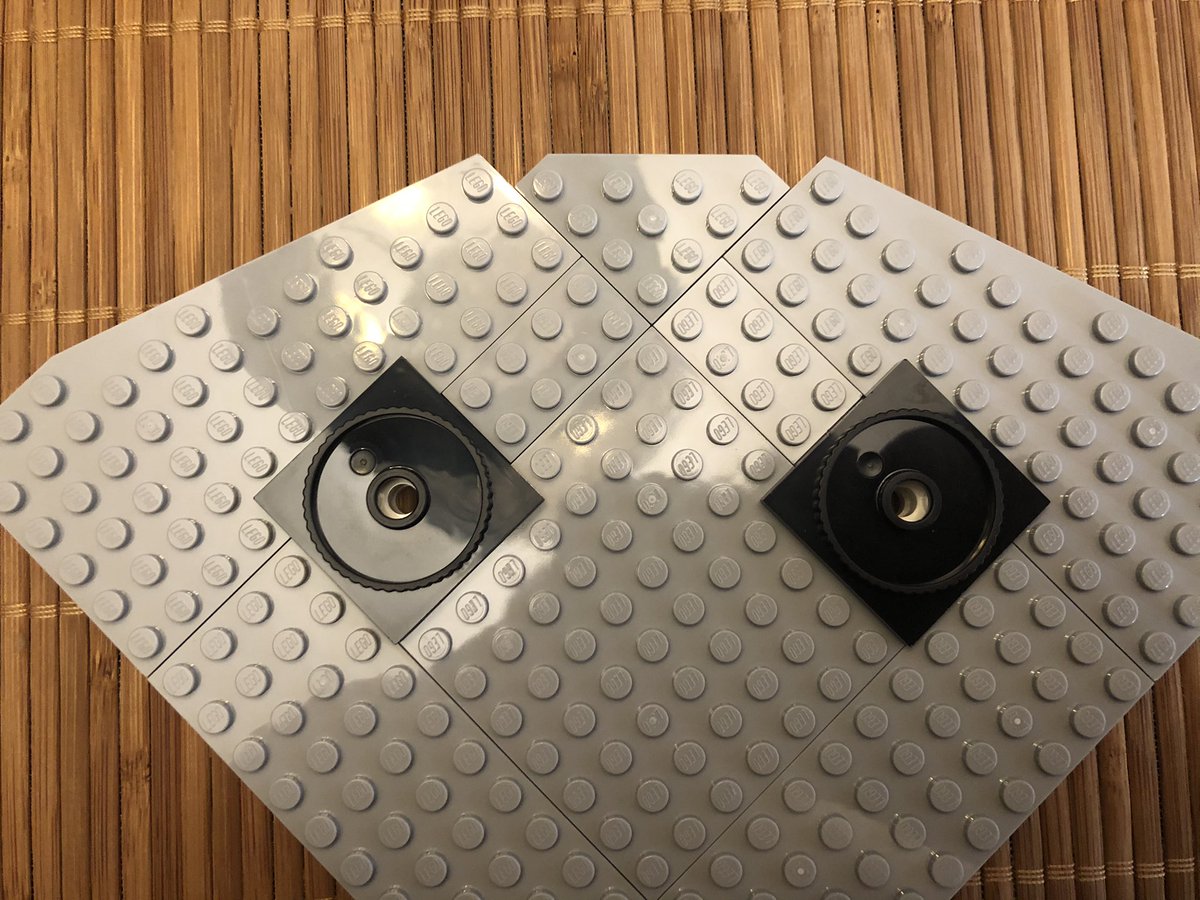
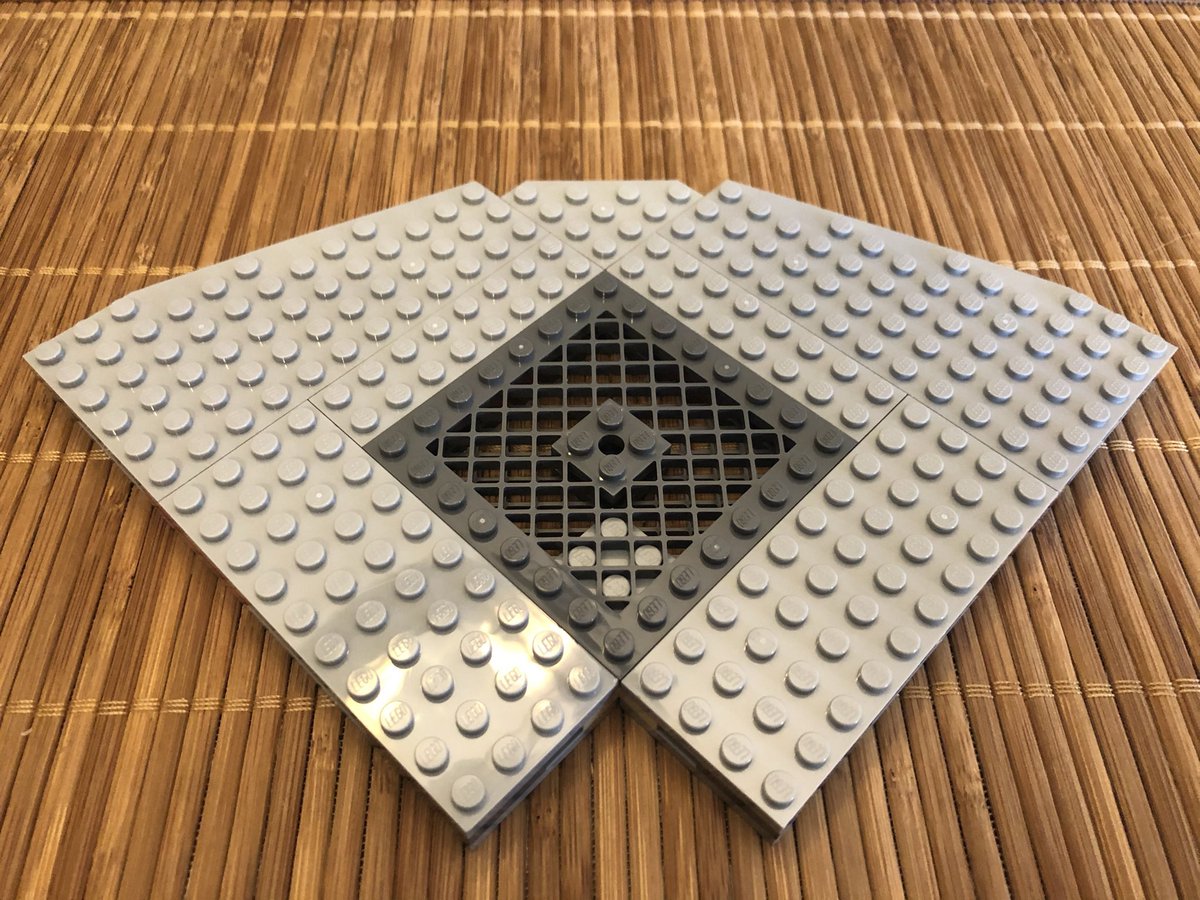
The next quadrant is a bit different. There’s a hole in the floor, so the plates lay out differently. #LEGO 

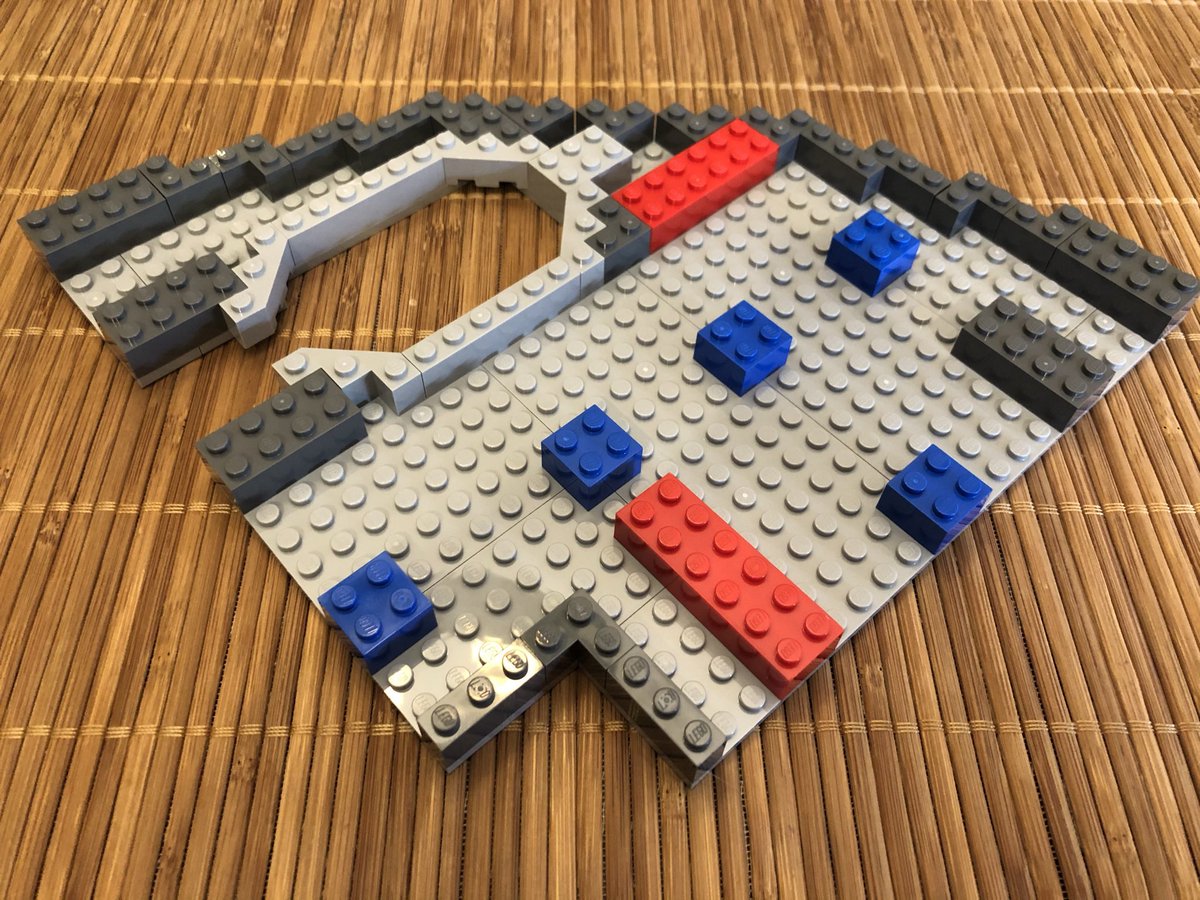
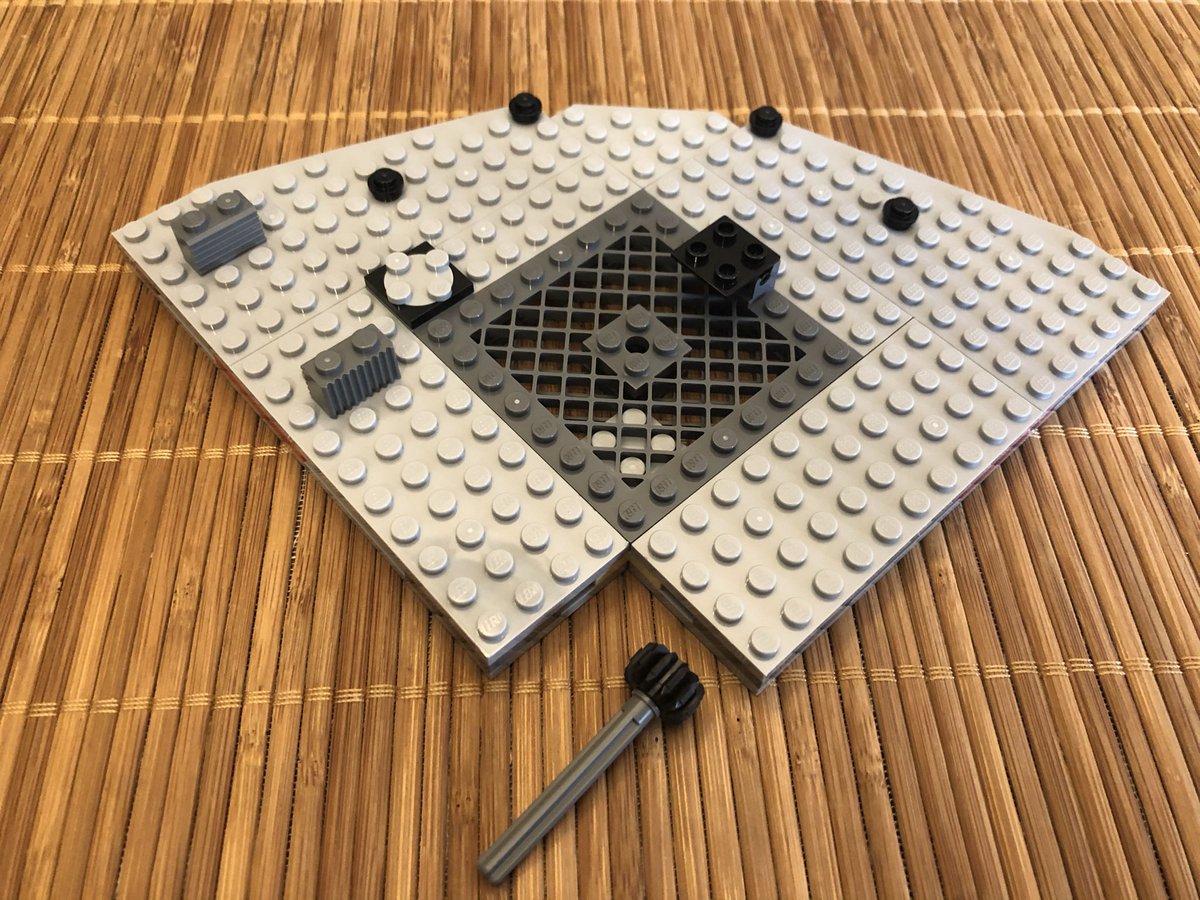
Some more decoration goes on this quadrant, before mounting it on the Death Star. A few more decorations go on top, that go across quadrants to secure them together. #LEGO 

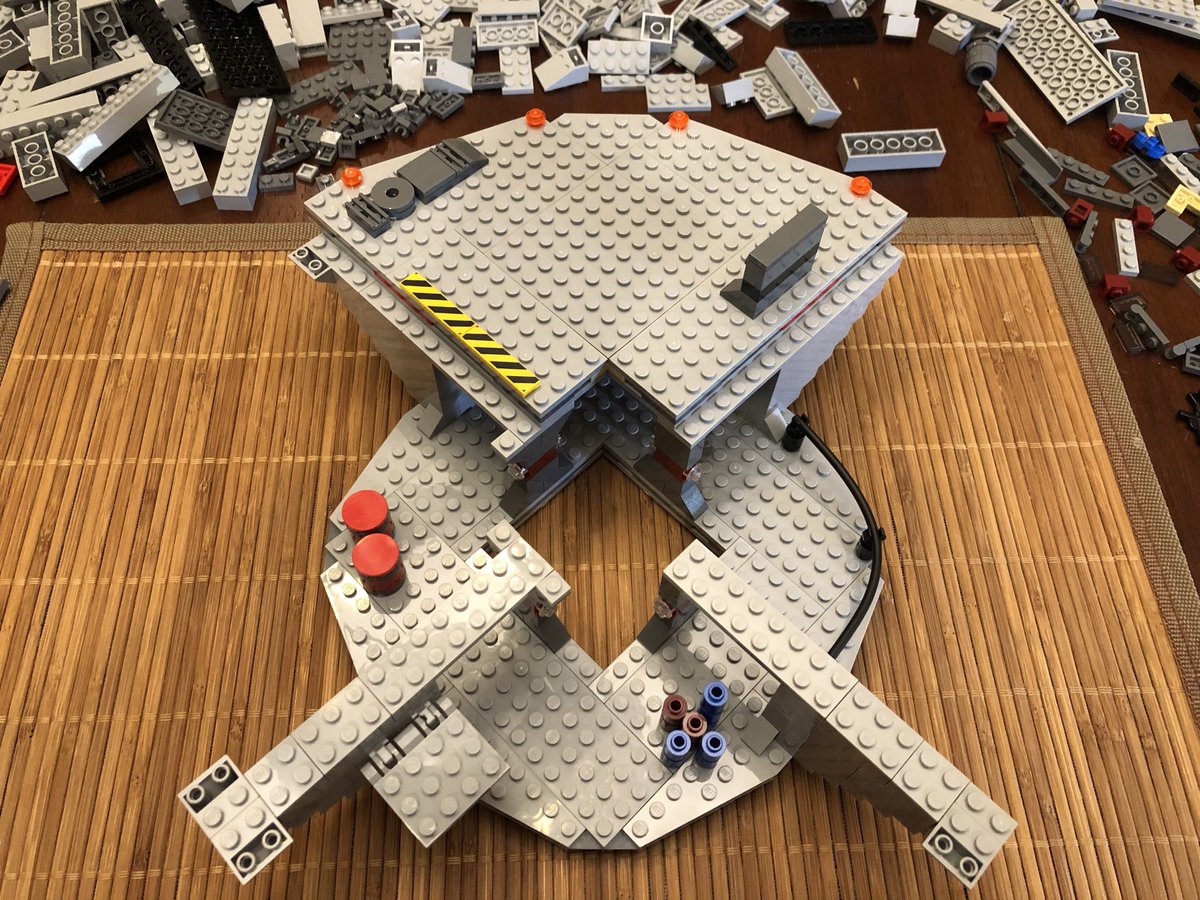
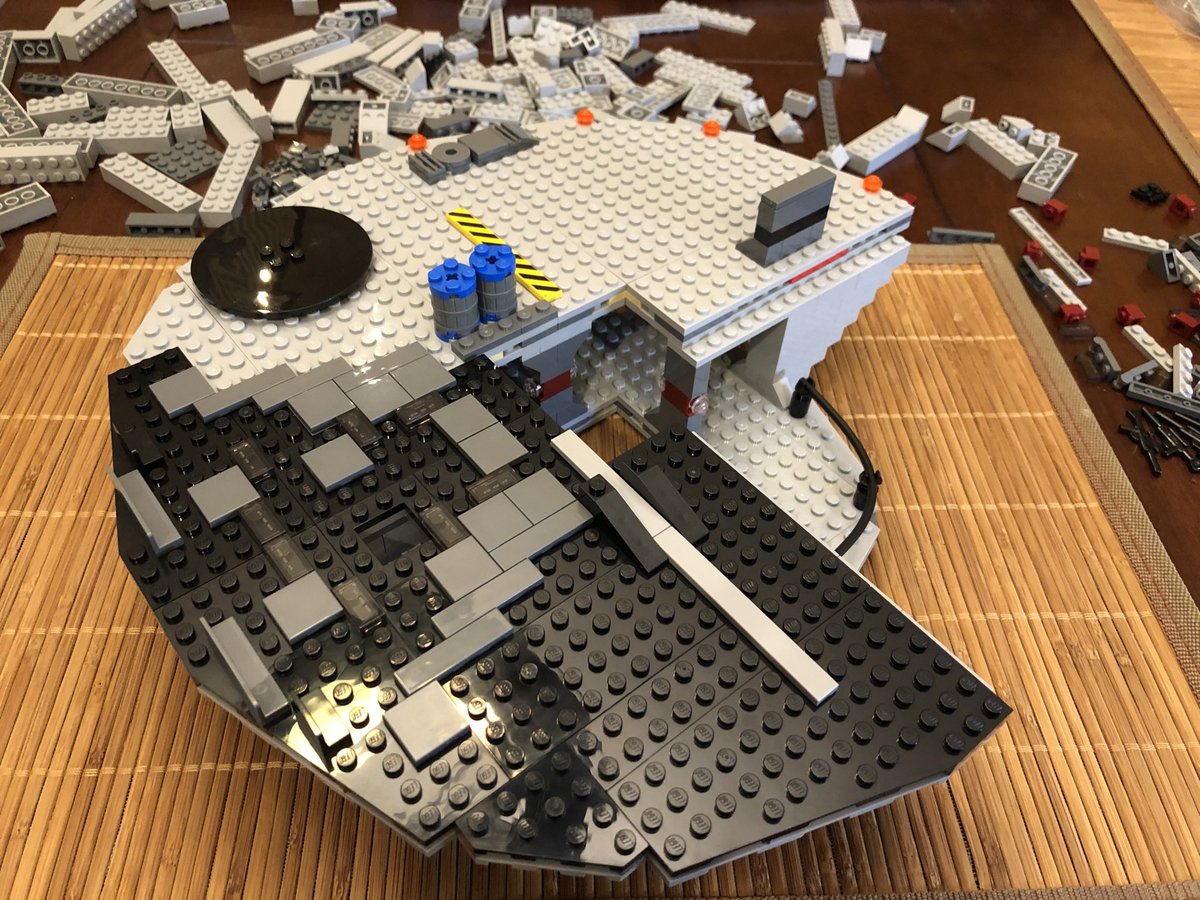
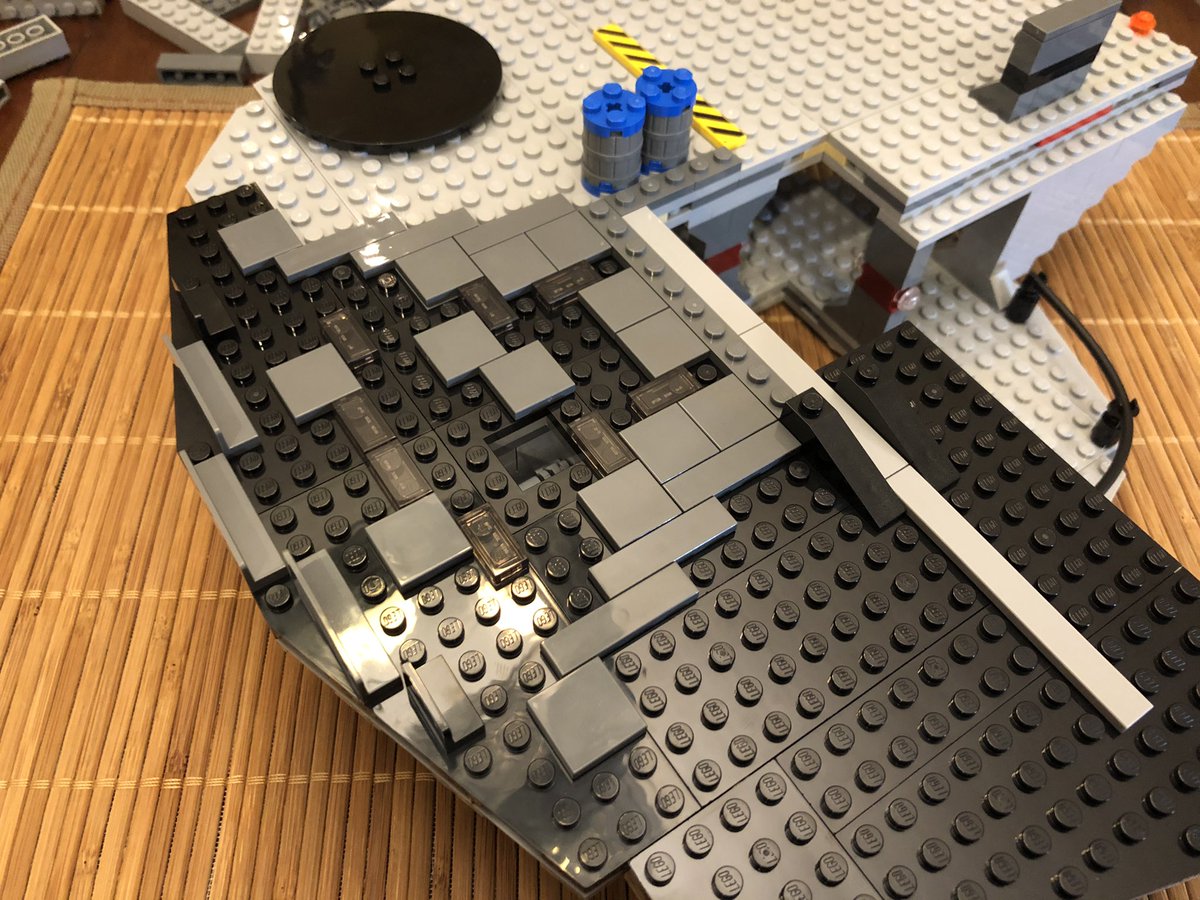
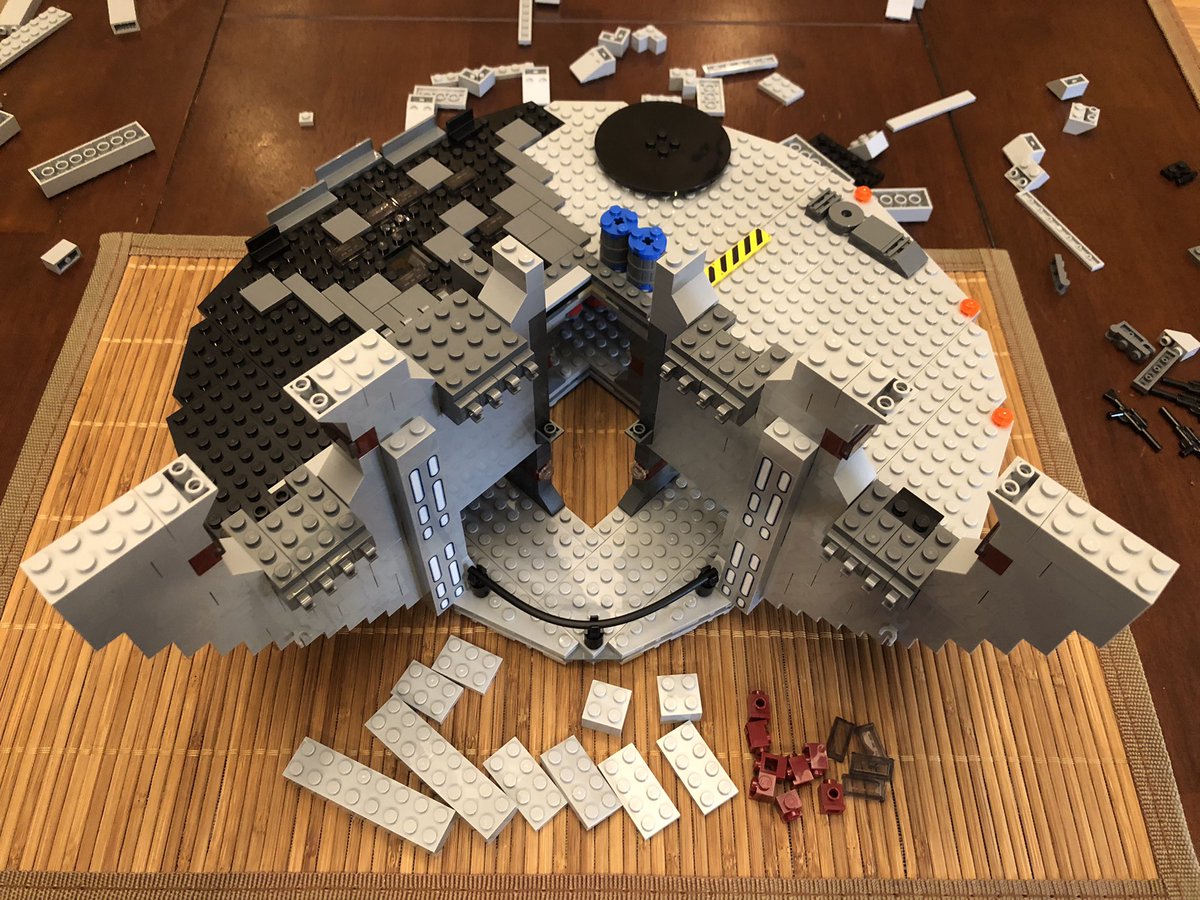
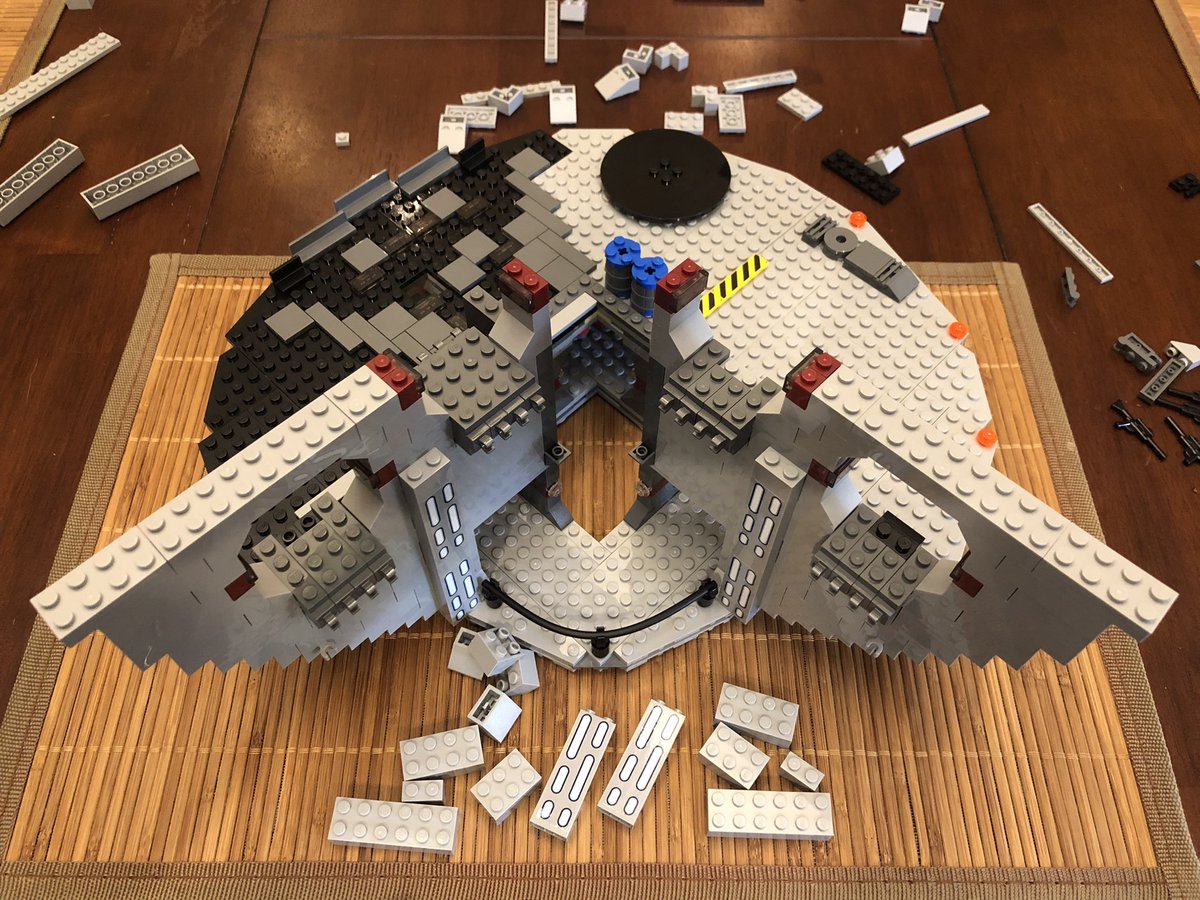
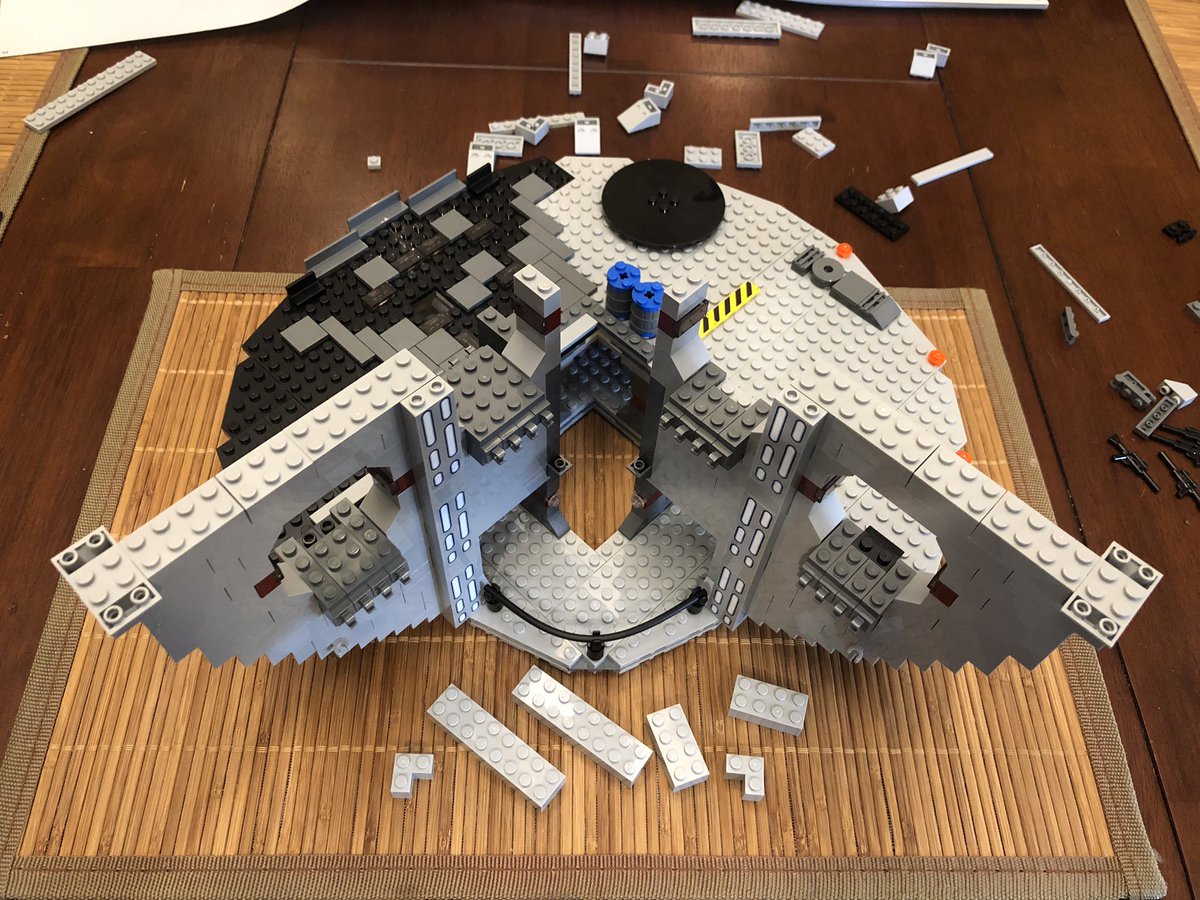
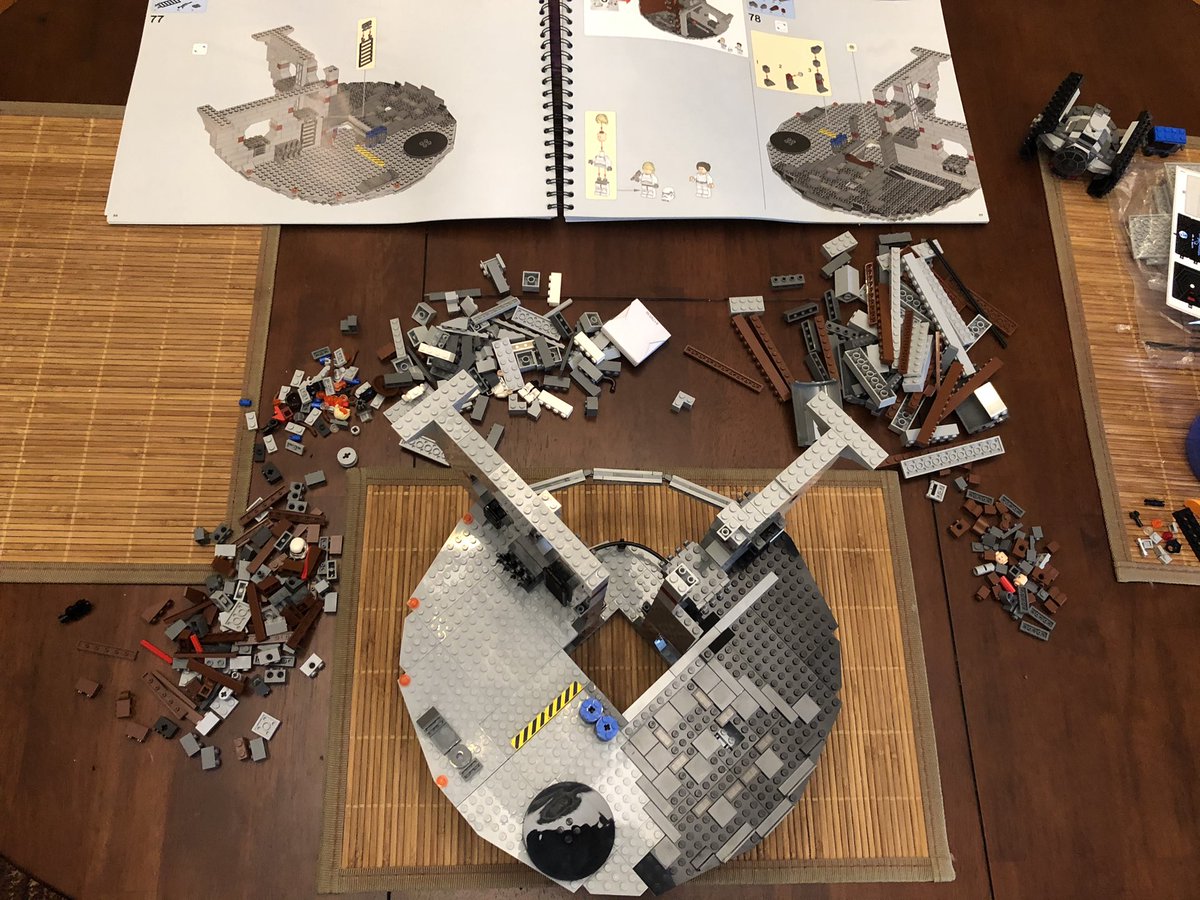
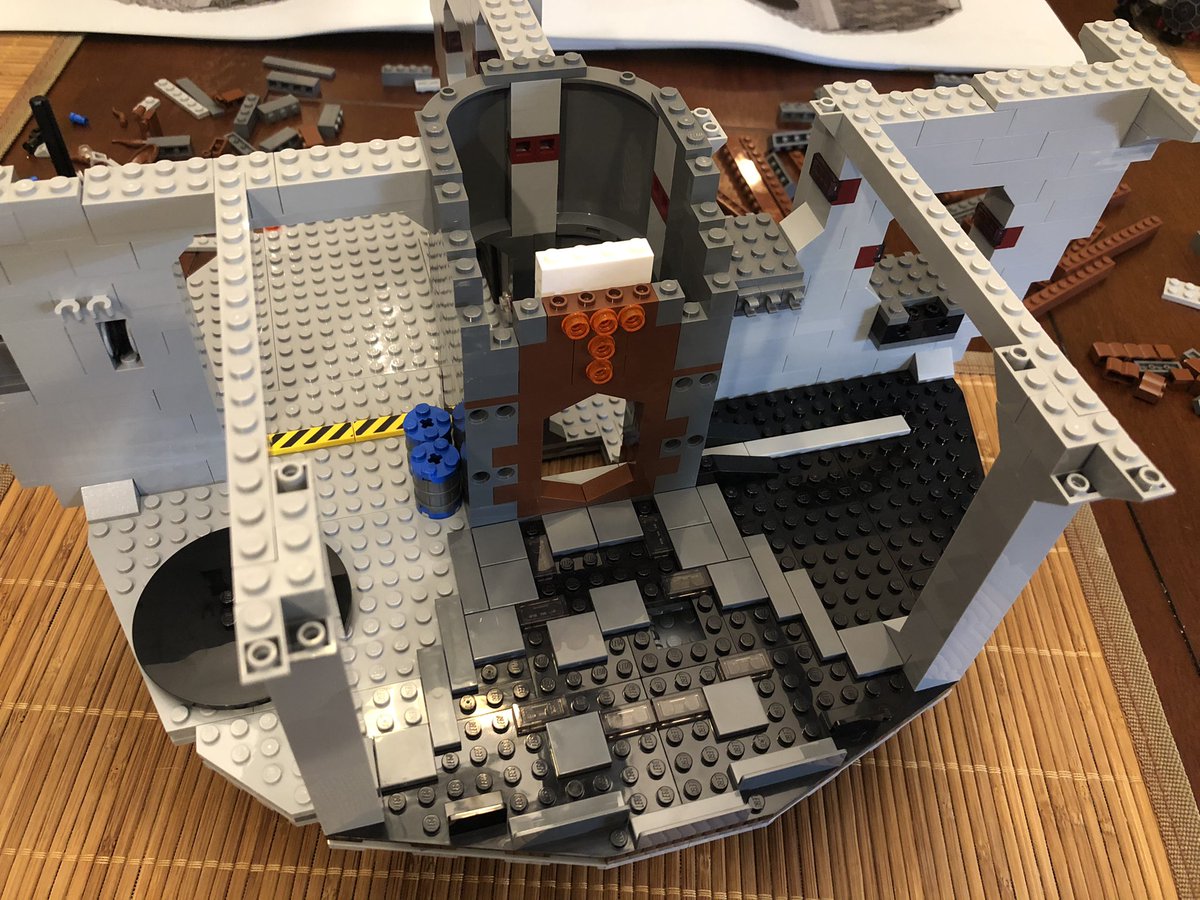
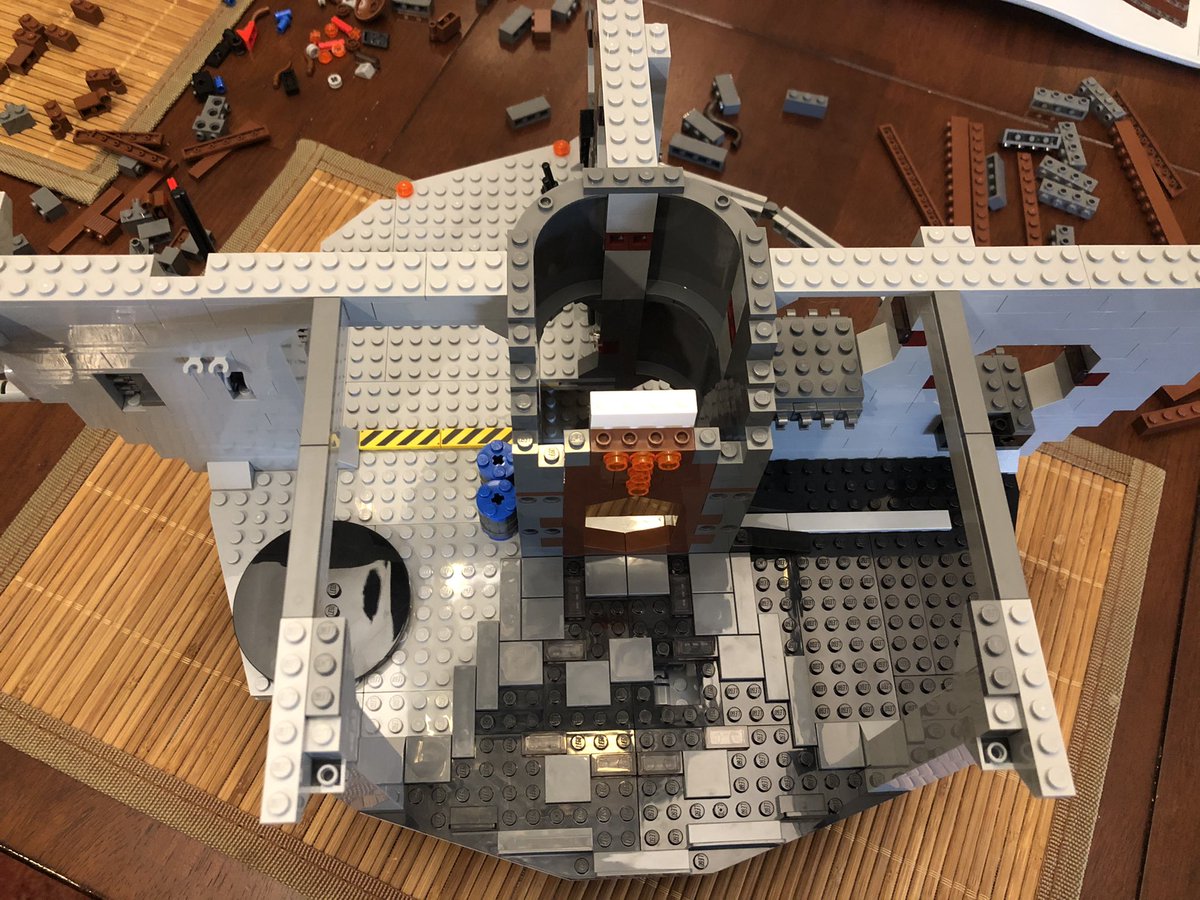
Here’s where it starts to get difficult to take photos, just due to the sheer size. One quadrant is left open and we start stacking layers. First are some power modules and a layer on top. Then we build some walls... #LEGO 

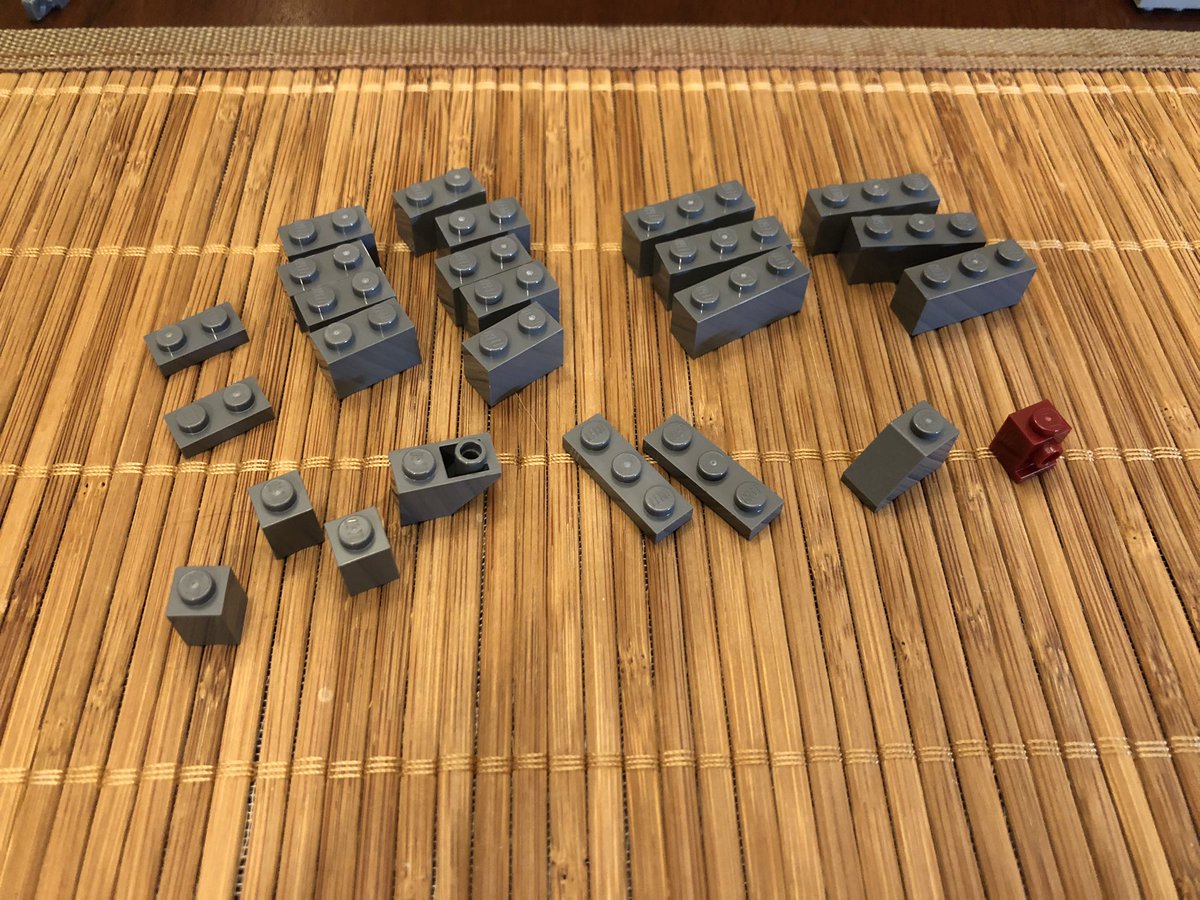
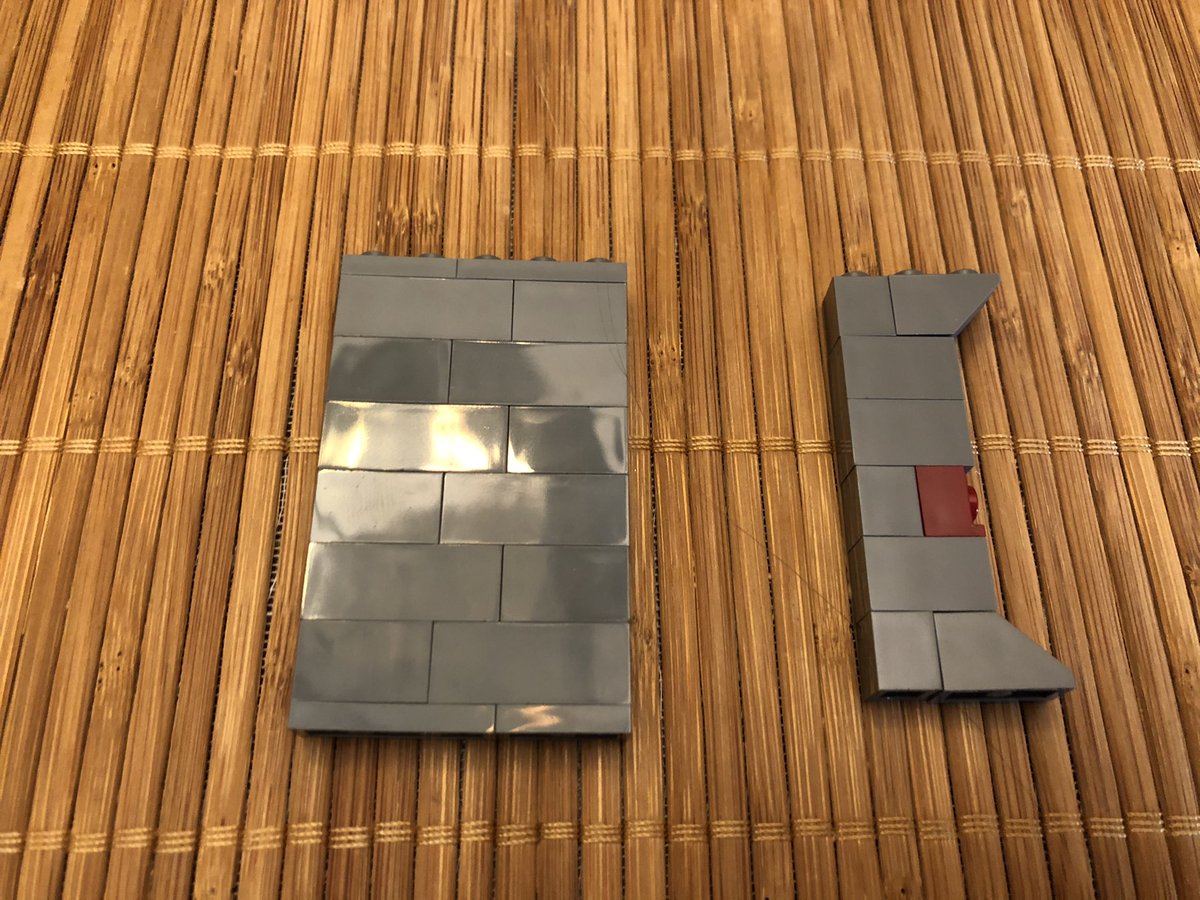
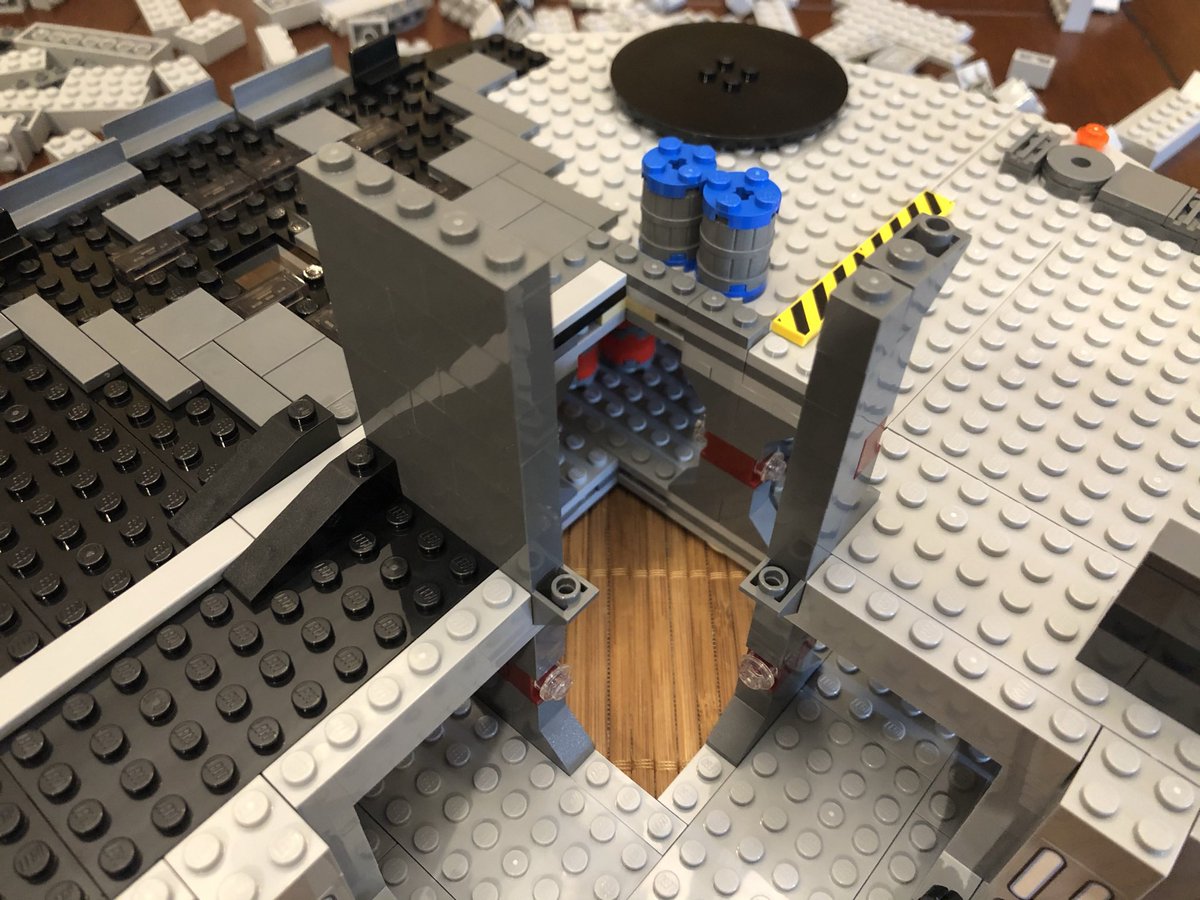
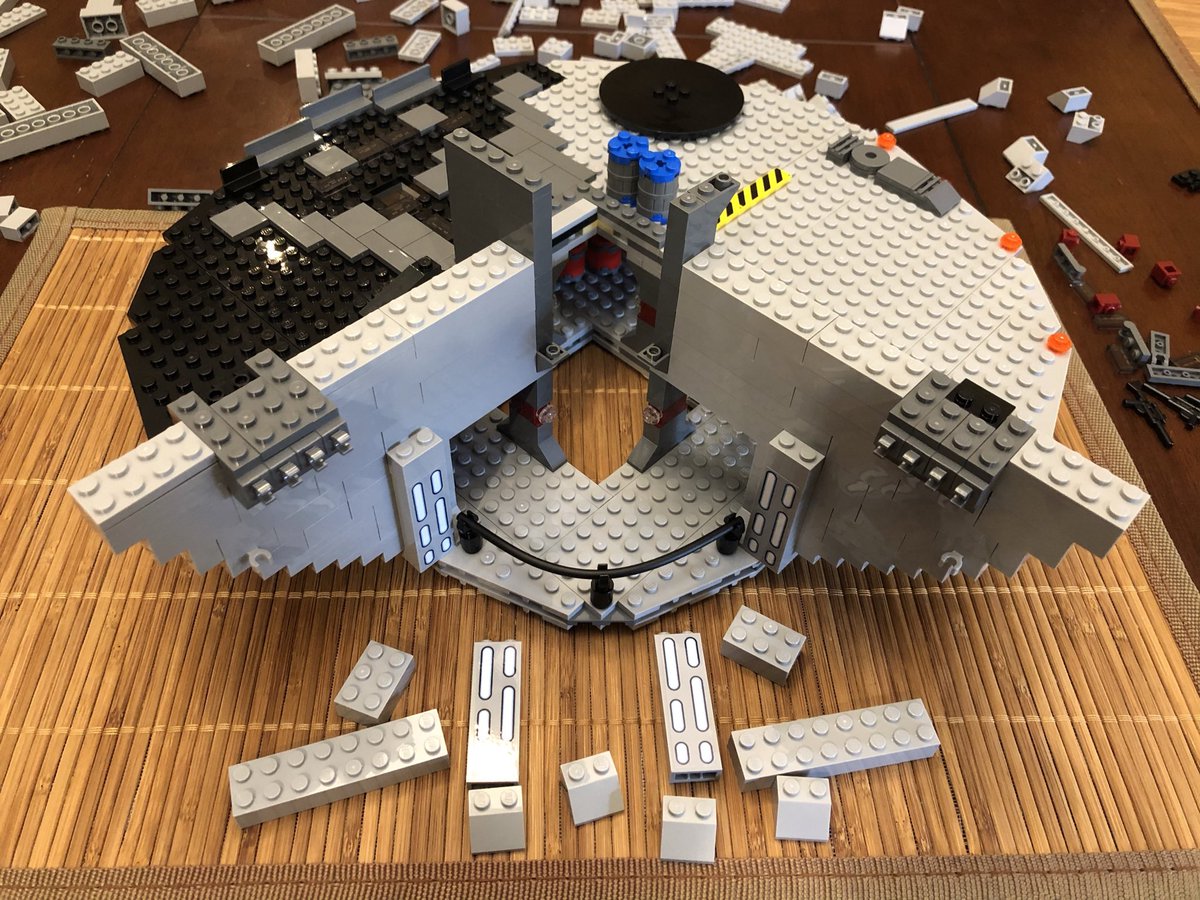
As we keep stacking, there’s some gray blocks. This become doors between rooms. It’s slow going, but it keeps going! #LEGO 

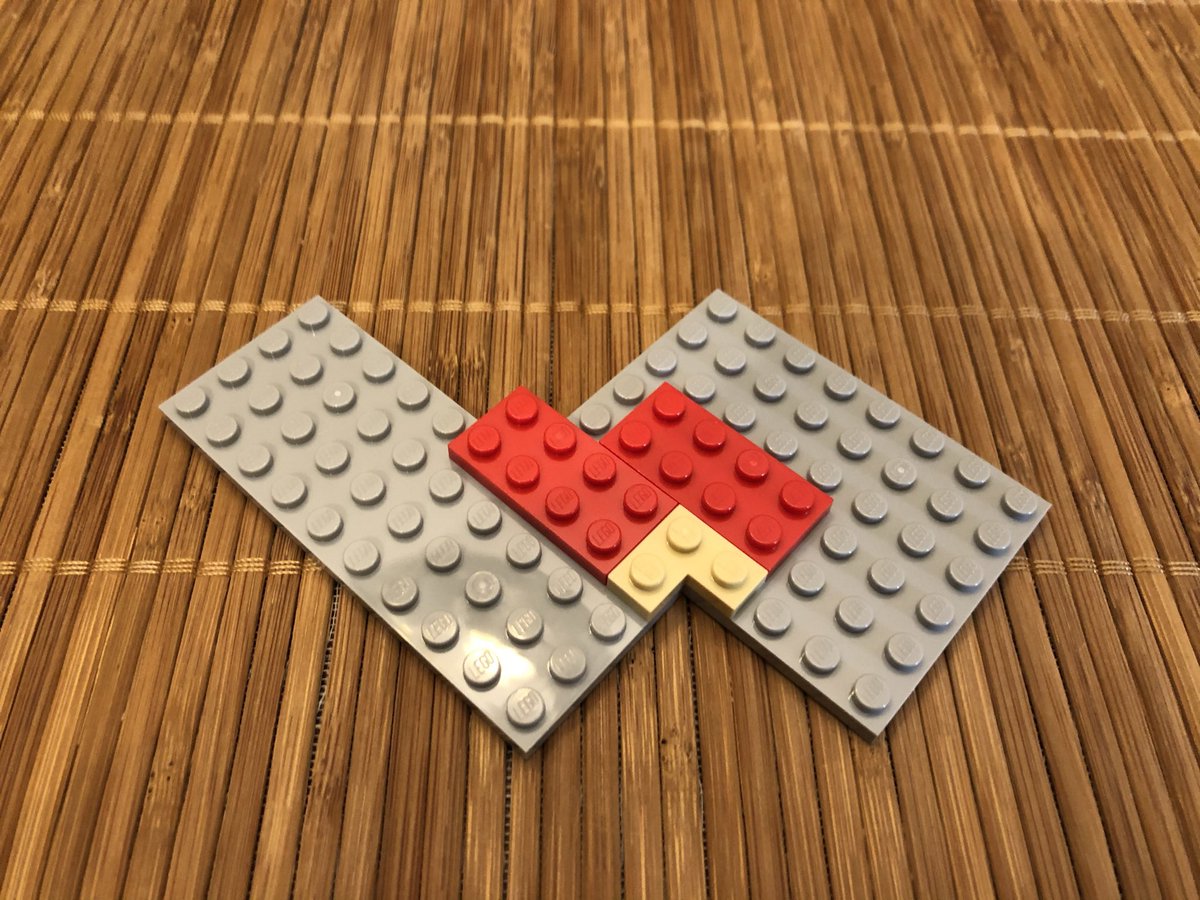
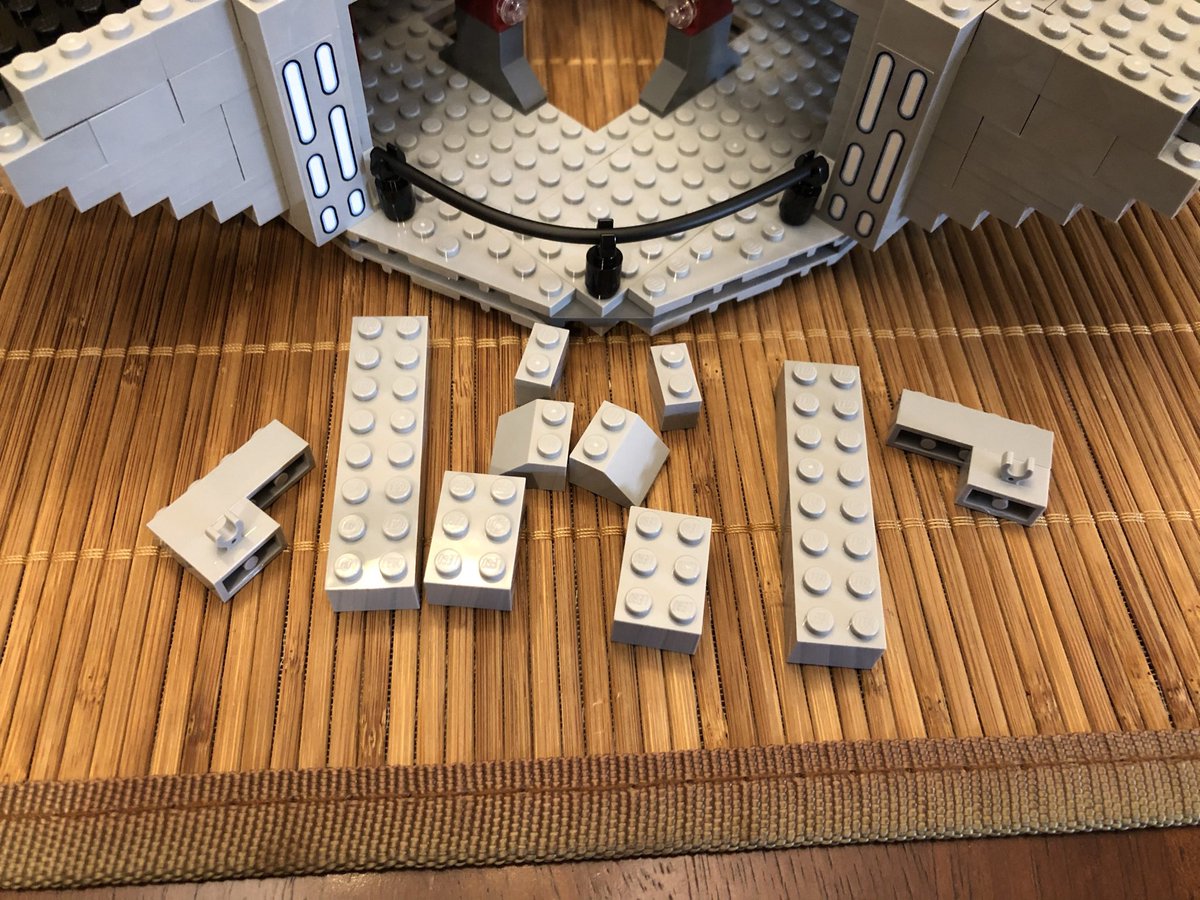
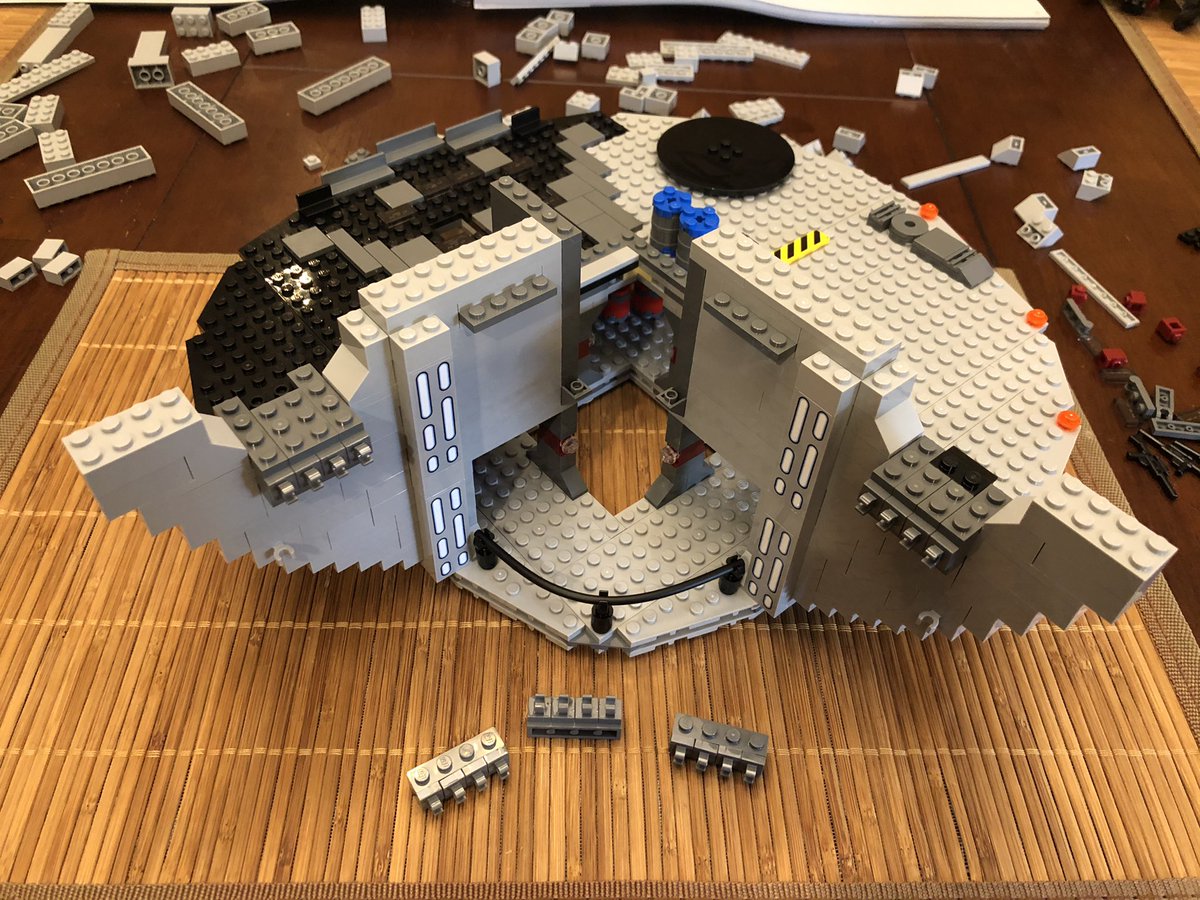
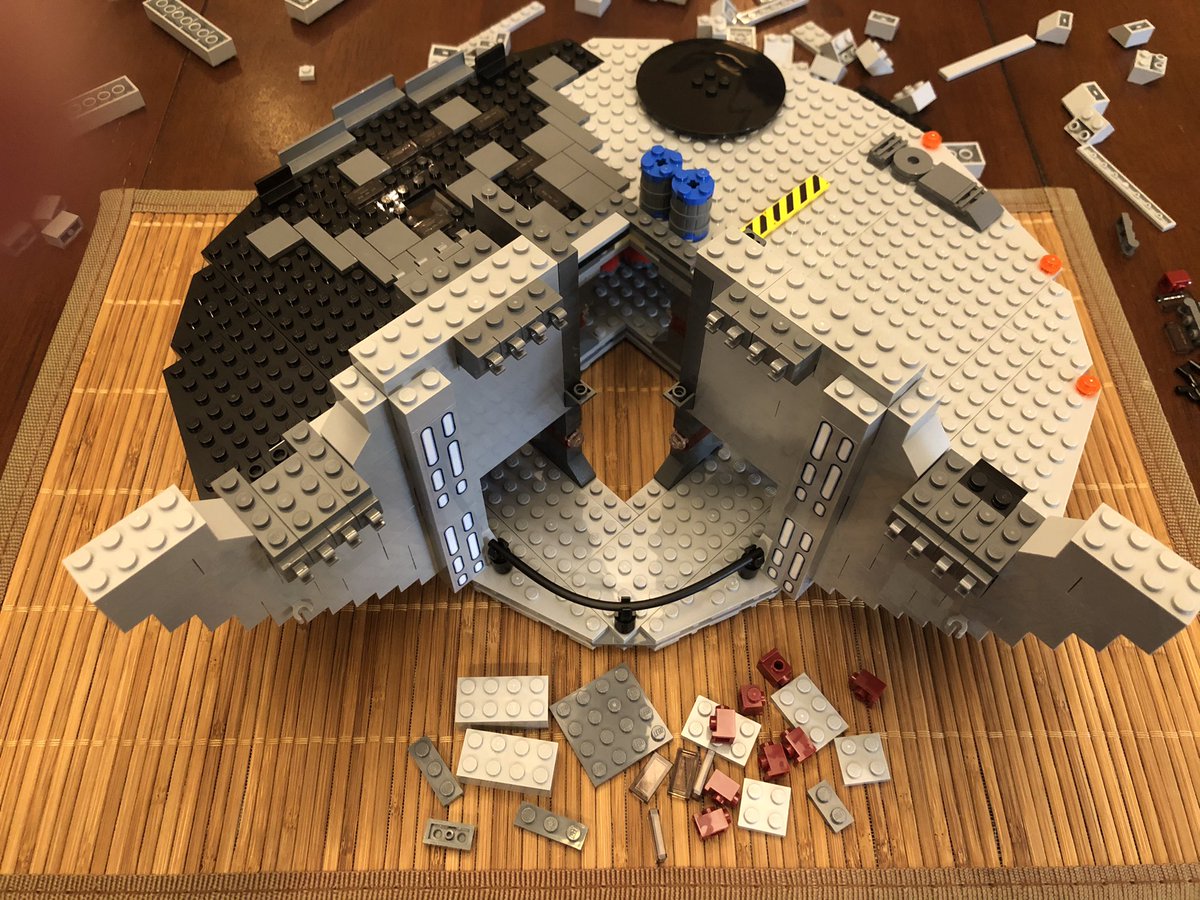
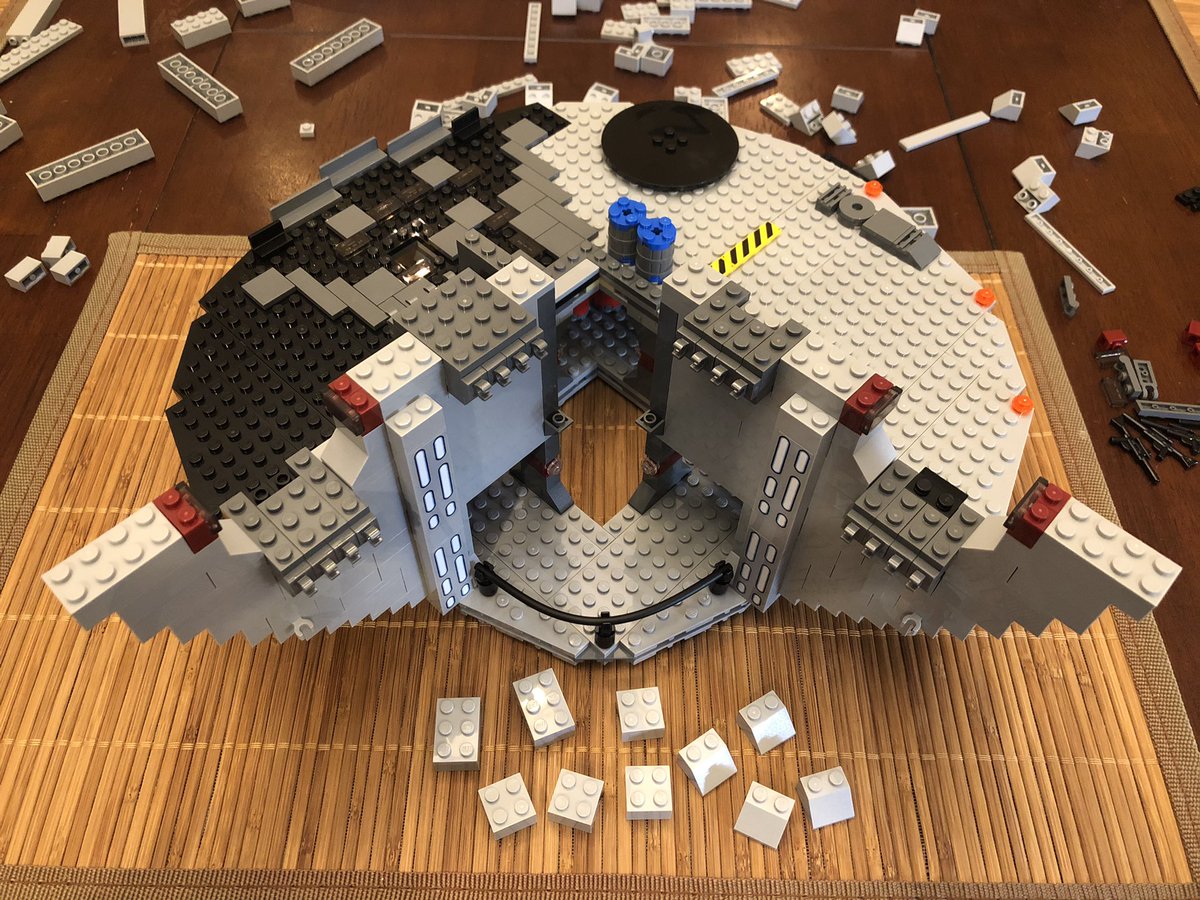
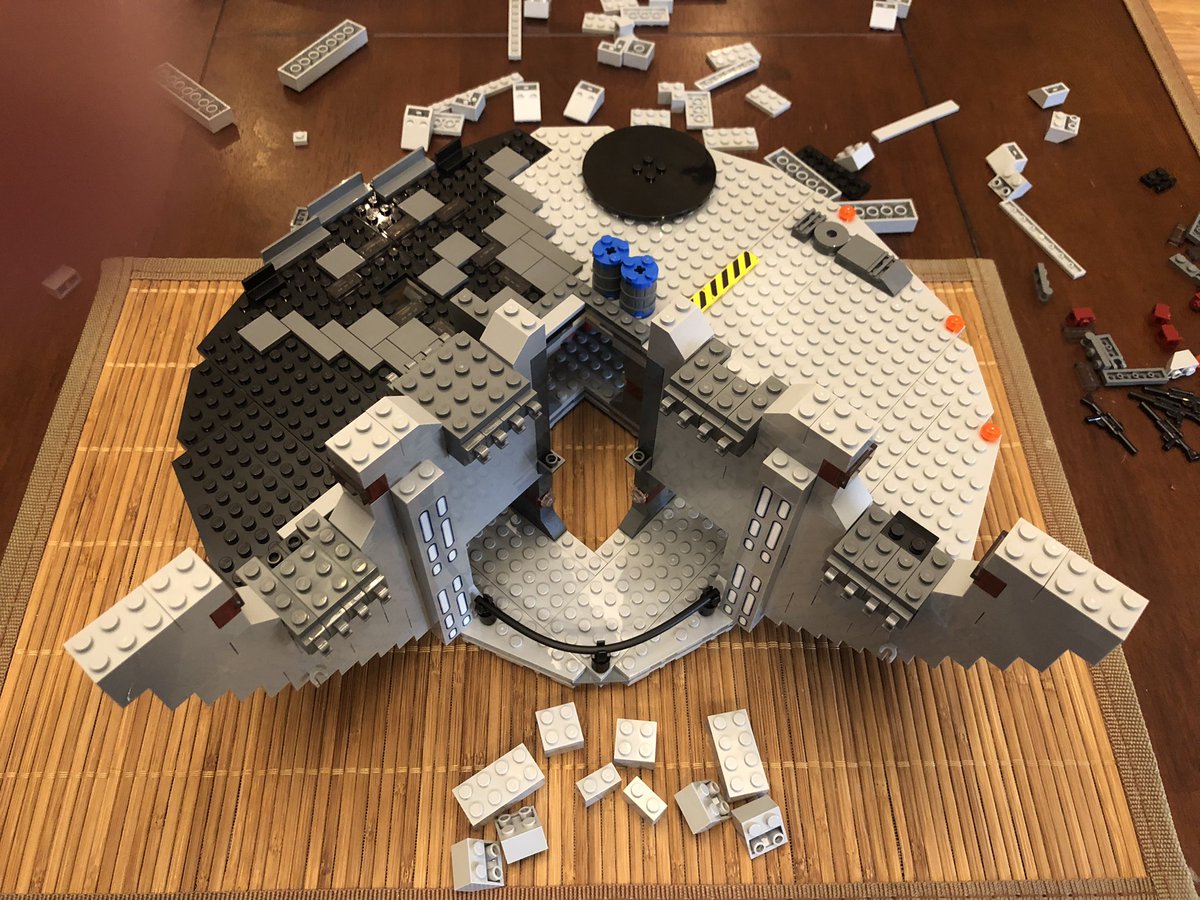
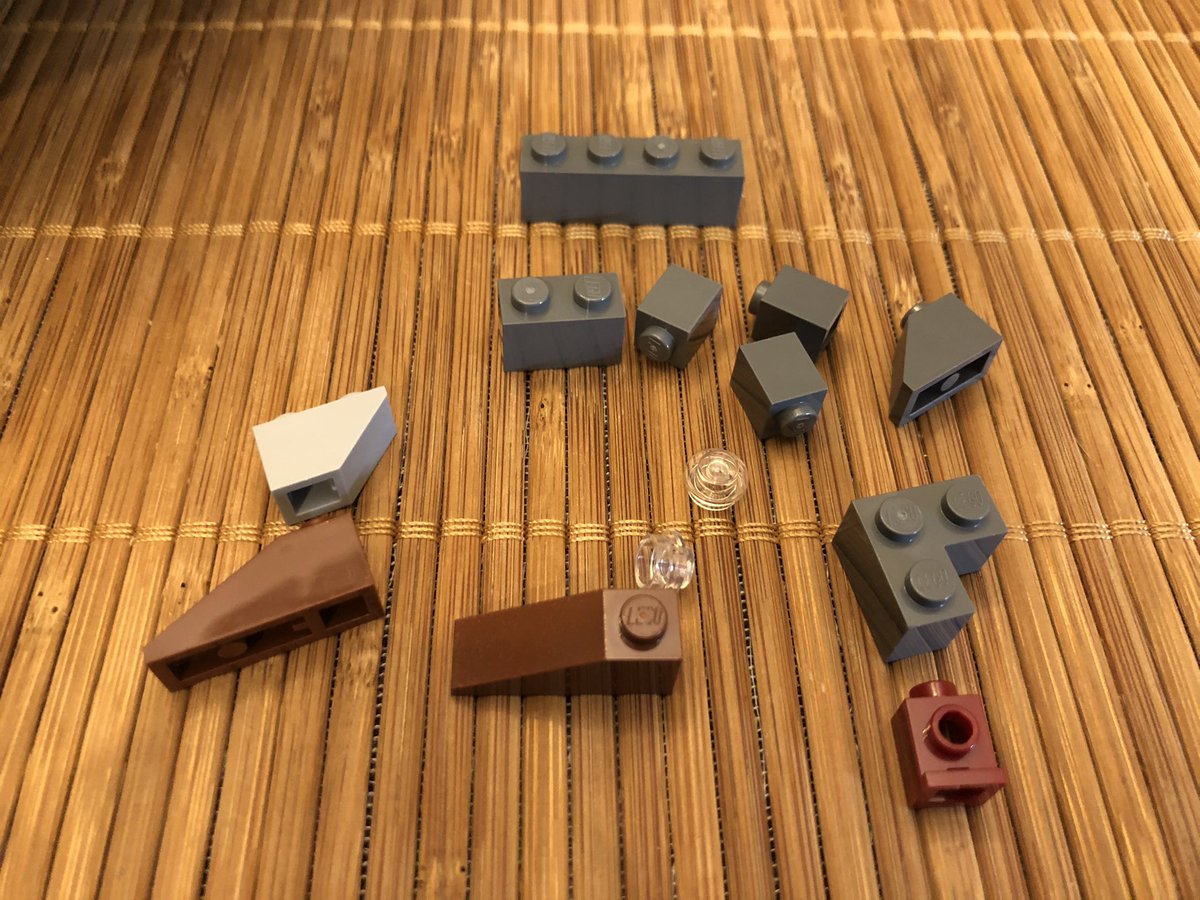
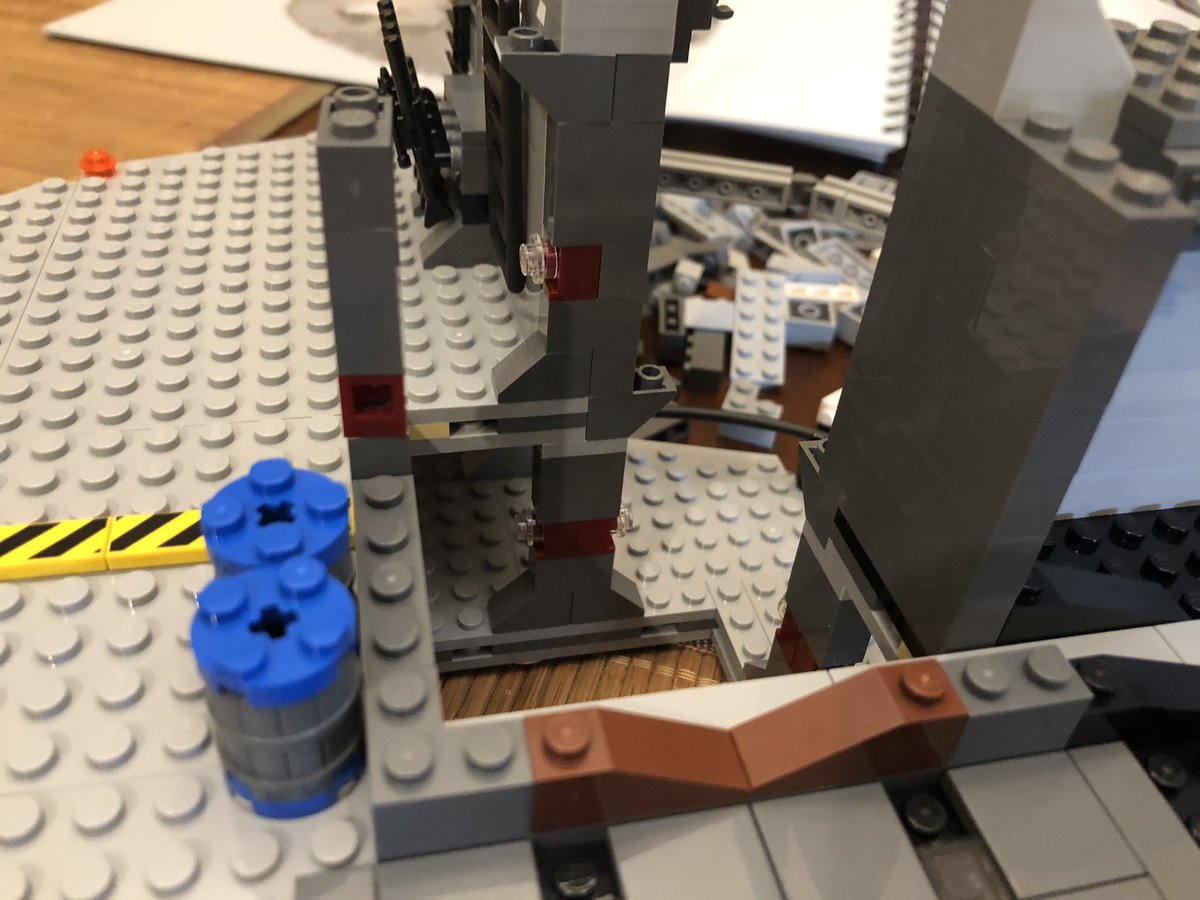
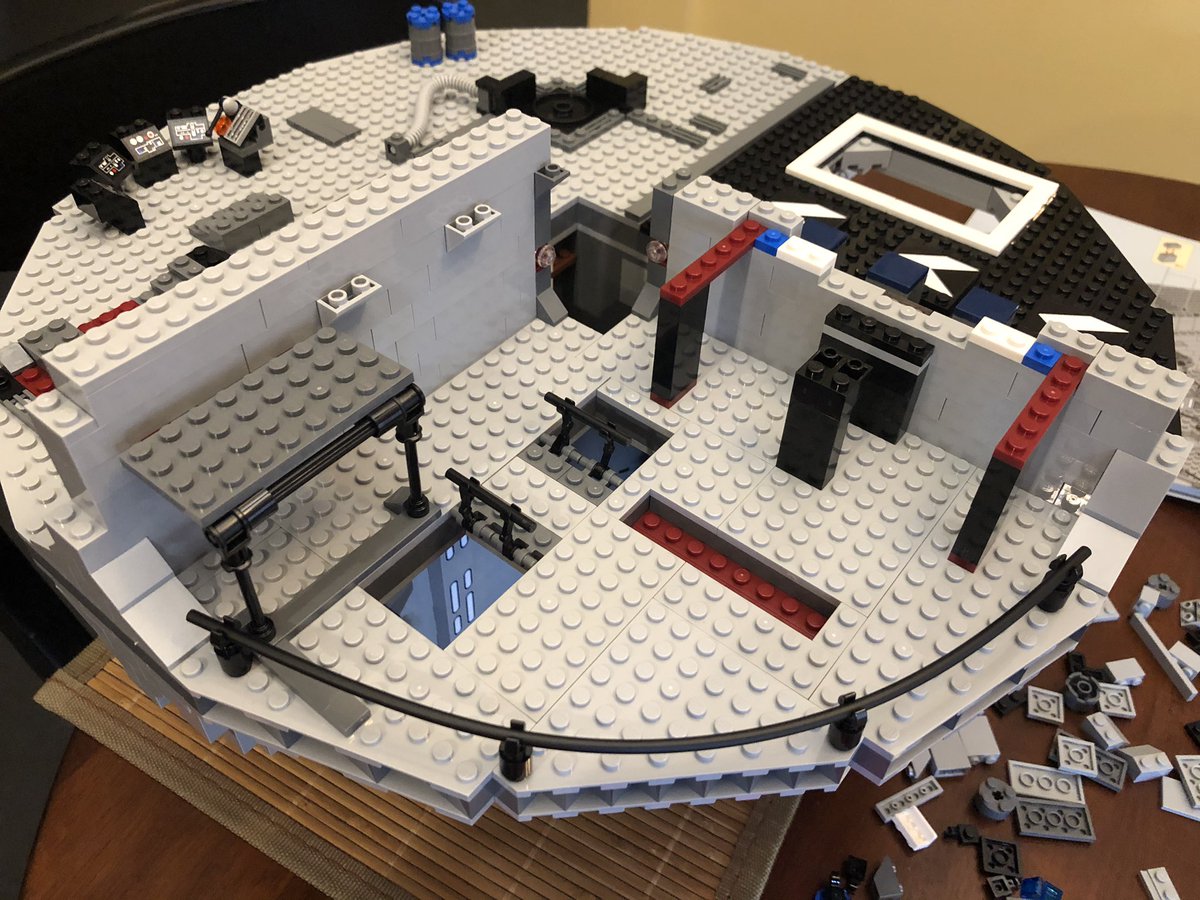
In each photo are the blocks for the next step, since I can’t really zoom in and show much detail. Here we see some red blocks halfway up each doorway. #LEGO 

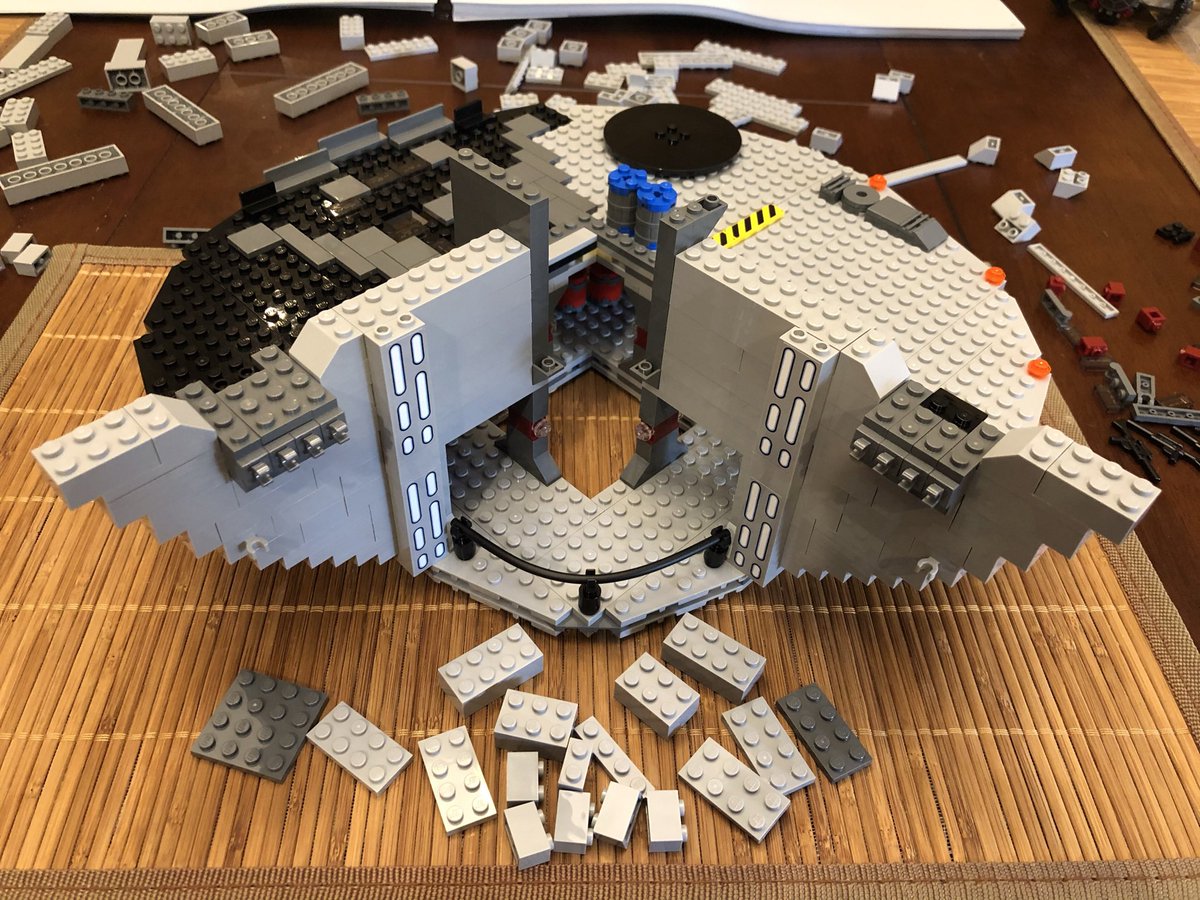
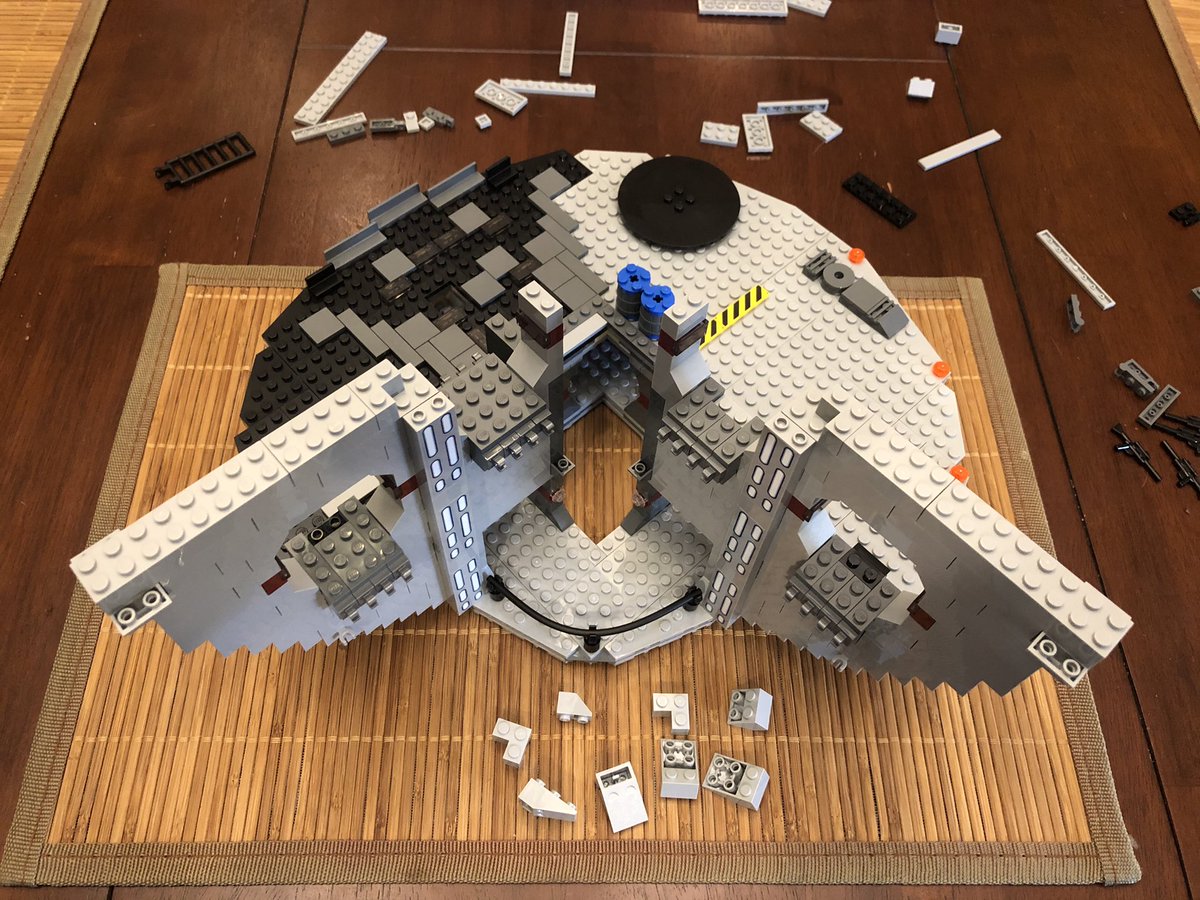
It just keeps getting taller. We’ve got 3 sections of power modules and we aren’t done yet, but we can see the support for the next level! #LEGO 

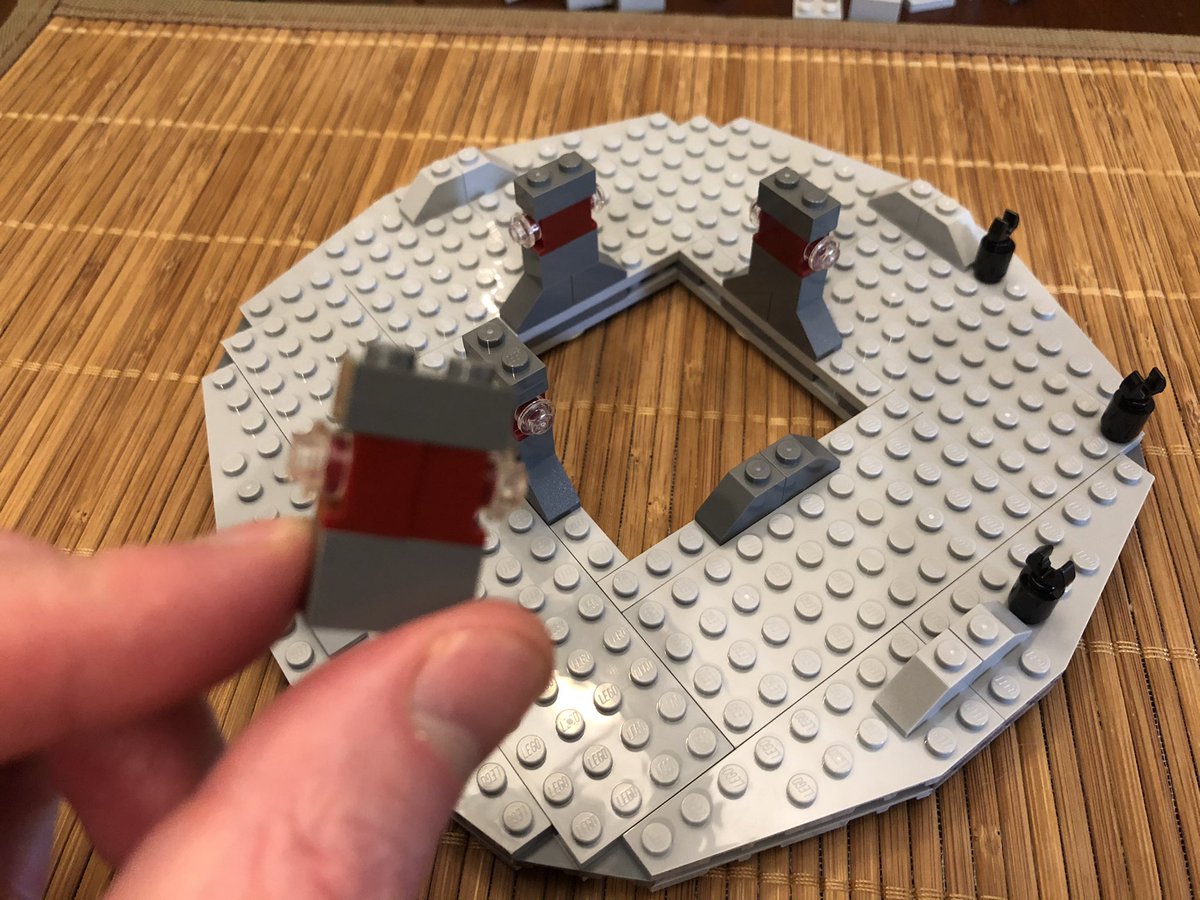
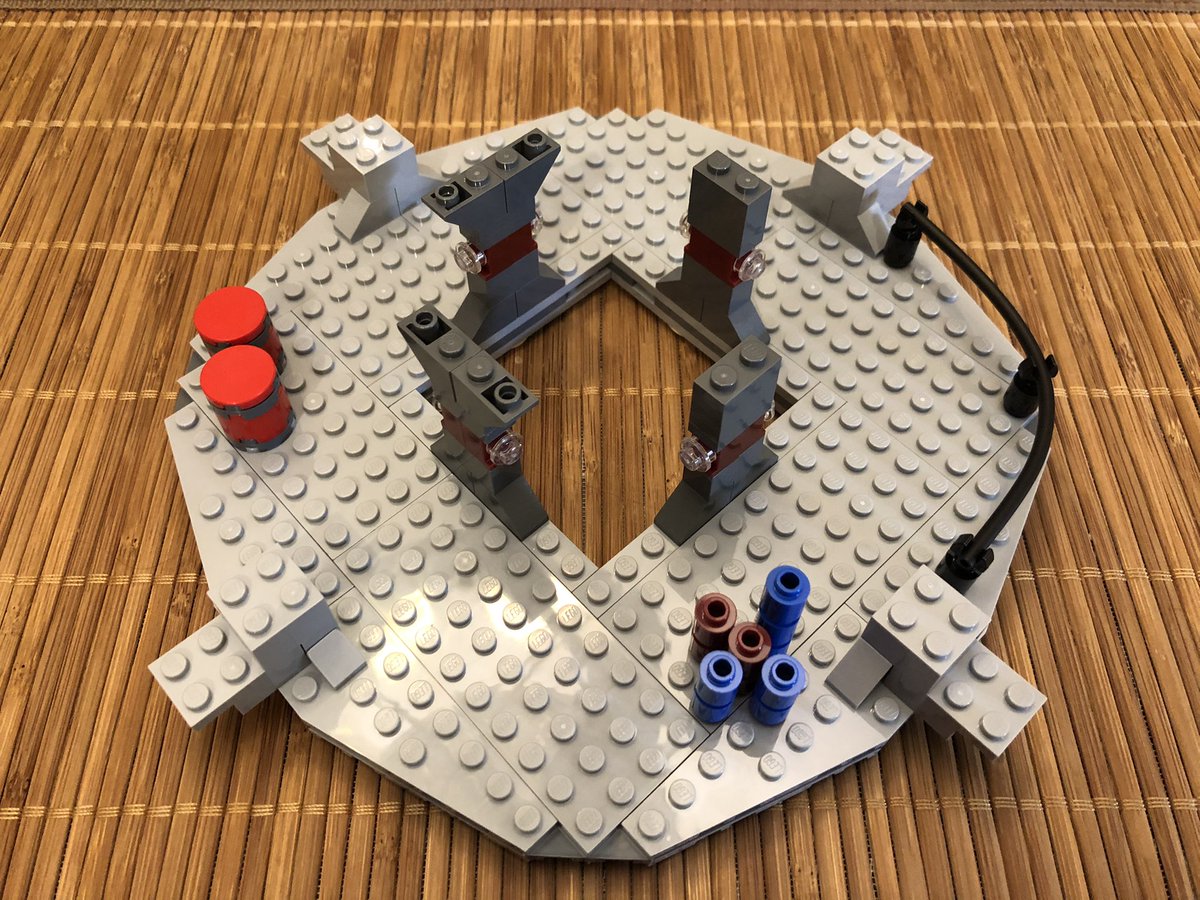
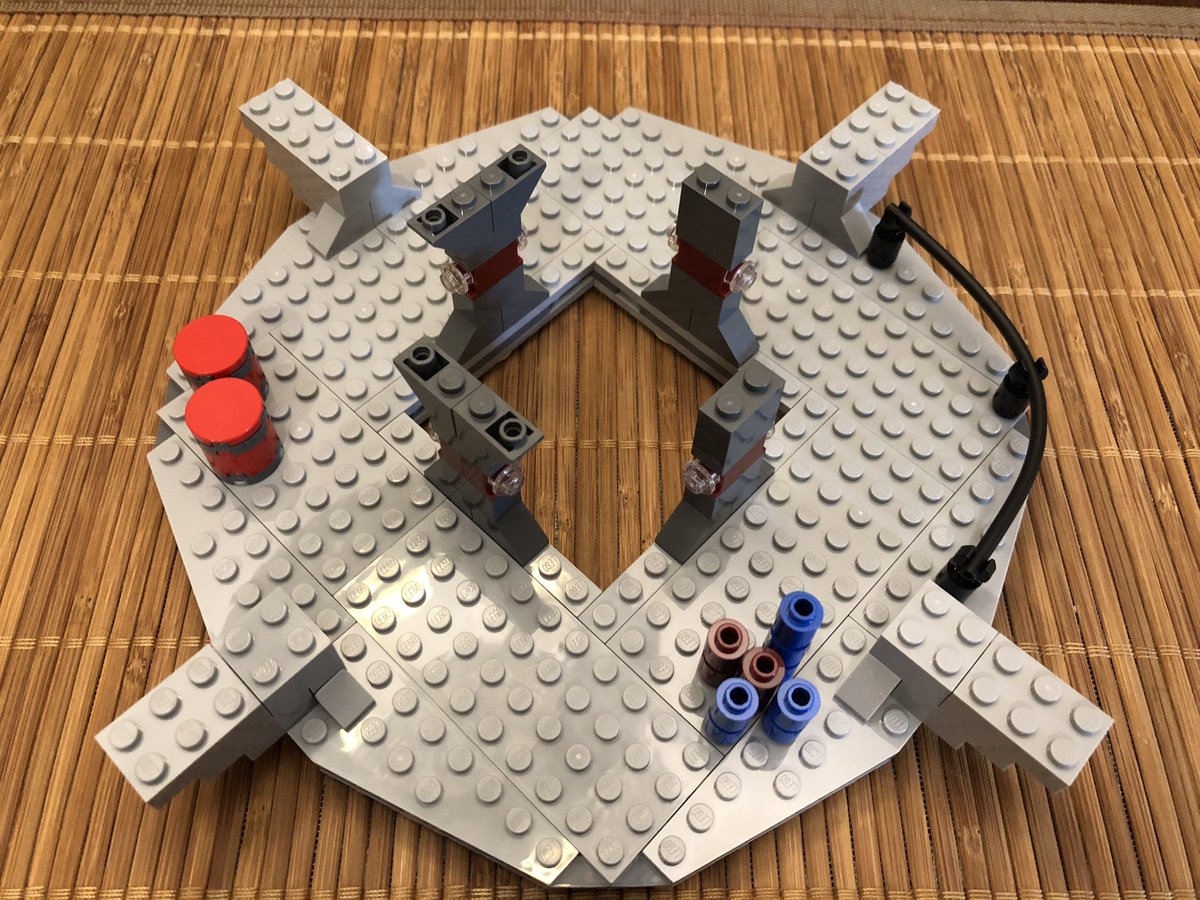
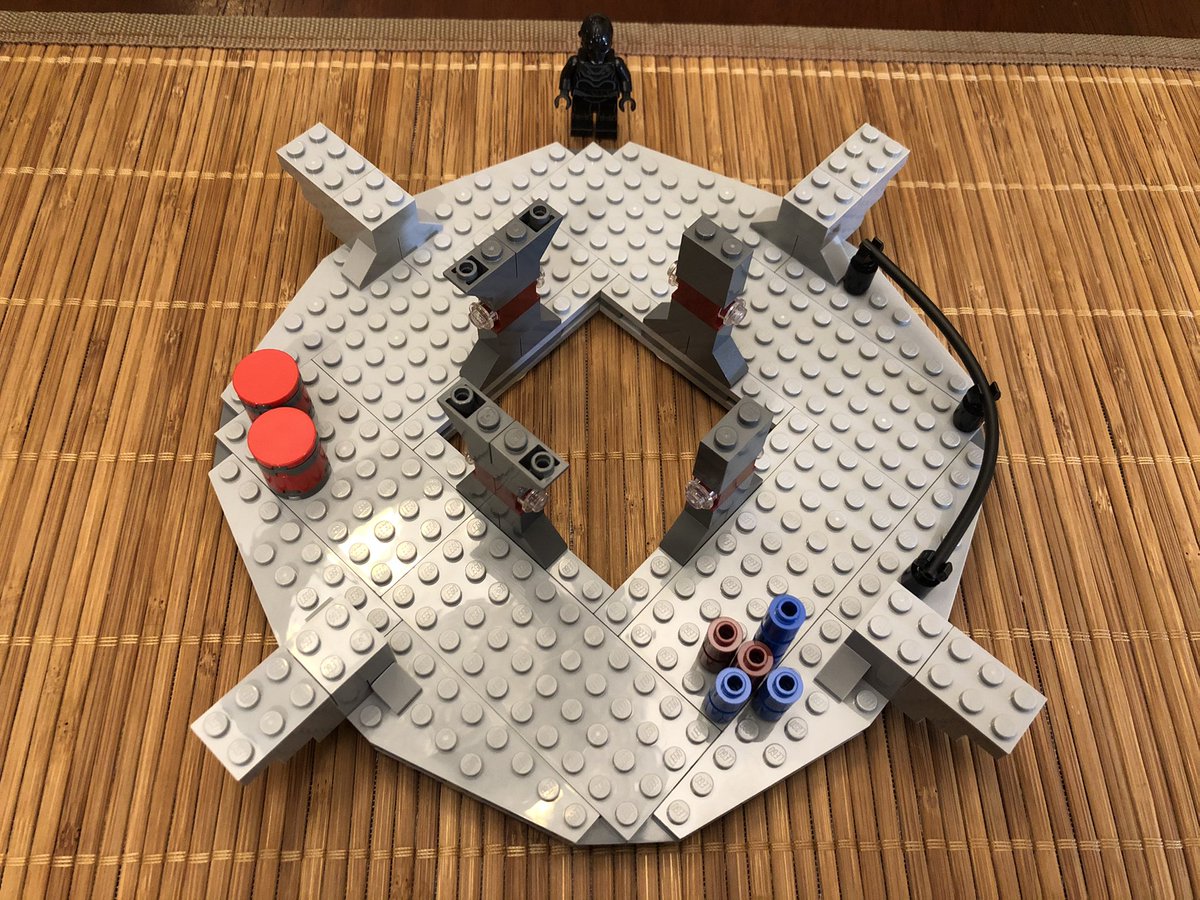
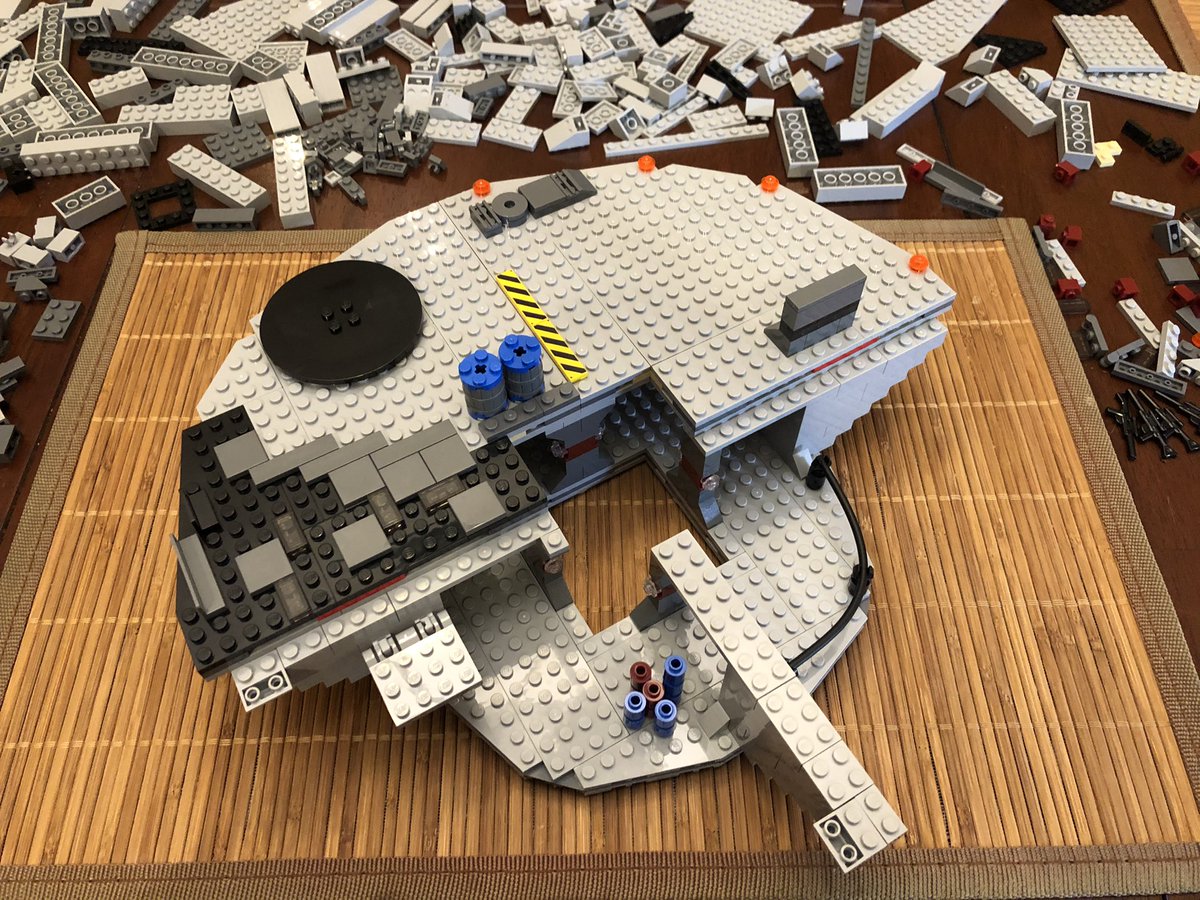
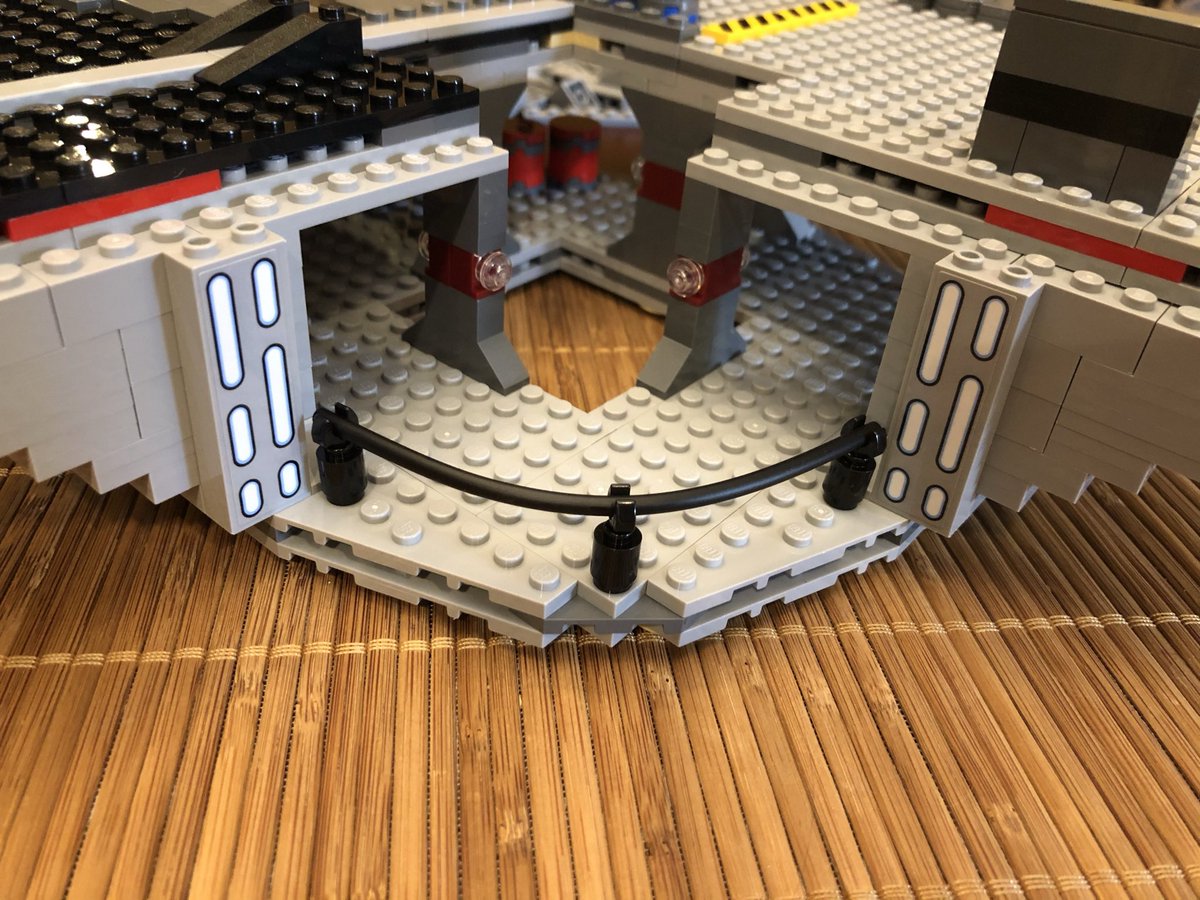
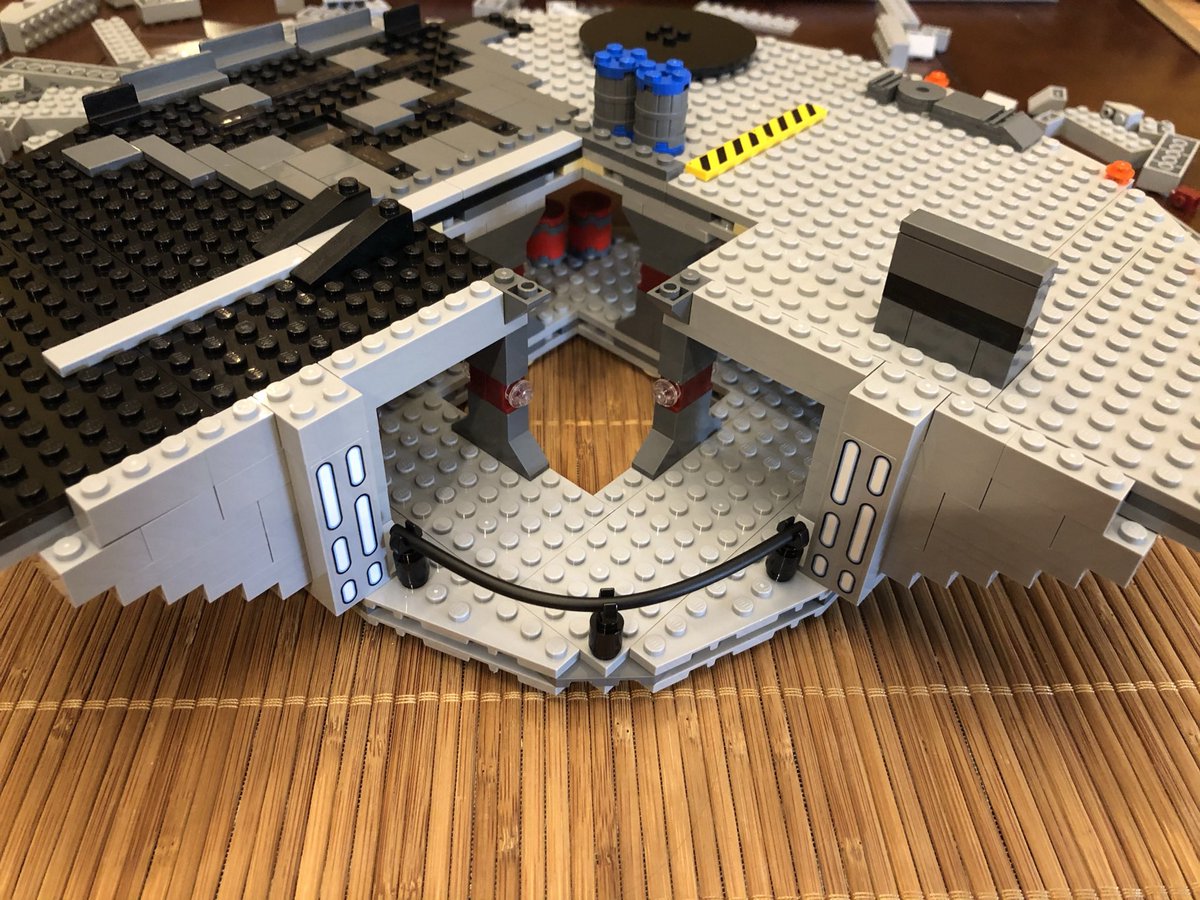
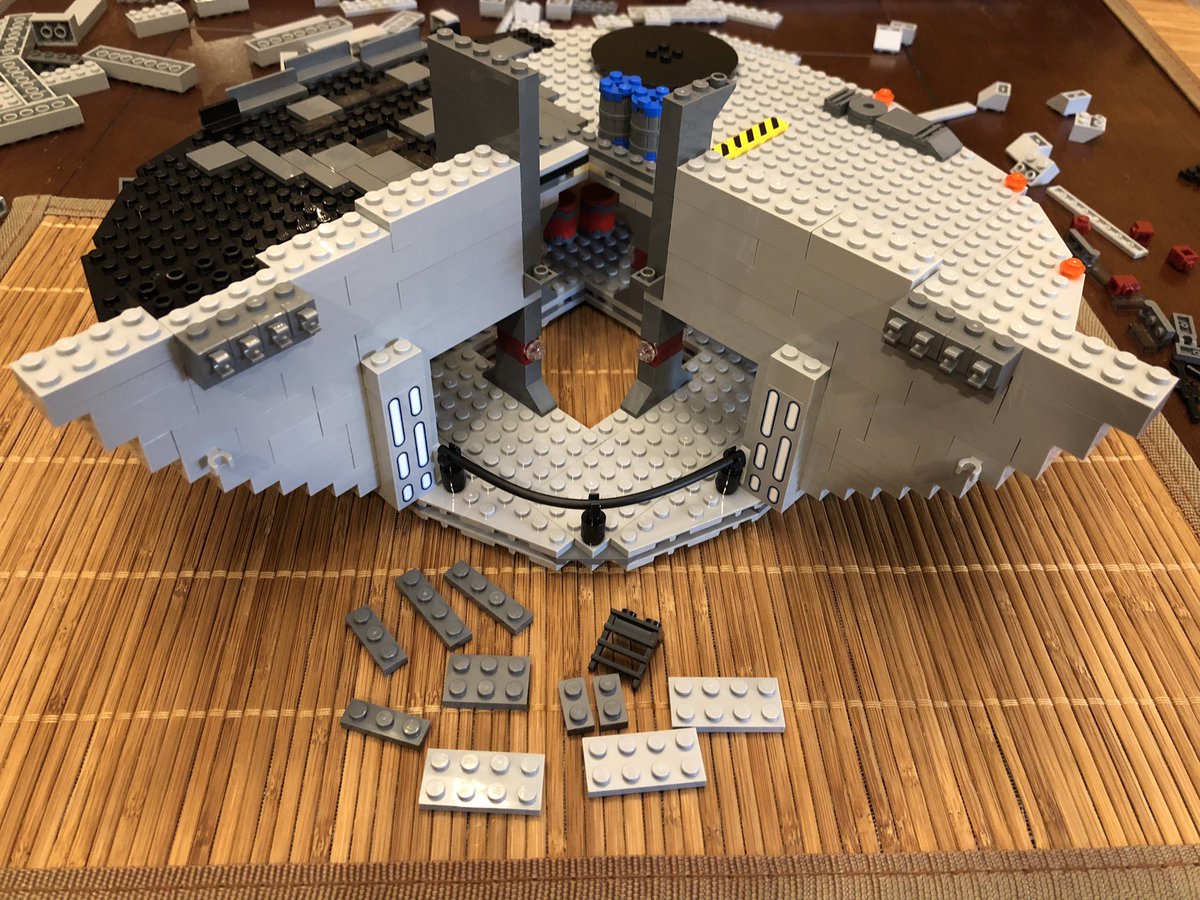
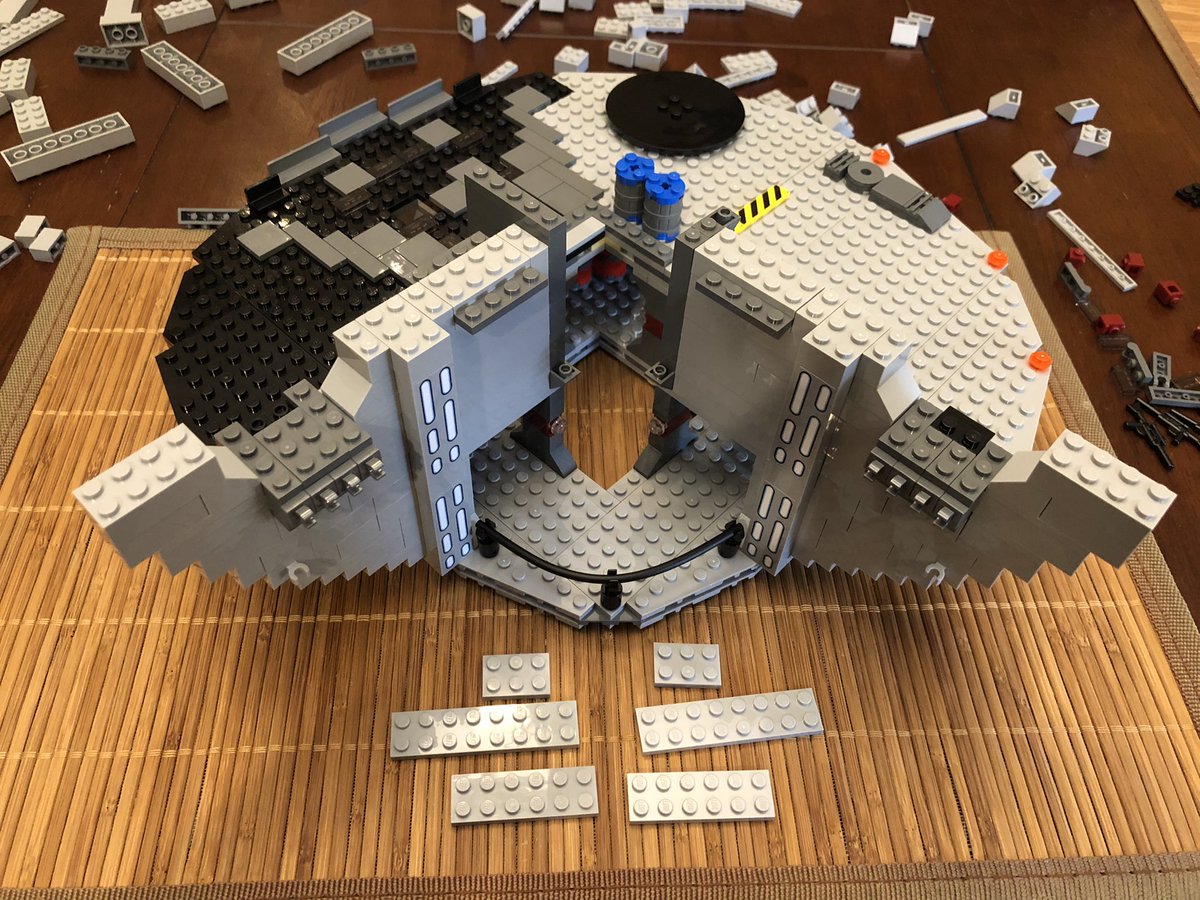
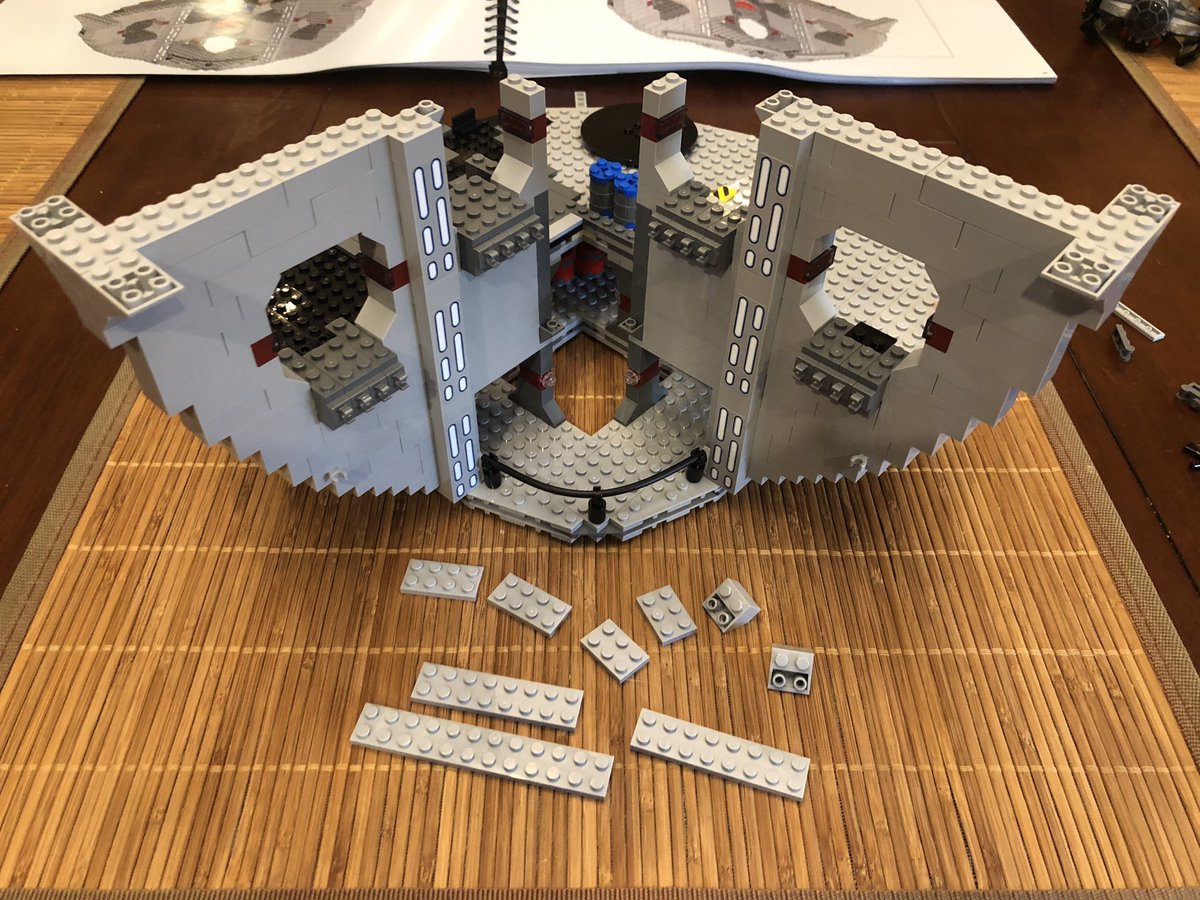
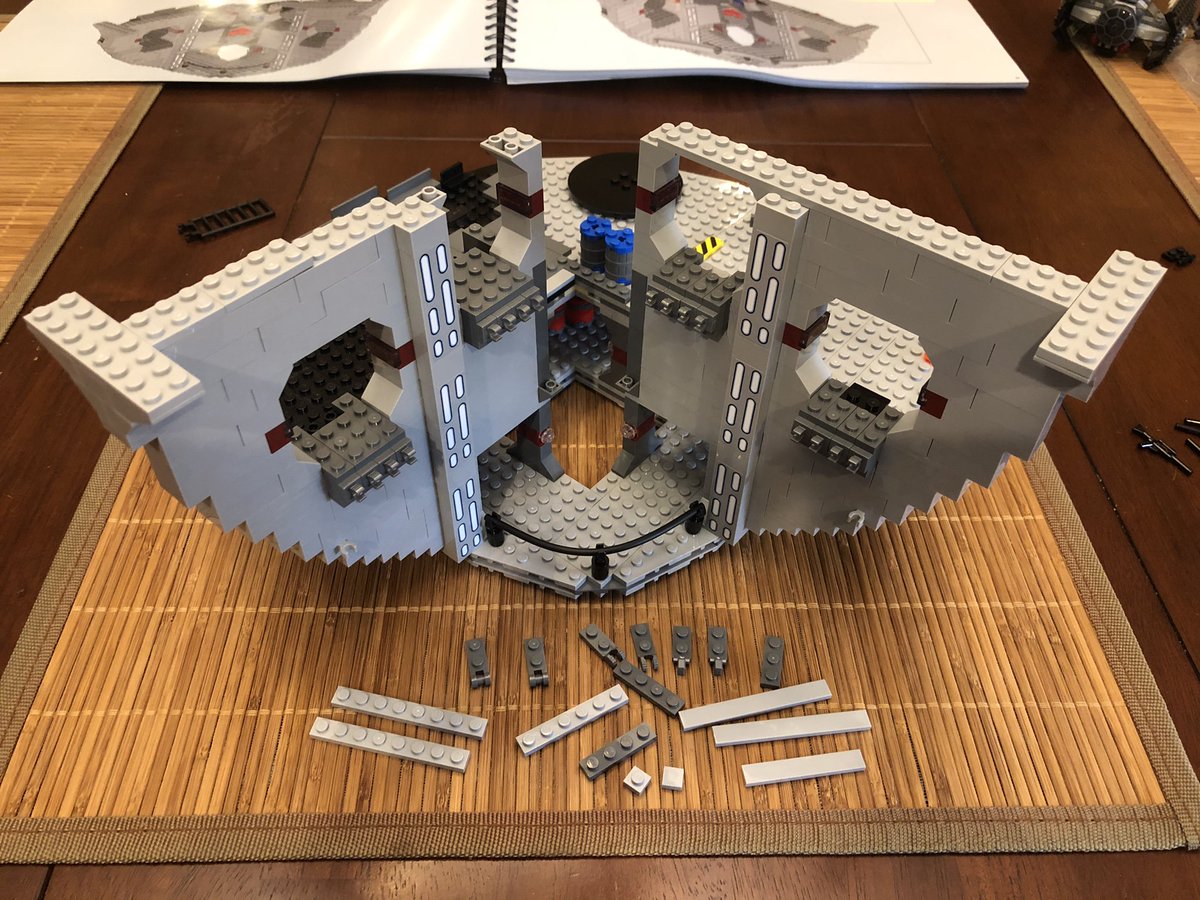
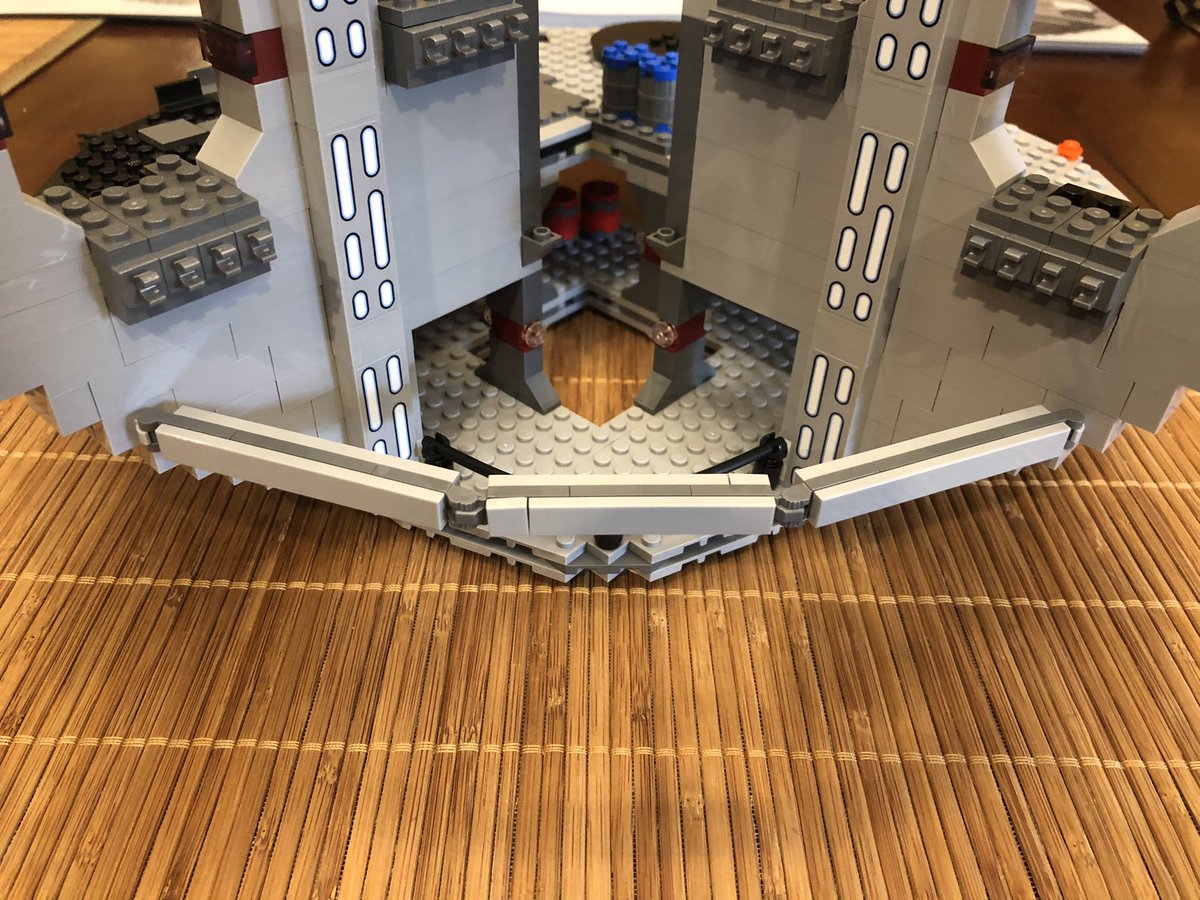
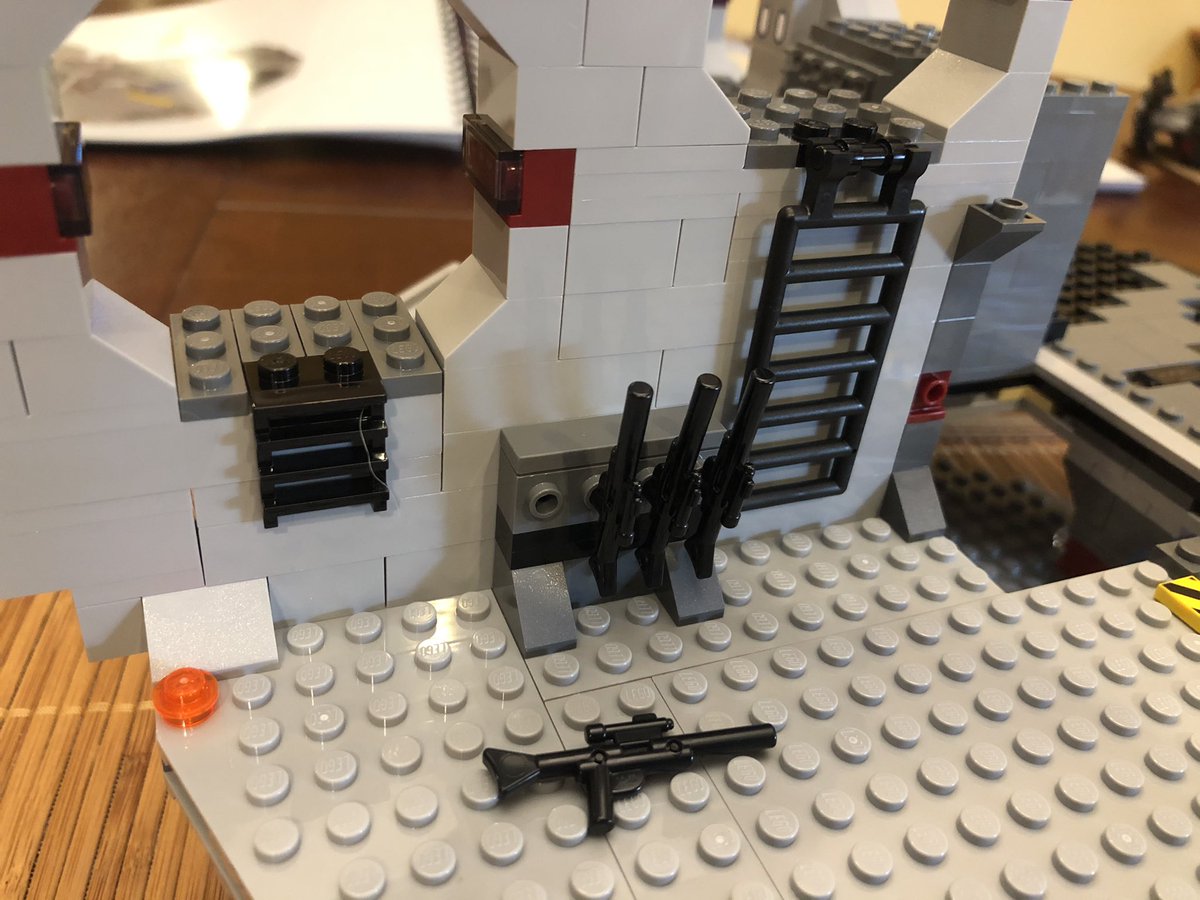
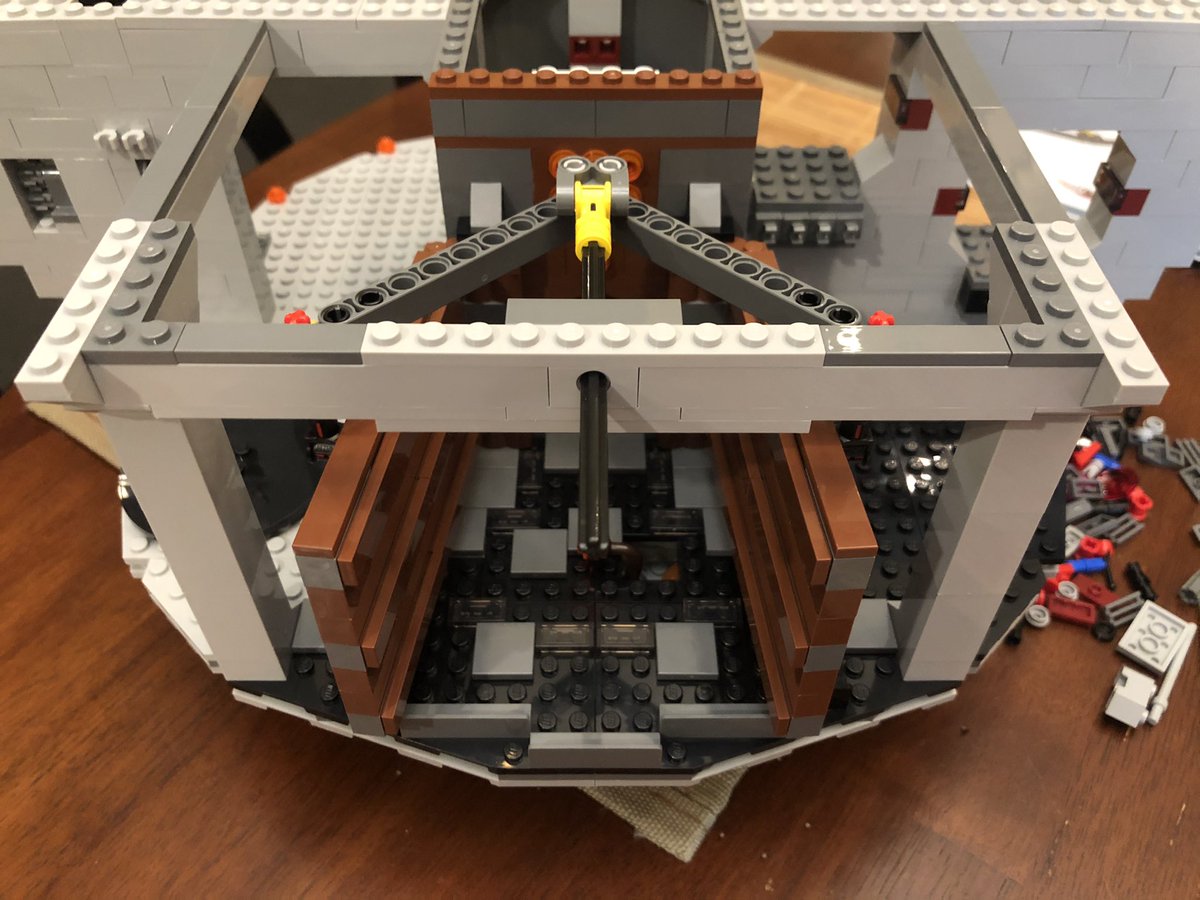
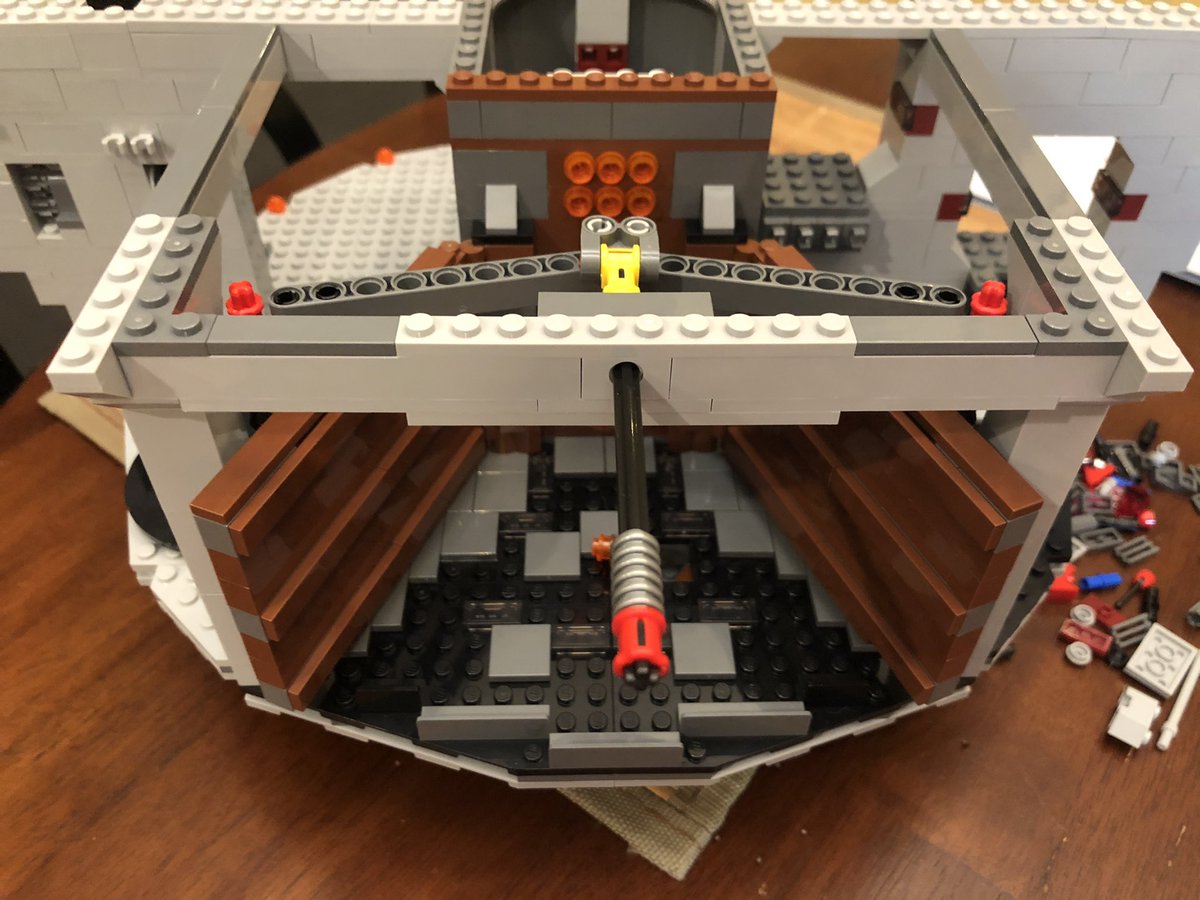
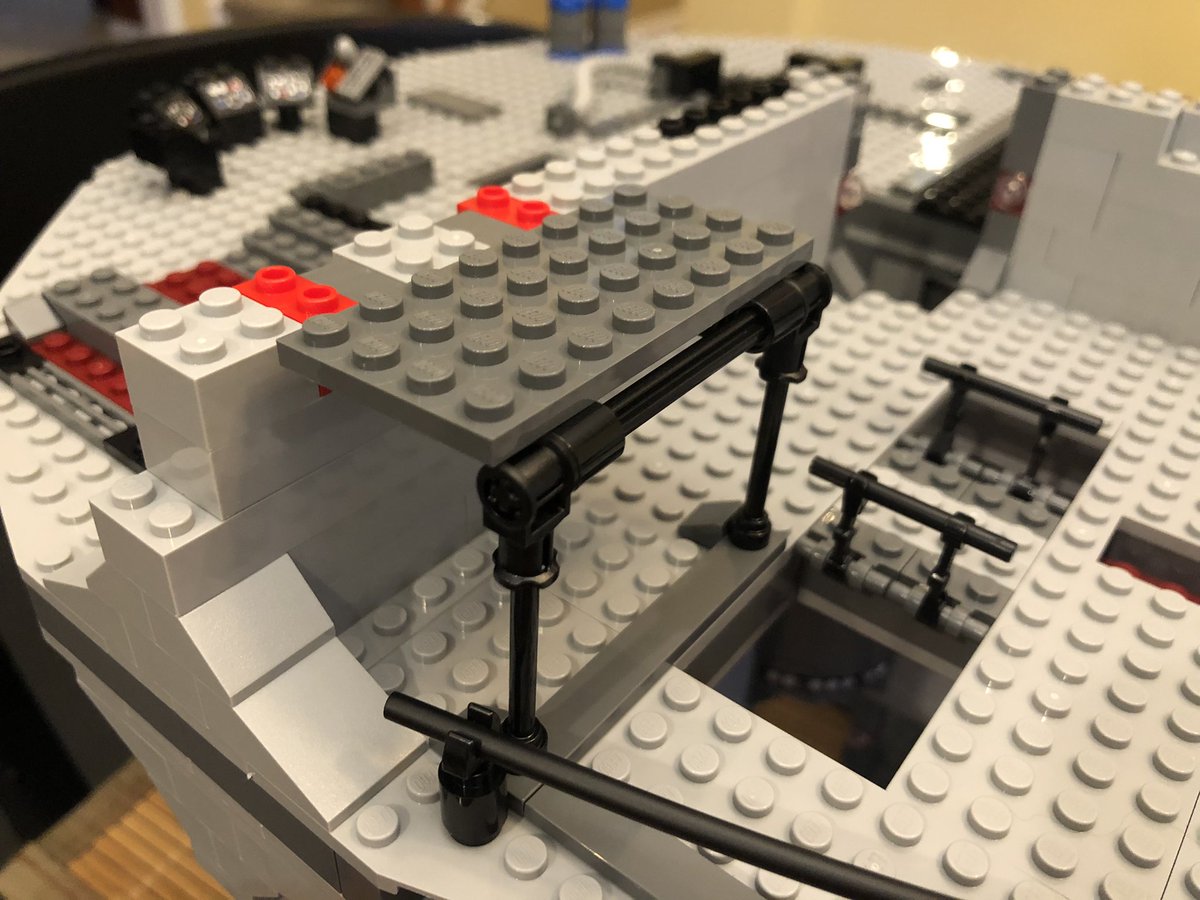
Now we are at the top! A layer of thin plates across the top tie the supports together. We also build this flexed support bar across the open section, then add a ladder and stock a gun rack. Section 2 took a few hours across last night and tonight, it’s huge! #LEGO 

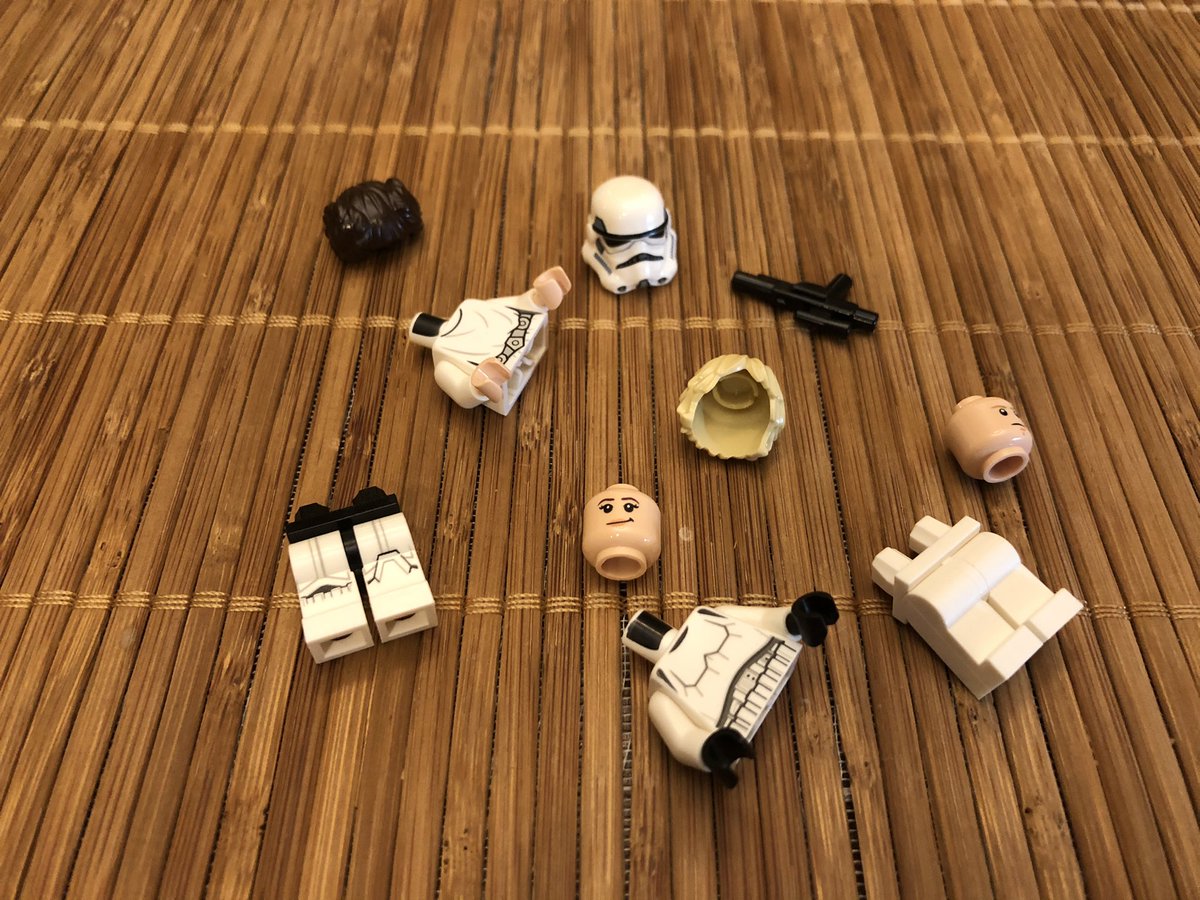
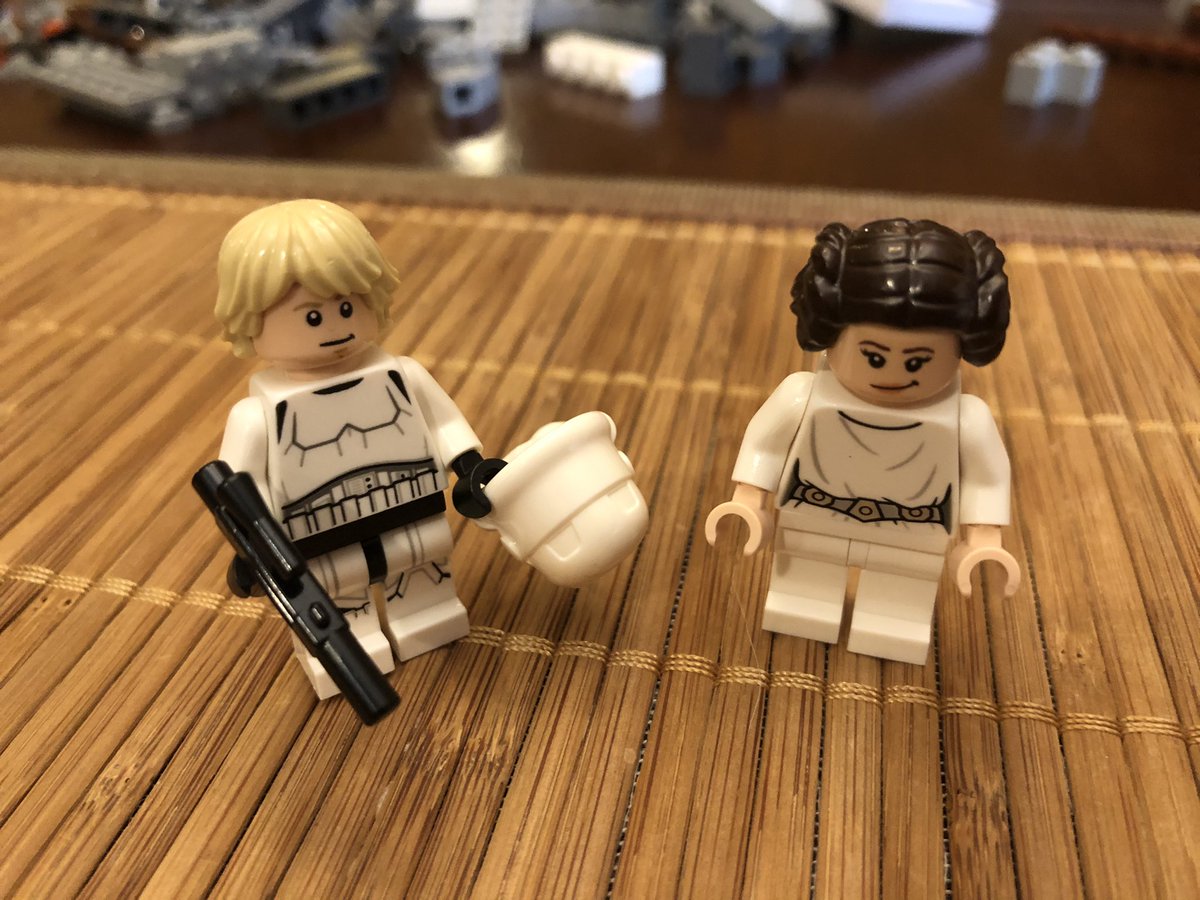
I did also get section 3 done, so here goes. There’s just soooo many pieces, and this is a smaller section! This one has Leia and Stormtrooper Luke. #LEGO 

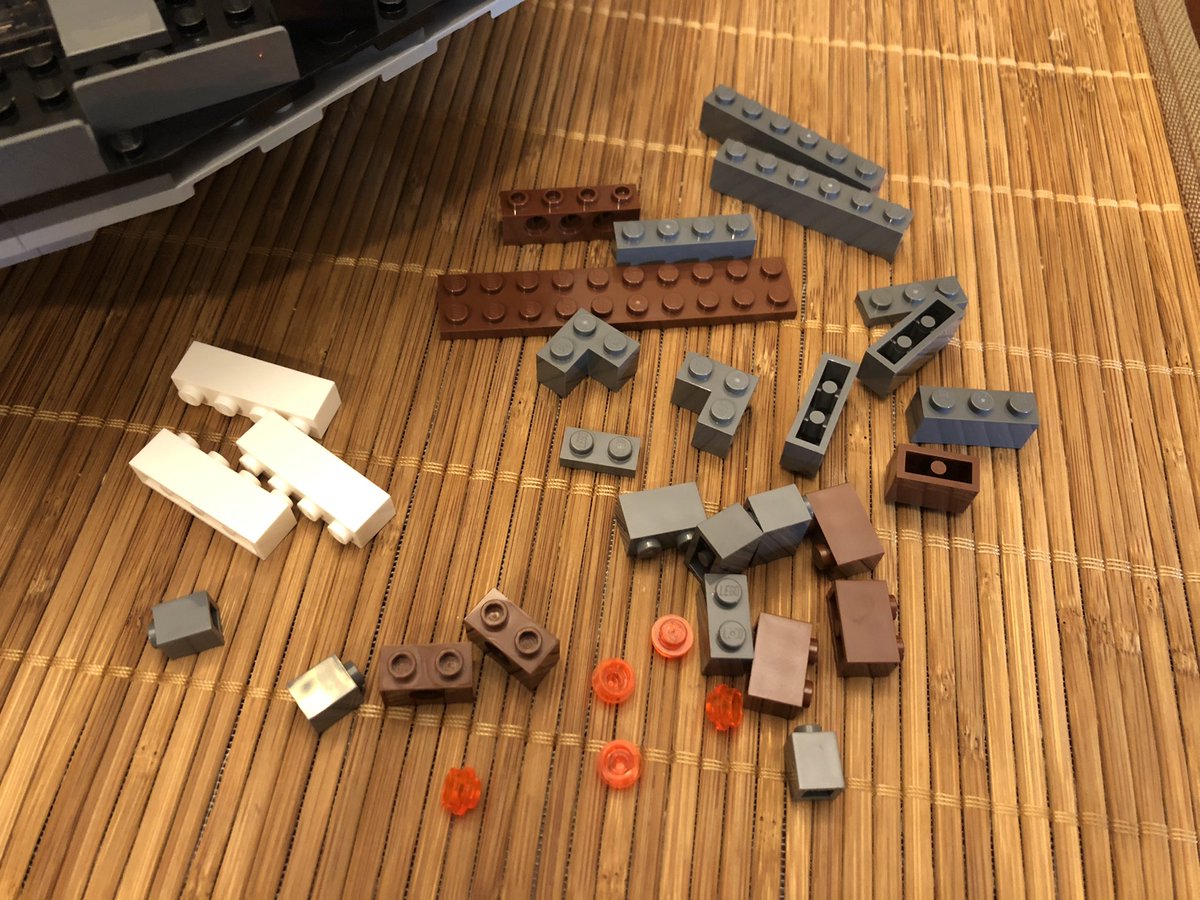
Still trying to figure out how to show the pieces as well as where they go, without the new pieces being 2 pixels wide. Hope I’ve found the right balance.
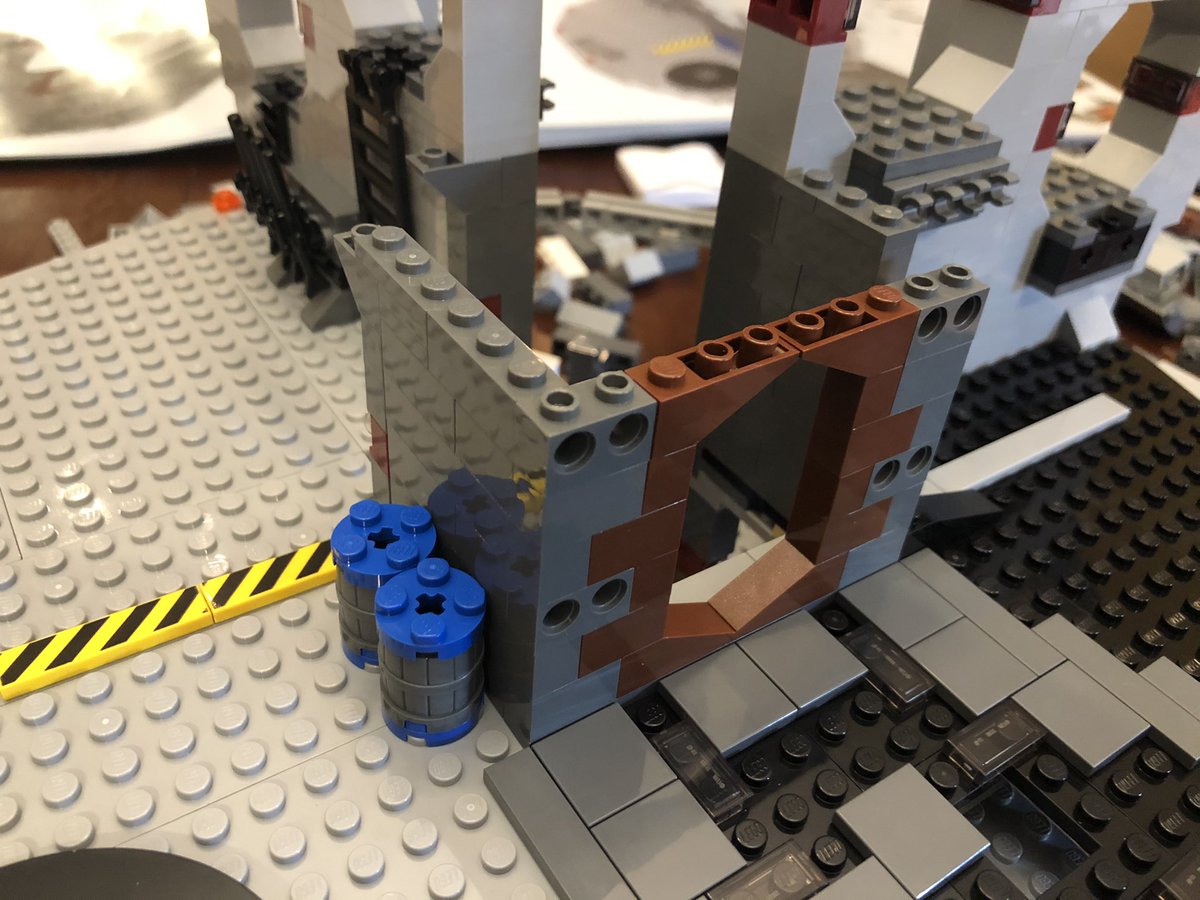
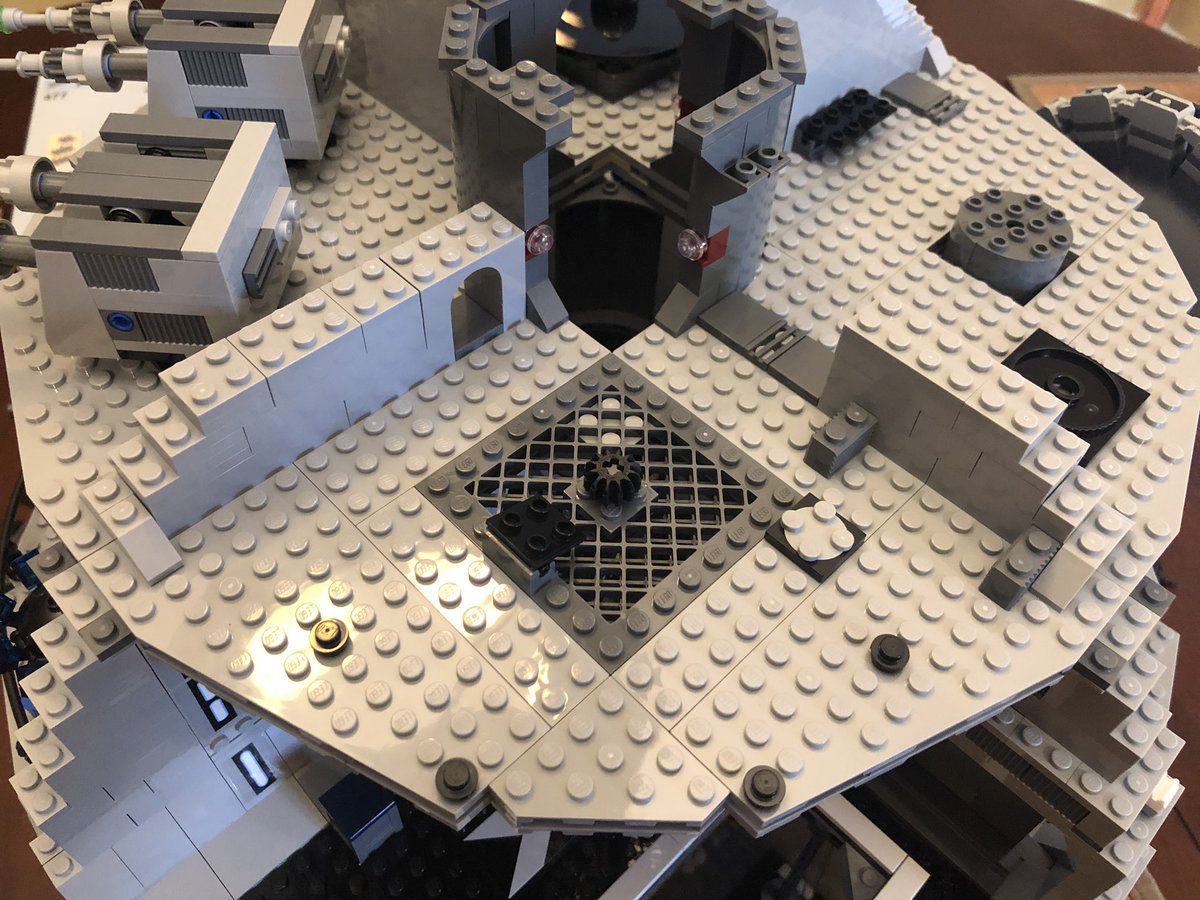
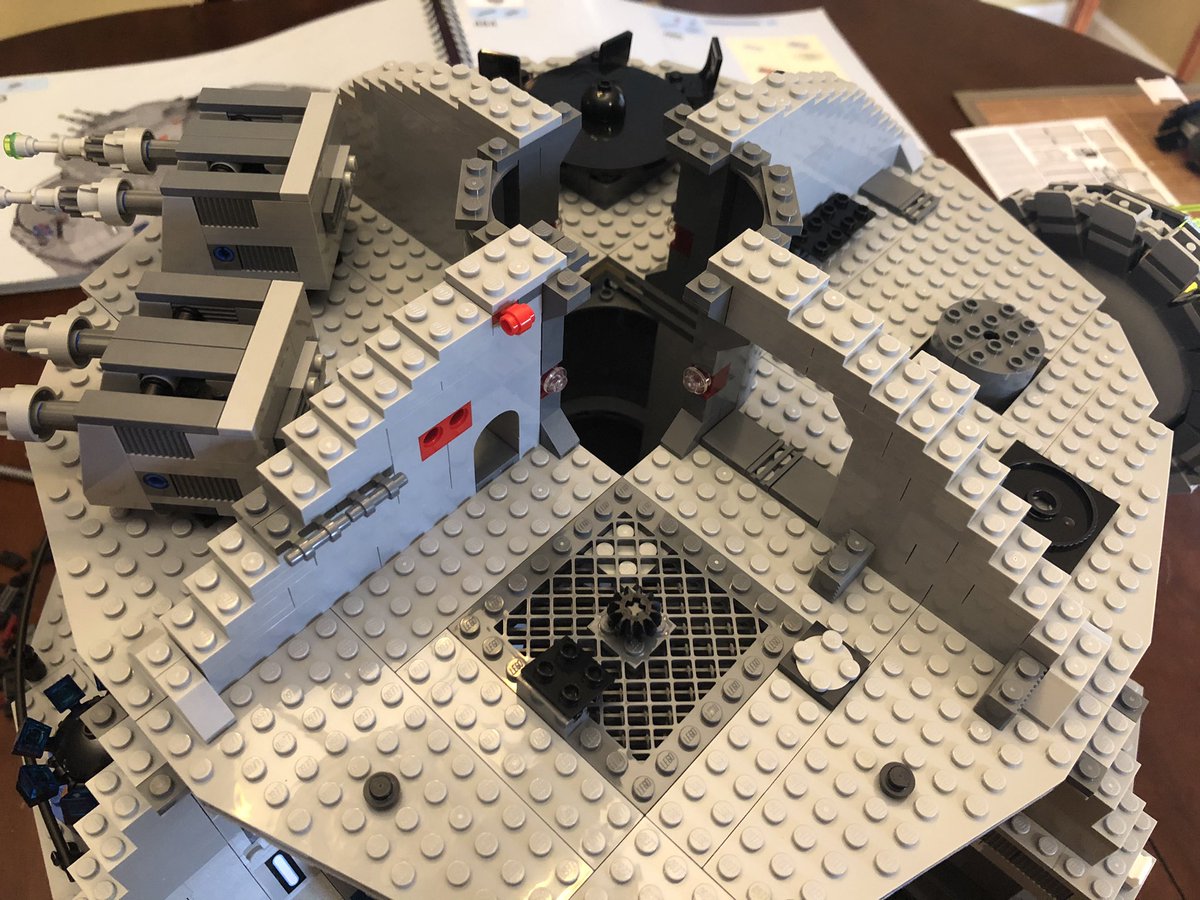
We start by completing some of the wall around the center and create a doorway. #LEGO
We start by completing some of the wall around the center and create a doorway. #LEGO

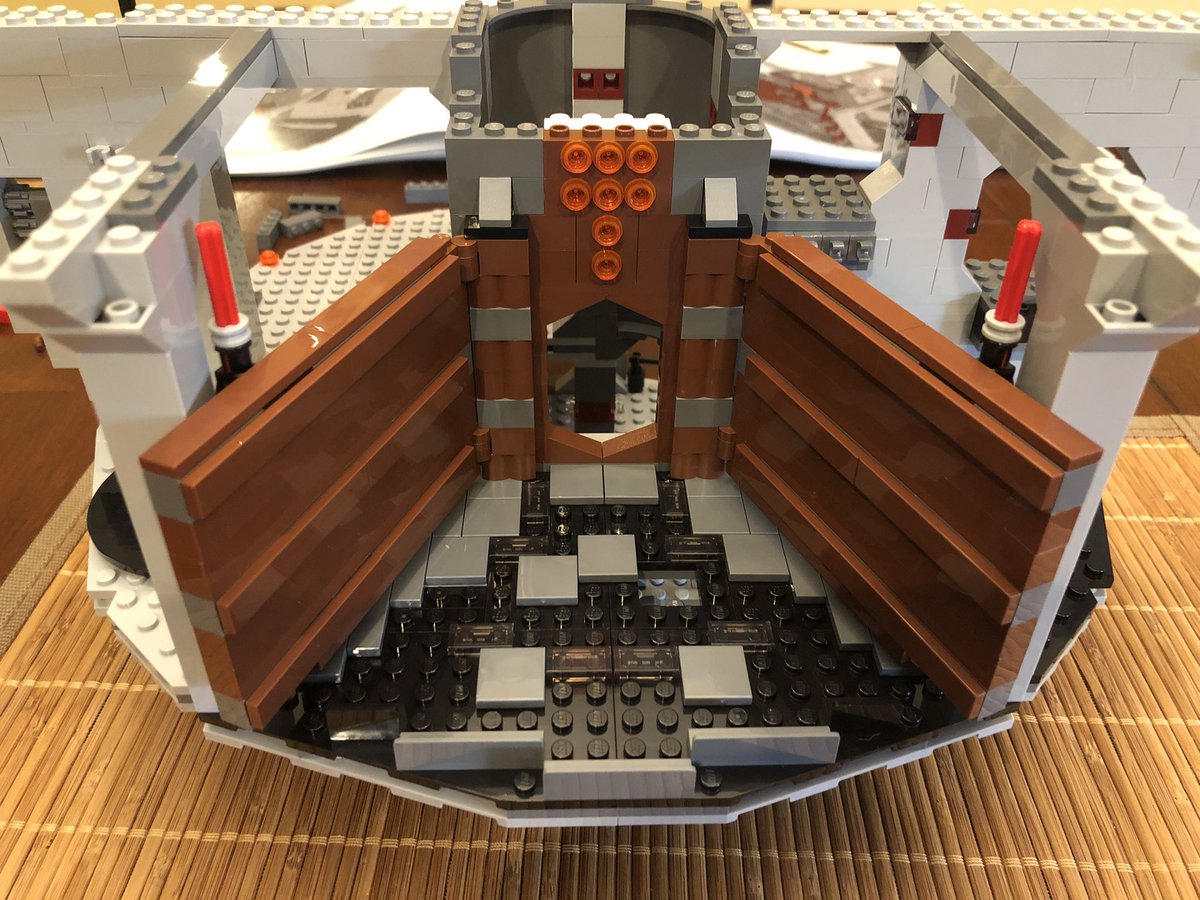
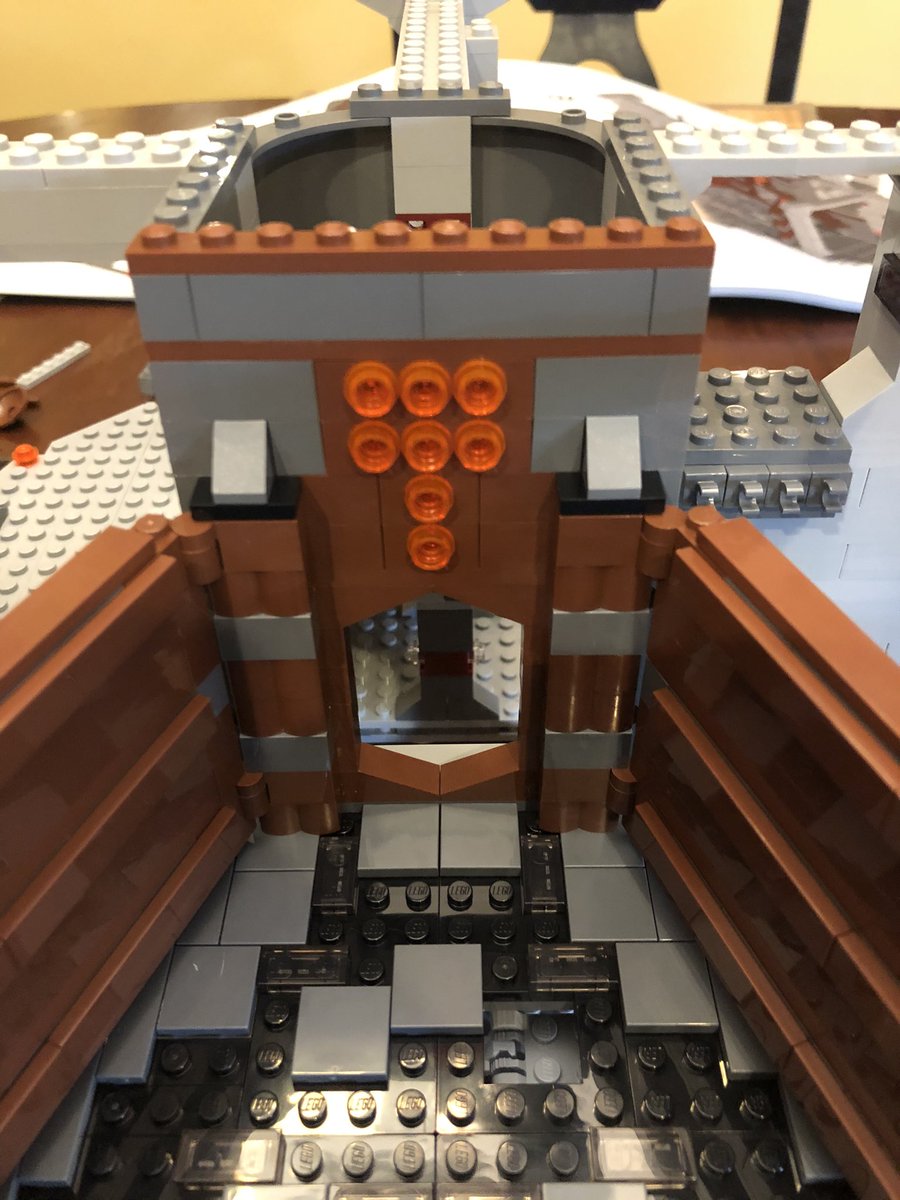
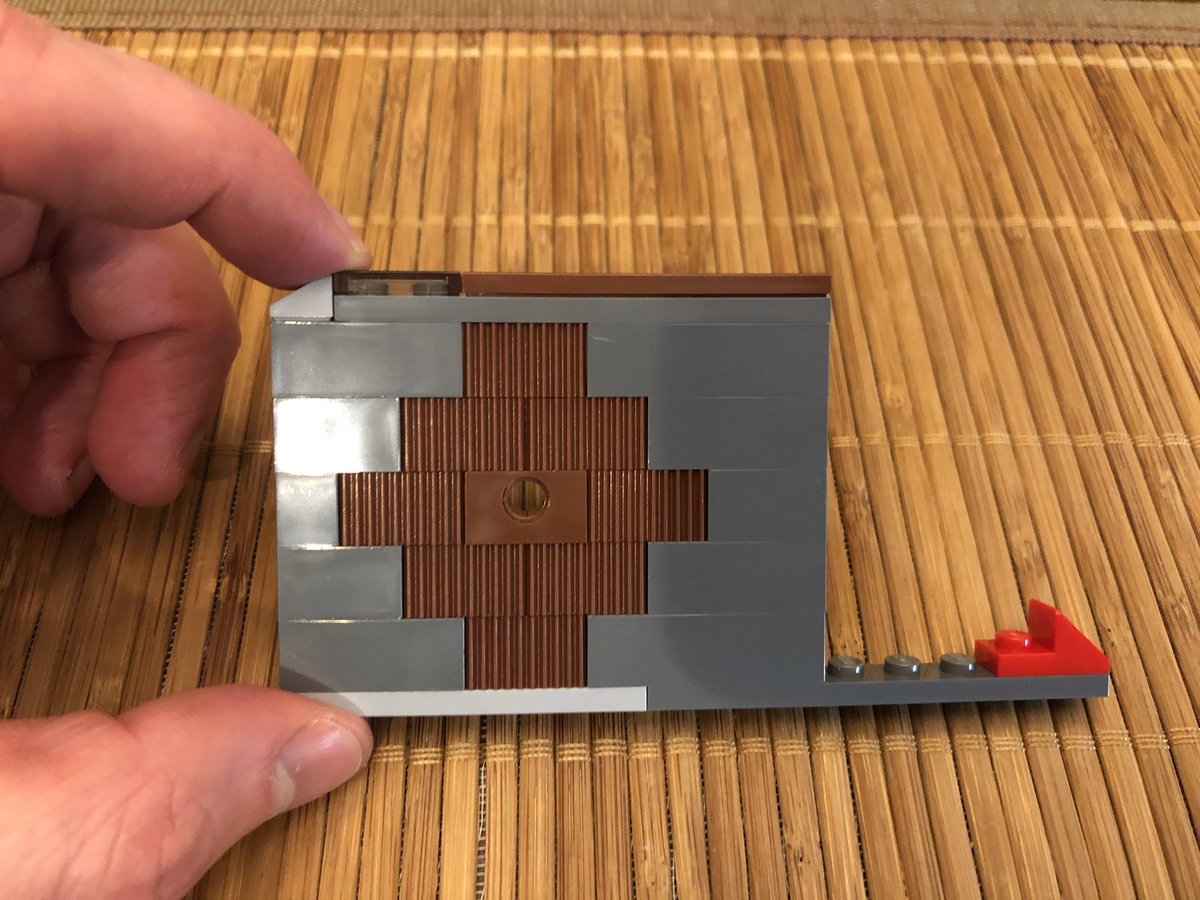
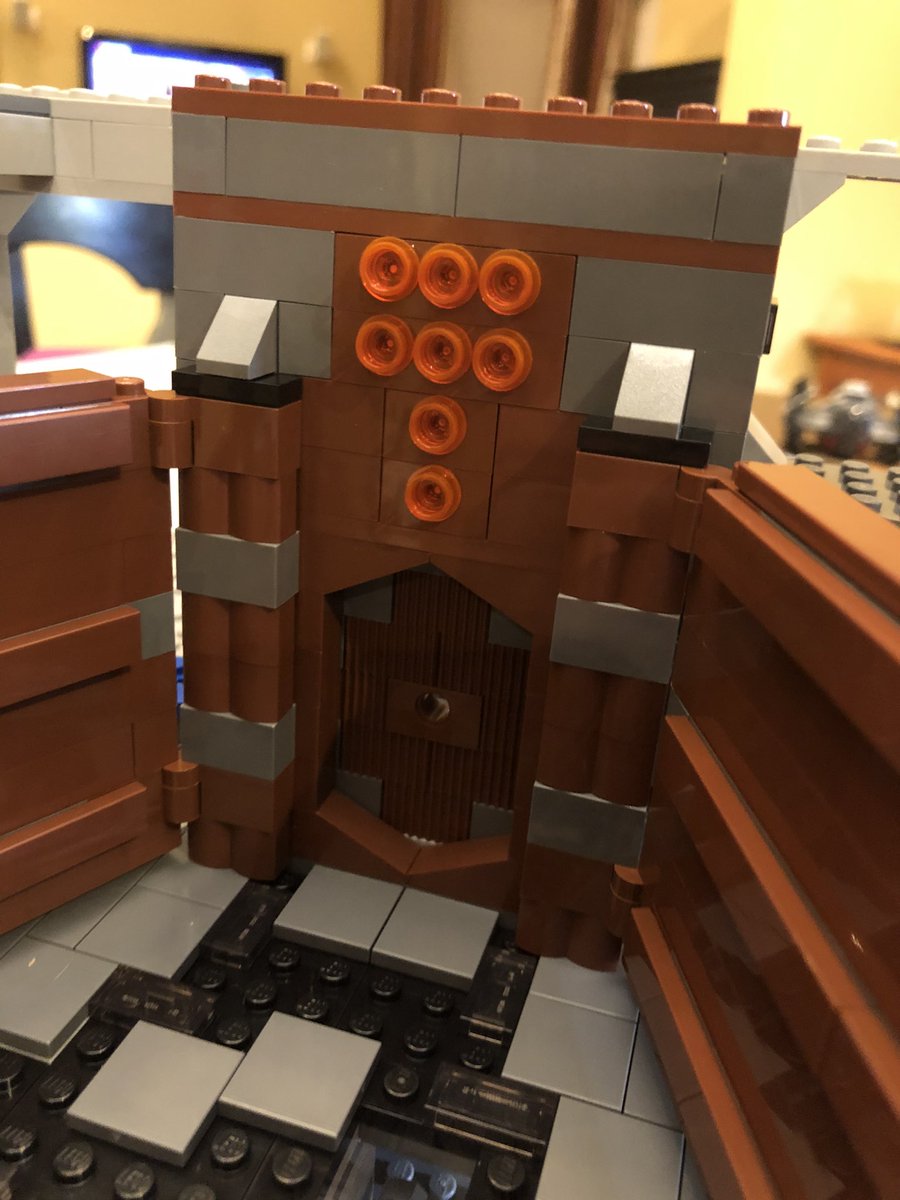
The doorway is very decorated! On the other side, some rounded tank pieces complete the walls. #LEGO 

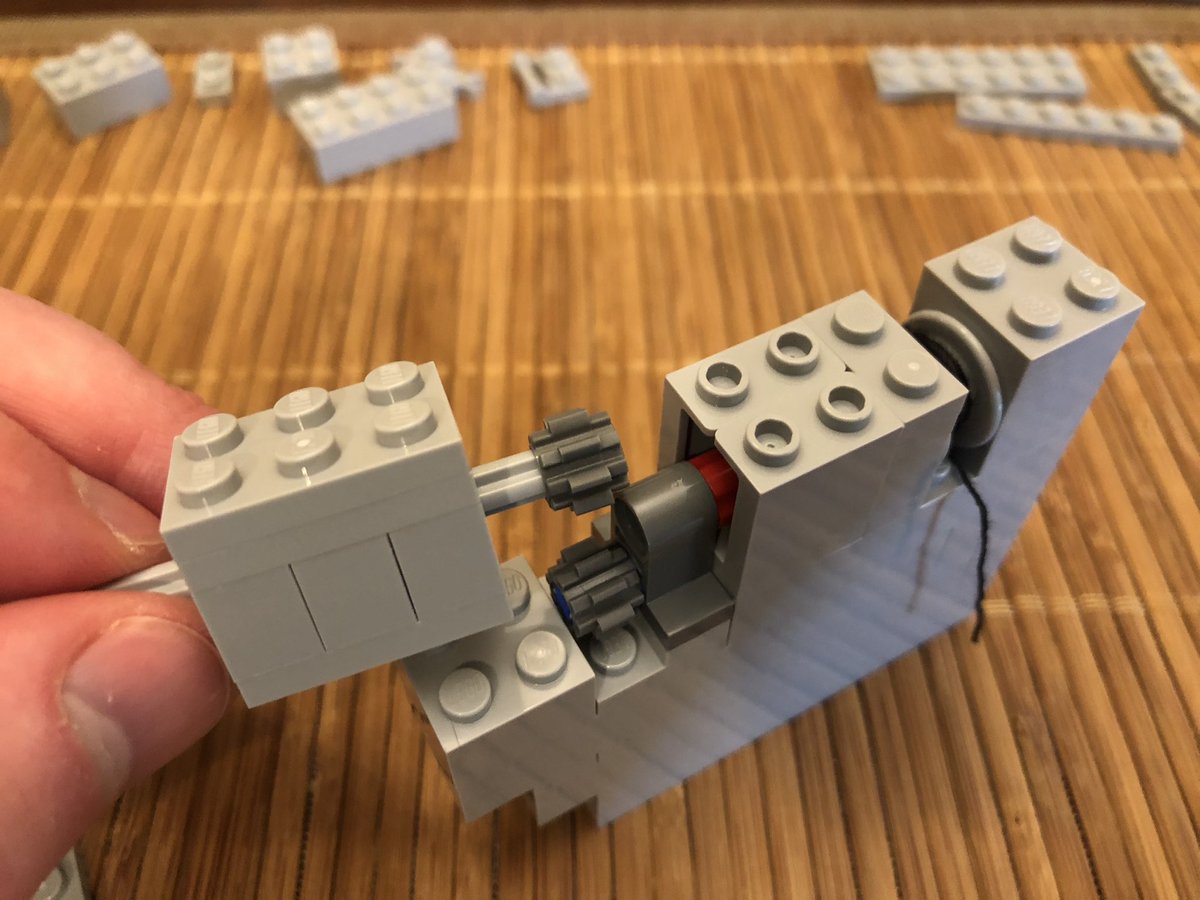
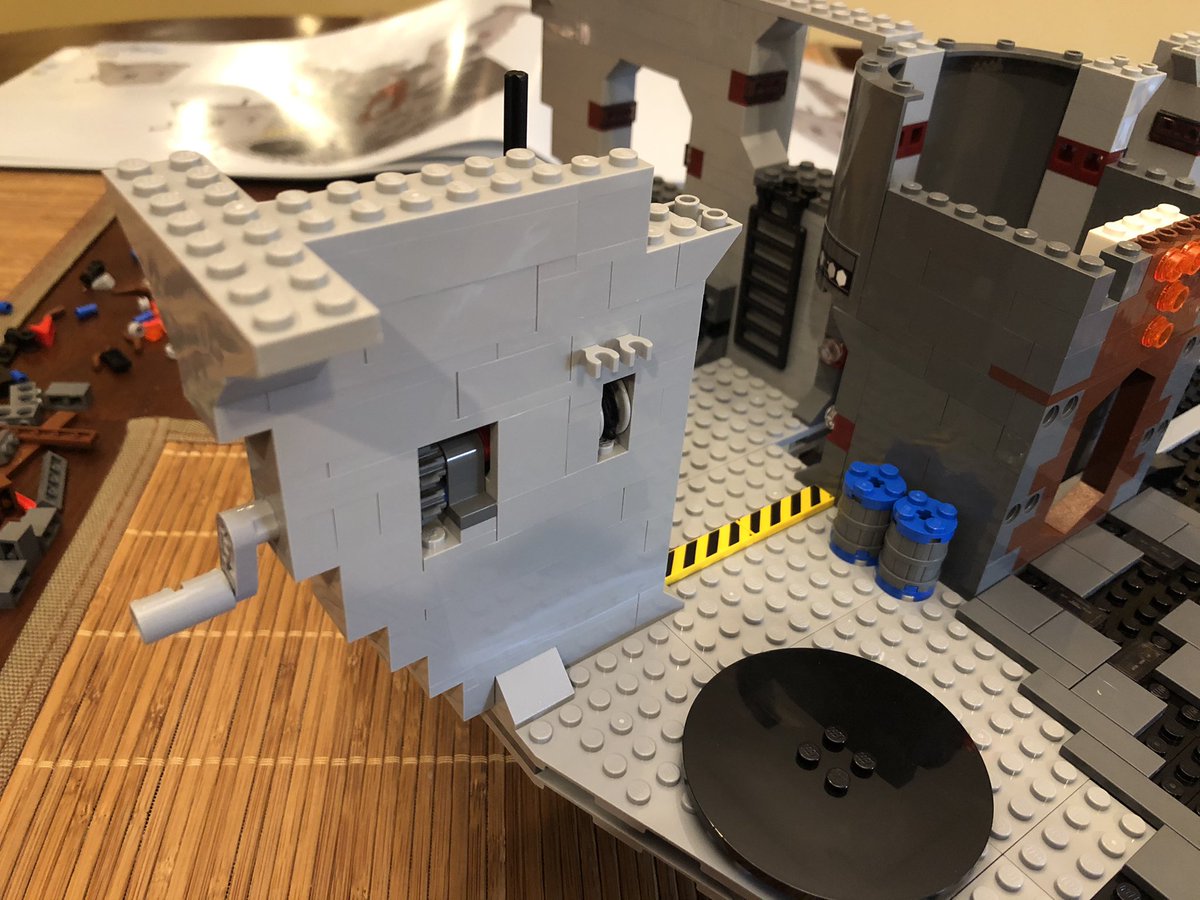
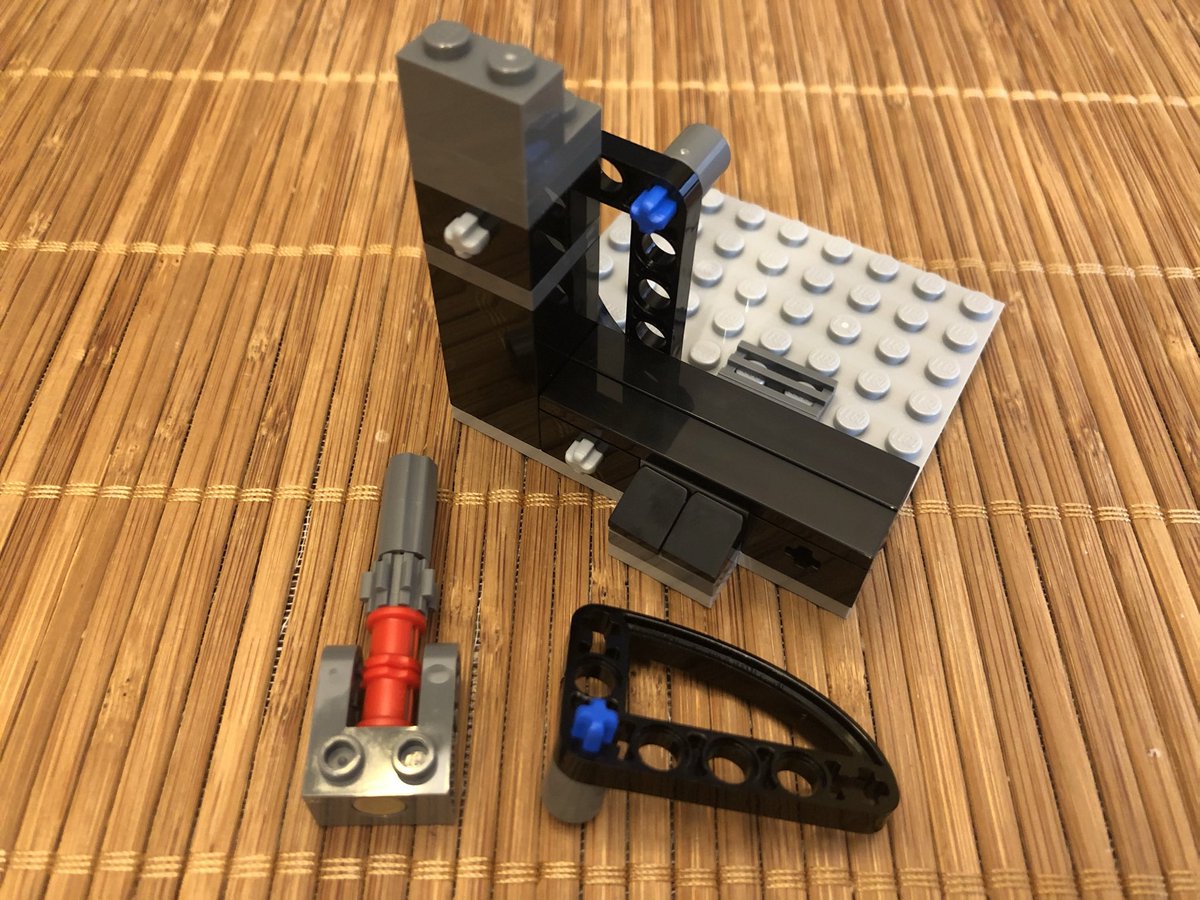
A really long shaft goes in this device here, then all these pieces are going to make the wall next to it. The first interesting part is this pulley with a crankshaft. #LEGO 

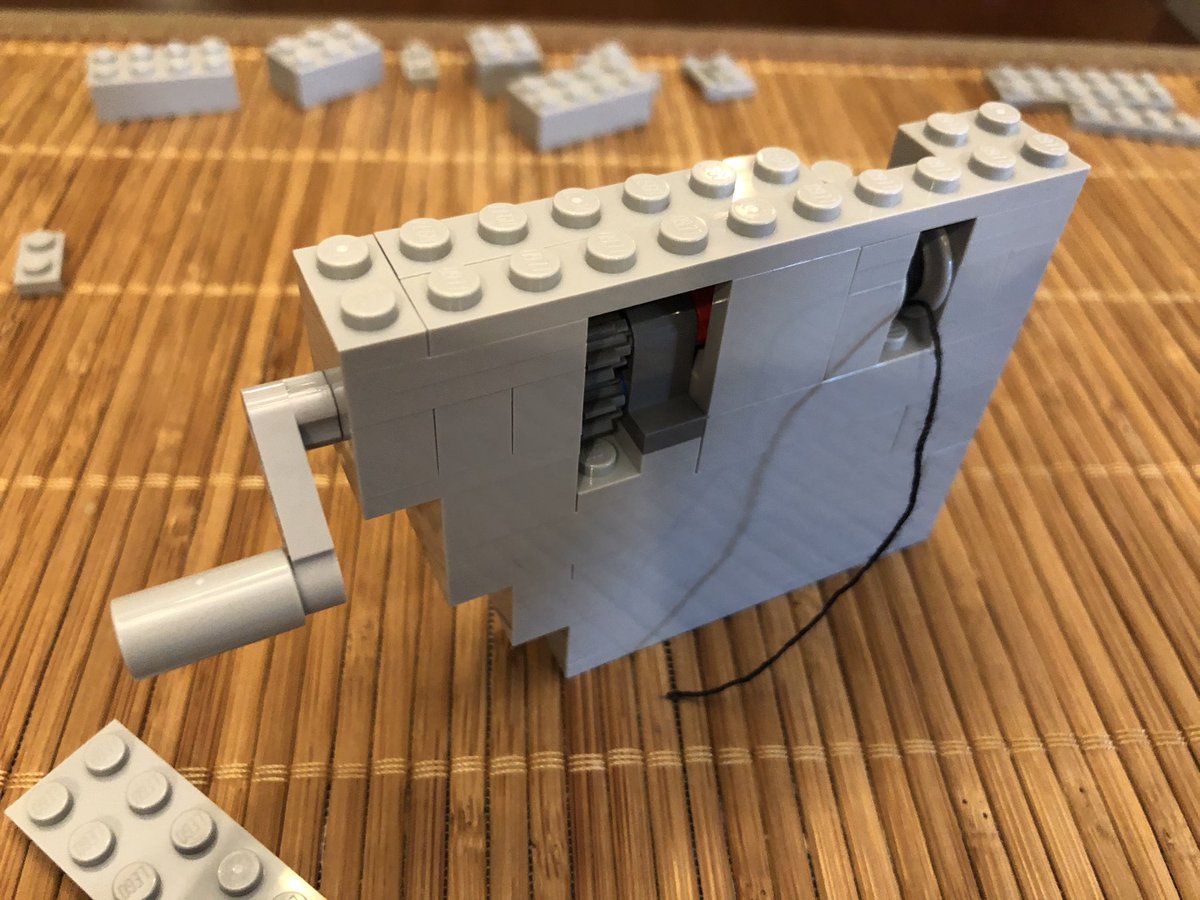
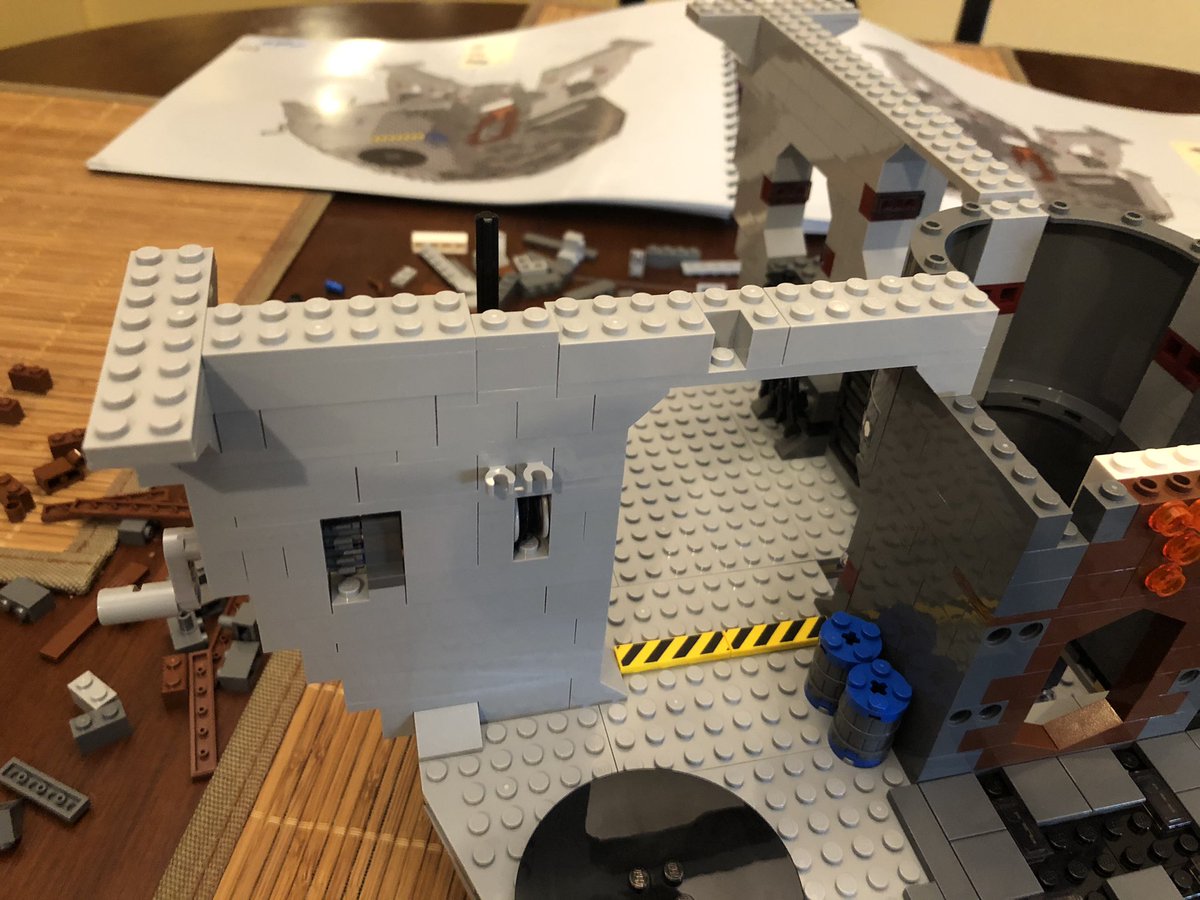
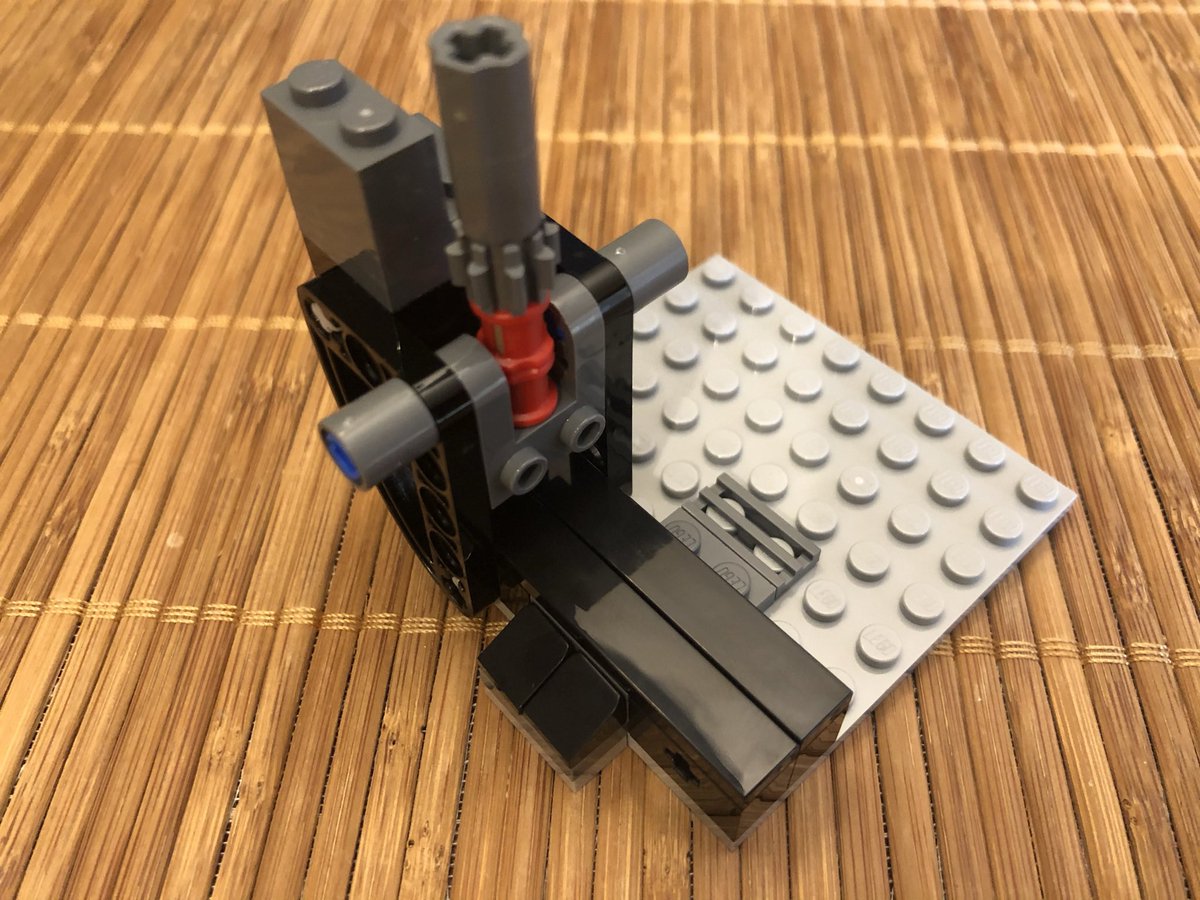
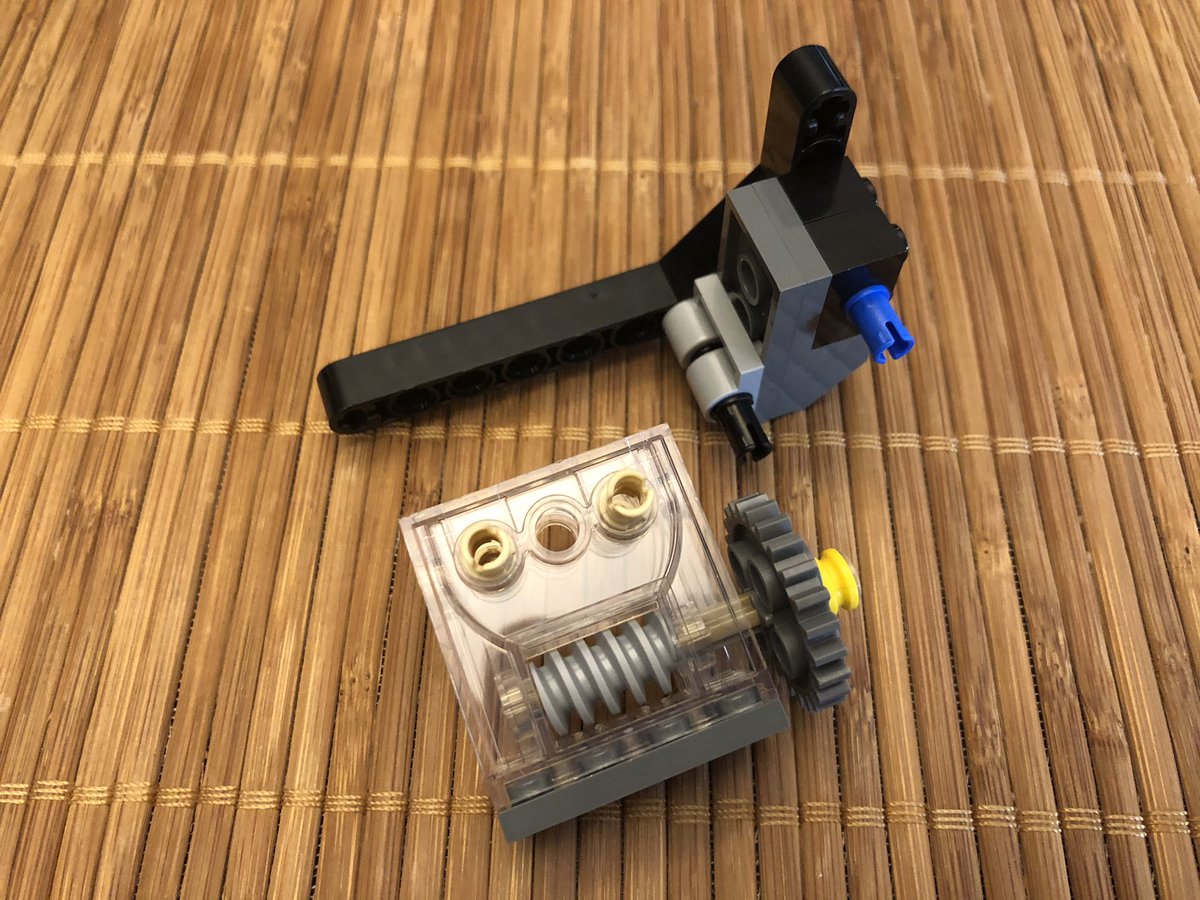
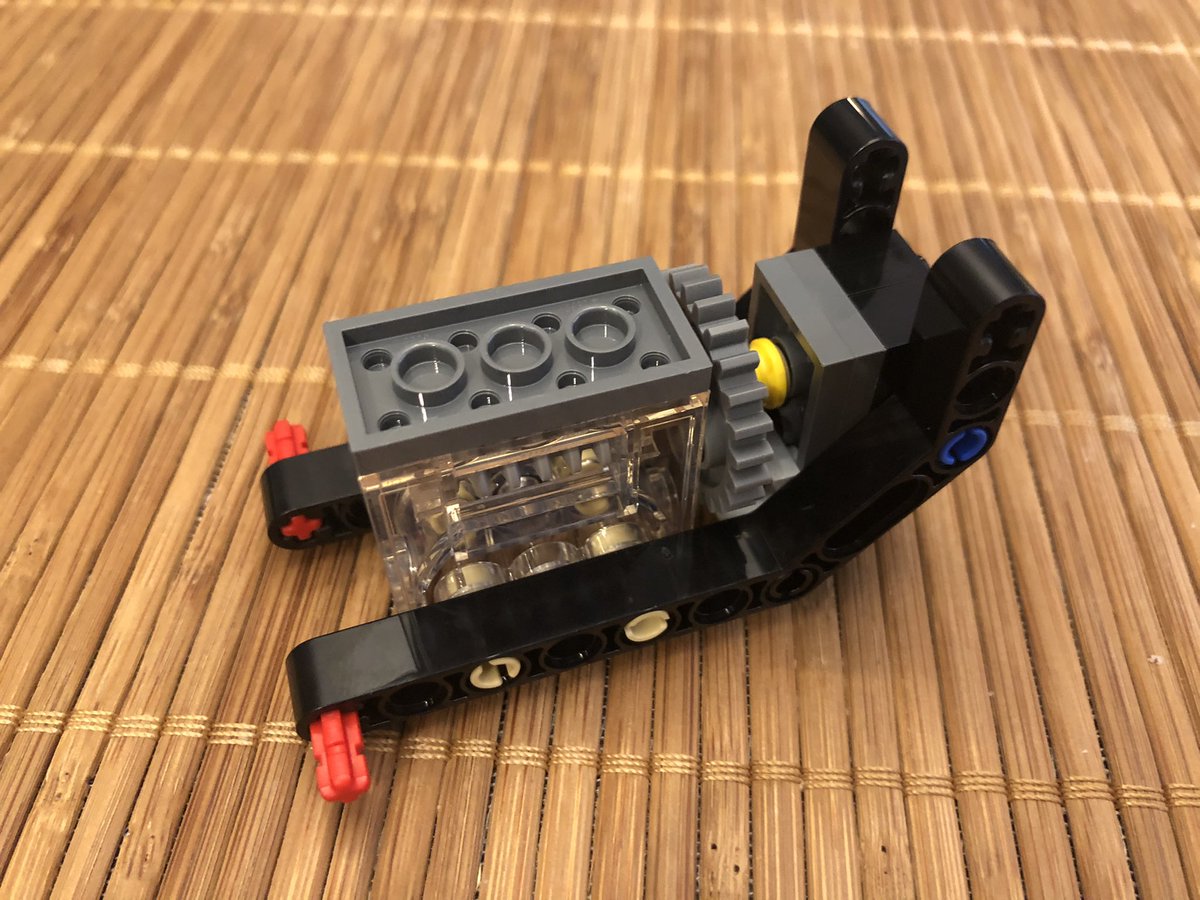
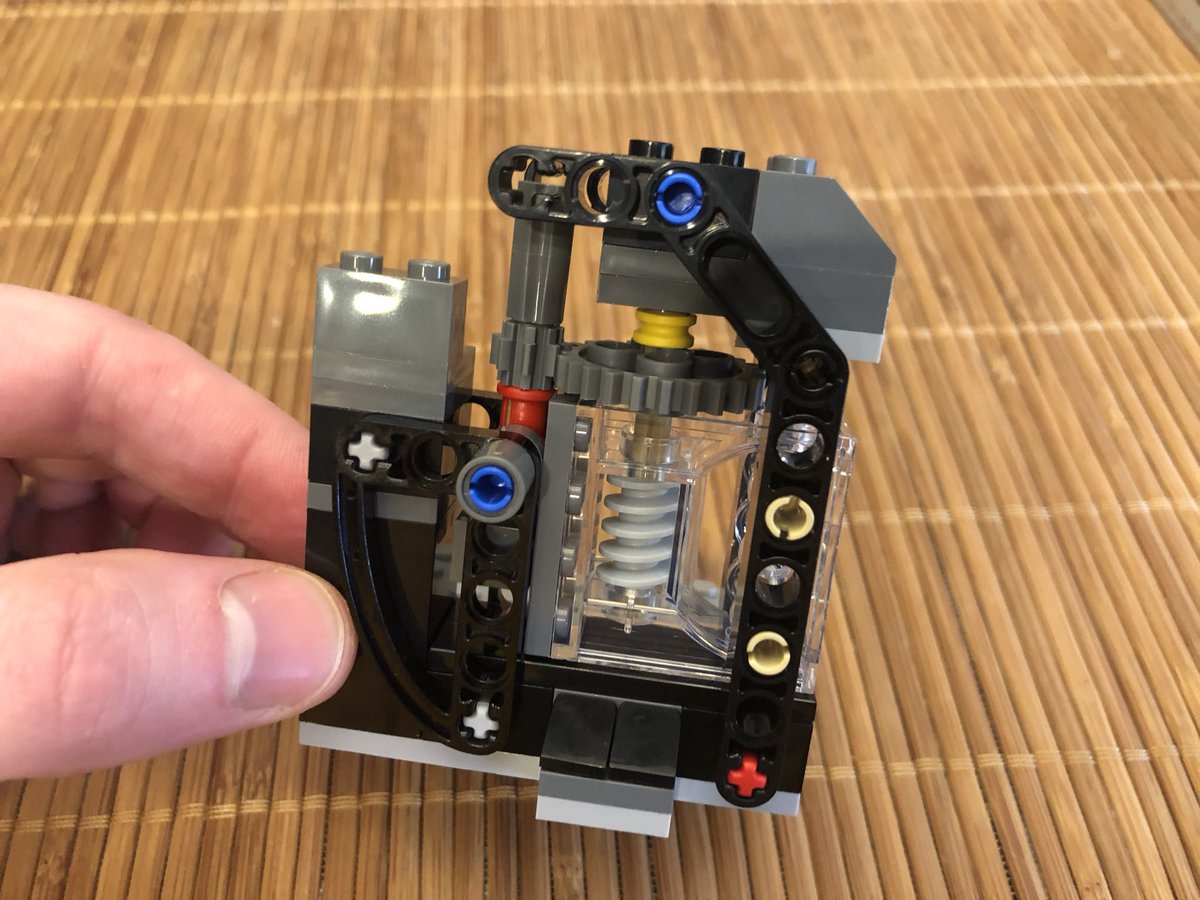
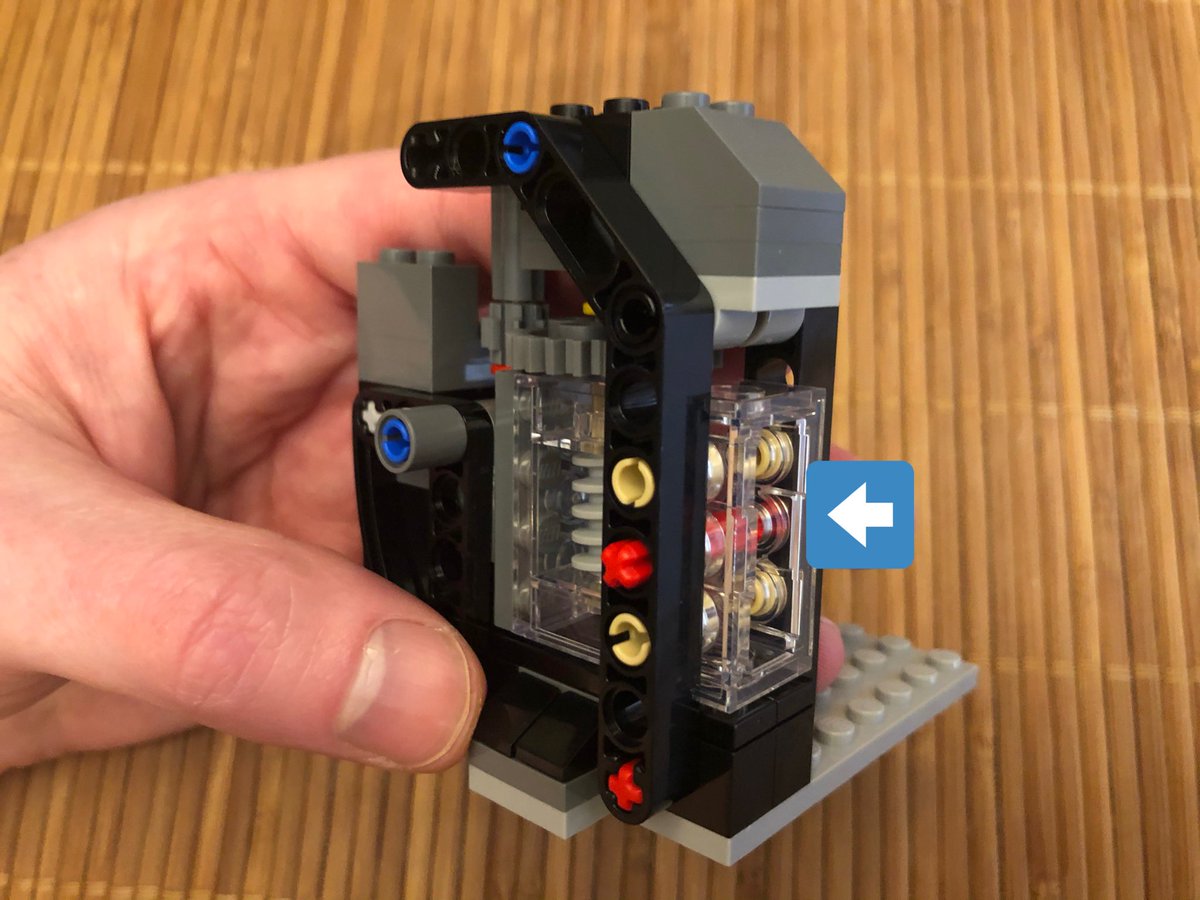
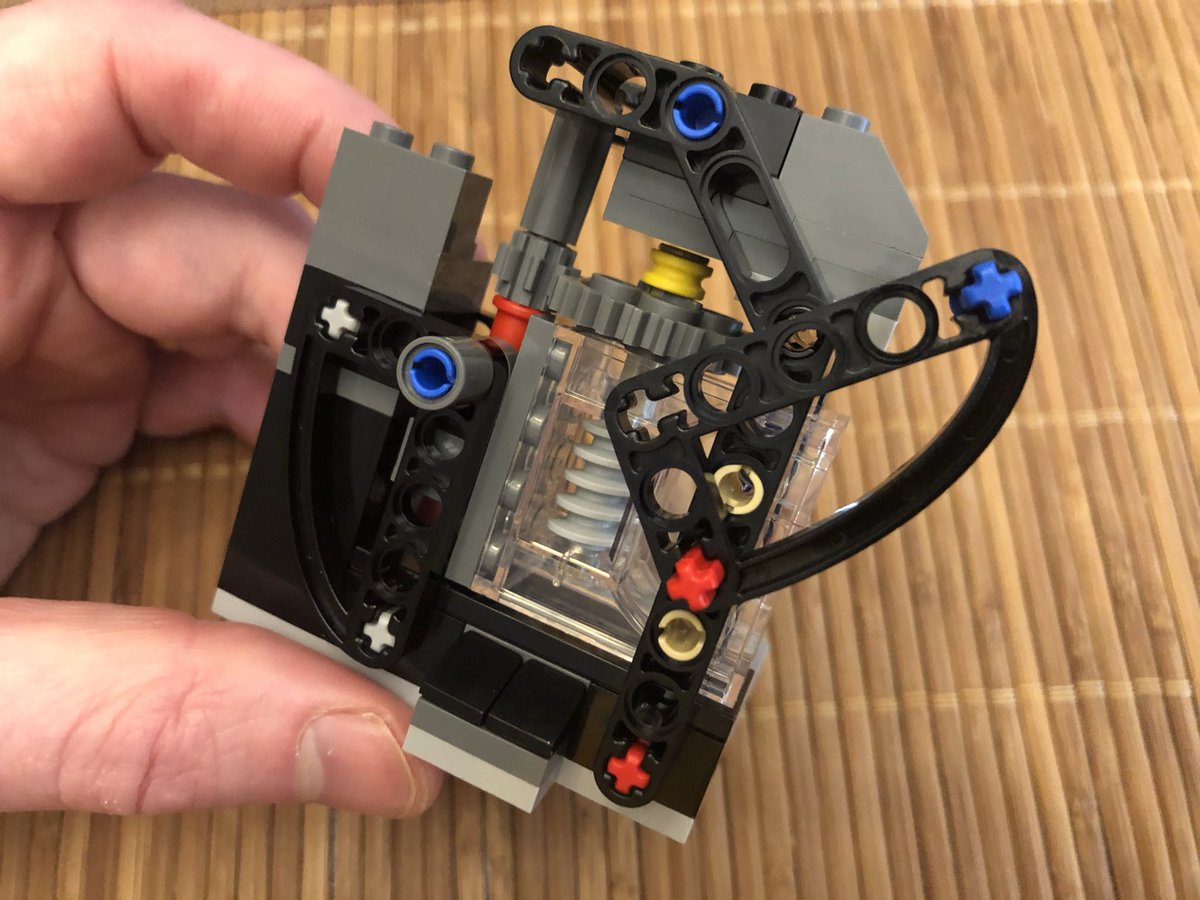
There’s a little gear exchange here, and a handle goes on the outside. It’s a little difficult to turn now, with the two gears it requires high torque and there nothing anchoring it yet. A few more layers go on top. #LEGO 

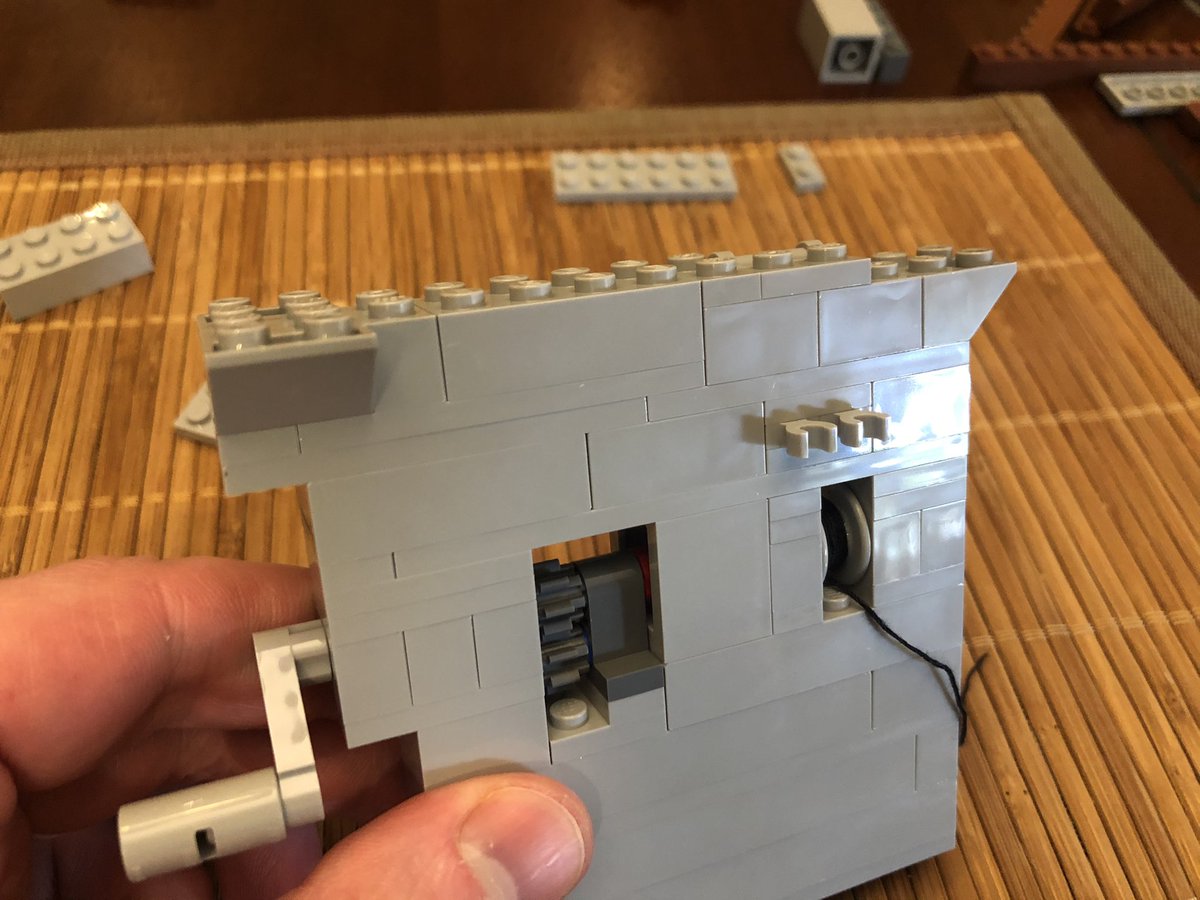
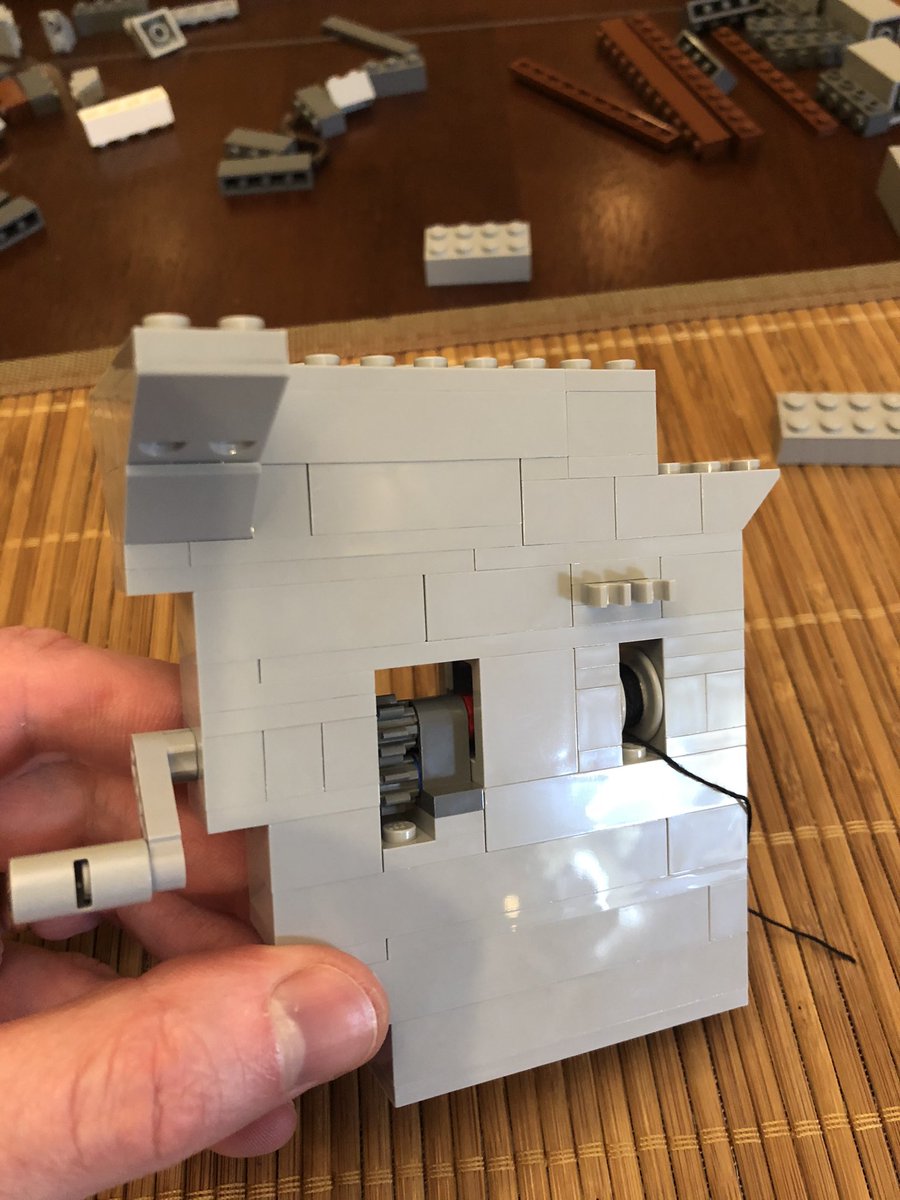
One more layer, then it’s done and goes on the Death Star. Secure it to the center, and now turning the handle is possible - but can still torque the whole section off if you’re not careful! #LEGO 

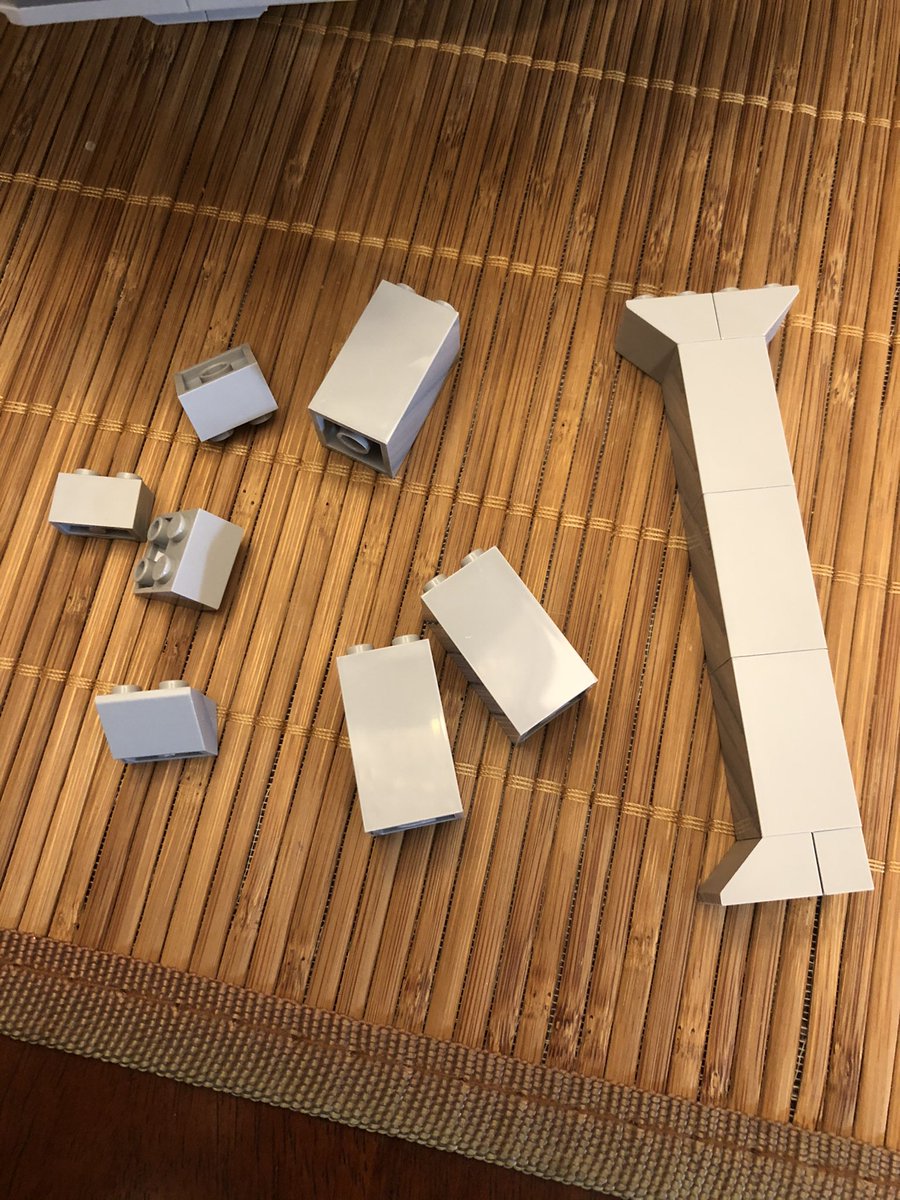
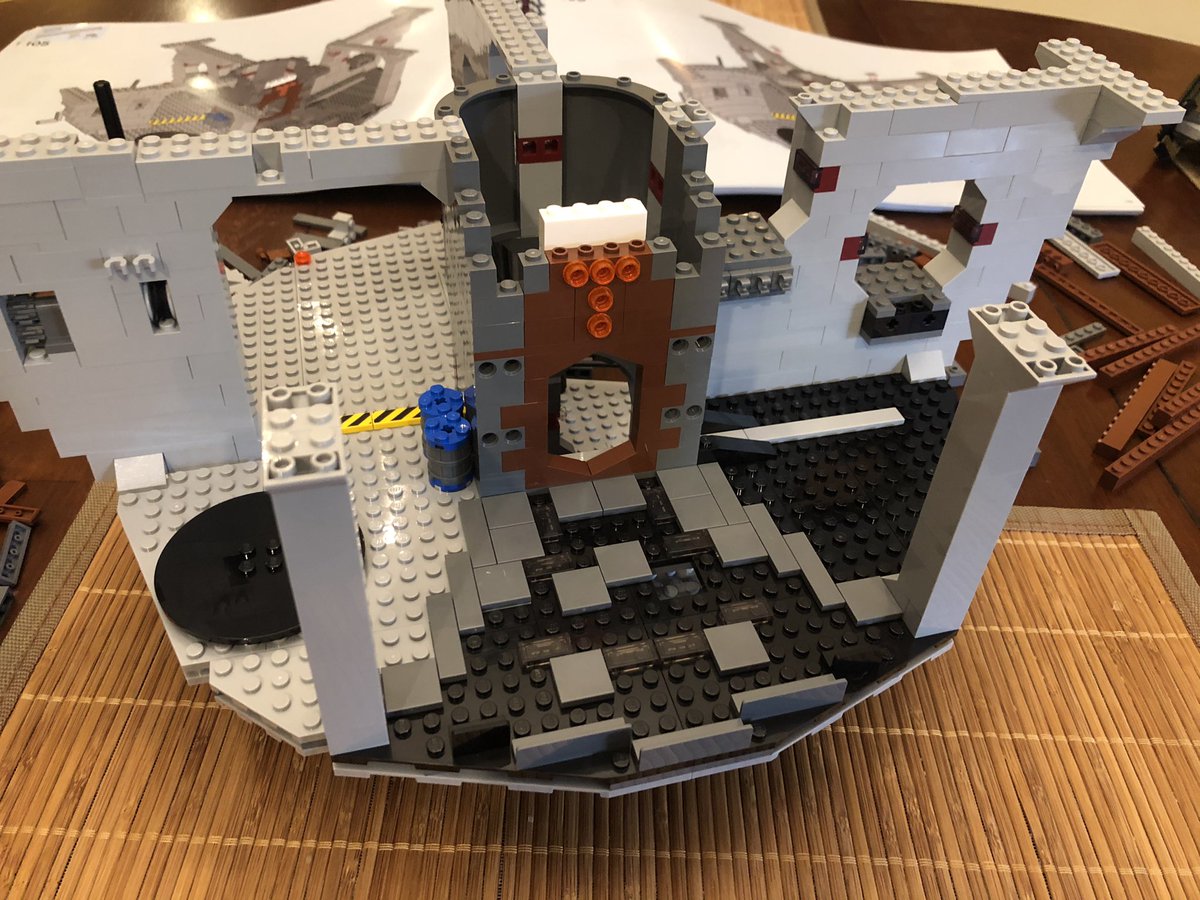
Two columns go opposite the decorative doorway. Secure them to the existing spokes, and put another layer across the top for stability. #LEGO 

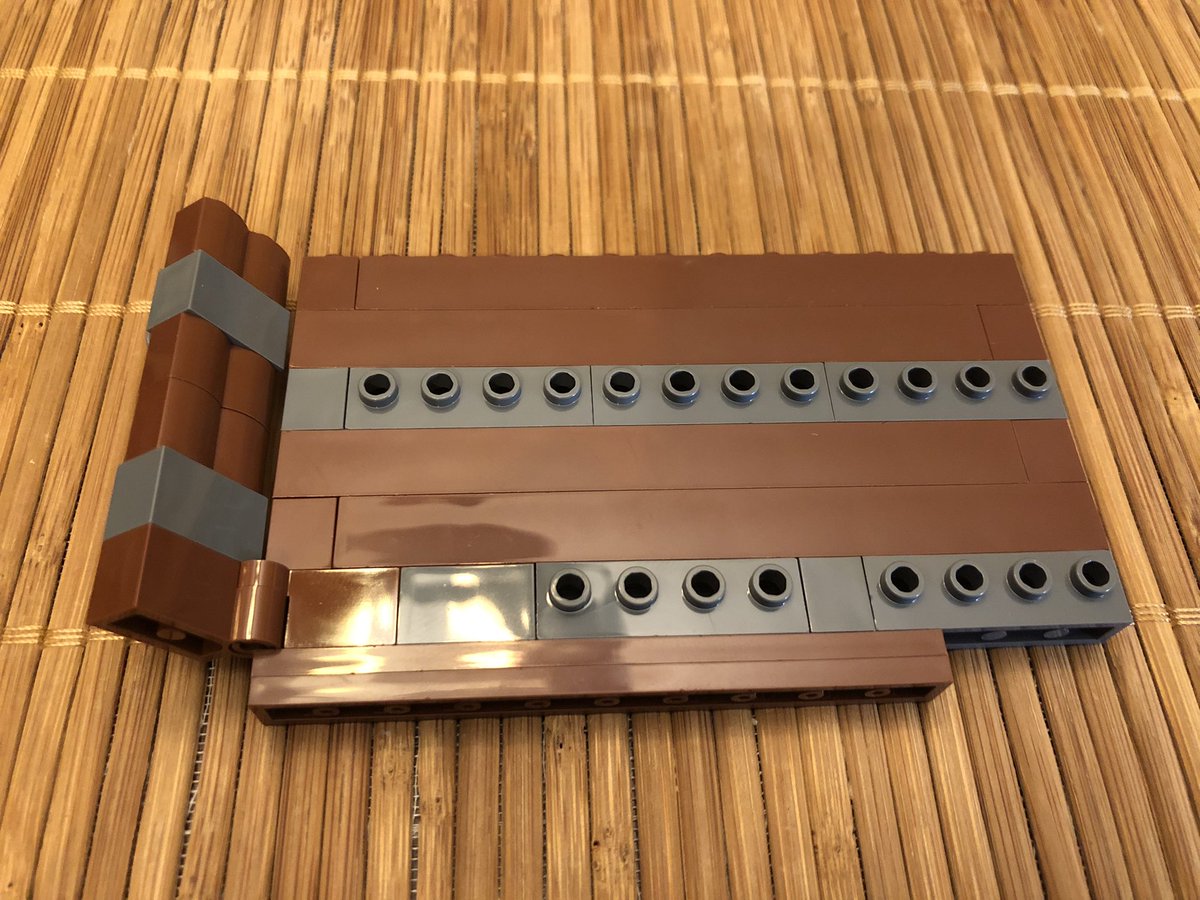
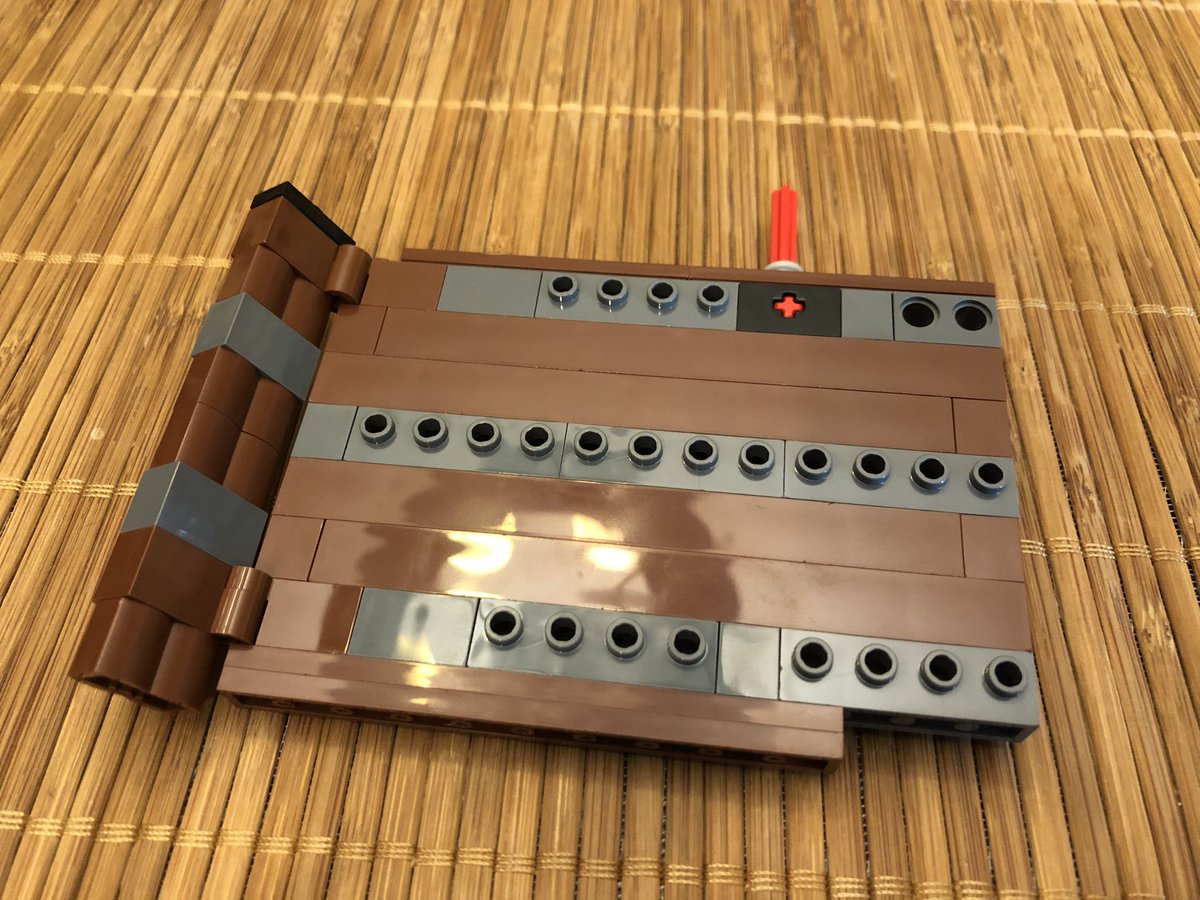
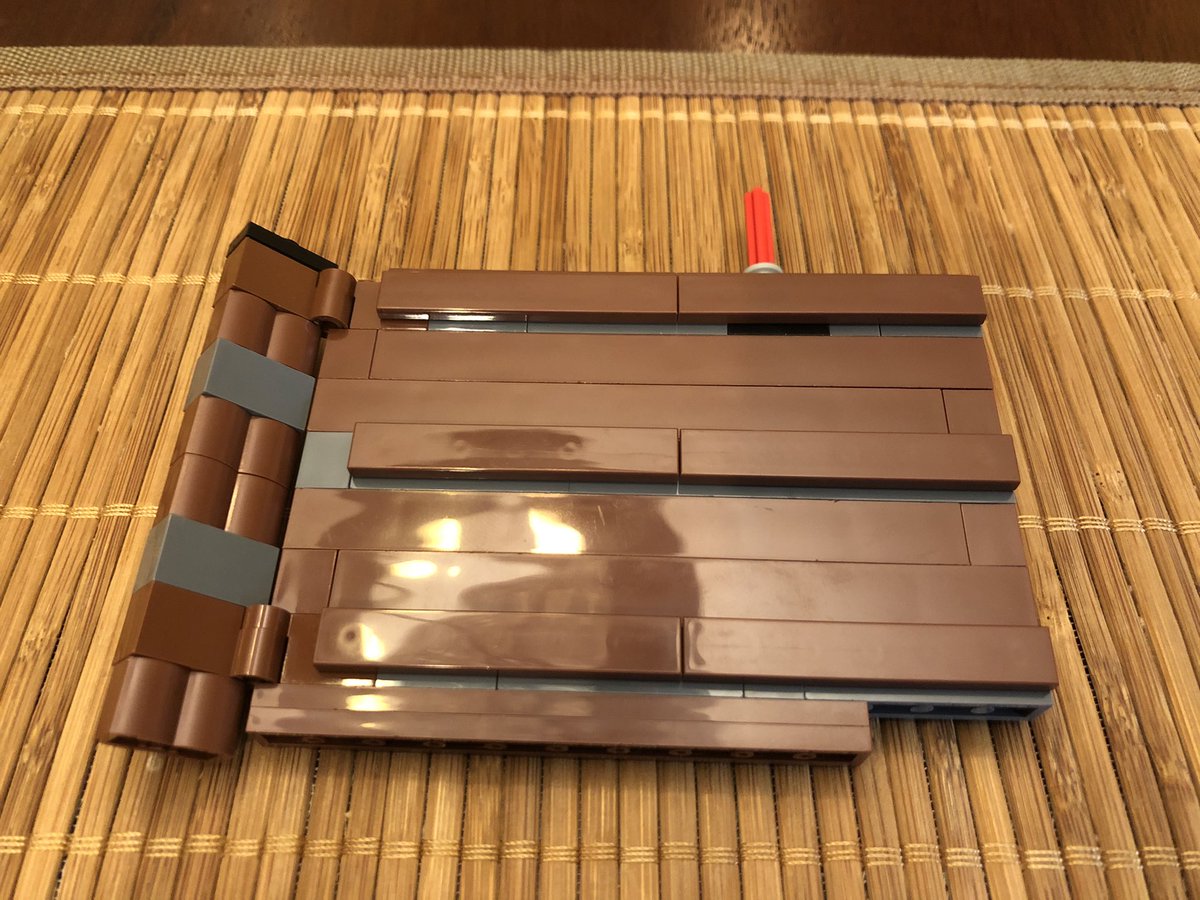
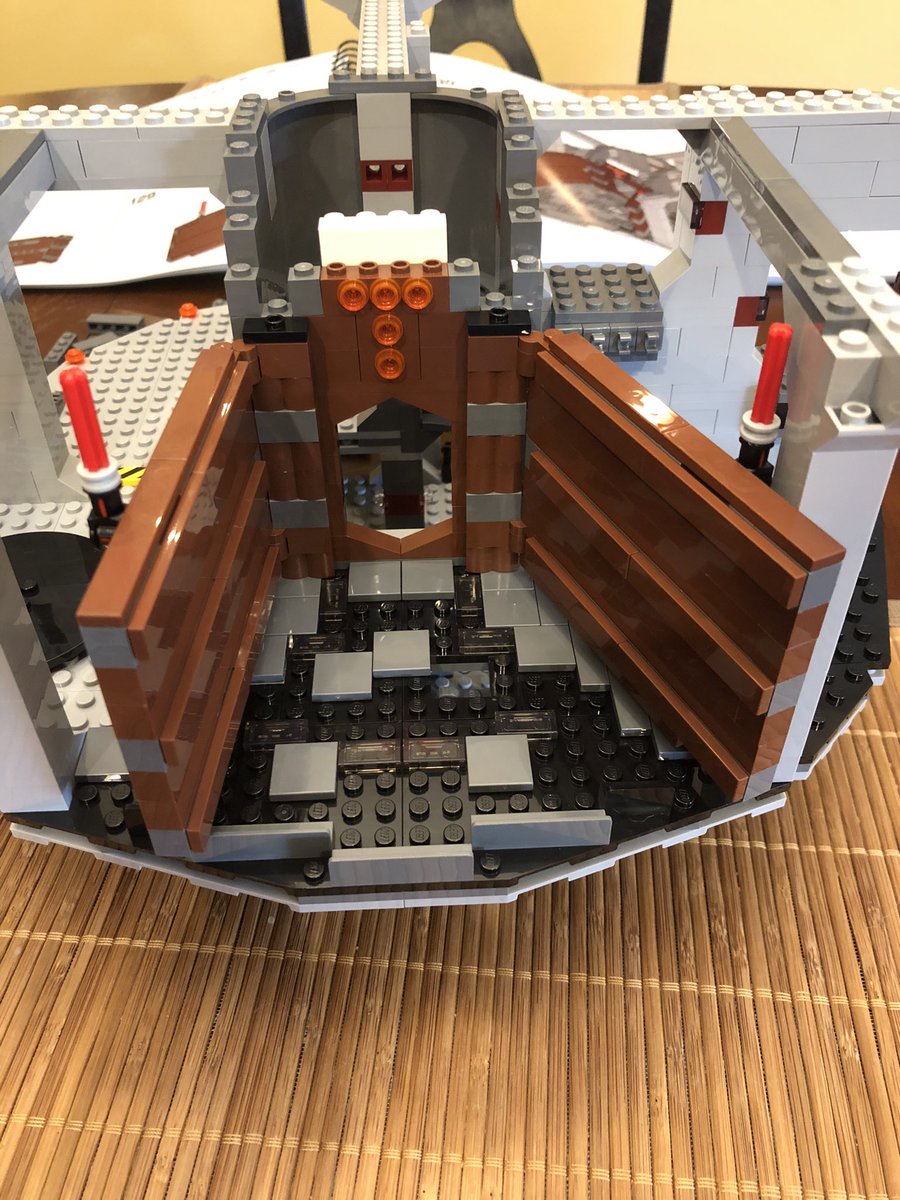
Some flat plates go on the pegs, giving the wall a polished look. Build another wall, hinged the other way, and attach them to either side of the door - figure out what it is yet? Then a few more layers go above the door. #LEGO 

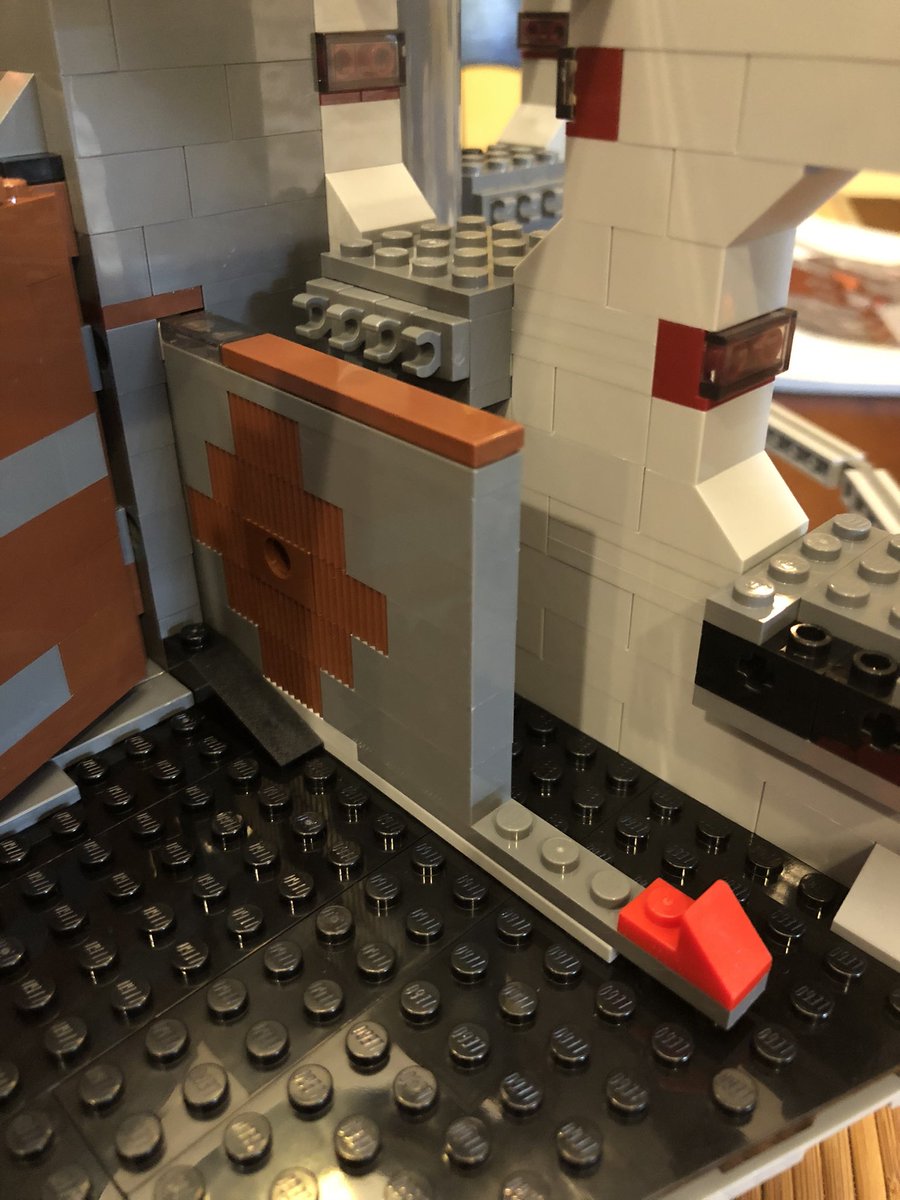
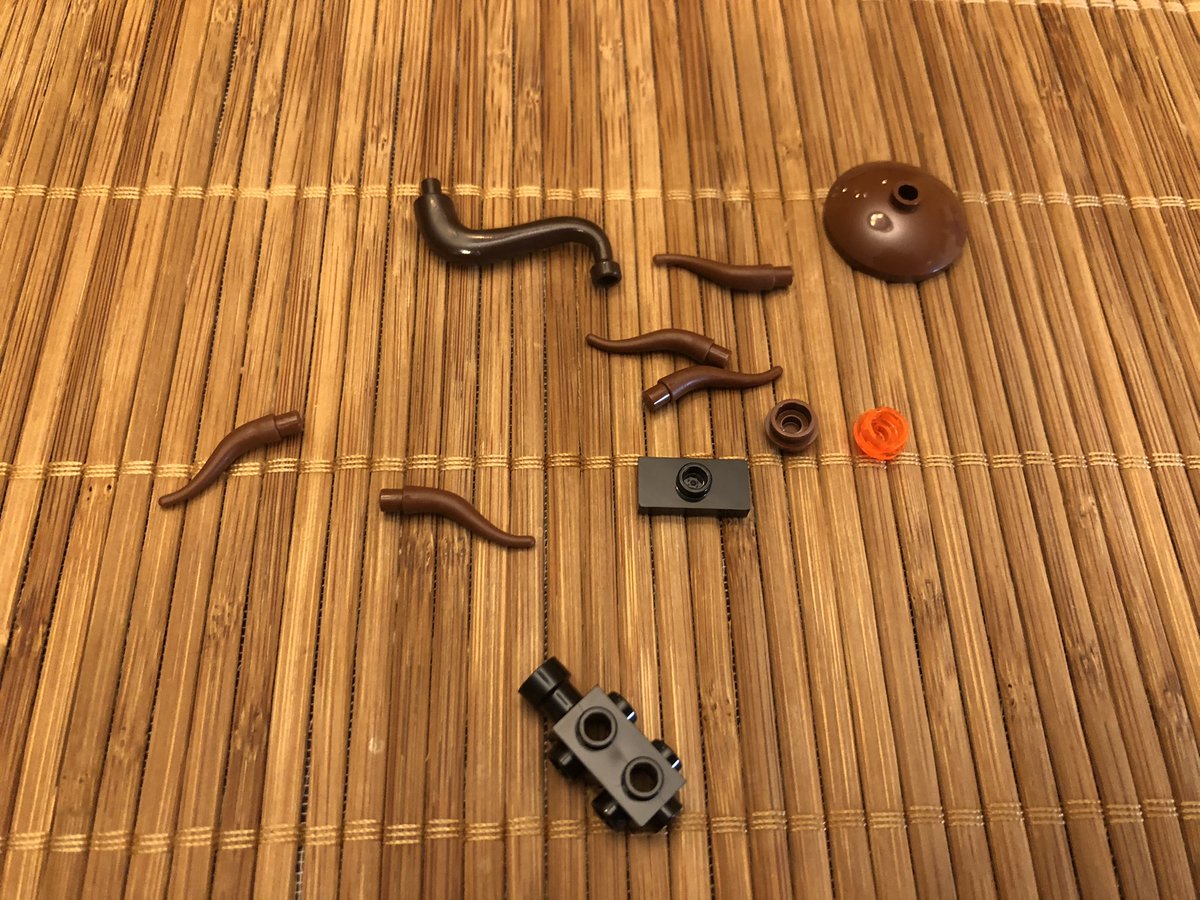
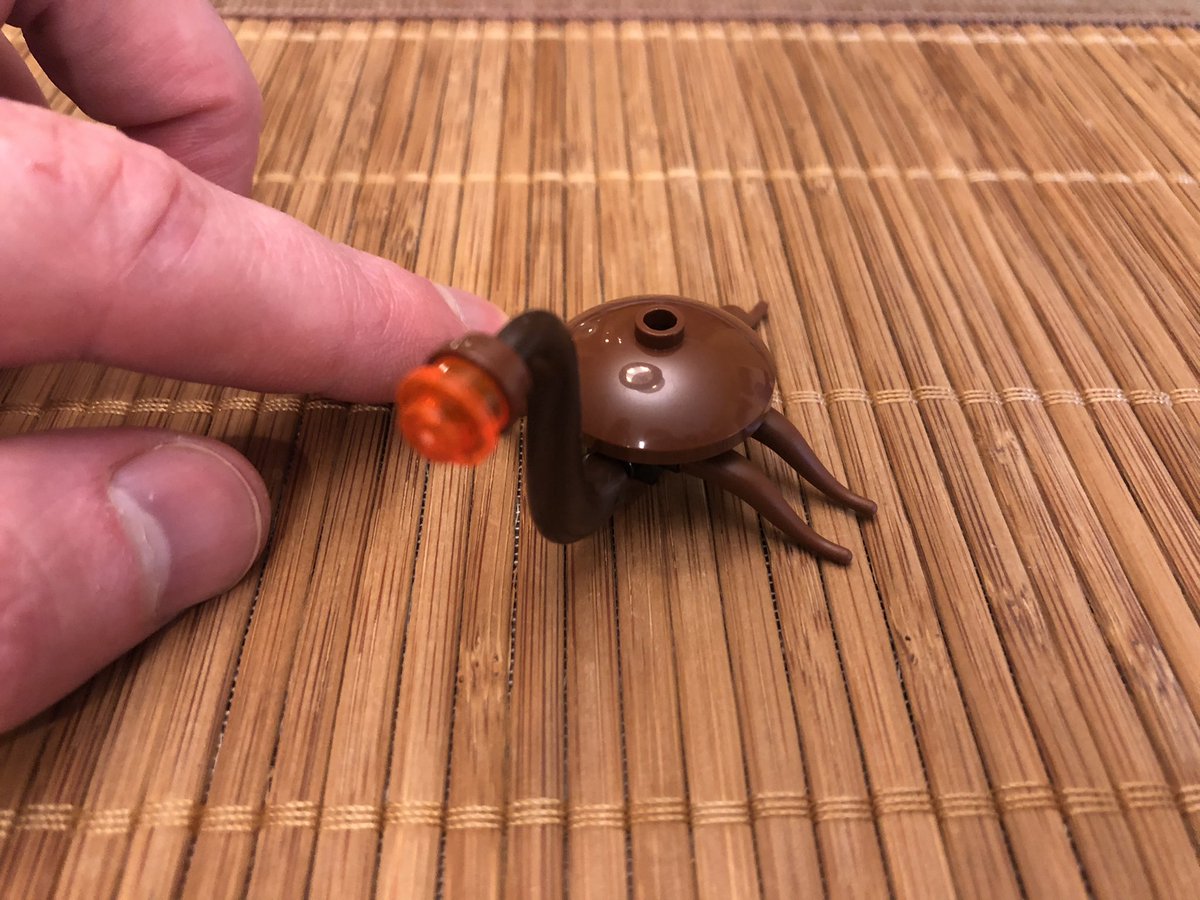
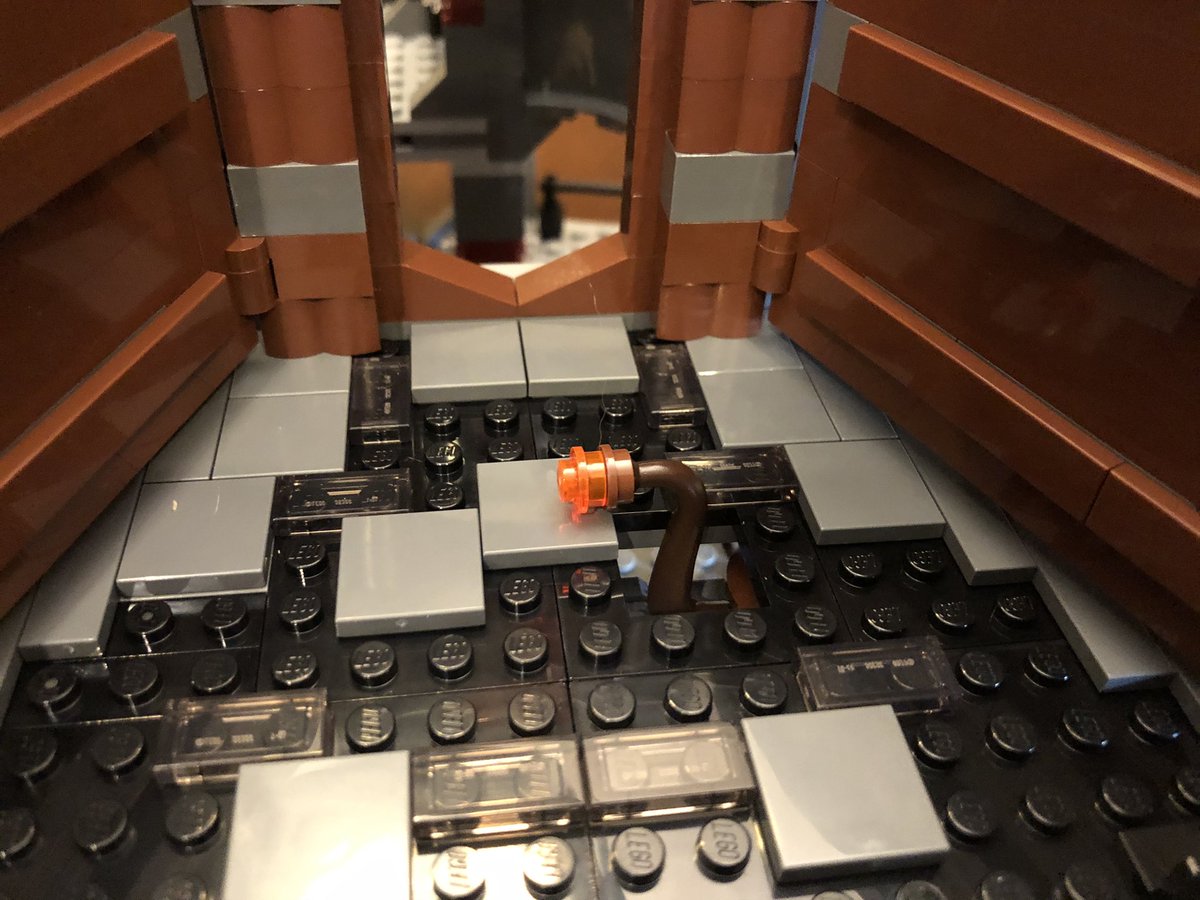
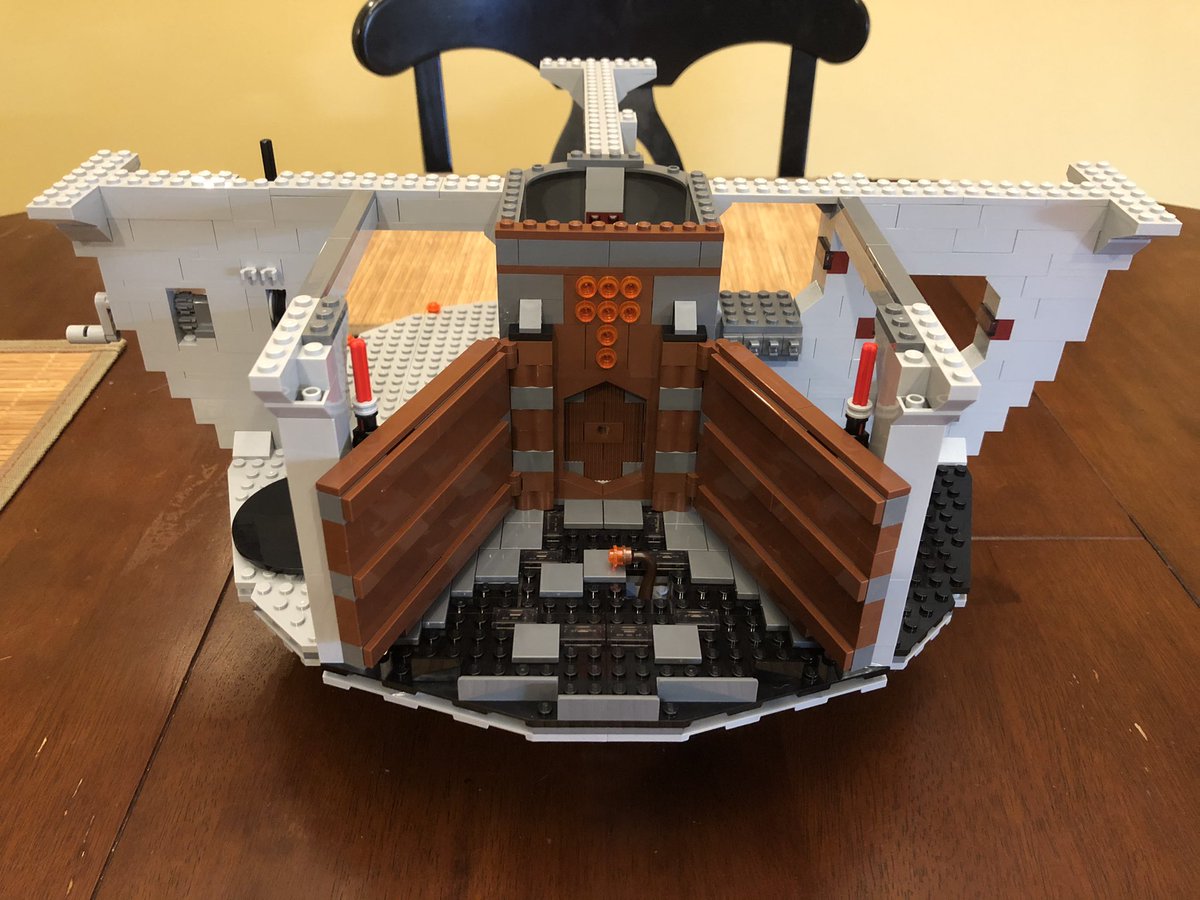
The last bits of this section create this weird little monster. If you didn’t figure it out, we just built the trash compactor, and we actually have the Dianoga! Check out it’s origin story sometime! https://twitter.com/nnedi/status/1124691990900244480 #LEGO 

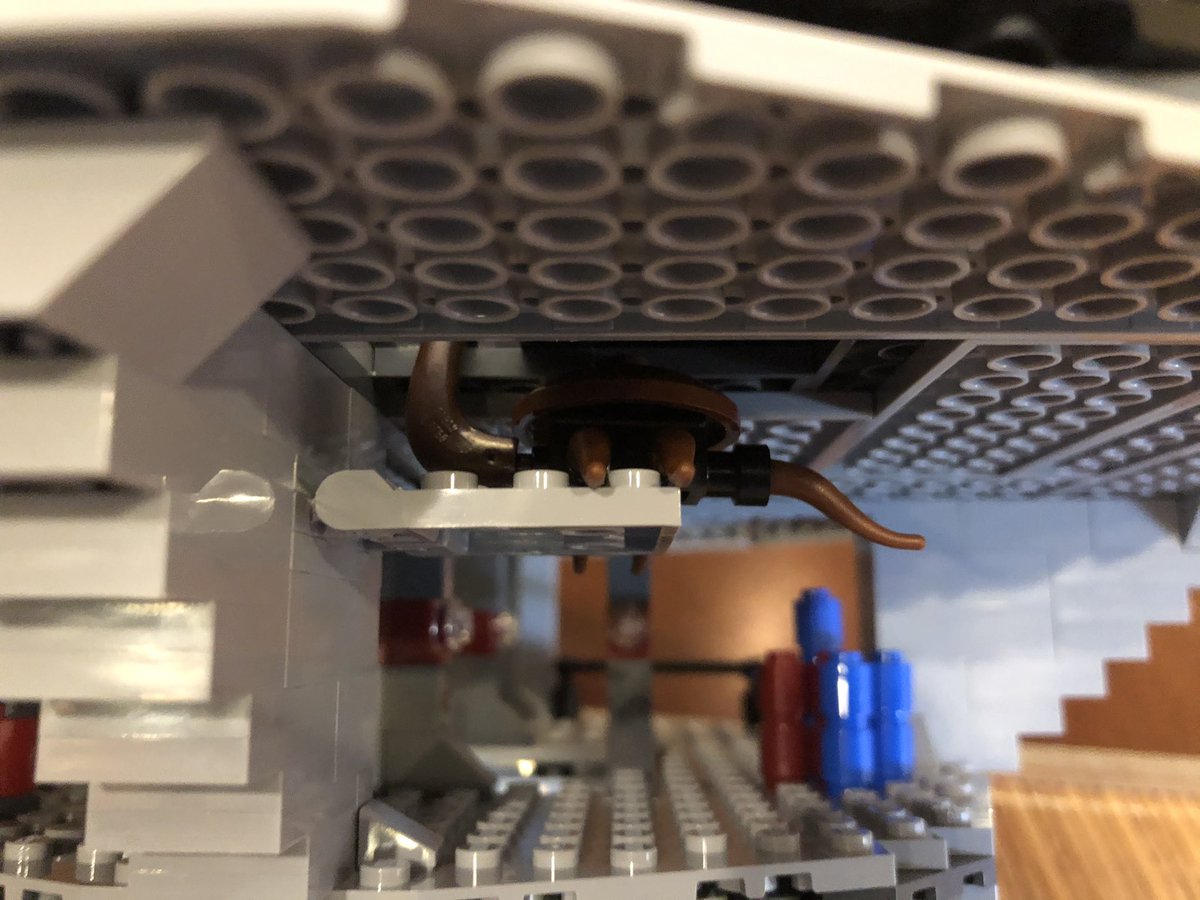
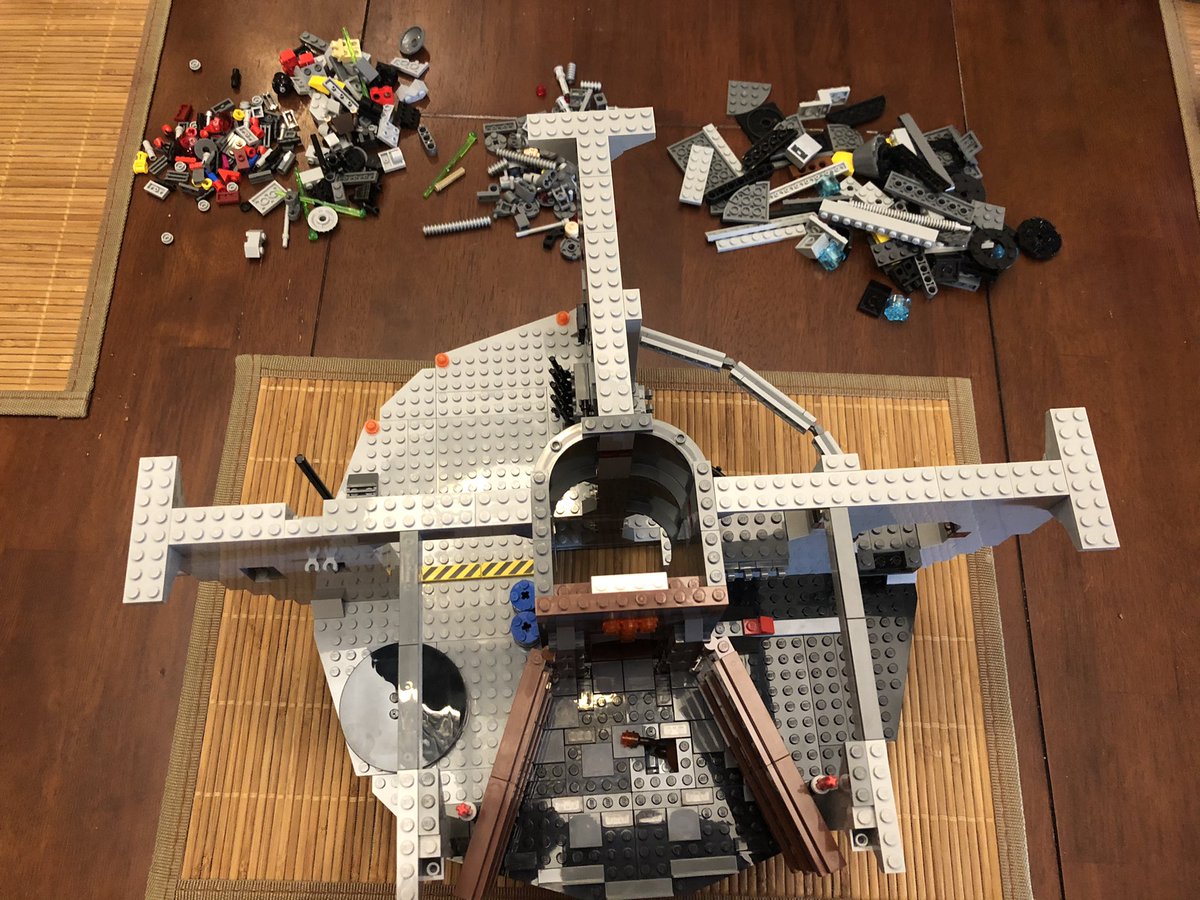
It’s tricky to fit it through the hole in the floor, but it lets the monster pop up and look around! Section 3 is fairly small but it took a few hours! Have I mentioned the Death Star is HUGE?Done for tonight, I’ll be working on it over the weekend, whee! #LEGO 

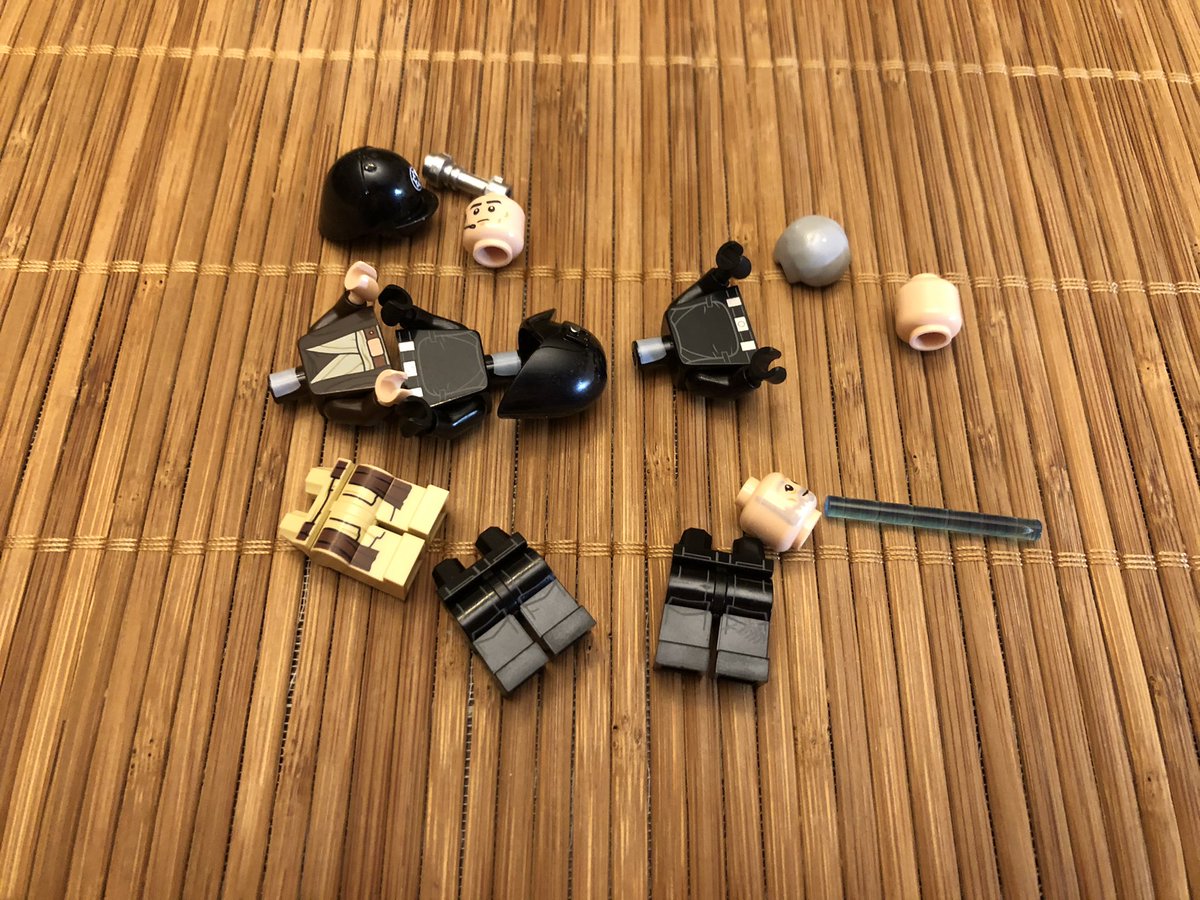
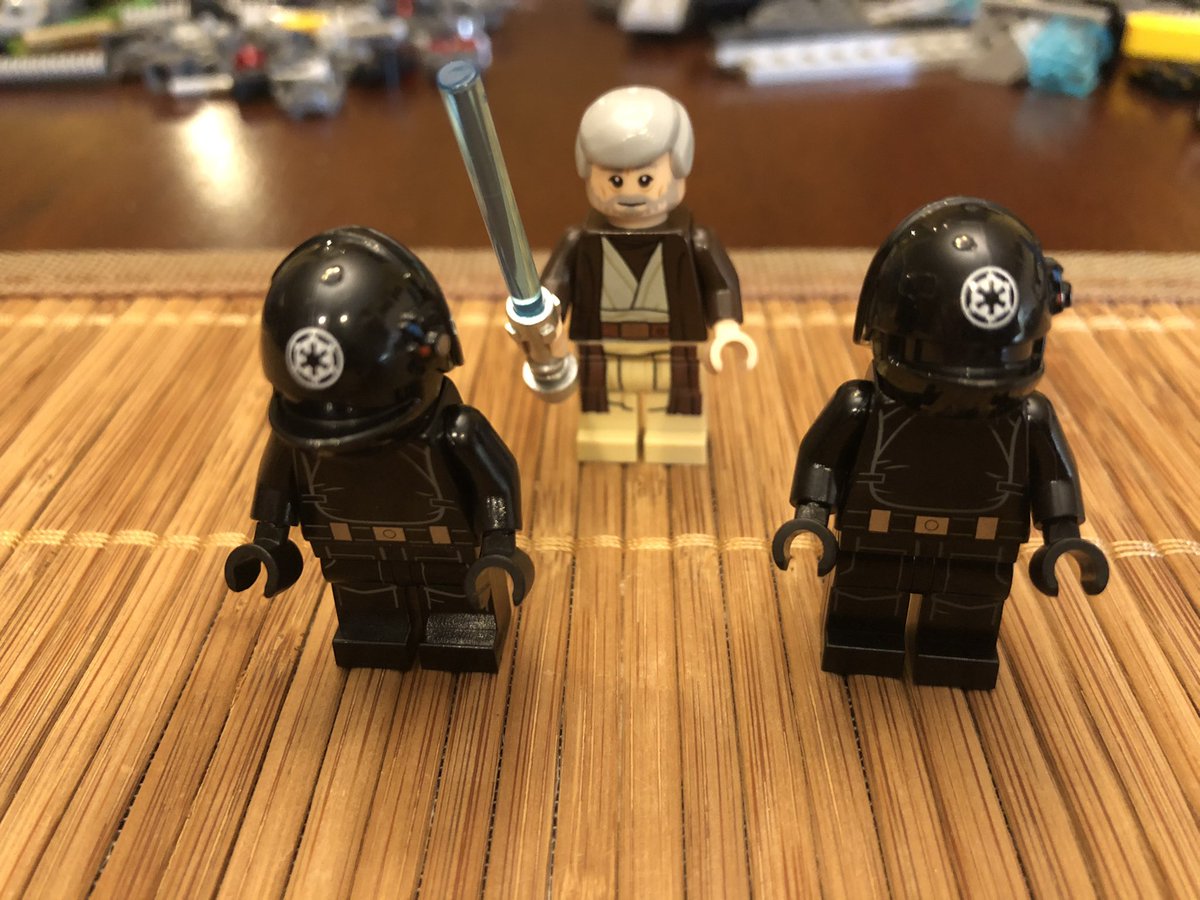
Section 4 finished the rooms on the 2nd floor. It’s one of the smallest by pieces. Our characters are Obi-Wan and 2 Death Star technicians with the the weird helmets. Seriously, what was up with those? #LEGO 

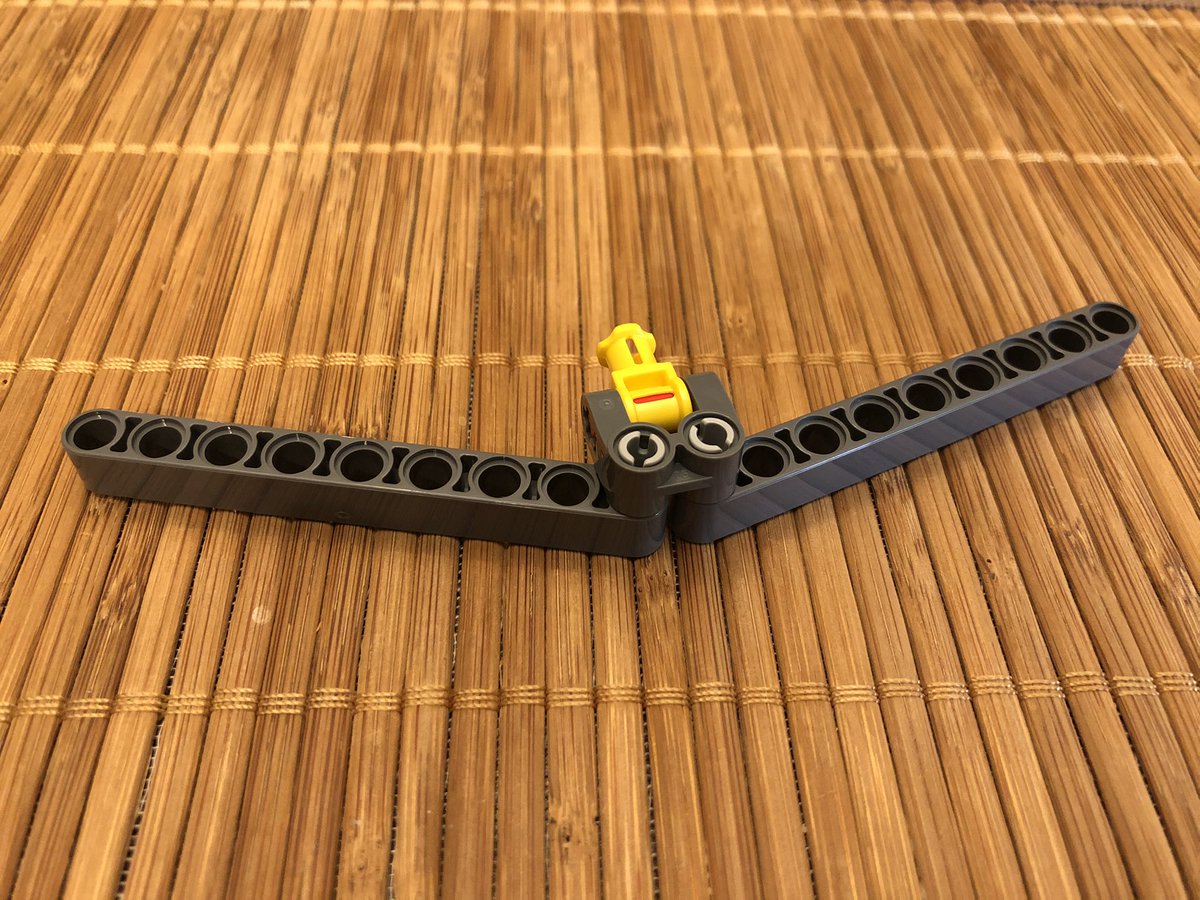
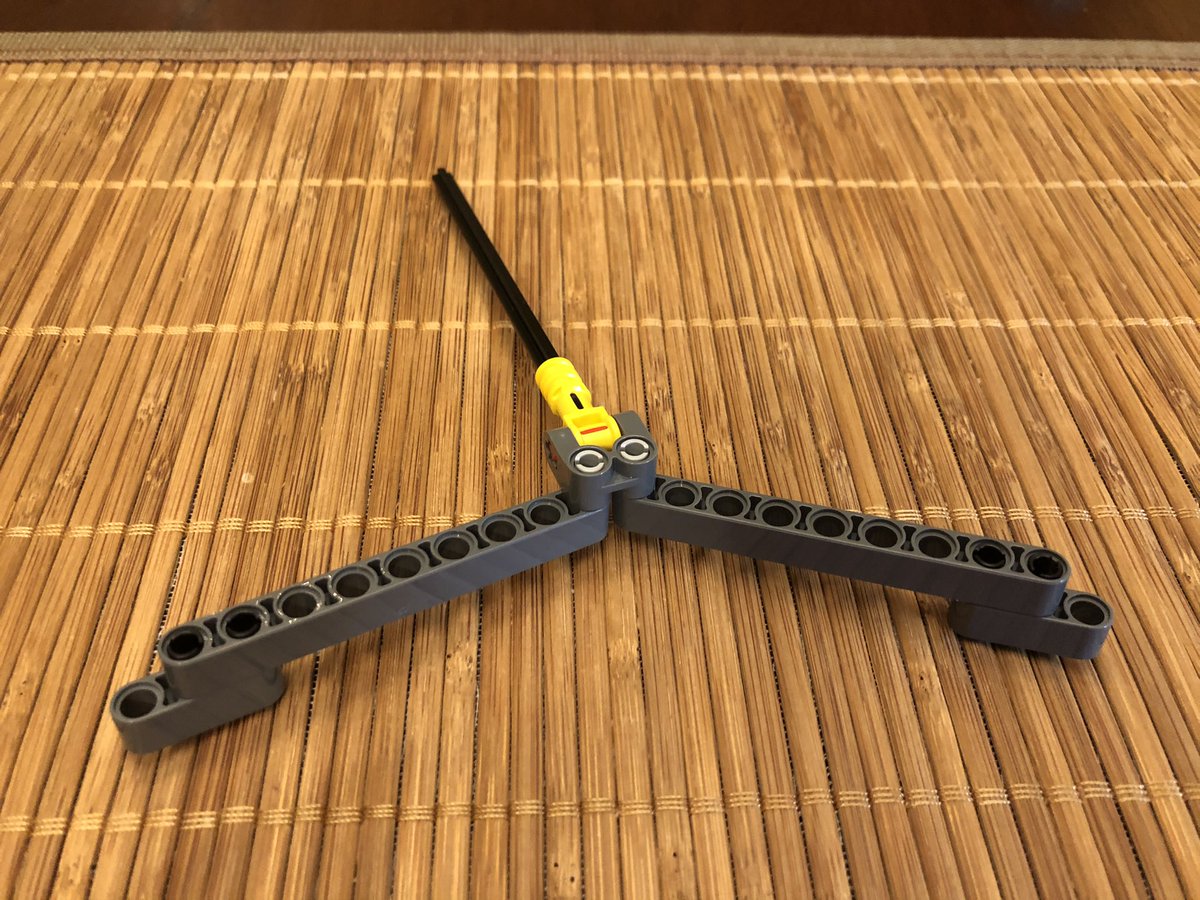
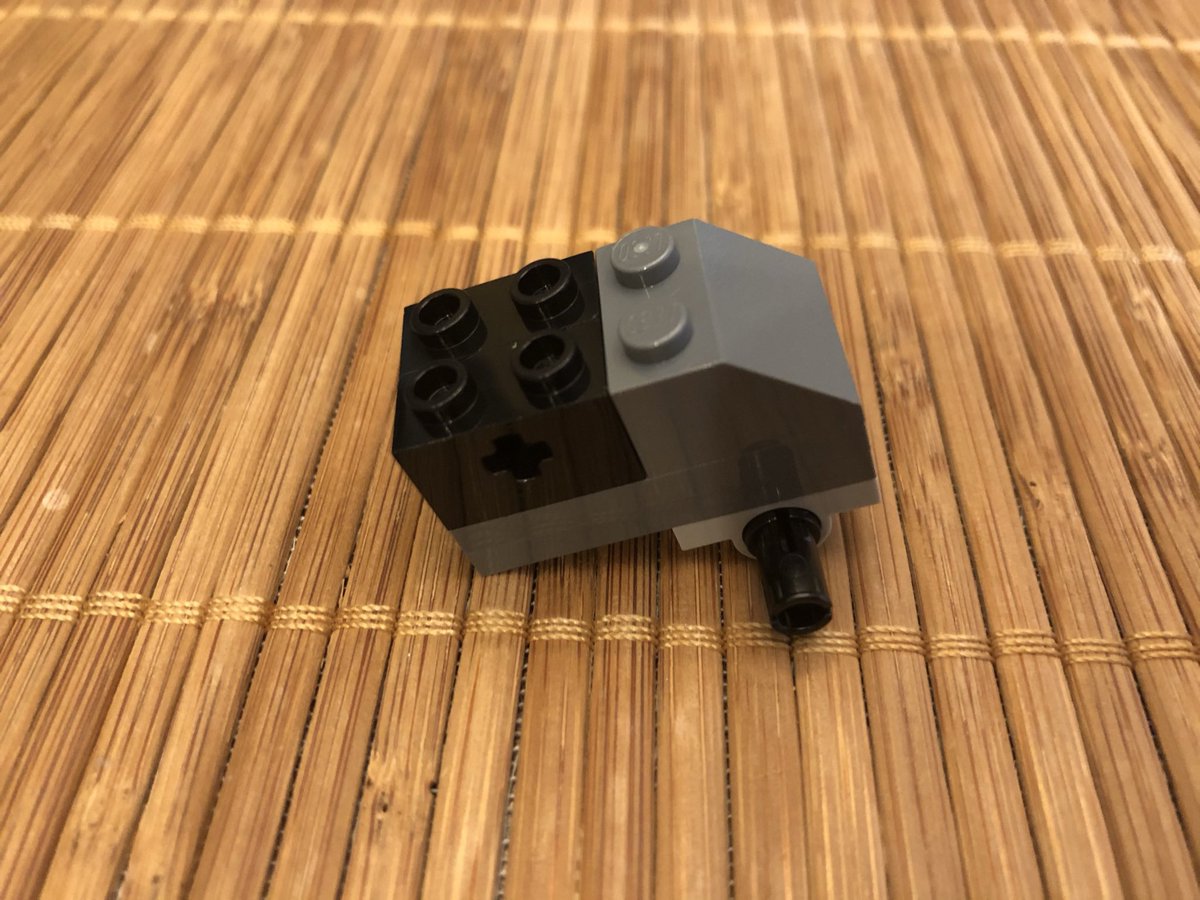
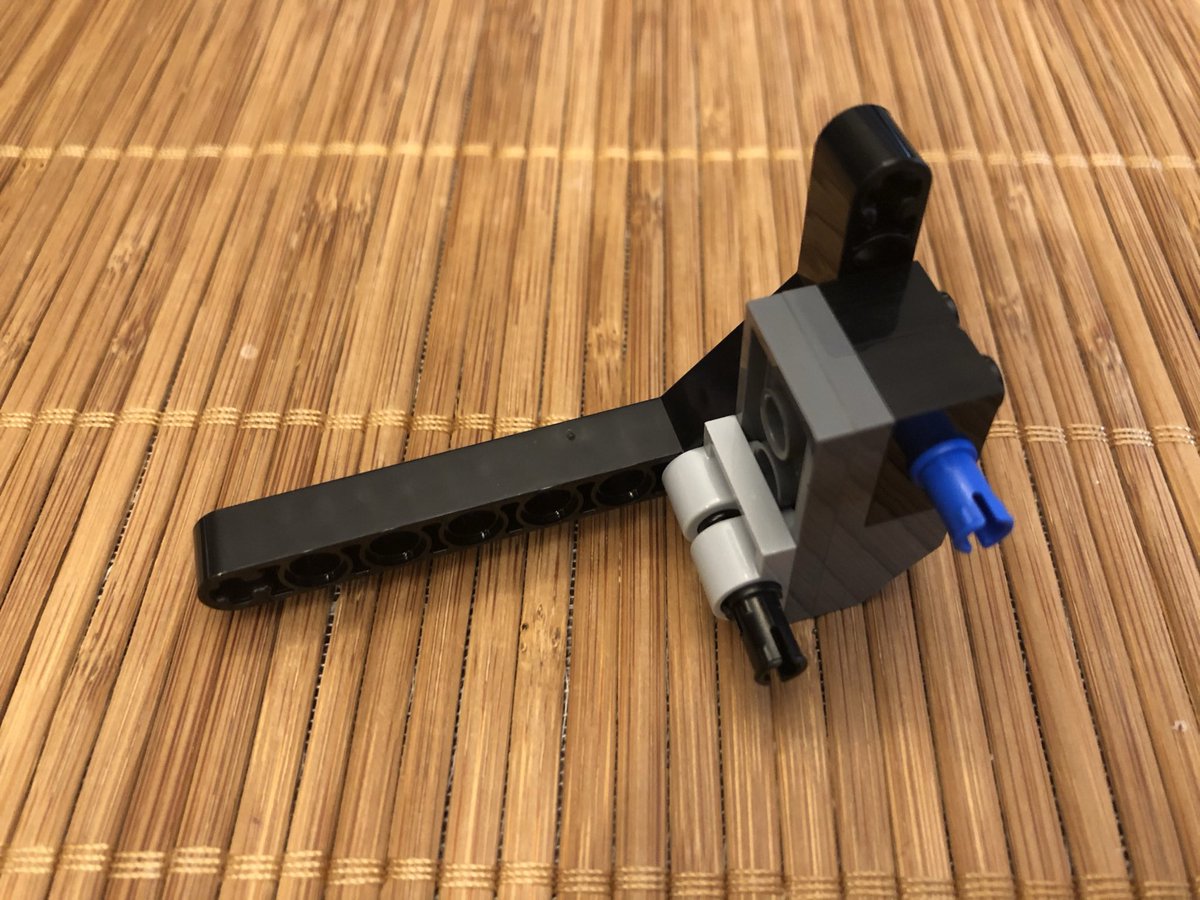
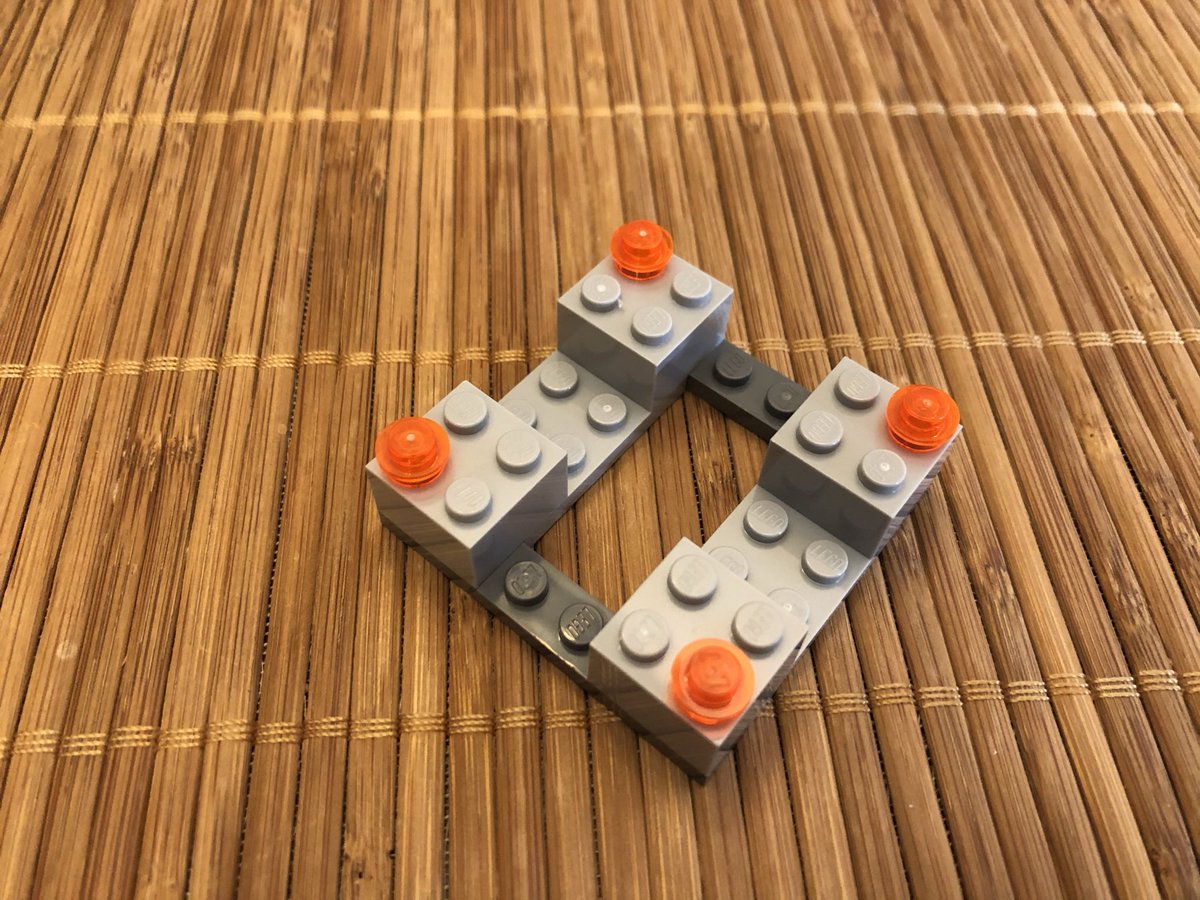
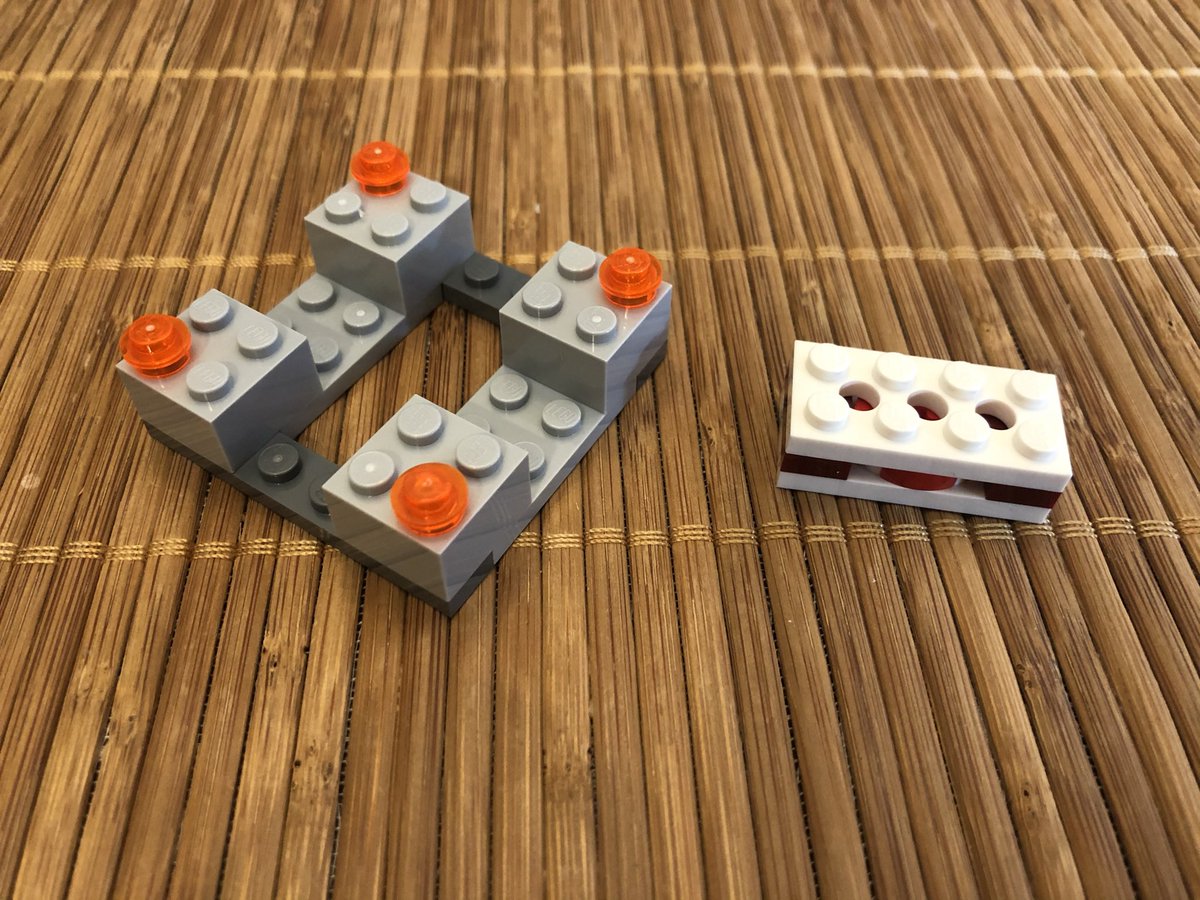
The first thing we start on is the mechanism to open and close the trash compactor. This part does that but needs a guide, it’s a little flimsy. #LEGO 

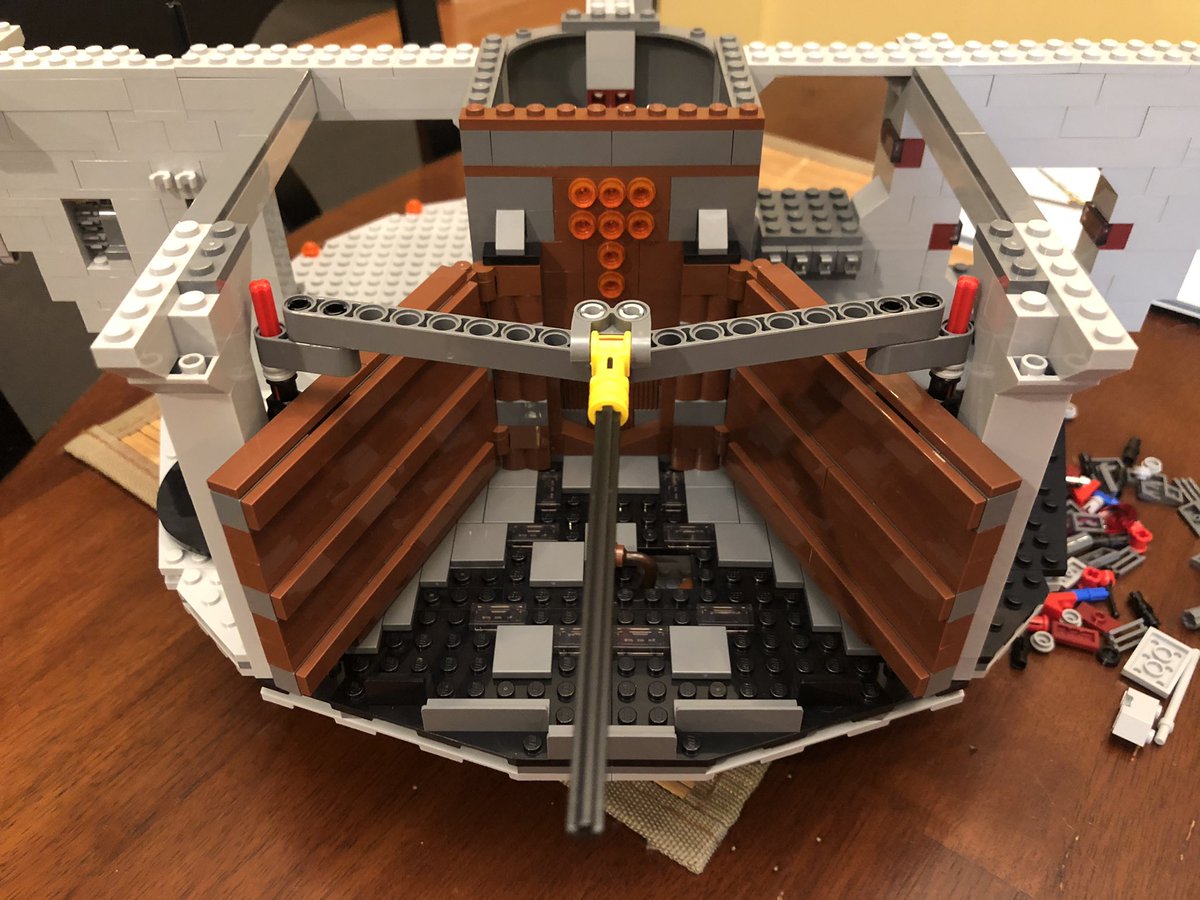
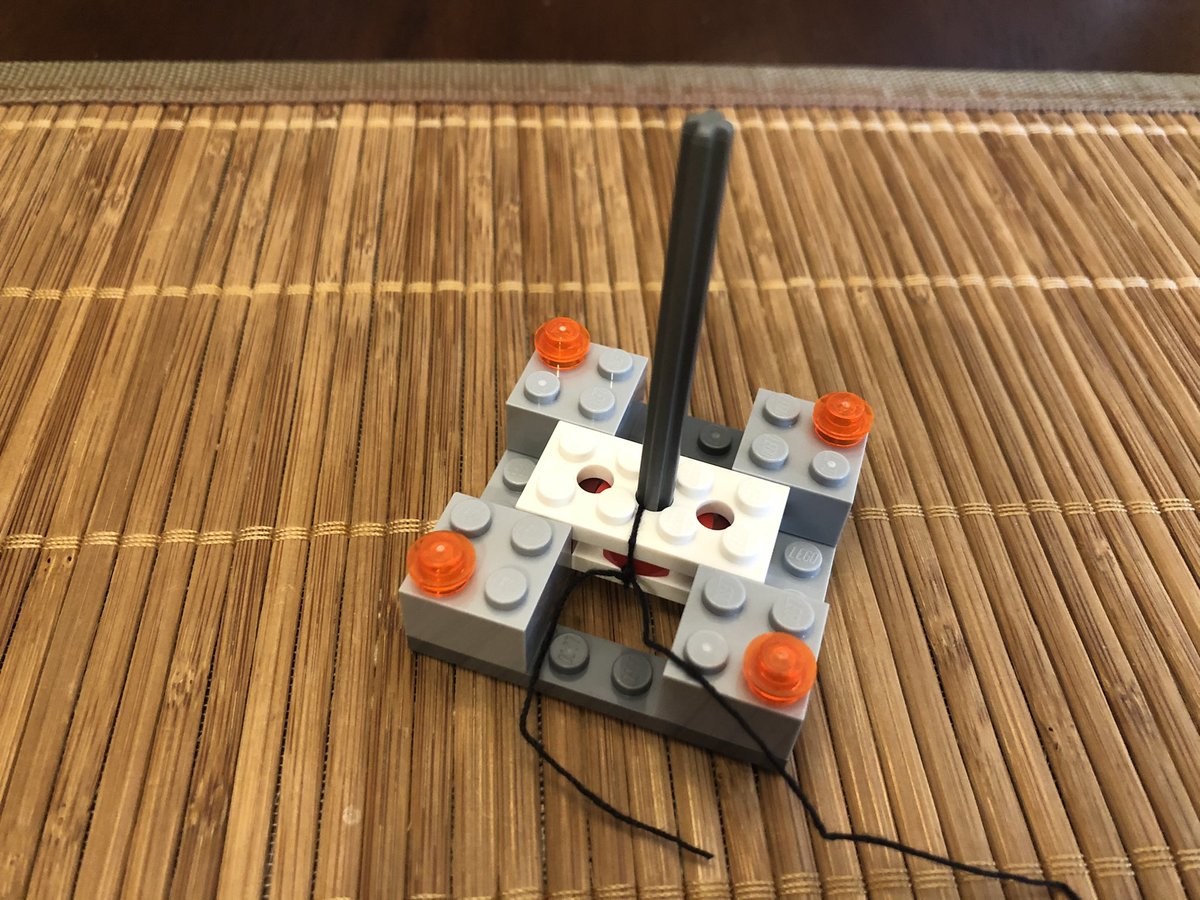
This joist has a hole in the middle to align the mechanism. Now we can push/pull to close/open them. #LEGO 

These blue pieces go inside the mechanism, and when Ben pulls the control out, they slide down. There’s a post that sticks through the bottom to push it back up.
Also we have some garbage for the trash compactor. #LEGO
Also we have some garbage for the trash compactor. #LEGO

There’s a tilt mechanism on top of this, and some tubing between the base at the tilting portion. What could it be? #LEGO 

There’s a bunch of small, weird looking assemblies that we start building and assembling. You might know what it is already but you’d never guess from these parts! #LEGO 

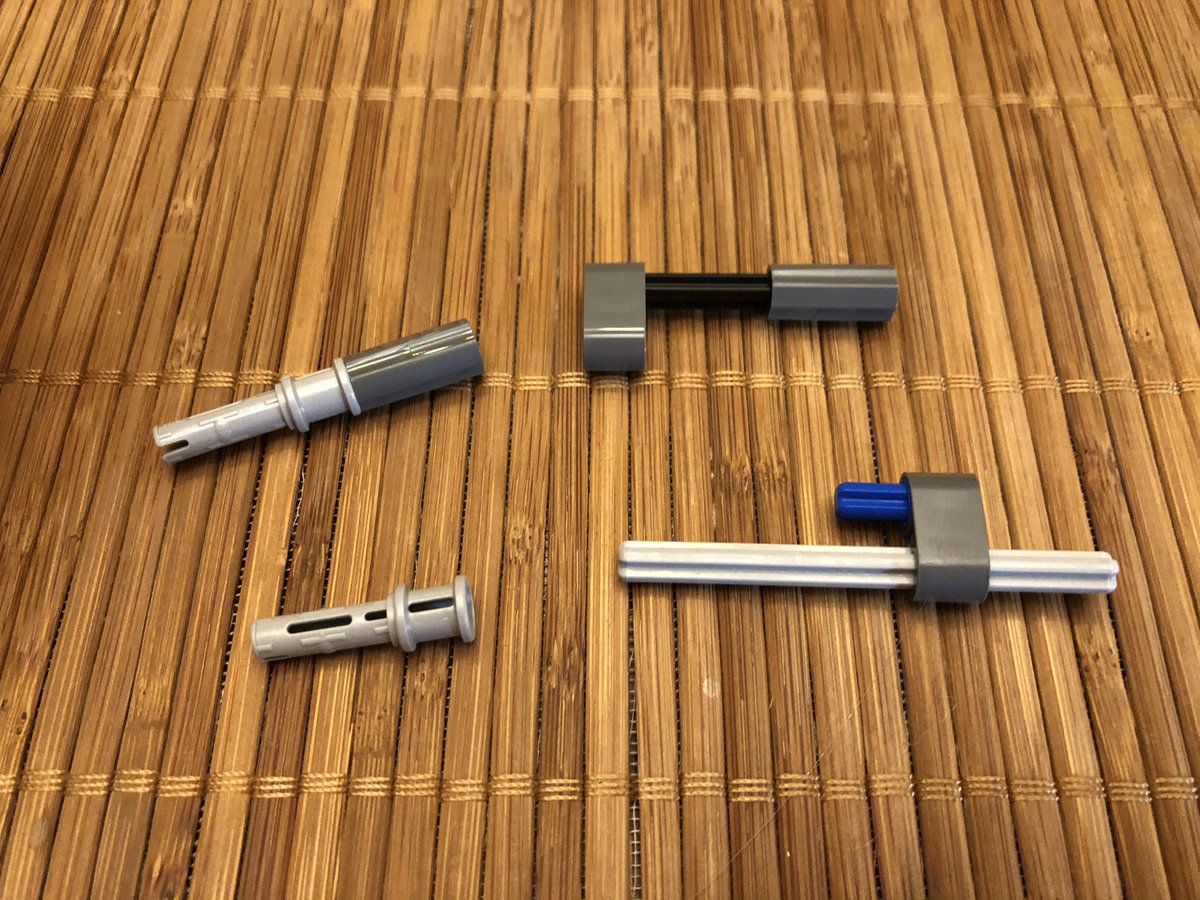
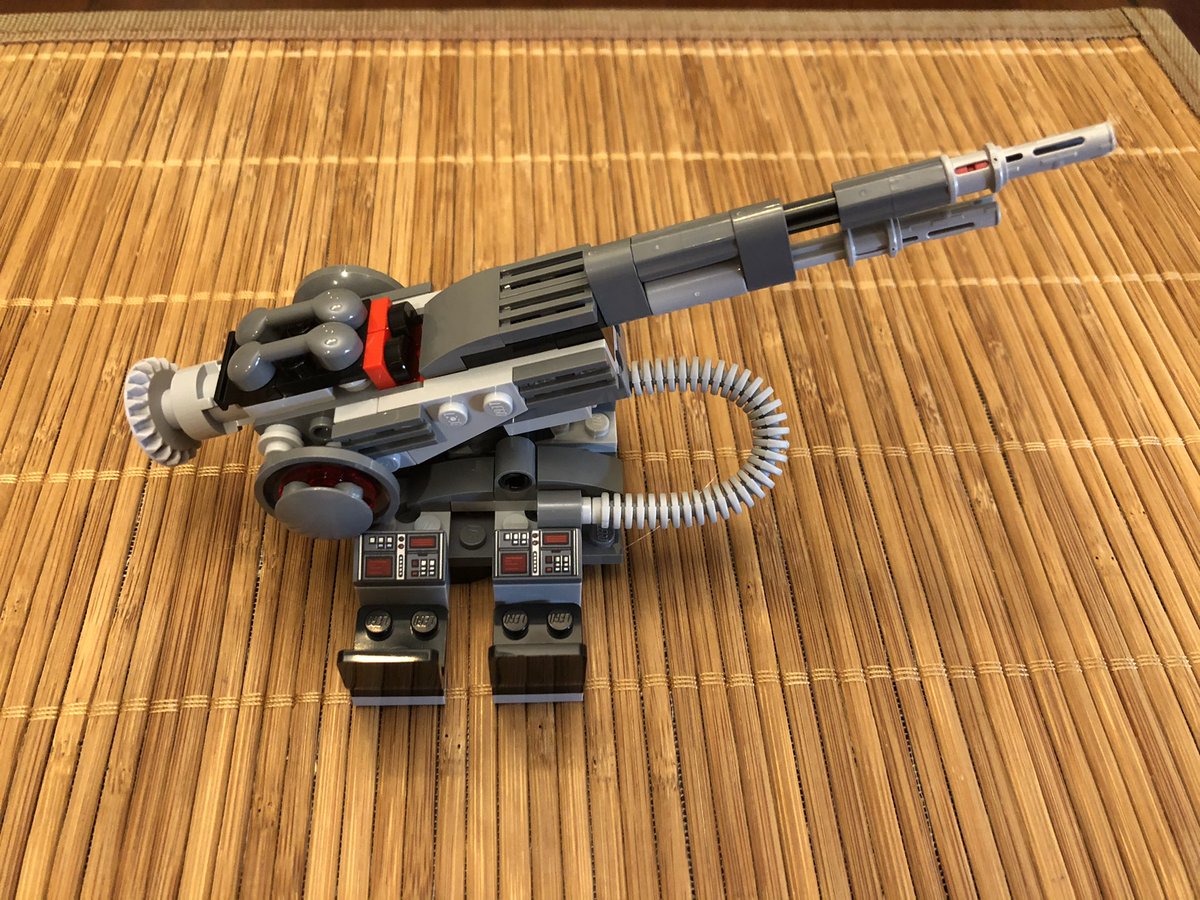
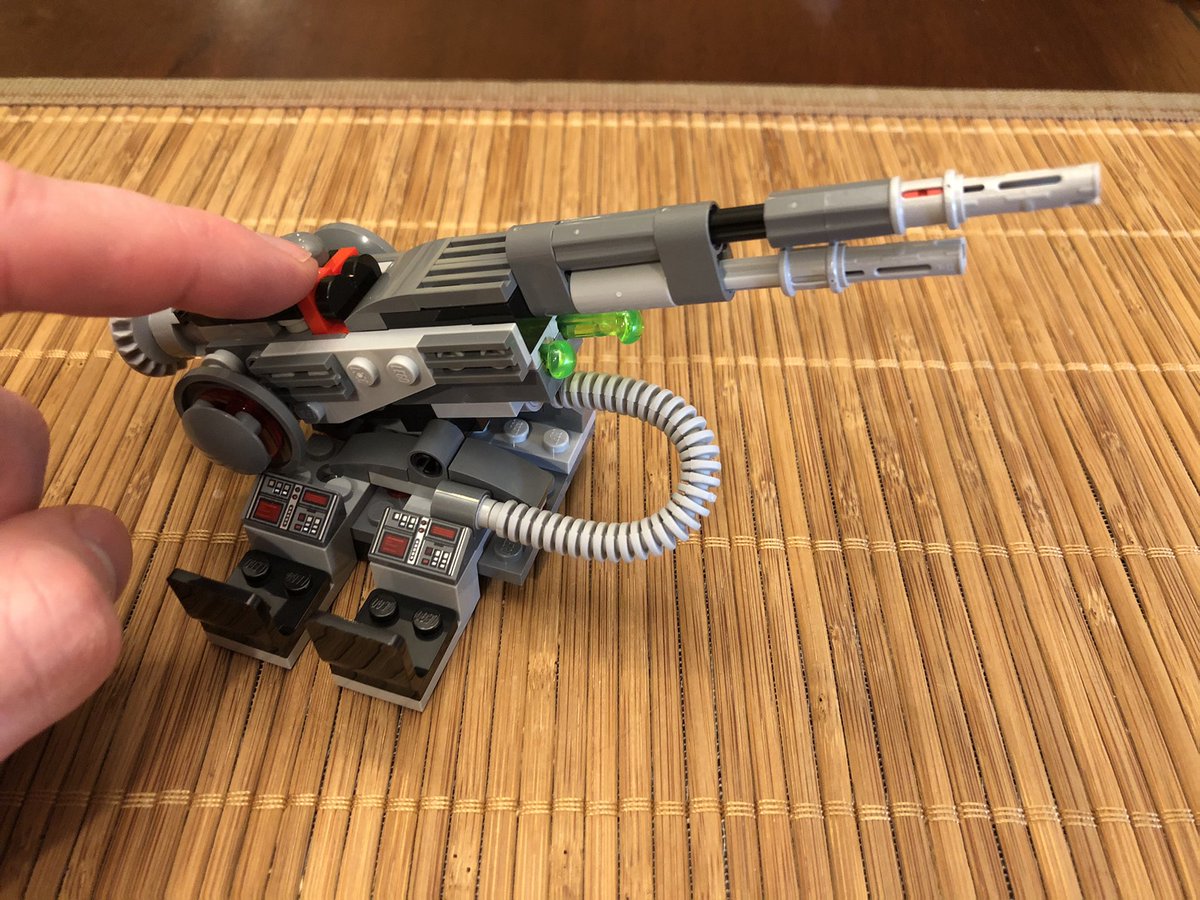
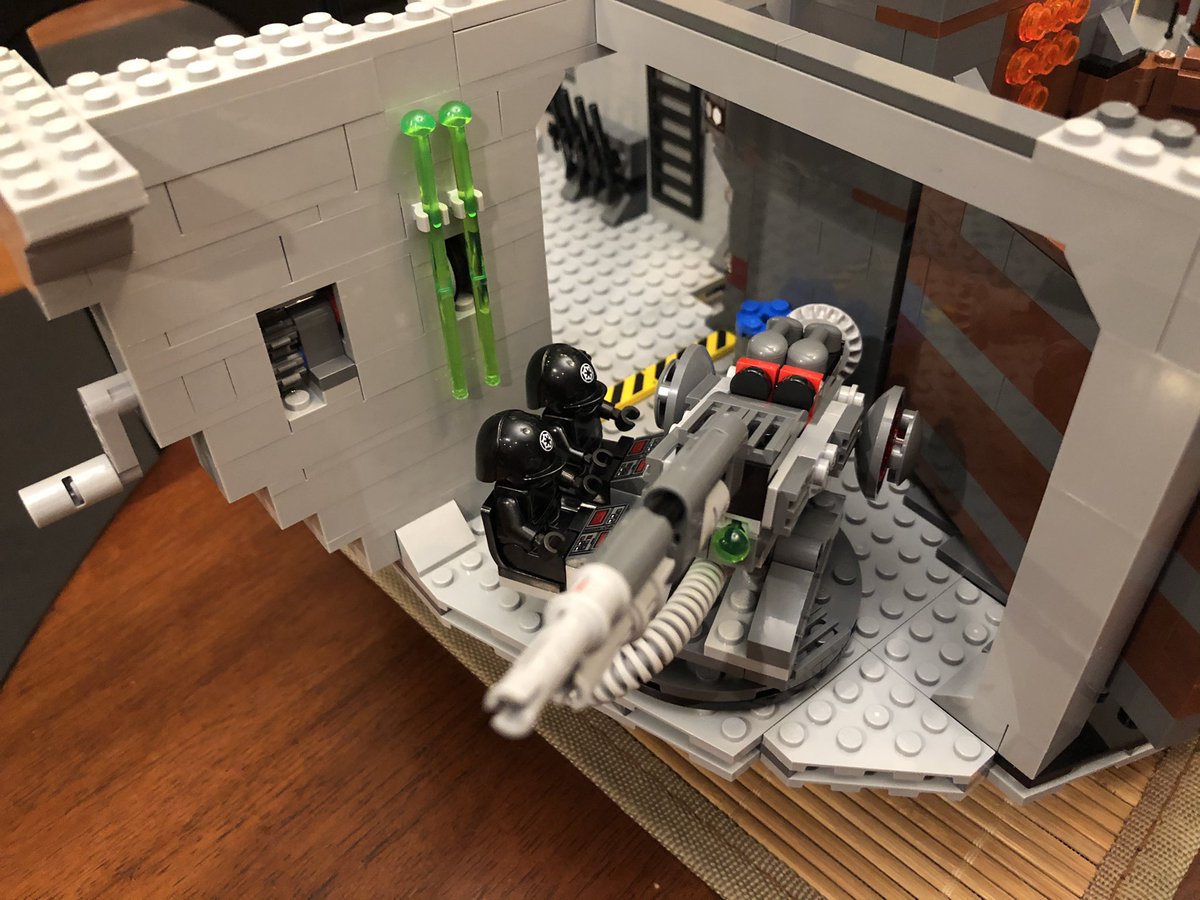
The cannon has two shots, fired by the red/black buttons here. There are two extra shots that attach to the wall. Slap the cannon down on the rotating piece and put the two techs in the seats! #LEGO 

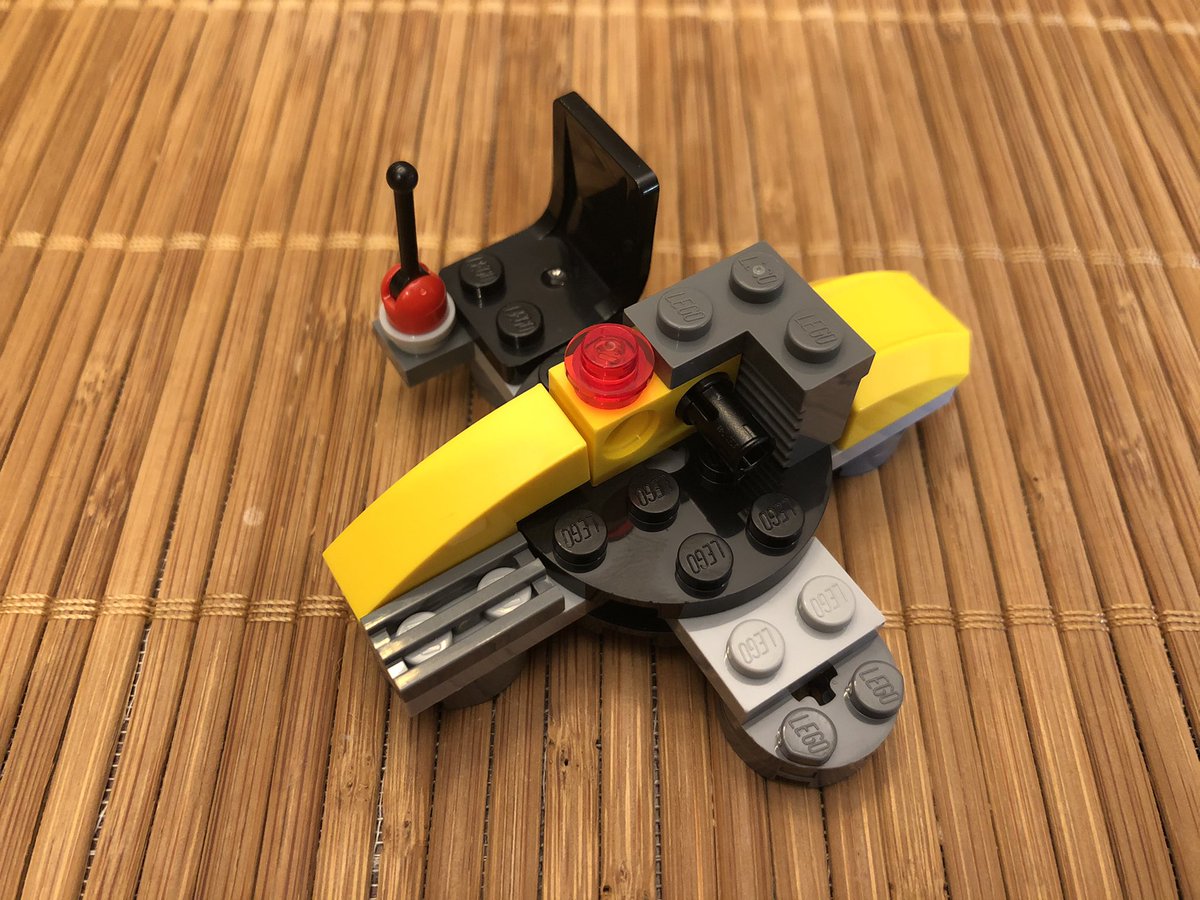
Next up is this weird device, with seating for one. It’s nice and yellow, but I don’t know what it is. #LEGO 

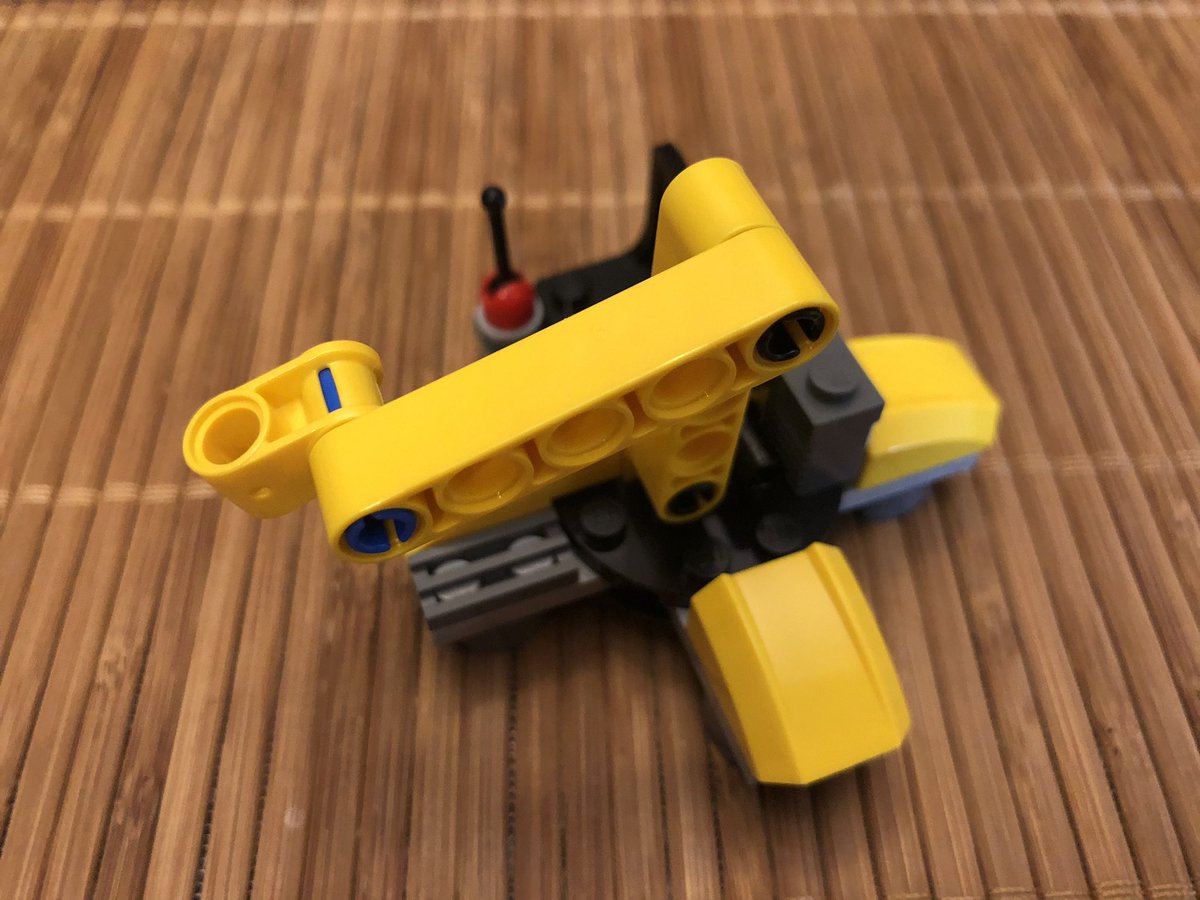
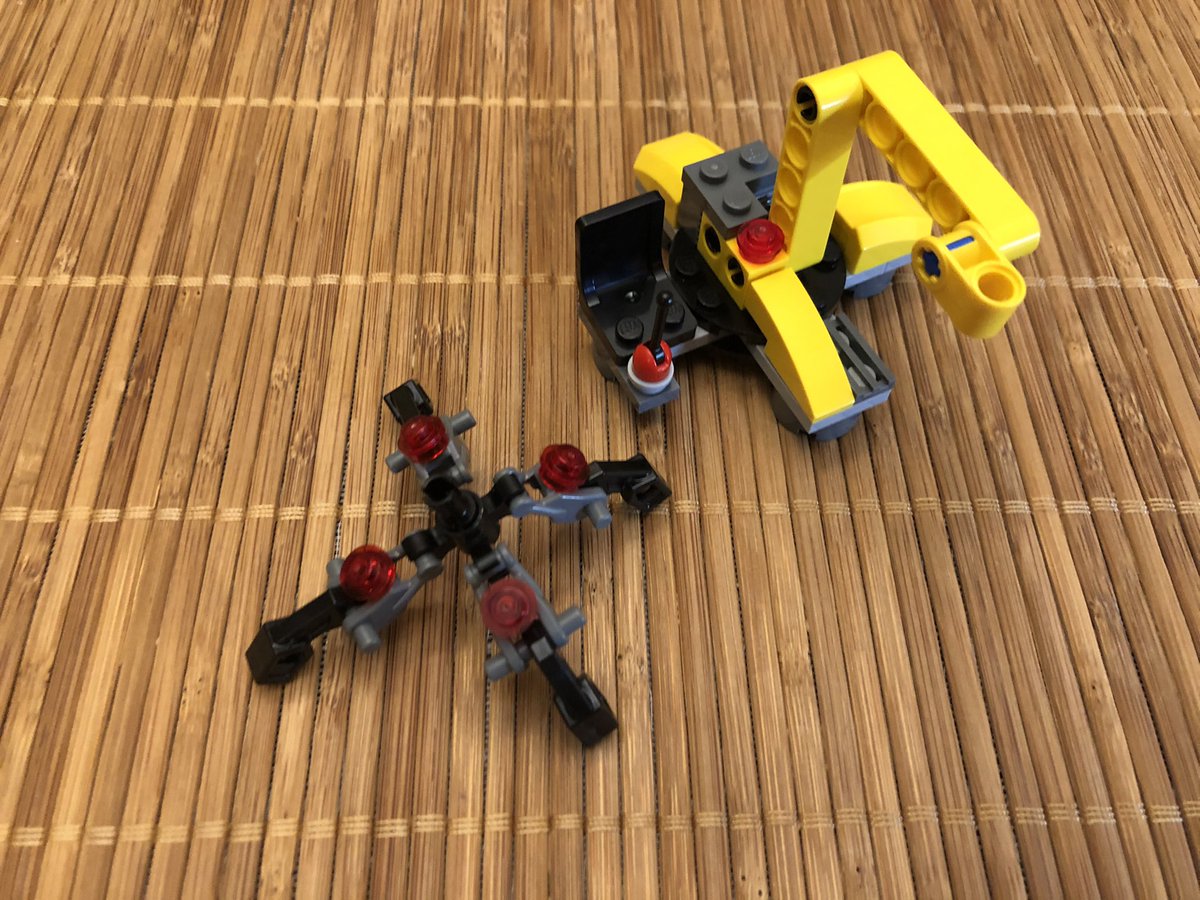
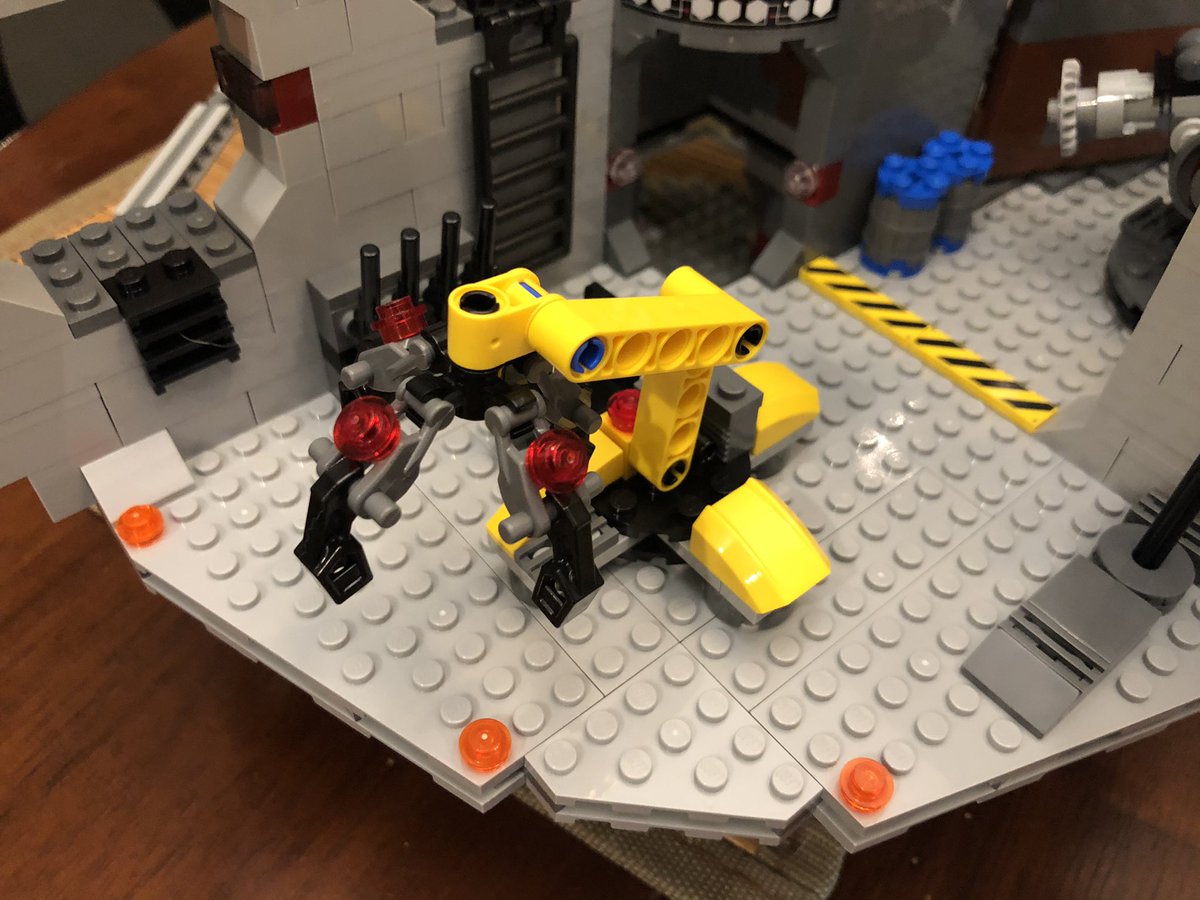
This turns into a crane that goes in this section. No idea what scene of which movie this is from or if it’s just “things likely found in a cargo bay.” It also kind of reminds me of claw machines from 80-90s arcades. #LEGO 

The next piece is an elevated platform. There’s a hole that goes the whole way through the gray circle. #LEGO 

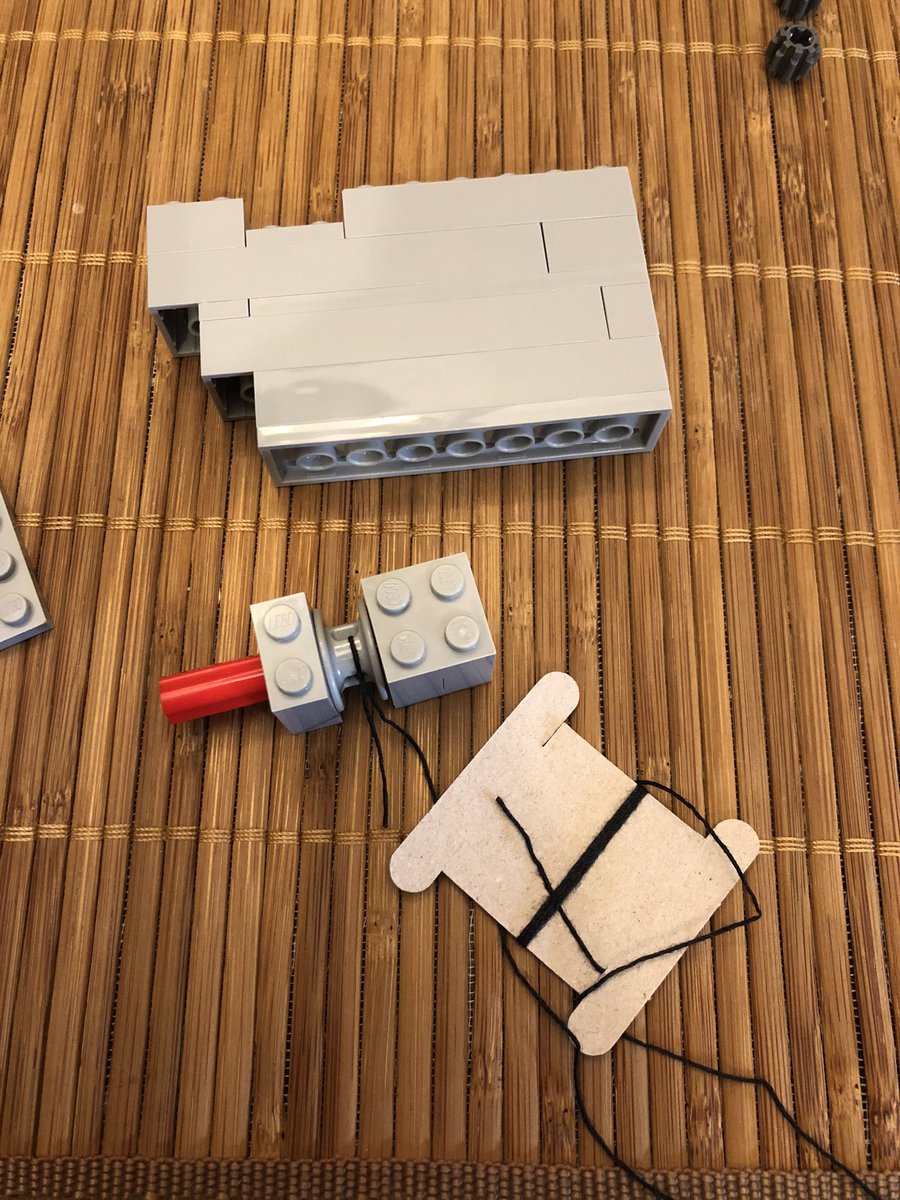
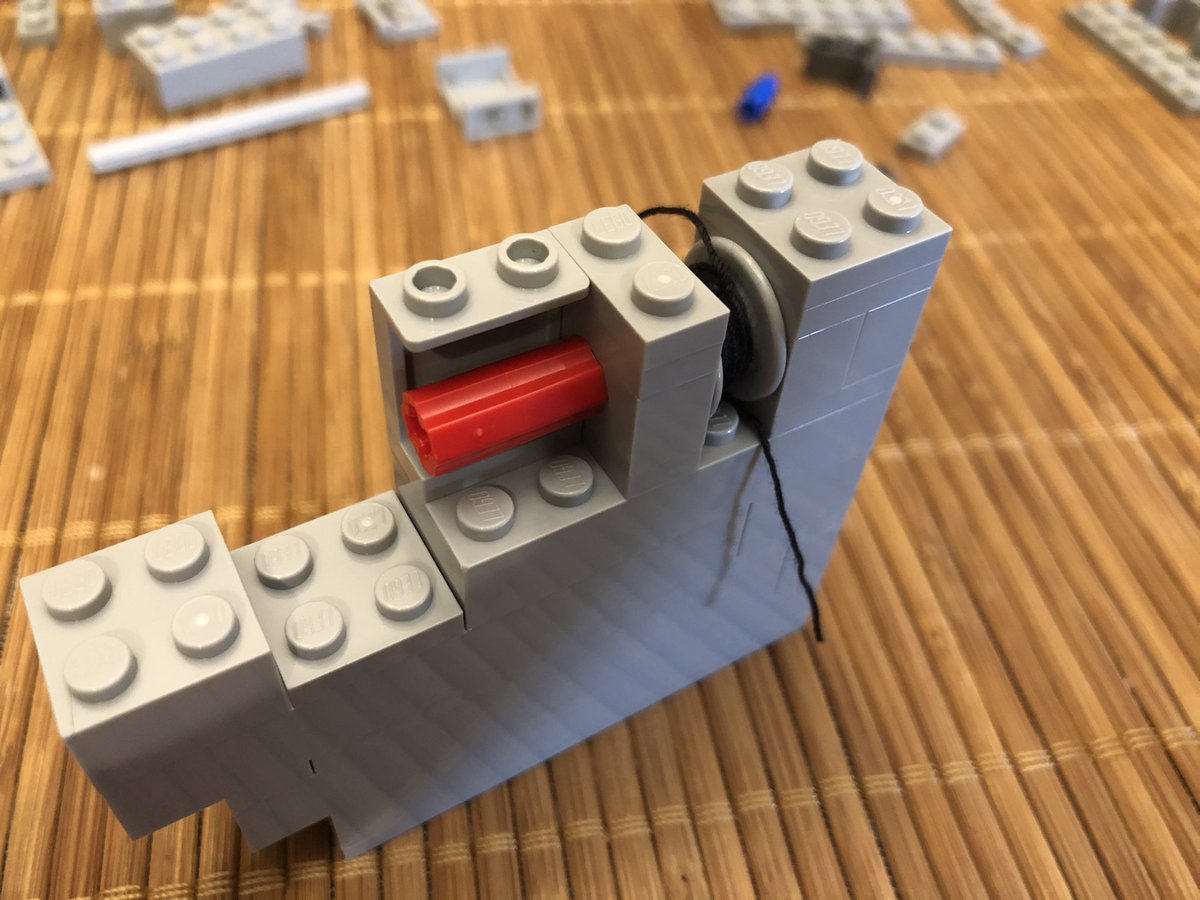
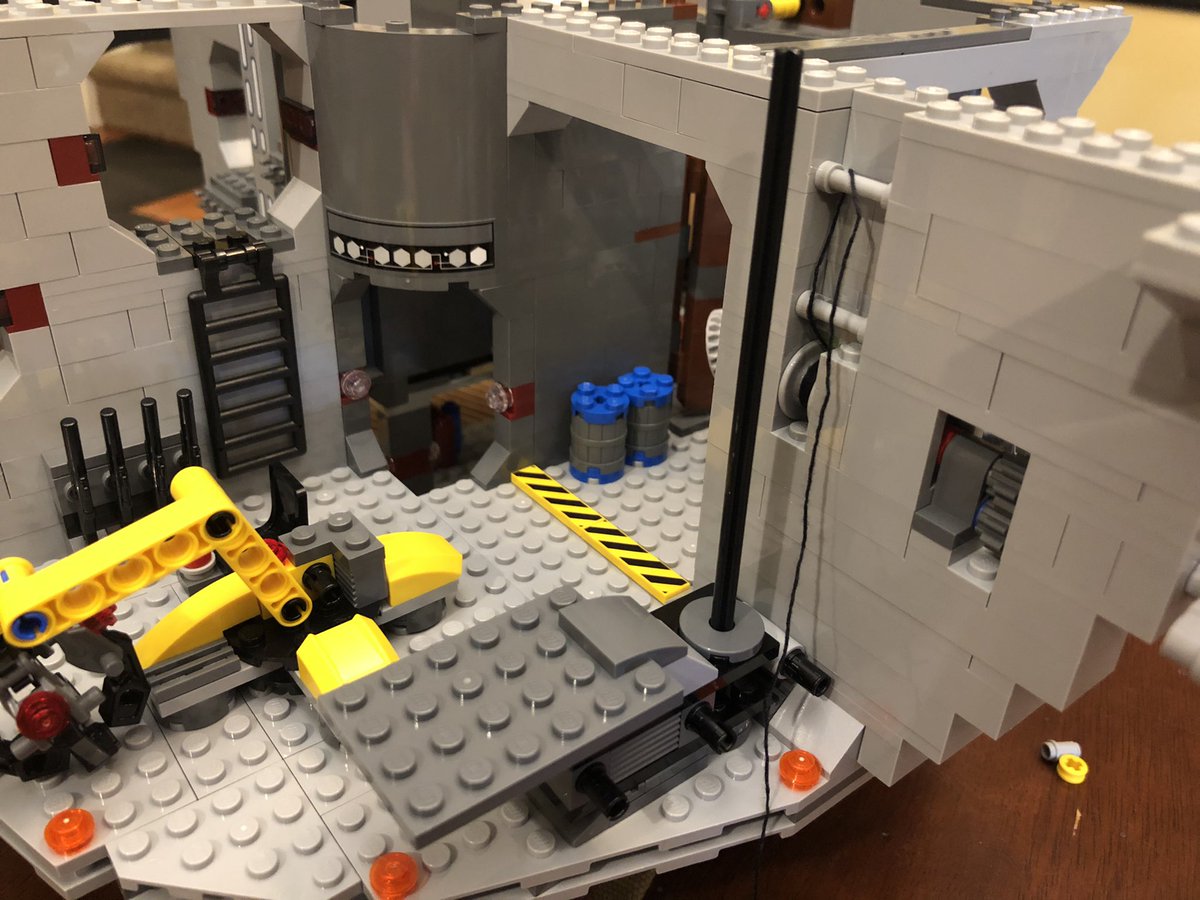
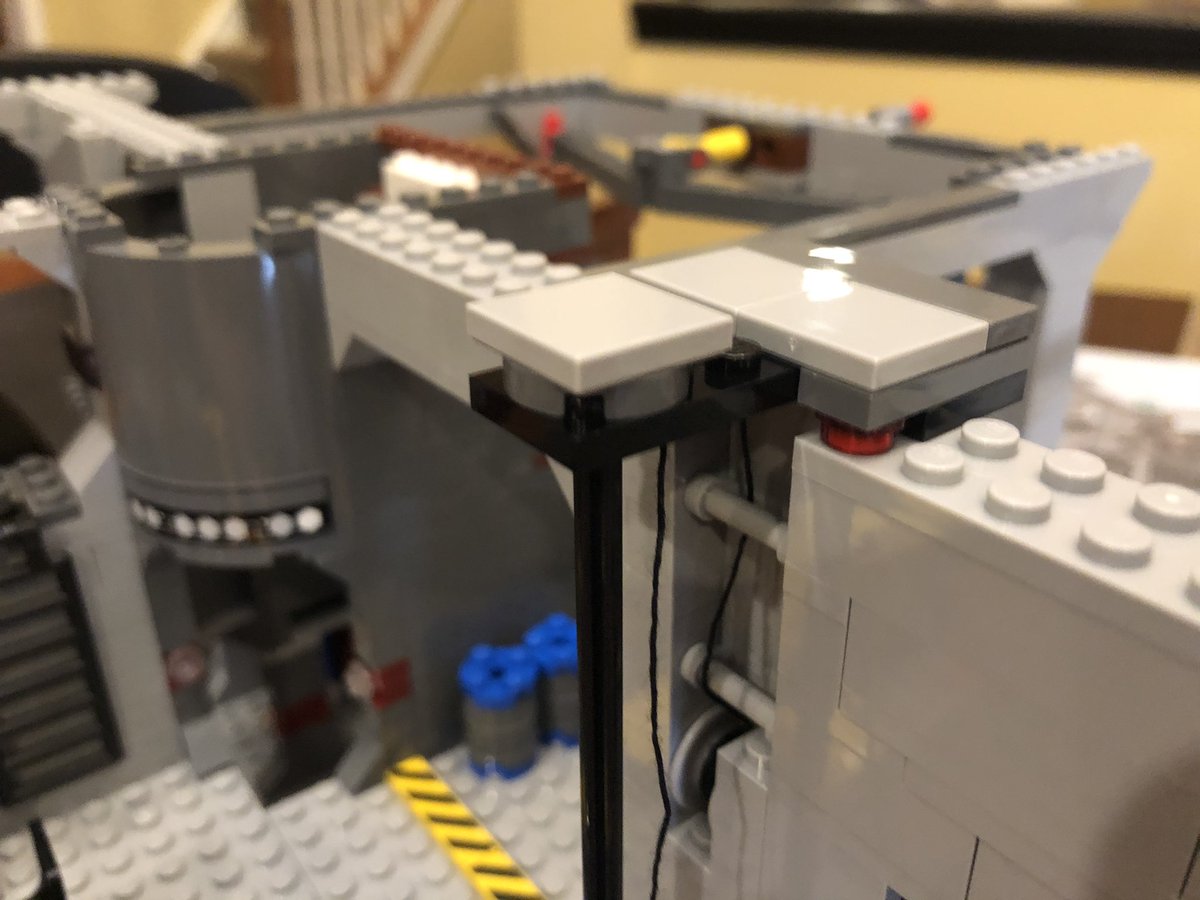
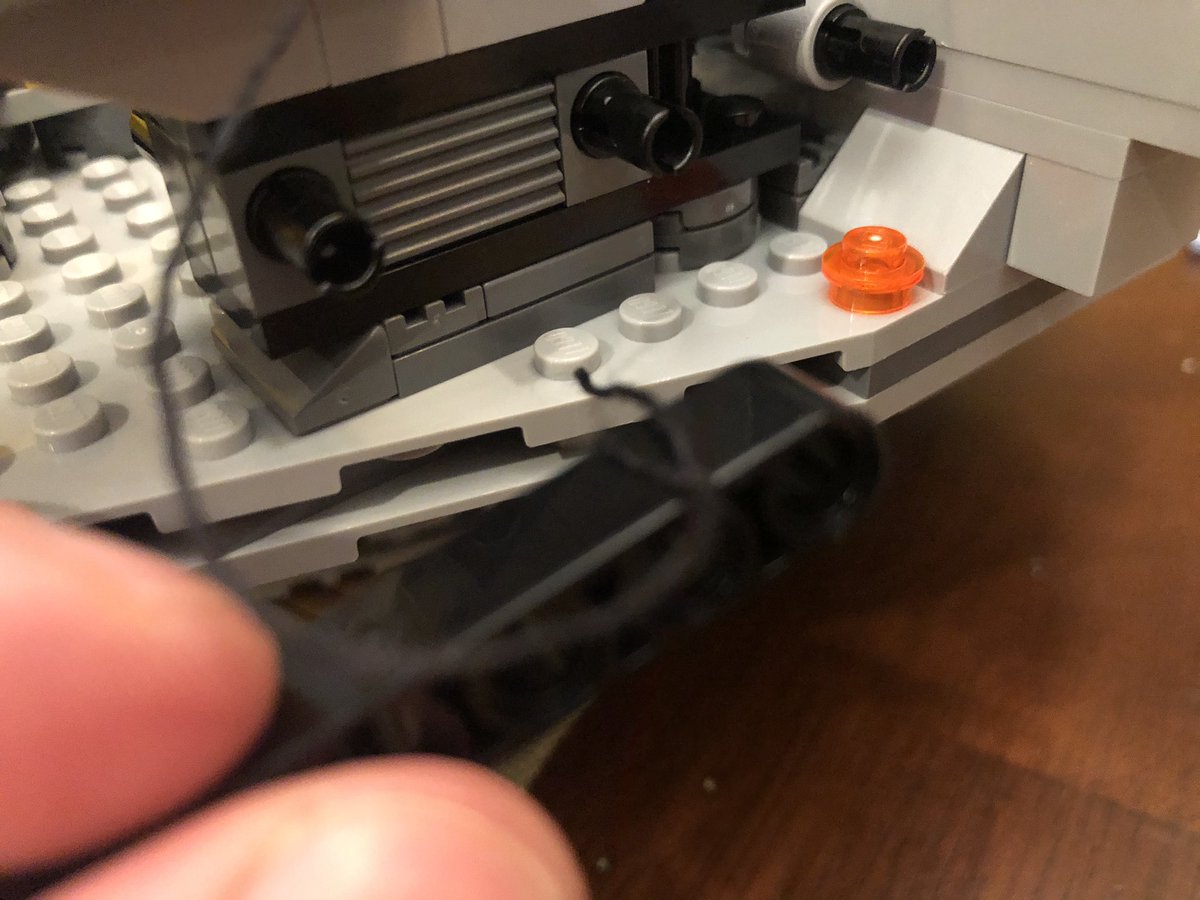
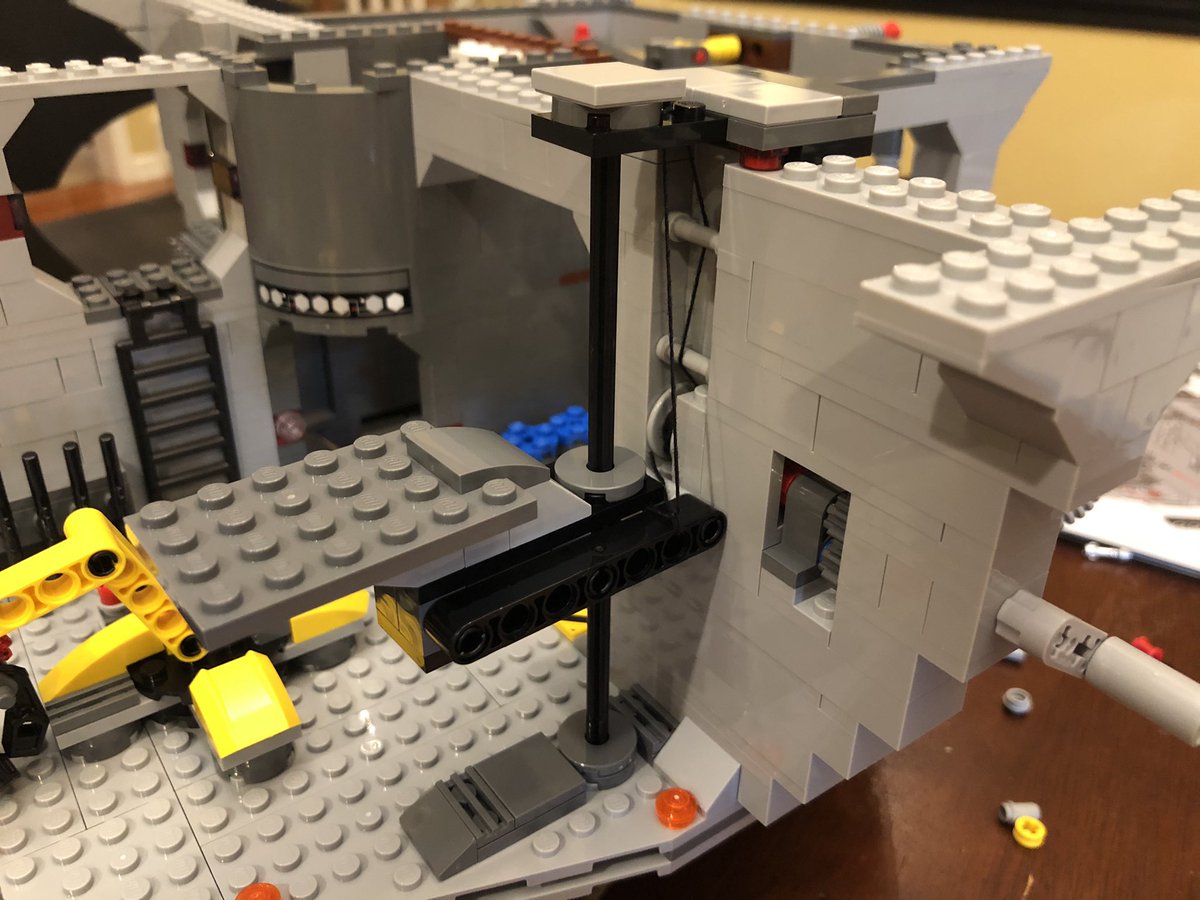
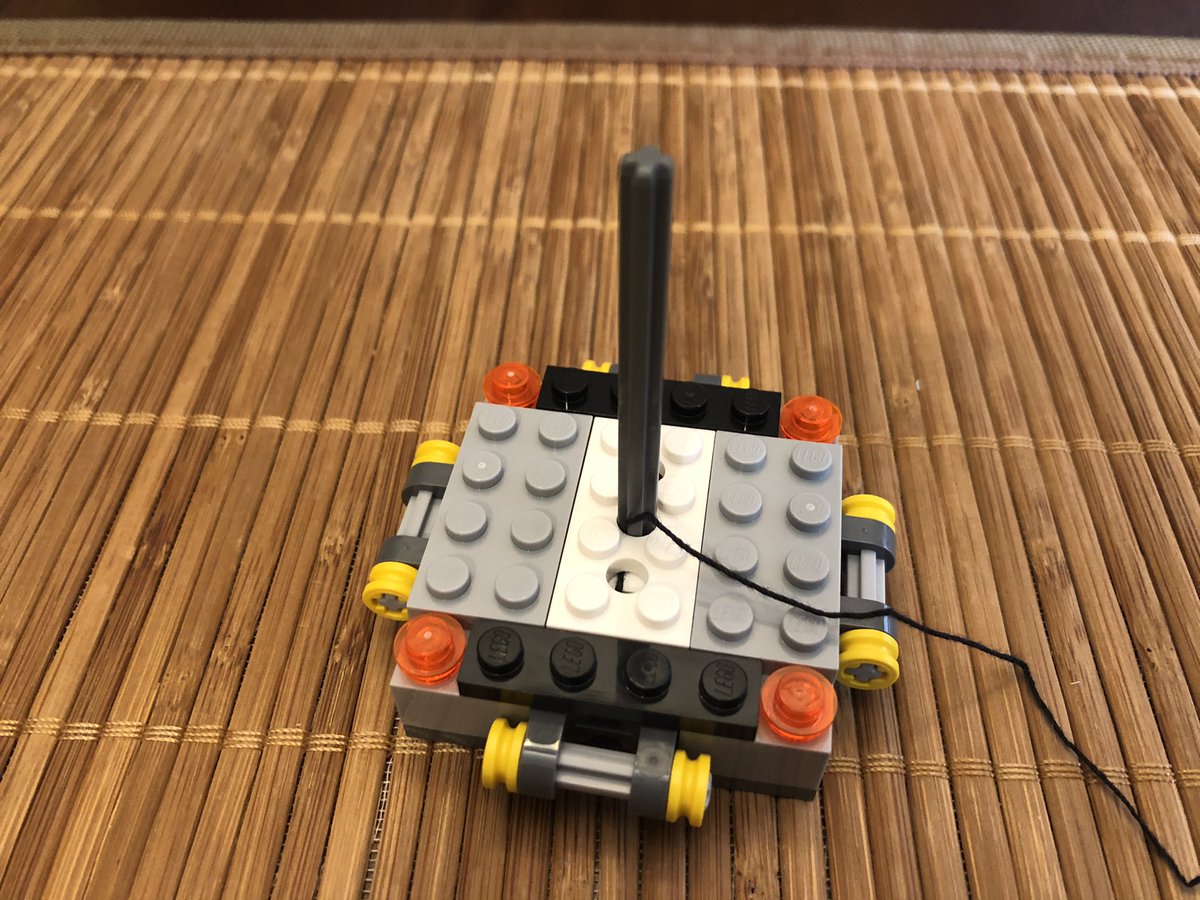
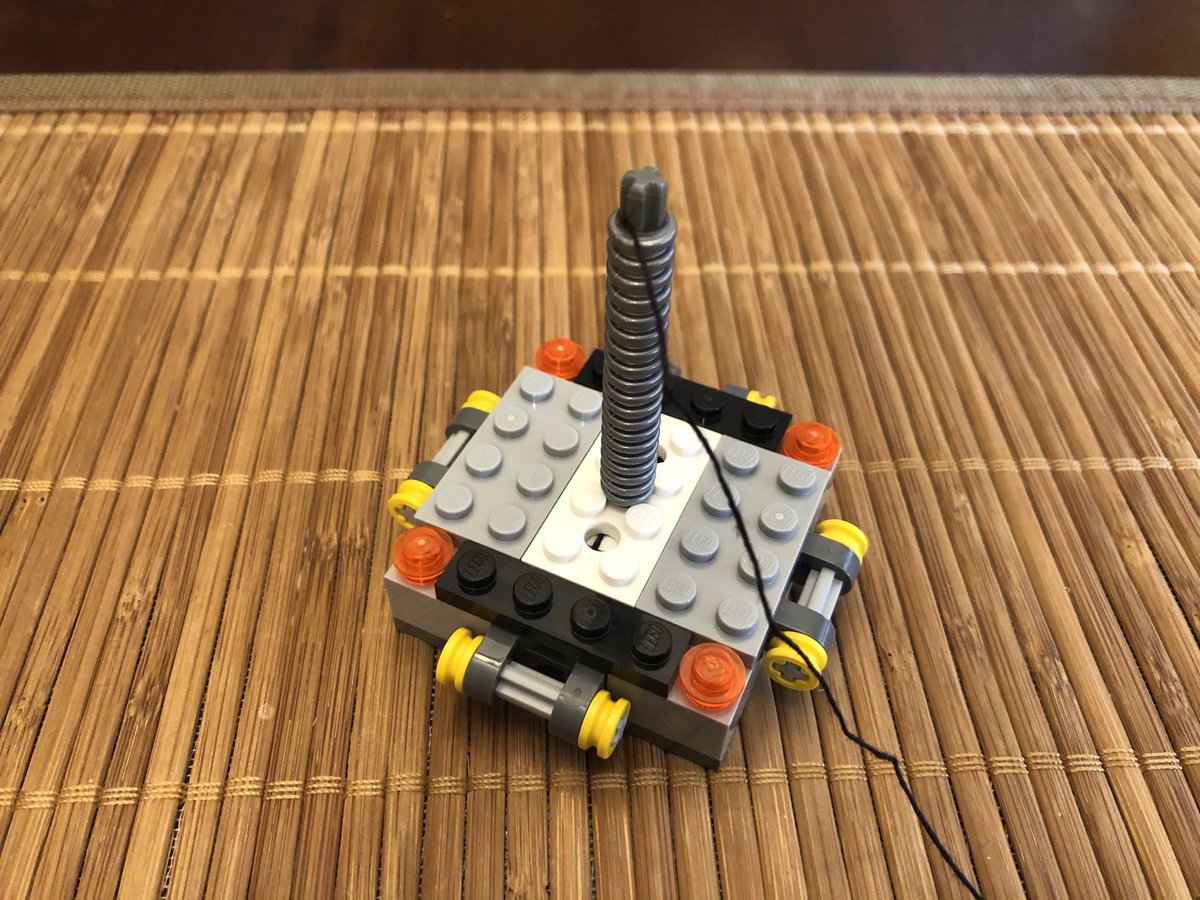
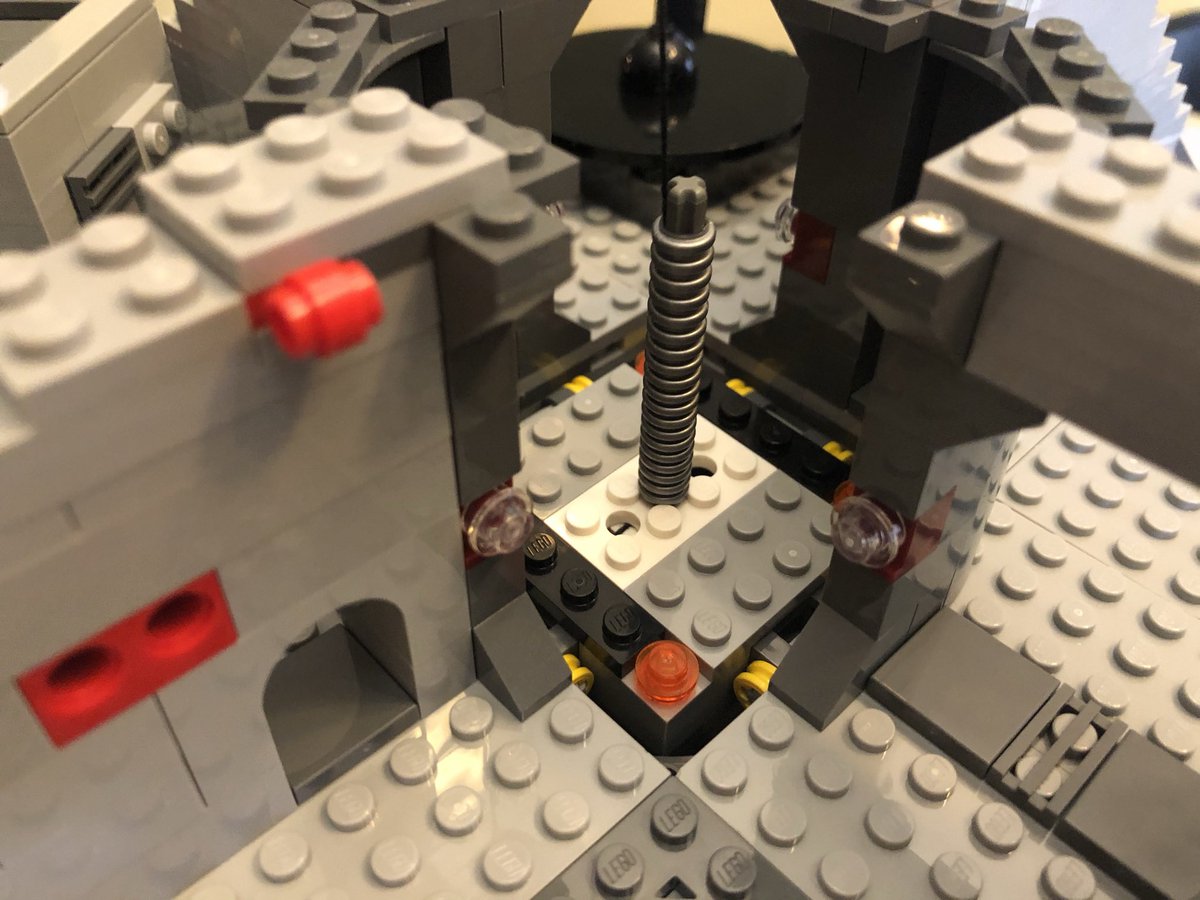
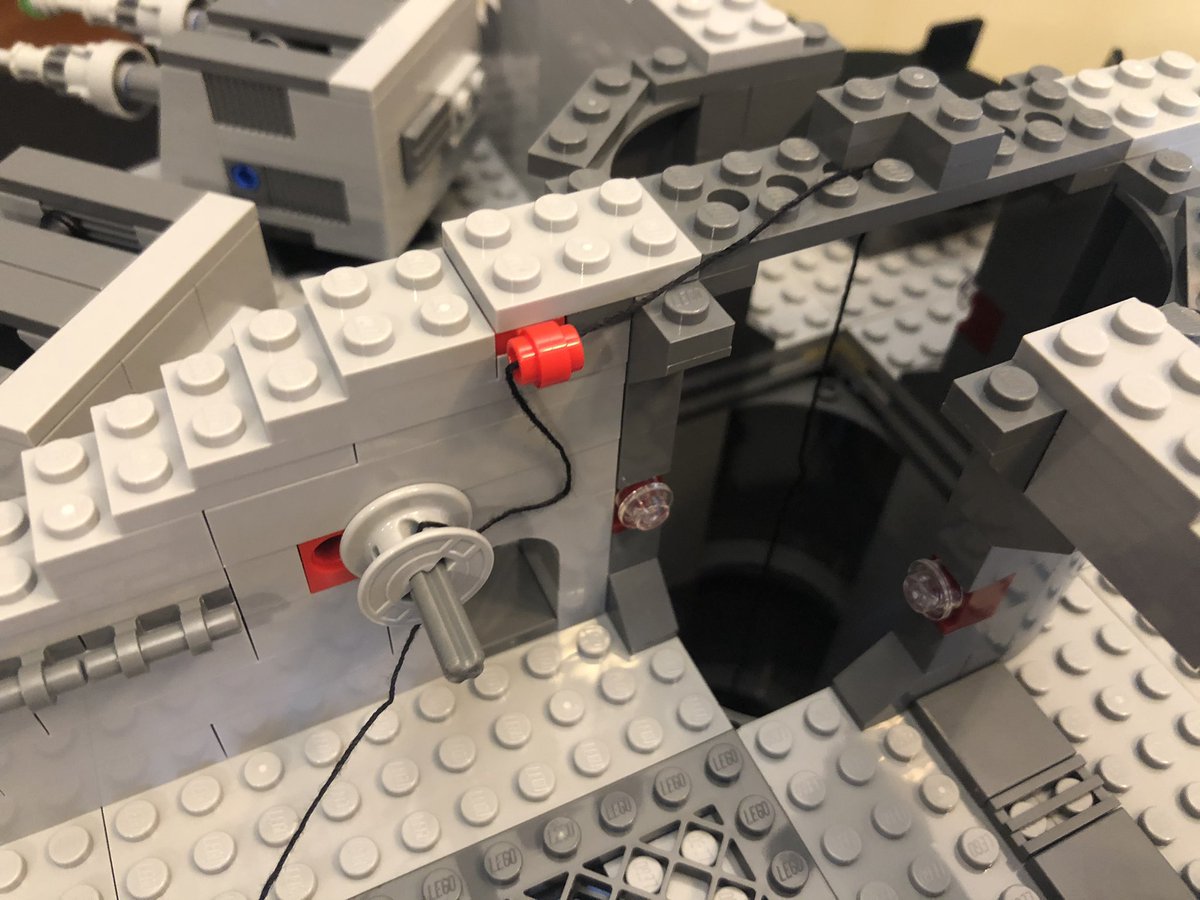
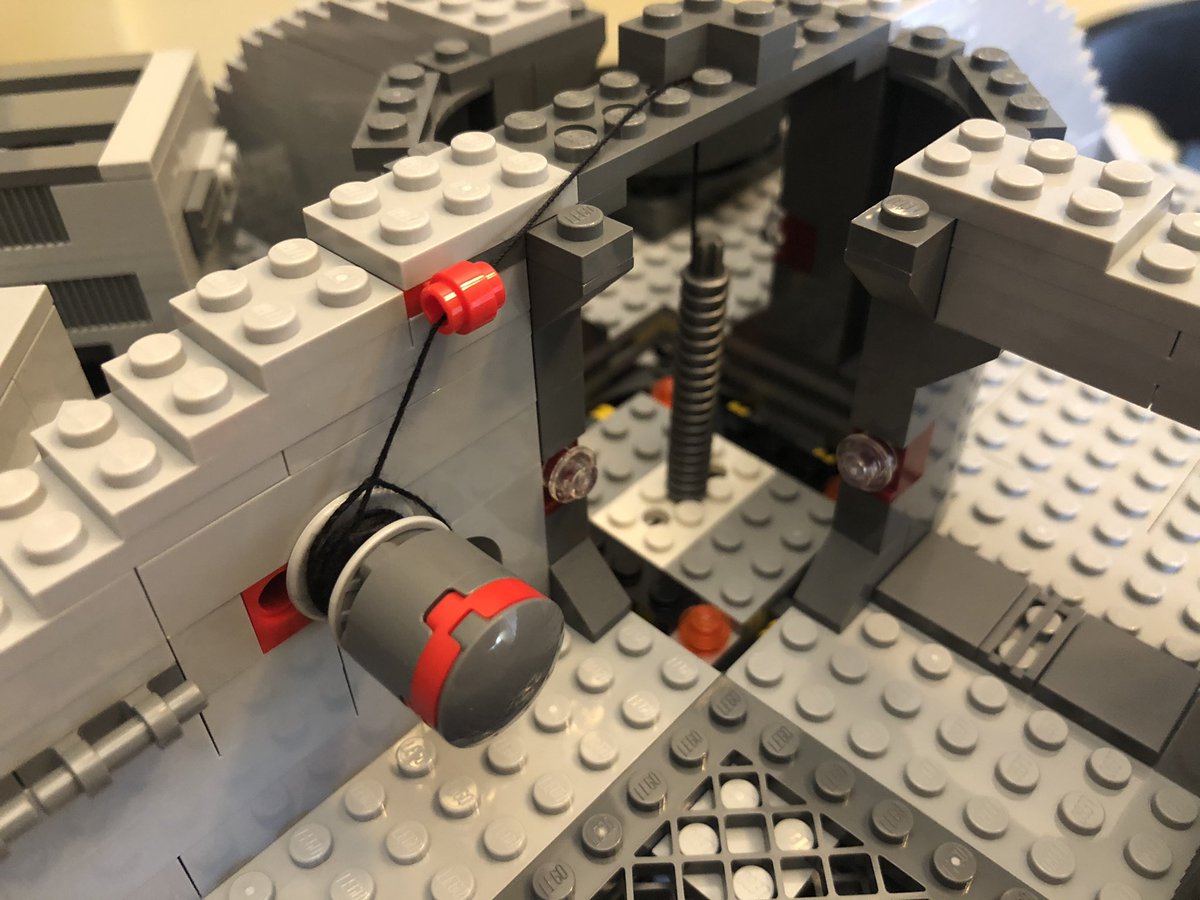
Slap it on the rod in the cargo bay. This final assembly goes on top to pin it in place. Be sure to thread the string around the poles and up and down through the top piece, then... #LEGO 

...tie it around the last strut on the elevator piece, then attach that to the elevator. The crankshaft now raises and lowers the elevator! That’s the end of section 4, I’ve got two more done and pictures coming. #LEGO 

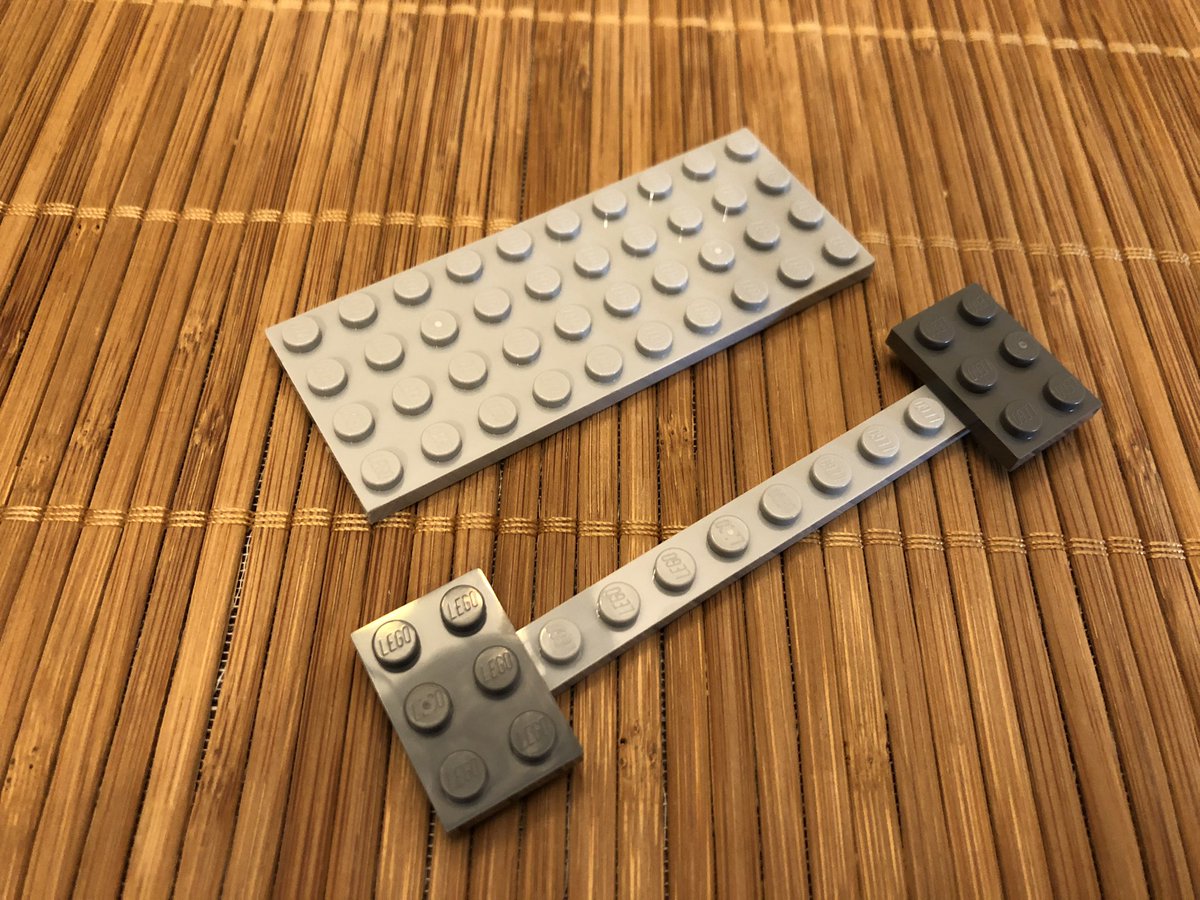
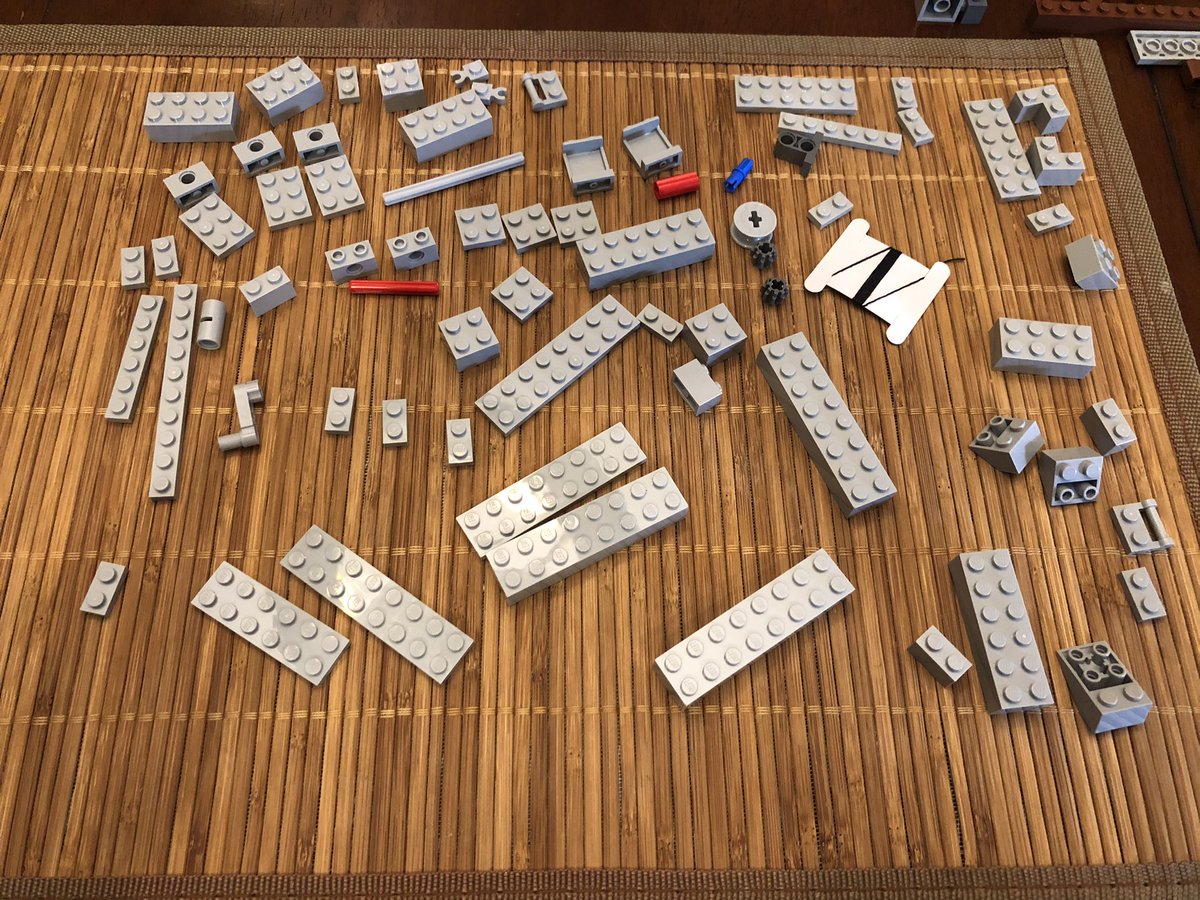
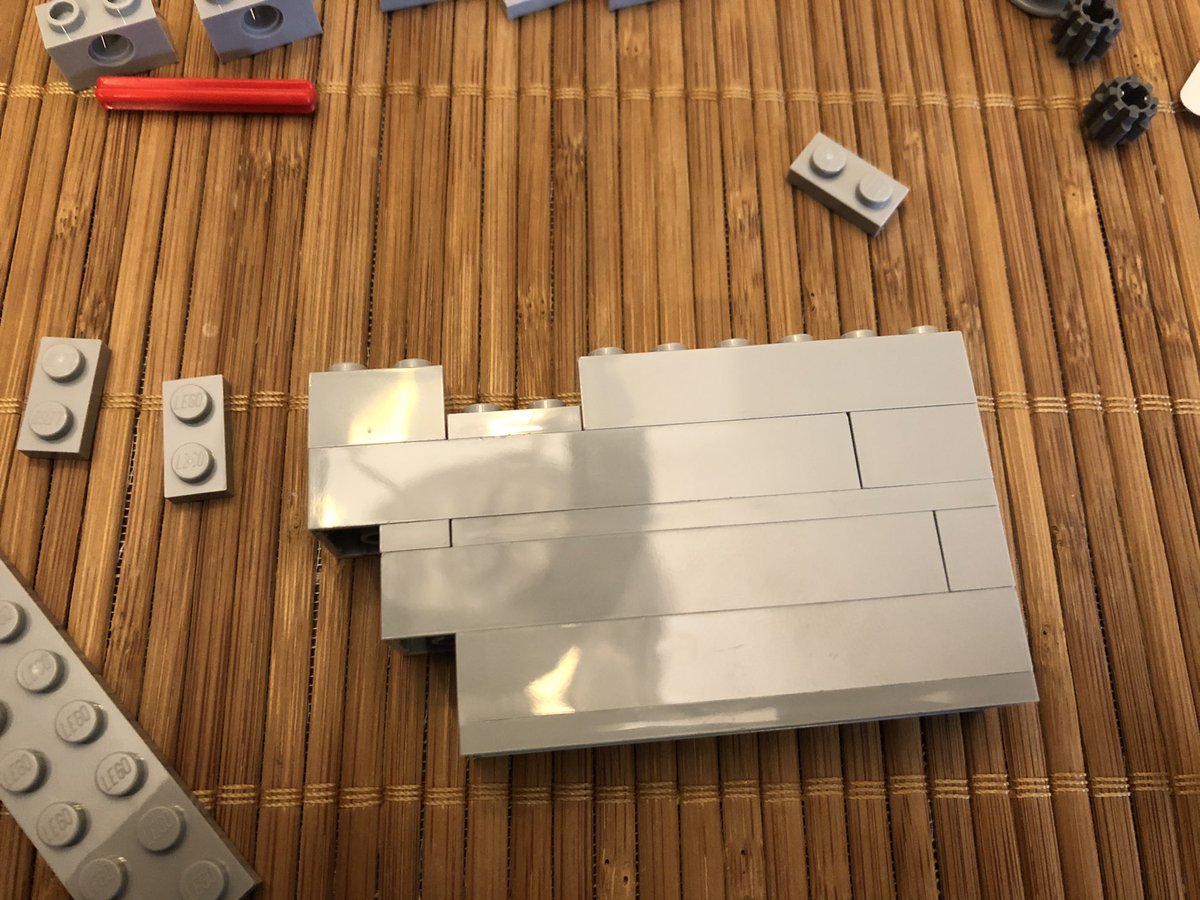
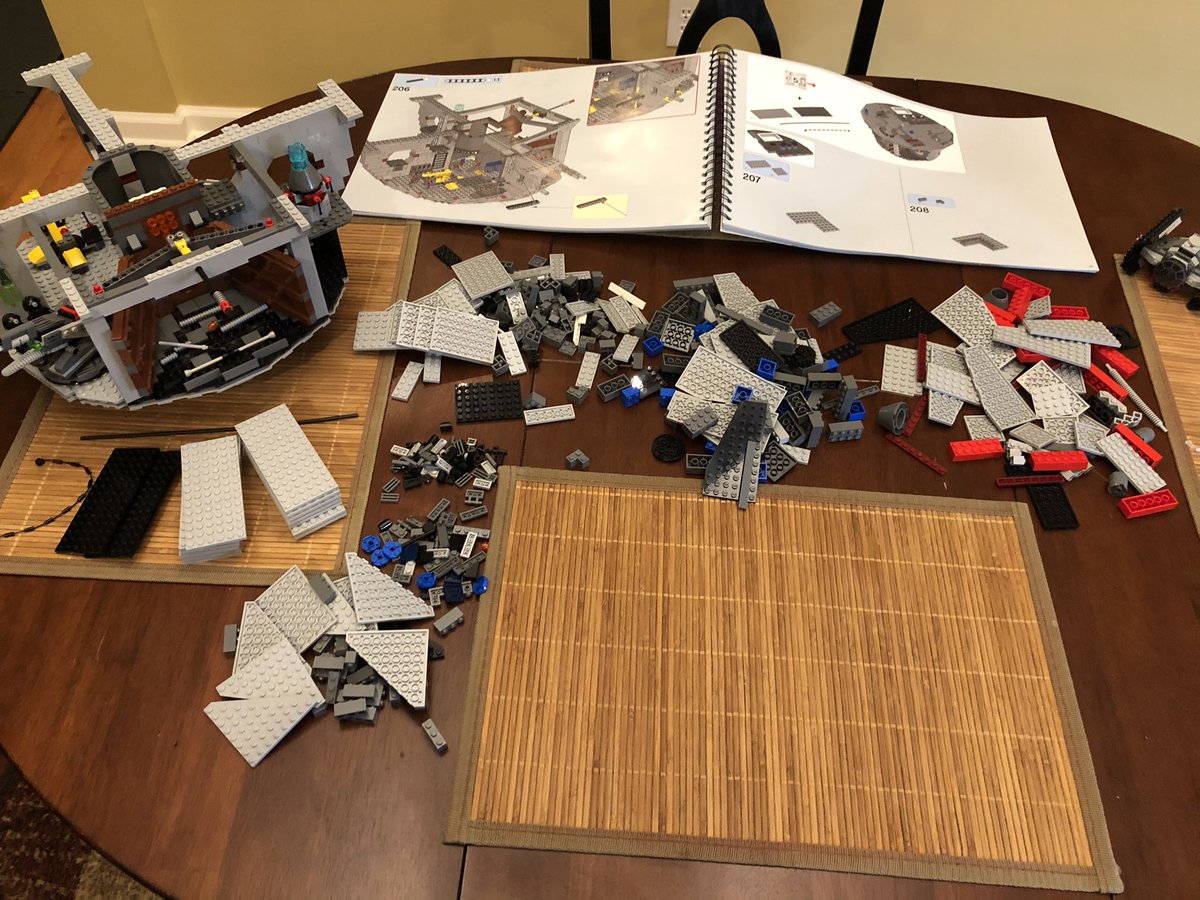
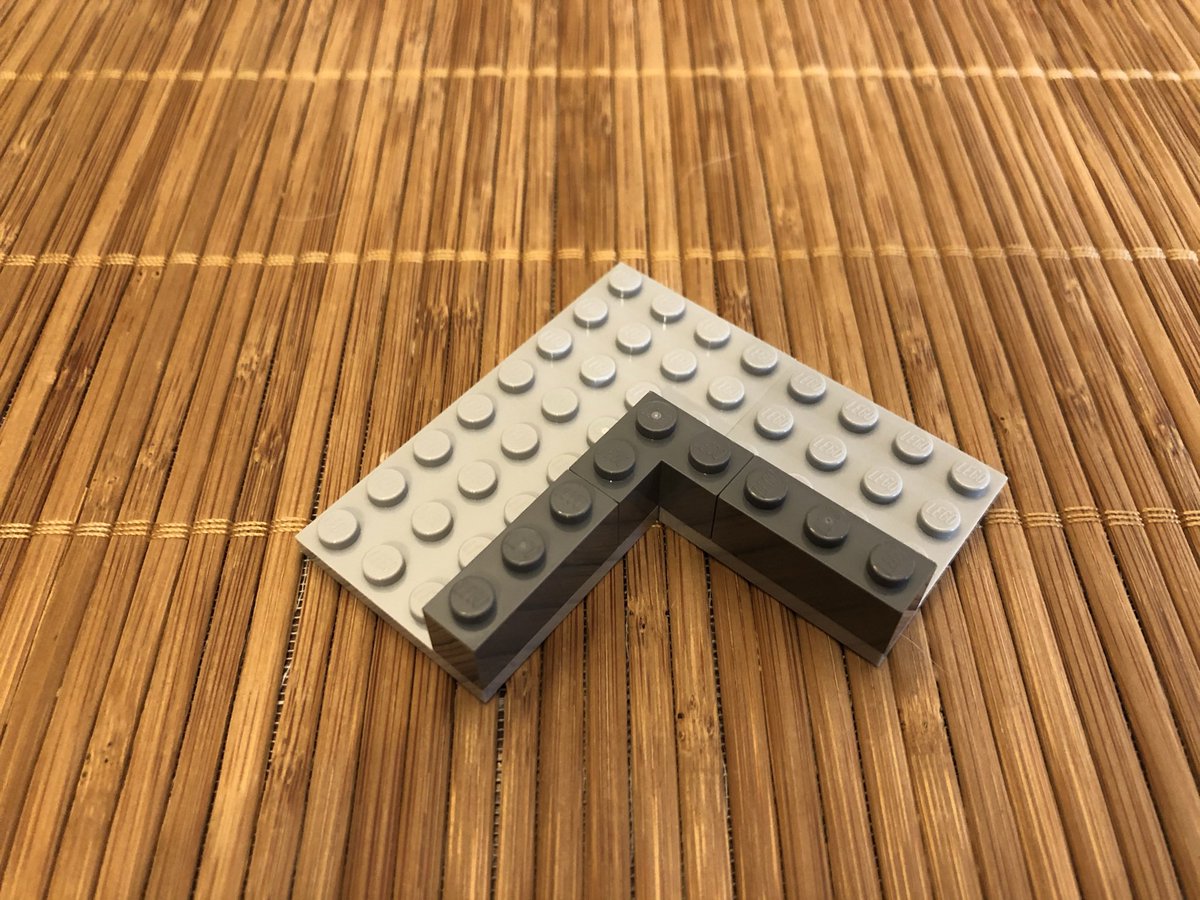
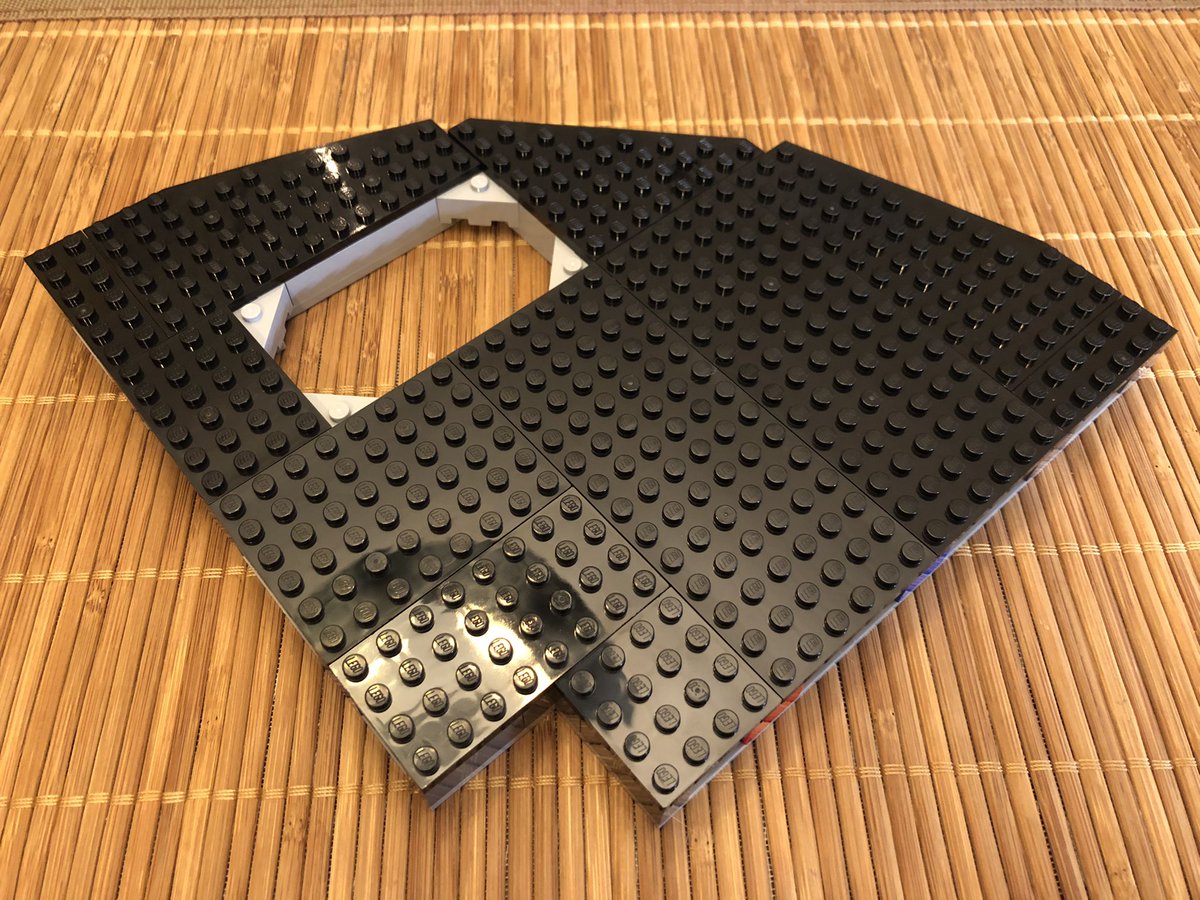
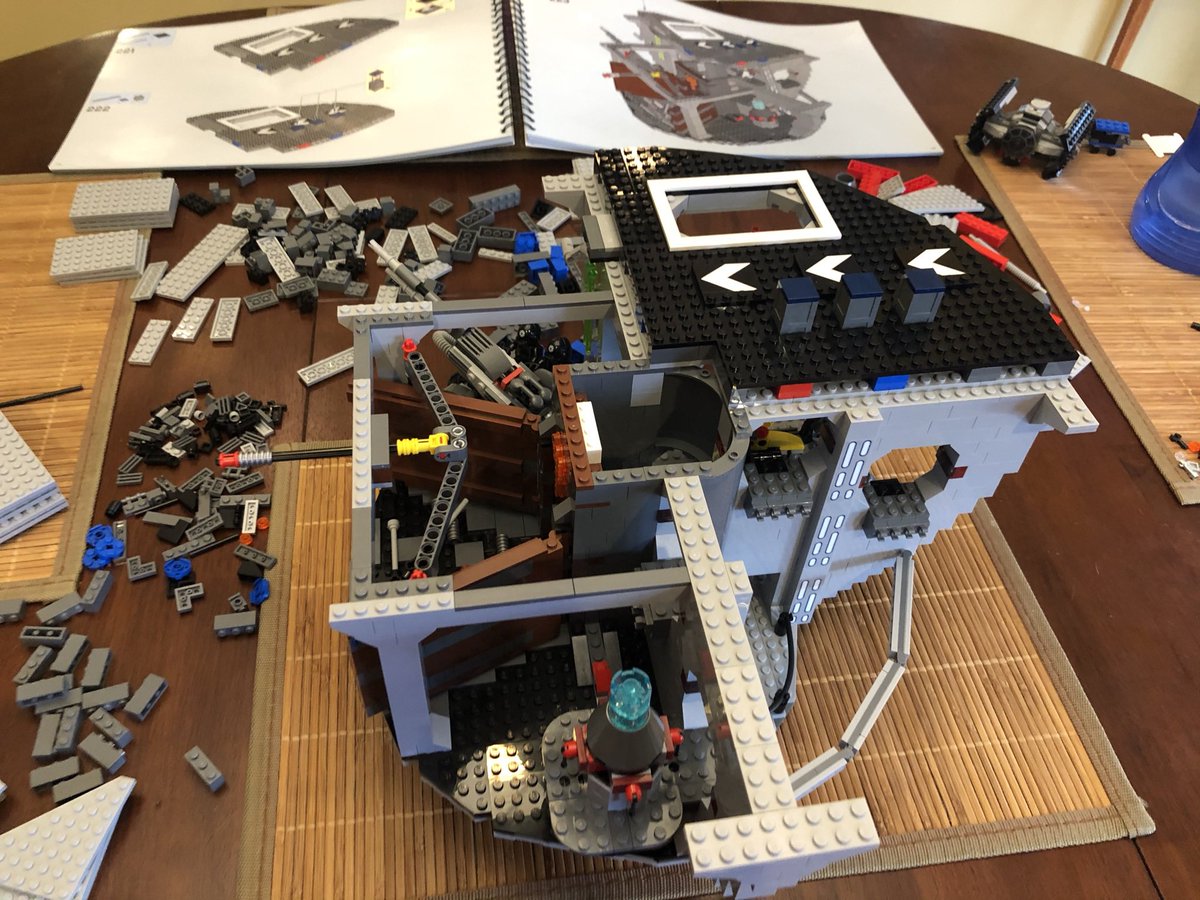
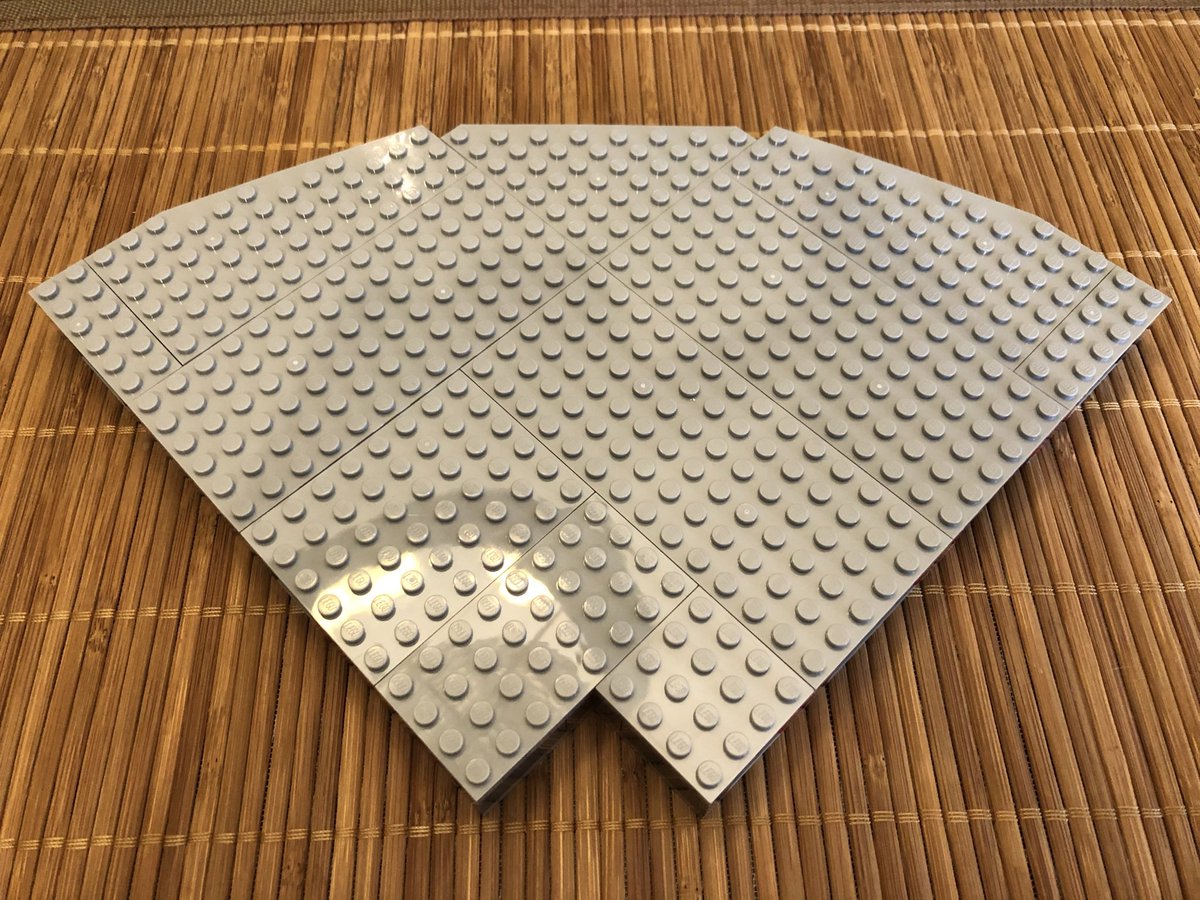
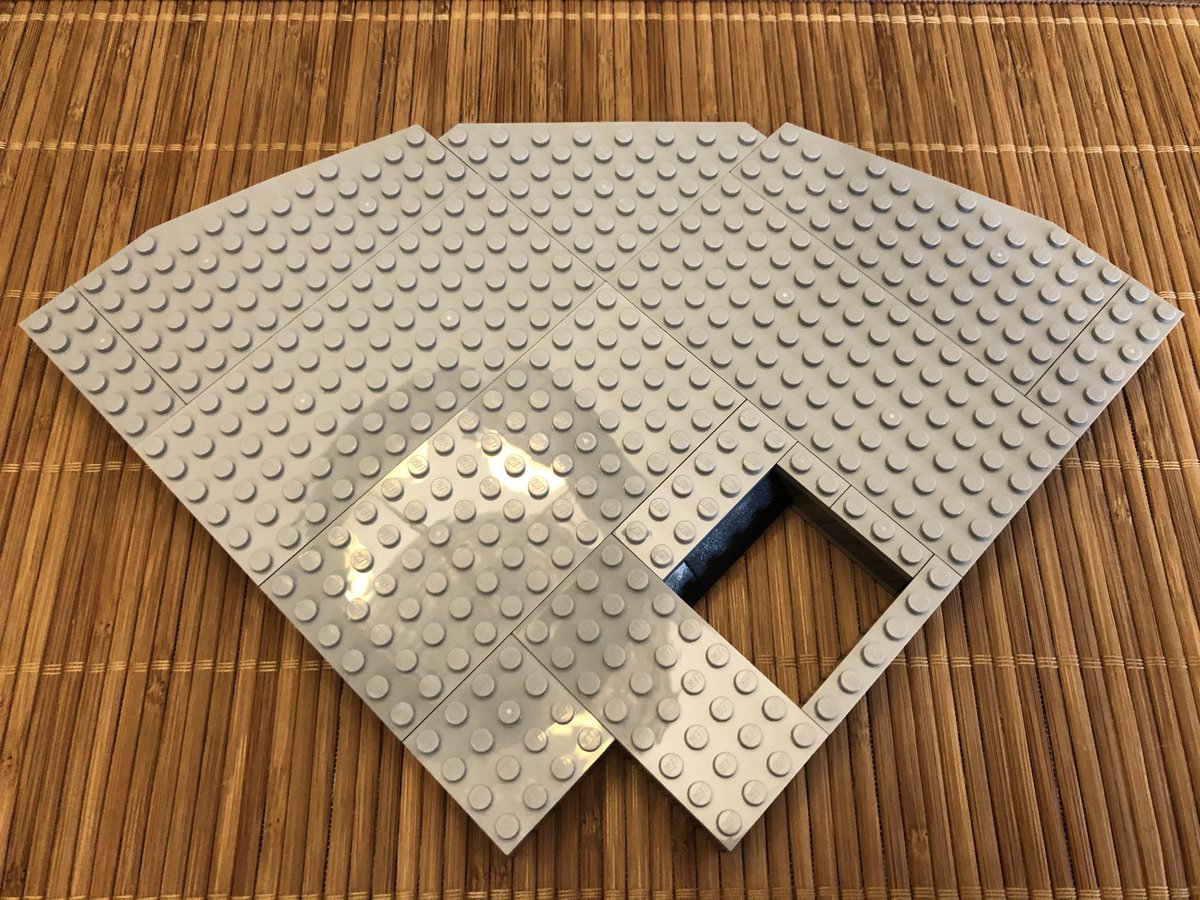
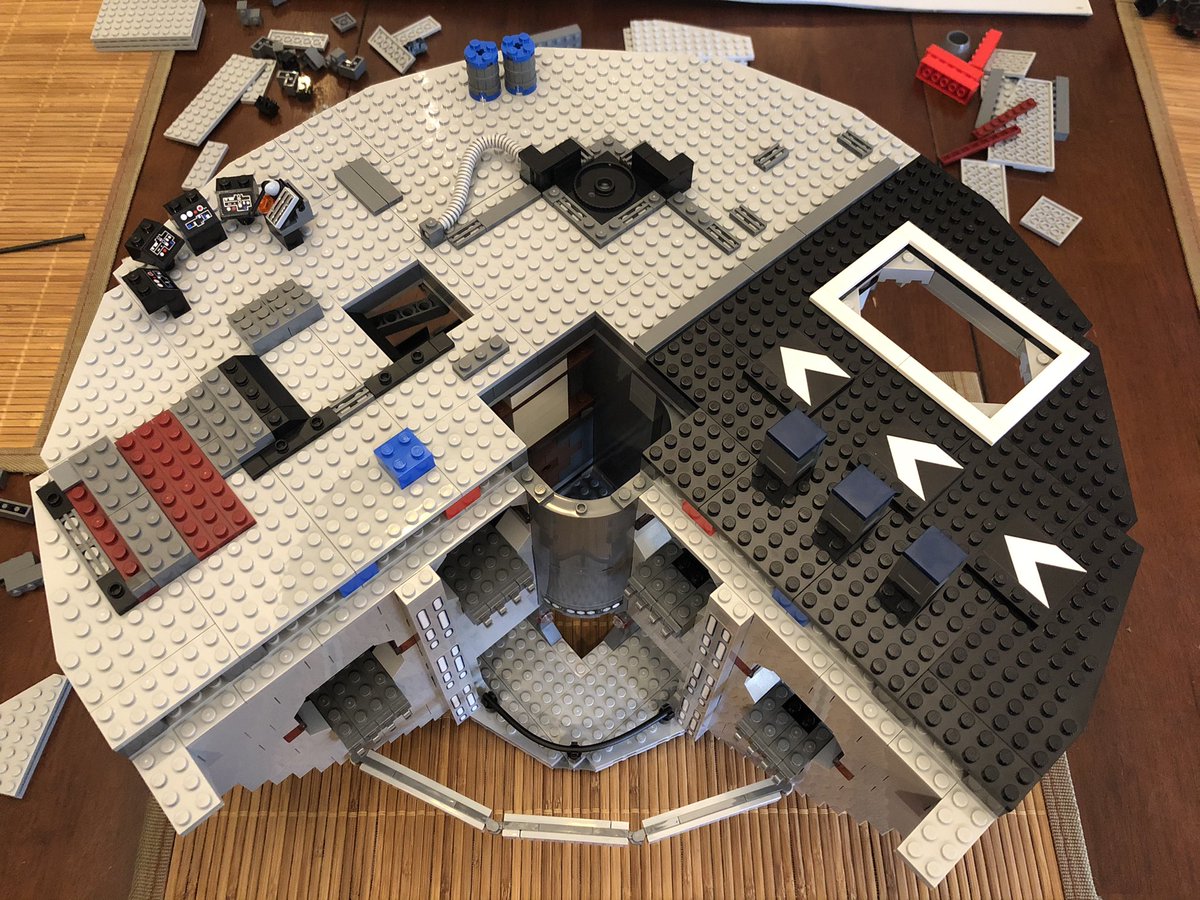
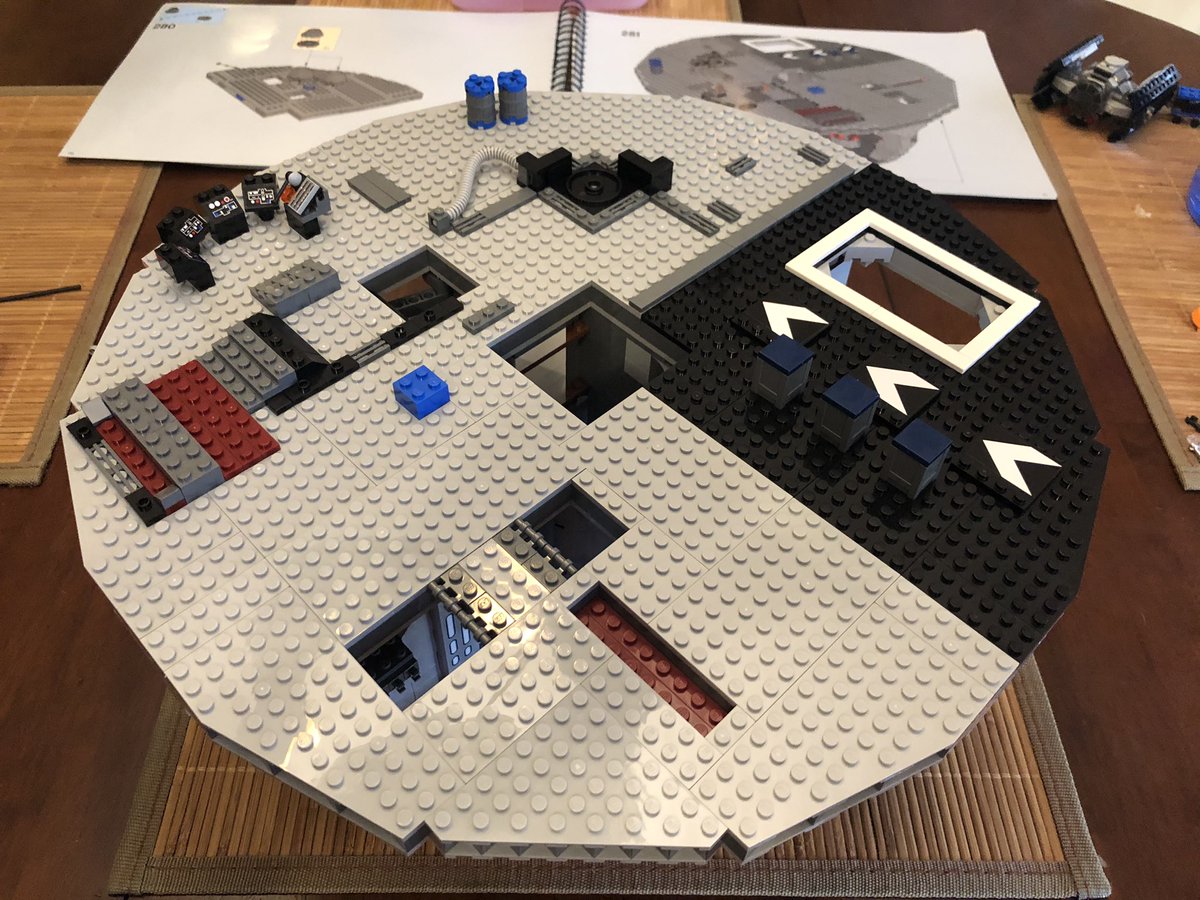
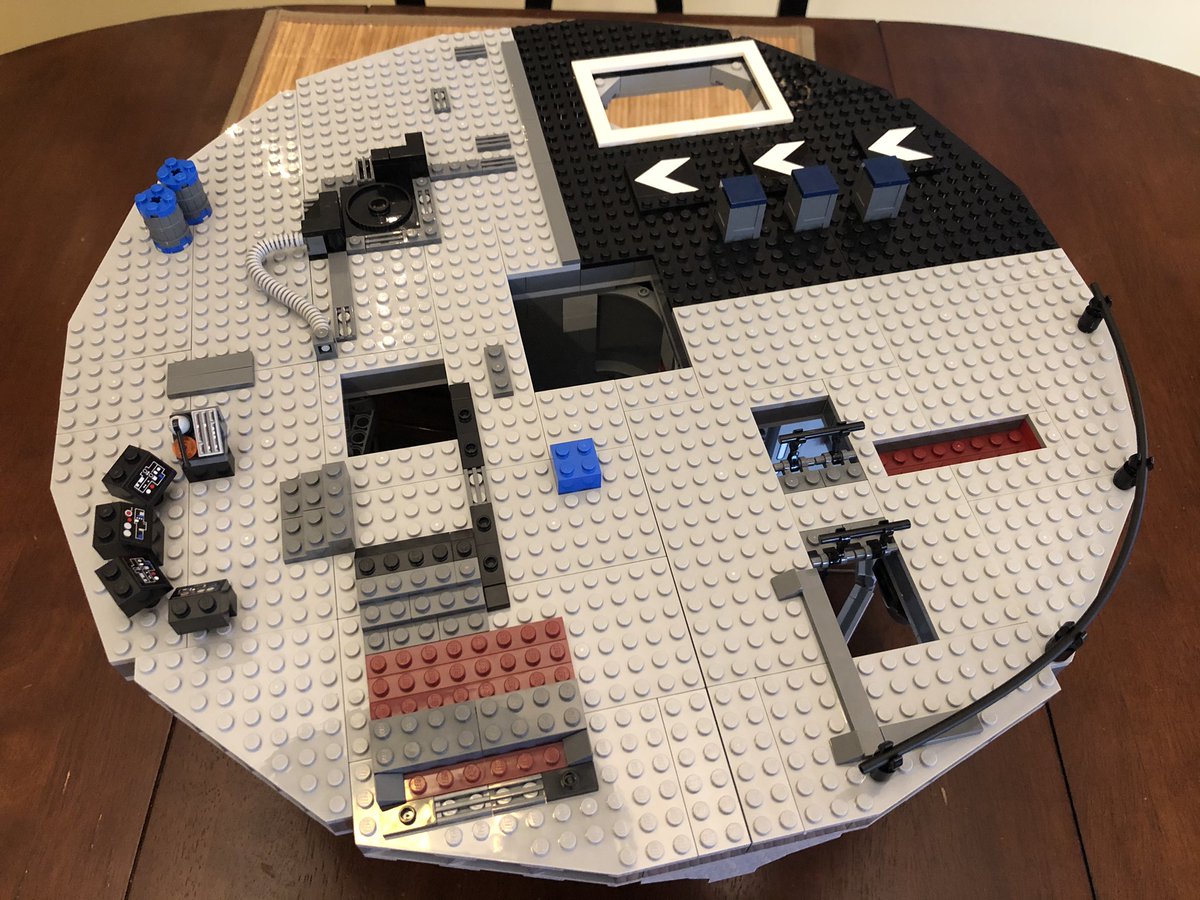
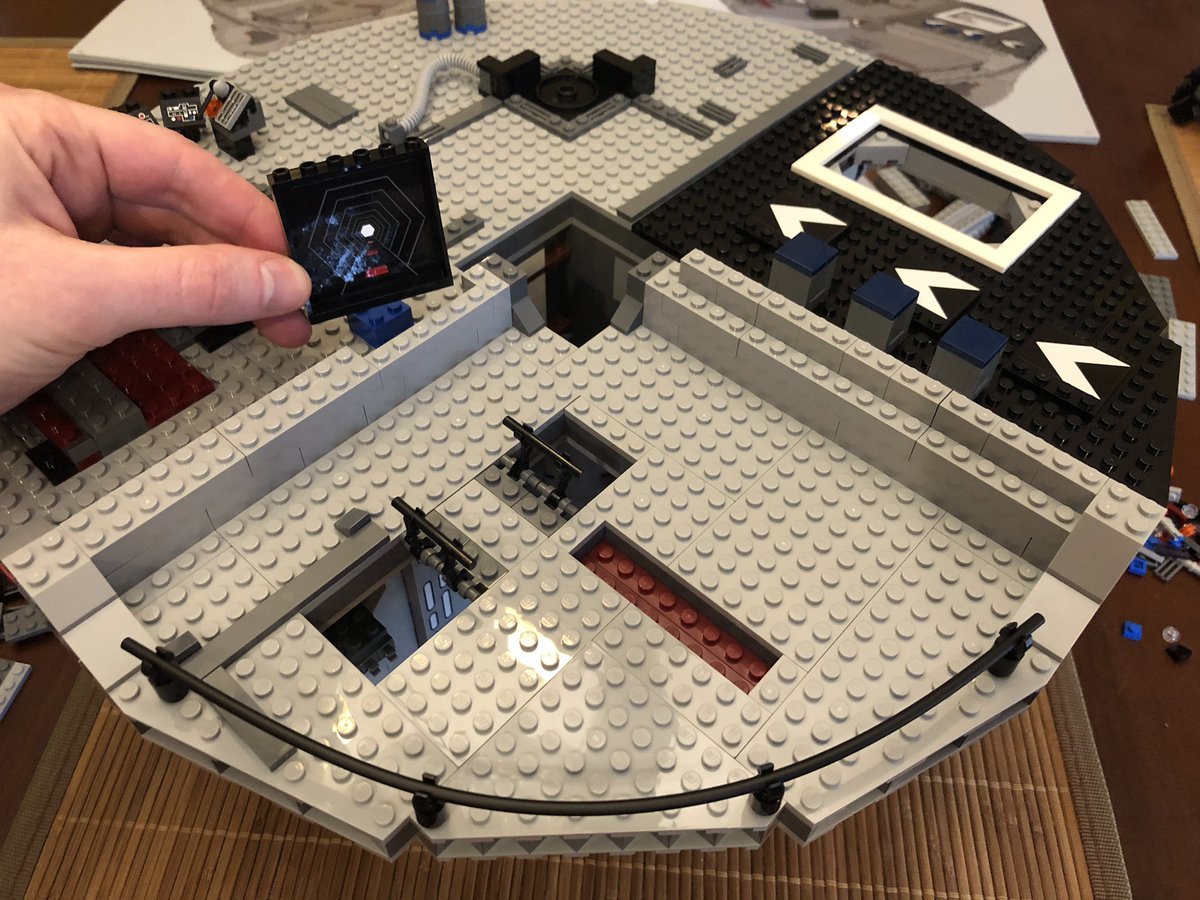
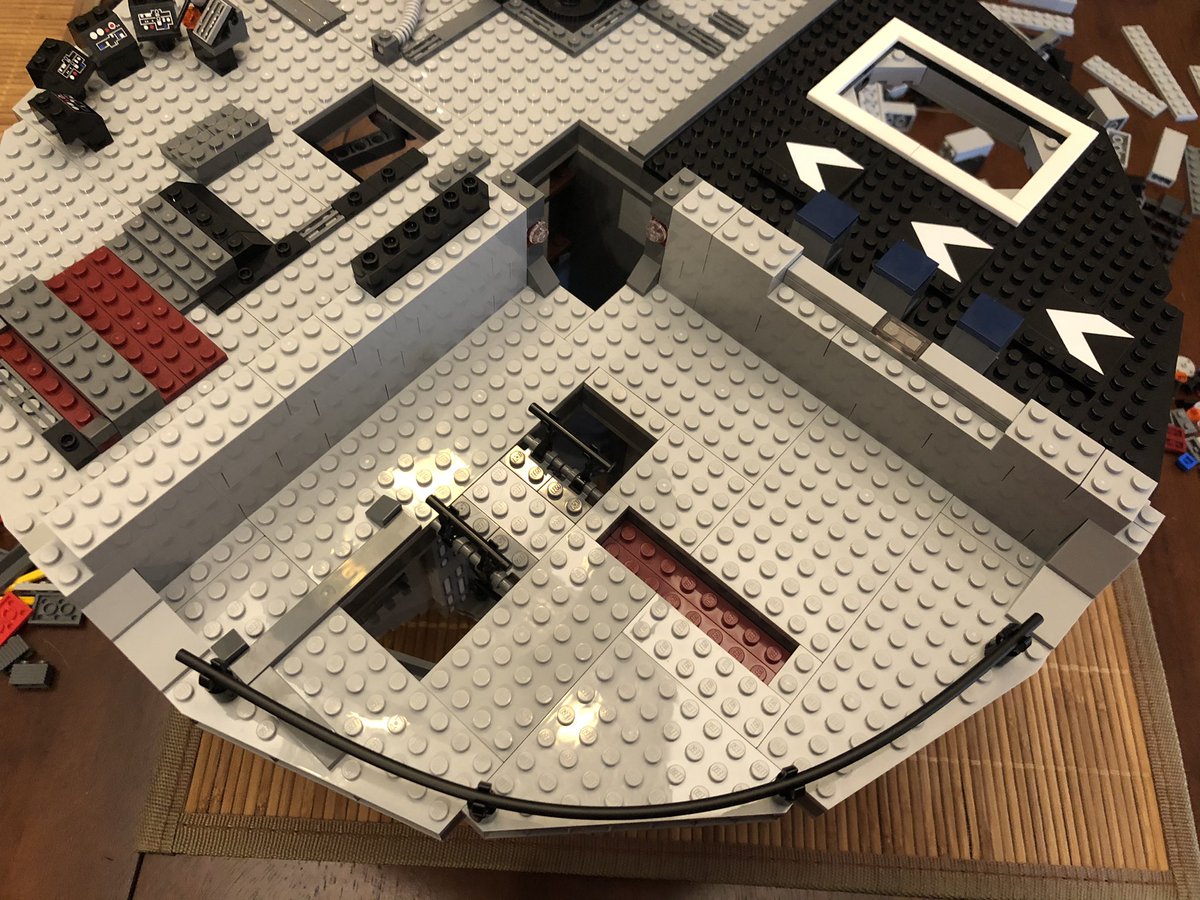
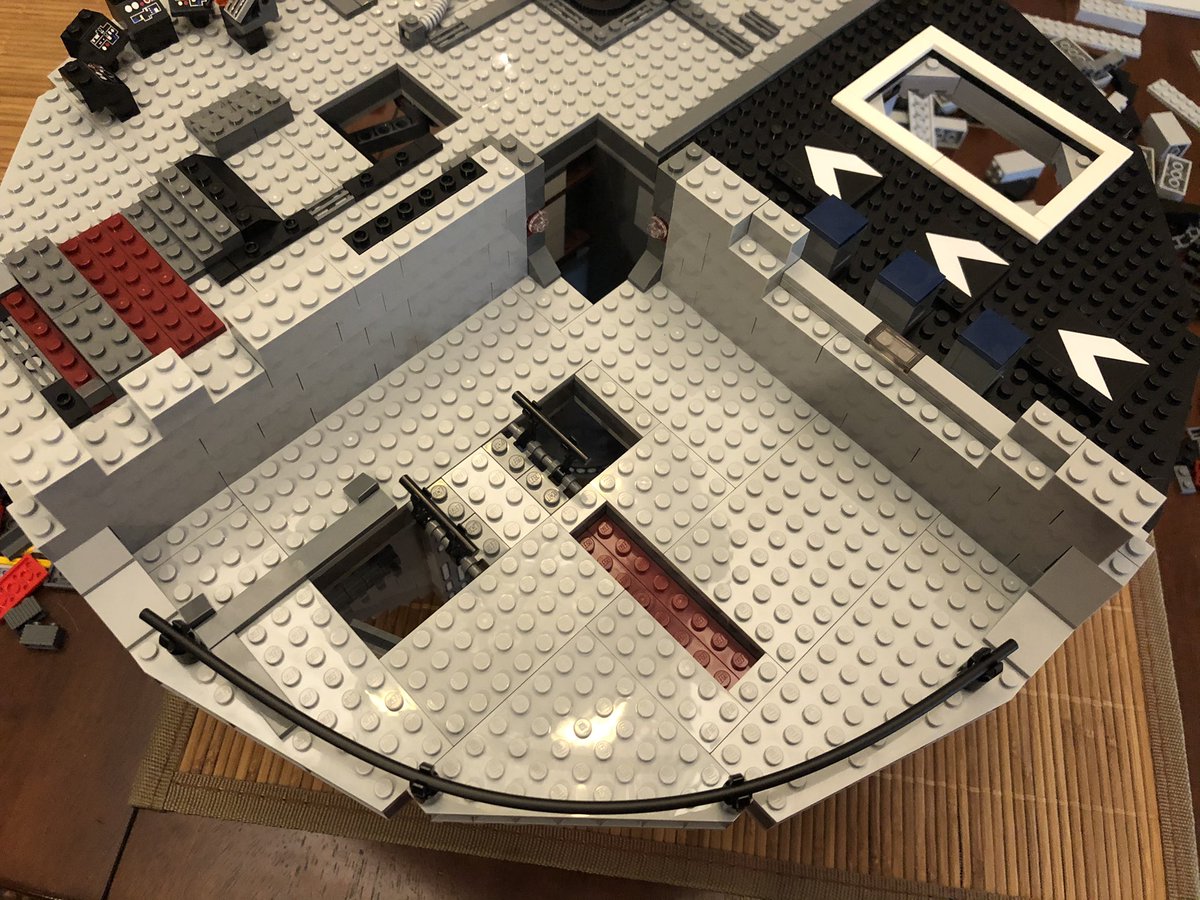
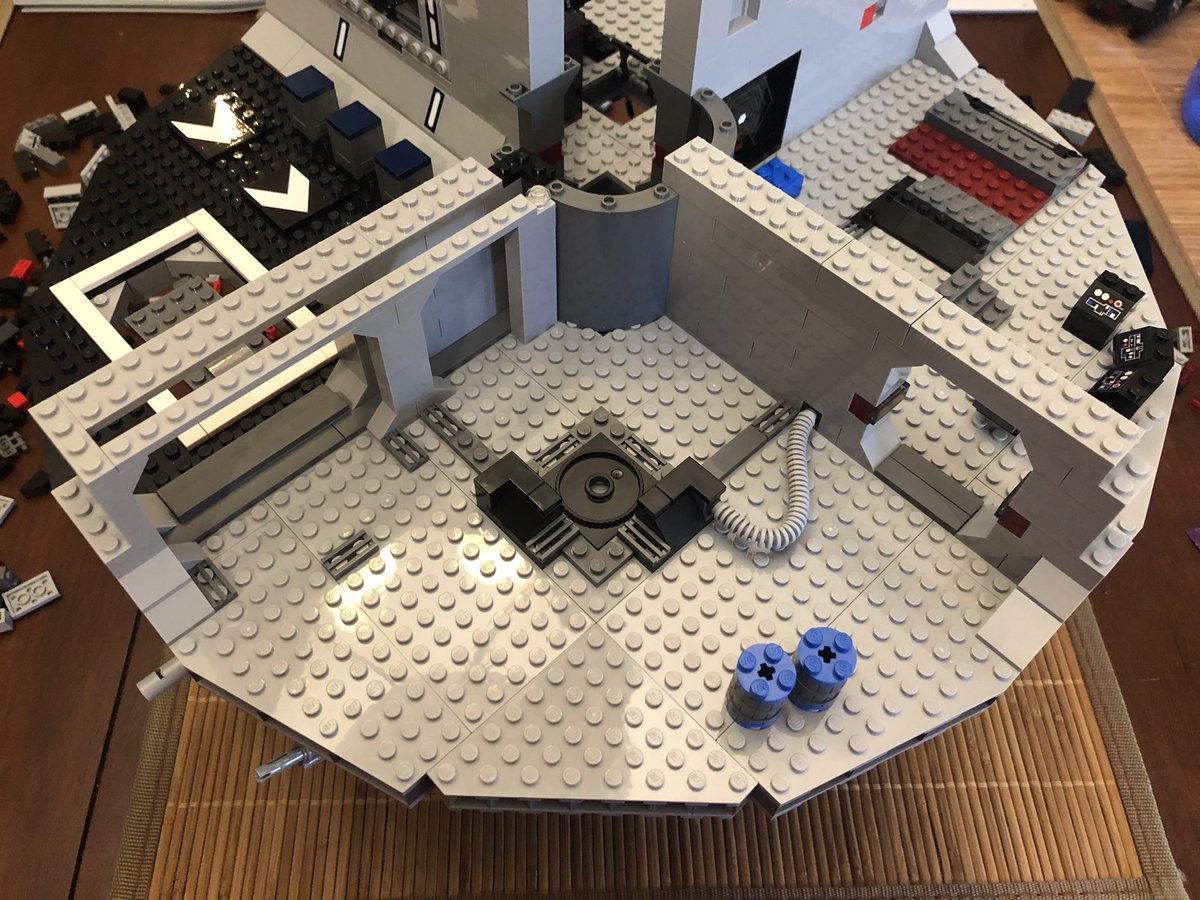
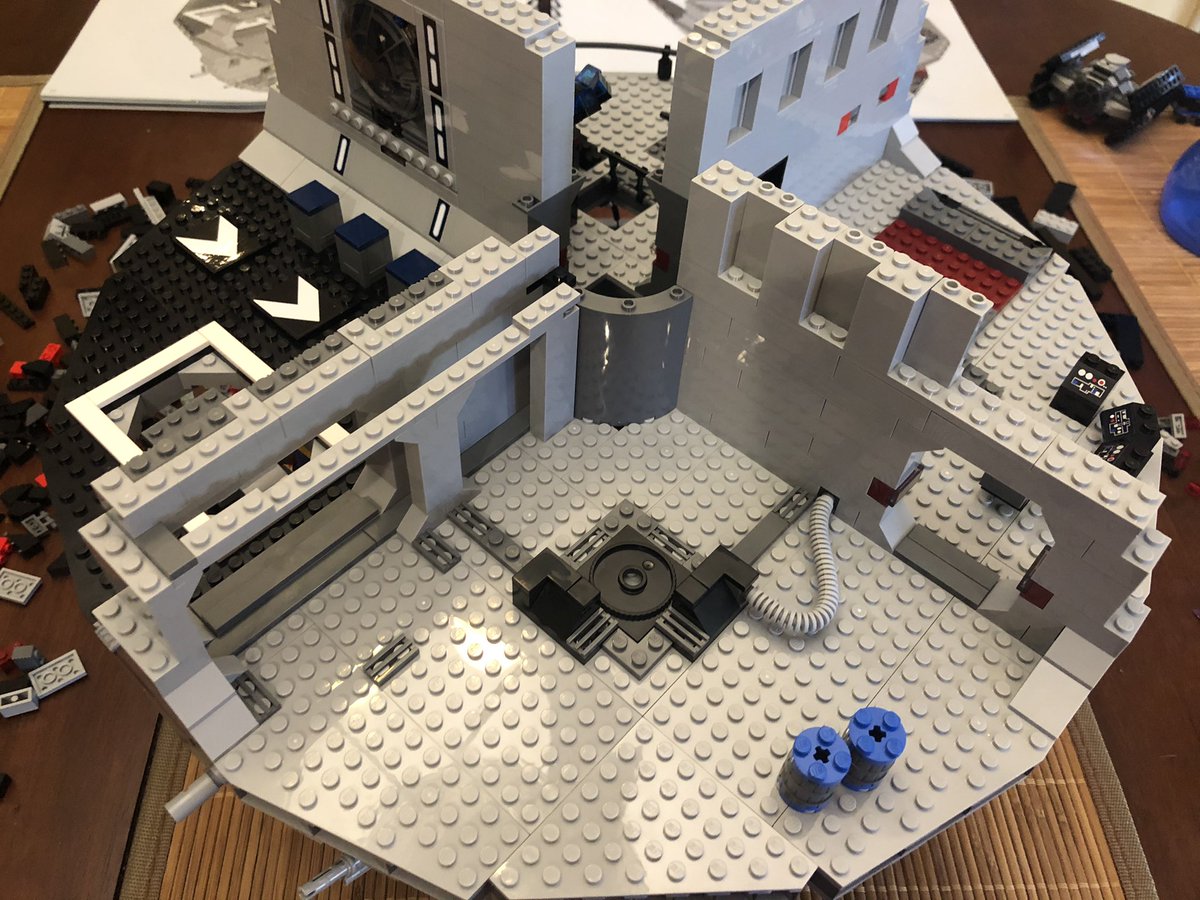
Section 5 gives us the next floor. If 4 was the smallest, this might be the largest - we also have the 15 gray 6x14 and 2 black plates on the left, plus a string and a flexible pole. Unlike the last floor, we use full height pieces in the middle layer. Just a ton of plates #LEGO 

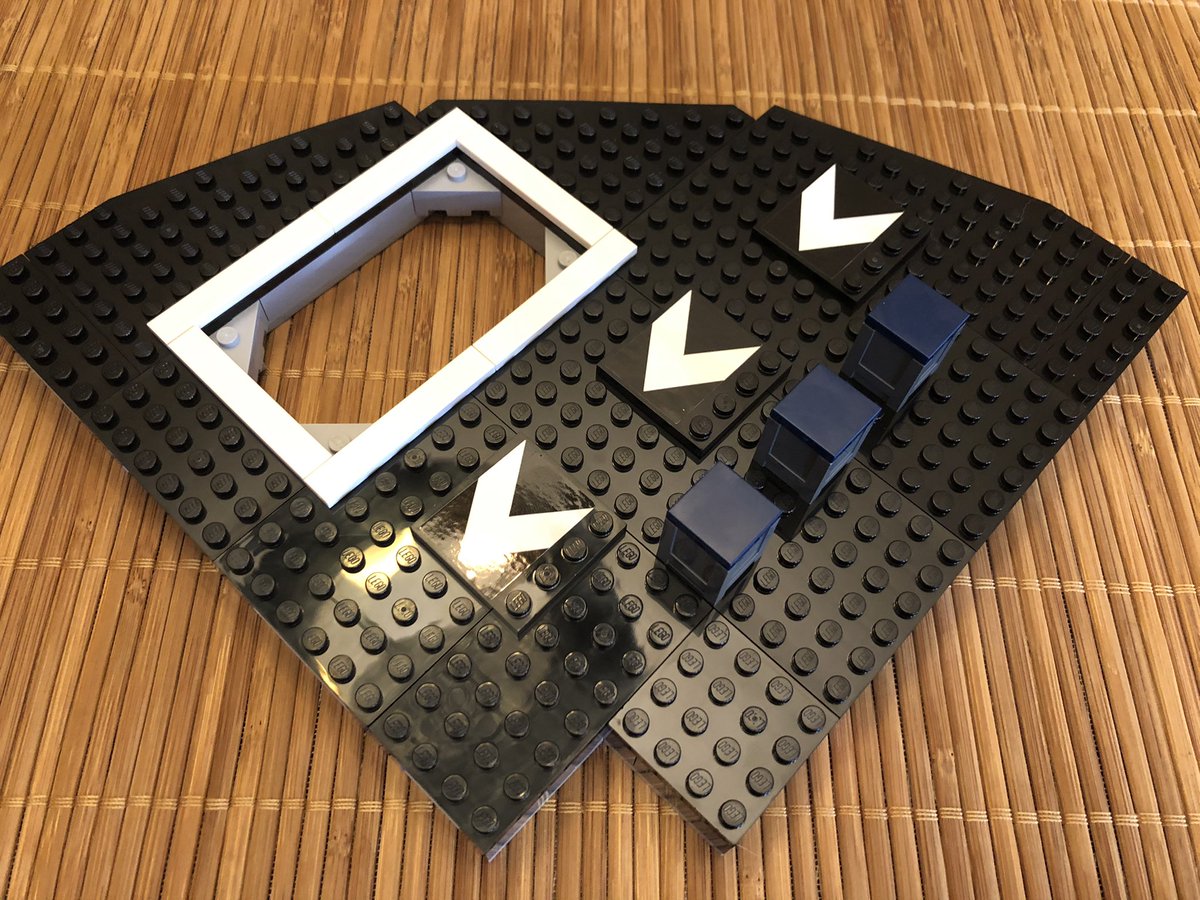
This section has a hole in the all black floor with light grey trim, a white border, and directional markings on top. #LEGO 

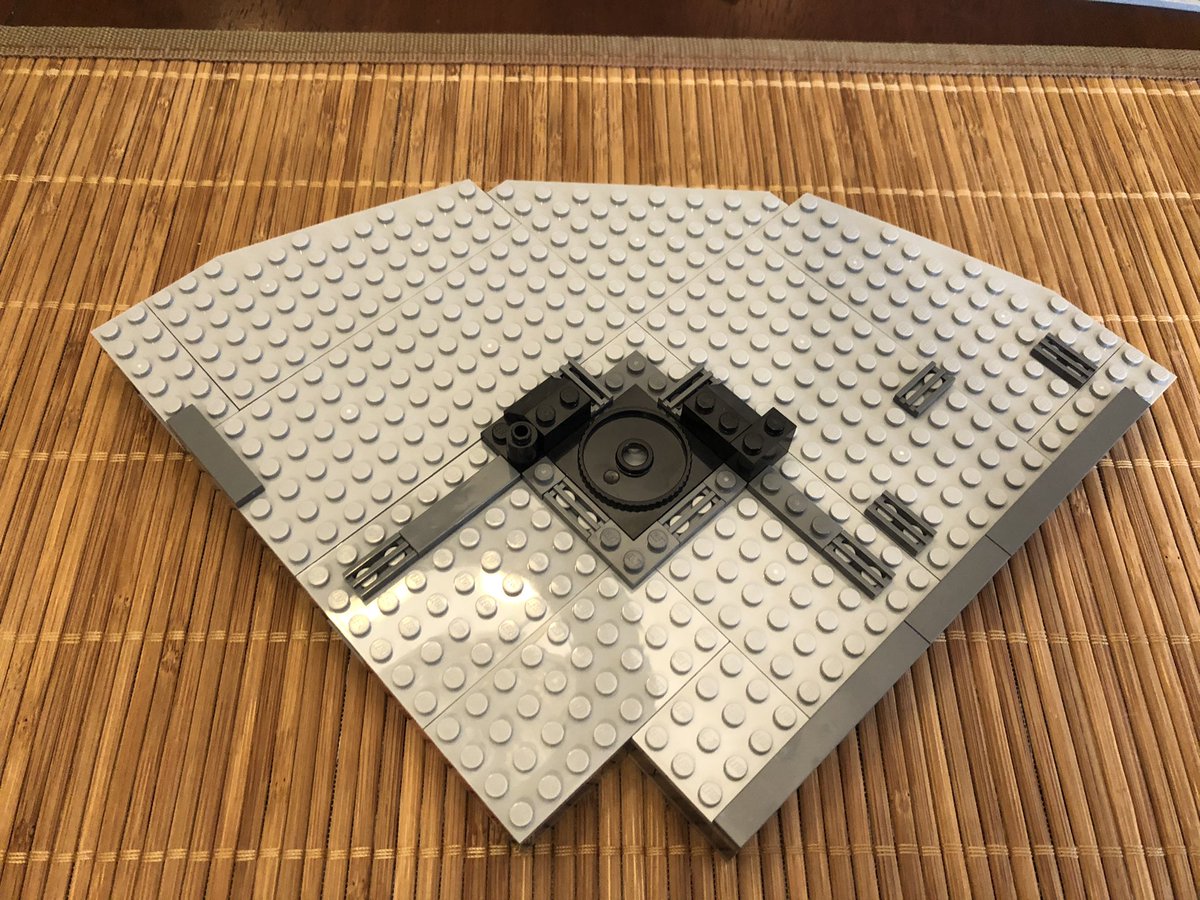
This quadrant goes above the cargo bay. The next section has a cutout on the bottom side, but has a smooth surface. A rotational piece goes in the center, with some decoration around it. #LEGO 

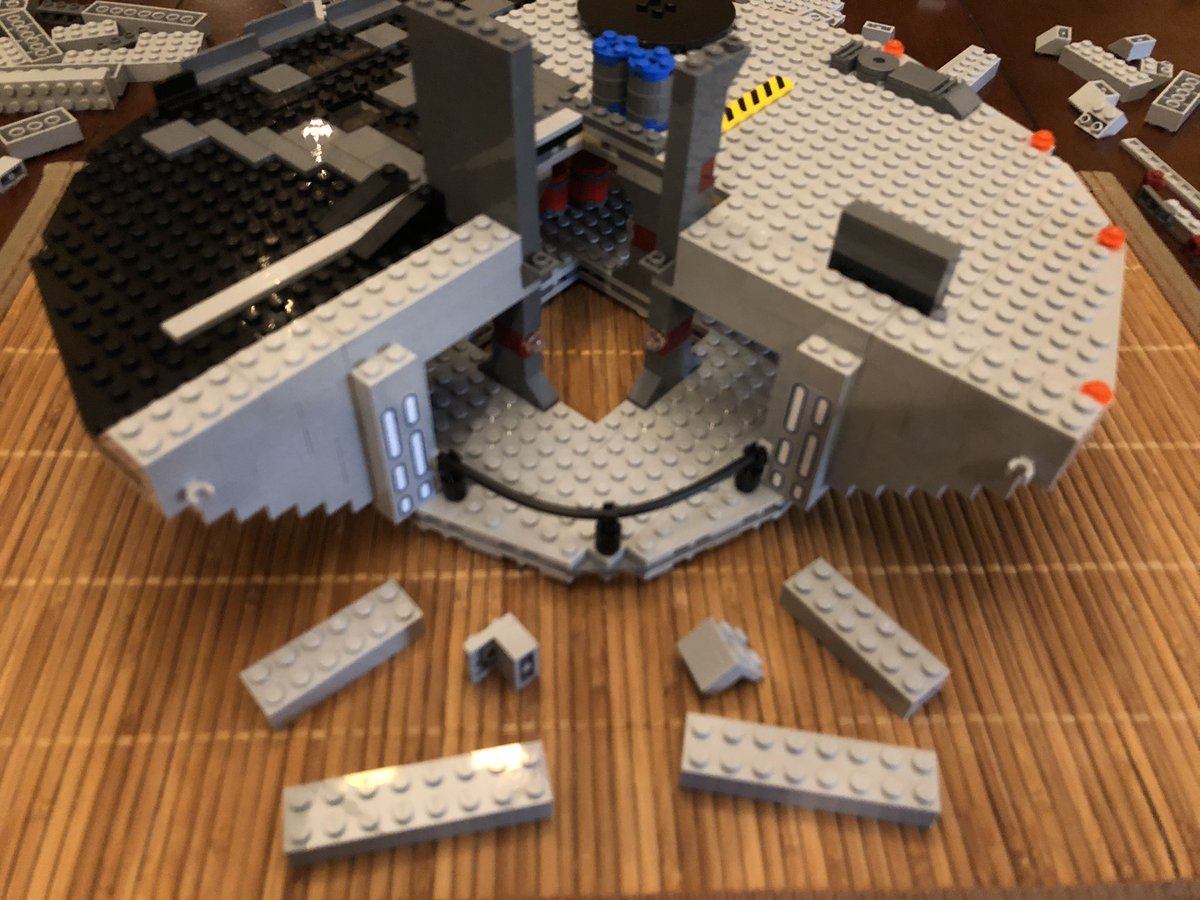
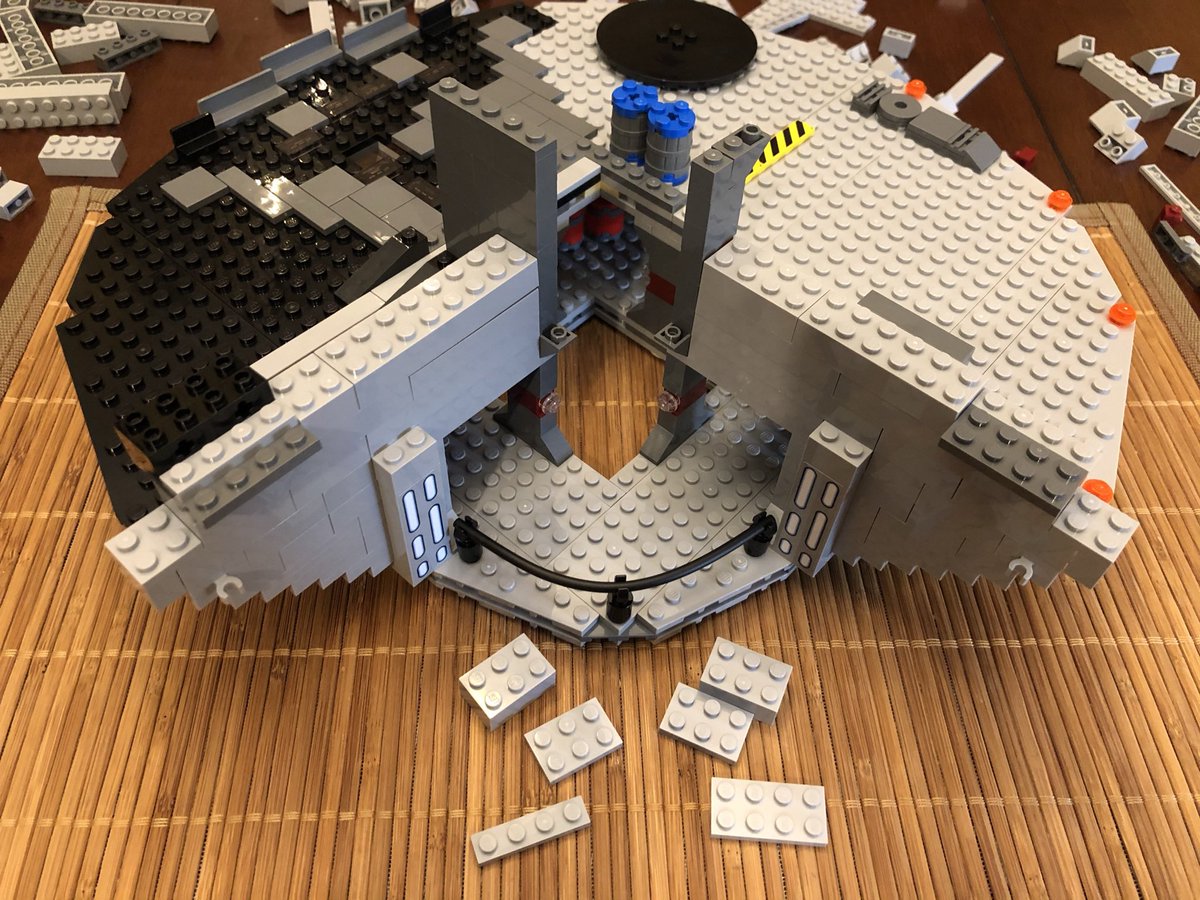
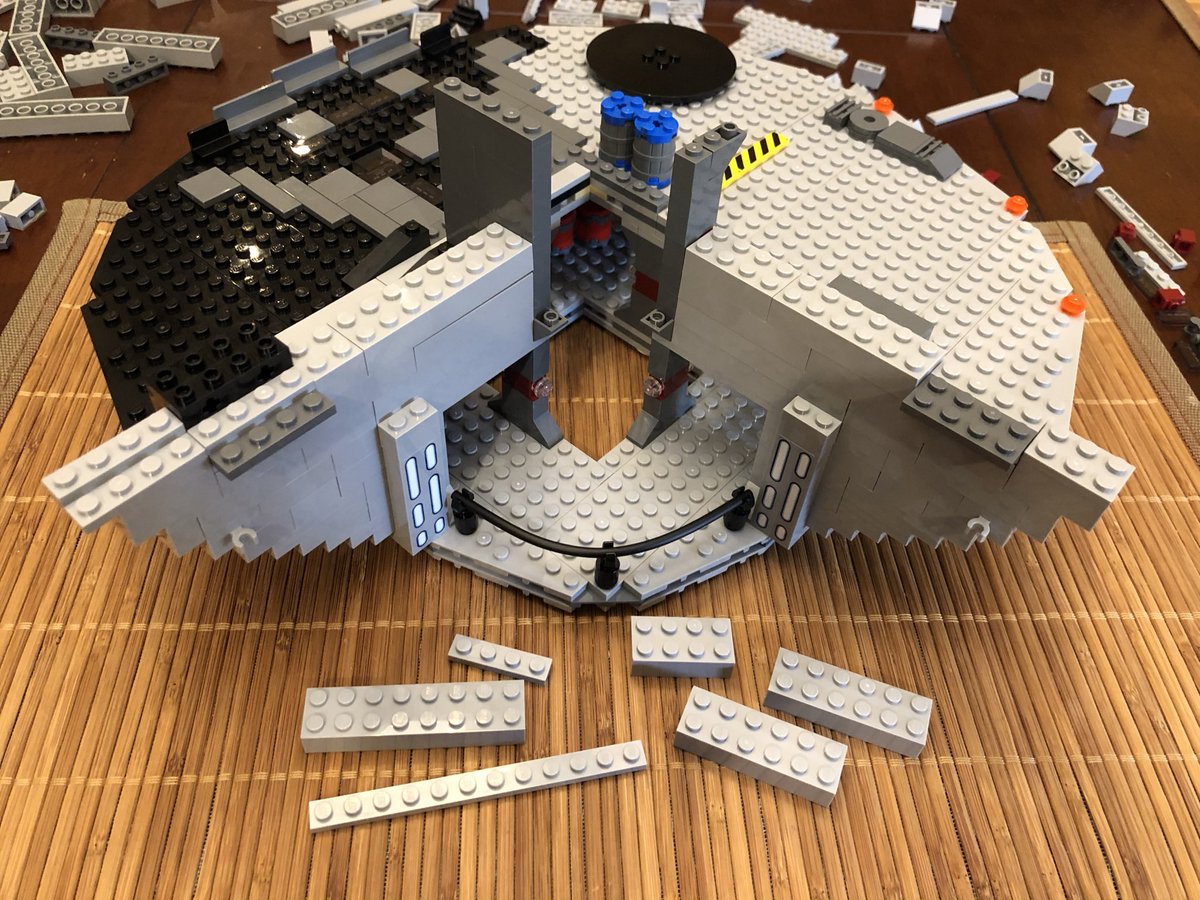
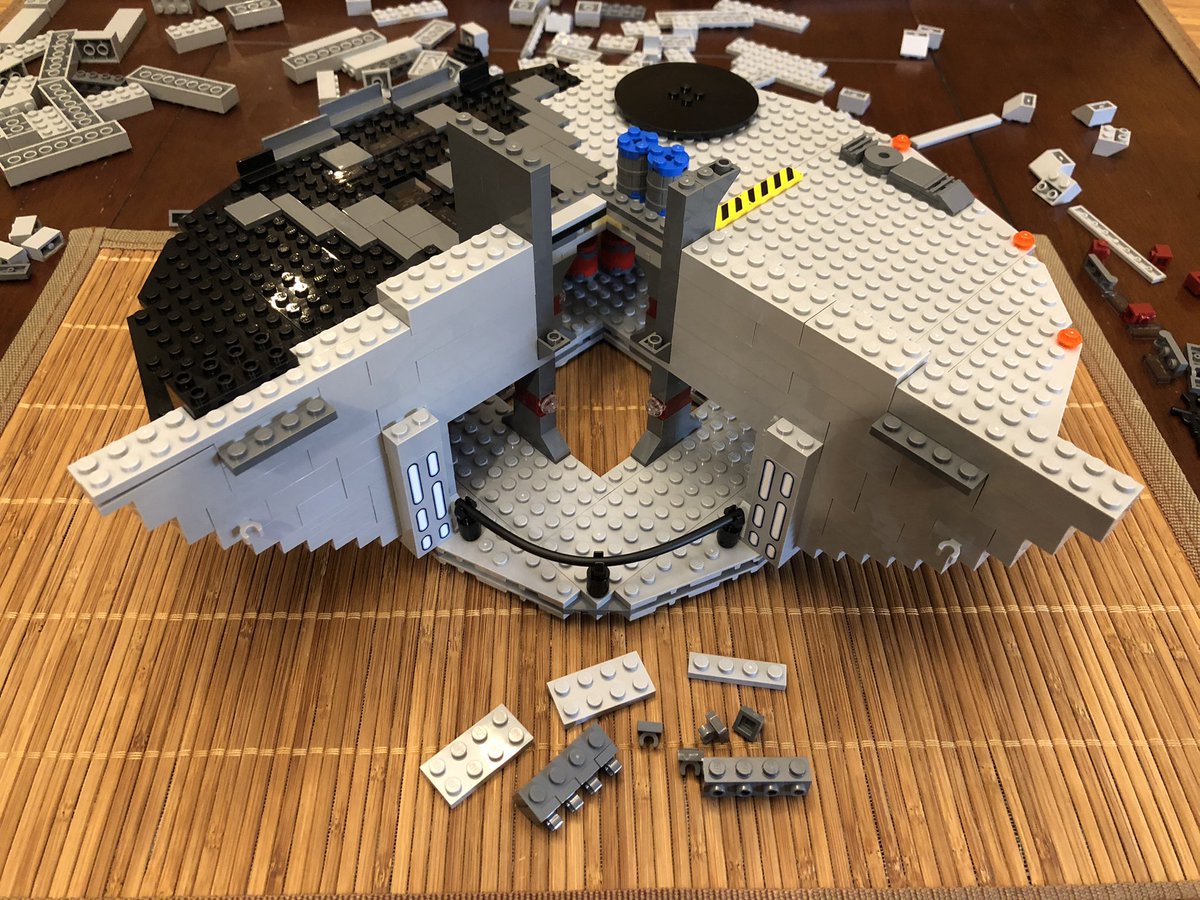
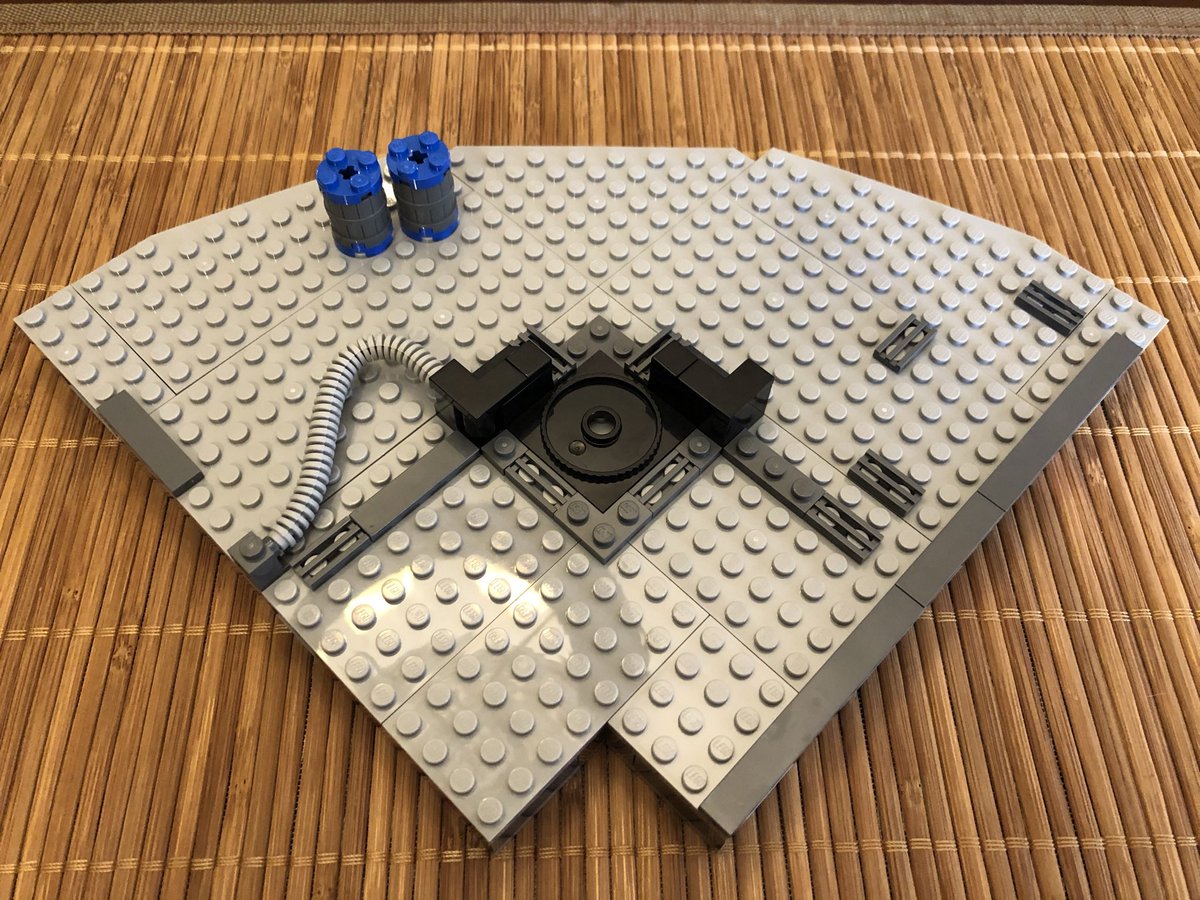
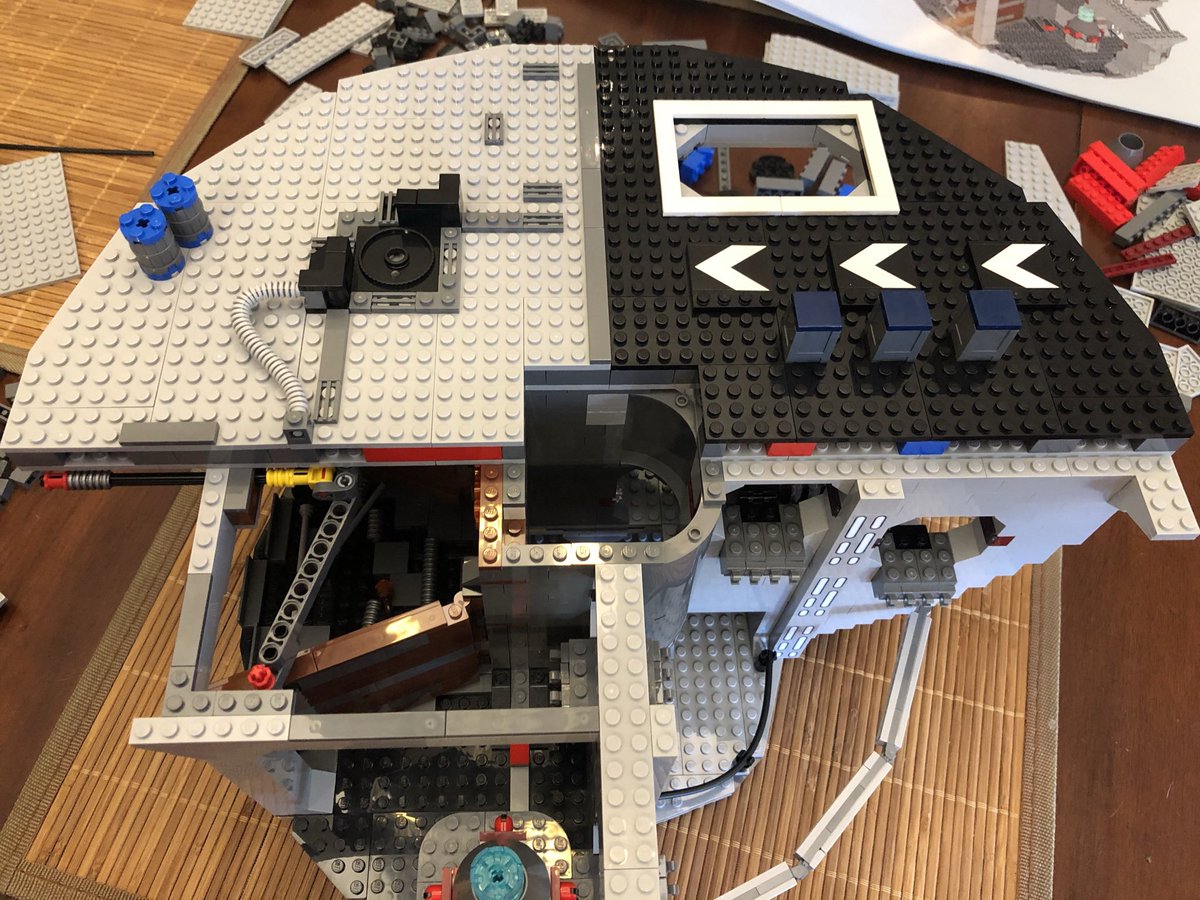
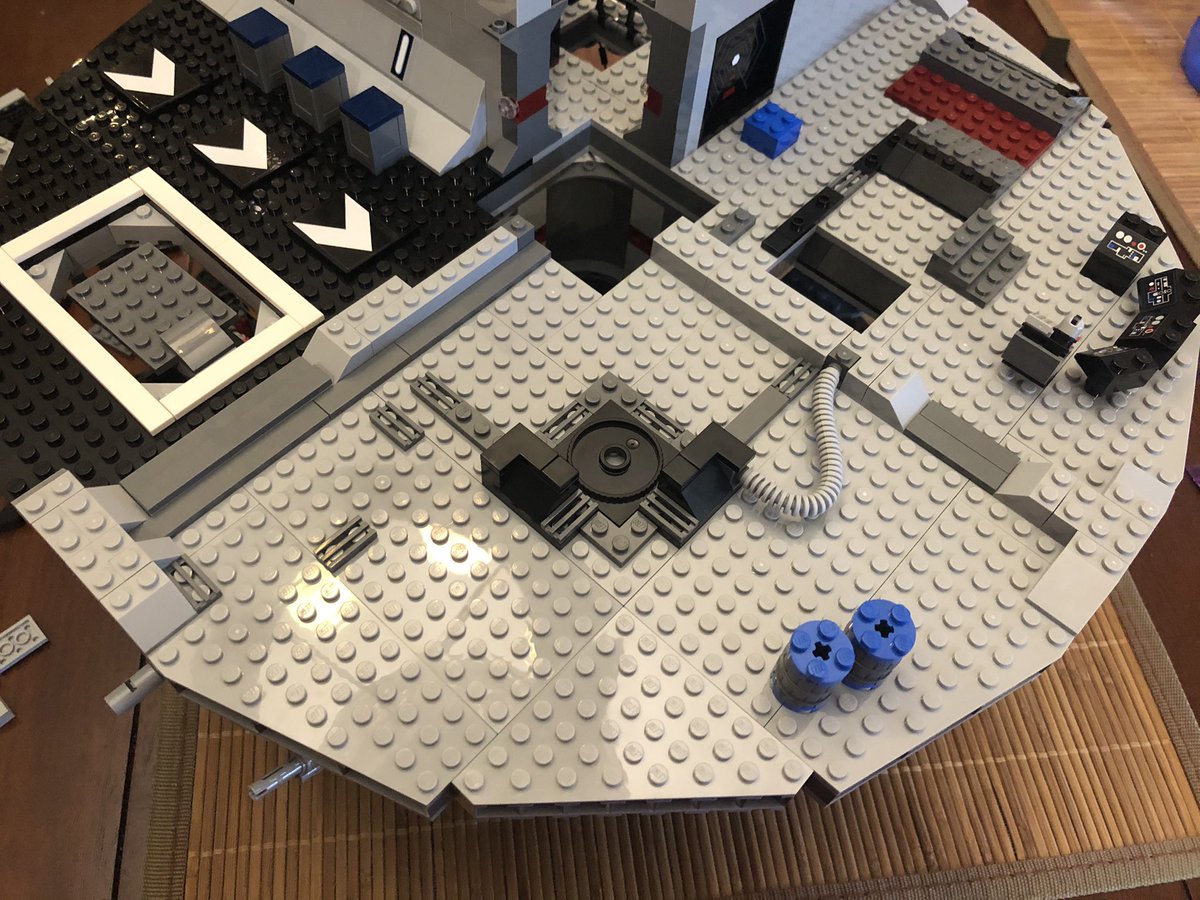
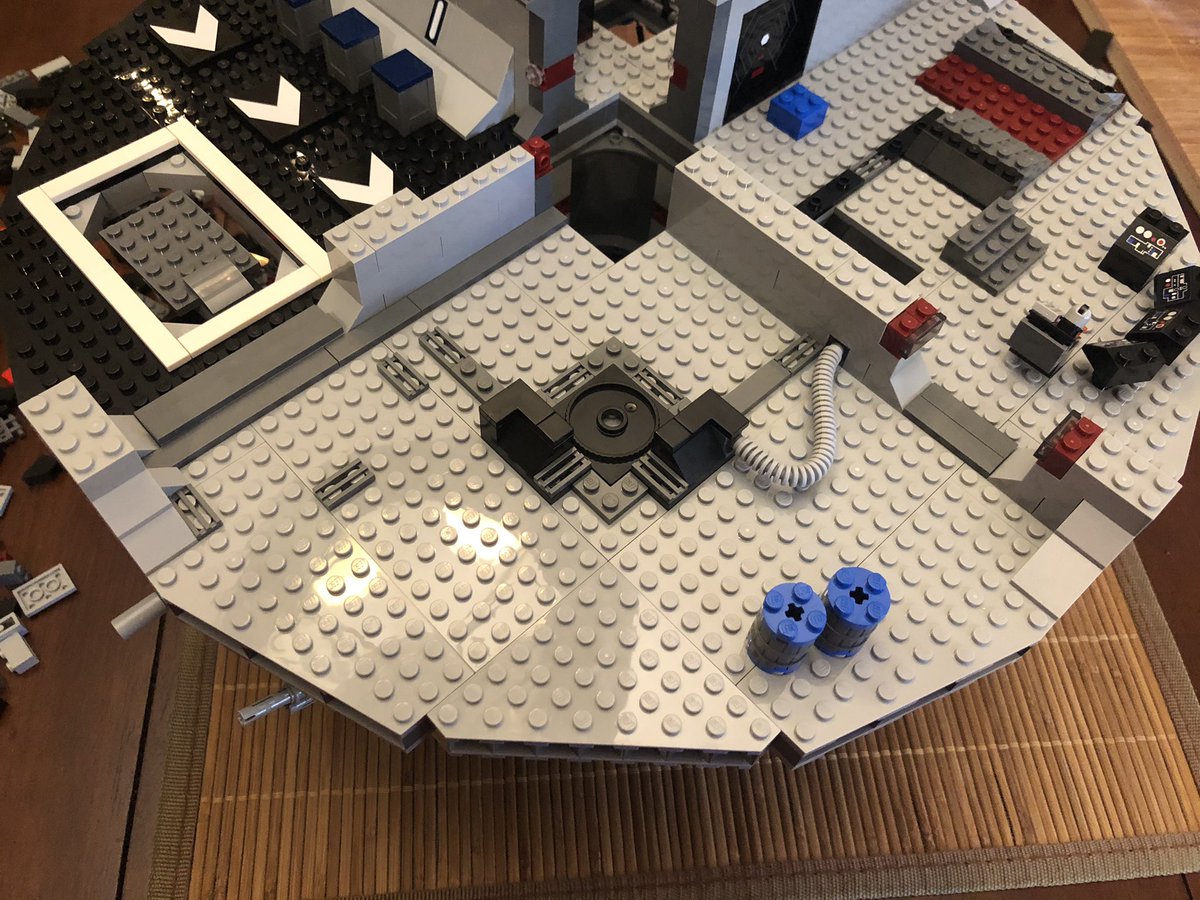
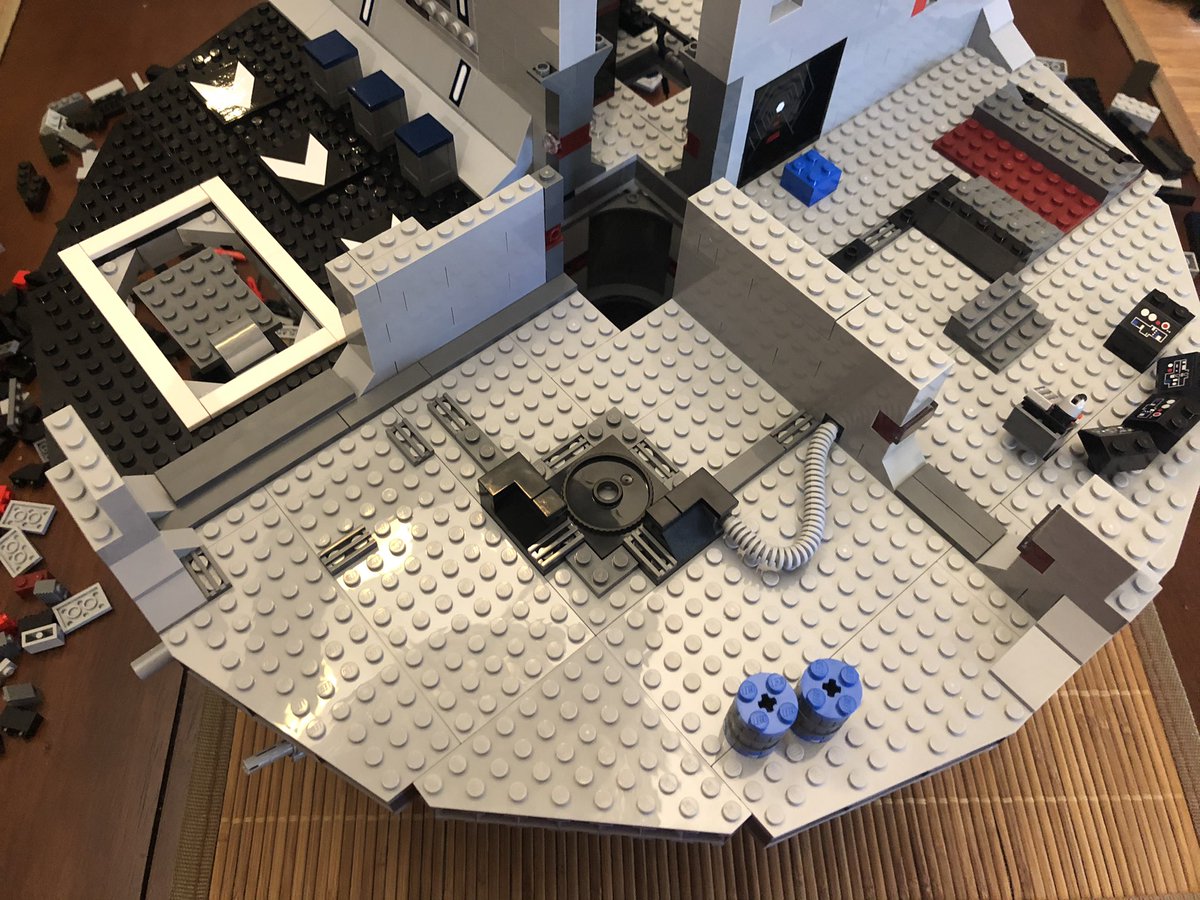
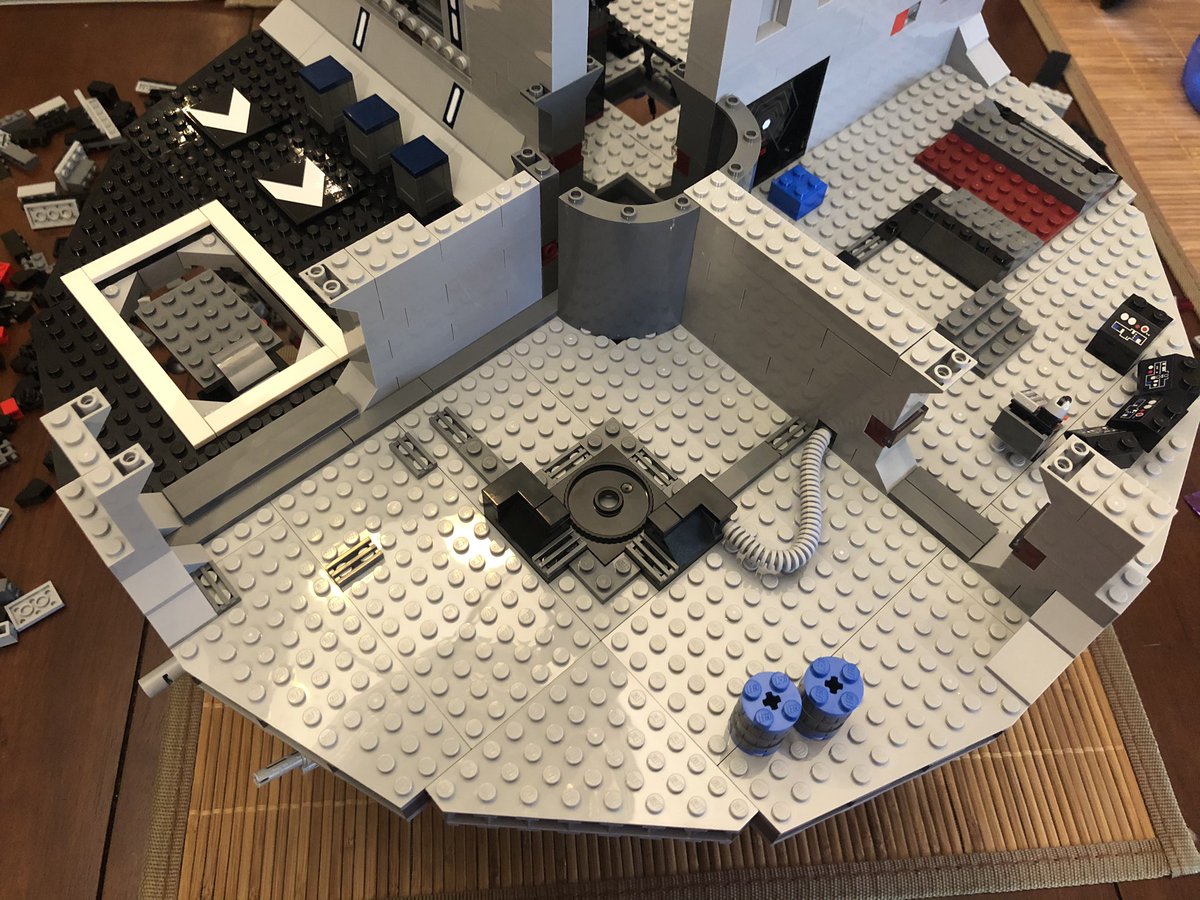
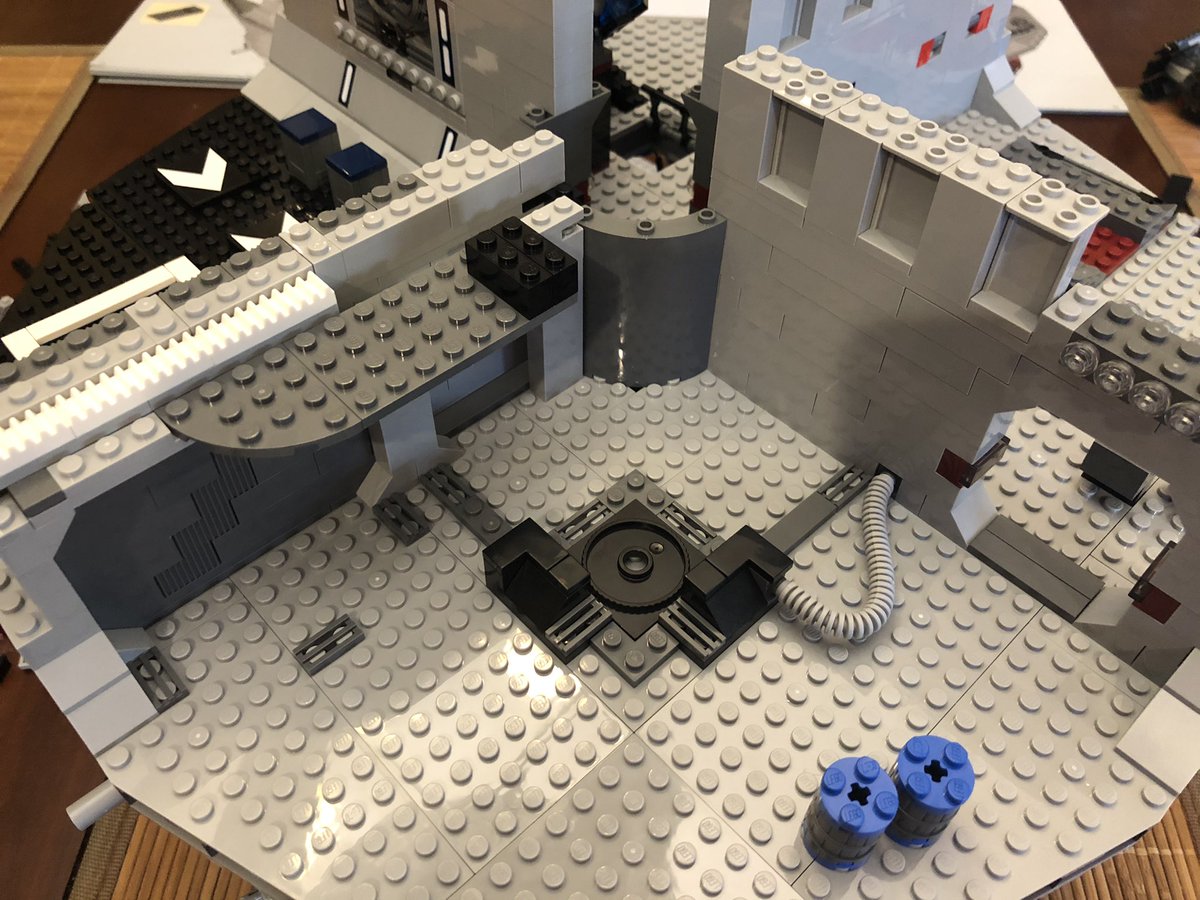
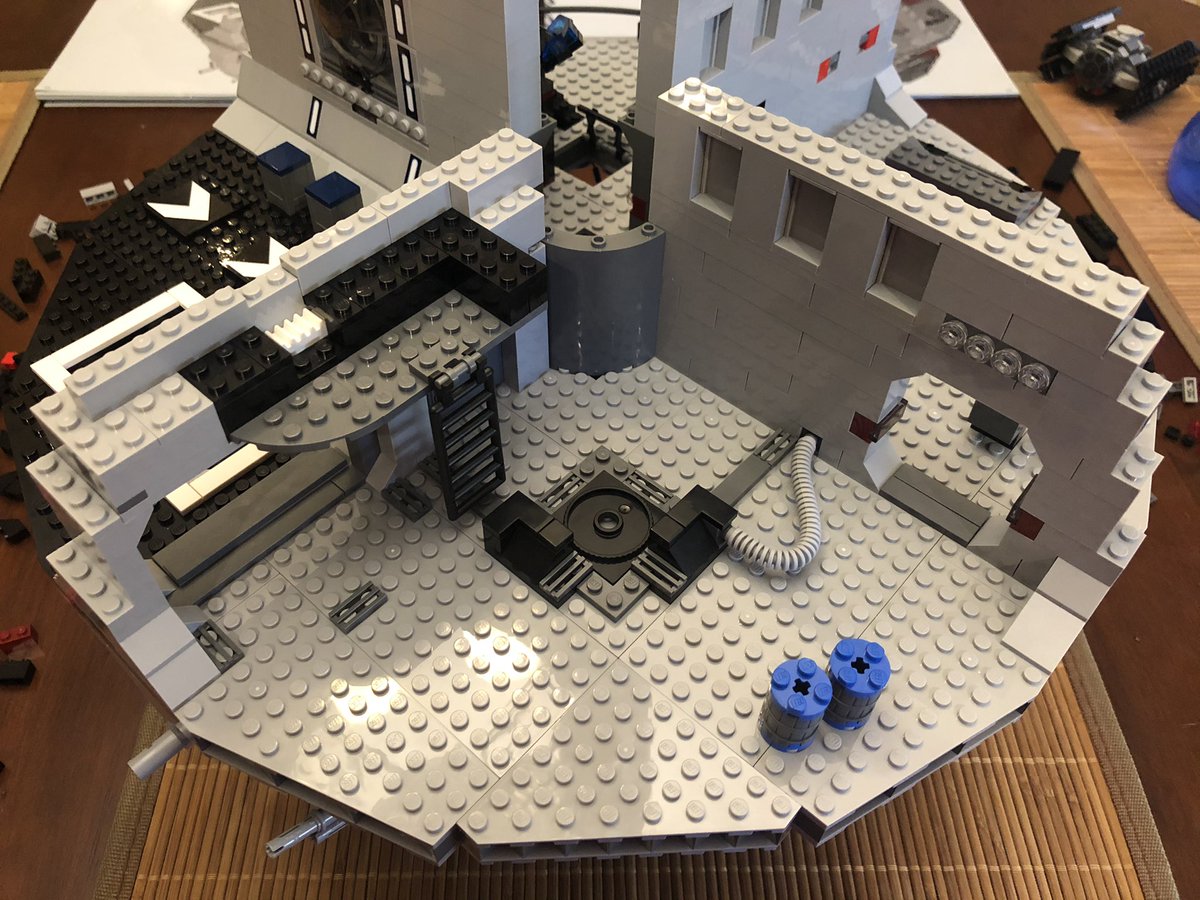
Some tubing and barrels go on top, then secure it counter clockwise of the previous floor. This is tricky because the compactor’s posts are in the middle of the floor. Take the time to secure all pieces snugly. #LEGO 

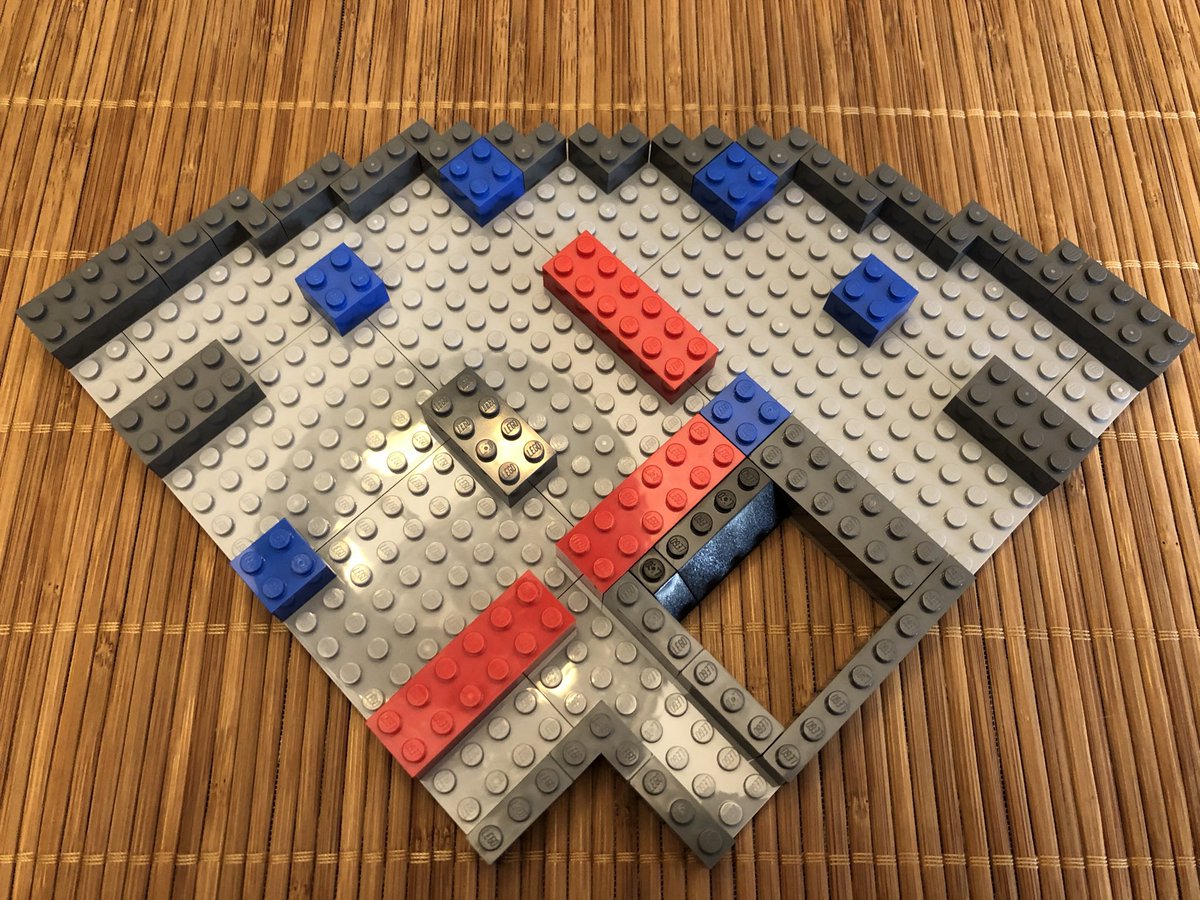
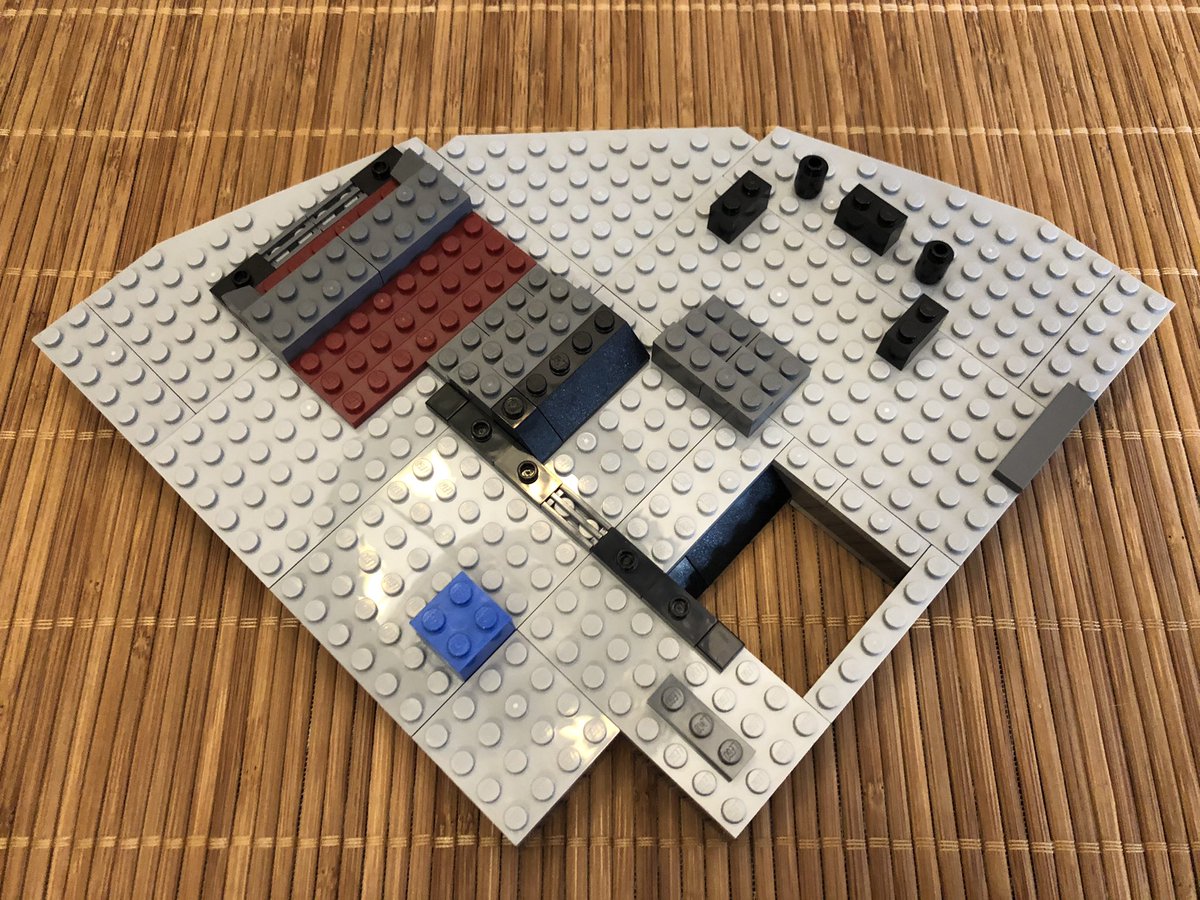
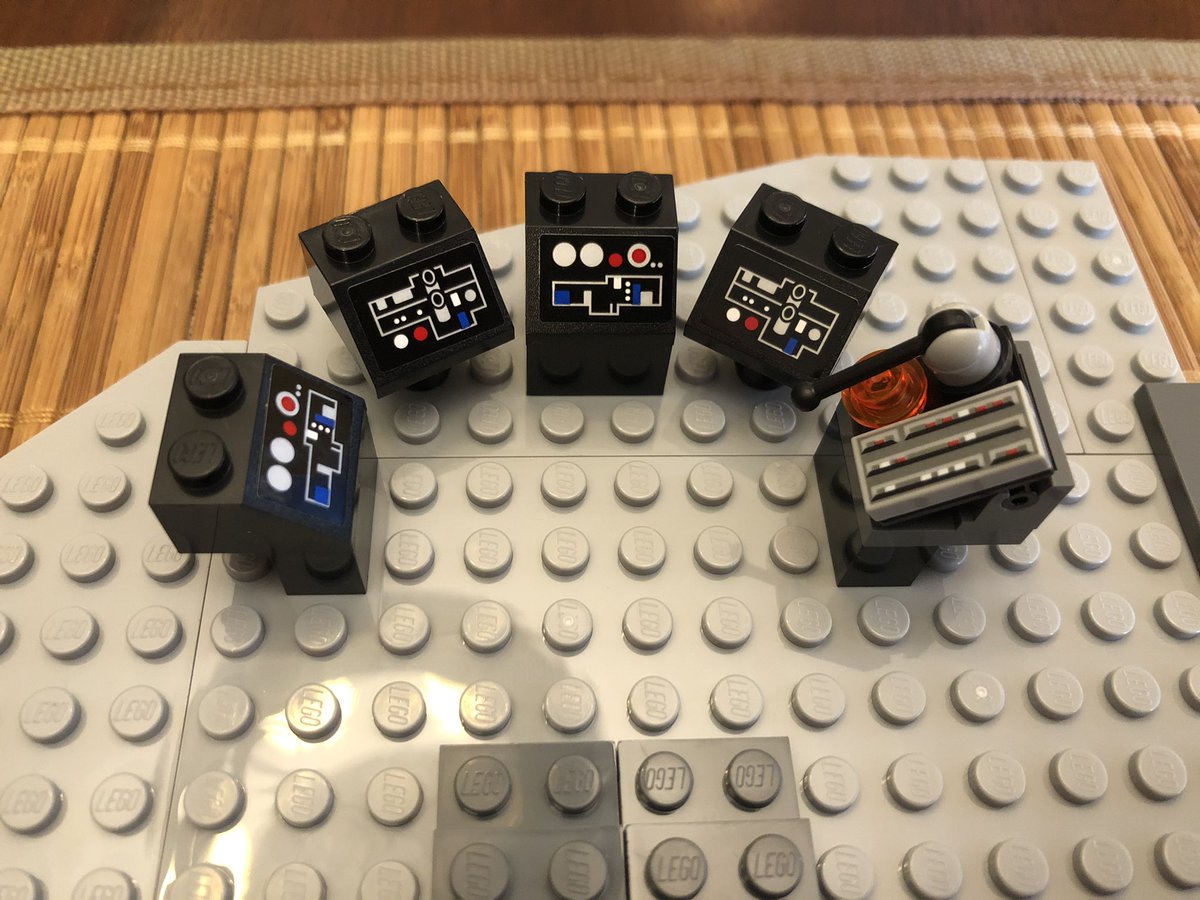
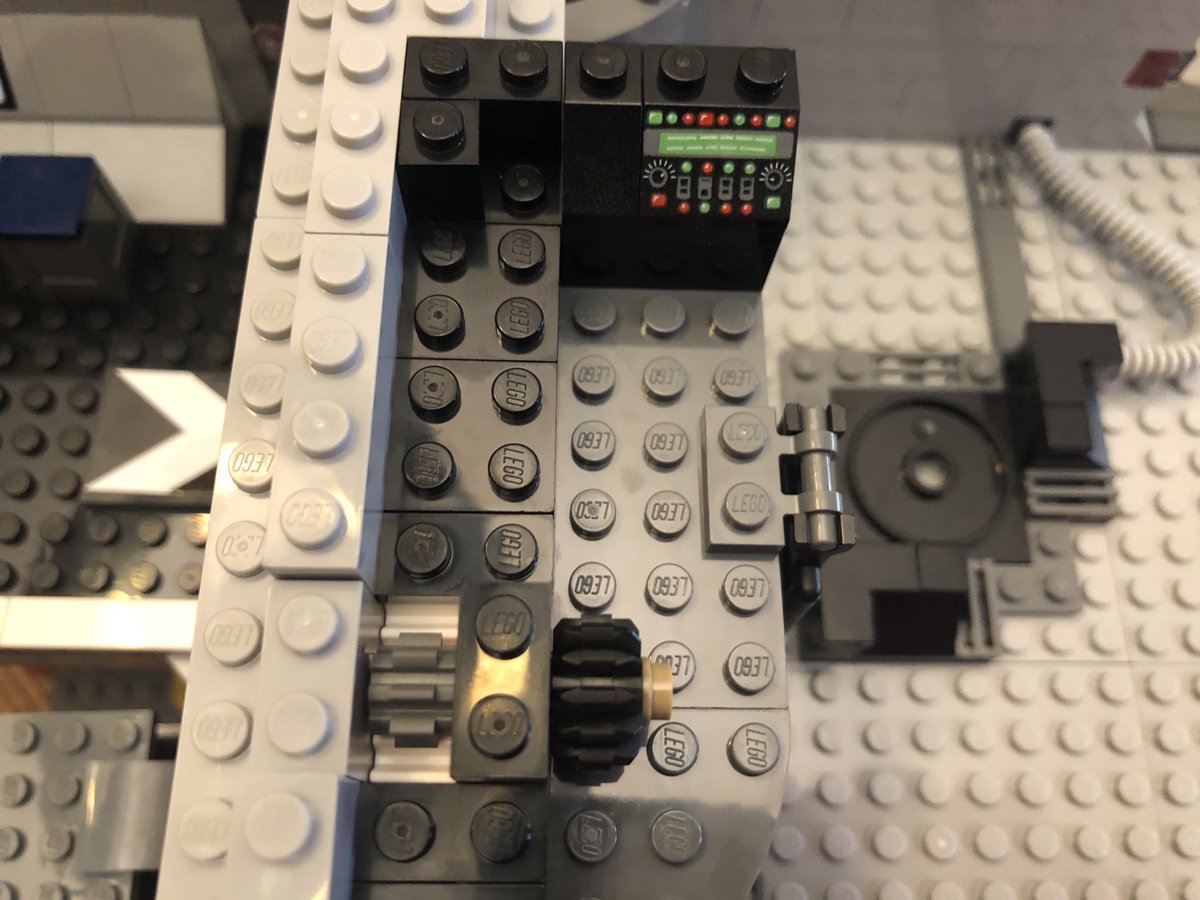
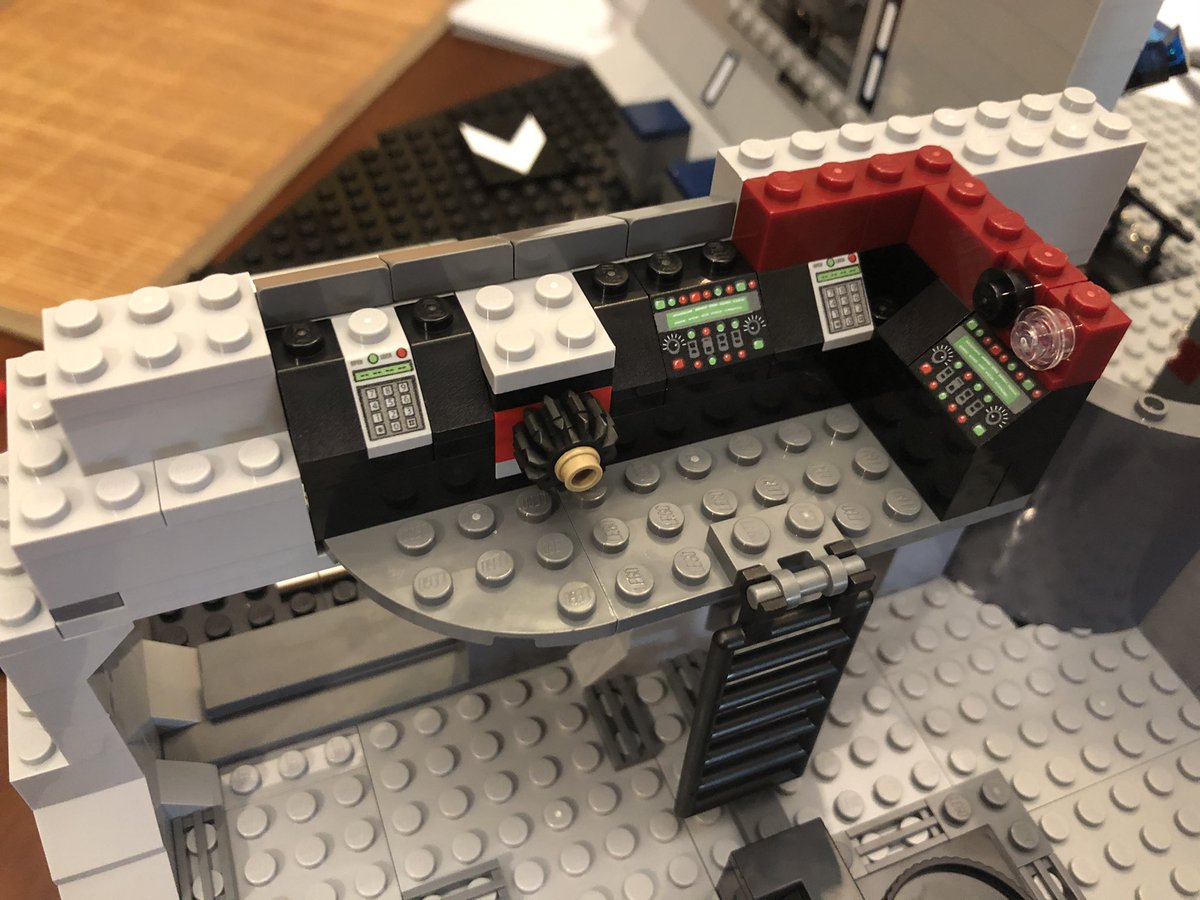
The third floor has a hole on one side. Some decoration goes on top, including some consoles and controls. #LEGO 

Place the floor counter clockwise, again being careful when securing to the compactor posts.
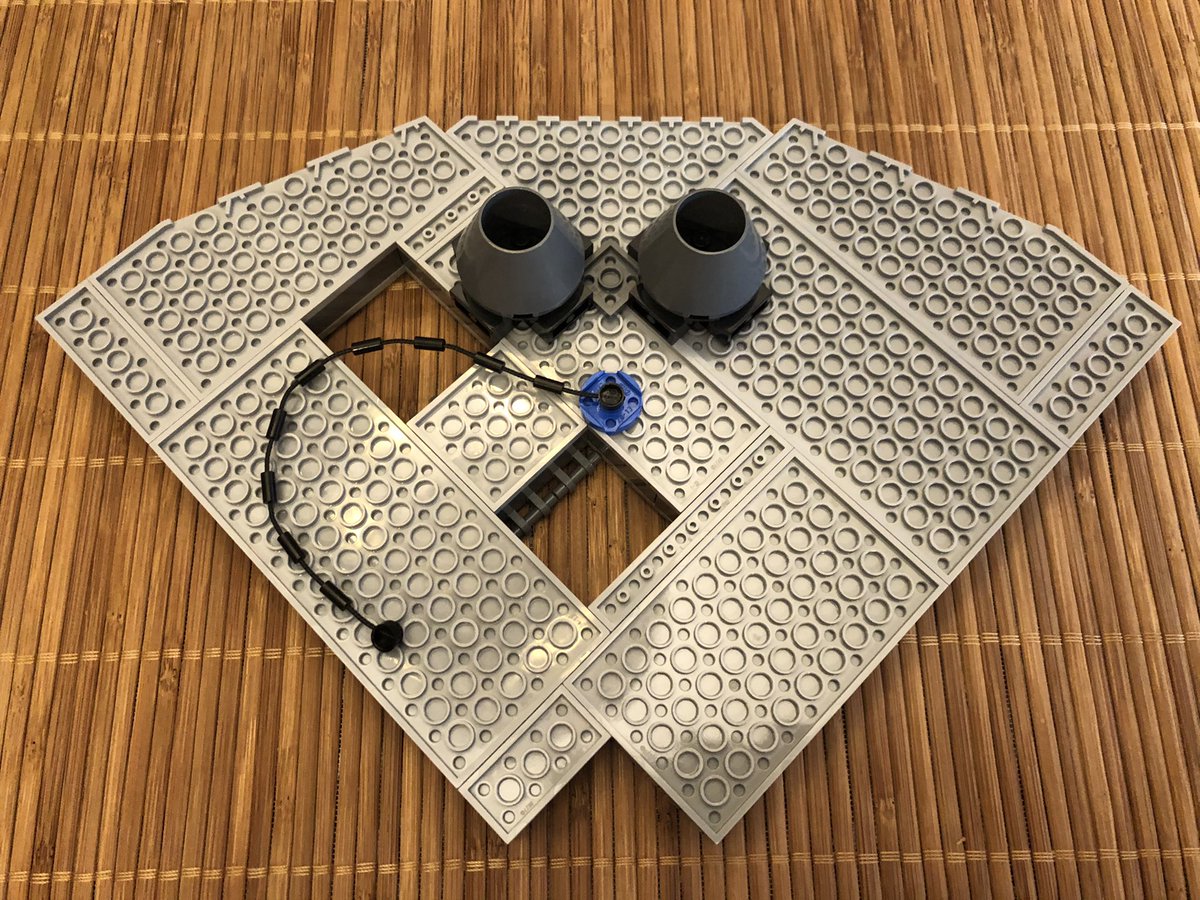
The next floor has two holes, and a recessed area, then some pieces go on the underside. #LEGO
The next floor has two holes, and a recessed area, then some pieces go on the underside. #LEGO

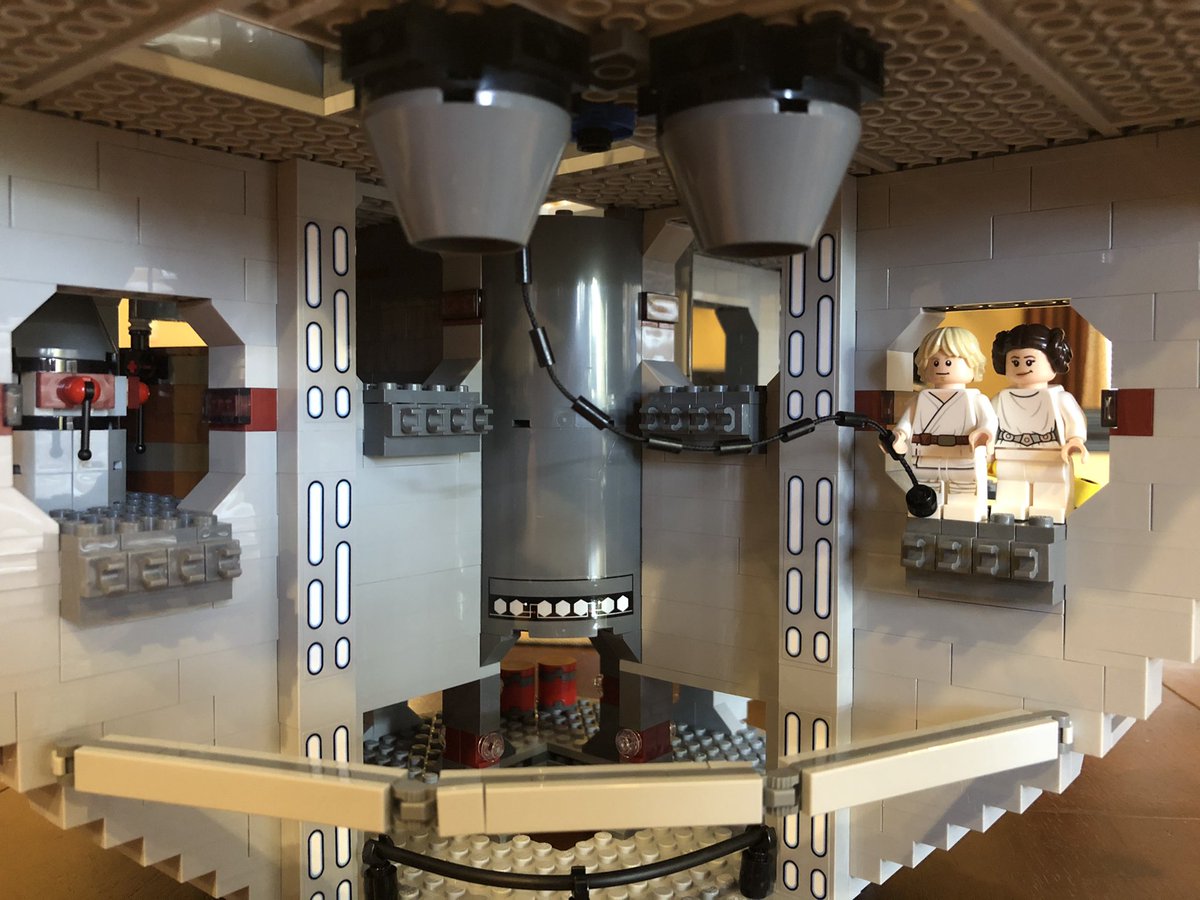
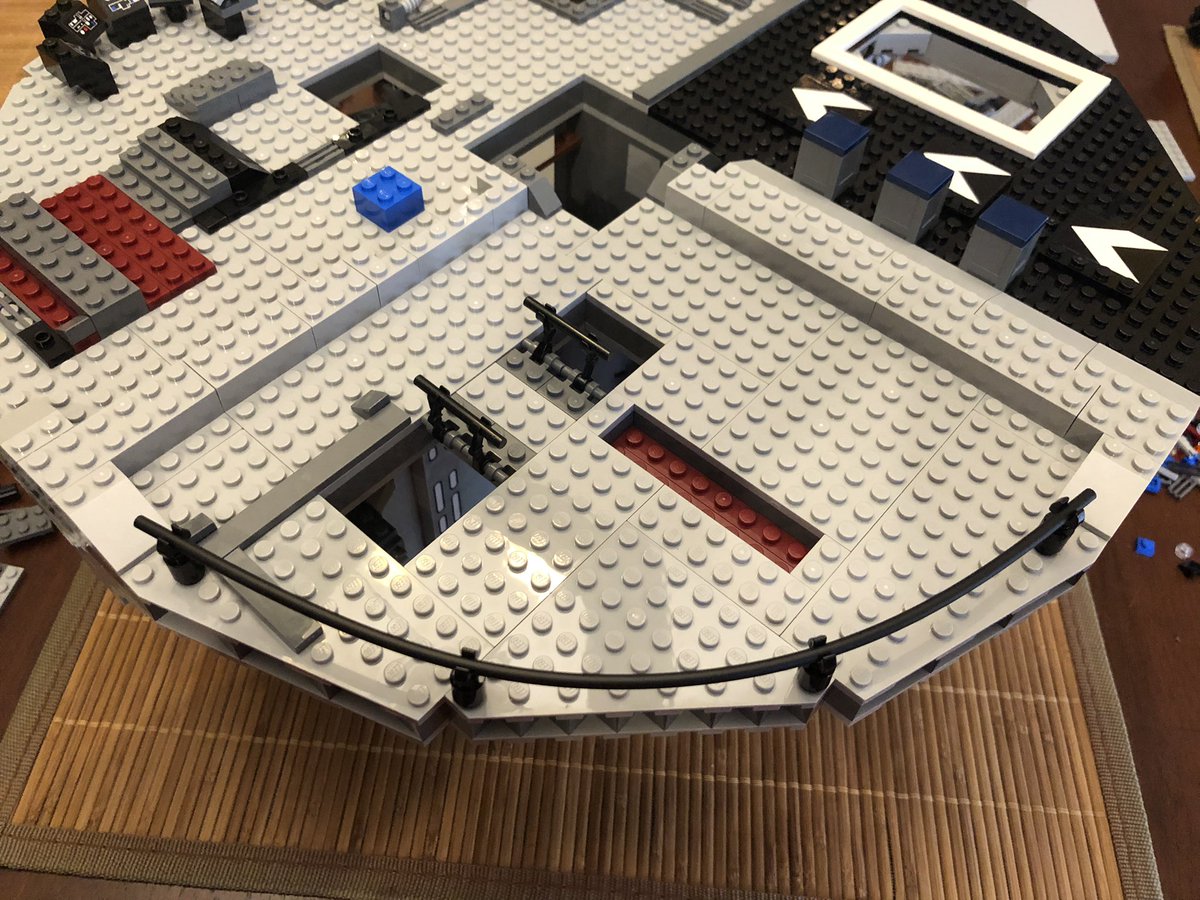
We end up with two hanging cones and a rope, which are recognizable. Secure the floor, then add a railing and a few decorations in top.
Here’s that classic movie scene, you can almost hear the scream!
This ends section 5. Lots of pieces, and it was mostly just floors! #LEGO
Here’s that classic movie scene, you can almost hear the scream!
This ends section 5. Lots of pieces, and it was mostly just floors! #LEGO

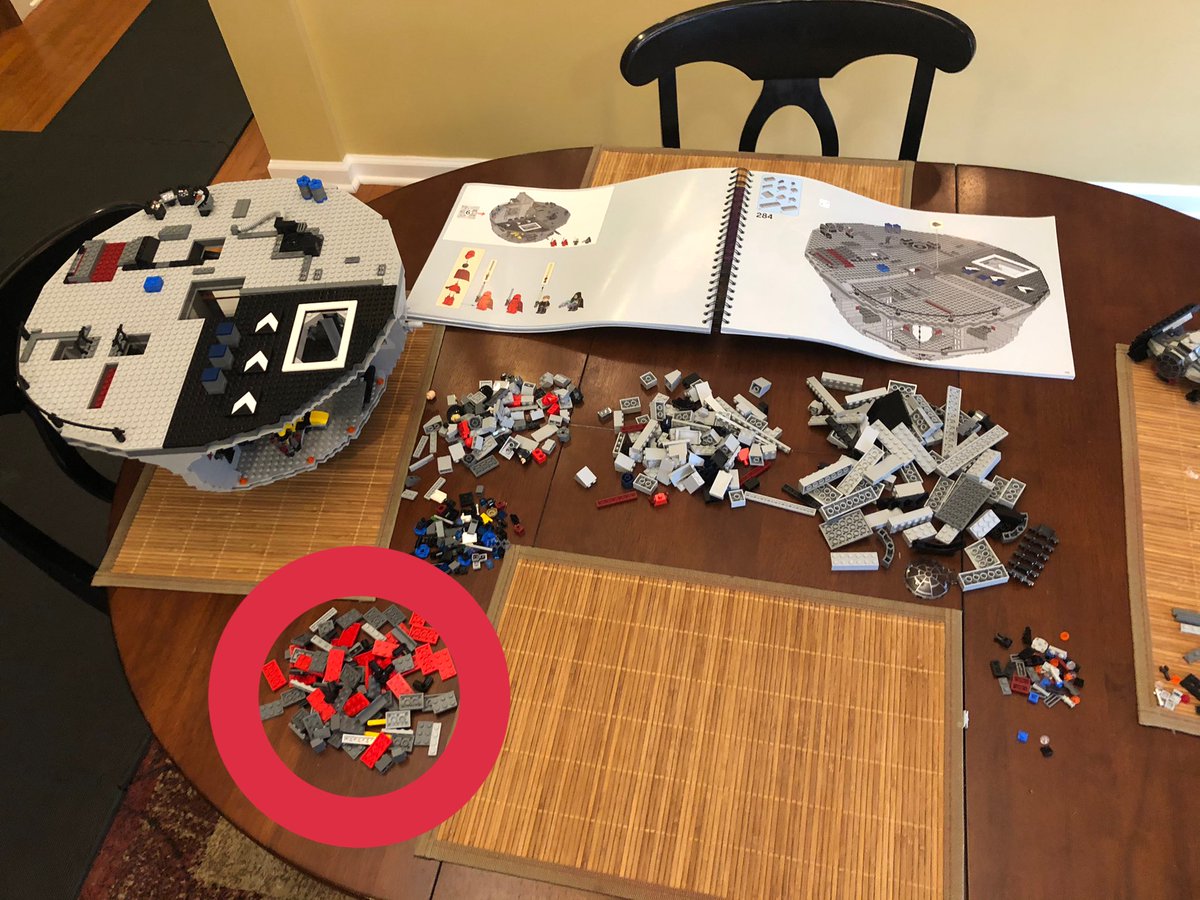
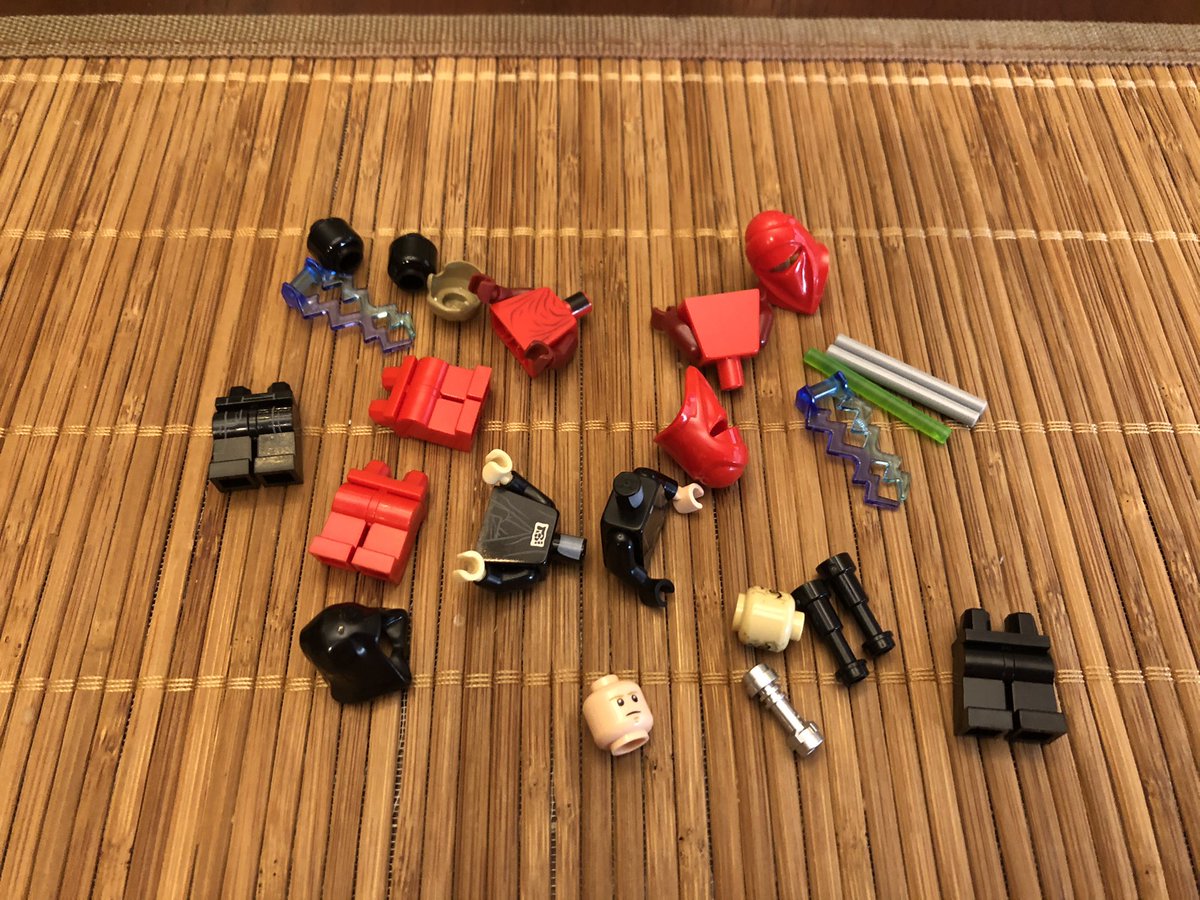
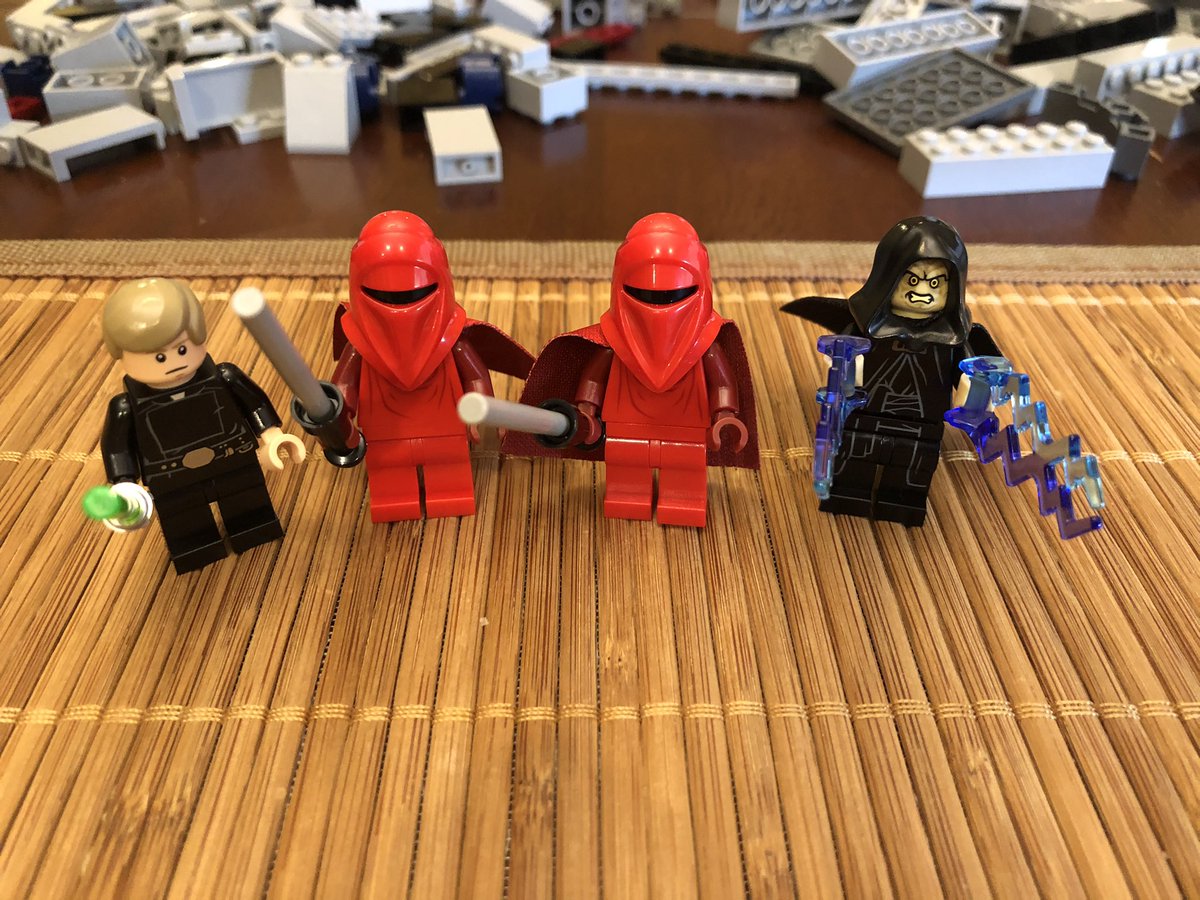
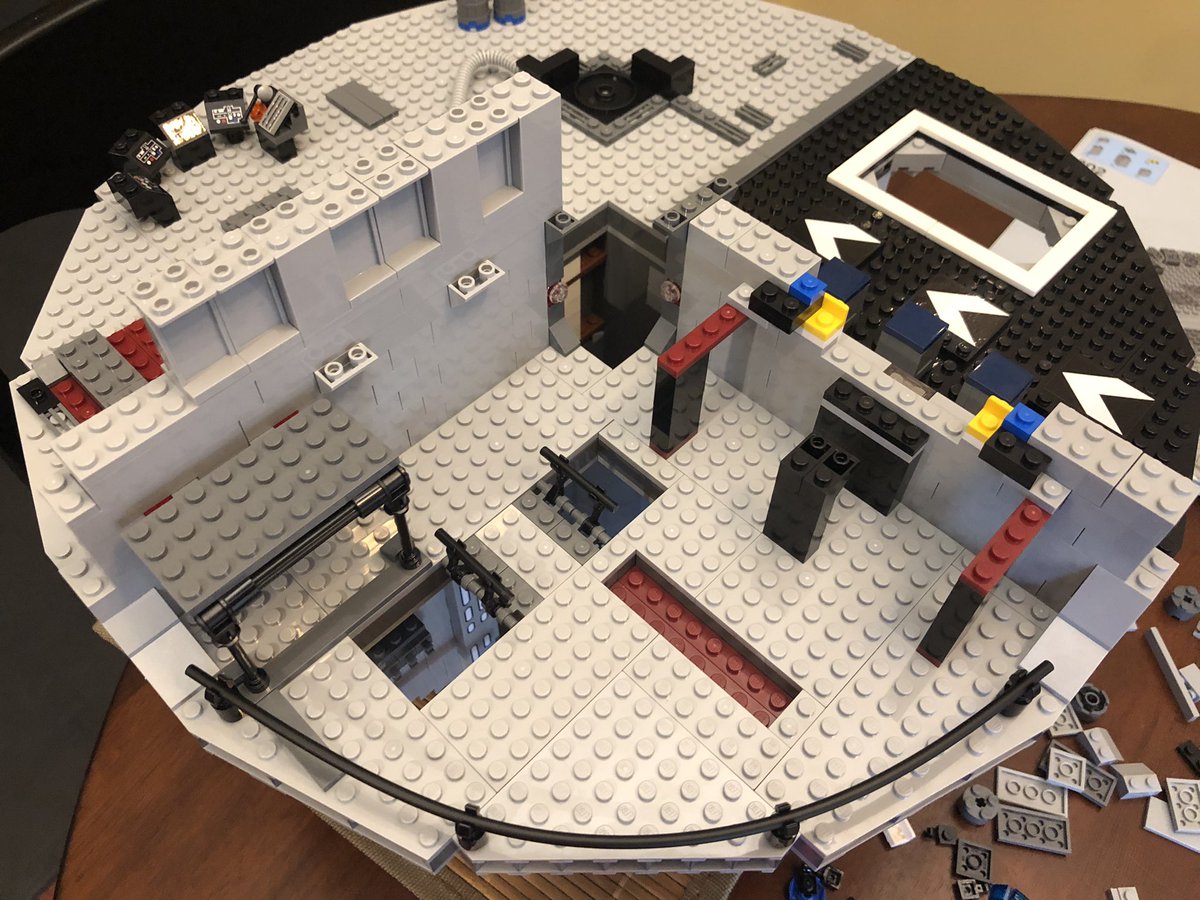
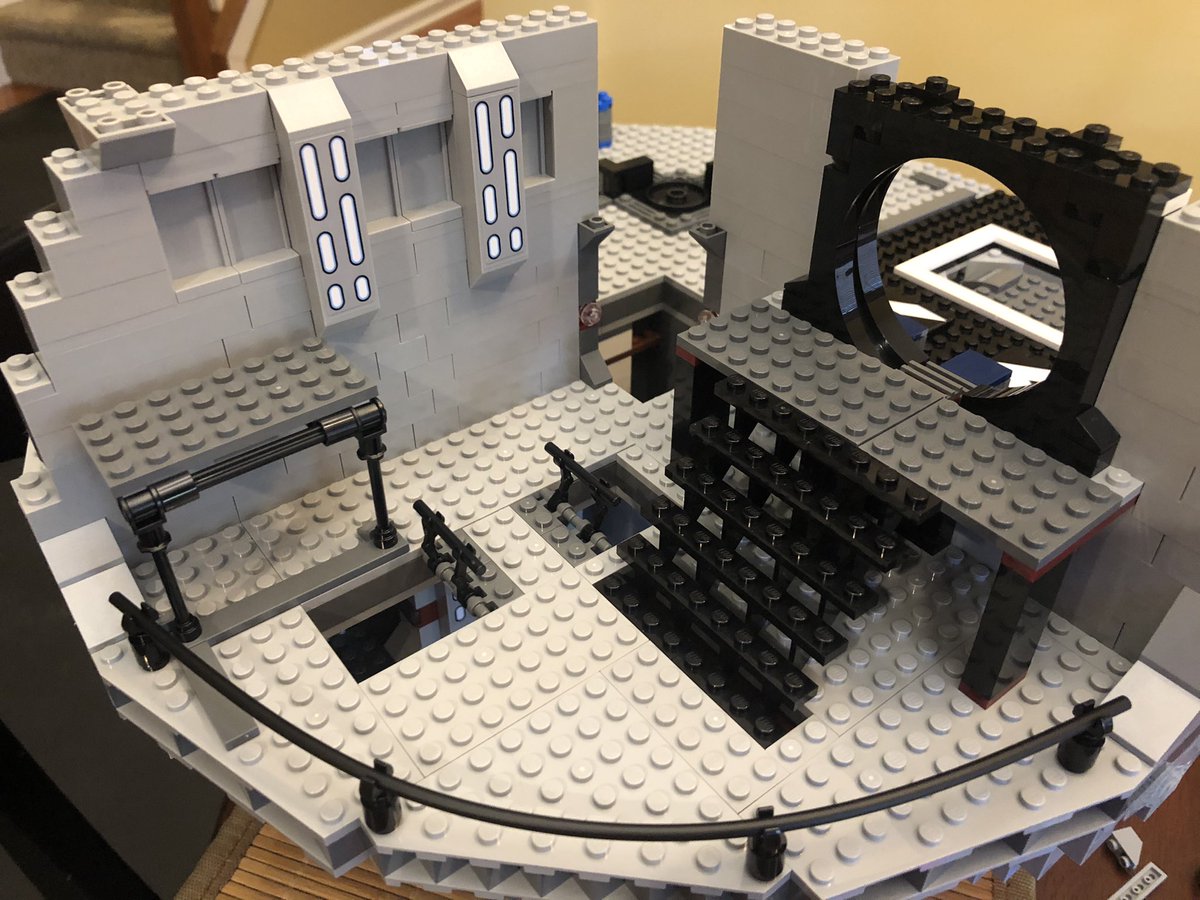
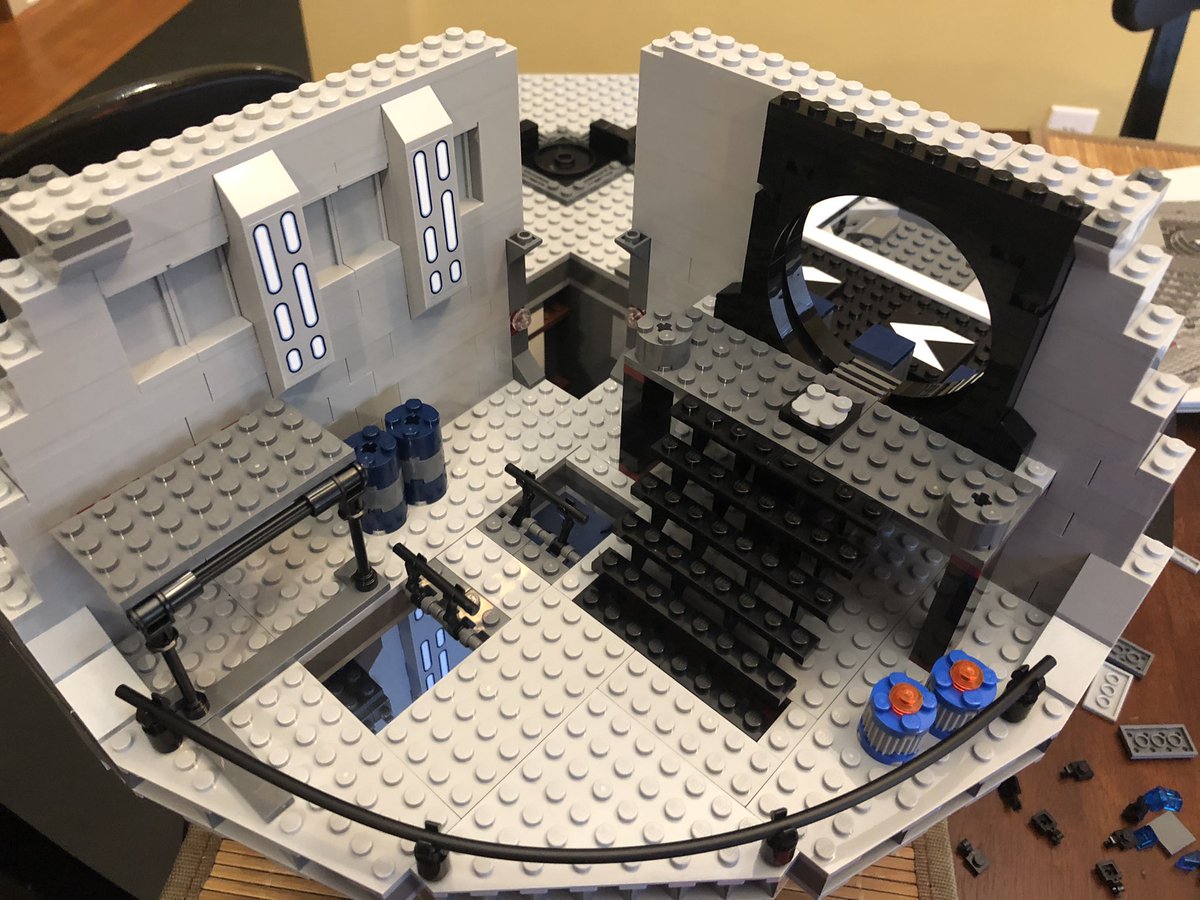
Section 6 is huge! But not quite that huge, the circled pieces are actually for section 9, whoops. Emperor Palpatine would like to entice you to the dark side, and Luke is thinking about giving in. And no one gives a crap about the useless guards. #LEGO 

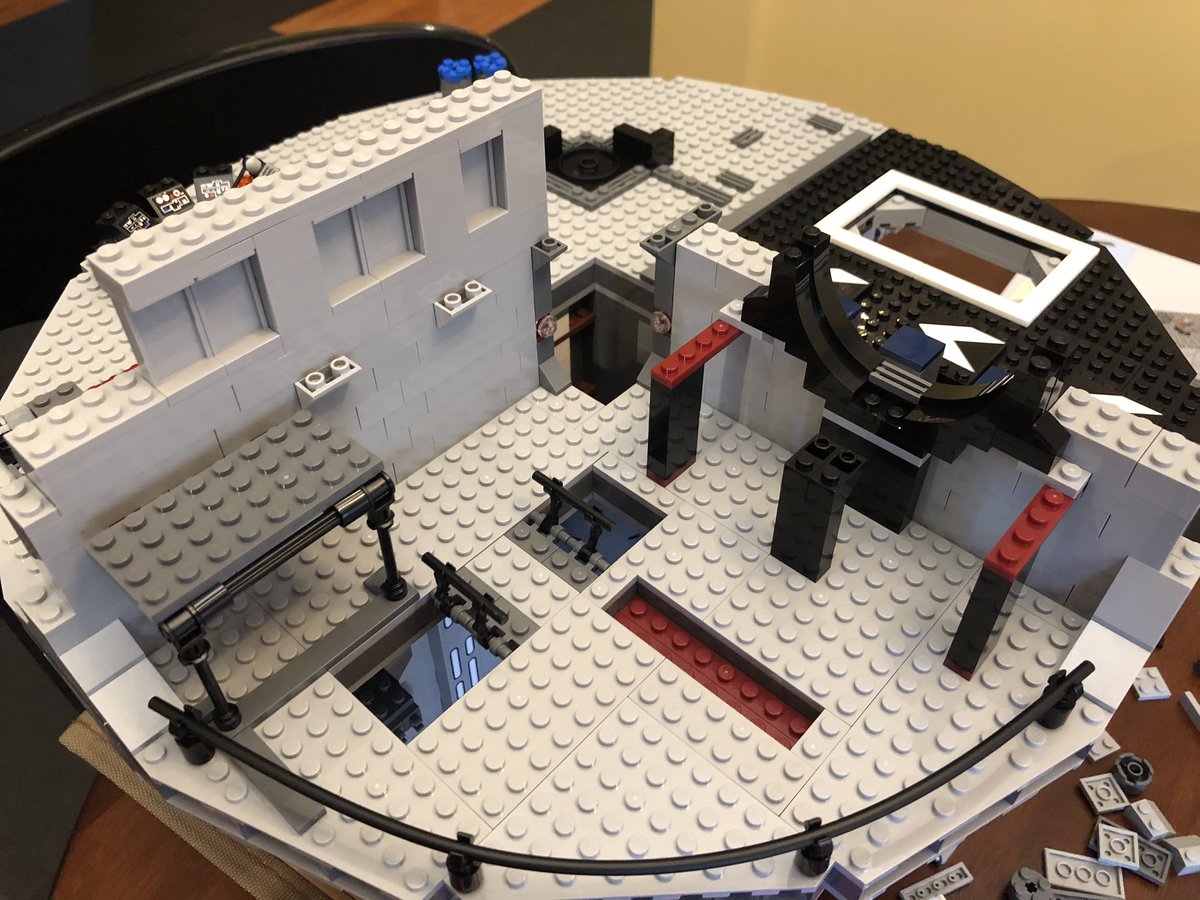
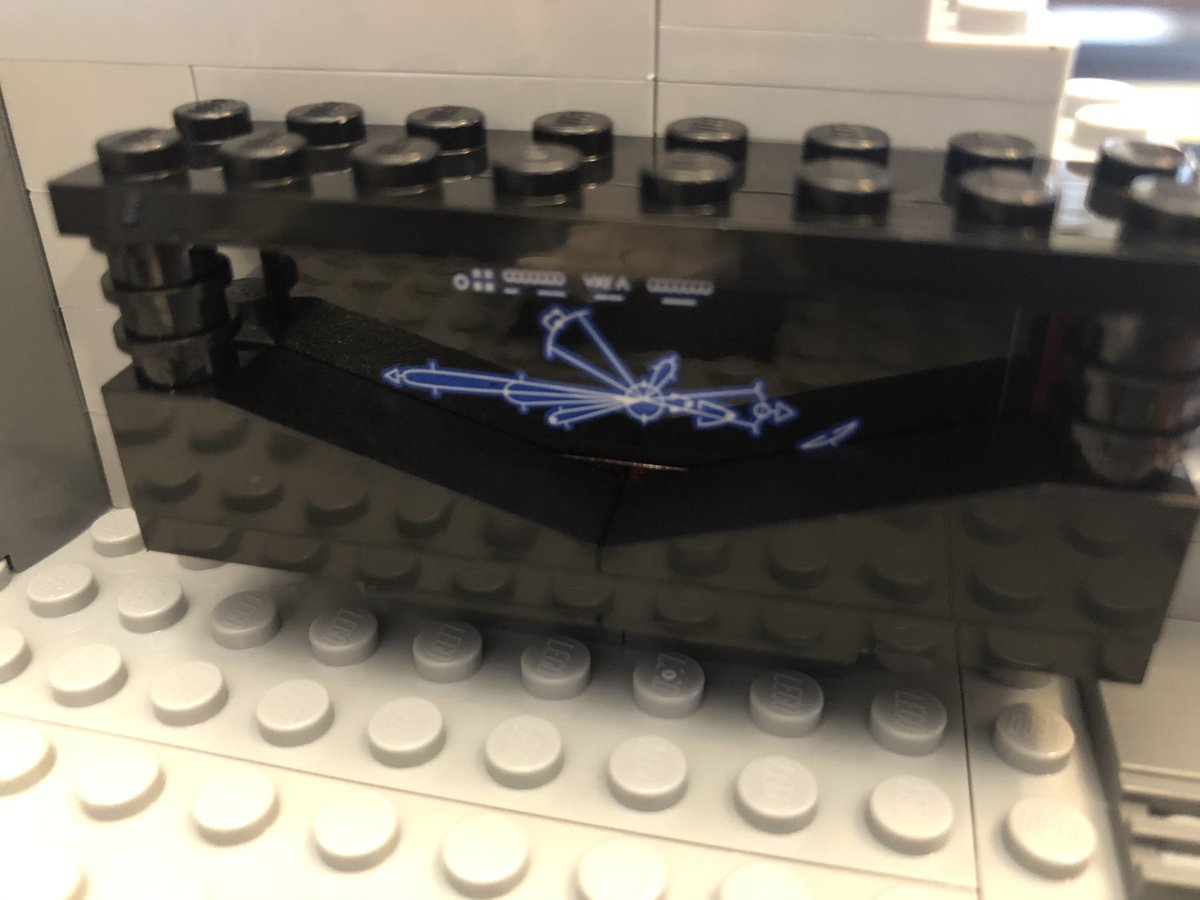
We start in this section, building the walls up. A decal goes on this black panel, but it faces the other way. More and more layers to the walls. #LEGO 

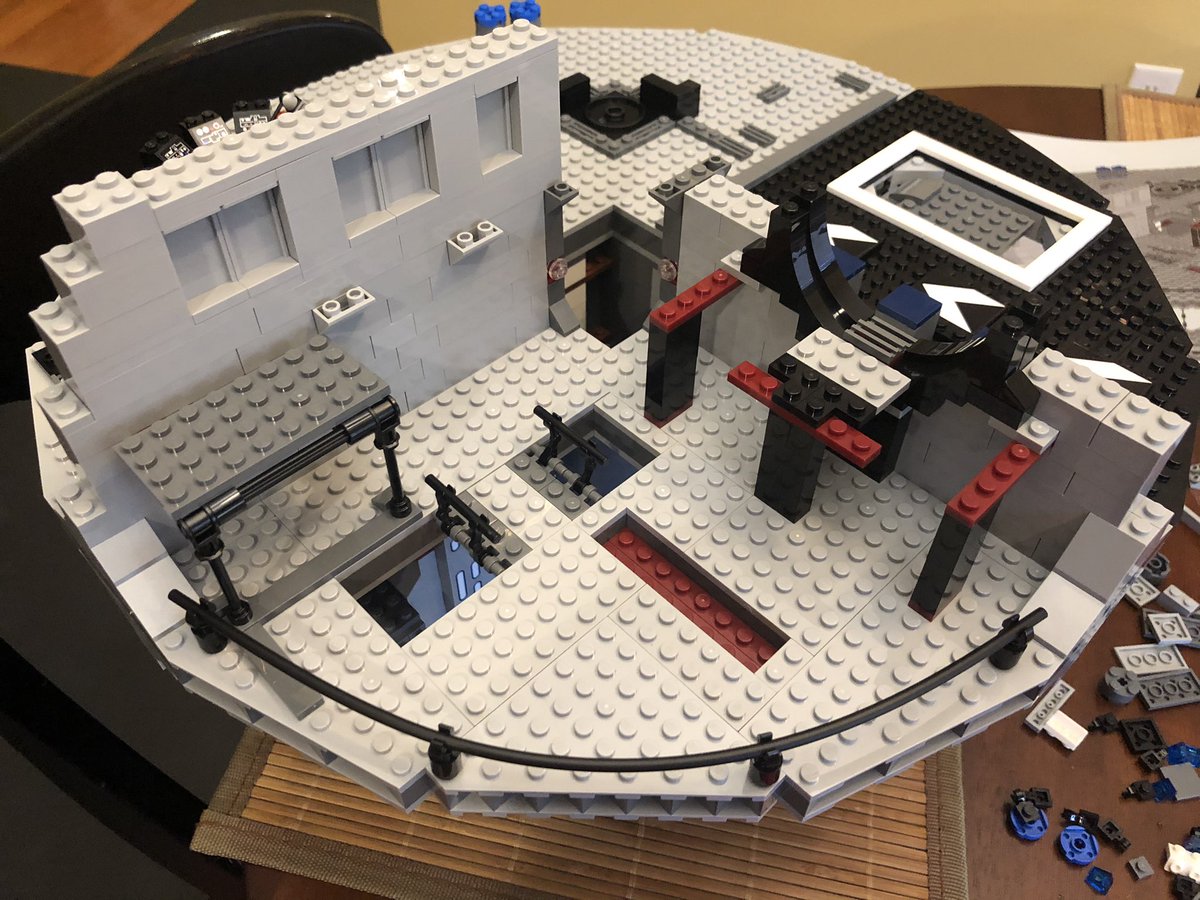
This side platform has interesting construction, it only attaches to the wall, not the floor. And the walls keep going up... #LEGO 

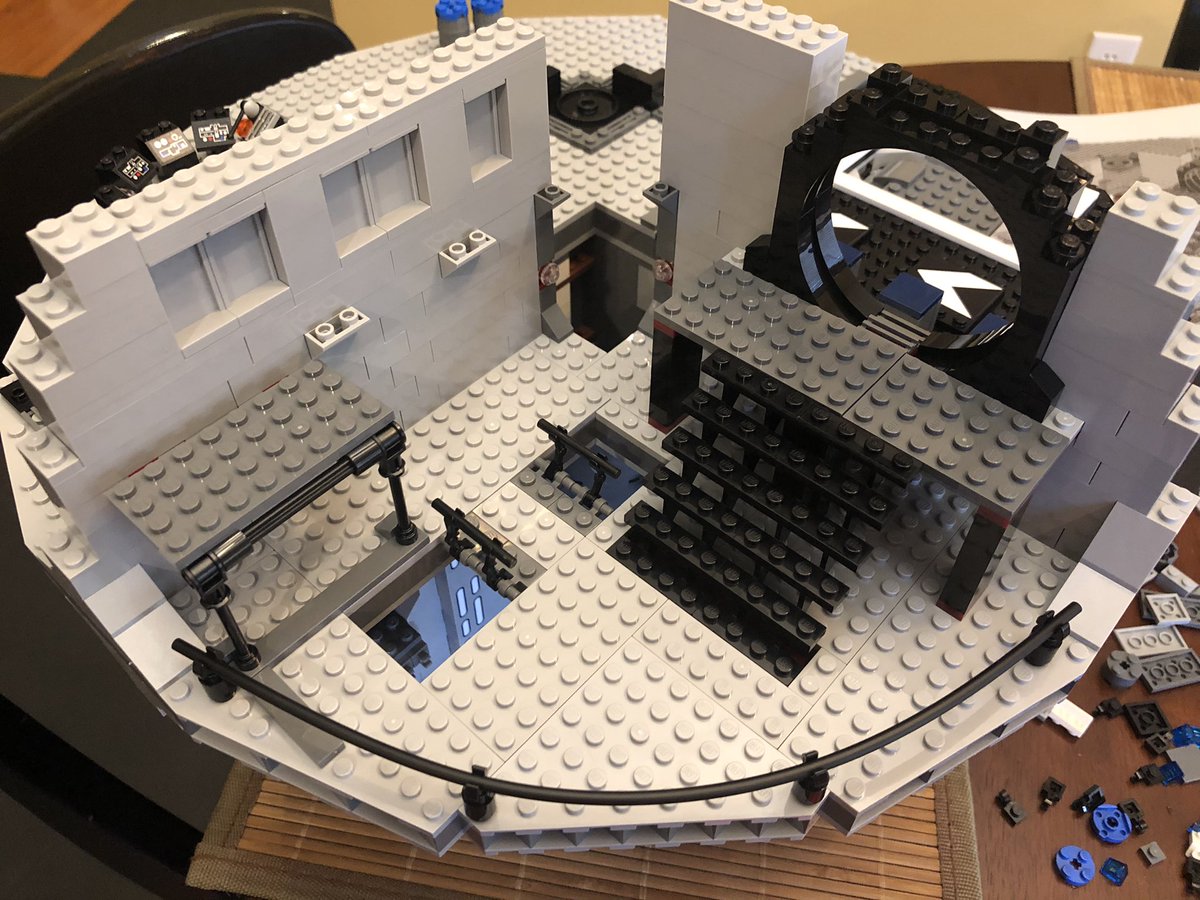
Okay you can really see it now, with the steps and the portal, but maybe not? Anyway pay attention to the plates and heights, I had to redo large sections because I missed one plate and nothing lined up 10 steps later, oof. #LEGO 

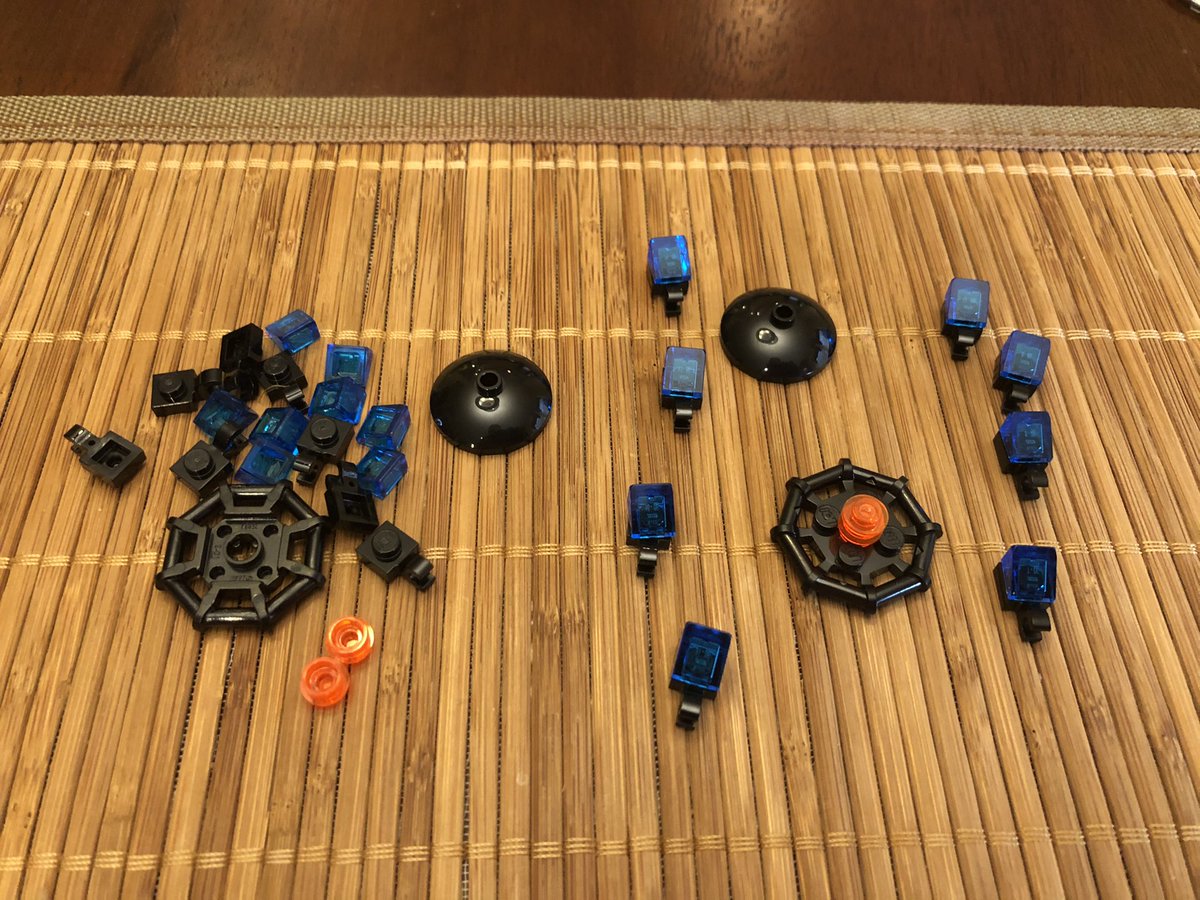
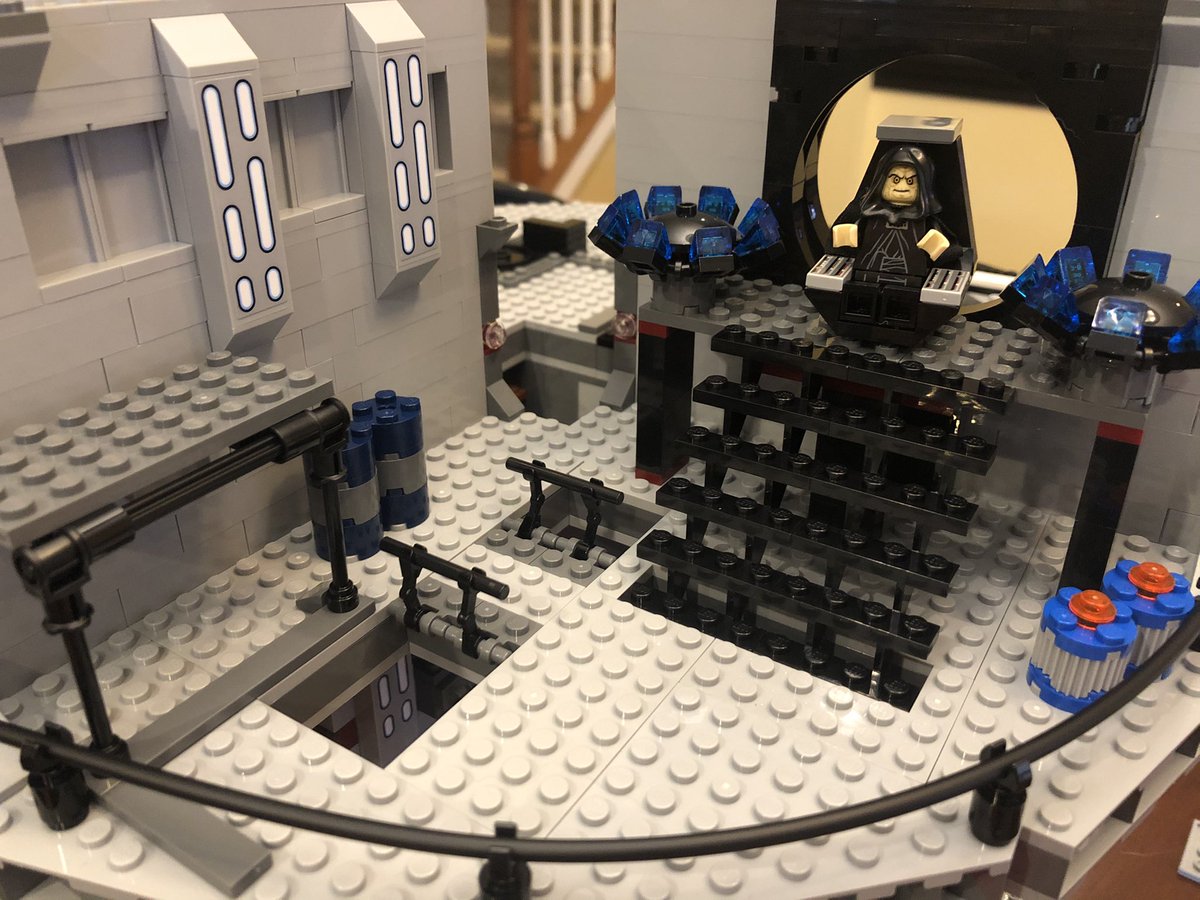
Definitely the throne room. I don’t know what these contraptions are but they go on either side of the Emperor’s throne. And of course we need the glass canopy behind him. It should face space but hard to do in a model you can only see from the outside. #LEGO 

A few more pieces and some decals and the throne room, and section 6 are done! Imagine my surprise when I still had a pile of pieces left over  #LEGO
#LEGO 
 #LEGO
#LEGO 
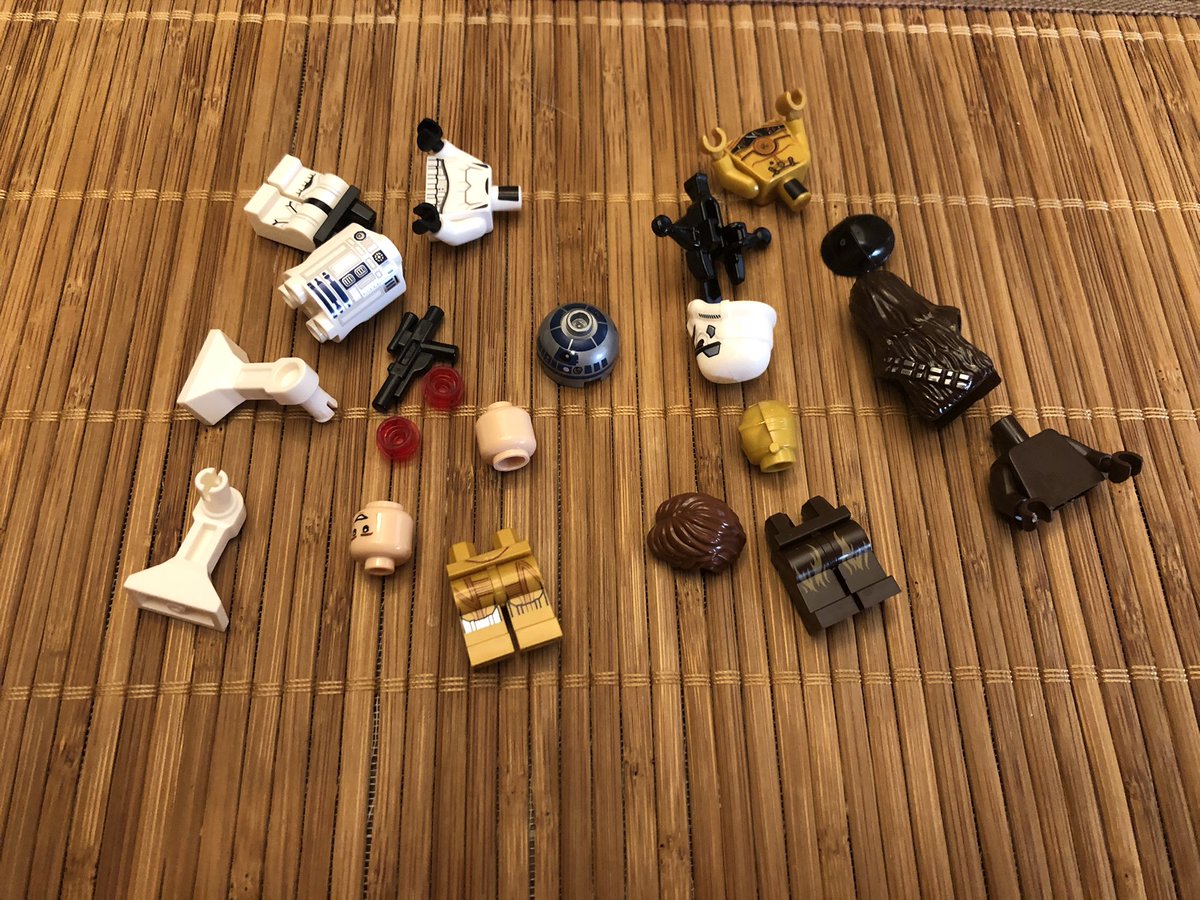
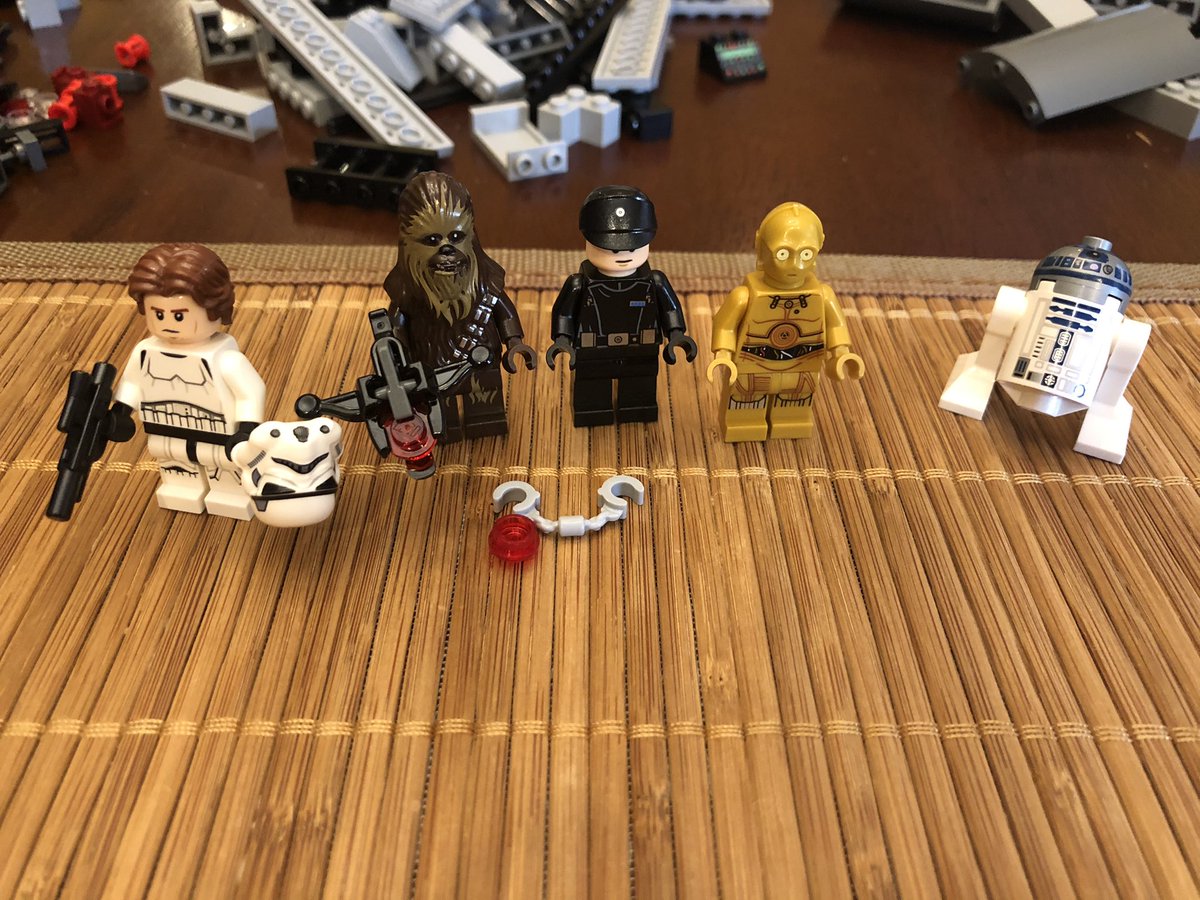
Section 7 is a bit of a beast, too. We get C3P-0, R2-D2, Chewbacca, Stormtrooper Han, and another Space Nazi. Chewie also has some cuffs, for the Death Star scene, and a bowcaster that shoots! #LEGO 

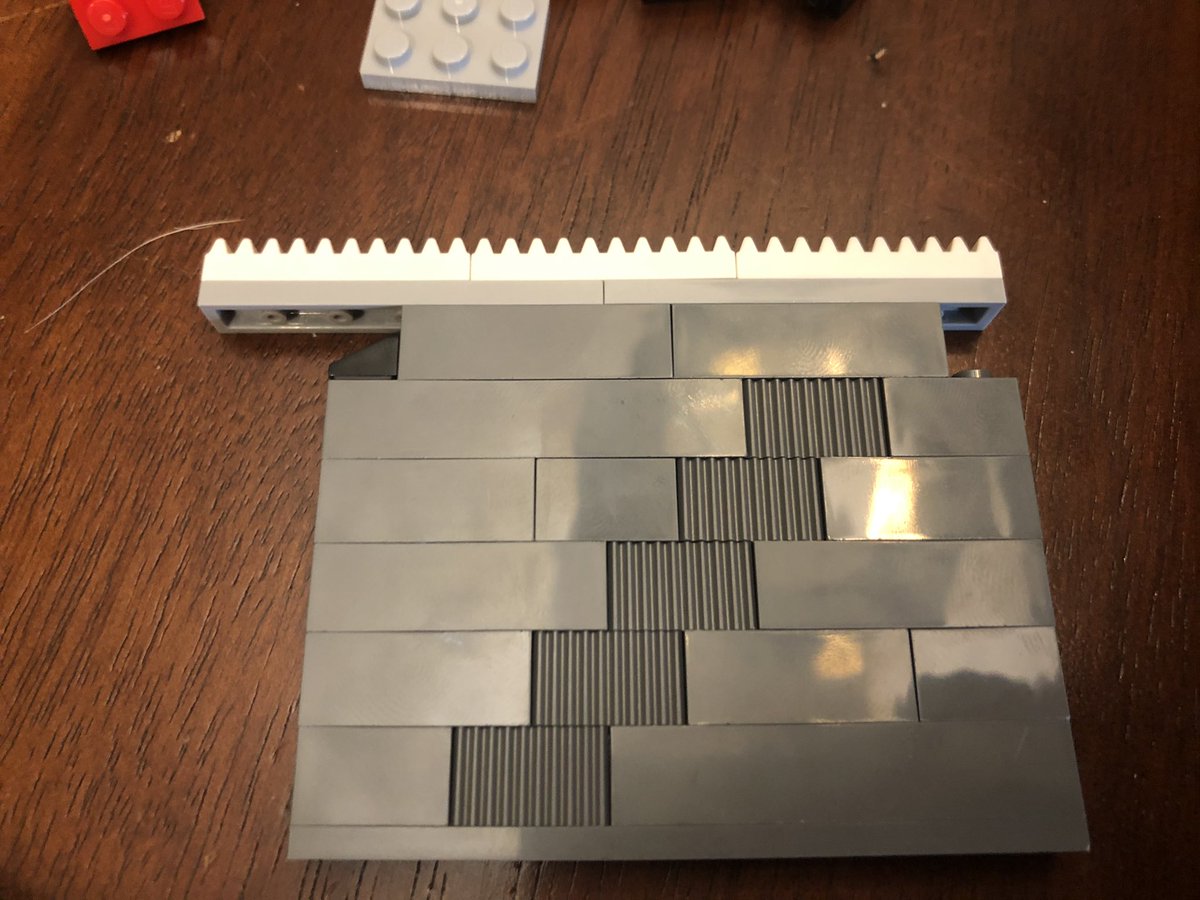
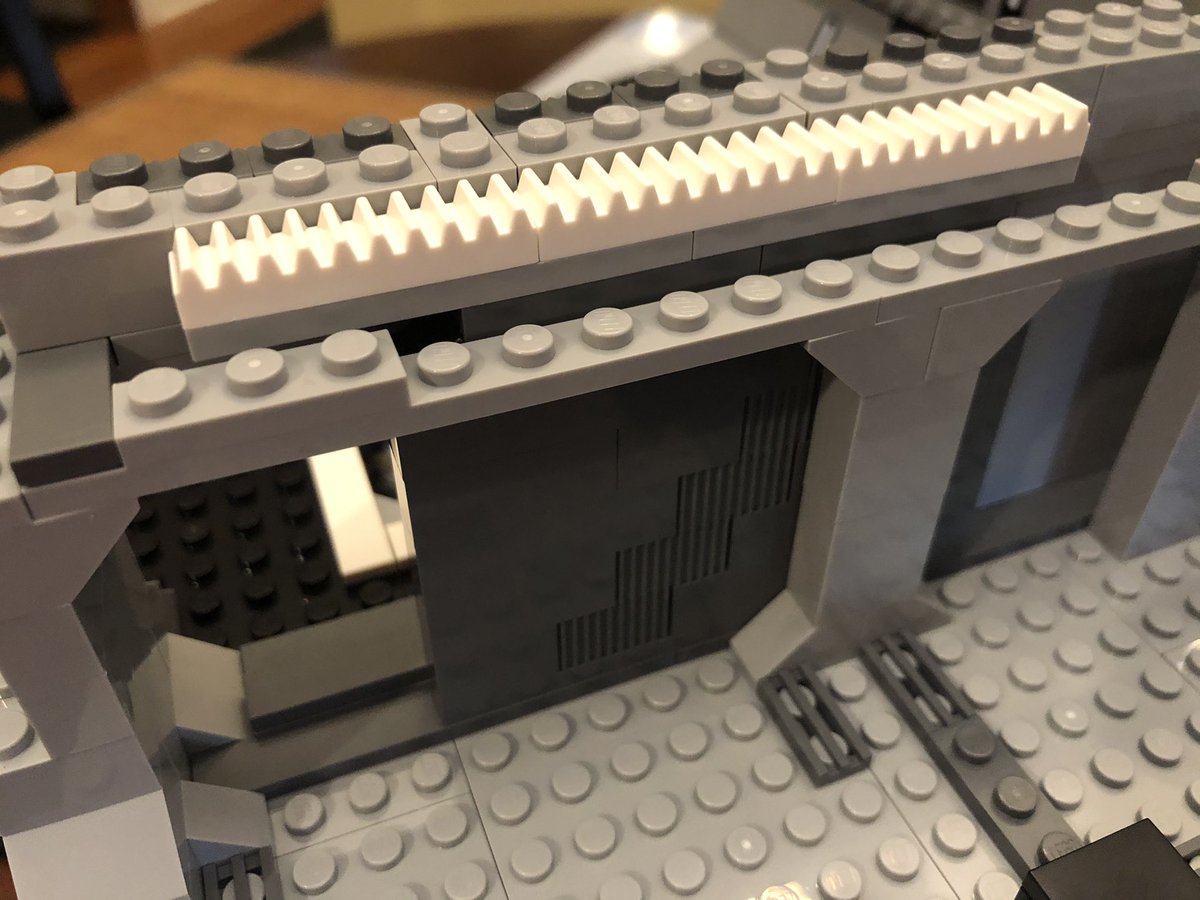
As we go, we find there’s a one block gap on the left side, and then we build a door that fits in the gap. There’s a little gear track on top, so it’s gonna have a mechanism later. #LEGO 

To place the mechanism. We need a second story, with a ladder to get up, and a set of consoles with the gear in the middle. Turn it to control the door below. #LEGO 

Some more half tanks, with the upper and left ones having this decal on them, and some glass above the consoles finishes off the walls. Turn the Death Star 90deg clockwise and place these gates in that room. #LEGO 

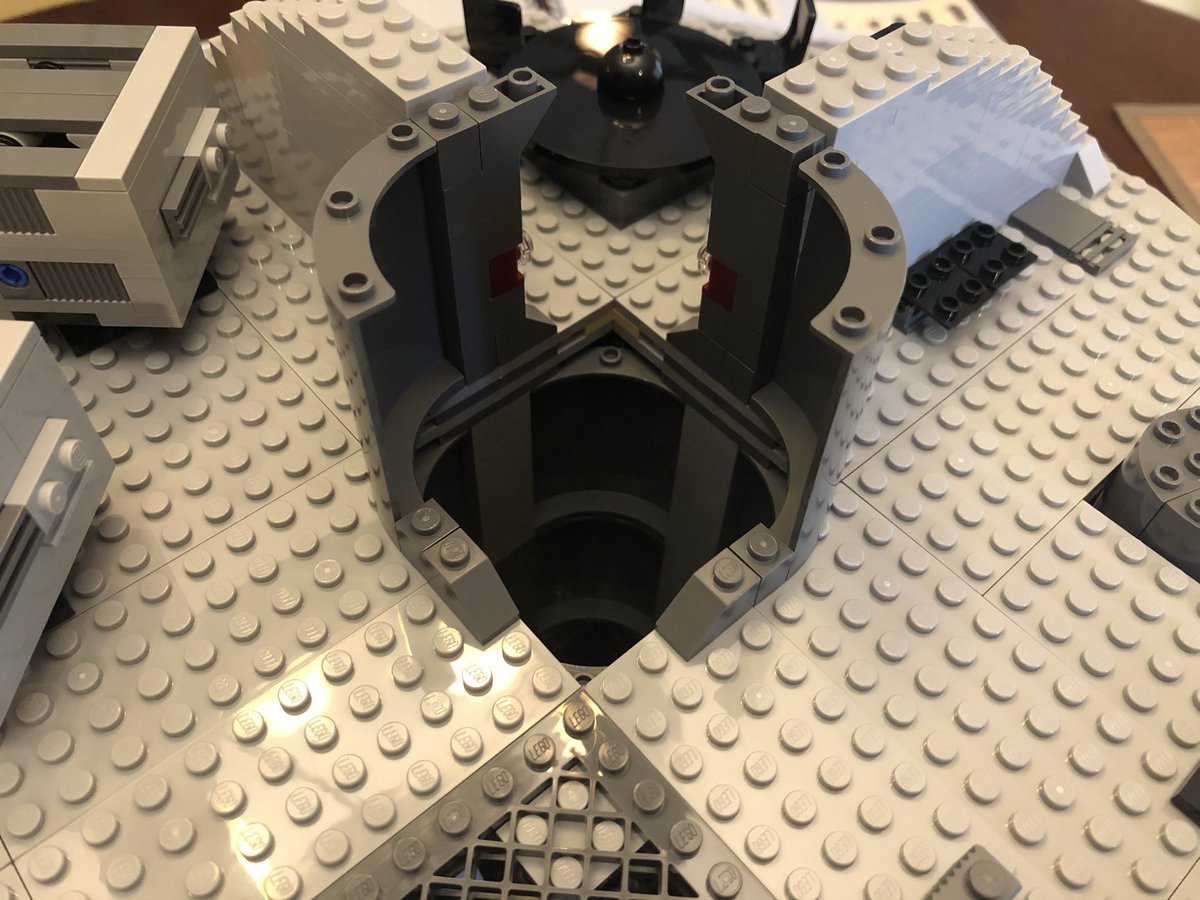
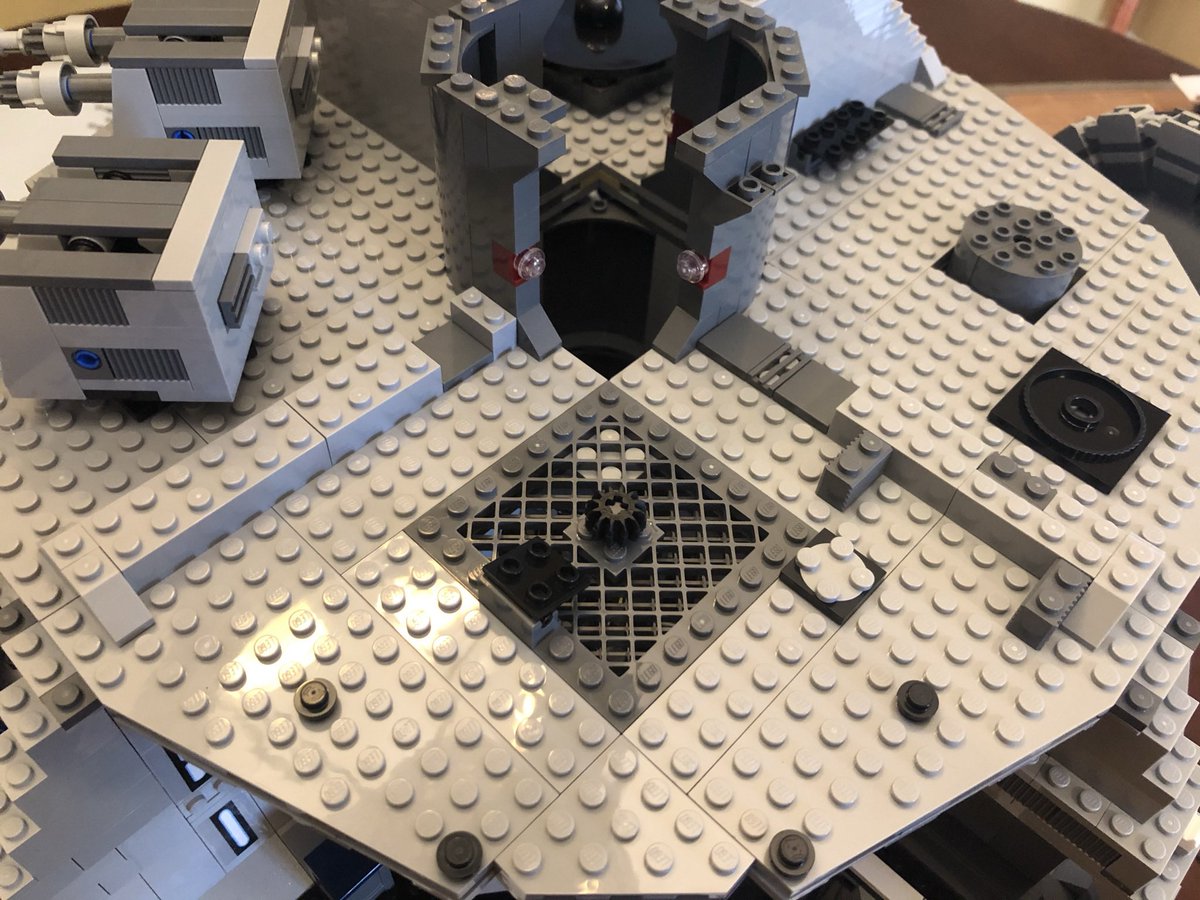
Some more walls go around the gates we just placed, and some sloped pieces around the hole in the floor. It gets covered with a grate that can rotate. Figure it out? #LEGO 

Next is a gangway coming out from the portals, and another tilting section opposite the grate. #LEGO 

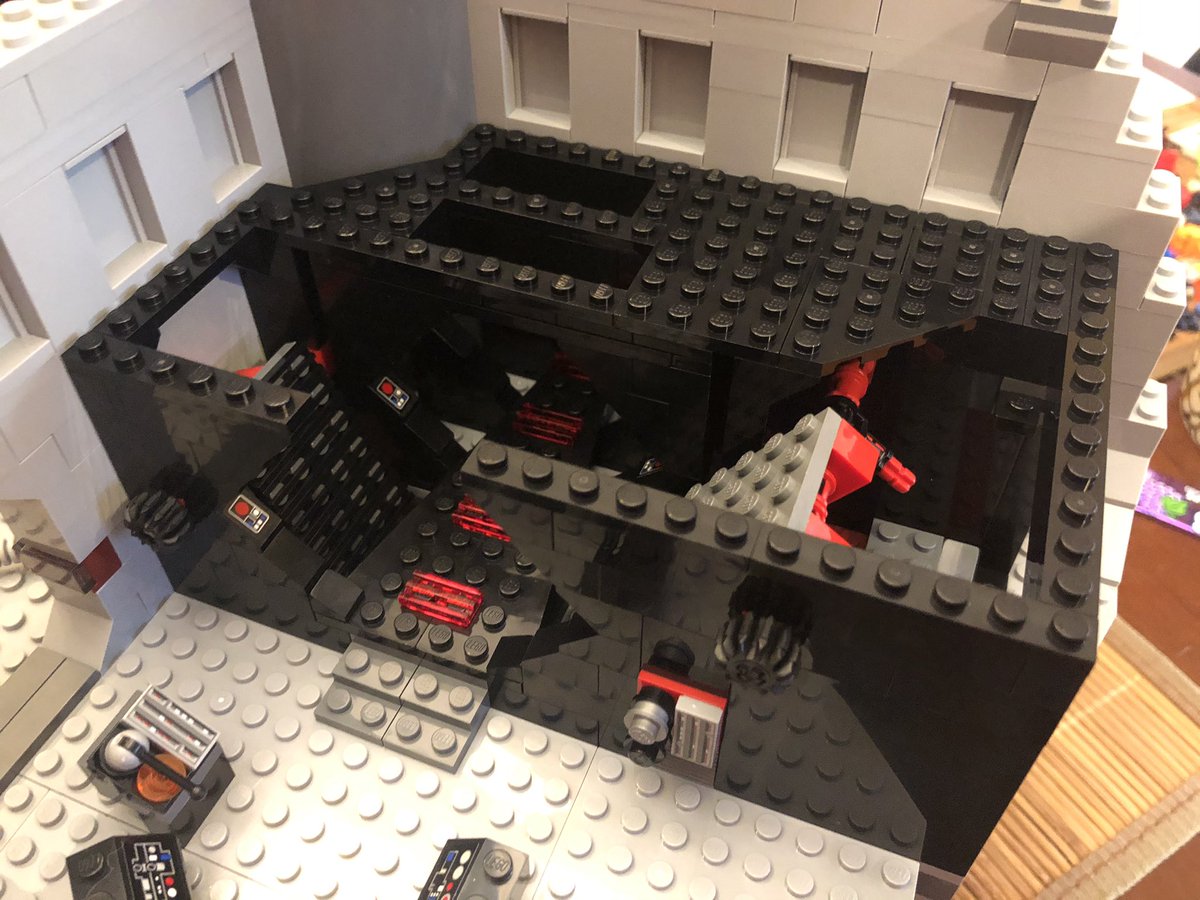
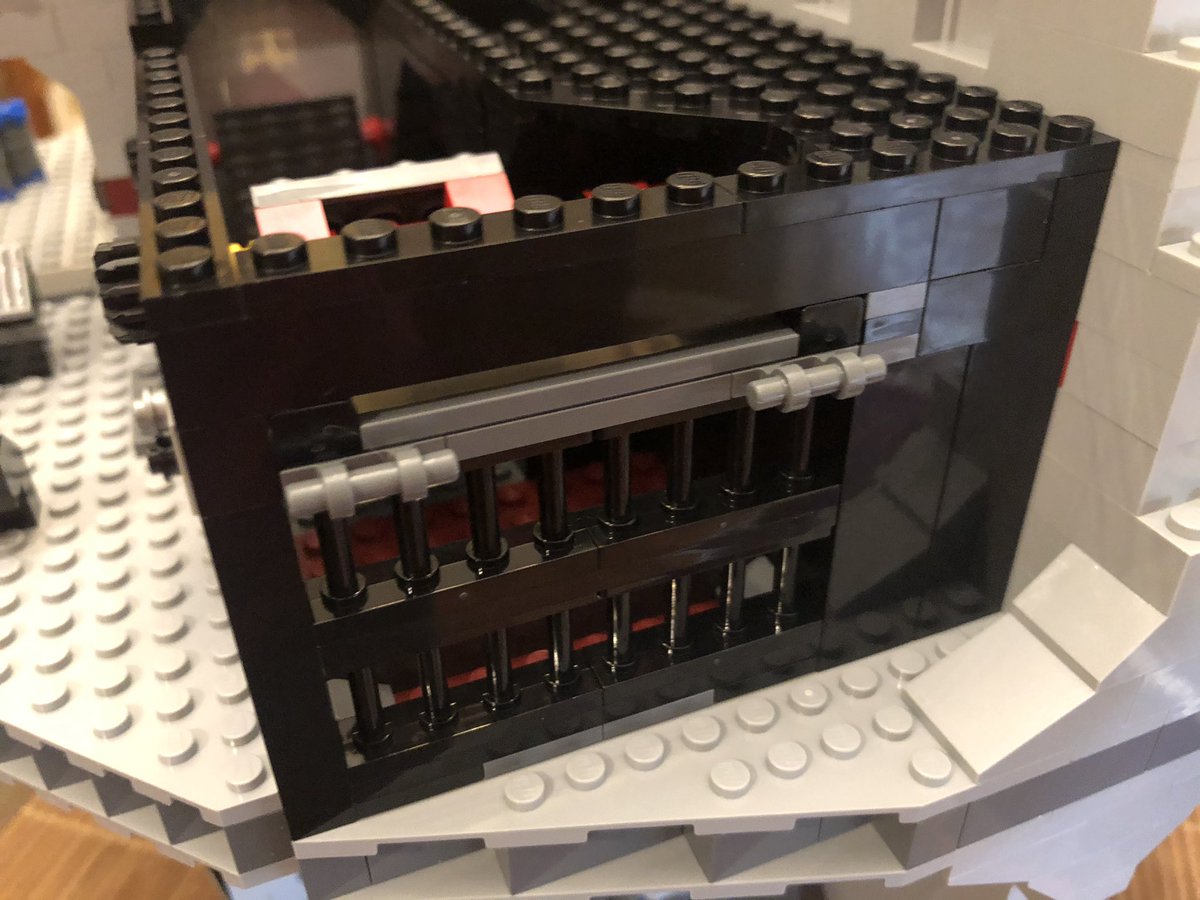
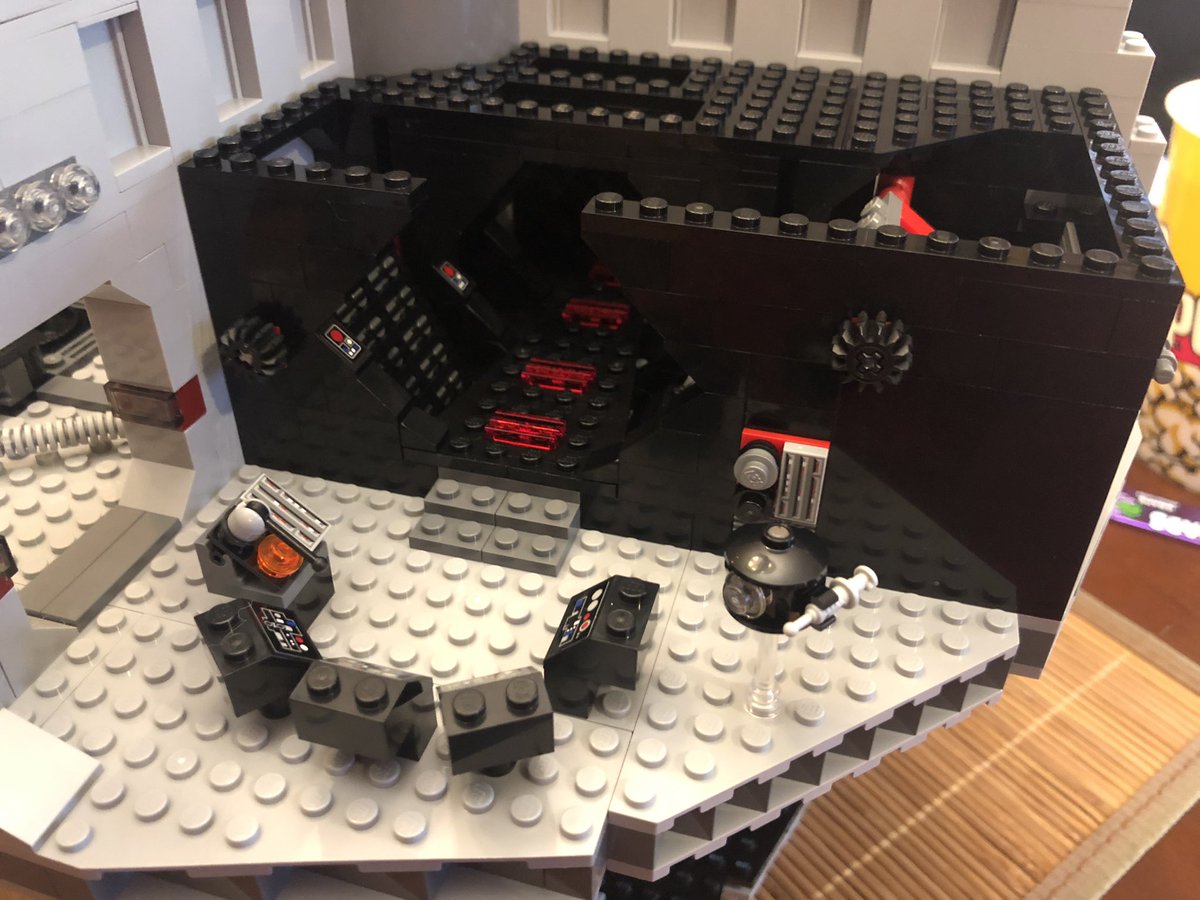
One more layer goes on everything, then behind the gray door we put some prison bars. It’s the prison level of the Death Star. Leia’s cell is on the right and the chute to the trash compactor is on the left!
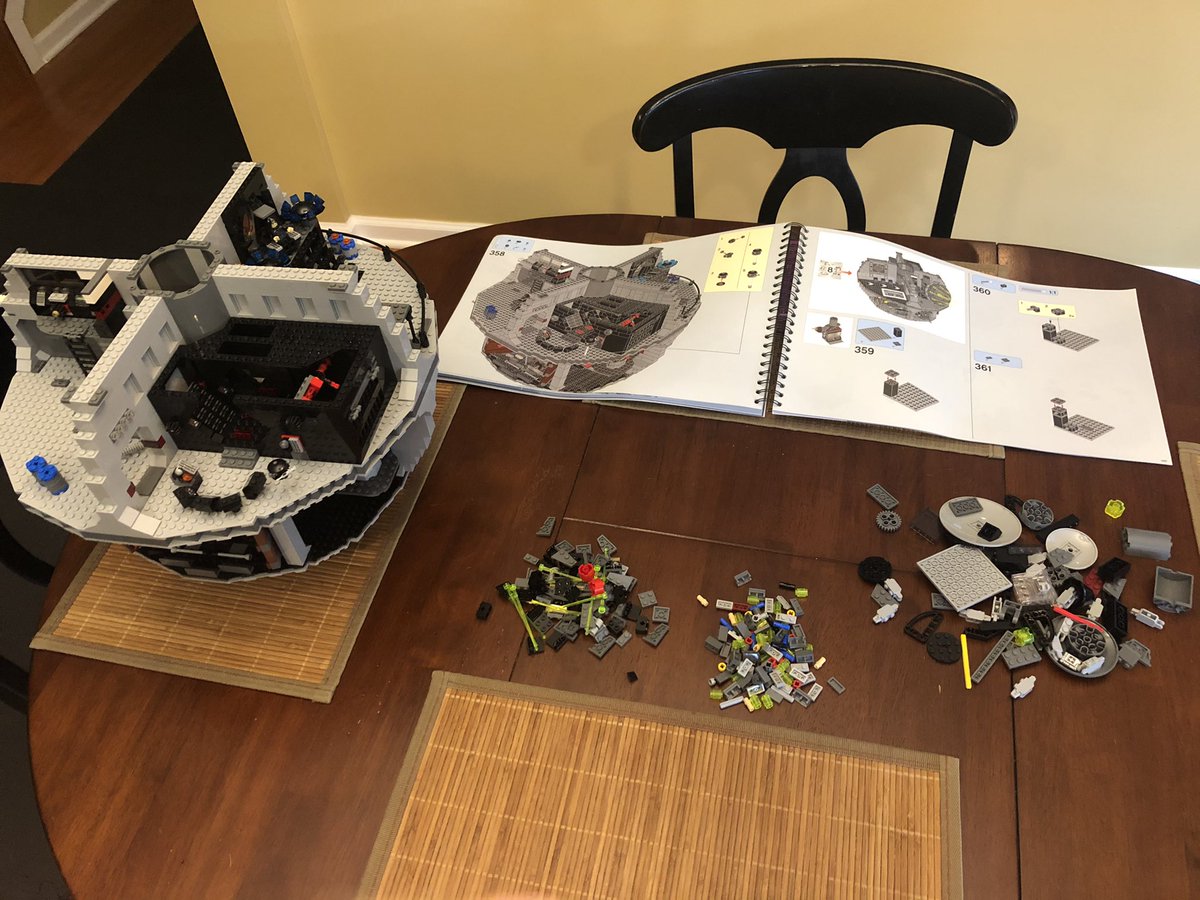
That’s the end of section 7. Three more to go tomorrow! #LEGO
That’s the end of section 7. Three more to go tomorrow! #LEGO

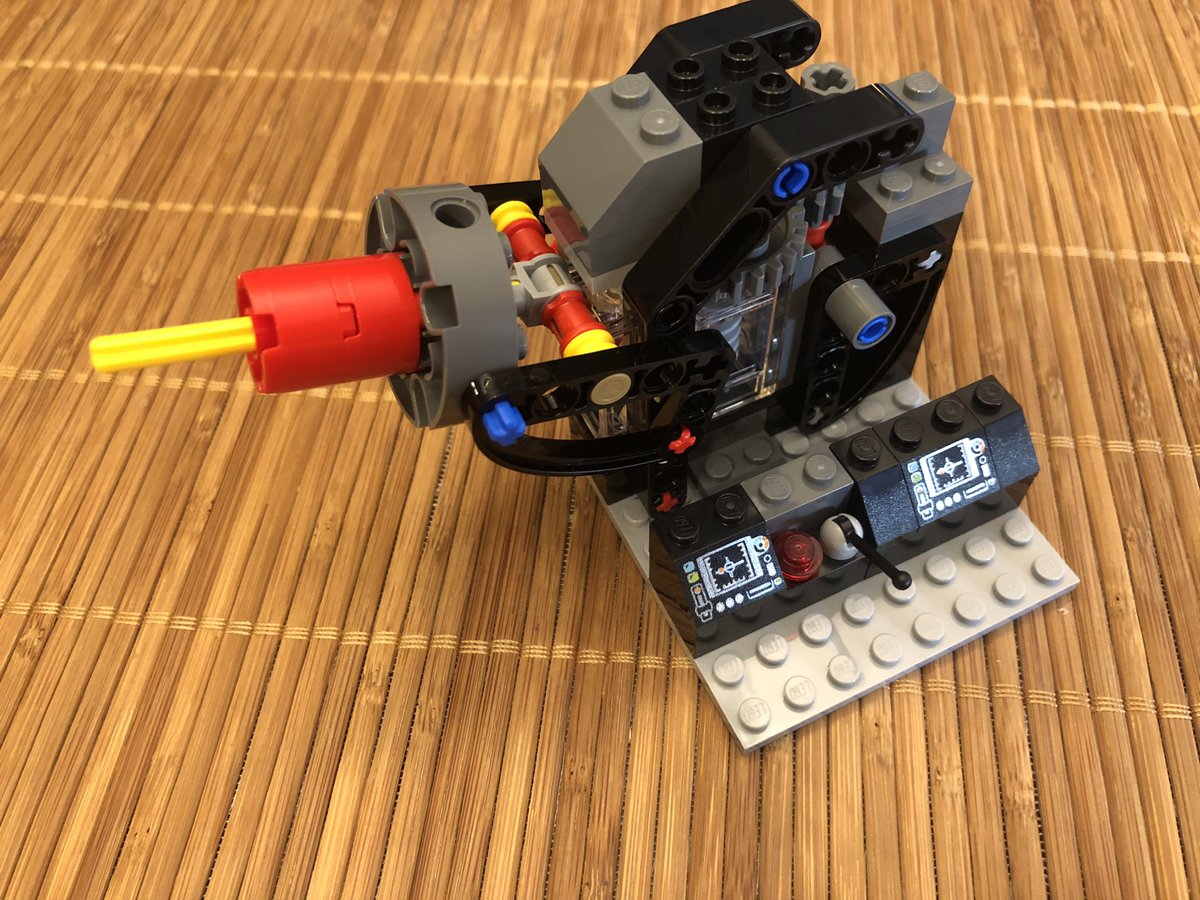
Here’s section 8. I think it’s the smallest, but also the most important. You might be able to tell what it is from the parts (or zooming in on the manual) but if not, it will become quickly apparent. #LEGO 

This first mechanism has a lot of moving parts and gears and axles. Pull out the number of parts for each step, it’s easy to miss something! The base has these angle brackets, but they’re fixed in place. #LEGO 

...attach it to the base. Here’s where I missed something - a large gear is secured with the red axle in the second photo. Taking it apart 20 steps later was not easy. This angle bracket rotates freely. #LEGO 

This sub assembly gets built on another angle bracket, and is then attached to the base. You can see it kind of saga, cause I forgot that gear 
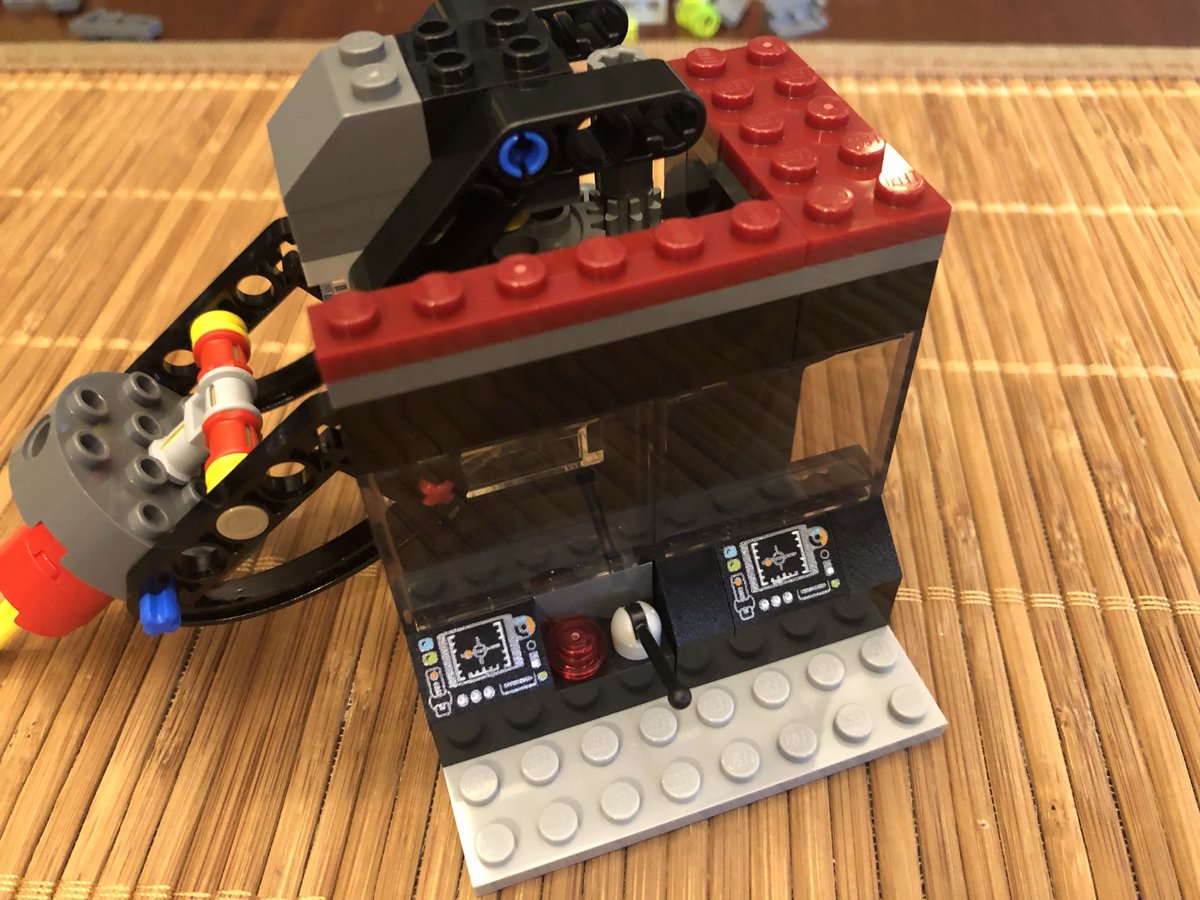
Below the unit goes some control consoles and a giant switch. #LEGO

Below the unit goes some control consoles and a giant switch. #LEGO

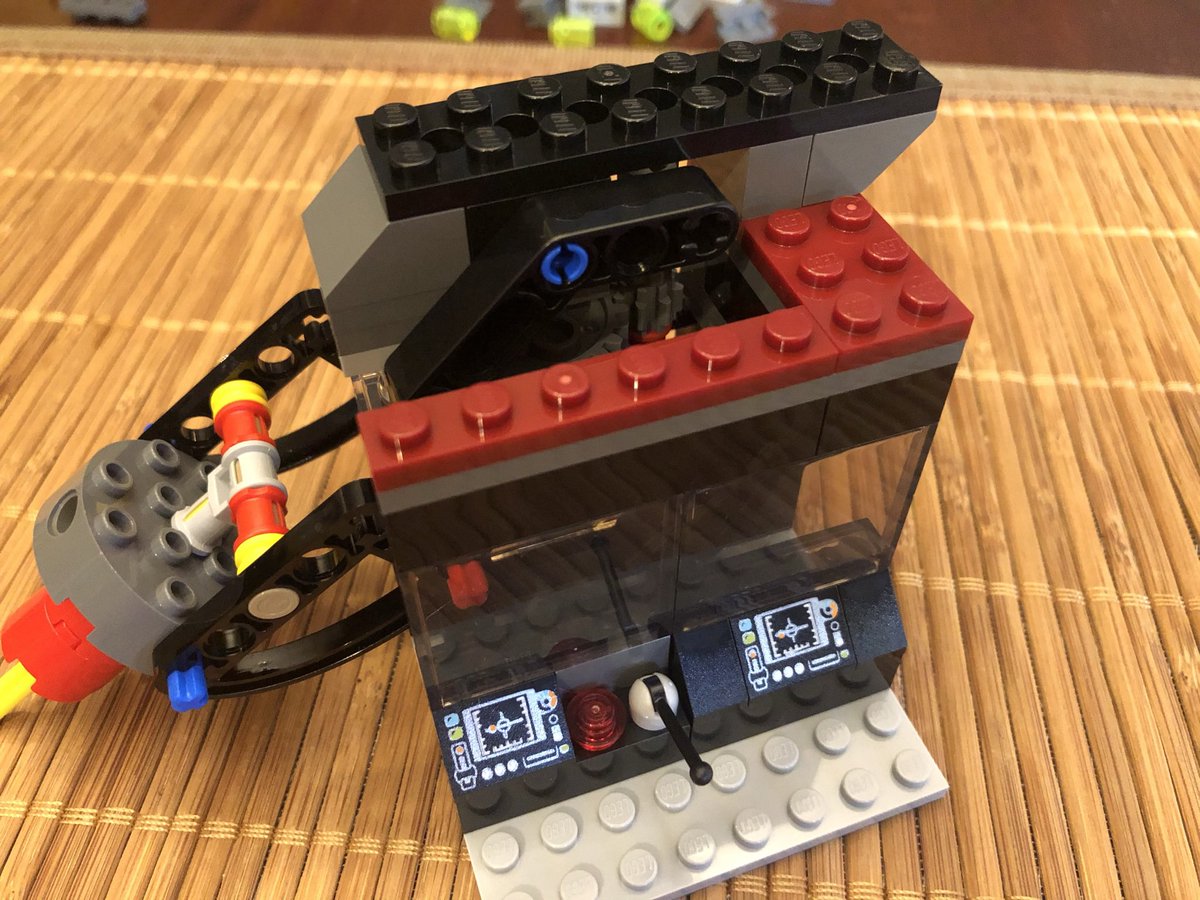
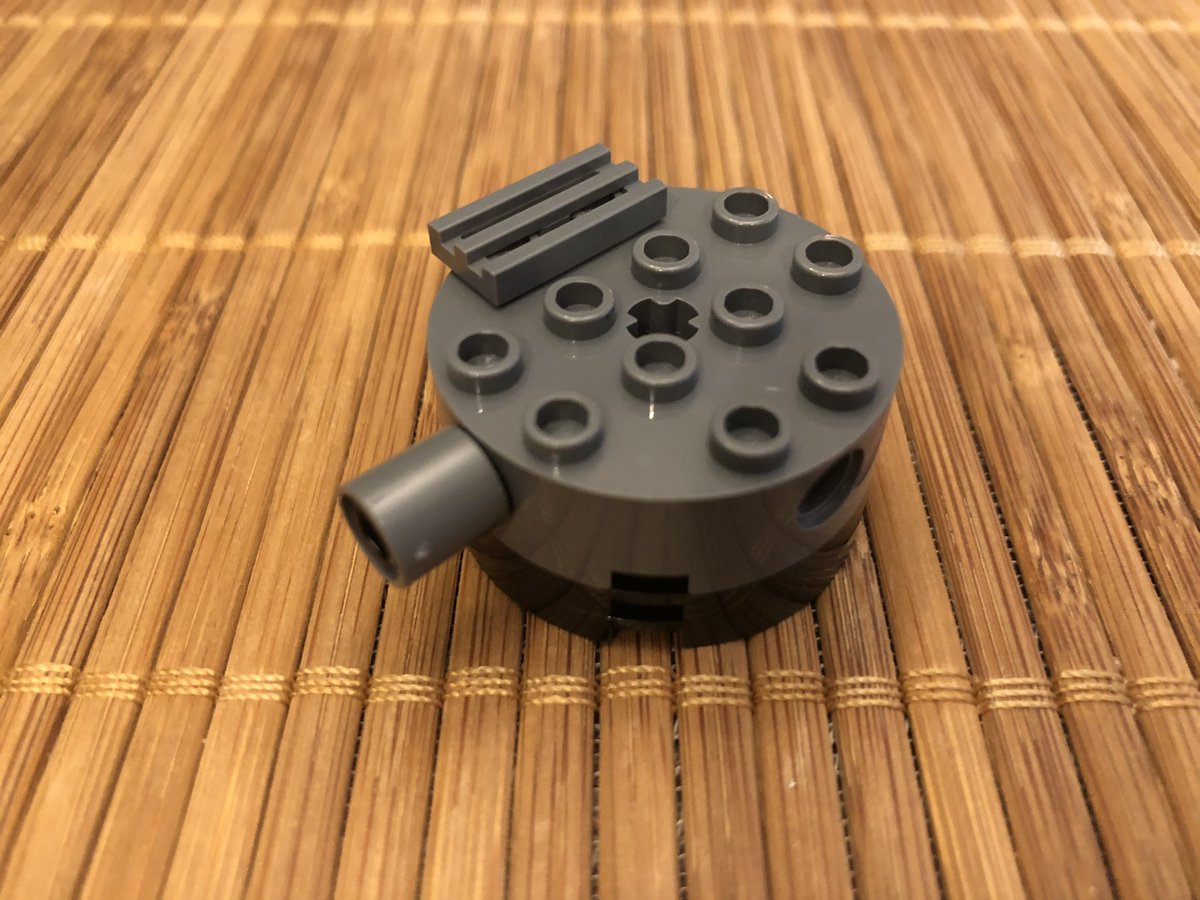
Some glass panels above the consoles and some 1x plates secure the controls and the larger unit, which was rocking a bit before. On the underside we attach a rotating base. #LEGO 

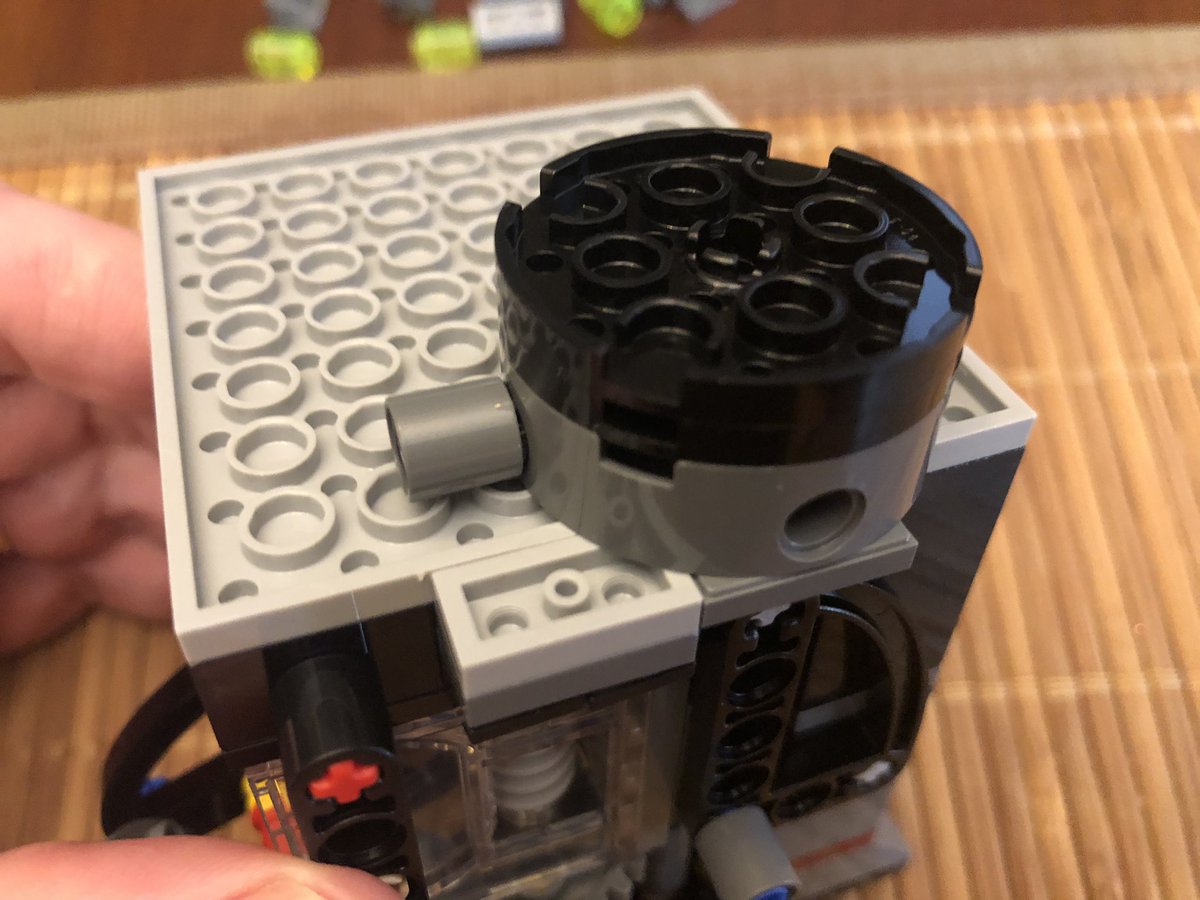
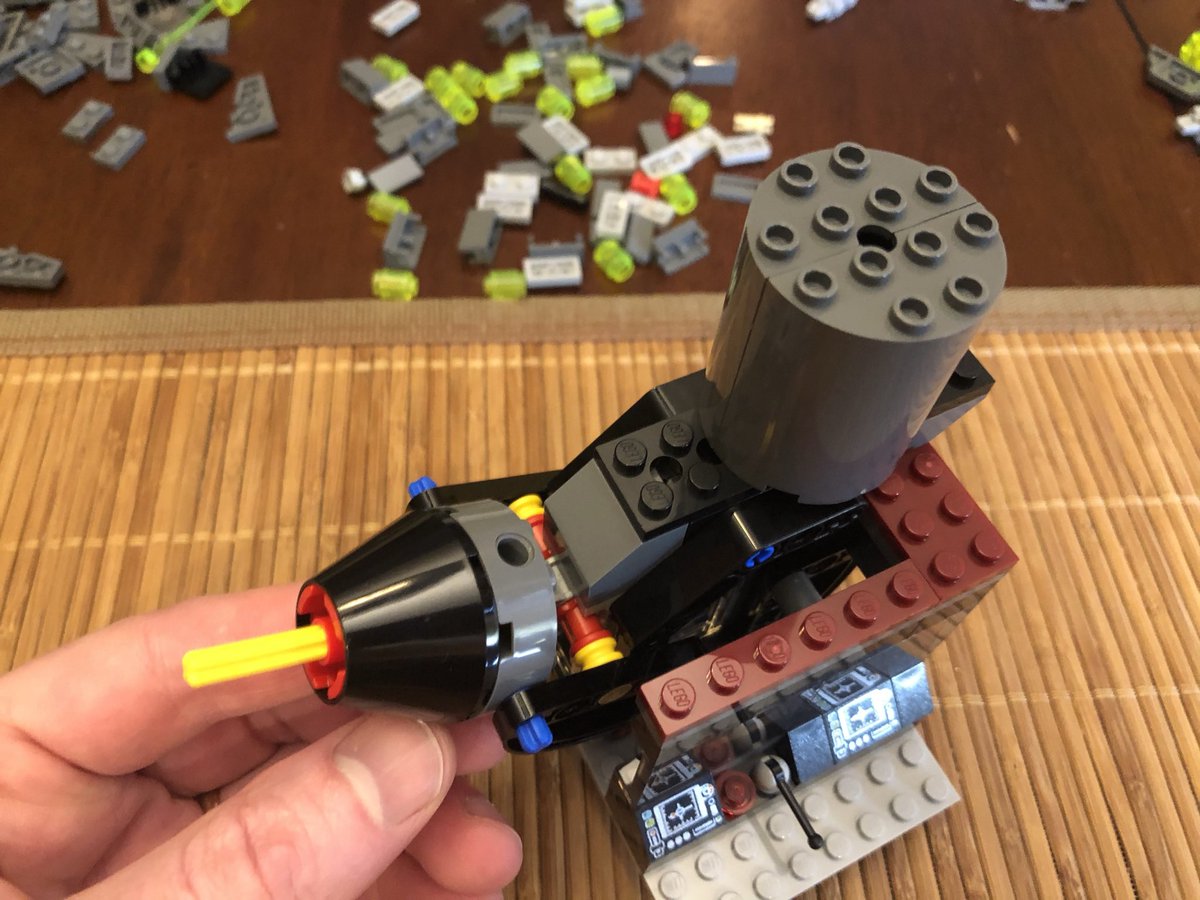
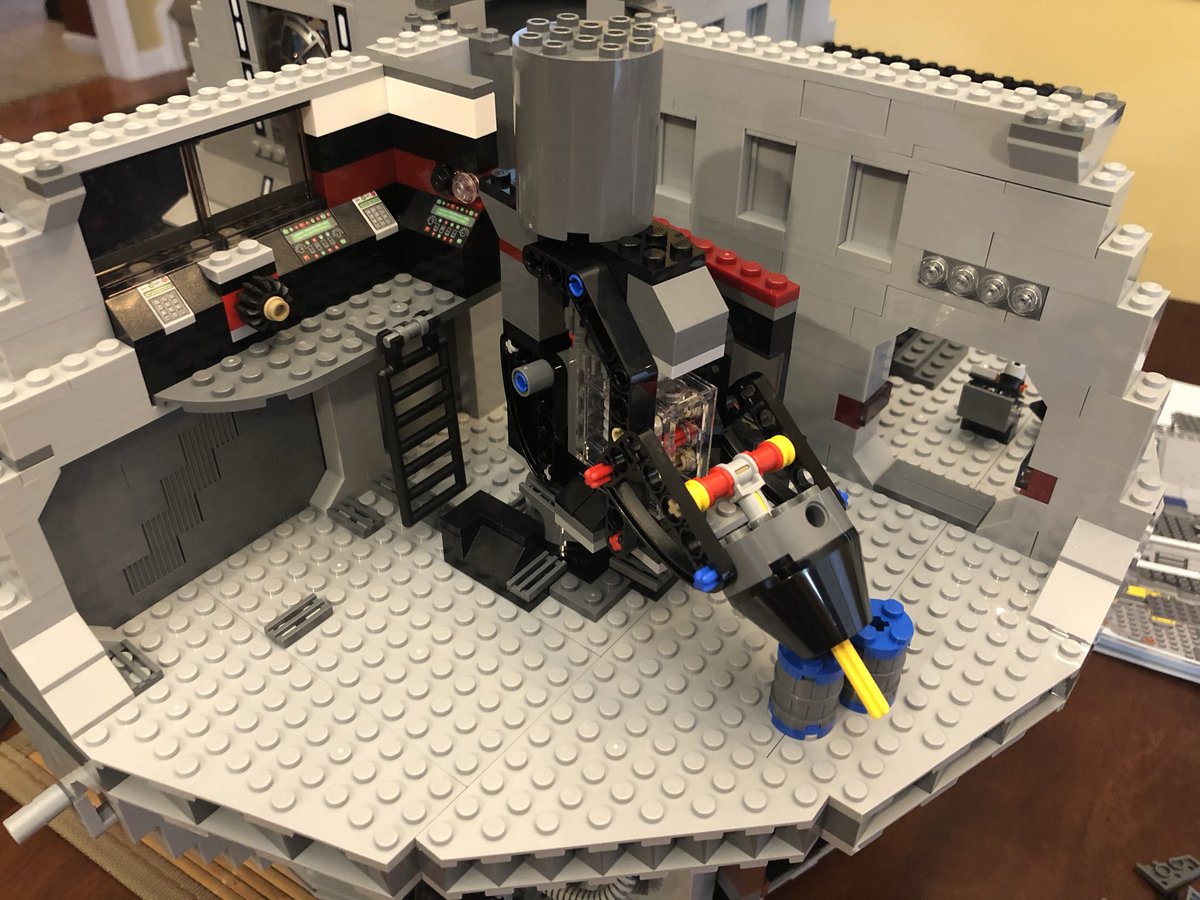
A very large drum goes on top, and then the (sagging) assembly goes on the rotating plate on our top floor. Should be fairly obvious what this is... #LEGO 

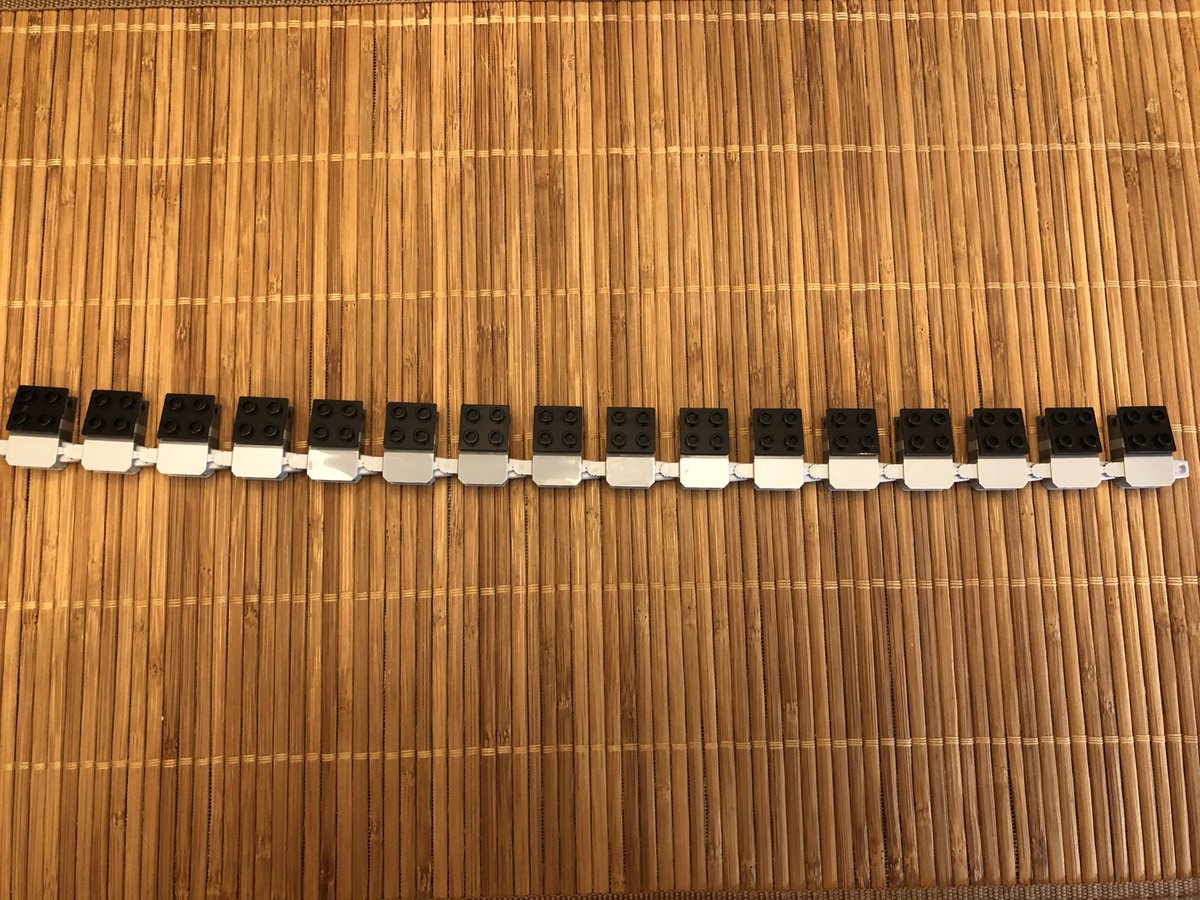
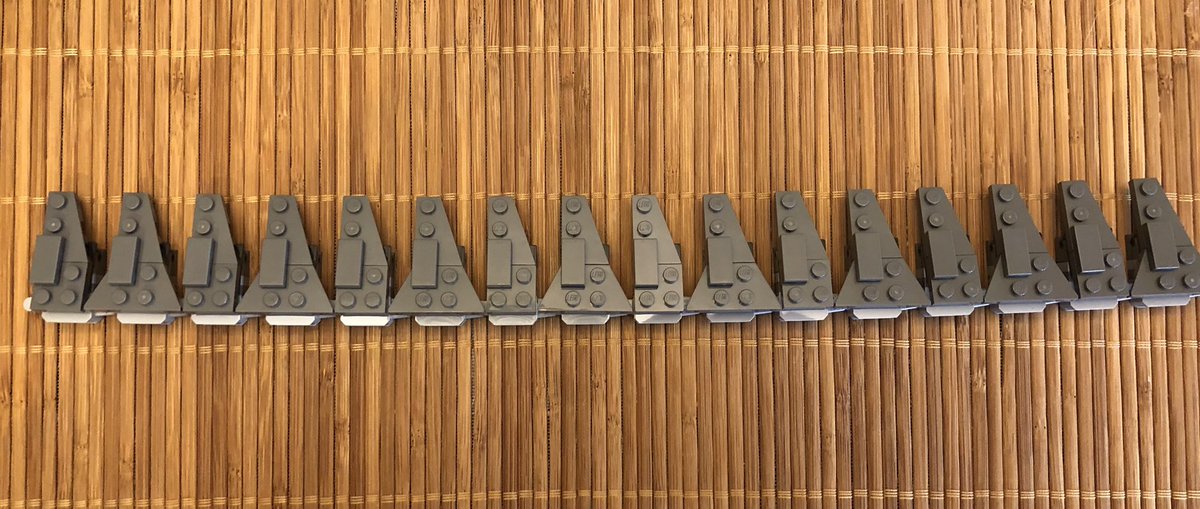
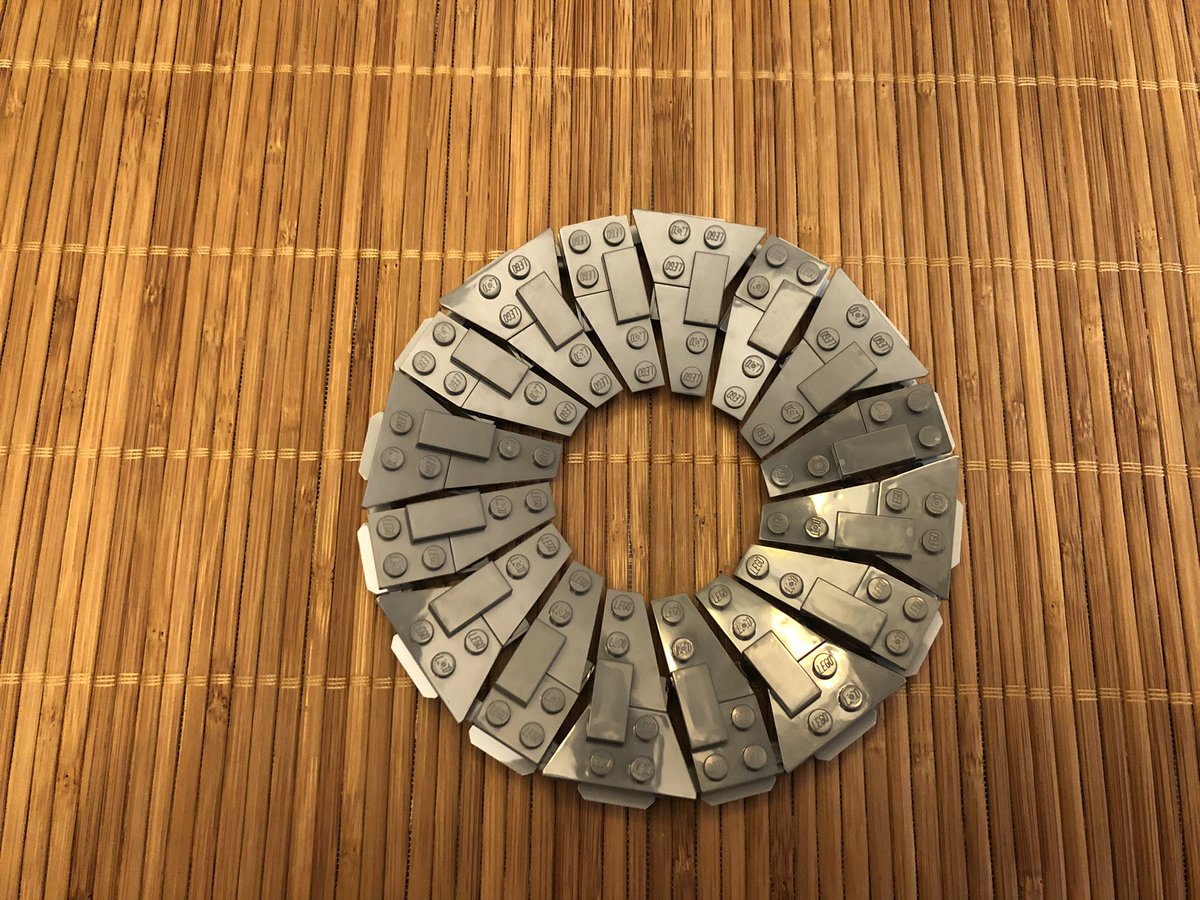
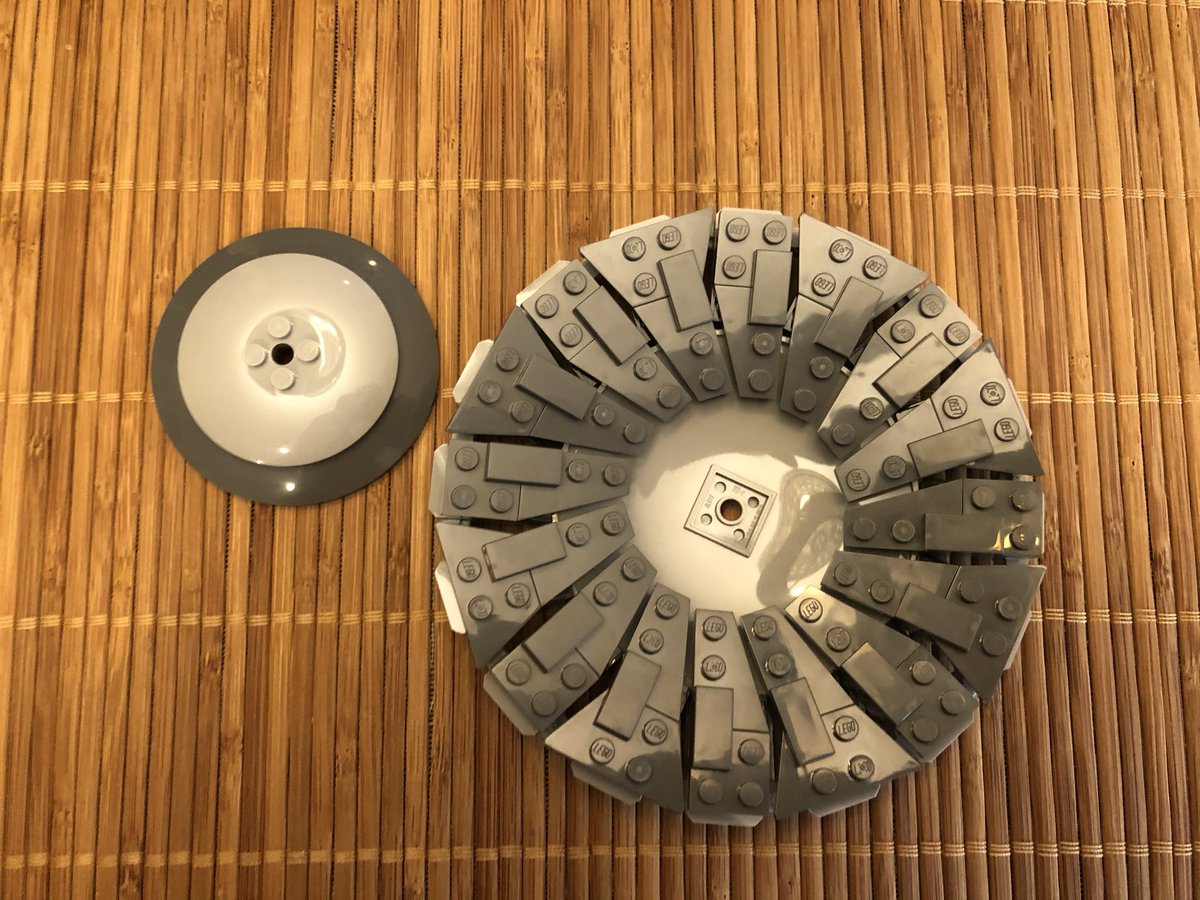
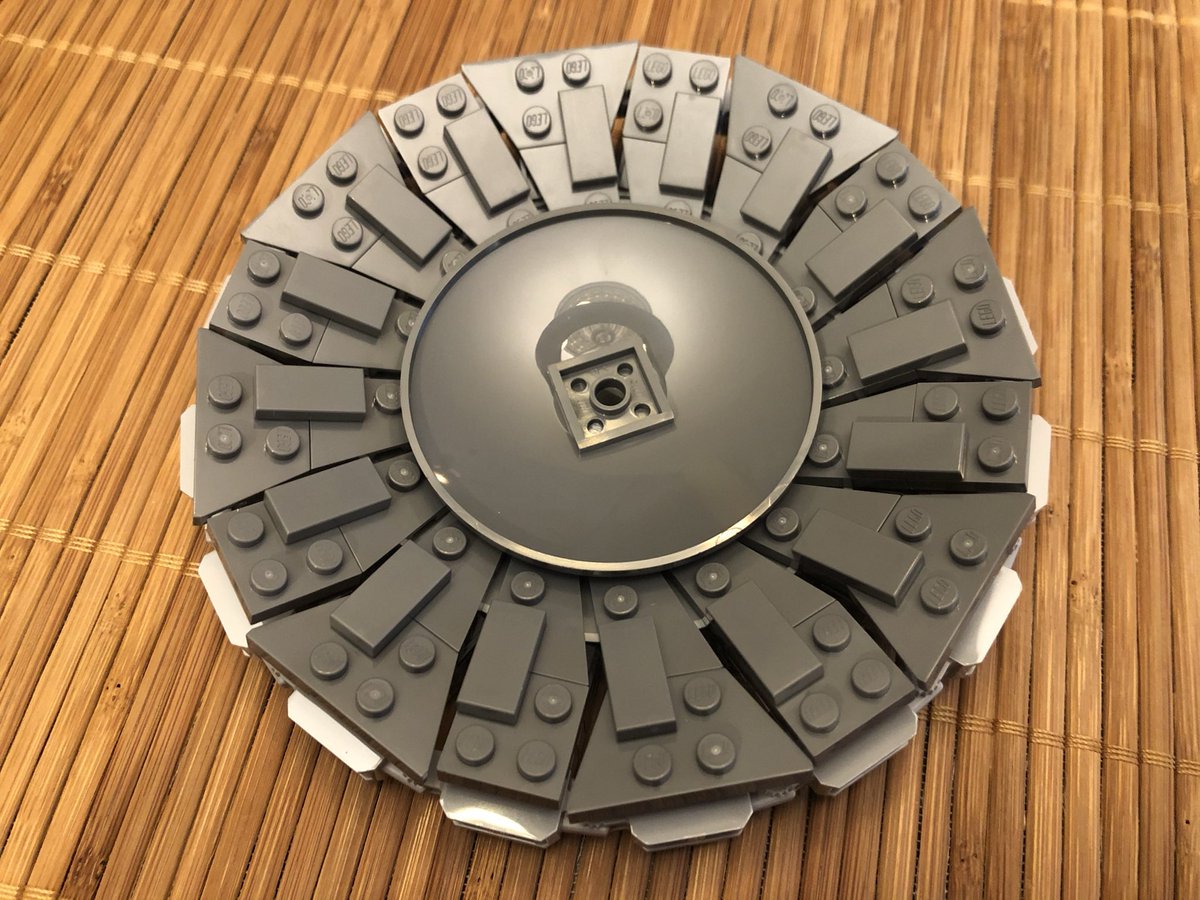
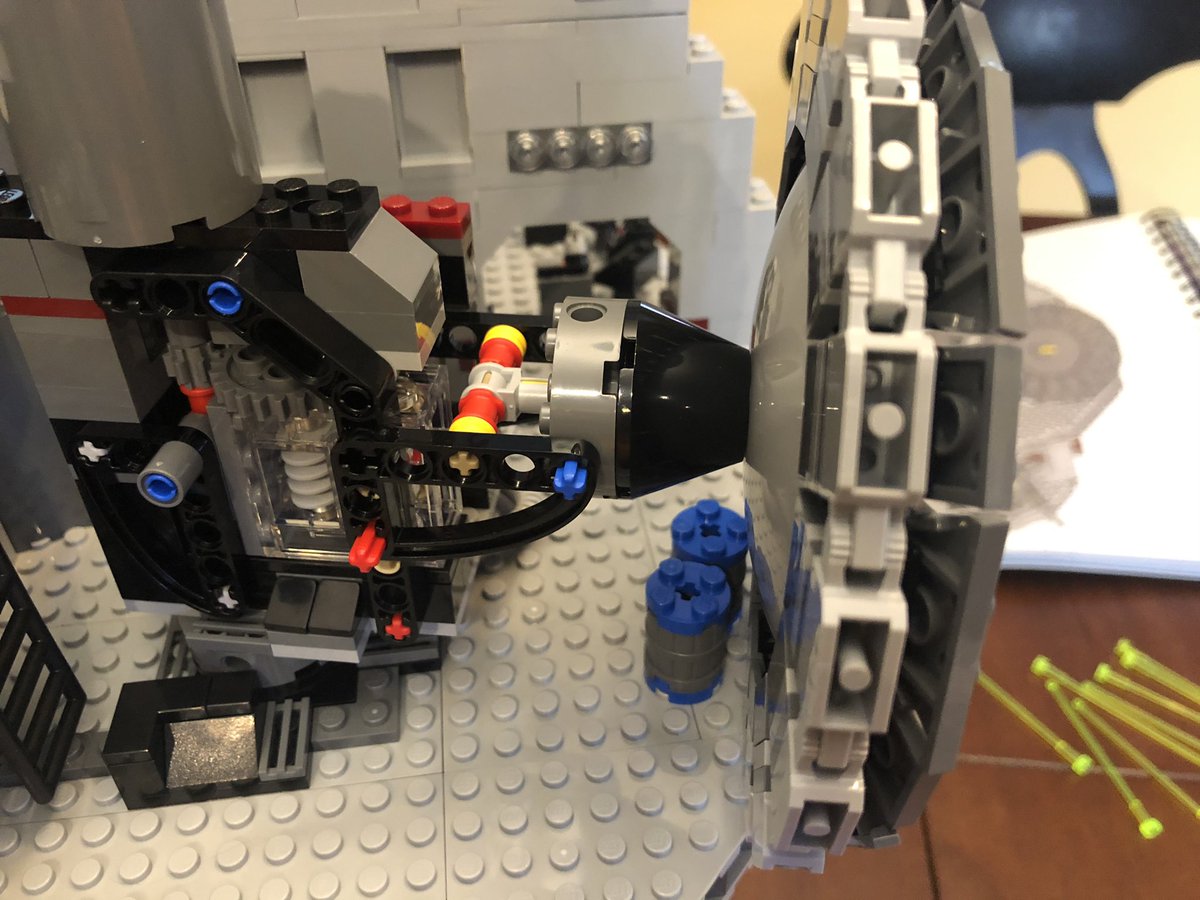
This part kind of sucks. This chain of 16 assemblies takes a while and it’s small pieces with sharp corners. Then these plates go on the black tilting plate. Make sure they point downward, or you’ll have to flip em around like me, then link them in a circle. #LEGO 

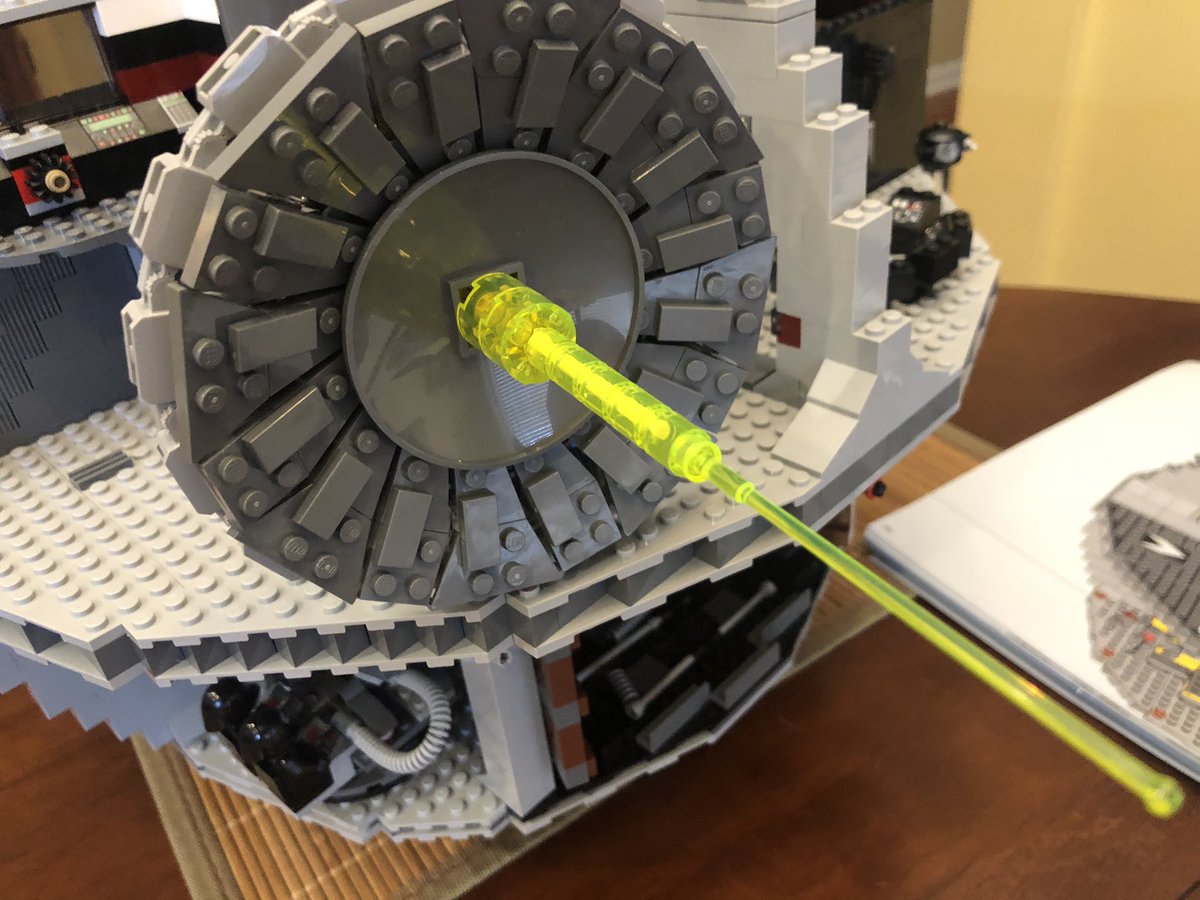
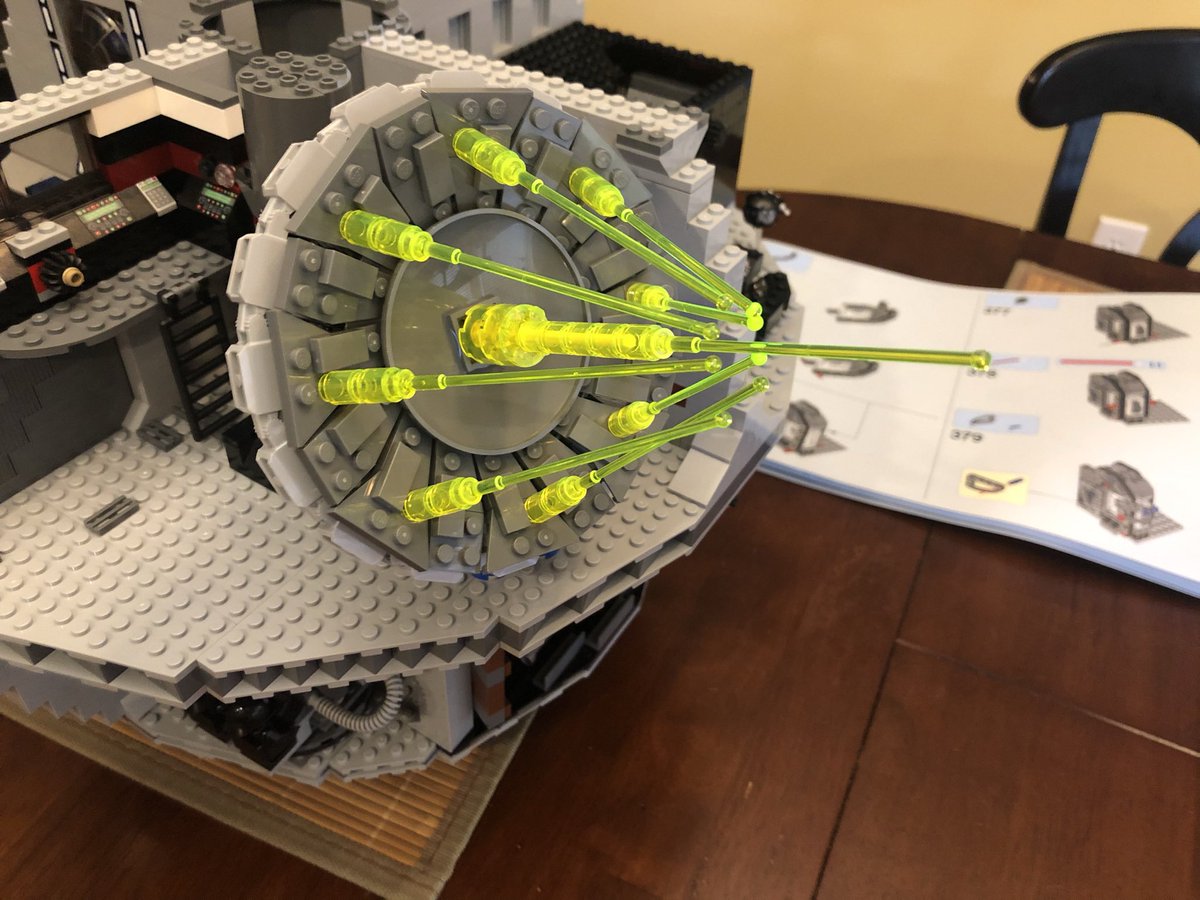
A few curved dishes go on the front and back, then it attaches to the aiming station. A green see-thru laser beam gives us the Death Star’s most famous weapon, it’s planet buster! #LEGO 

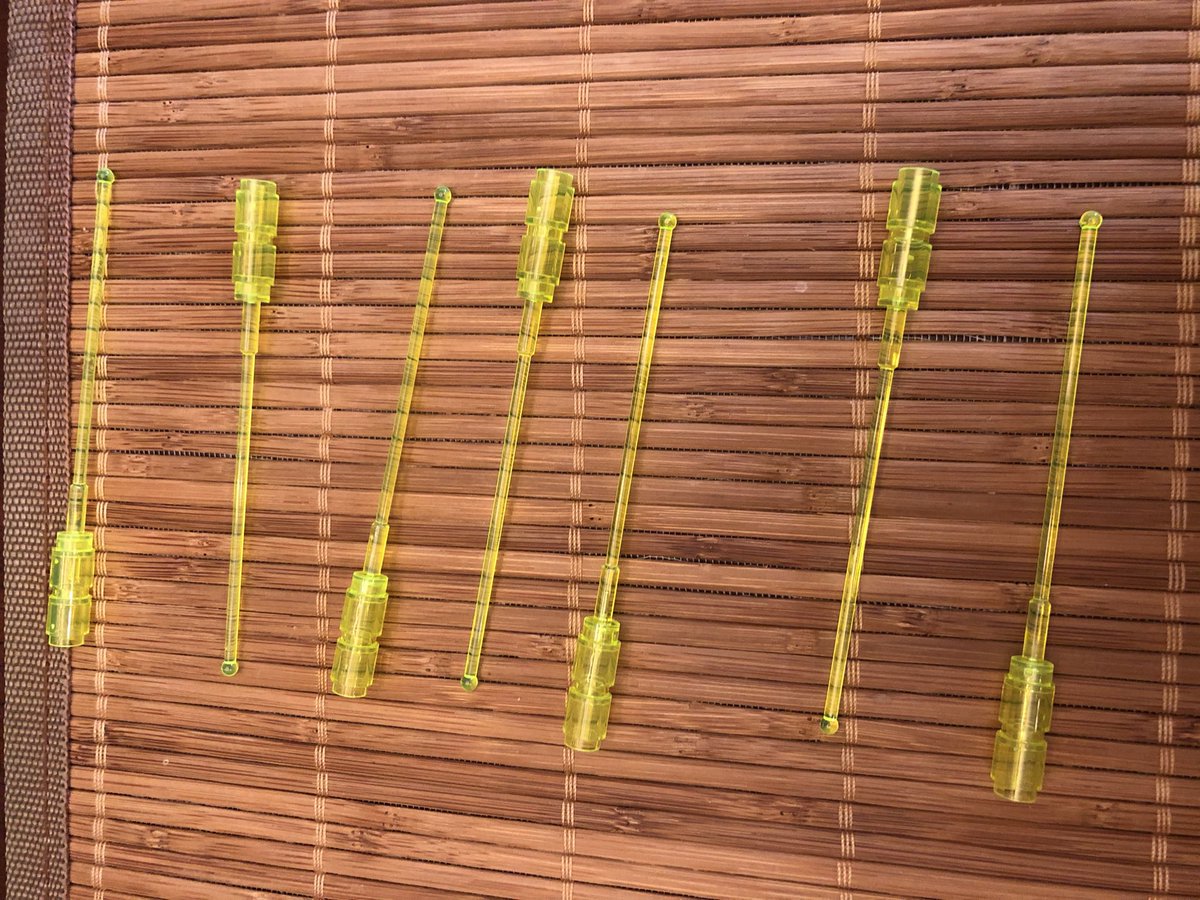
We need 8 shorter lasers to go around the edge of the dish. There’s the universe’s largest weapon!
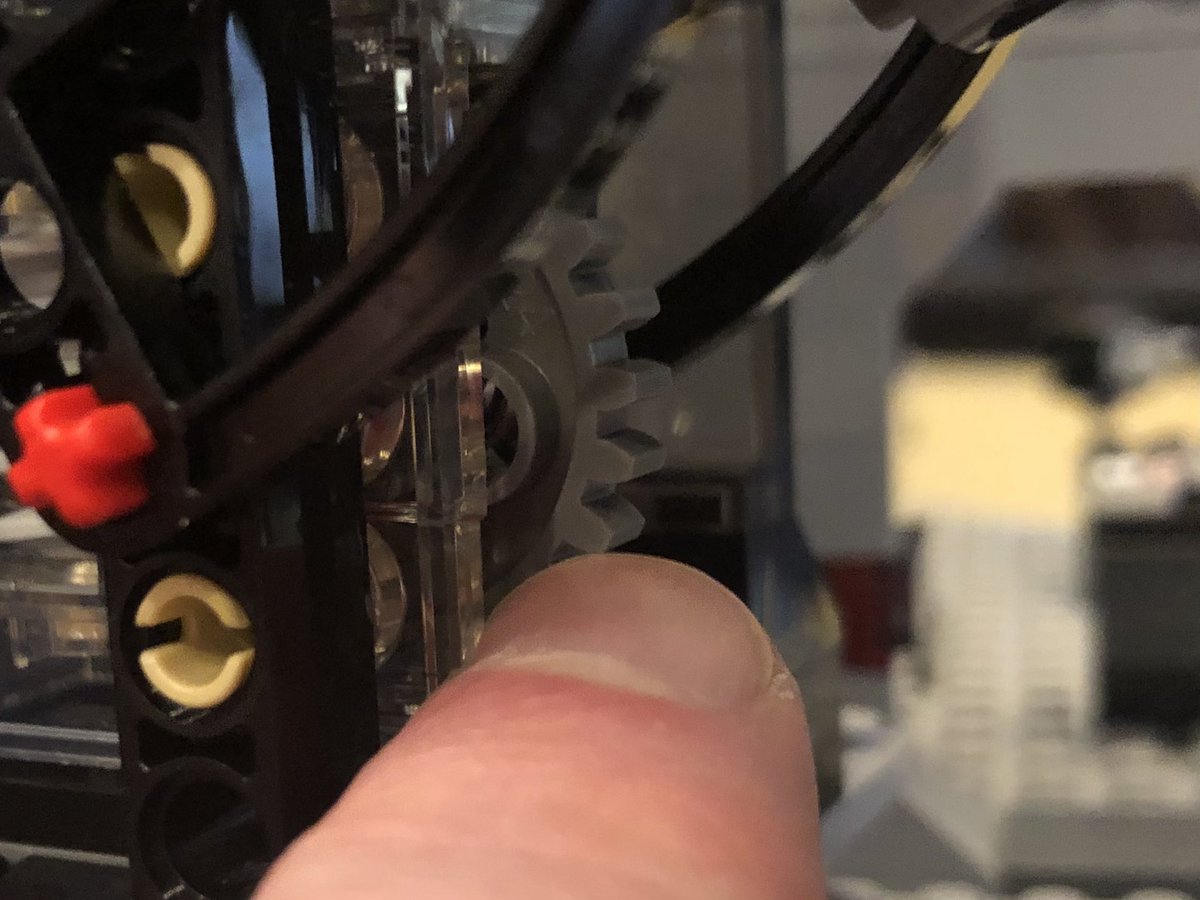
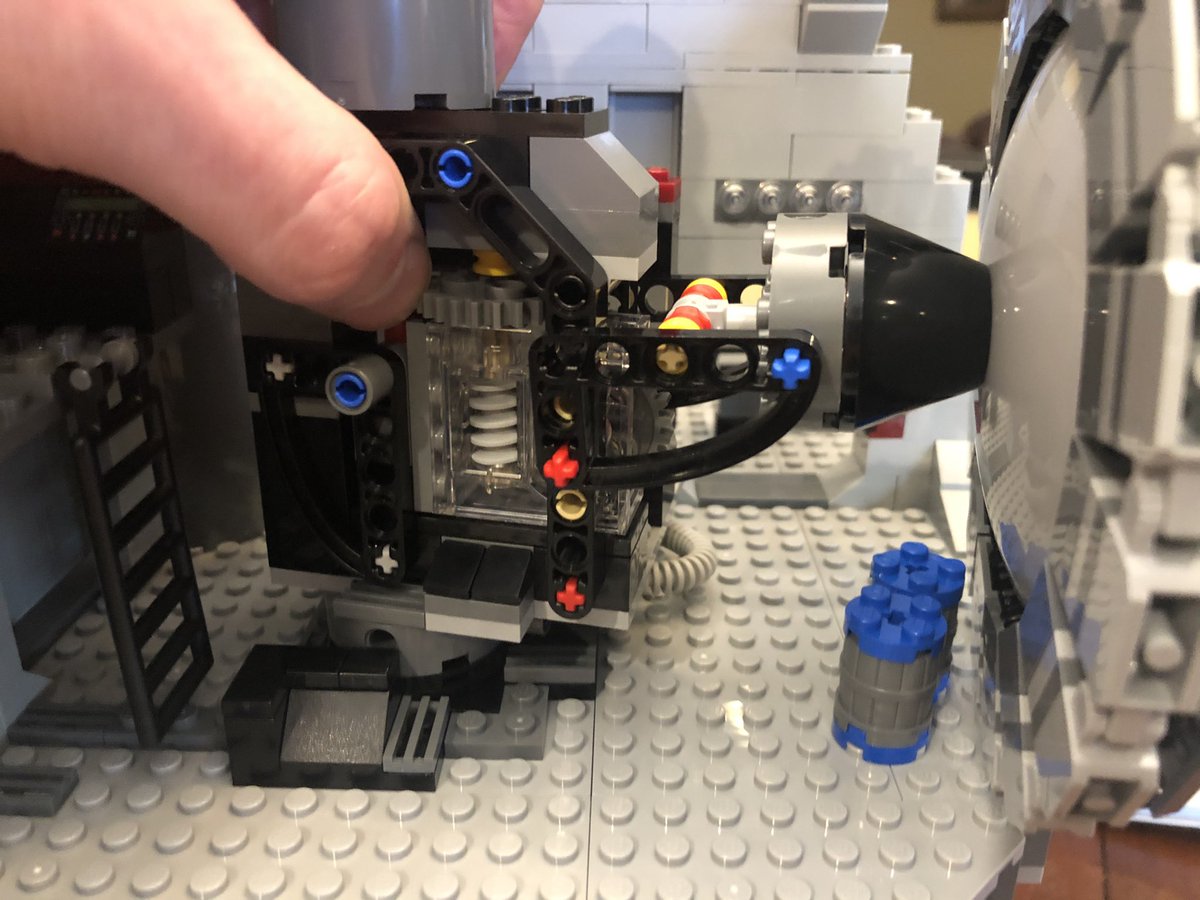
I finally figured out I was missing that gear and got it in place The other gear let’s you raise and lower the dish.
That’s the end of section 8! #LEGO
I finally figured out I was missing that gear and got it in place
 The other gear let’s you raise and lower the dish.
That’s the end of section 8! #LEGO

On to section 9! We are building floors again. The first one has a notch in it for the Death Star laser. #LEGO 

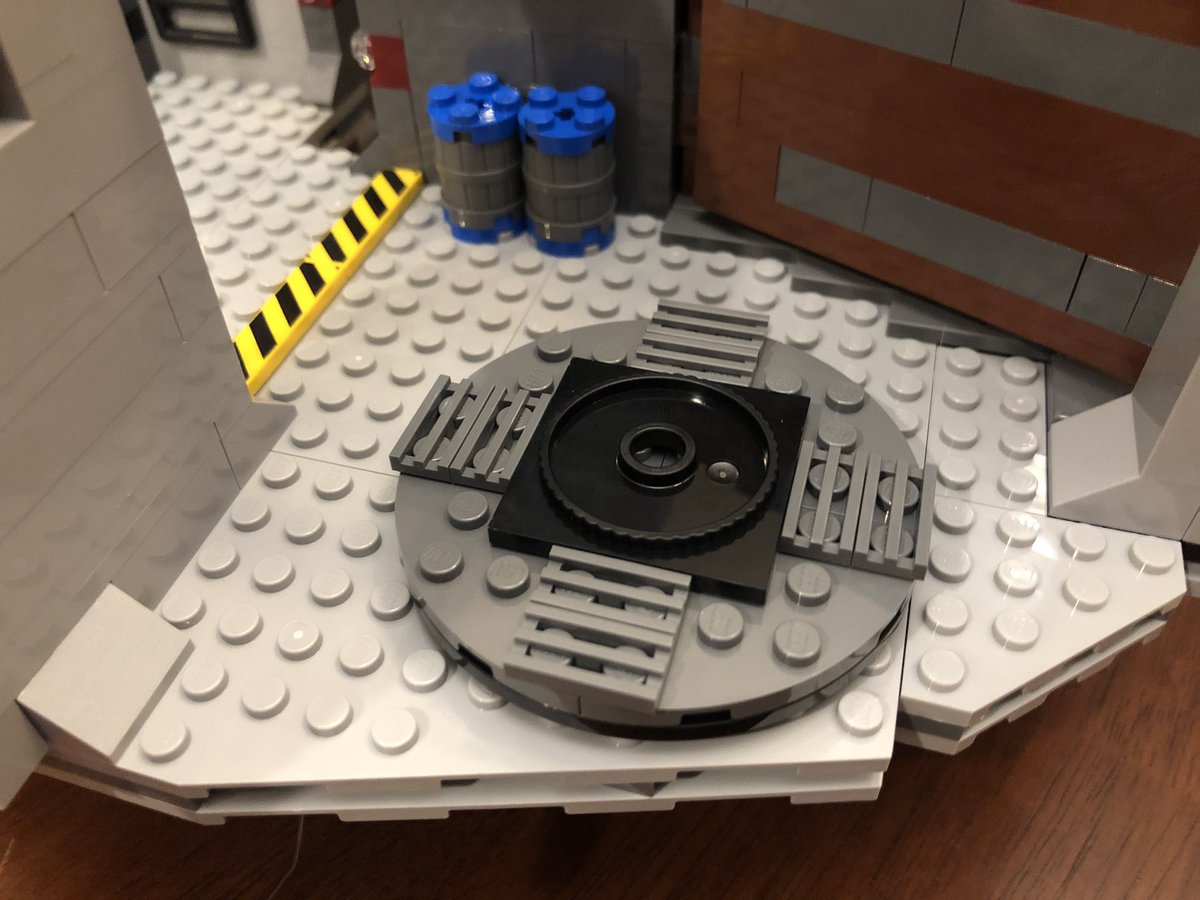
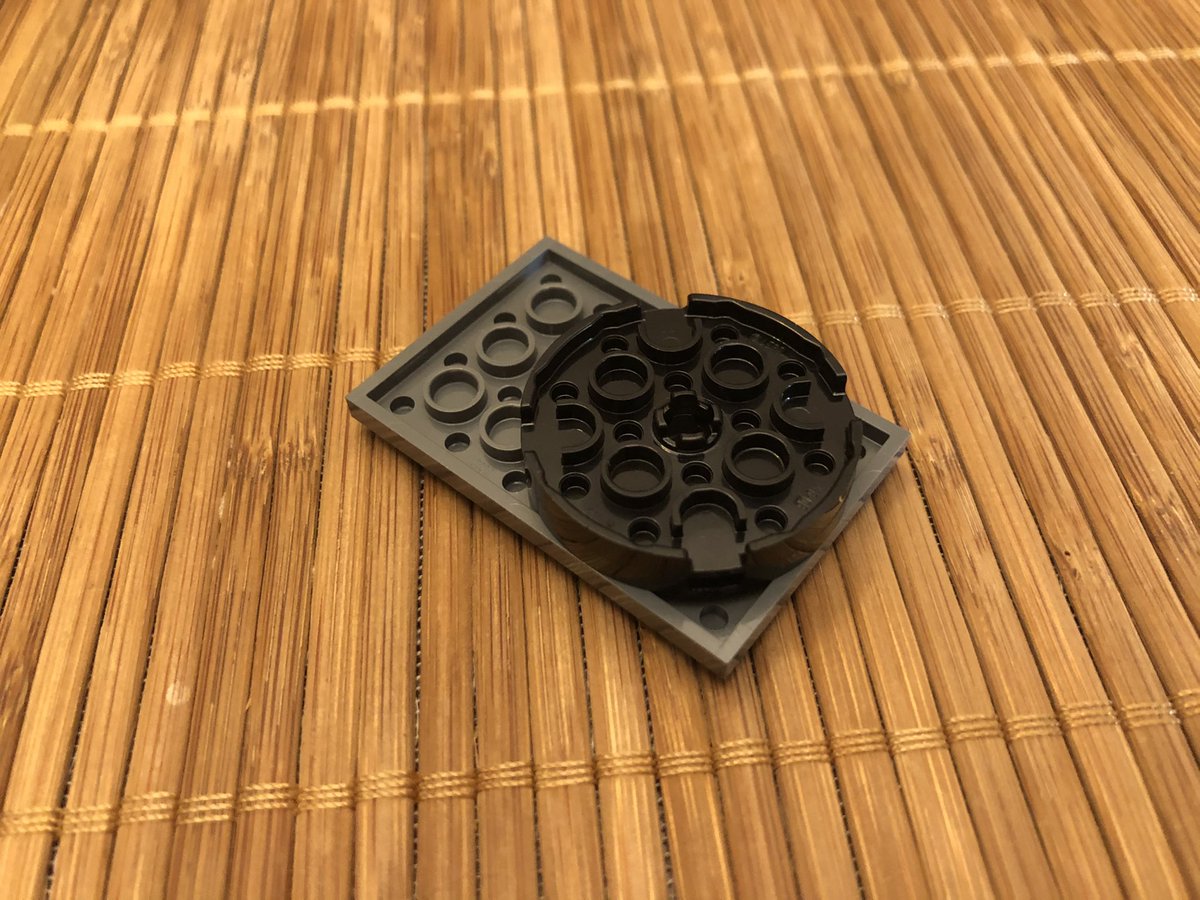
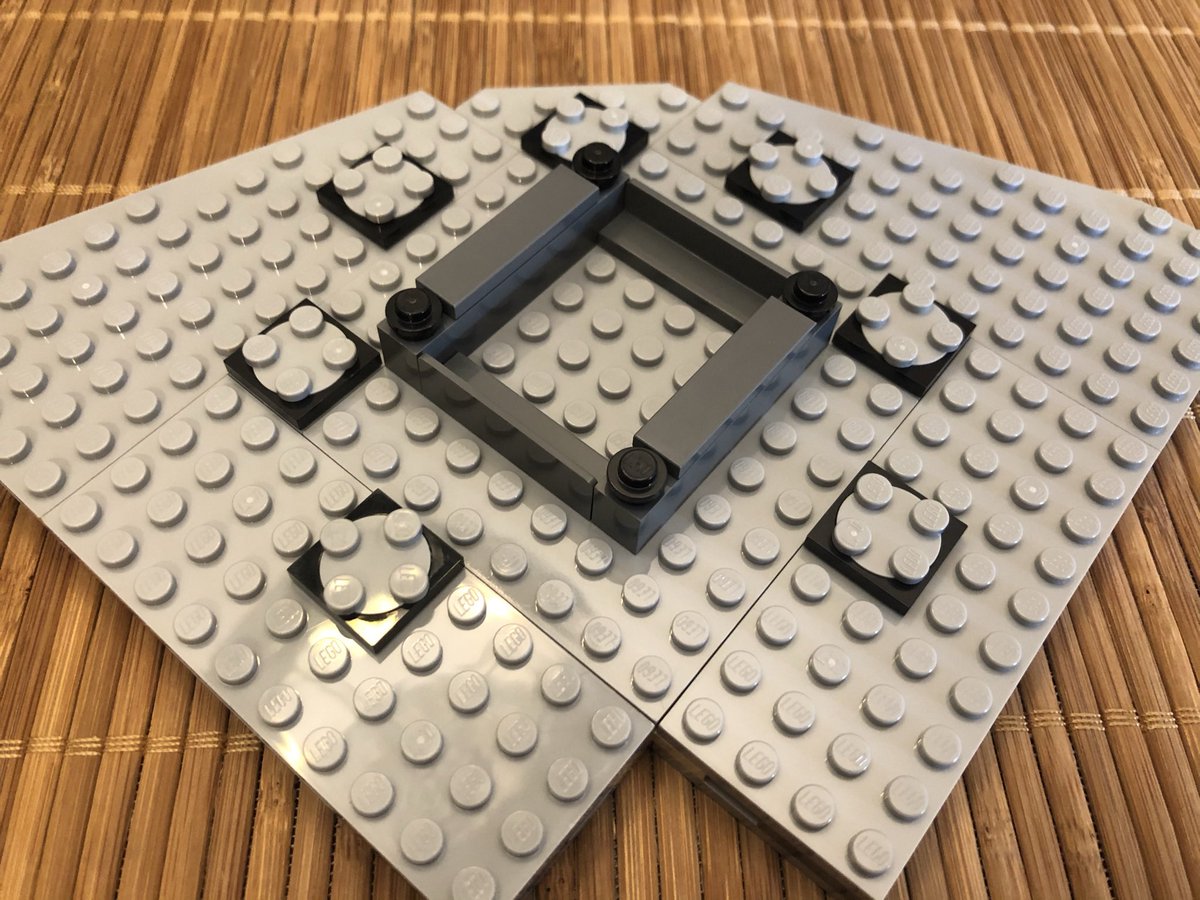
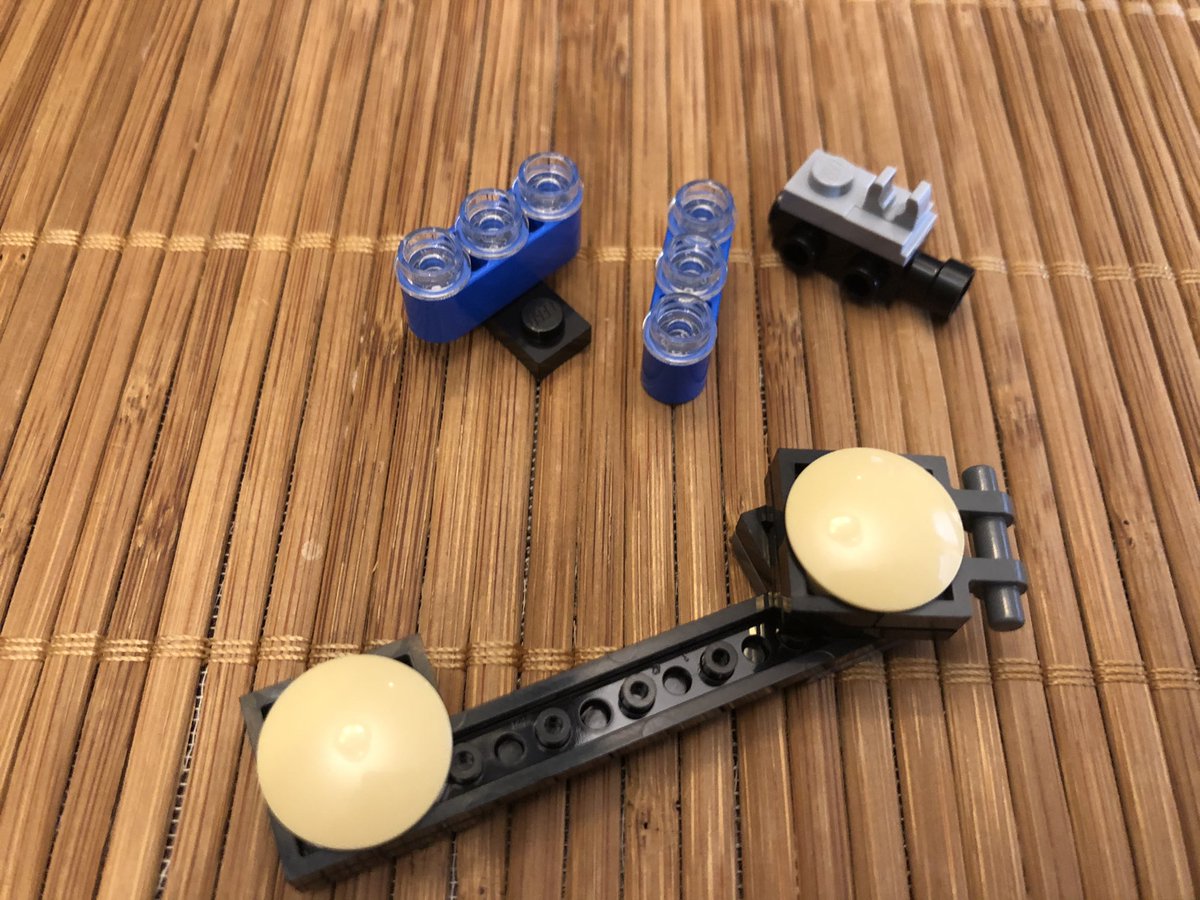
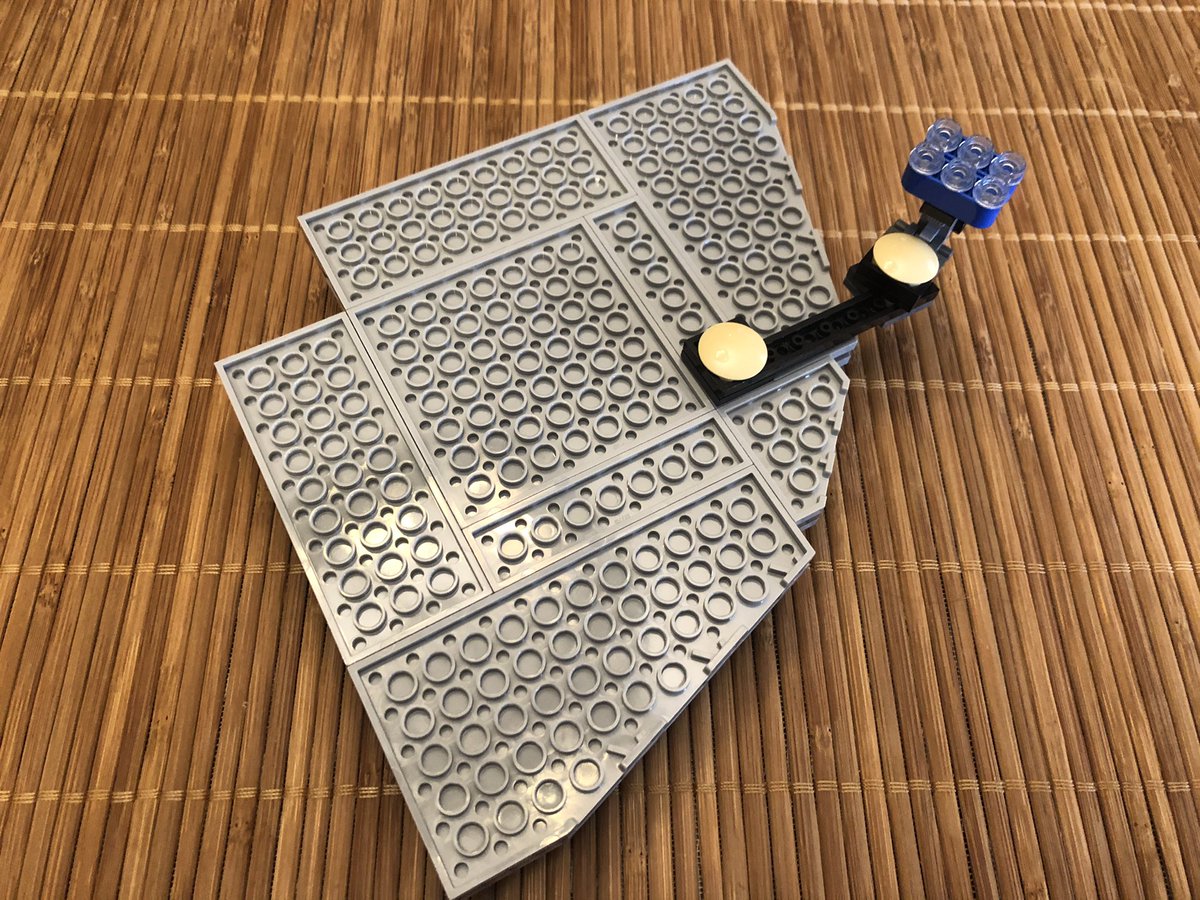
The next section is solid, and it gets 7 rotating plates on top. Underneath is this weird assembly, which rotates in two places (under the rounded plates) #LEGO 

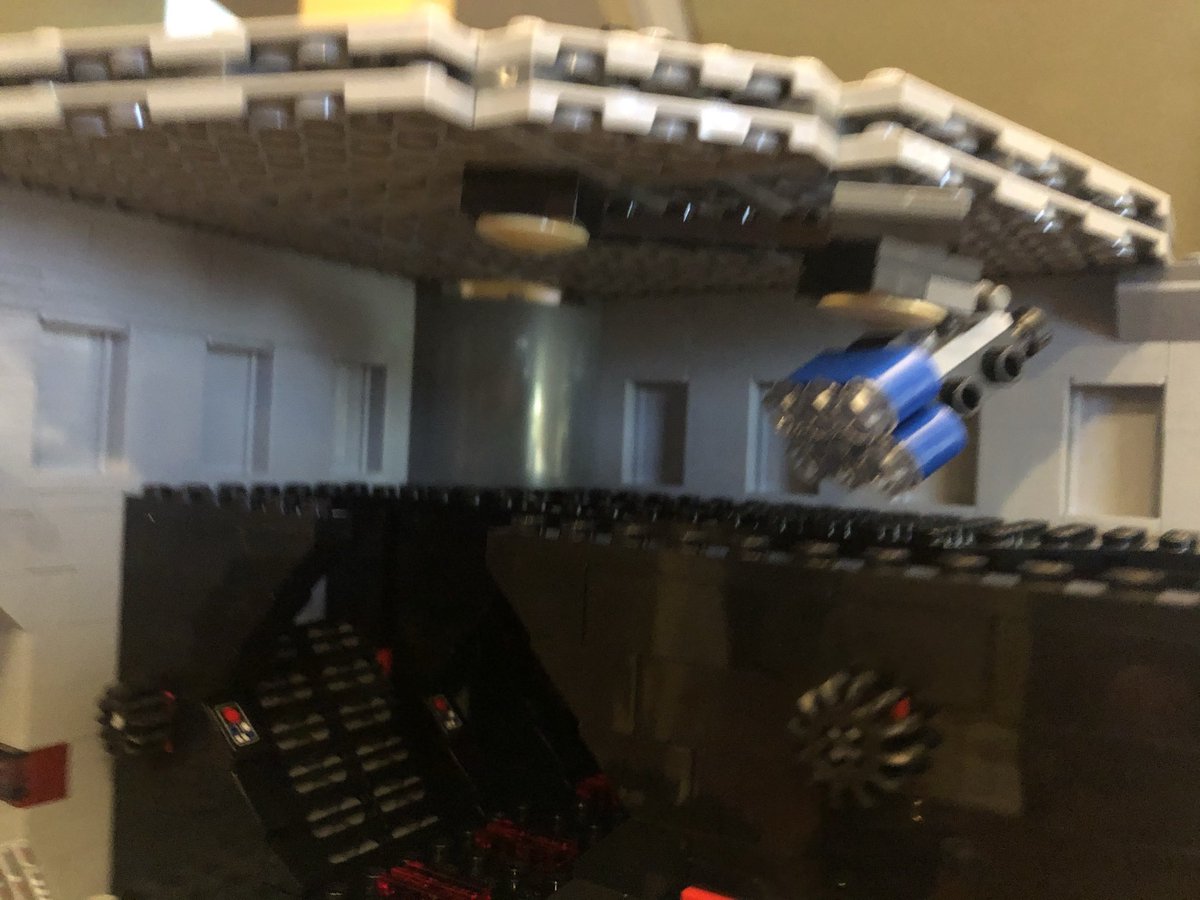
It’s a camera for the prison section. I don’t remember there being a camera in the movie 
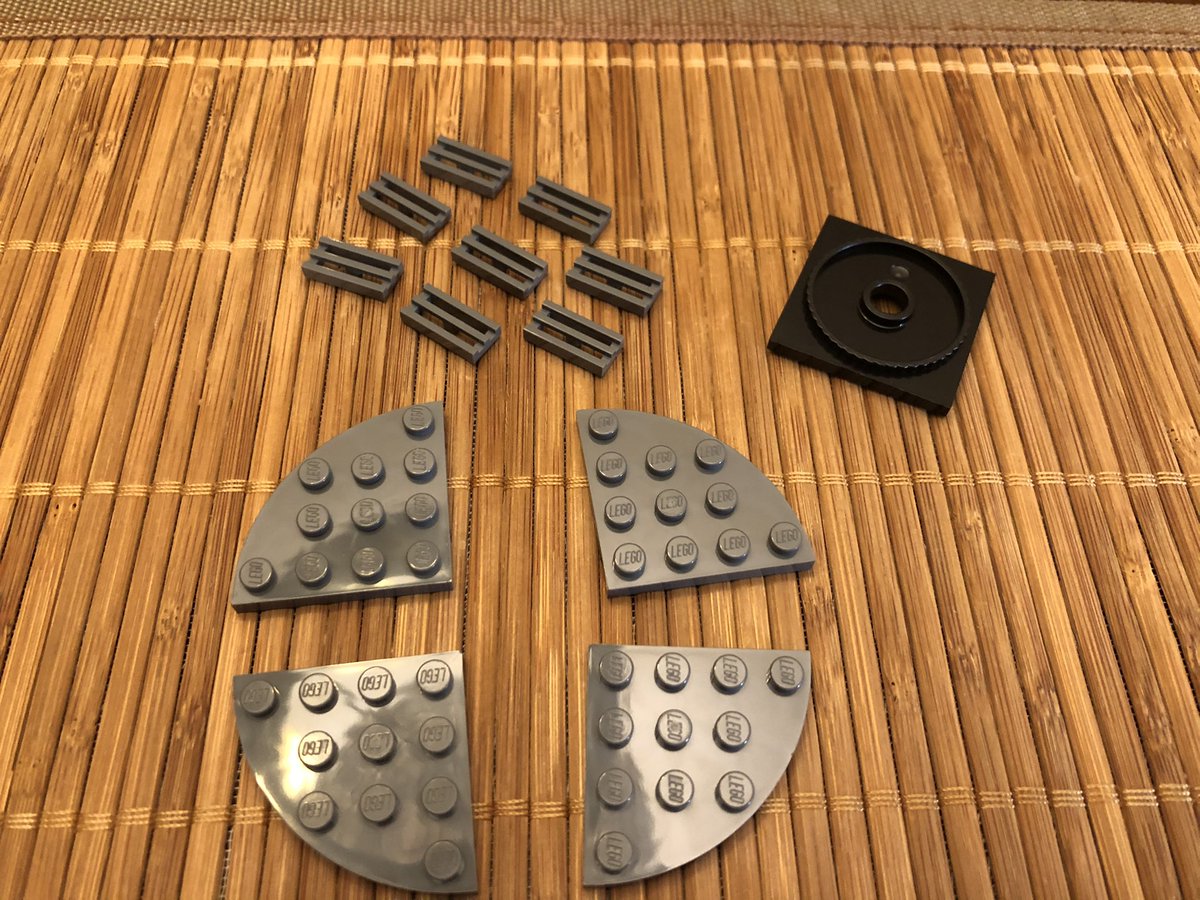
The next floor is solid, except for some plates with holes in them so posts can be inserted through this rotating bases. #LEGO

The next floor is solid, except for some plates with holes in them so posts can be inserted through this rotating bases. #LEGO

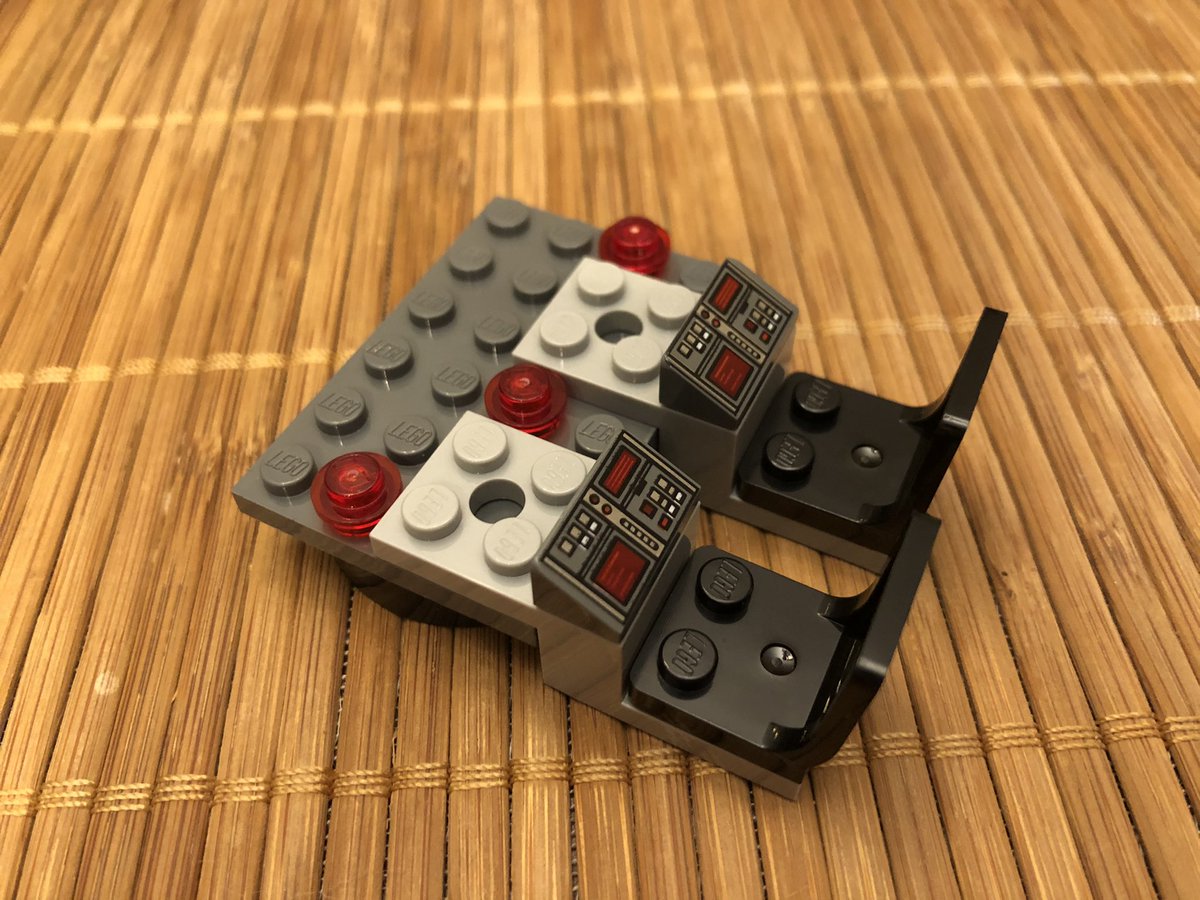
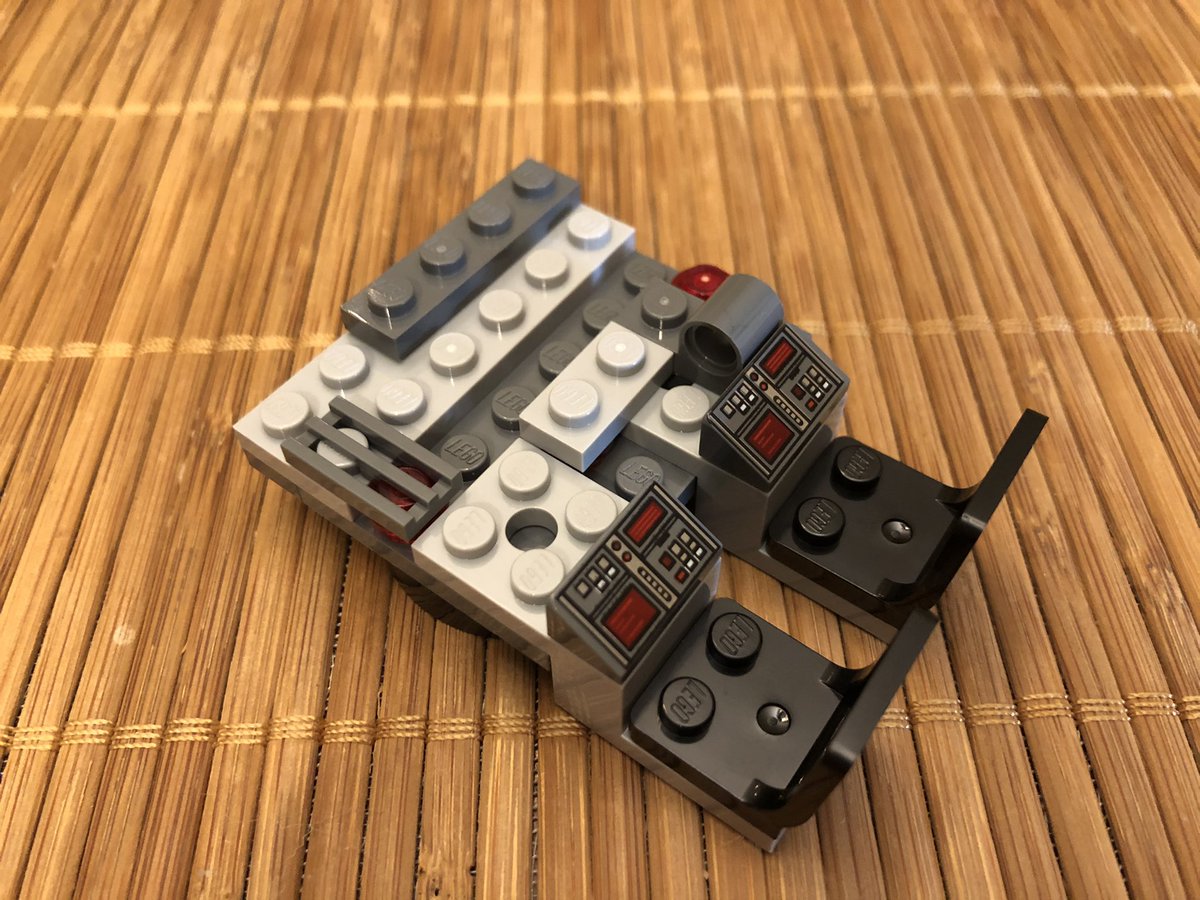
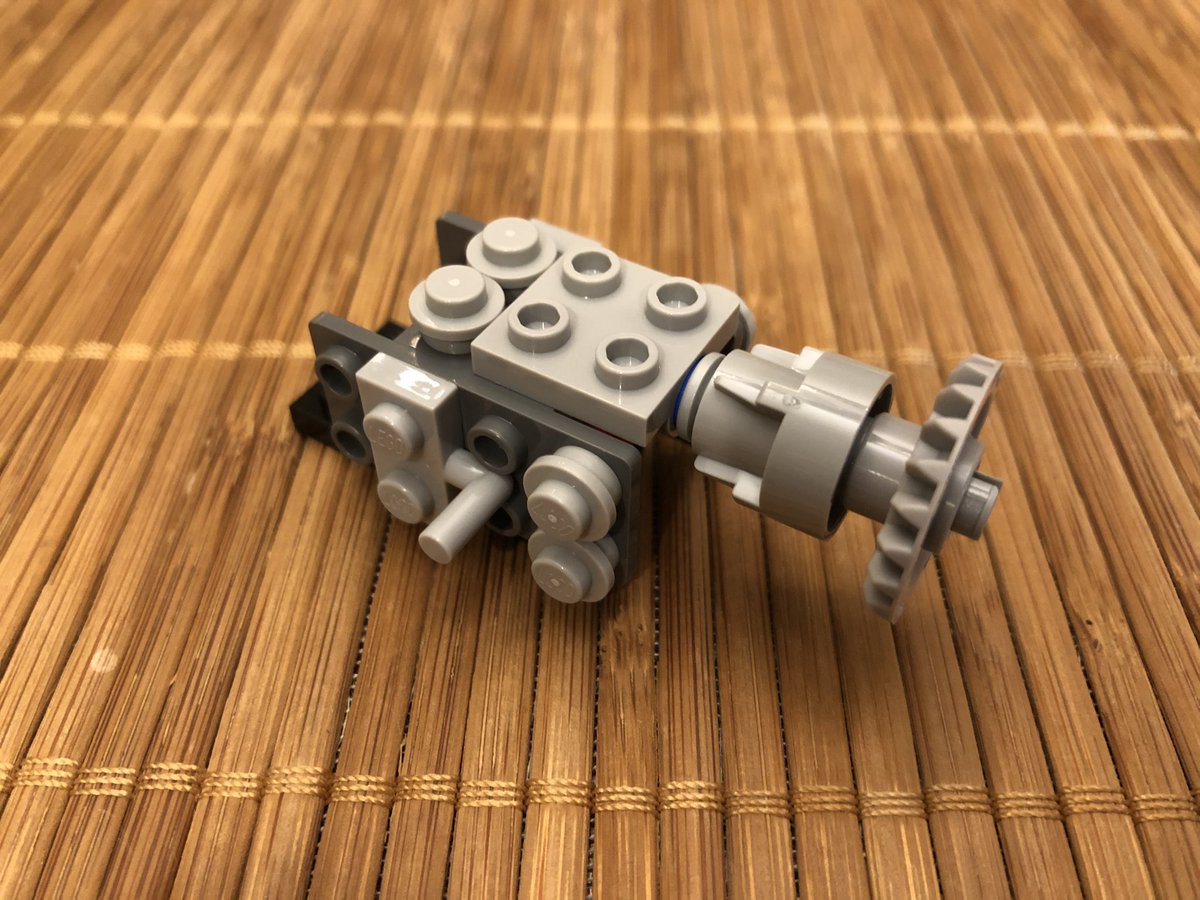
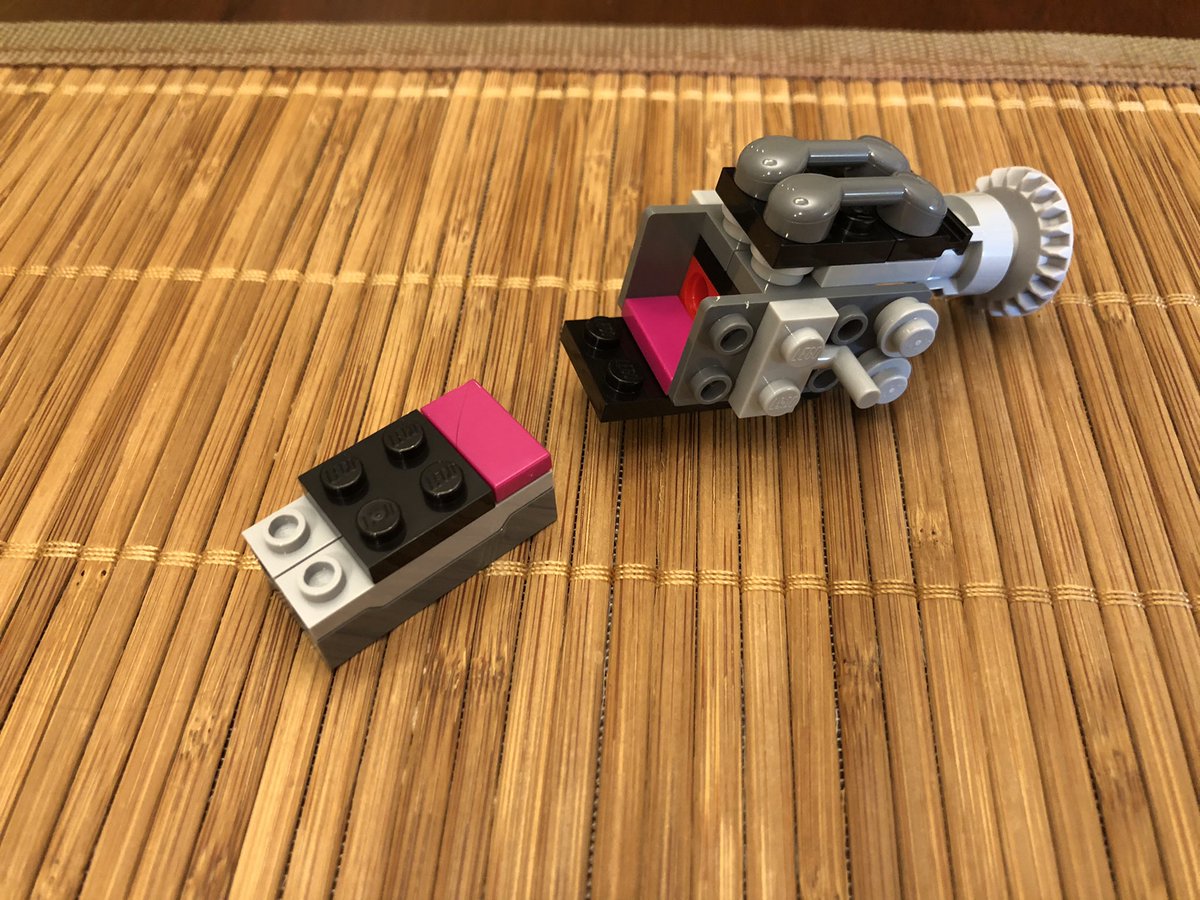
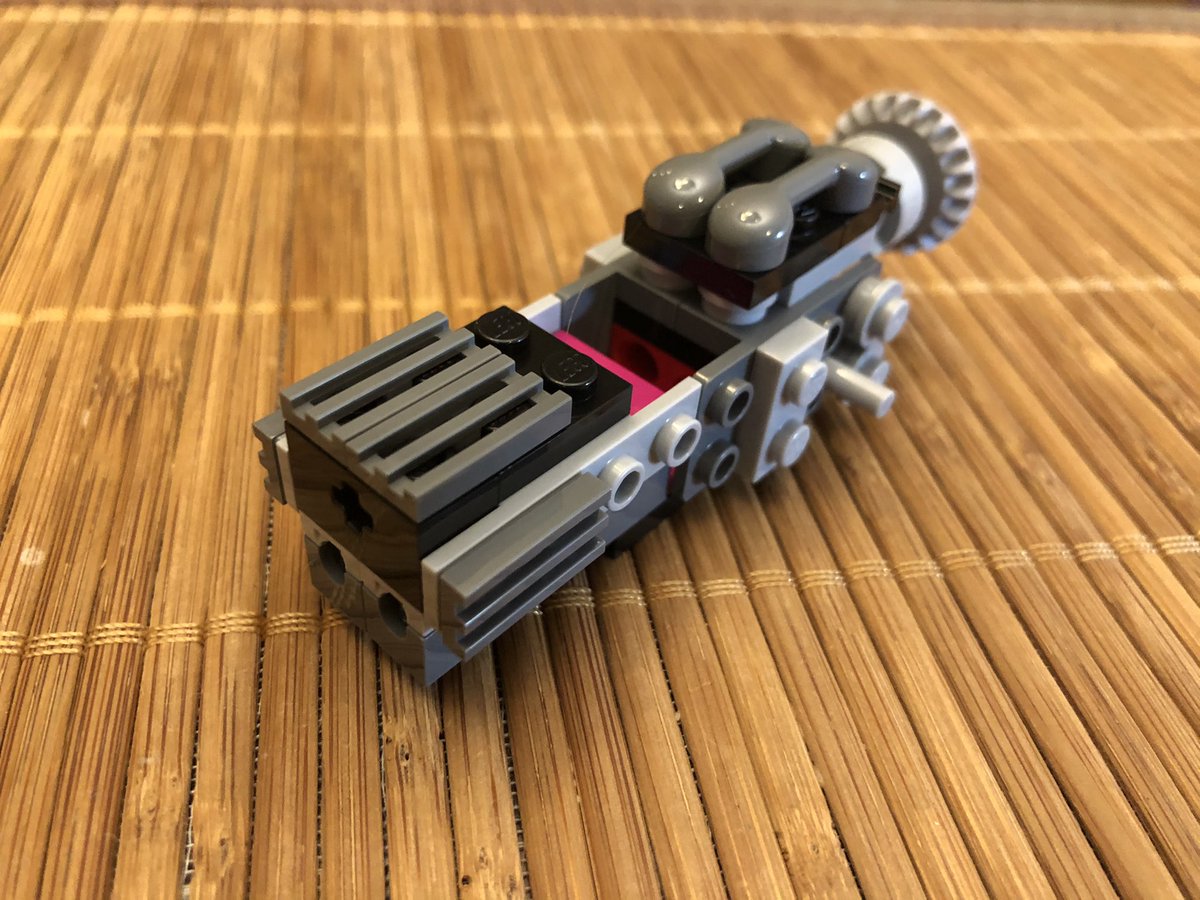
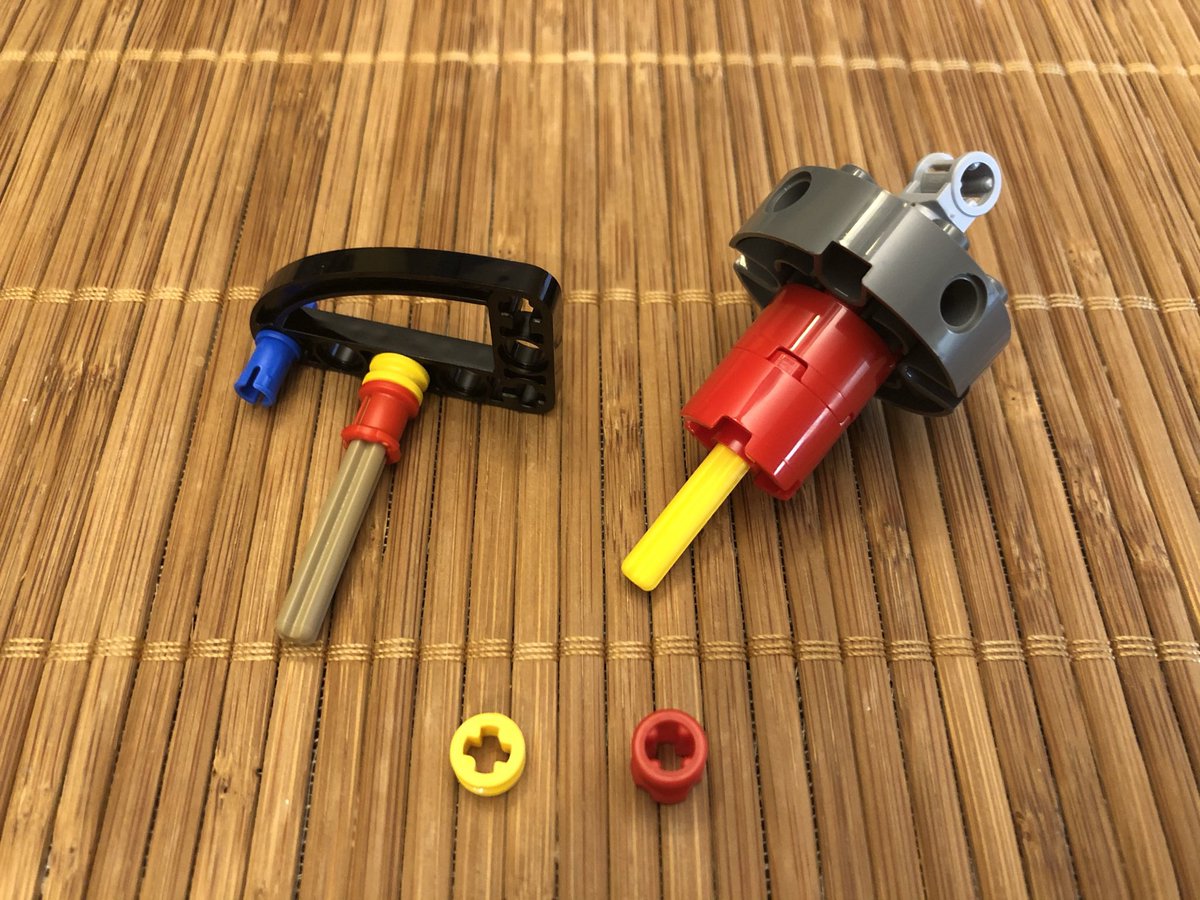
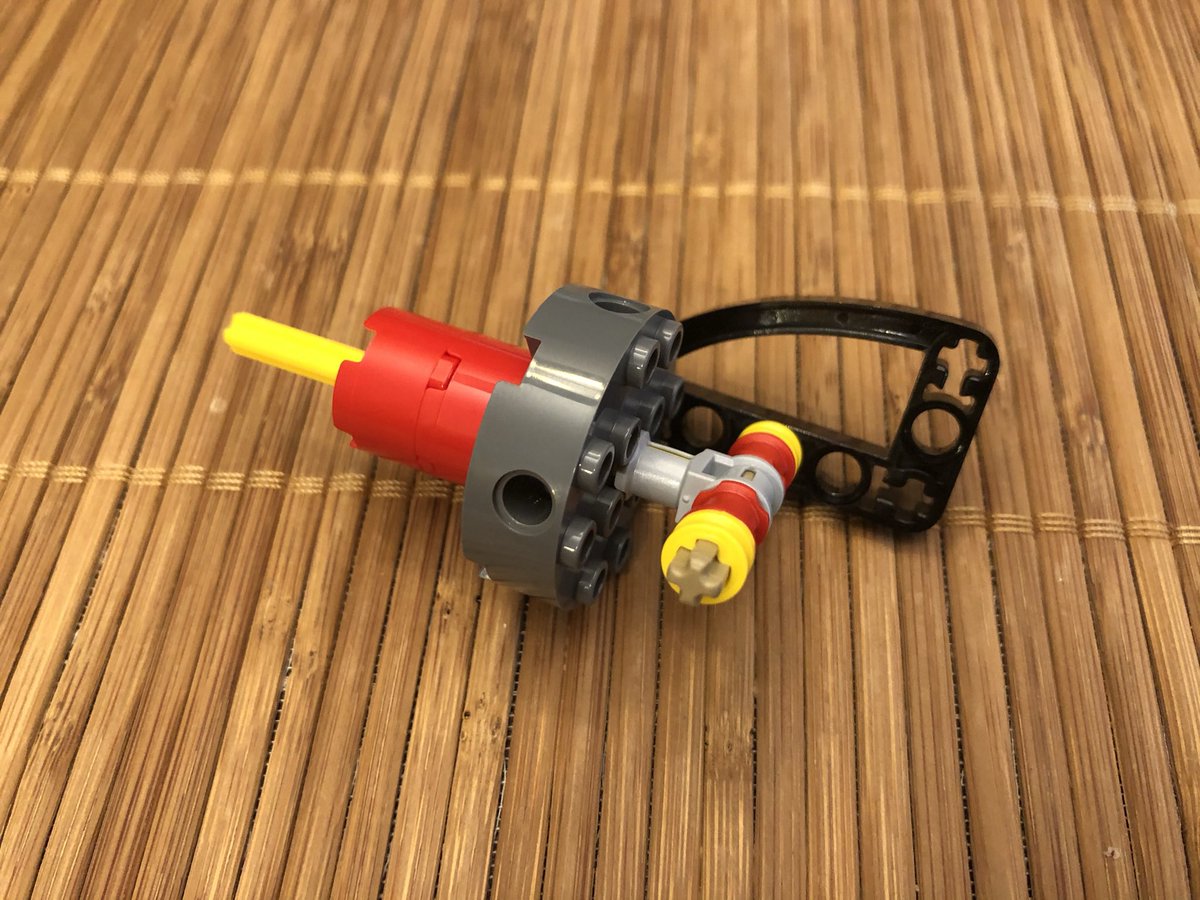
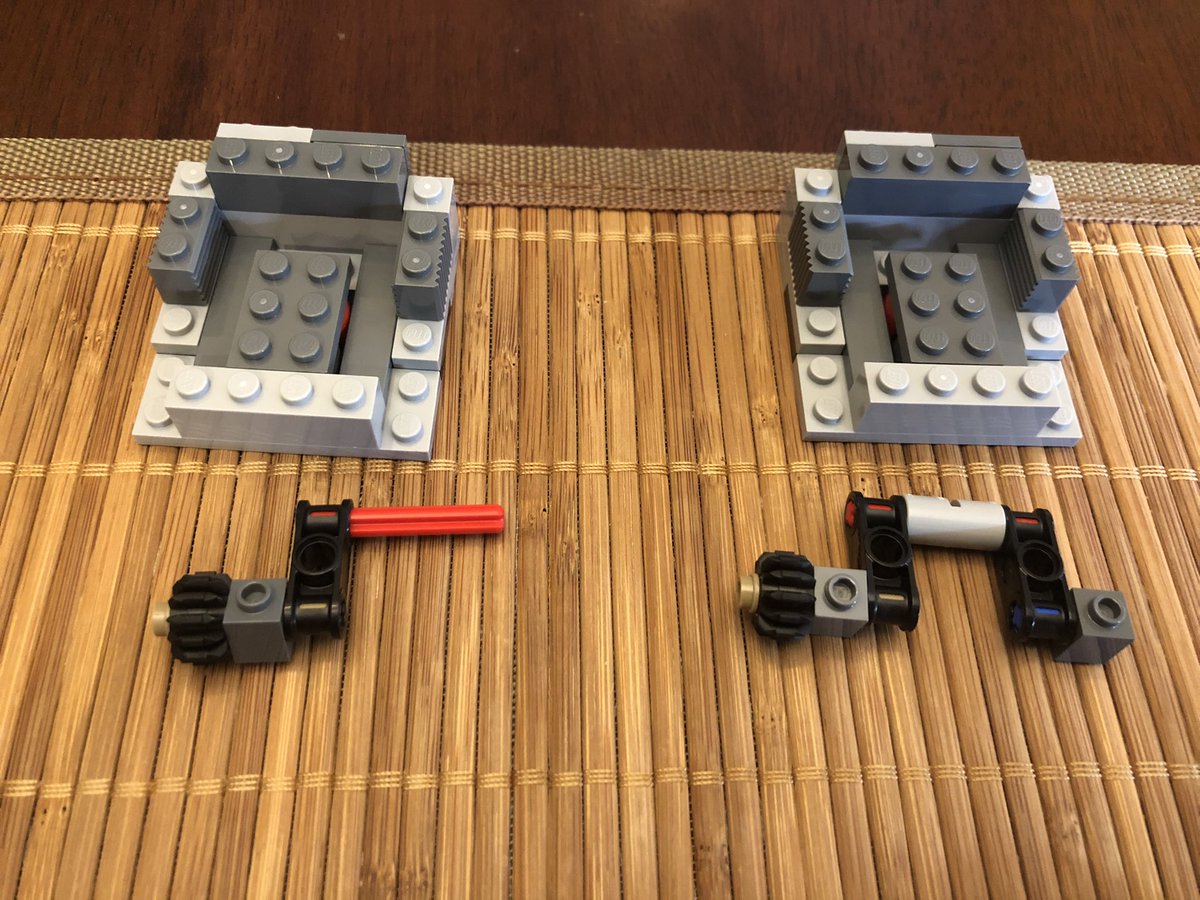
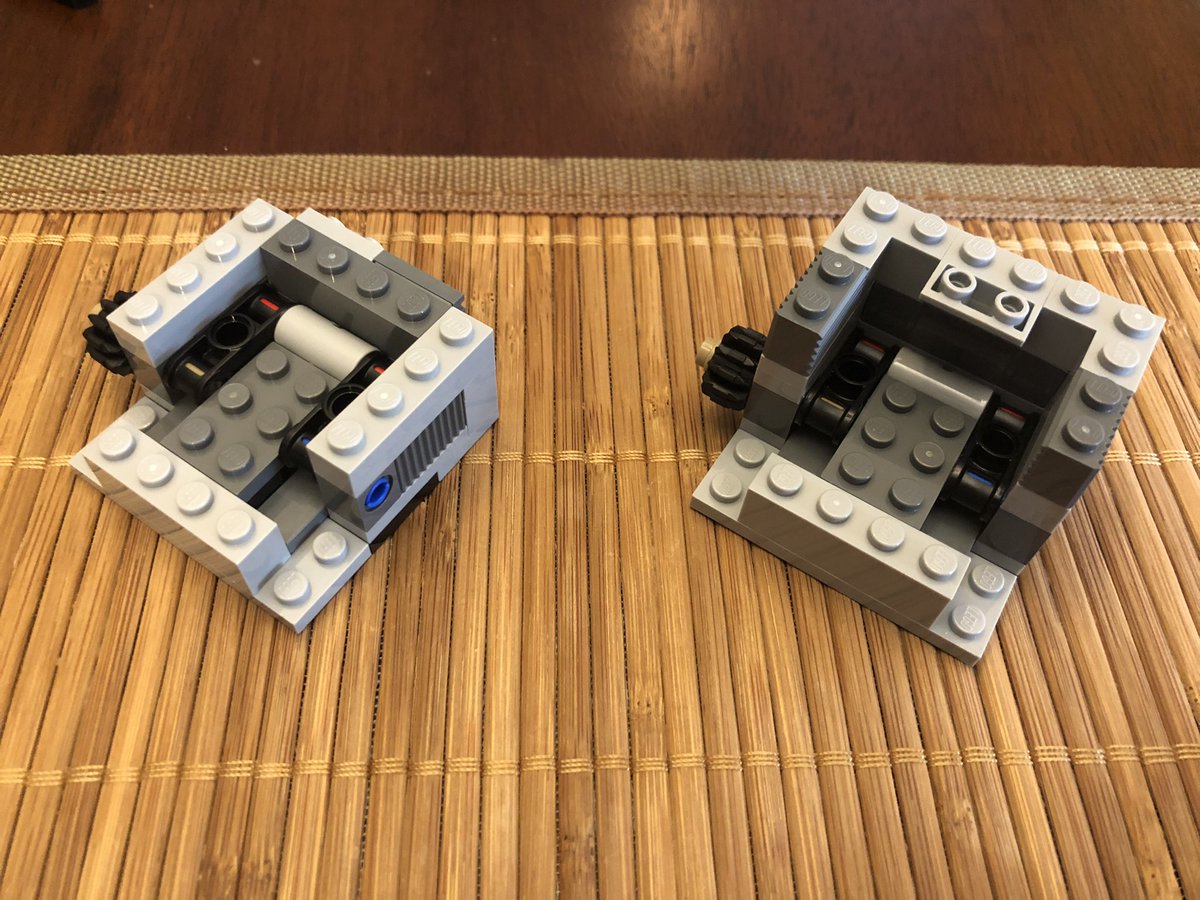
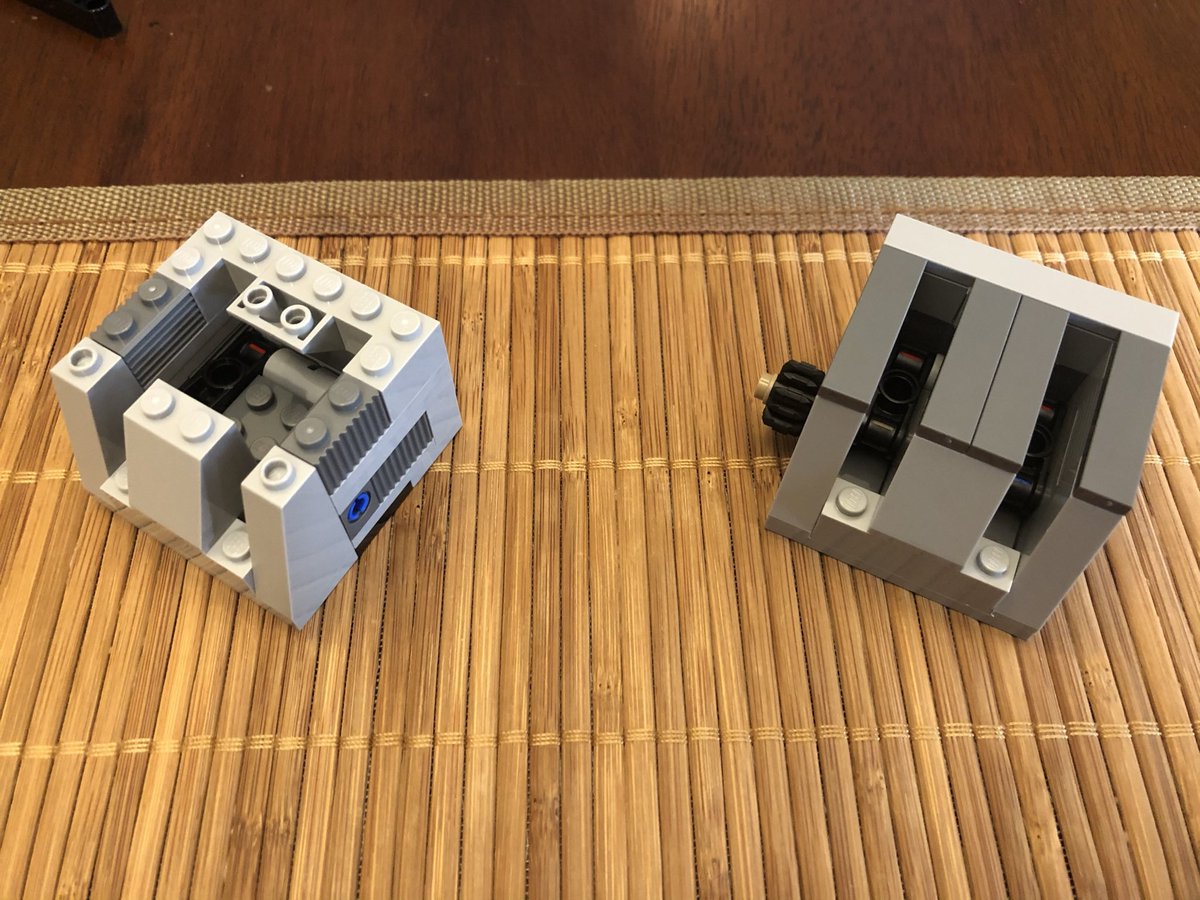
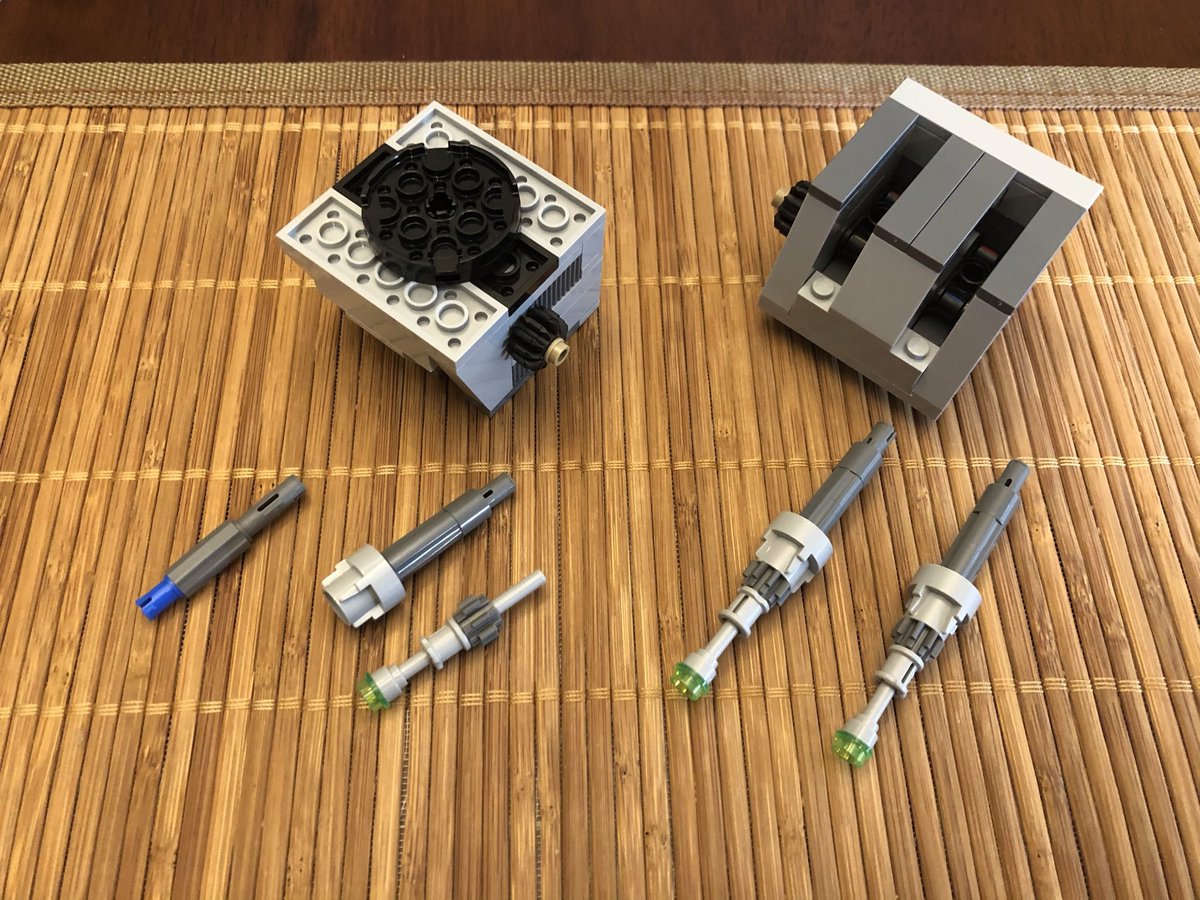
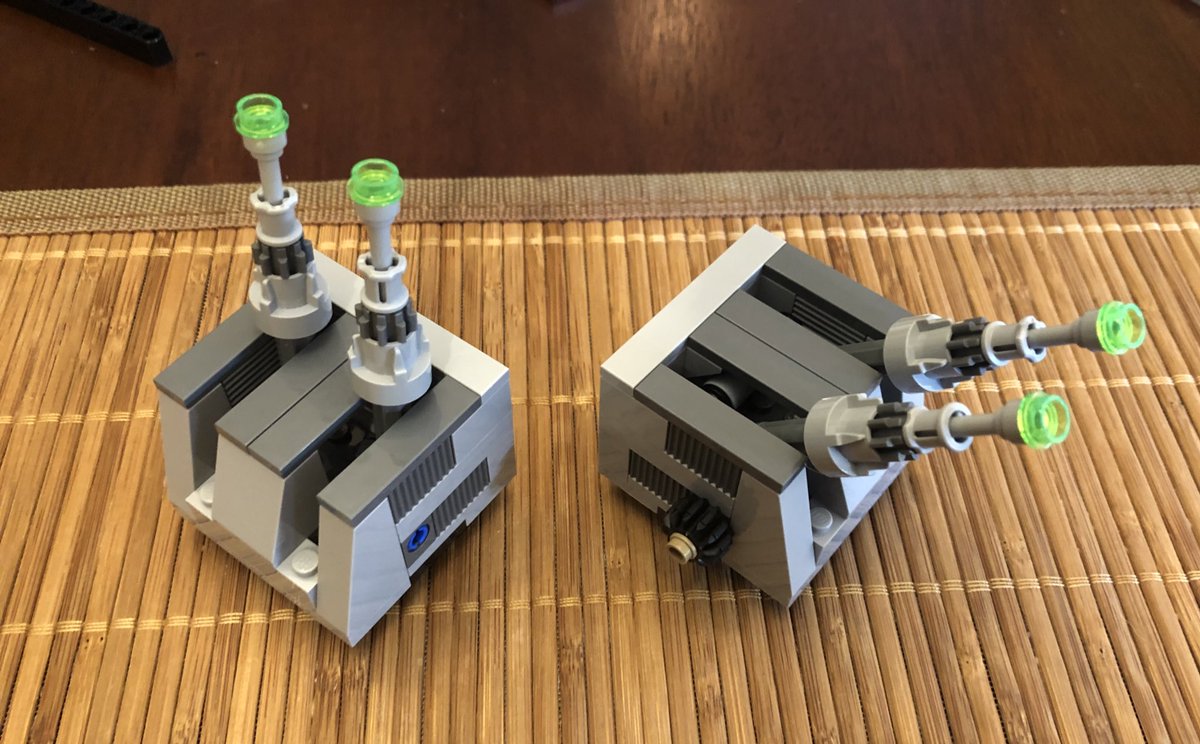
Now we move on to what goes on those bases. All of these parts create two devices. They each have a gear mechanism in the middle of them. #LEGO 

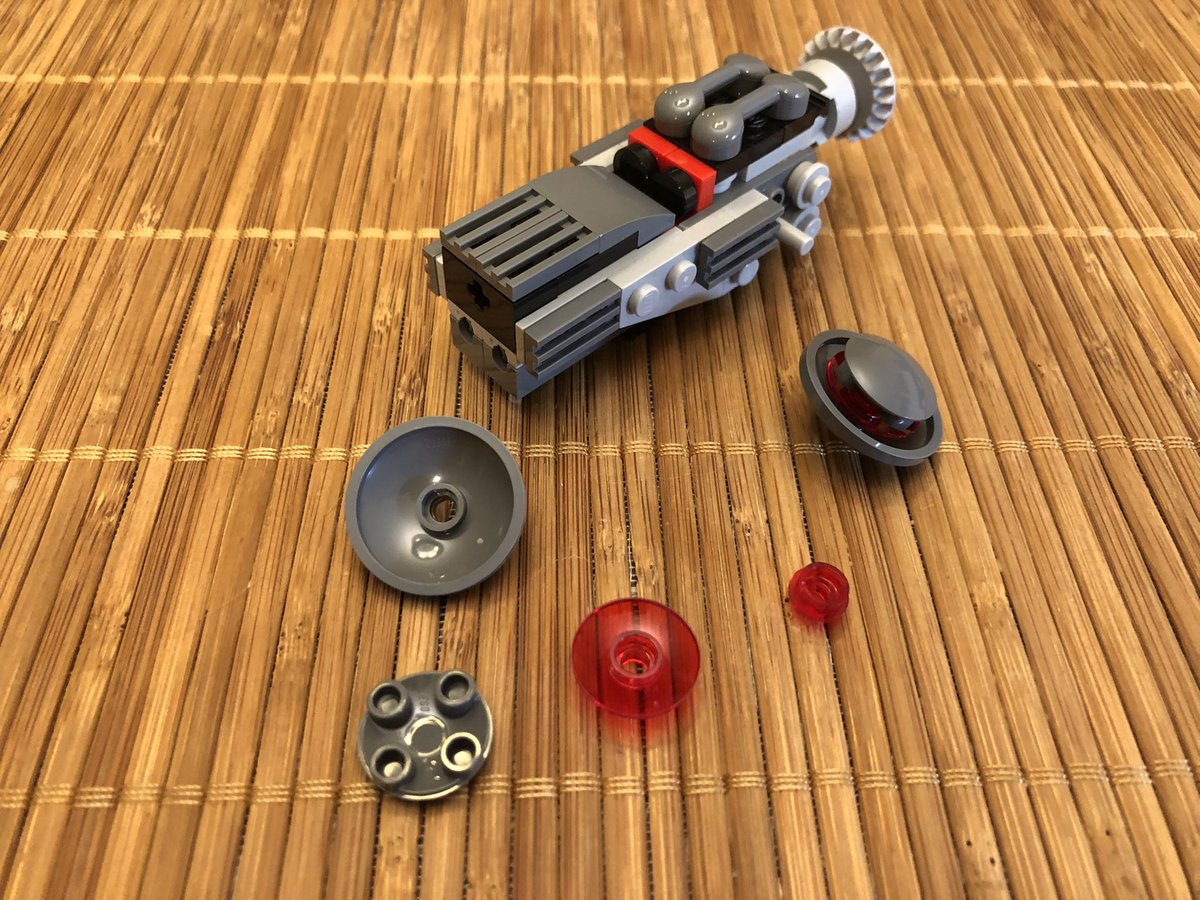
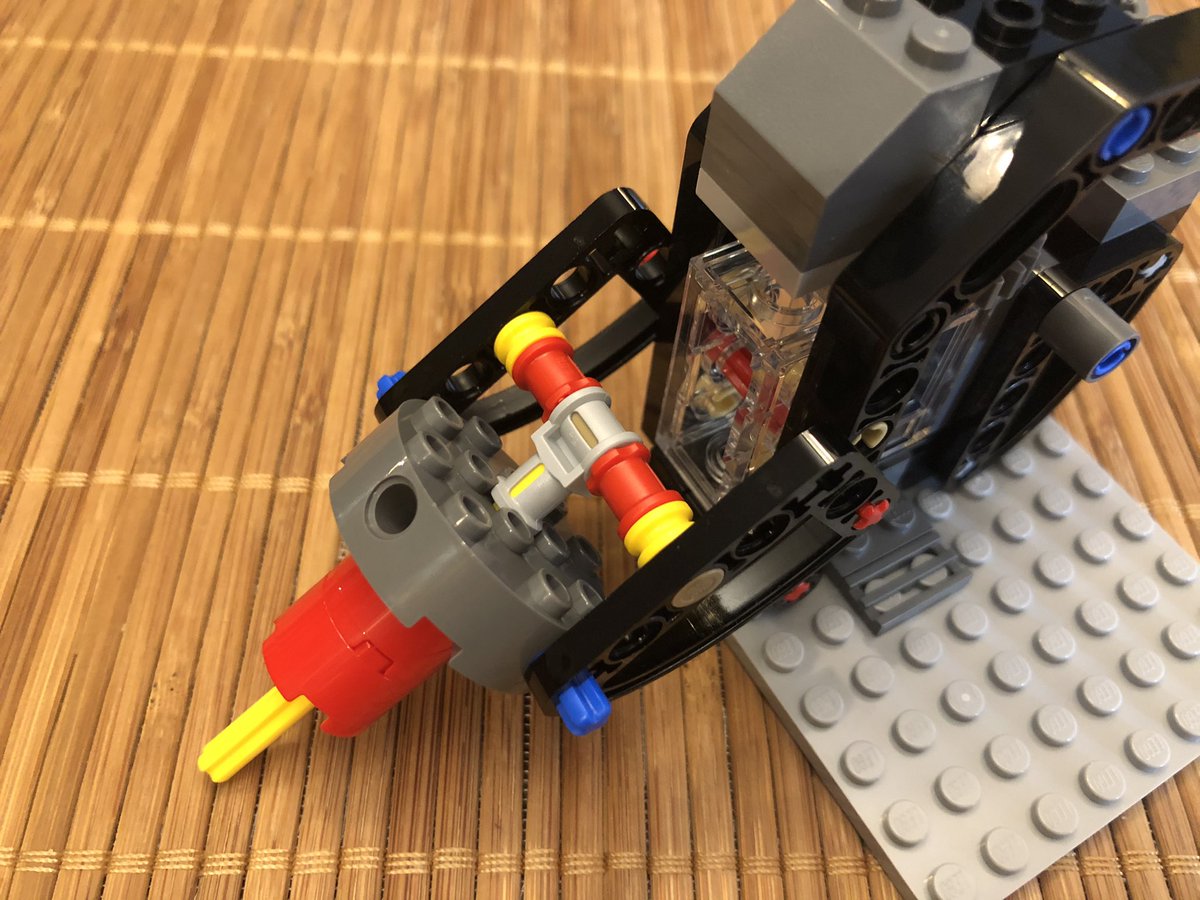
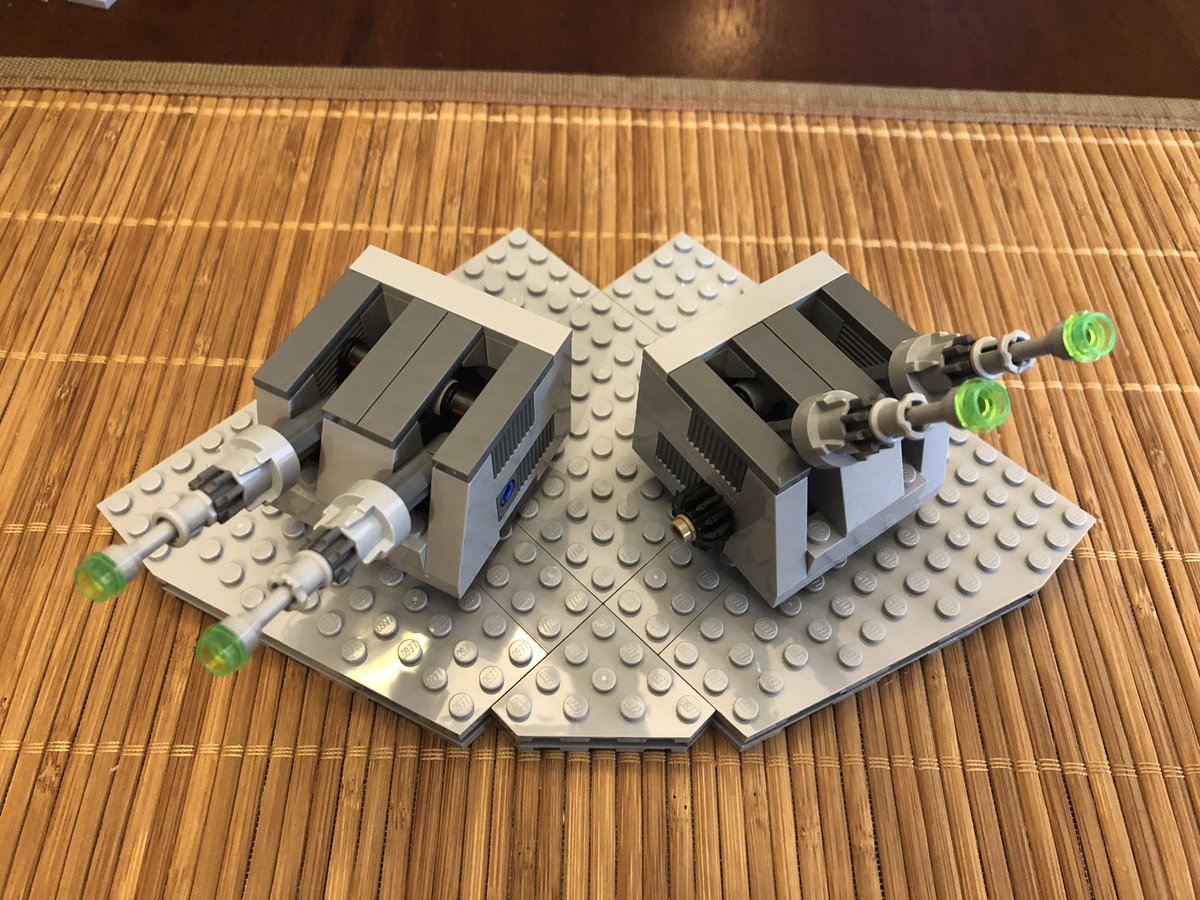
A few more steps and you can see we have a pair of turbo laser turrets! Attach them on the bases. They independently rotate and can be raised and lowered by the bears. #LEGO 

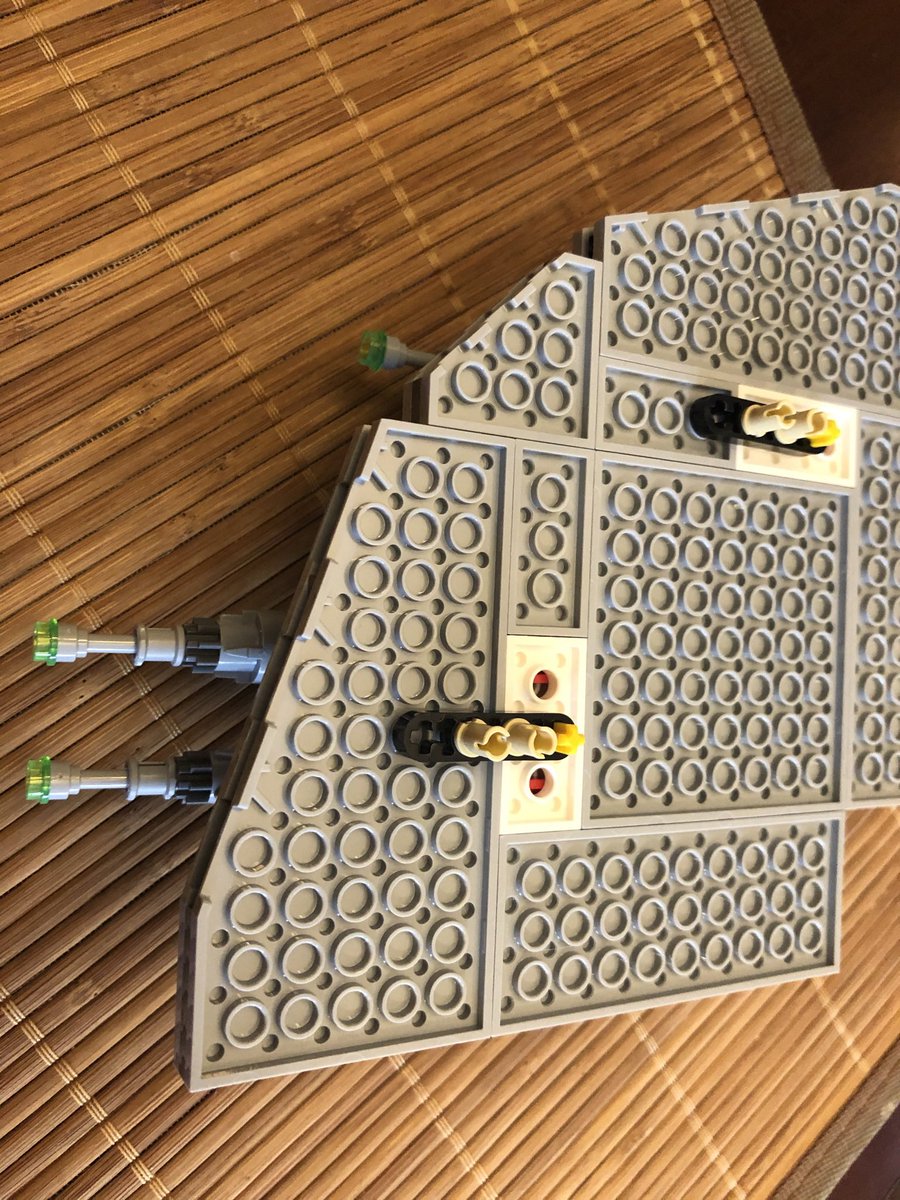
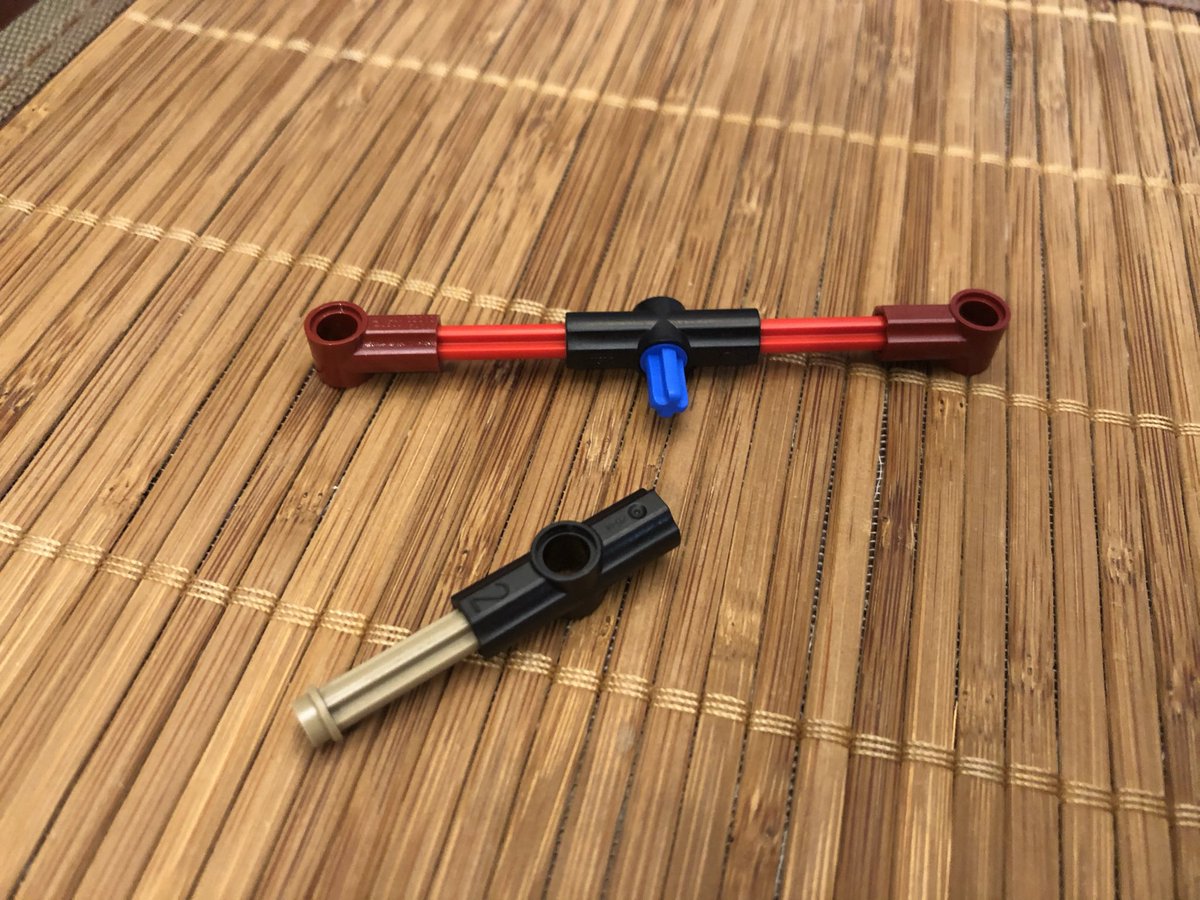
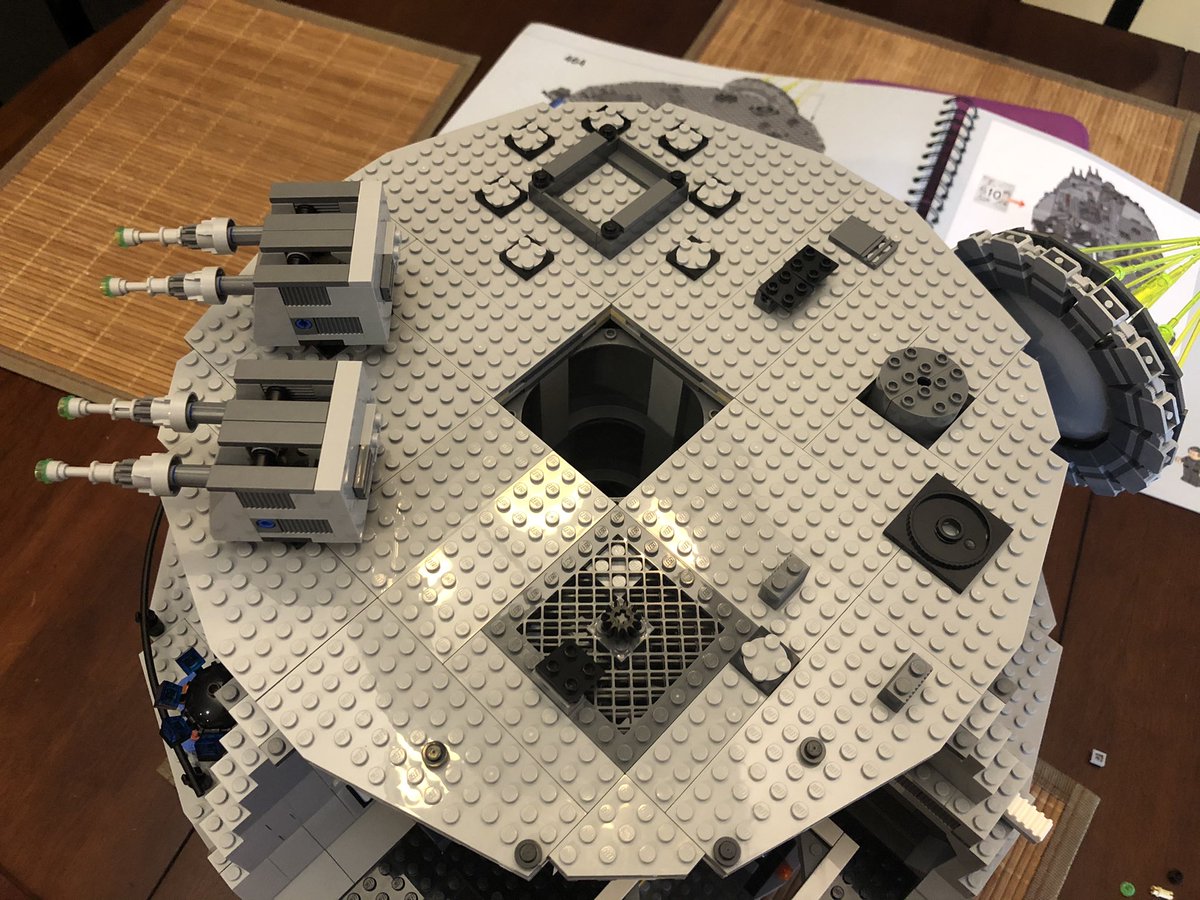
You can leave them independent, but this assembly lets you move them in tandem. Make sure the struts in the first pic are aligned toward the turbo laser’s targets. Attach the quadrant above the Emperor and use the post to aim the turrets #LEGO 

The last quadrant gets a mesh plate in the center. After putting some decoration on top, insert the gear’s drive shaft and flip it over to start building a gantry. #LEGO 

It’s a crazy looking gantry system. You might have figured out what it does, but we will see it later.
With all four quadrants installed, section 9 is complete! #LEGO
With all four quadrants installed, section 9 is complete! #LEGO

Section 10 will complete the Death Star. I don’t know about y’all but I’m always fighting rushing thru and slowing down to enjoy it more.
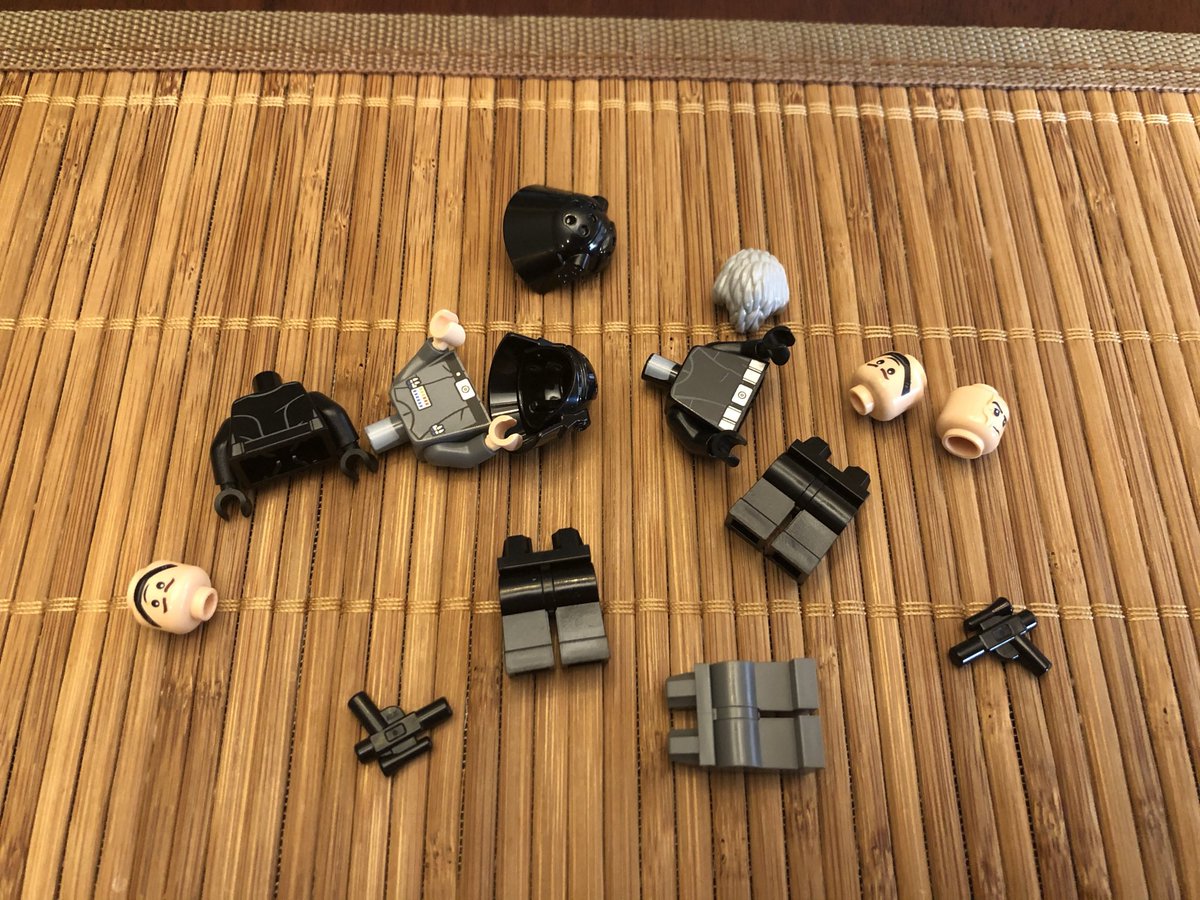
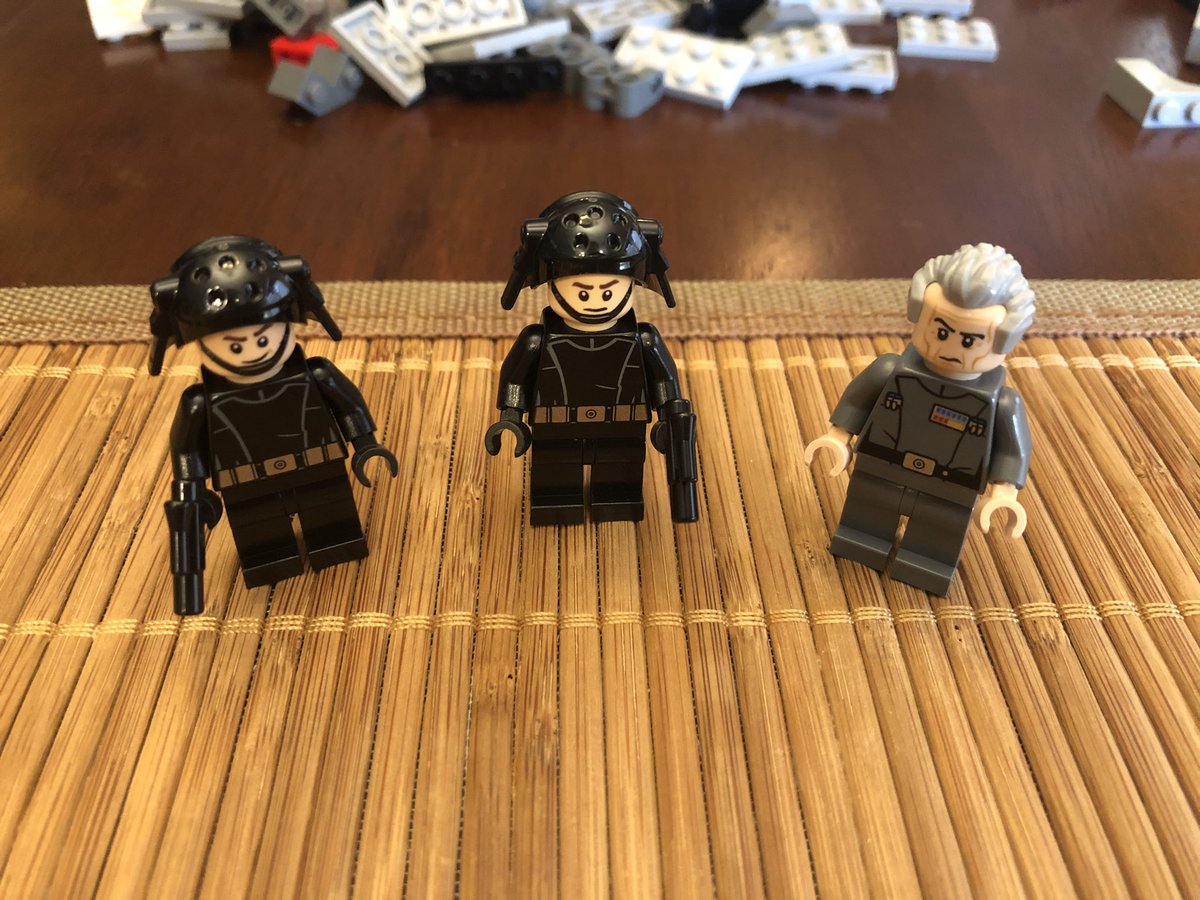
Our last 3 figures are Grand Moff Tarkin - the commander of the initial Death Star - and two generic Space Nazis with big helmets. #LEGO
Our last 3 figures are Grand Moff Tarkin - the commander of the initial Death Star - and two generic Space Nazis with big helmets. #LEGO

We have to build up the final wall sections. They’re not very high but there’s a lot of thin plates. When it’s done, this section gets a conference table, 7 chairs, and I guess two coffee stations? #LEGO 

Rotate the Death Star 180 degrees and build walls on the other side, plus put these rounded pieces around the center. #LEGO 

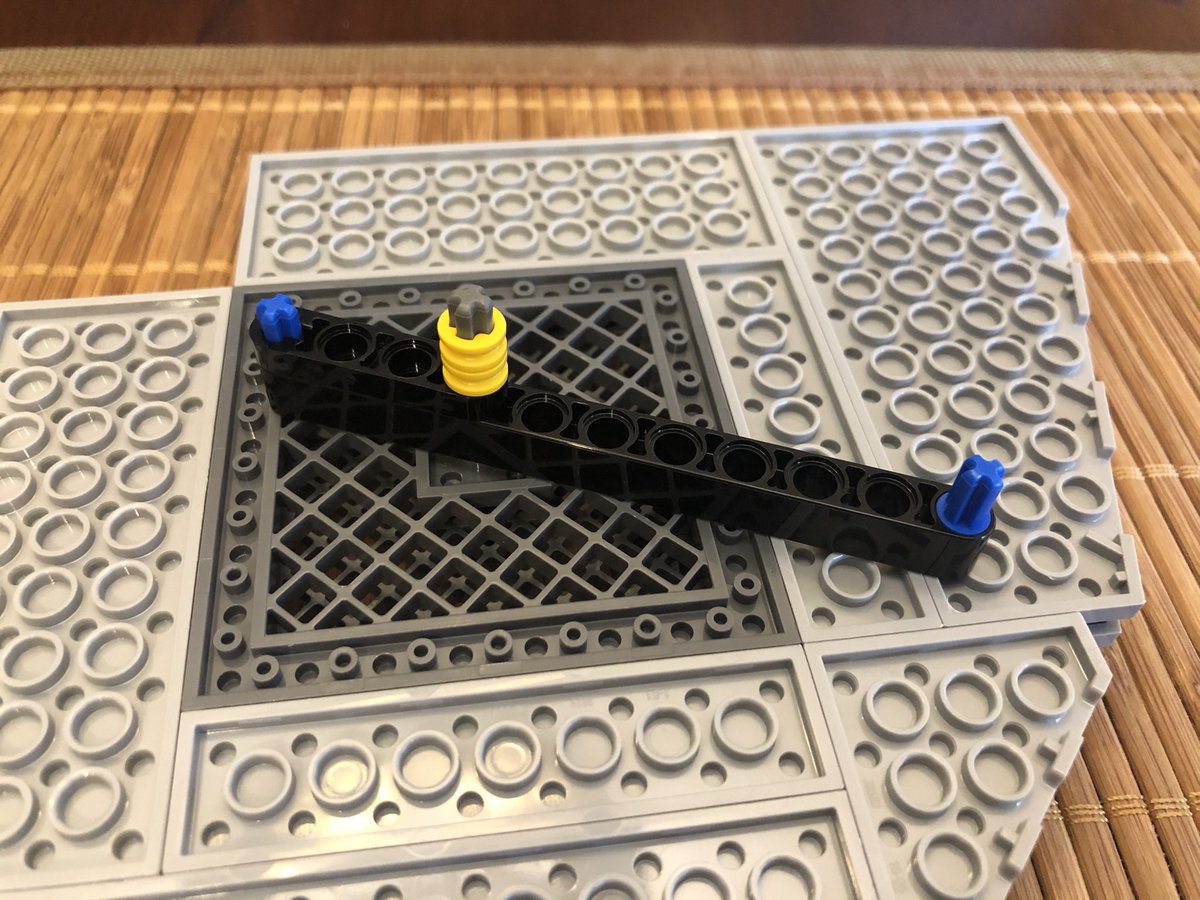
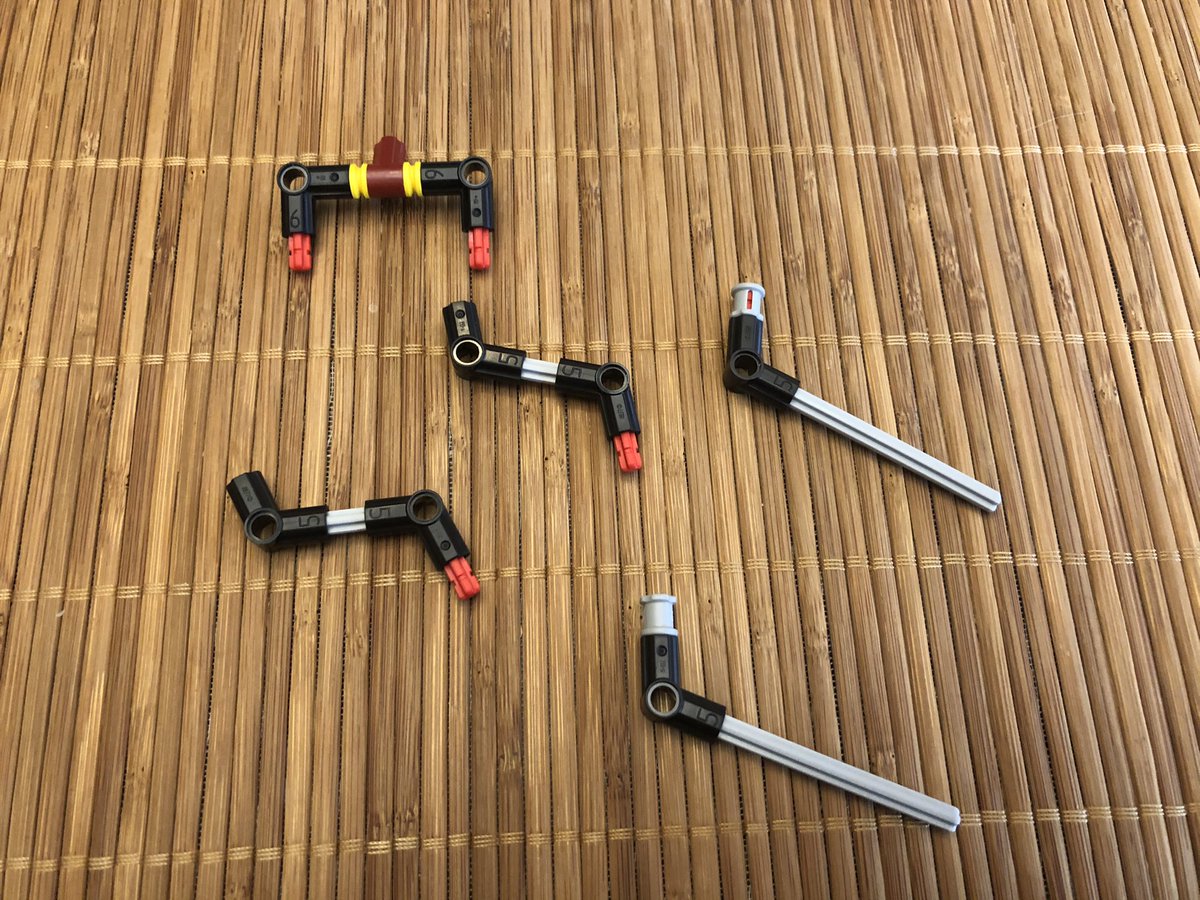
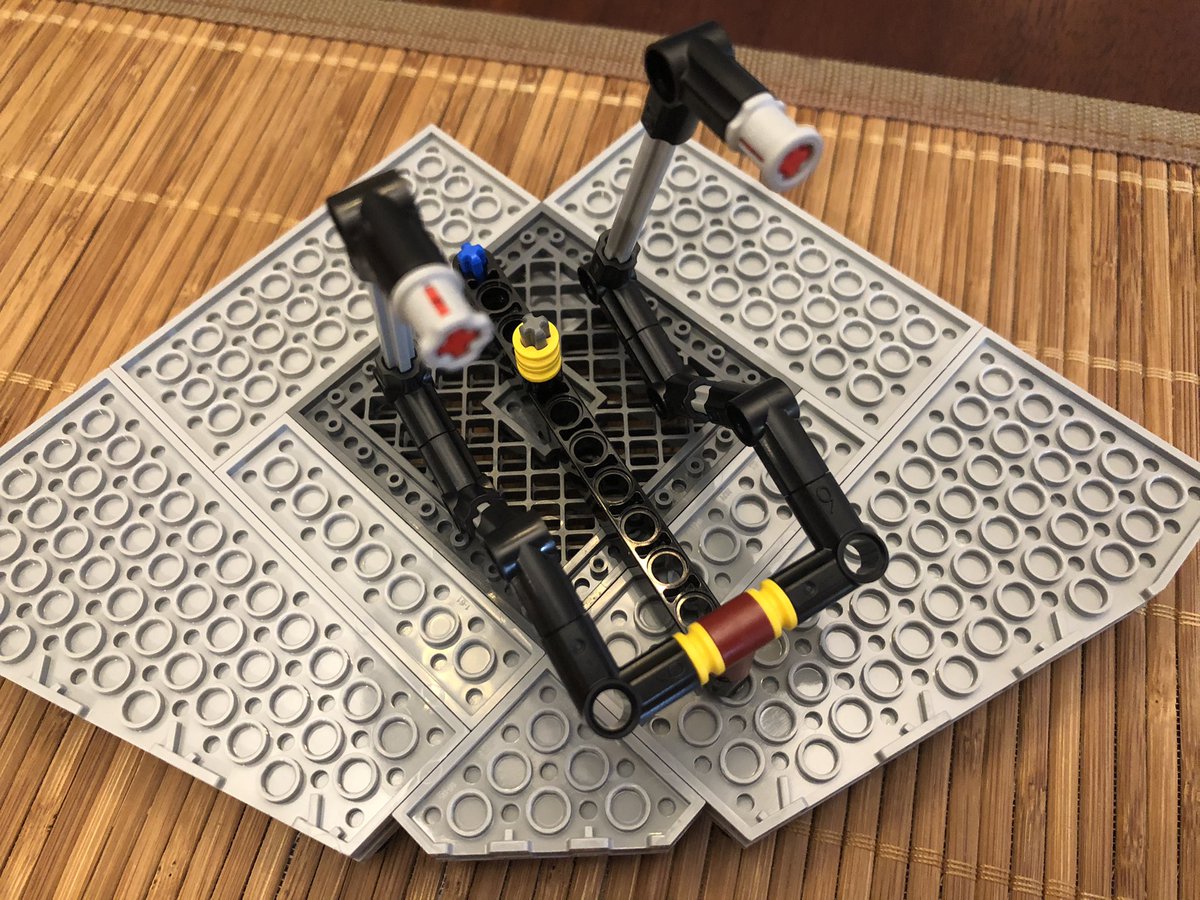
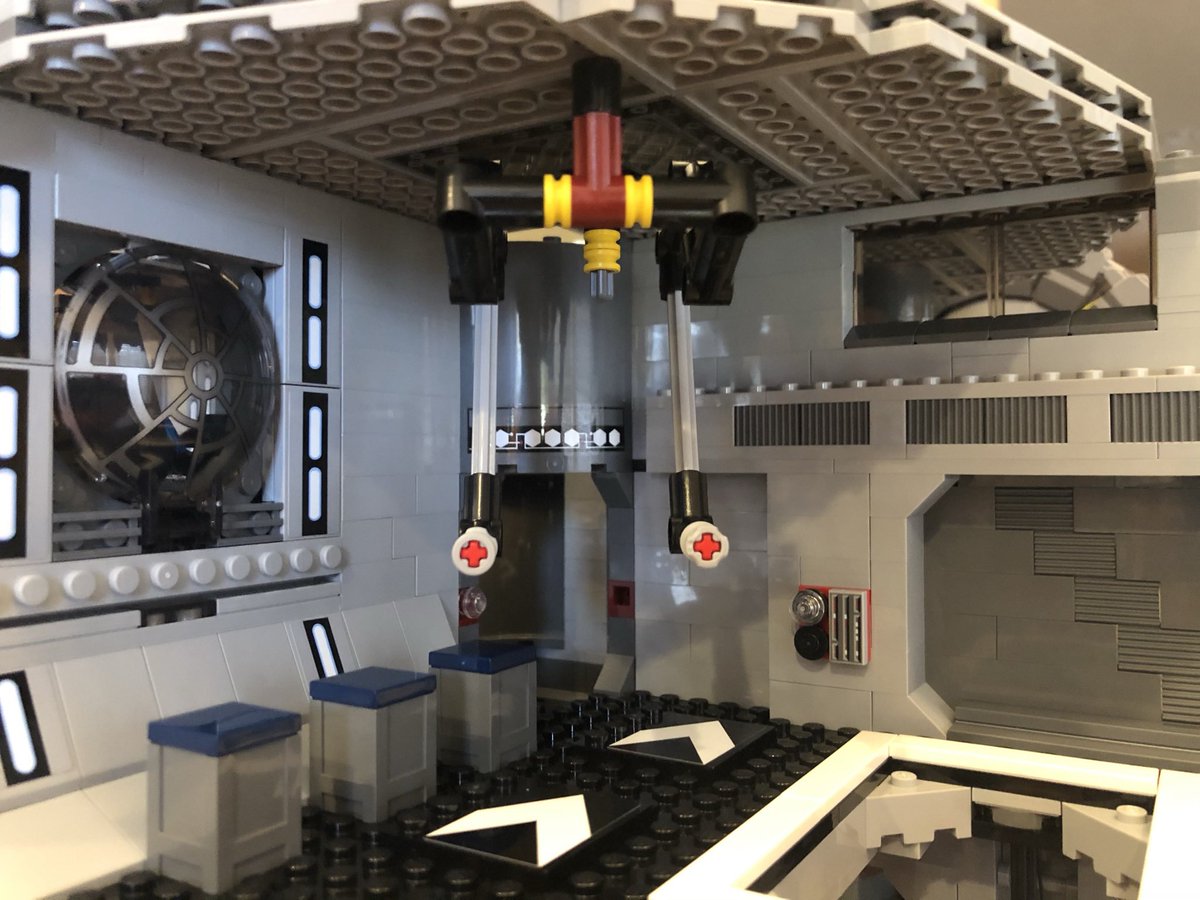
Before we decorate that room, we have an assembly to make that involves a string. Took me a while to figure out what it is, maybe it’s easier with photos. #LEGO 

It’s an elevator! It can be raised and lowered from top to bottom, though it’s not that practical for me since you can hardly reach it with adult hands except on the top and bottom floors. Still cool! #LEGO 

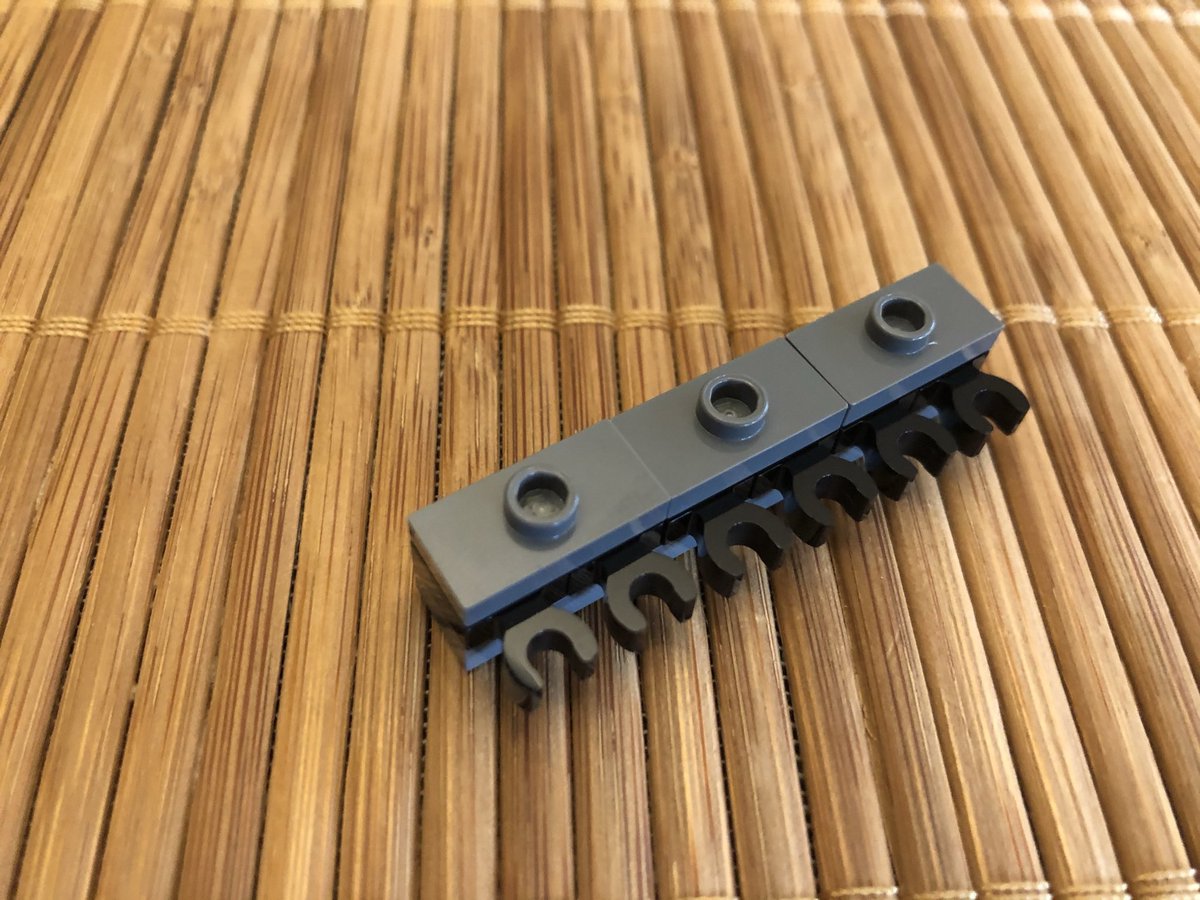
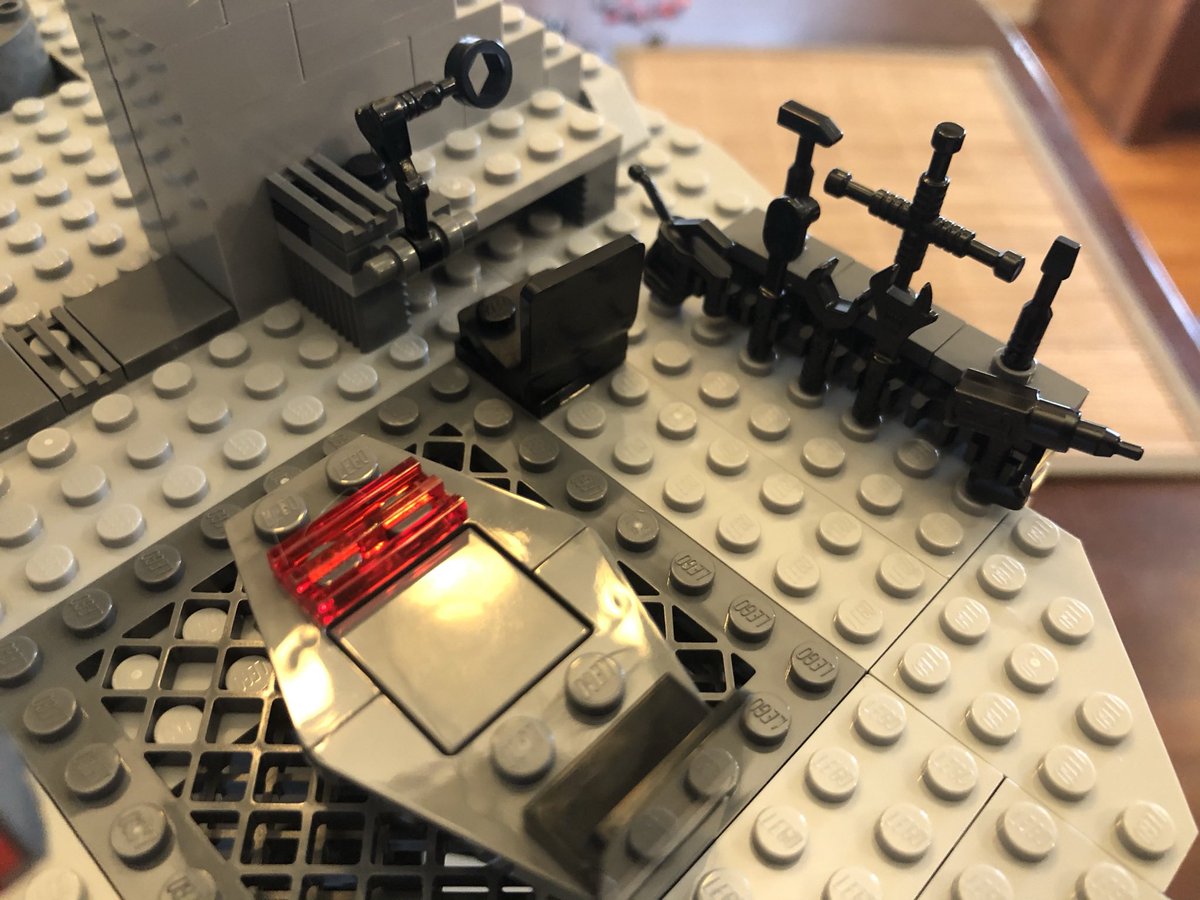
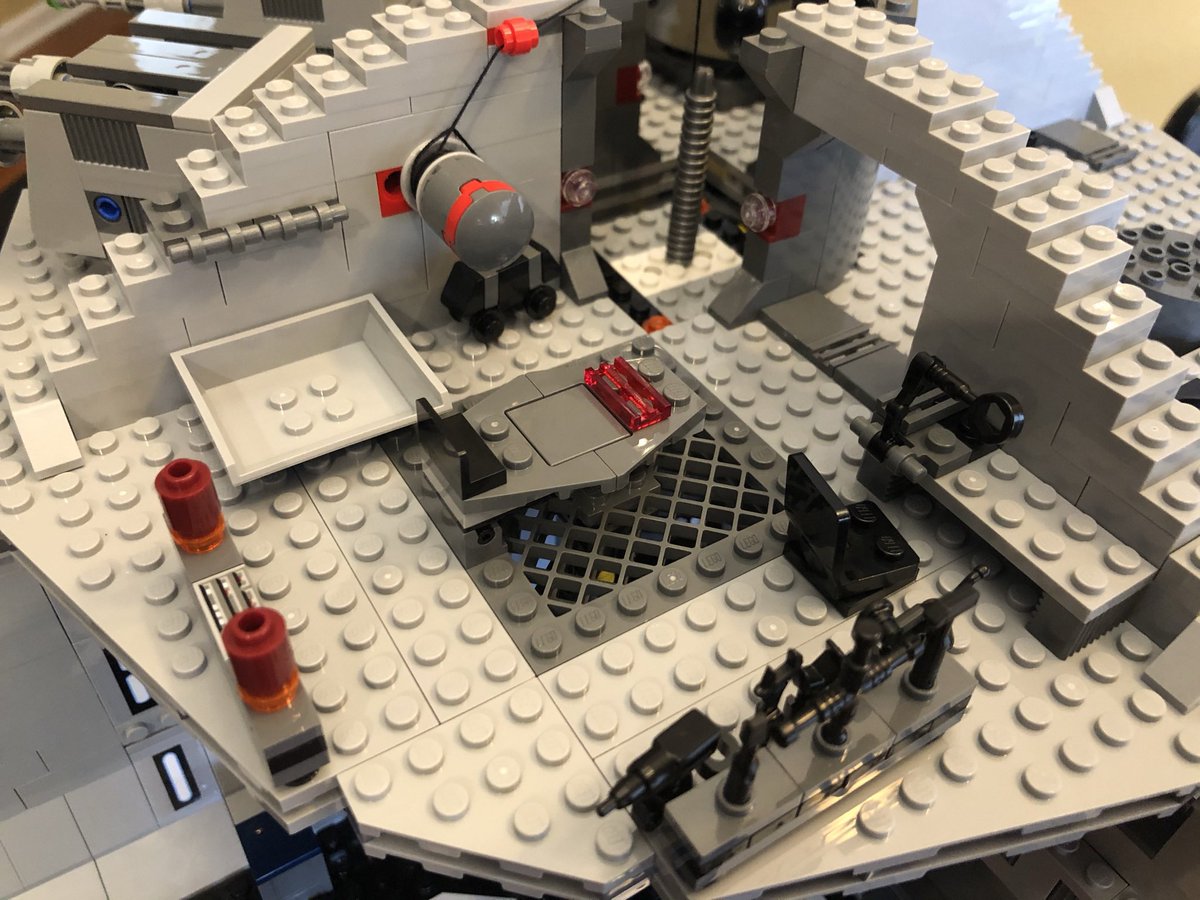
The elevator control room is also the droid shop. This little segment becomes a tool holder, the desk has a magnifying glass, there’s a parts bin by the elevator control, and a workbench in the middle. #LEGO 

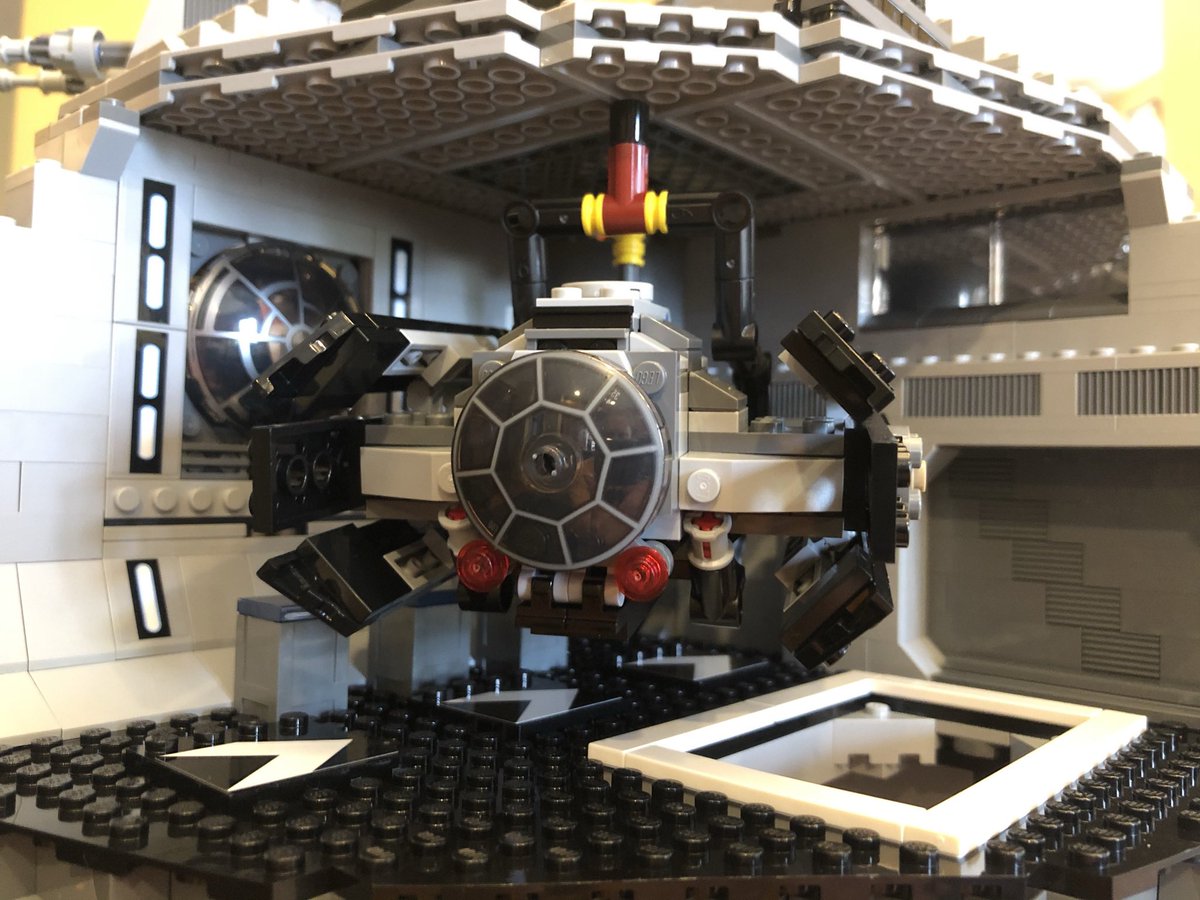
The gantry we built holds the X-1. It just lays in it, not attachment, so easy to get in and out. It rotates around the room easily, but of course it’s big so only fits in so many positions. #LEGO 

These are the last four pictures of building, I apparently didn’t take many photos of the last bits - there’s a map reader, and those other two assemblies go on the section above the Death Star laser. #LEGO 

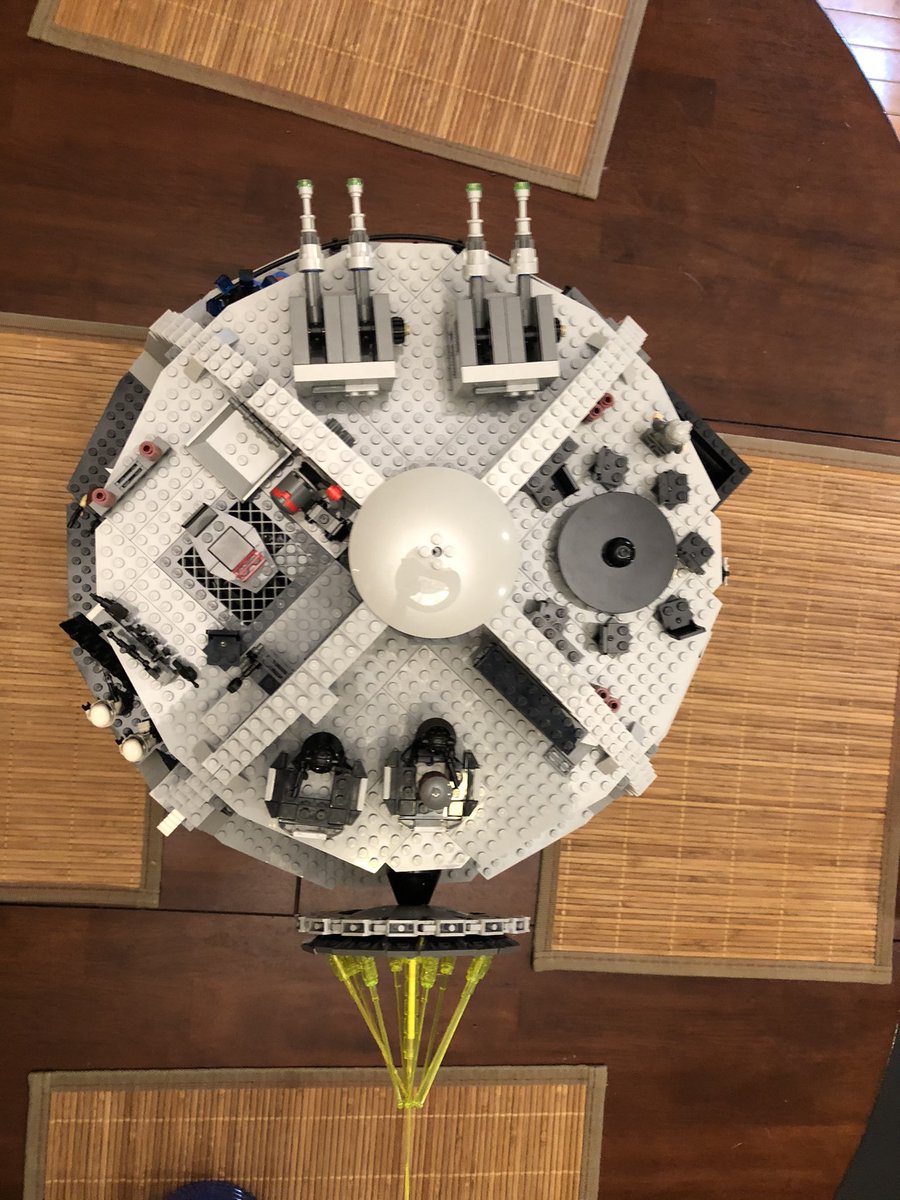
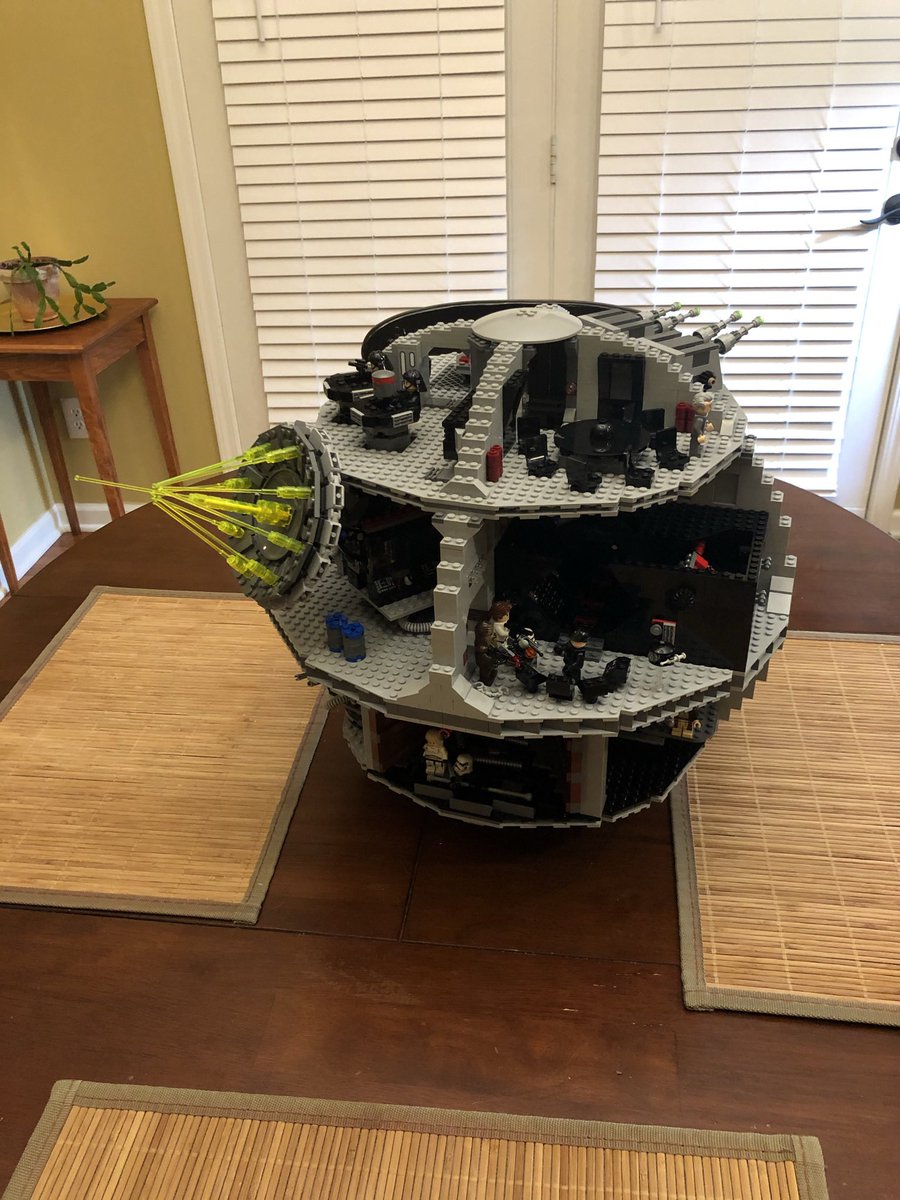
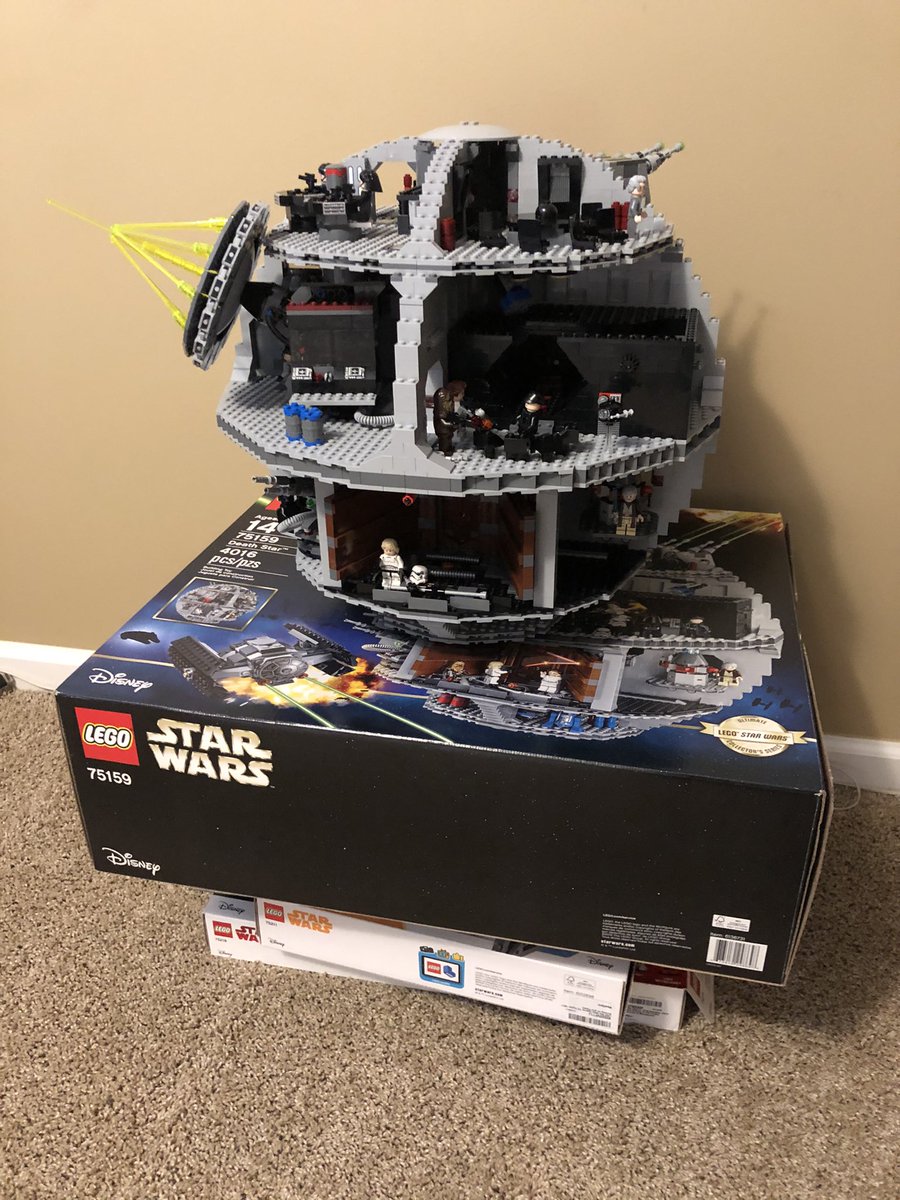
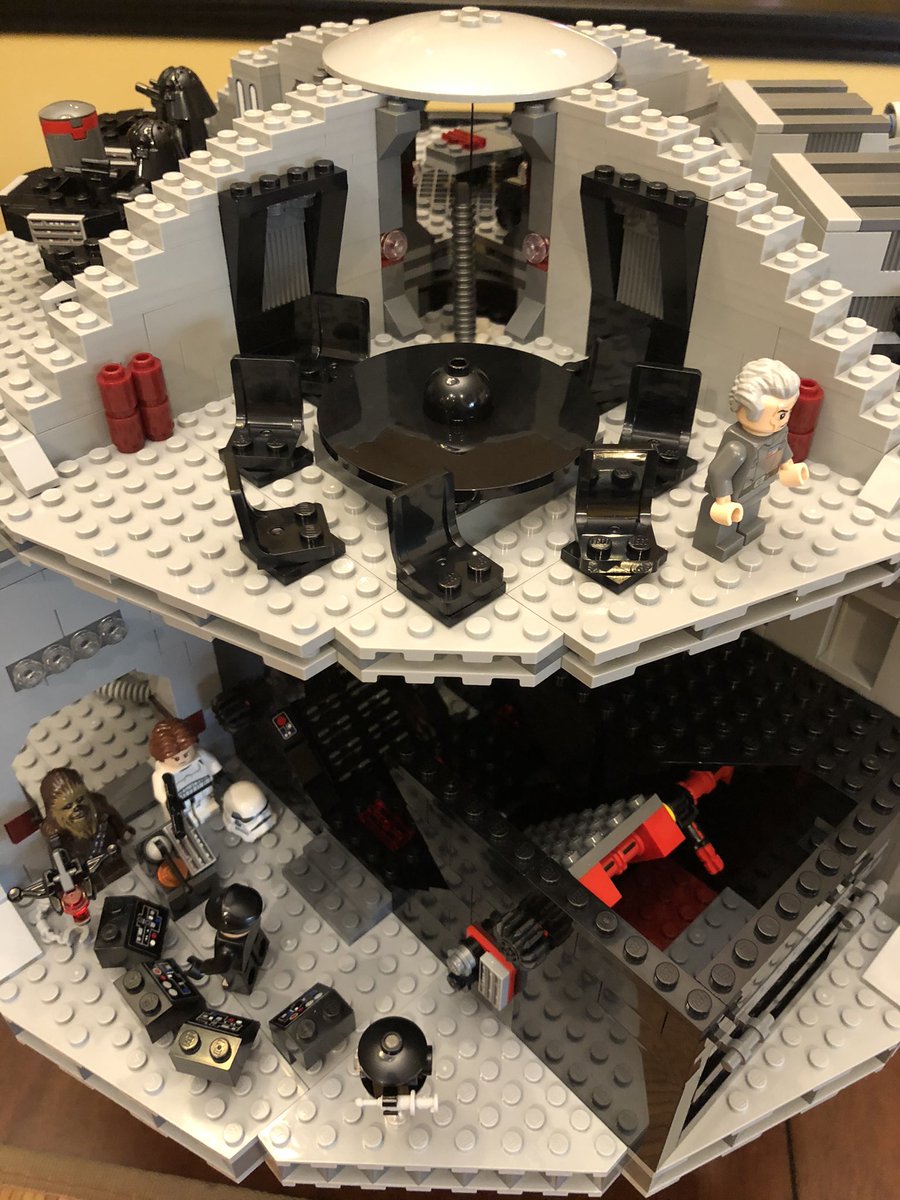
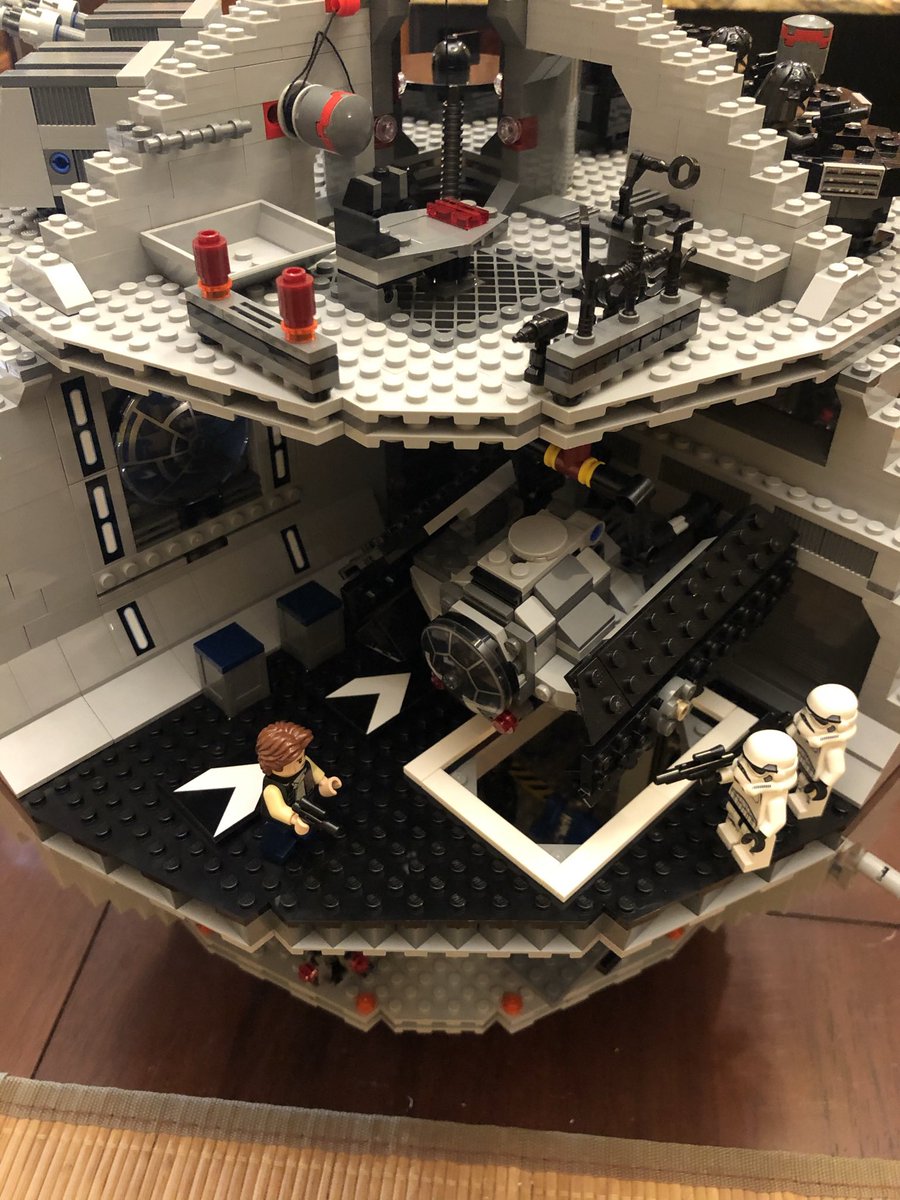
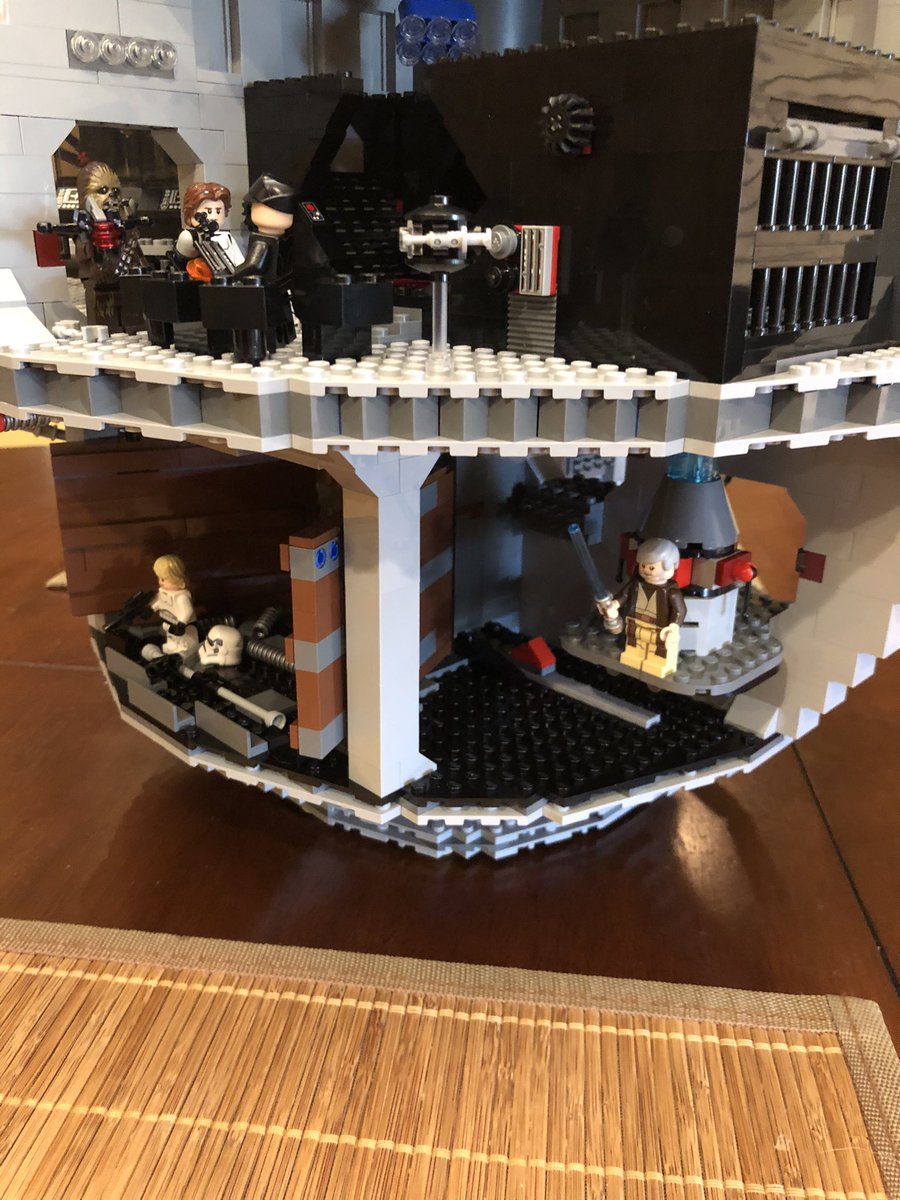
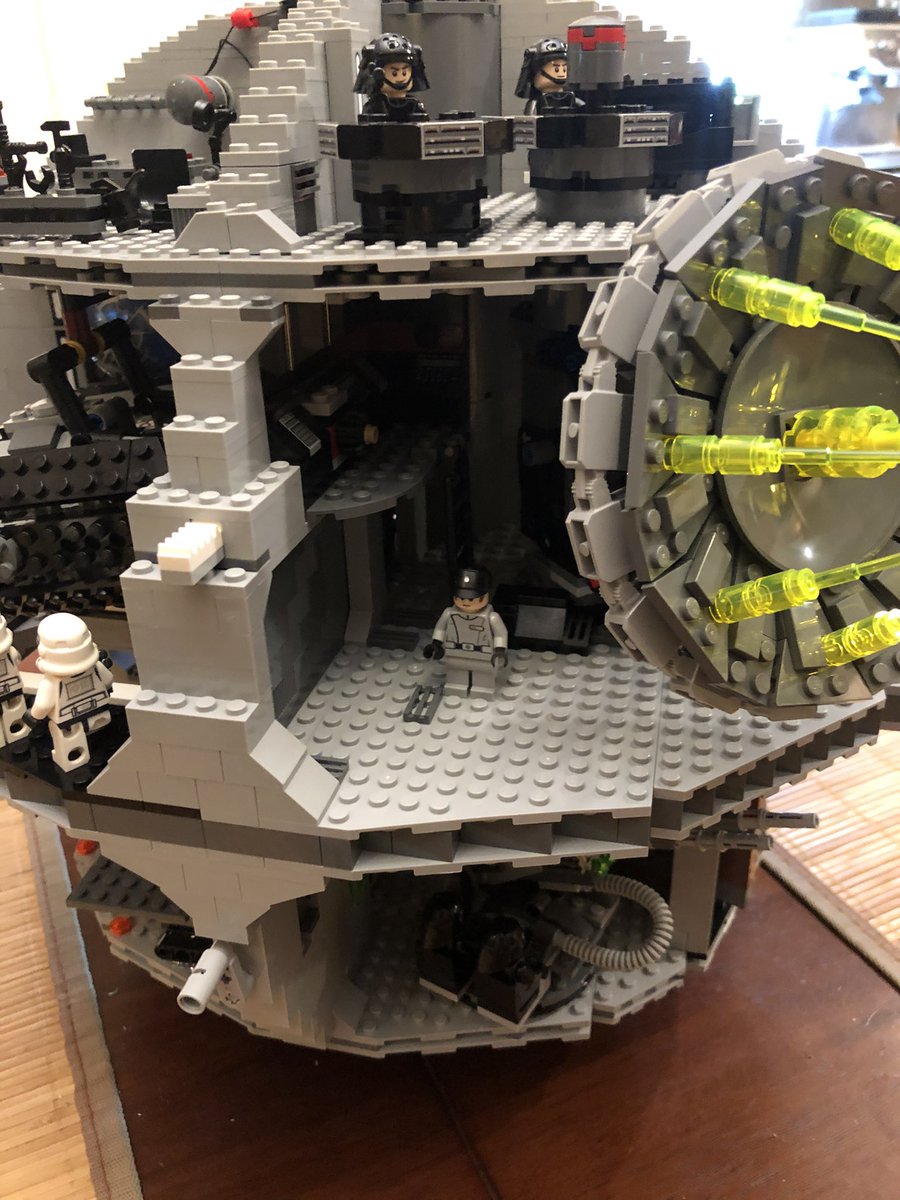
The Death Star is complete! Here’s a picture from above, and the side, and the temporary table made of lego boxes in my office, till I get a table 
In the 1st photo, bottom, you can see the two seats above the laser, the right one controls the aim and tilt. #LEGO

In the 1st photo, bottom, you can see the two seats above the laser, the right one controls the aim and tilt. #LEGO

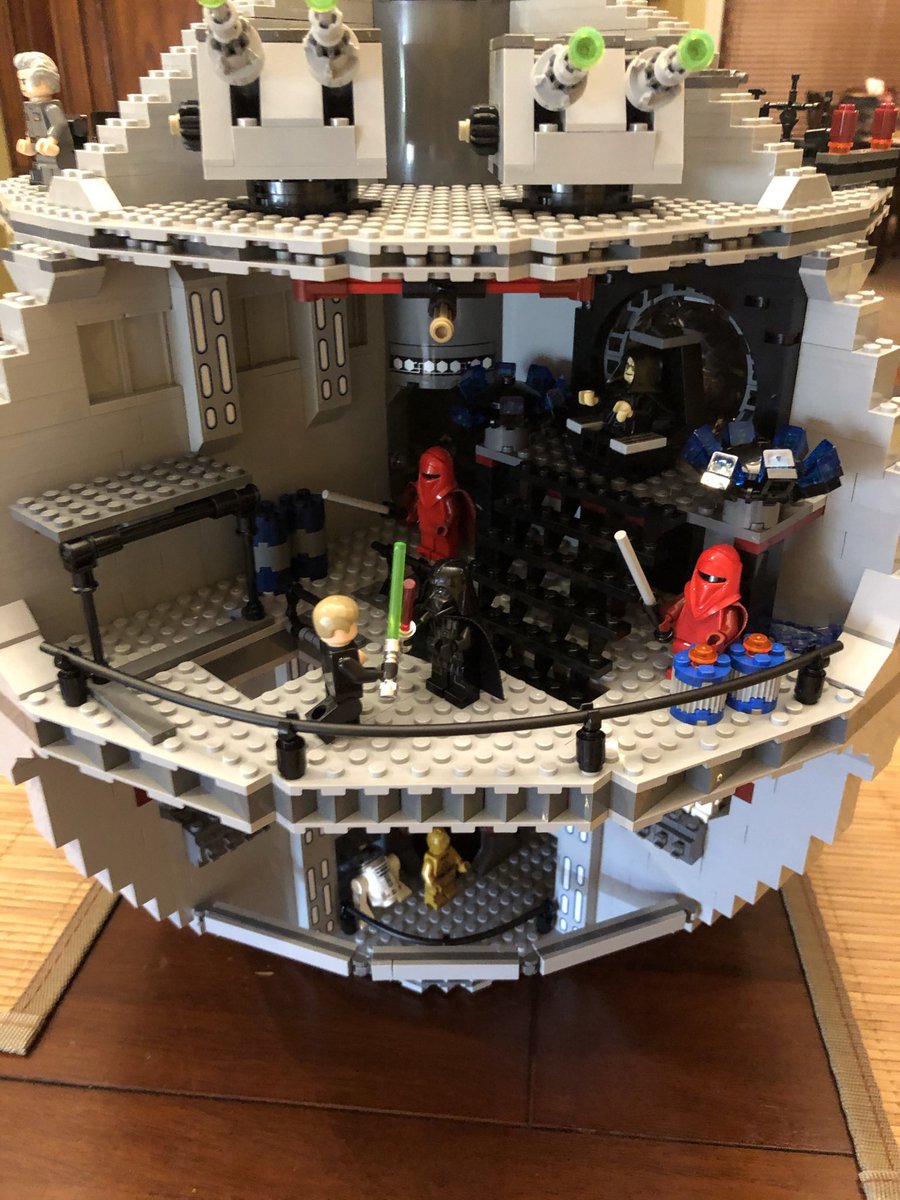
Here’s some interior shots:
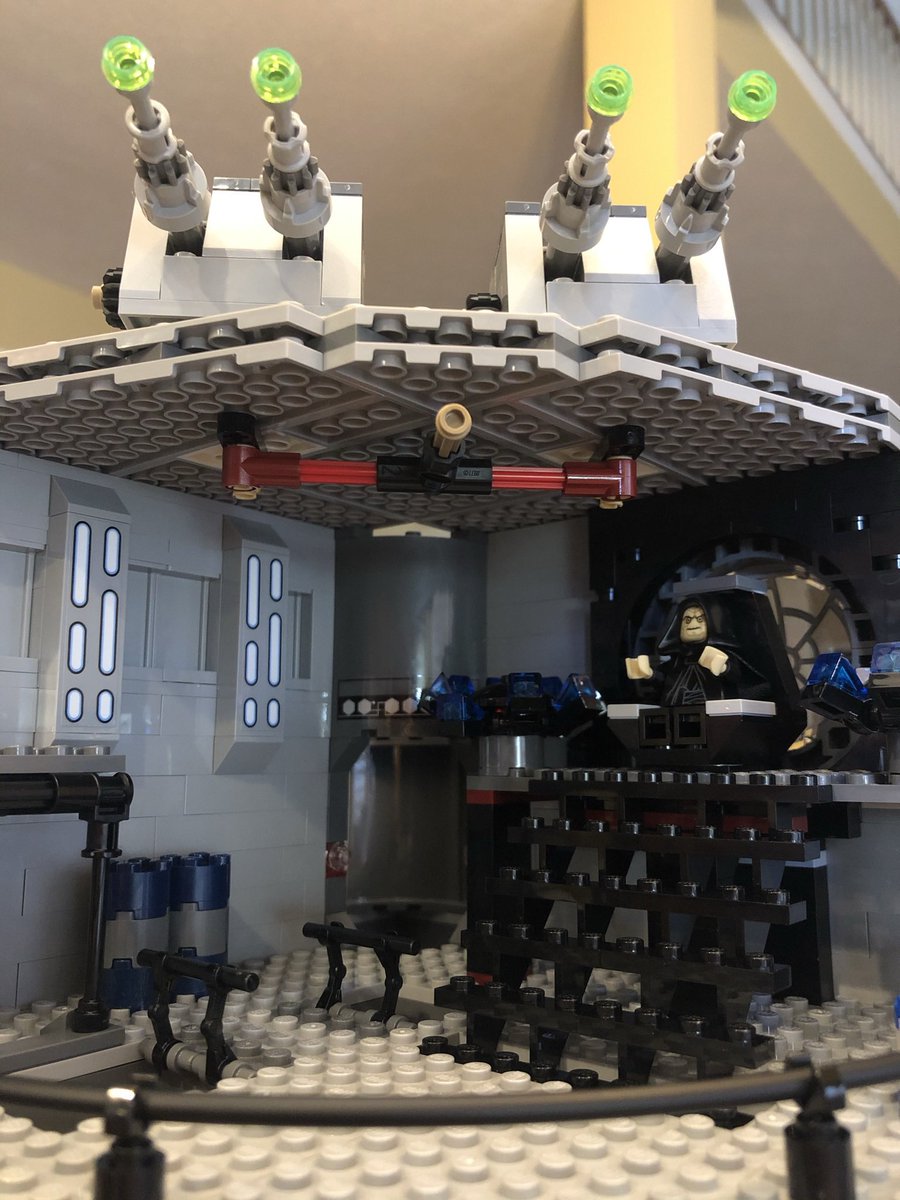
Turbo lasers; Darth Vader and Luke fighting before the Emperor
Tarkin in the conference room; Han and Chewie telling the Space Nazi to get away from the controls
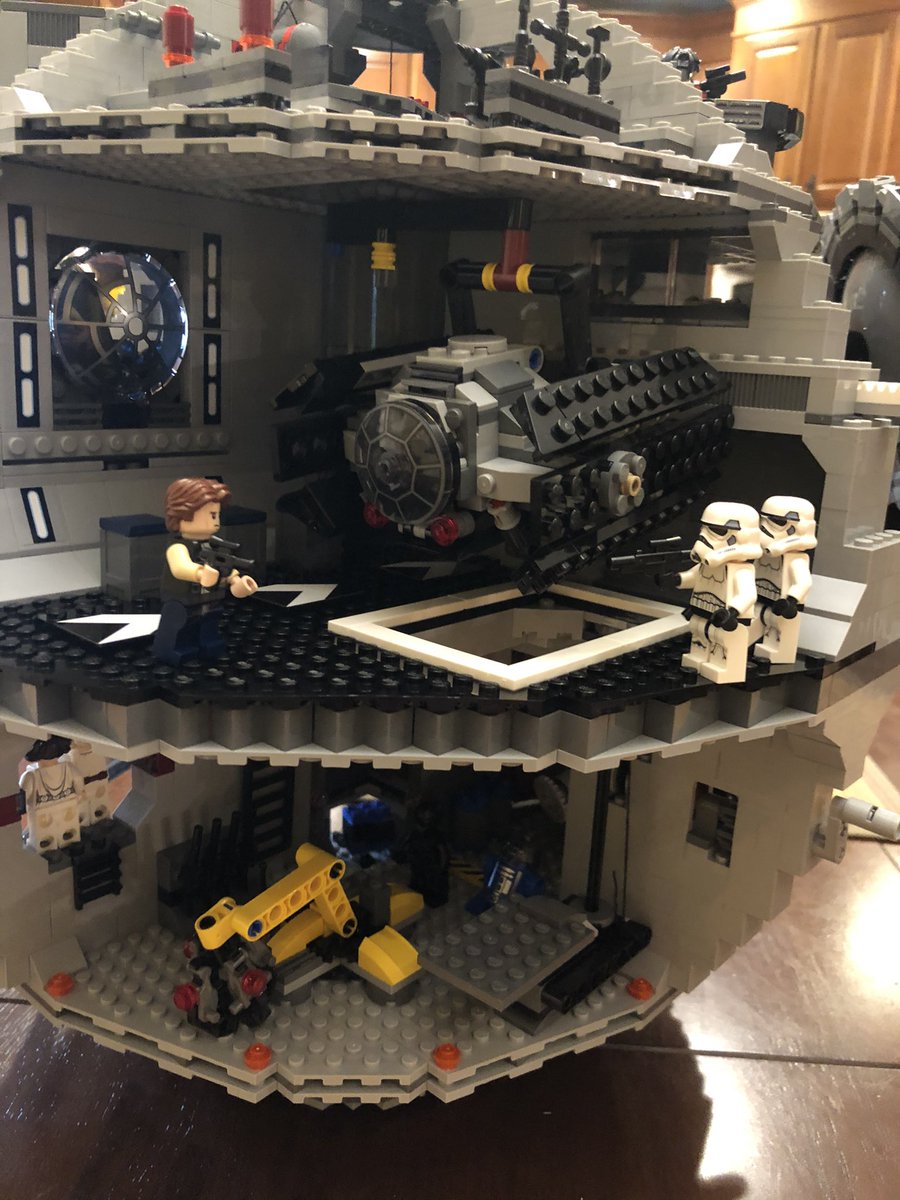
Han and some storm troopers fighting in the ship bay #LEGO
Turbo lasers; Darth Vader and Luke fighting before the Emperor
Tarkin in the conference room; Han and Chewie telling the Space Nazi to get away from the controls
Han and some storm troopers fighting in the ship bay #LEGO

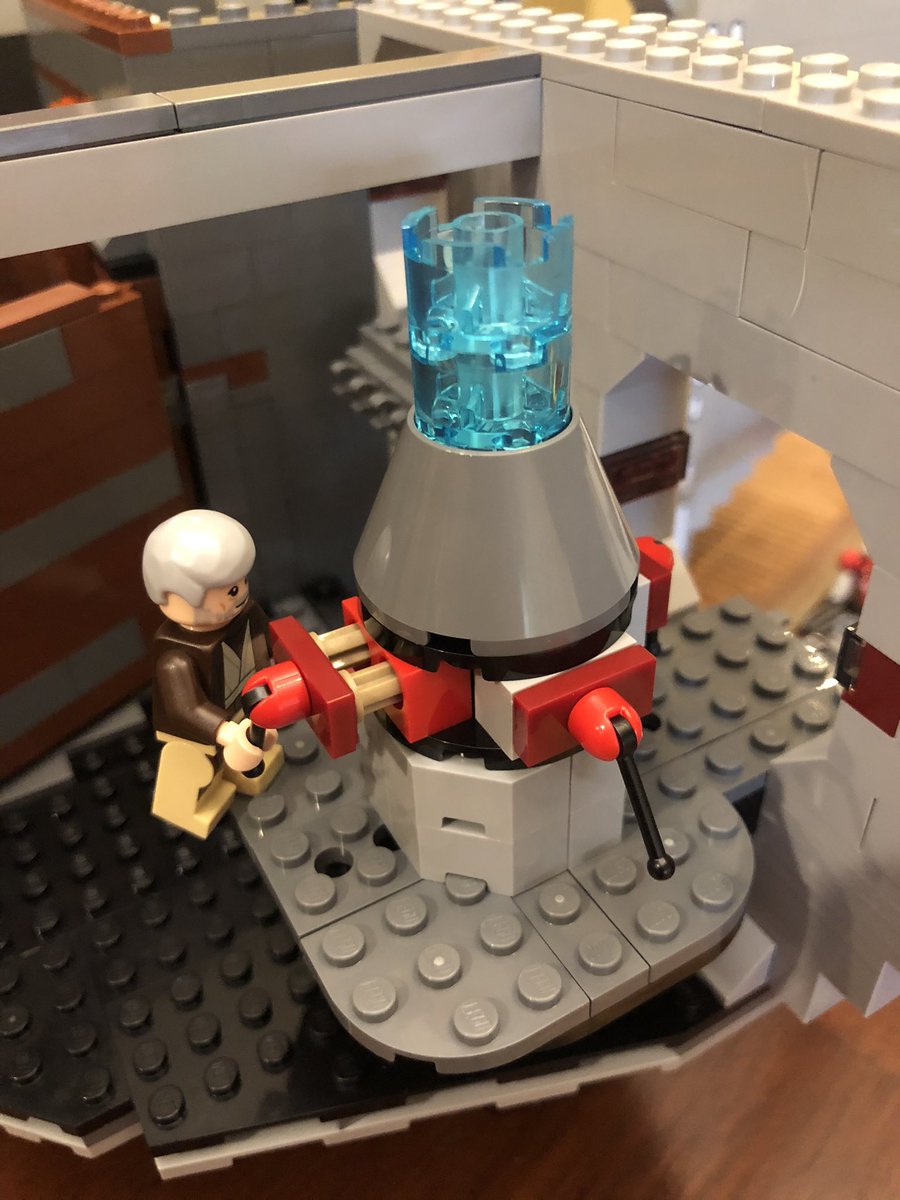
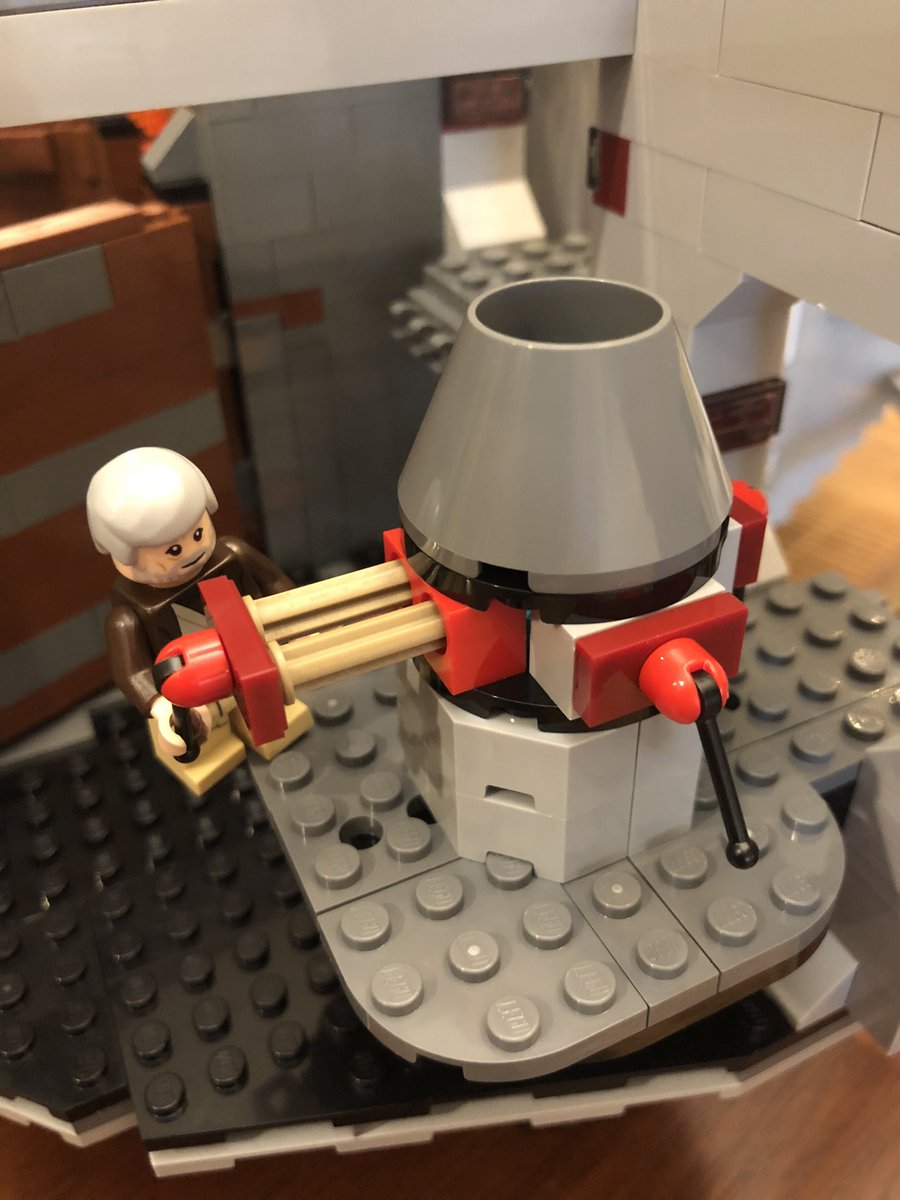
Ben disabling the tractor beam; Luke getting friendly with the dianoga in the trash compactor
The Soace Nazis about to blow up Alderaan
Han and stormtroopers again; cargo bay underneath #LEGO
The Soace Nazis about to blow up Alderaan
Han and stormtroopers again; cargo bay underneath #LEGO

That’s it, that’s the Death Star!
If you’re looking for a big lego kit and you like Star Wars, I highly recommend it. It’s fun to make, lots of figures to pose afterward, and a super high nostalgia quotient. It’s 17” in diameter, when you’re looking for place to put it #LEGO
If you’re looking for a big lego kit and you like Star Wars, I highly recommend it. It’s fun to make, lots of figures to pose afterward, and a super high nostalgia quotient. It’s 17” in diameter, when you’re looking for place to put it #LEGO

I hope you enjoyed this build as much as I did. Undoubtedly, the world’s best sci-fi doll house?  #LEGO
#LEGO 
 #LEGO
#LEGO 

 Read on Twitter