Finishing 3D prints: a thread.
Other wise known as good things come to those who wait because you’ll be sanding forever.
This is how I personally finish the masters for @dangerousladies it’s a starting point for people who haven’t really finished prints before.
Other wise known as good things come to those who wait because you’ll be sanding forever.
This is how I personally finish the masters for @dangerousladies it’s a starting point for people who haven’t really finished prints before.
XTC-3D is also an option for finishing prints, but I don’t like working with it for what we do as it will fill in and erase all the fine details in prints. It does have its uses though, we are currently using it to finish all the “bone” sections of the Hero relics.
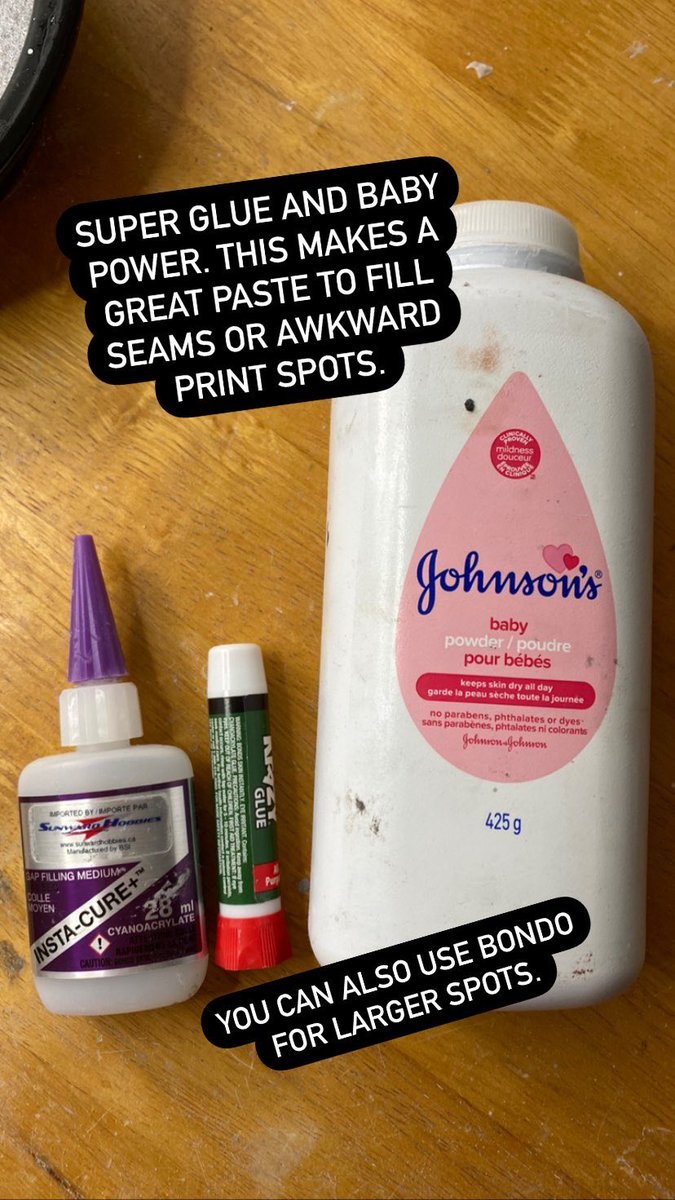
Bondo is also a good filler for larger sections like indents where the supports touched the print in FDM prints.
First up is knowing the difference between FDM and SLA prints.
FDM is what you probably think of when you think of 3D printed things. This is done be heating up a roll of filament and it slowly builds the pieces from the bottom up. The step lines are very visible on these.
FDM is what you probably think of when you think of 3D printed things. This is done be heating up a roll of filament and it slowly builds the pieces from the bottom up. The step lines are very visible on these.
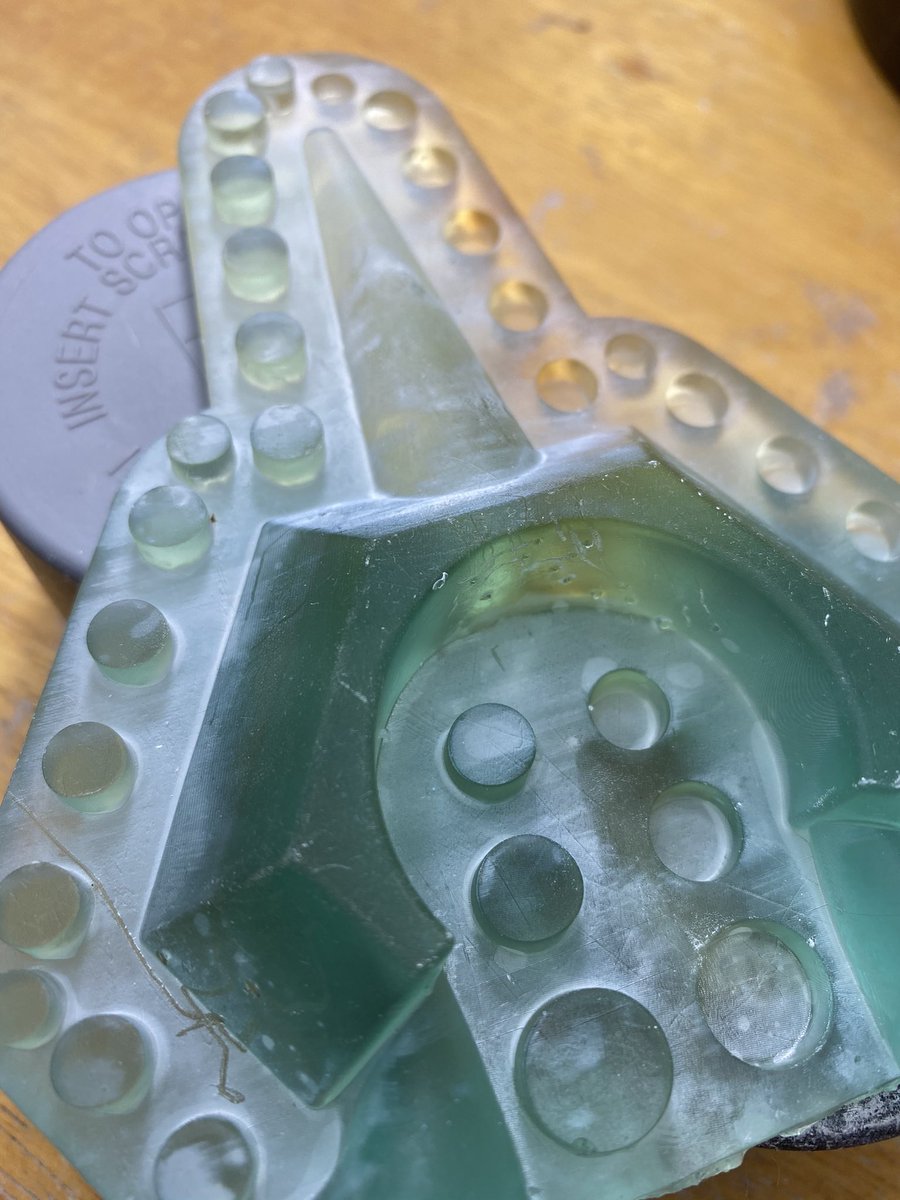
SLA is resin printing. You can get much finer details with this, and the step lines are much less noticeable. I start with a much finer grit sand paper for these then FDM.
This piece was done on a Elegoo Mars, a fairly inexpensive home resin printer!
This piece was done on a Elegoo Mars, a fairly inexpensive home resin printer!
I’ll be starting with FDM and working into the resin prints when I hit the 400 grit level of sanding.
For FDM I start with 150 grit sand paper. It really takes down the step lines with minimum effort from you. This can be aided by using a sanding block to smooth down the lines.
For FDM I start with 150 grit sand paper. It really takes down the step lines with minimum effort from you. This can be aided by using a sanding block to smooth down the lines.
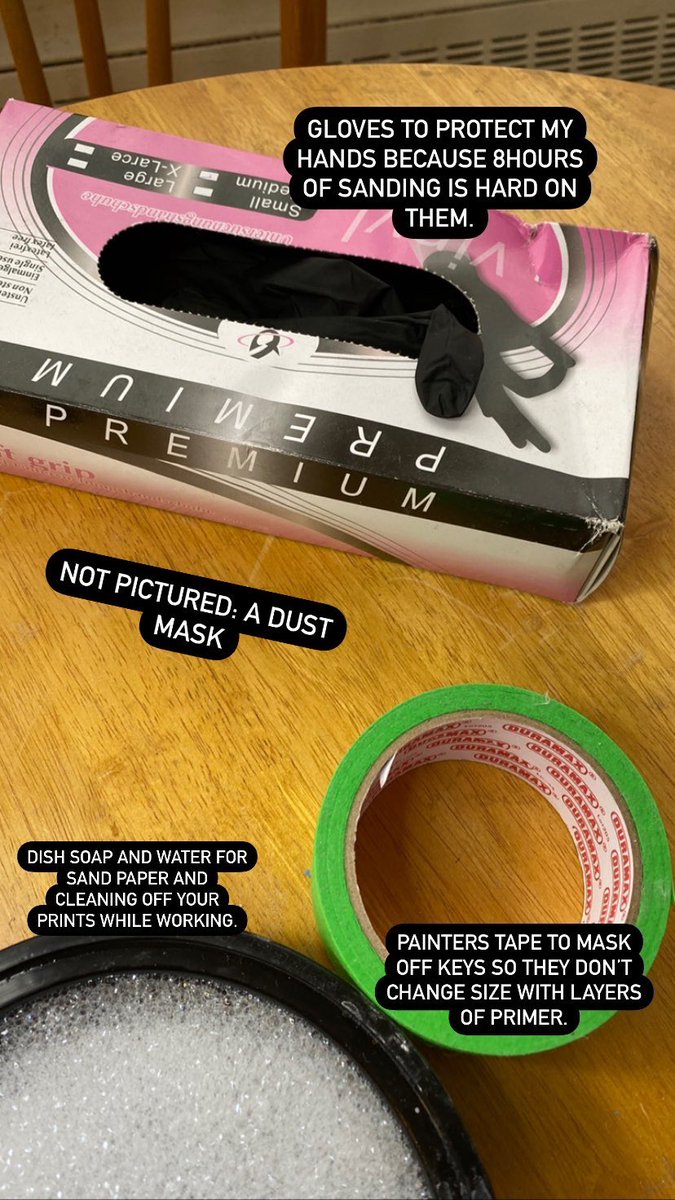
Always scrub(or bathe as I have Nick named it) your prints to remove dust and any left over grit from the coarser sand paper, it not it can leave scratches on the next level. I use a nail brush and dish soap to get in all the nooks and crannies on the print.
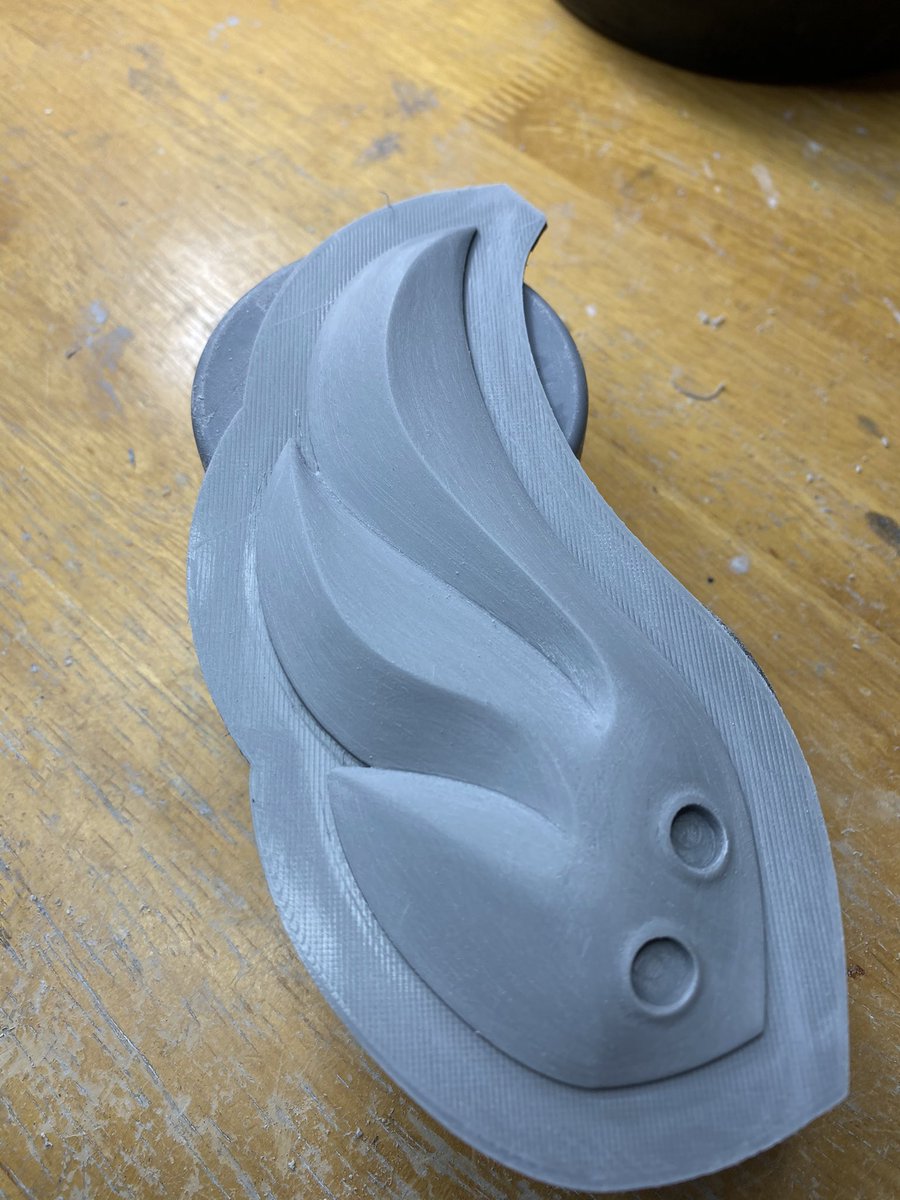
Once that is done, sand with 220, and it’s time for a bath again! As you can see your pretty smooth in the last picture, once it’s primed it will only need fine grit sand paper to make it smooth.
Important note: if you have any spots that will have other pieces inset into or connect to the piece you are sanding, make sure to go back in after you have primed to remove as much primer as possible to keep the size the same.
This doesn’t have to be 100% smooth like the rest of it, glue loves a rougher surface to stick to.
Time for a bath for this piece.
Time for a bath for this piece.
Taking your time in the previous steps makes your life easier for every step after. This guy took only a couple minutes to clean up with 400 after priming because of all the other prep work before hand. The front still has some blemishes.
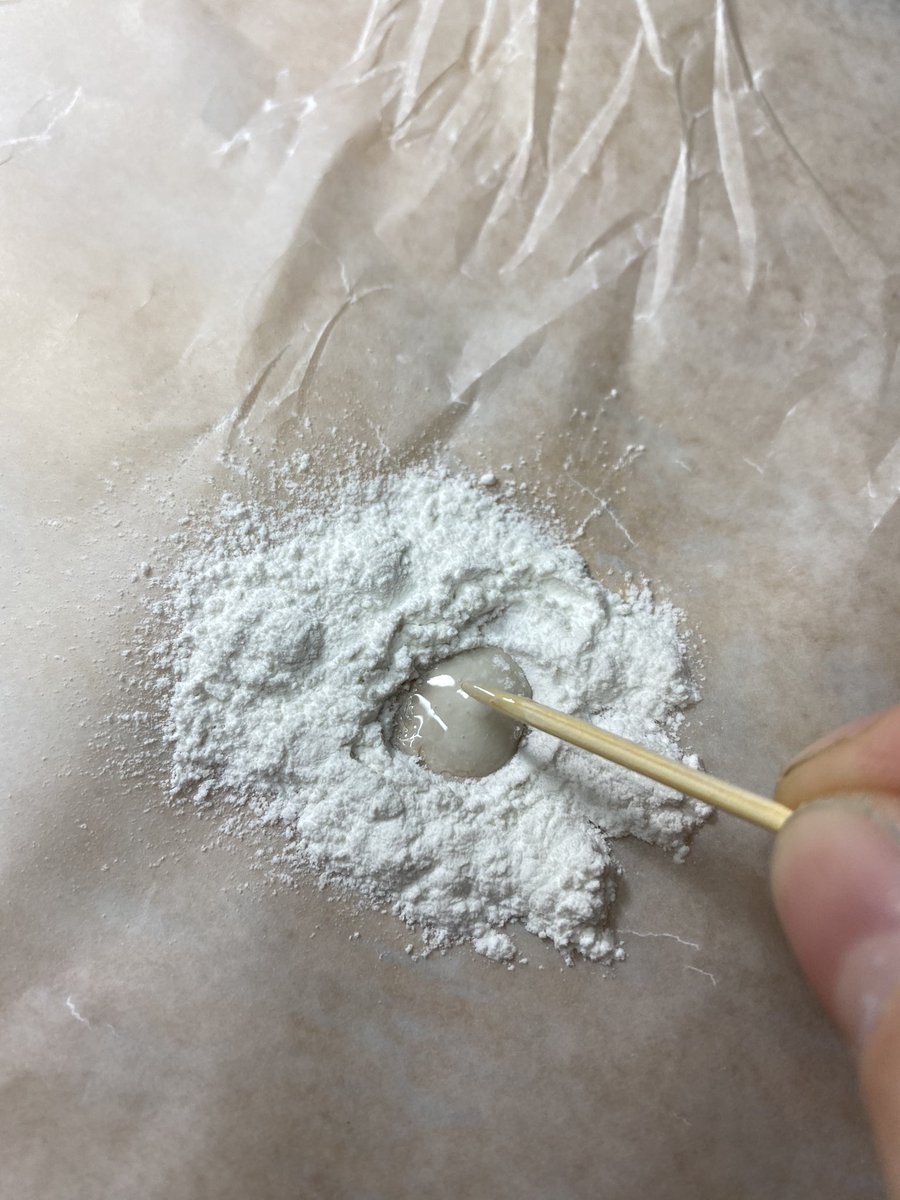
To make putty, you first make a baby powder volcano, drip a few drops of super glue in the middle and mix it. You need to work quite quickly because your at the mercy of the glue’s cure time. Work in small batches, you can always layer it!
You can make the mixture thick or thinner based on putting more of one or the other.
For smaller blemishes I use a thinner mixture, for things like two pieces sliding when I glued them together, I use a thicker mixture.
For smaller blemishes I use a thinner mixture, for things like two pieces sliding when I glued them together, I use a thicker mixture.
This will be a fairly slow thread, I have a lot to finish, but I will take everyone from fresh off the printer to all the different finishing we have for every thing, even if it takes me a week or two.

 Read on Twitter


