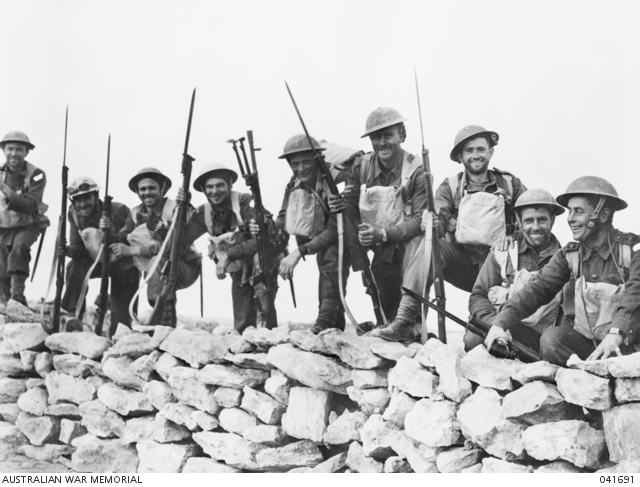
#OTD in 1941 the Battle of Bardia was being fought. Often considered an Australian victory supported by the @RoyalTankRegt, the key to the success was a successful joint campaign (perhaps the first of the war) including the @royalairforce and @royalnavy.
(Air power was key!)
1/27
(Air power was key!)
1/27
Bardia was part of the unlikely success of Operation Compass. Starting on 9 Dec 1940, a British force under Gen O’Connor swept the Italians from Egypt and Cyrenaica in two months capturing more than 130,000 POWs in the process. It was a complete victory.
2/27
2/27
The unprecedented success of the first phase of Compass convinced Gens Wavell and O’Connor to continue their attack. Any advance into Libya required the capture of Bardia. It was needed as a supply post and so its defenders didn’t threaten the British lines of communication.
3/27
3/27
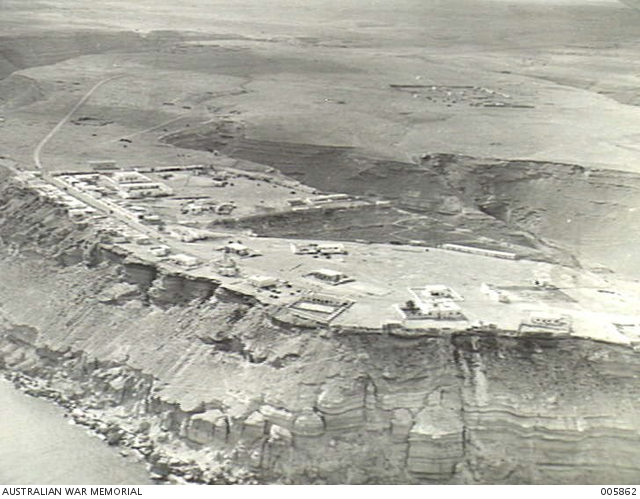
The Italians had been fortifying the town since 1937. An 18-mile perimeter with minefields, an antitank ditch, barbed wire, and two lines of prepared defenses protected the port. Concrete AT and MG posts were found every 500–750 yards. Ample artillery supported the infantry.
4/27
4/27
British intel estimated 15-20,000 men and 100 guns in Bardia. In reality, the garrison held 40,000 men and 400 guns. A cautious Wavell believed the British were too weak to capture it so he ordered the road to Tobruk left open so the Italians could retire without a fight.
5/27
5/27
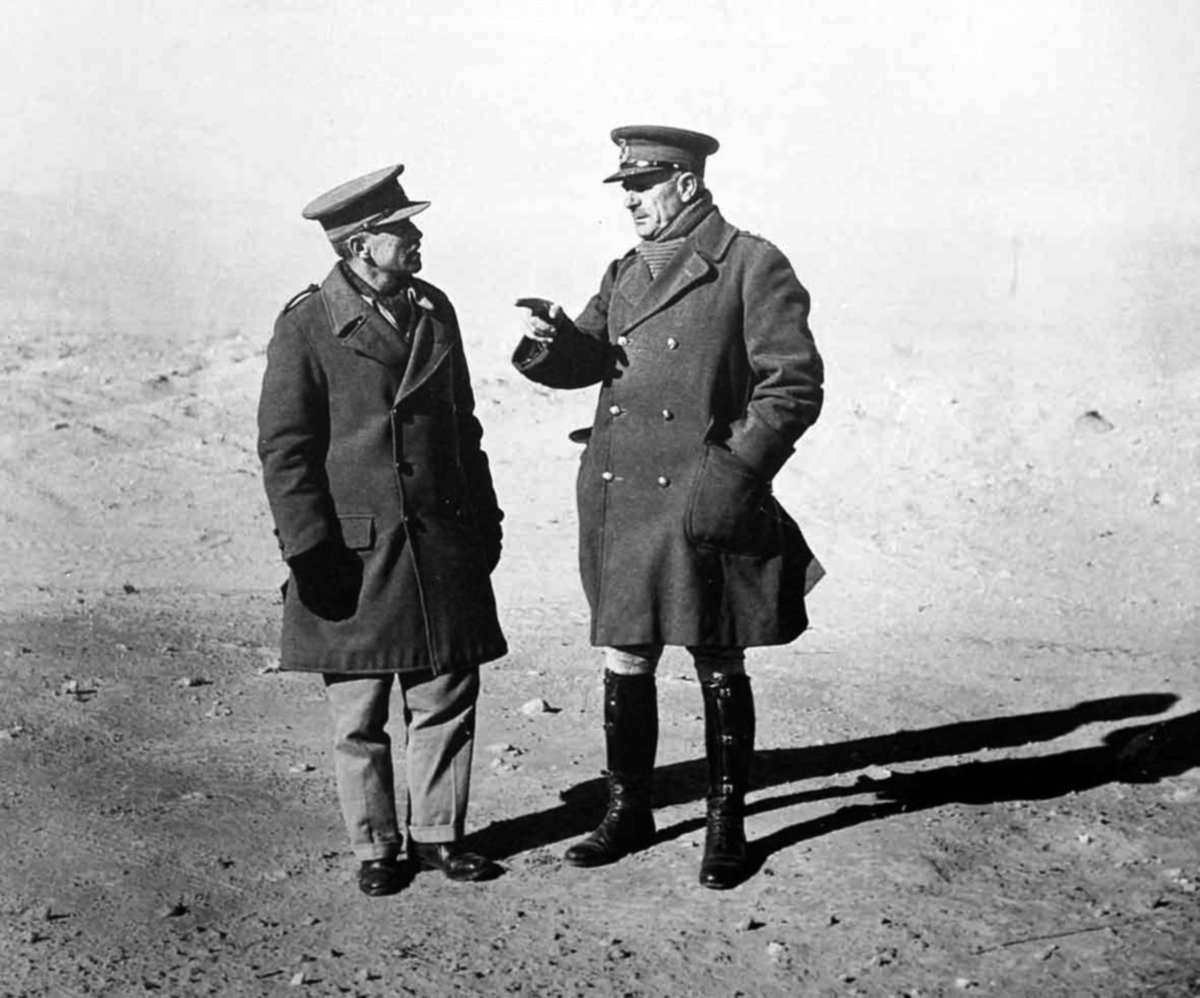
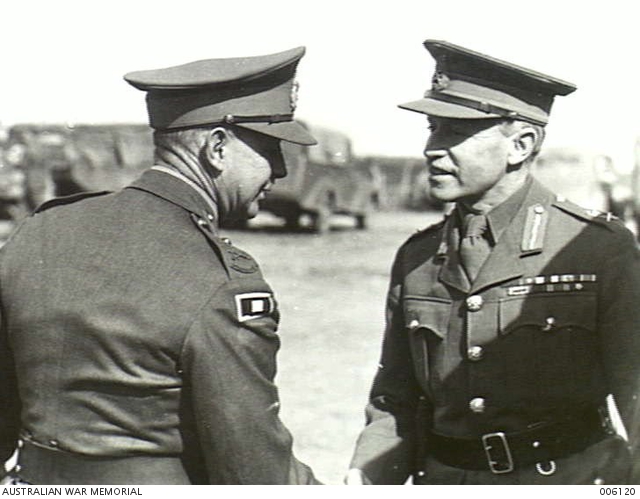
He hoped a strong feint on the ground and in the air would drive the Italians out without a fight. But, they planned to hold Bardia. O’Connor (r.) ordered Mackay’s (l.) 6th Australian Div, with 7th RTR, to capture Bardia. 7 Armd Div and 16 Inf Bde were also in support.
6/27
6/27
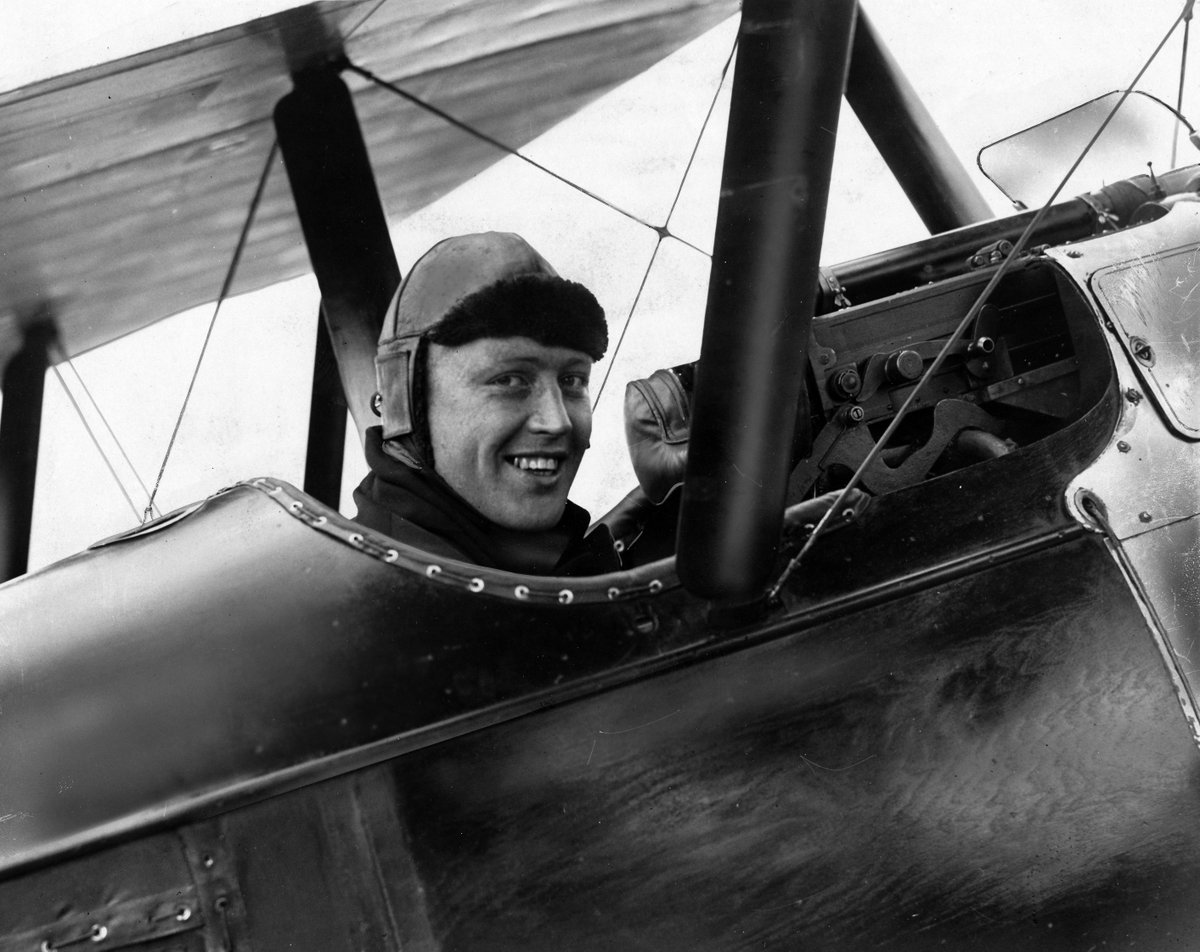
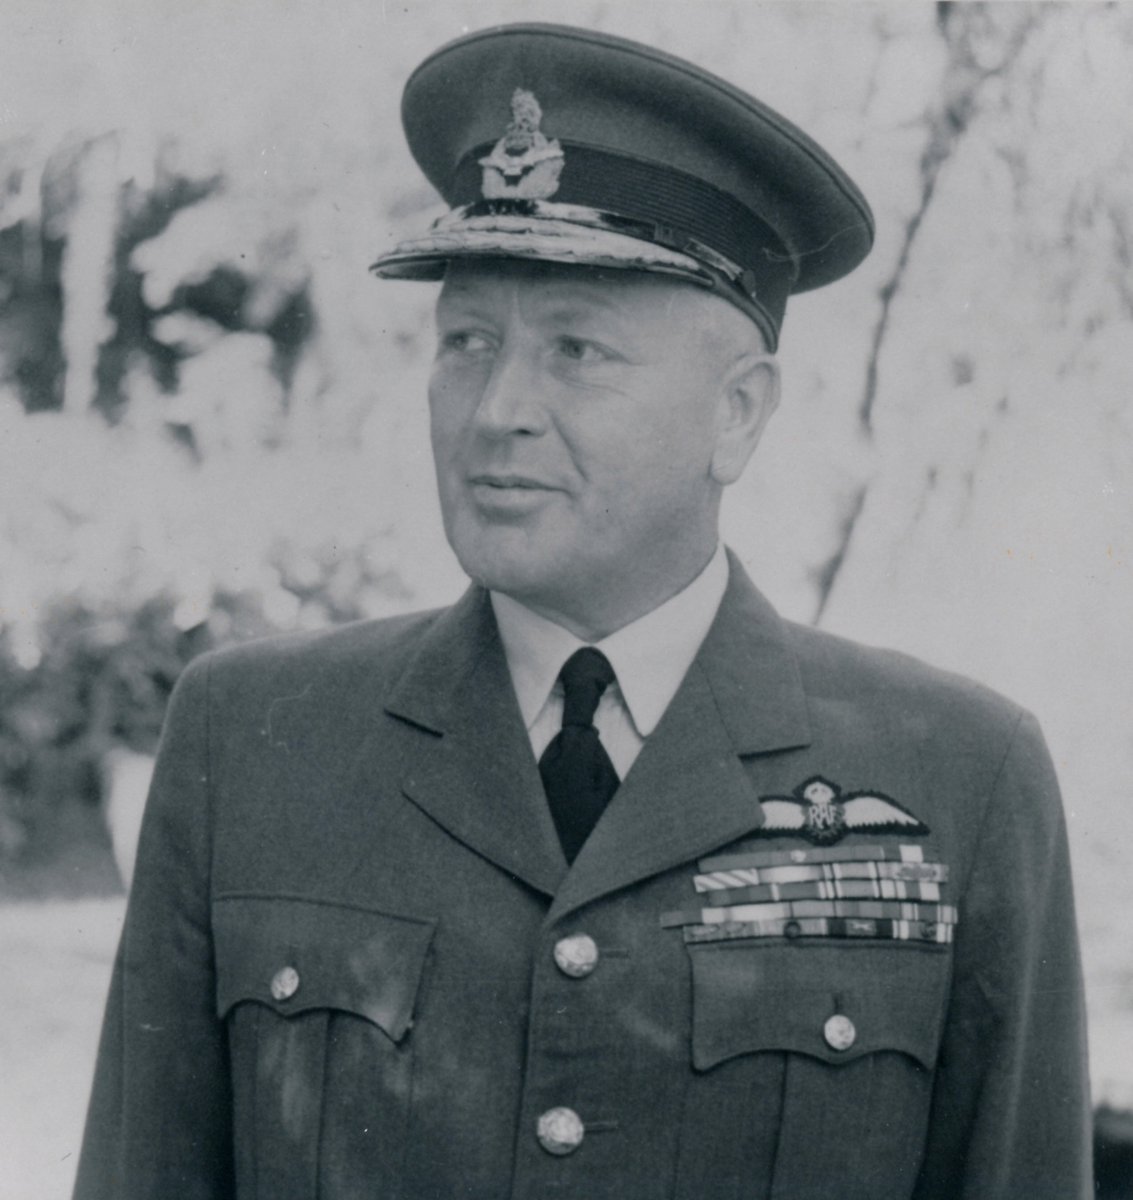
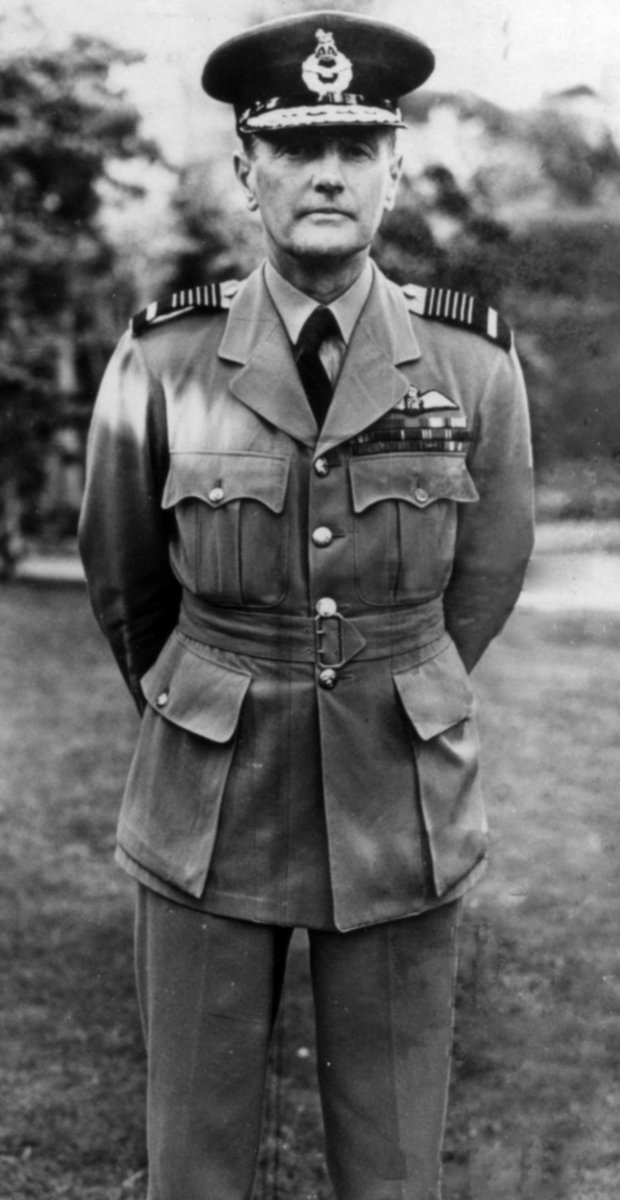
The RAF was commanded by Air Commodore Raymond Collishaw, a Canadian Great War ace who had extensive experience in providing tactical air support to the army. He knew better than most how to conduct such operations and got along well with O'Connor.
7/27
7/27
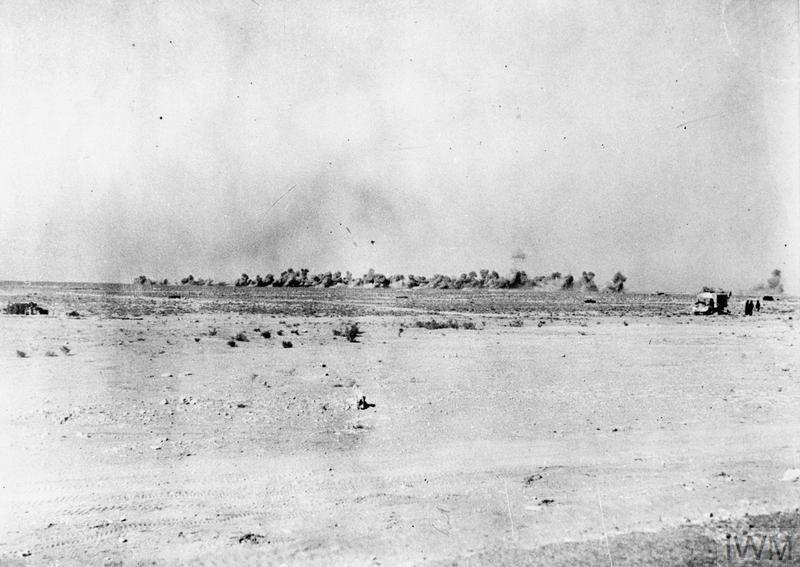
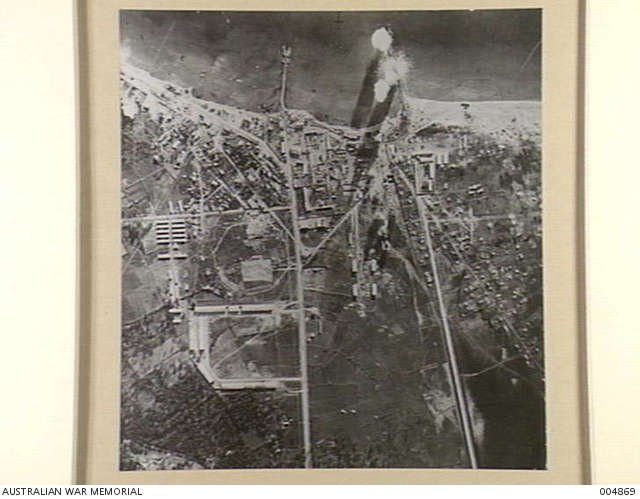
An integrated air and naval plan was worked out to support the Australians’ attack. Before the ground assault, more than 80,000 pounds of high explosives were dropped on the city and its garrison in the days before the battle.
8/27
8/27
“The bombing was very terrifying,” recalled an Italian doctor, “the Libyan troops were almost completely demoralized and the Italian troops were almost as bad…. Casualties from the bombing were slight, but the material damage was large.”
9/27
9/27
Perhaps more importantly, the RAF conducted operations to isolate the battlefield. Collishaw bombed Italian airfields and interdicted any attempt to reinforce the Bardia garrison. These offensive operations allowed the RAF to take the Regia Aeronautica out of the battle.
10/27
10/27
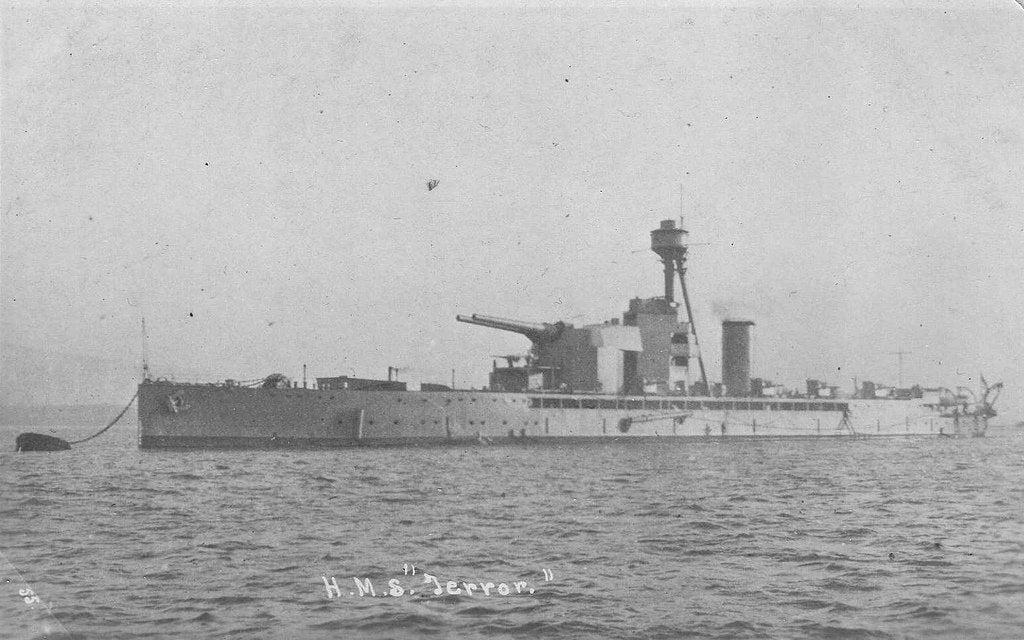
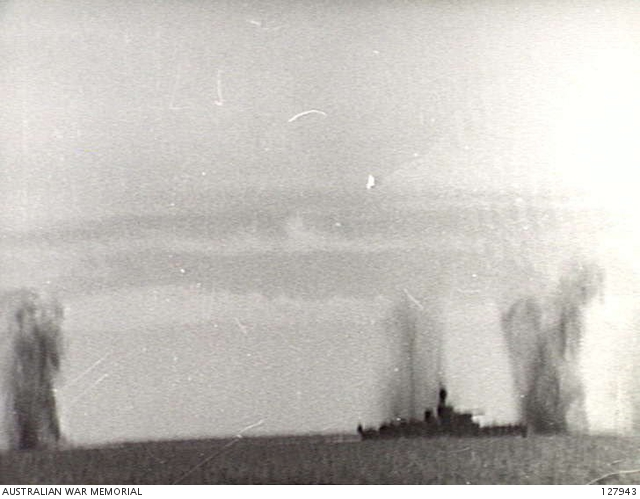
The RN joined in the preparations. The Inshore Squadron (monitor Terror / gunboats Ladybird, Aphis, & Gnat) bombarded the NW sector of the Bardia perimeter on 2 Jan and again the next day. Then came the battleships Warspite, Valiant, and Barham along with 7 destroyers.
11/27
11/27
A total of 246 rounds of 15-inch shells and more than 500 rounds of 6-inch and 4.5-inch shells were fired. The defenders of Bardia “appeared dazed” after being subjected to this heavy fire. The Inshore Squadron then returned to continue shelling the Italian positions.
12/27
12/27
The Australians believed the naval bombardment had a significant material and morale effect on the enemy; they encountered weak resistance from the defenders who had been subjected to this devastating naval gunfire.
13/27
13/27
The RAF provided comprehensive air photos of the Bardia defences. The Australians found a soft spot in NW sector where they planned the main attack by 16th Bde. The strongest Italian defences in the south would be held in place by a 17th Bde holding attack.
14/27
14/27
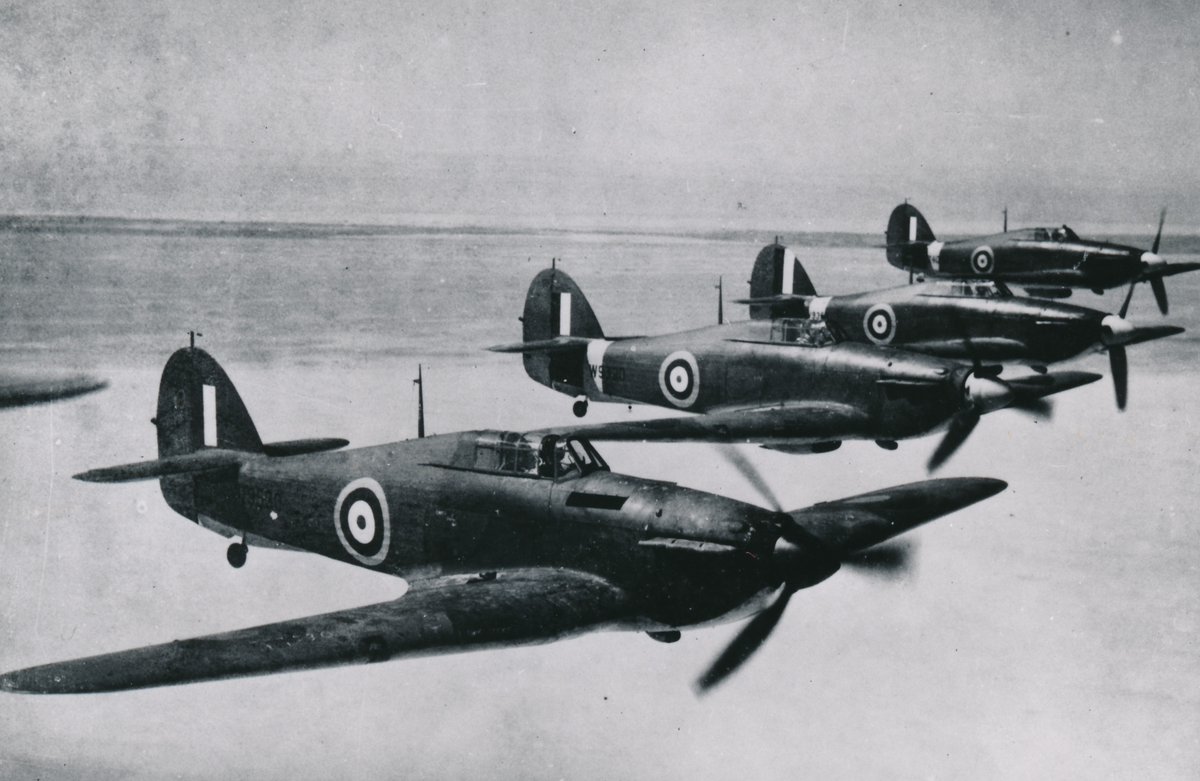
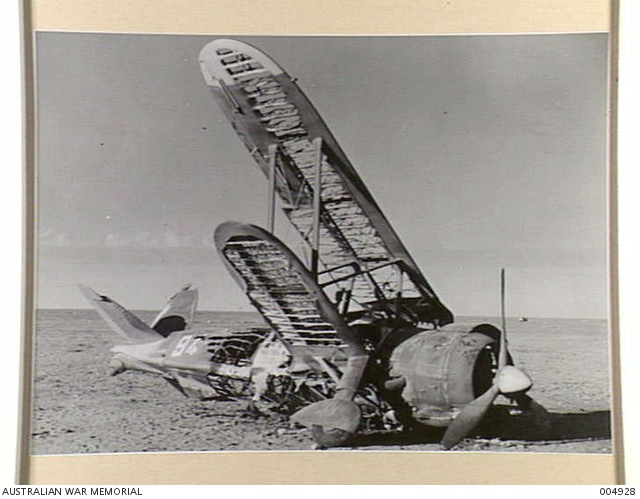
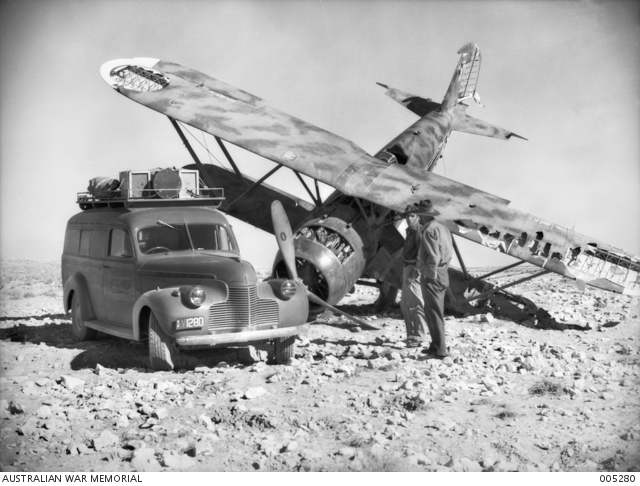
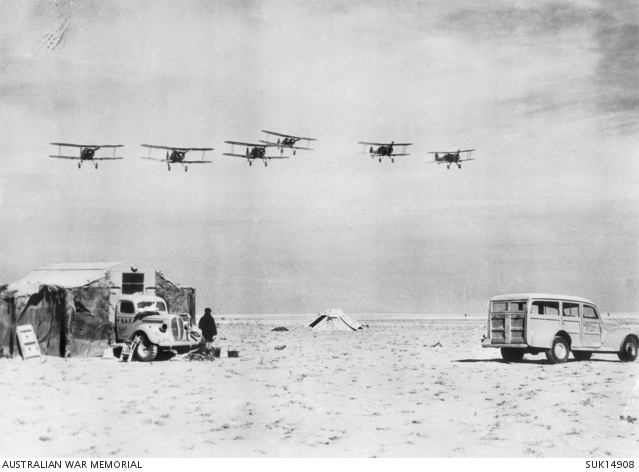
The Regia Aeronautica (Italian air force) reacted to the assault but they were ineffective. Collishaw’s attacks on their airfields limited their numbers and those that made it were intercepted by RAF Hurricanes and RAAF Gladiators or driven off by RN AA fire.
15/27
15/27
One exception occurred when a formation of 17 bombers, escorted by 20 fighters, attacked the Australians. The raid struck near the headquarters of the 16th Australian Infantry Brigade, killing six men and wounding several others.
16/27
16/27
Overall, the Aussies appreciated the RAF’s air superiority: “We had expected heavy enemy air co-operation with his own troops. Savoia’s, Caproni’s, CR42’s and Macchi’s or any other type of Italian aircraft with which we have been familiar, were … conspicuously absent.”
17/27
17/27
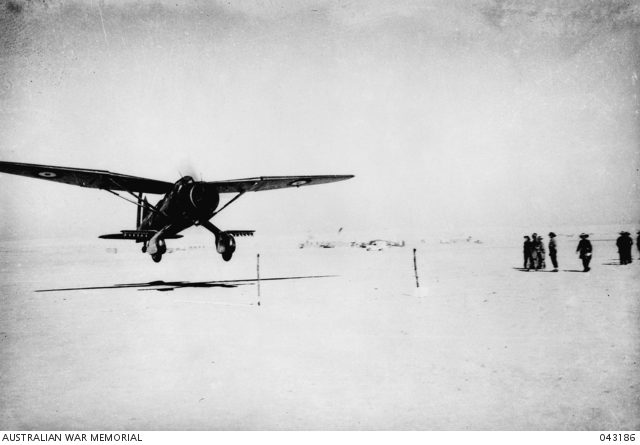
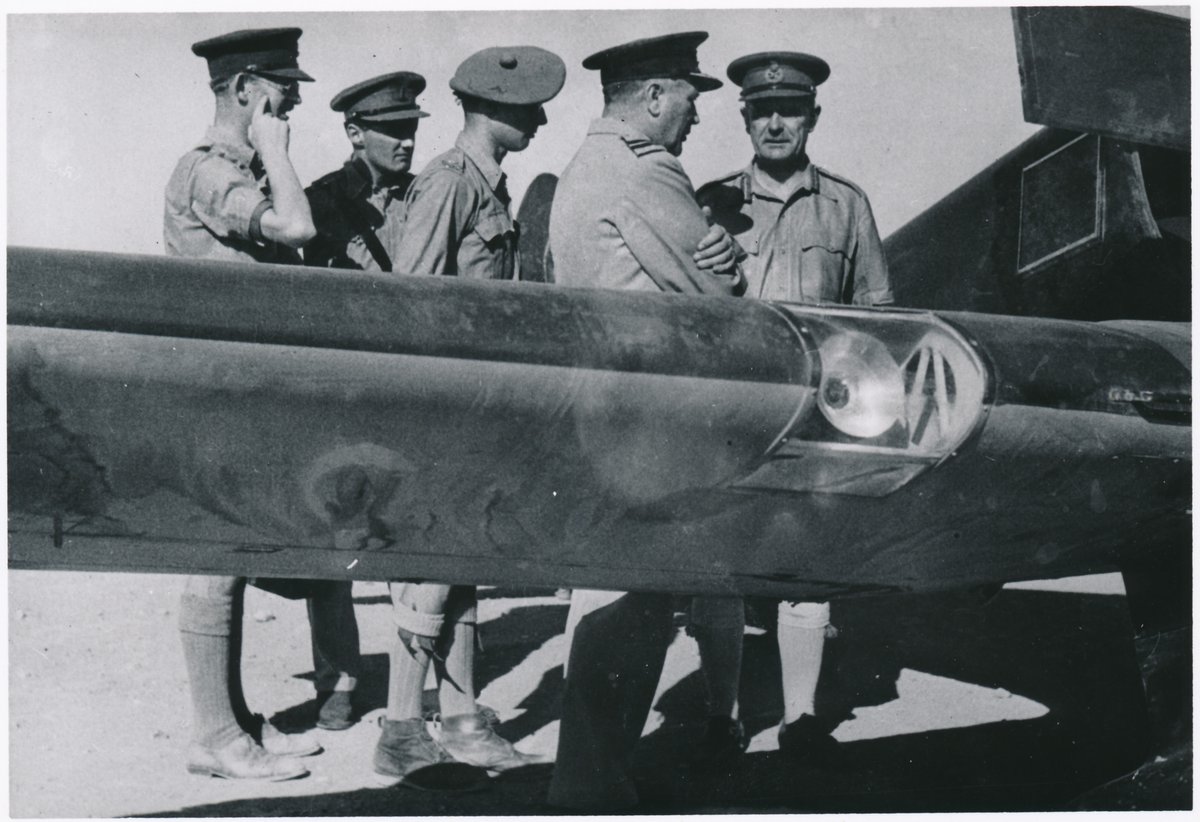
Another benefit of air superiority: No. 208 Sqn Lysanders and Fleet Air Arm aircraft flew low to direct the artillery and naval gunfire; essential for accuracy. No. 3 Sqn RAAF conducted low-level offensive patrols over the combat area to cover the advance of the infantry.
18/27
18/27
The main assault made good progress and quickly outflanked the Italian infantry and artillery positions NE of the Bardia–Capuzzo road. The RAF and RN supported the overall attack by suppressing the defenders in the port and in the area north of the Bardia–Tobruk road.
19/27
19/27
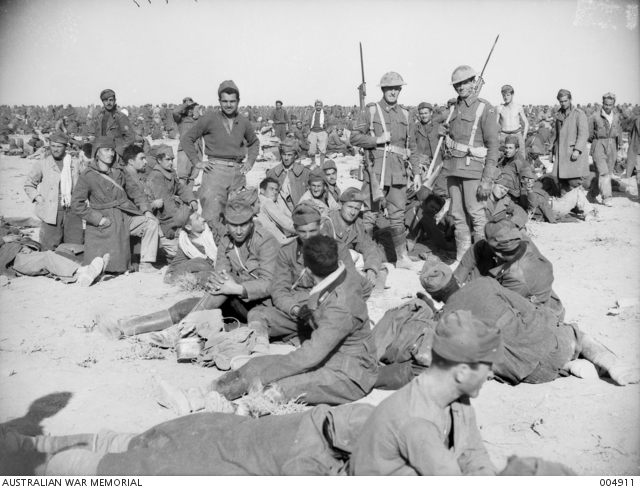
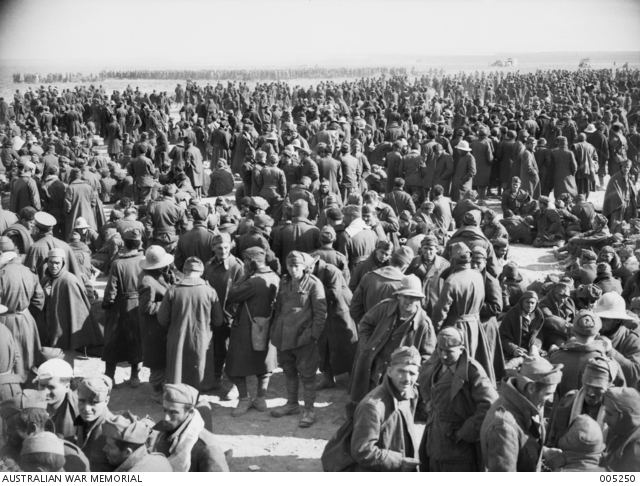
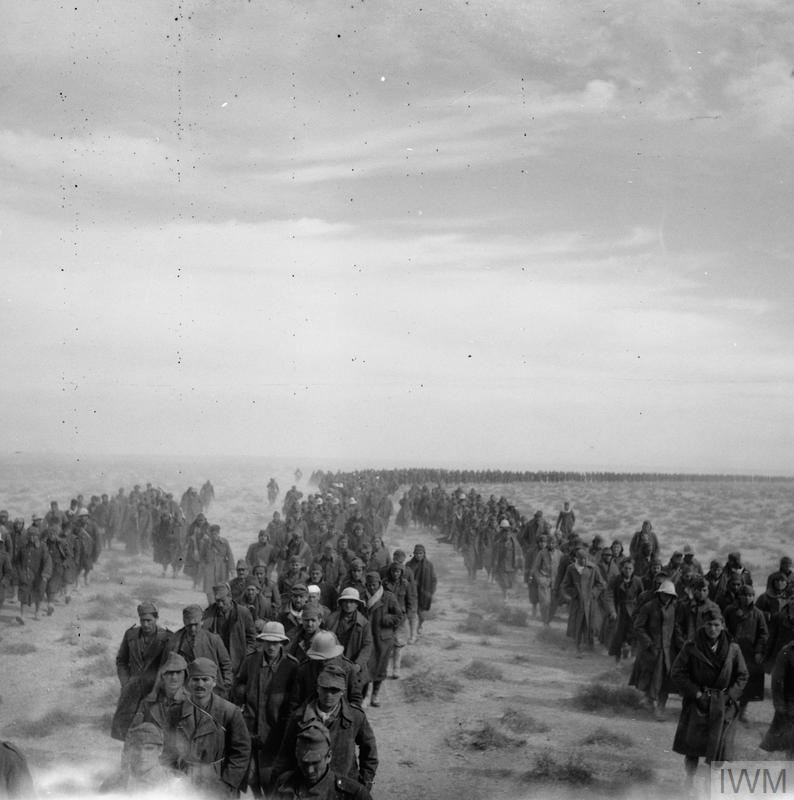
Bardia was captured in under 2 days. The battle concluded on the 3rd day; Italian losses were 1,000 KIA, 3,000 wounded and 45,000 men, 462 guns, 117 light tanks, and 12 medium tanks captured. The cost for the Australians was a relatively modest 456 casualties incl. 129 KIA.
20/27
20/27
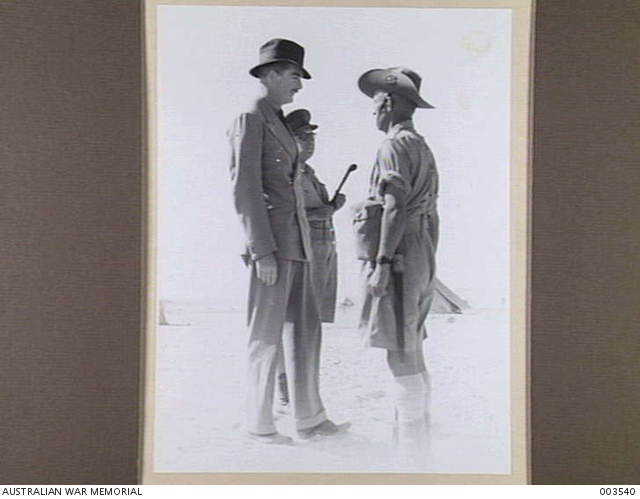
“Never has so much been surrendered by so many to so few” was how British foreign minister Sir Anthony Eden described the capture of Bardia.
21/27
21/27
Most accounts of Bardia describe it an infantry/armor victory. In fact, the victory was the result of a comprehensive joint operation using the combined resources of the army, RAF, and RN.
22/27
22/27
The assault on Bardia should have become a model for future operations by the three services, but the lessons were quickly lost and would take years to relearn. Personalities were more important than doctrine in joint operations. But that’s a story for another day!
23/27
23/27
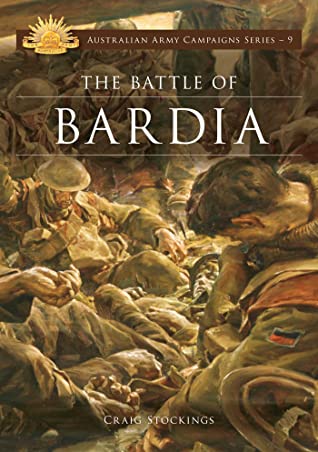
For more on the ground battle, read Craig Stockings’ superb monograph Bardia (UNSW Press 2009) or his Osprey-like The Battle of Bardia (Australian Army Campaign Series 9). His article in War in History (vol 17, no 1 2010) tackles “The Anzac Legend and the Battle of Bardia.”
24/27
24/27
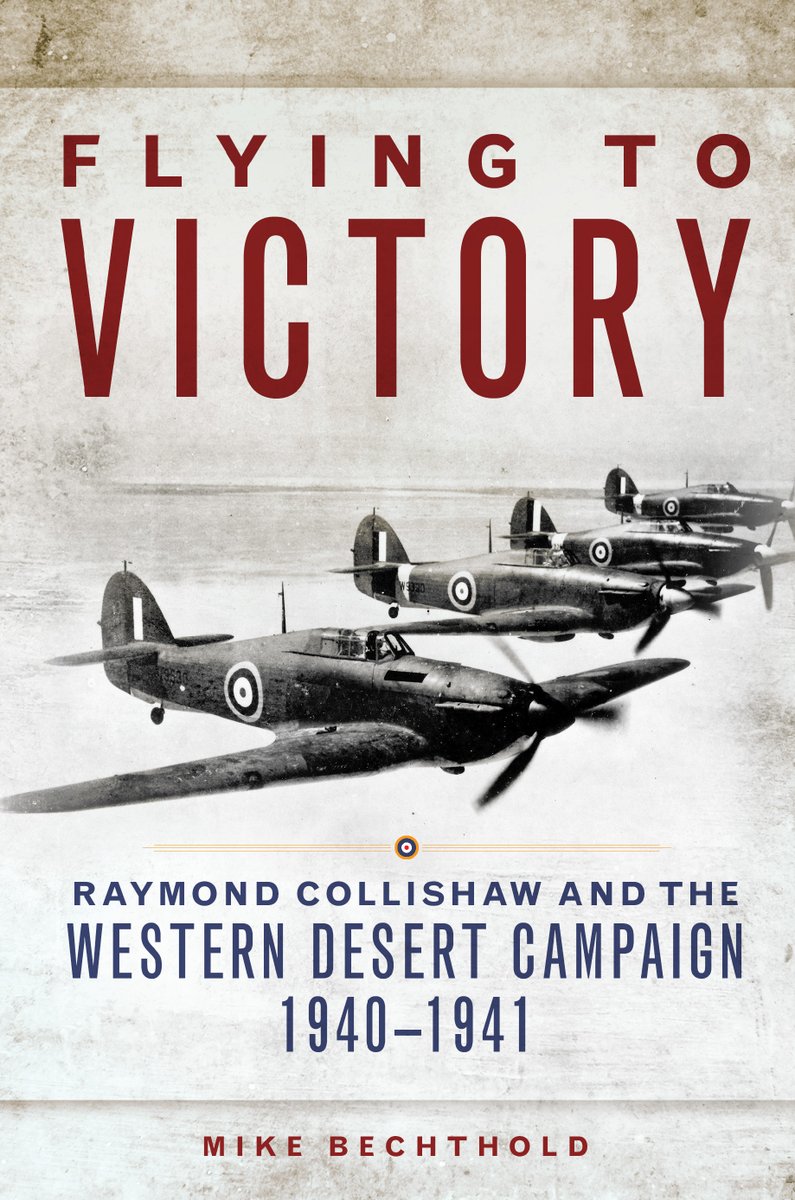
If you want to learn more about Raymond Collishaw and RAF operations in the Western Desert in 1940-1941, pick up a copy of my book, Flying to Victory (2017) ( @oupress) or tune into my @hack_history podcast with @BoneyAbroad releasing on Thursday, January 7th!
25/27
25/27
Sources.
All quotations taken from Flying to Victory.
Maps by Mike Bechthold
Photos: AWM 41691, LAC 64-13, unknown, AWM 5862, IWM E1549, AWM 4931, AWM 4942, AWM 3867252, AWM 6120, LAC PA 2788, LAC PMR 71-775, IWM E1529, unknown, AWM 127943, AWM 127944, AWM 4869, AWM 4928...
26/27
All quotations taken from Flying to Victory.
Maps by Mike Bechthold
Photos: AWM 41691, LAC 64-13, unknown, AWM 5862, IWM E1549, AWM 4931, AWM 4942, AWM 3867252, AWM 6120, LAC PA 2788, LAC PMR 71-775, IWM E1529, unknown, AWM 127943, AWM 127944, AWM 4869, AWM 4928...
26/27
Sources con’t:
AWM 5280, AWM SUK14908, AWM SUK14910, AWM 4127506, AWM 4911, AWM 5250, IWM E1591, AWM 3540, LAC RE 64-14, LAC PMR 71-777, AWM MED0802.
-30-
27/27
AWM 5280, AWM SUK14908, AWM SUK14910, AWM 4127506, AWM 4911, AWM 5250, IWM E1591, AWM 3540, LAC RE 64-14, LAC PMR 71-777, AWM MED0802.
-30-
27/27

 Read on Twitter