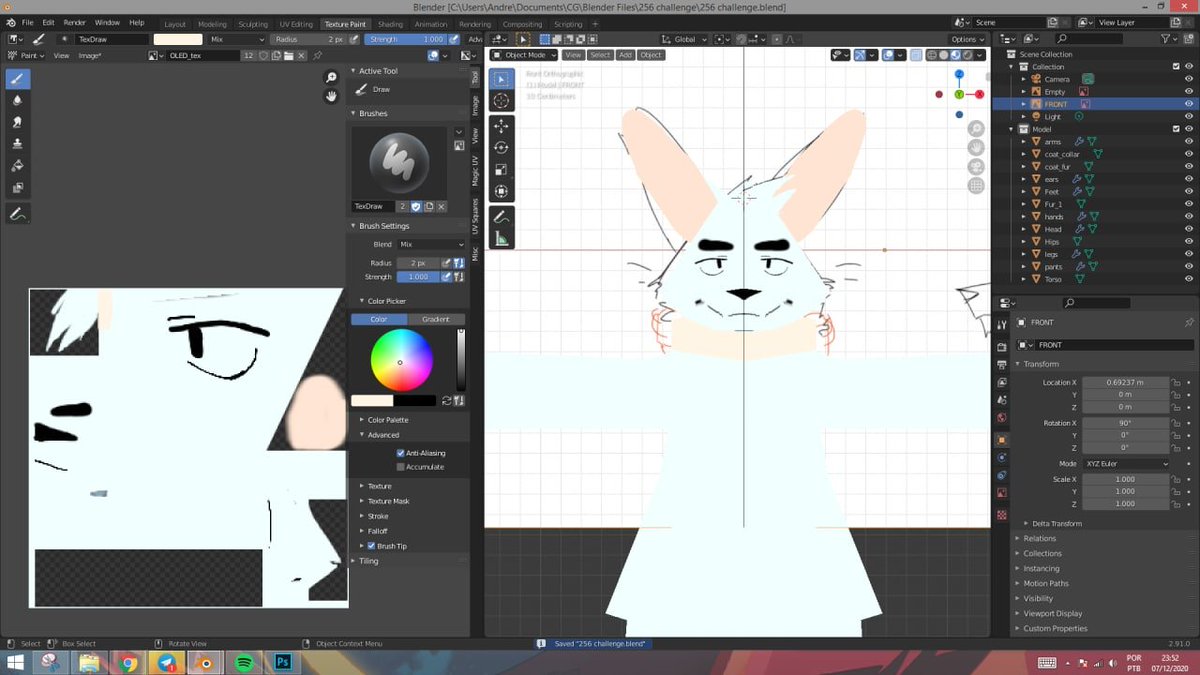
Anyway, the past few days (3-ish?), I've decided to take part on the 256 challenge, where you get a budget of only 256 polys, and a single 256px texture to work with.
which is something that fits right with my interests, as optimizing, and finding solutions is smth i like
which is something that fits right with my interests, as optimizing, and finding solutions is smth i like
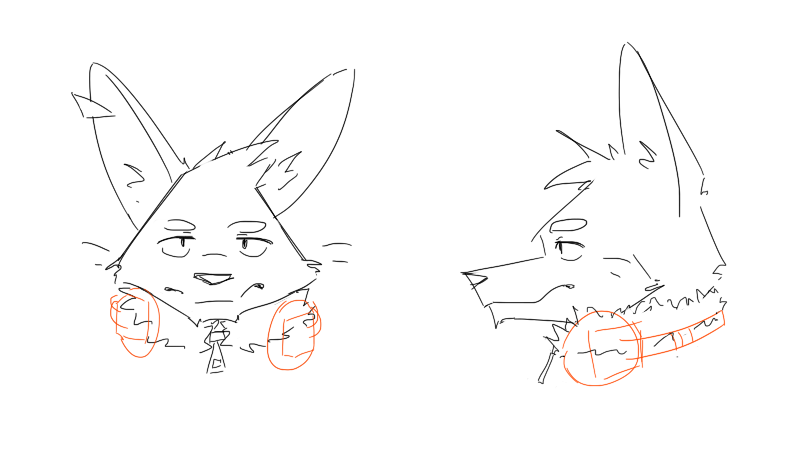
So, I went ahead and designed a character with lo-poly in mind, and modelled him, and all that jazz
i ended up having to find extra solutions to keep details x budget consistent, mostly since 256 triangles isn't much to work with for starters
i ended up having to find extra solutions to keep details x budget consistent, mostly since 256 triangles isn't much to work with for starters
with that said, i'll make a thread with all solutions and extra stuff i've been coming up with along the way to make it work
so yeah here's.. the process i guess?? i'll document it, as i think this may help other people understand how my budgeting/optimizing process was for it
i won't be getting in detail on the modeling process tho, as... that's self explanatory, this isn't a tutorial or anything lol
people usually have their own workflows for that, i'll instead explain some choices i made to keep numbers low while keeping a consistent look
people usually have their own workflows for that, i'll instead explain some choices i made to keep numbers low while keeping a consistent look
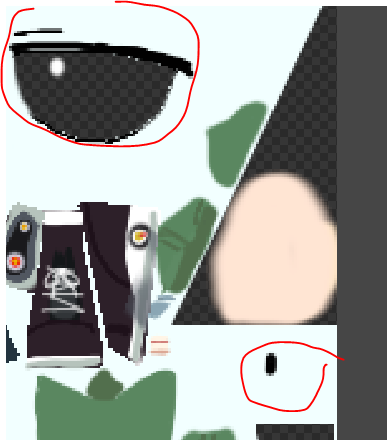
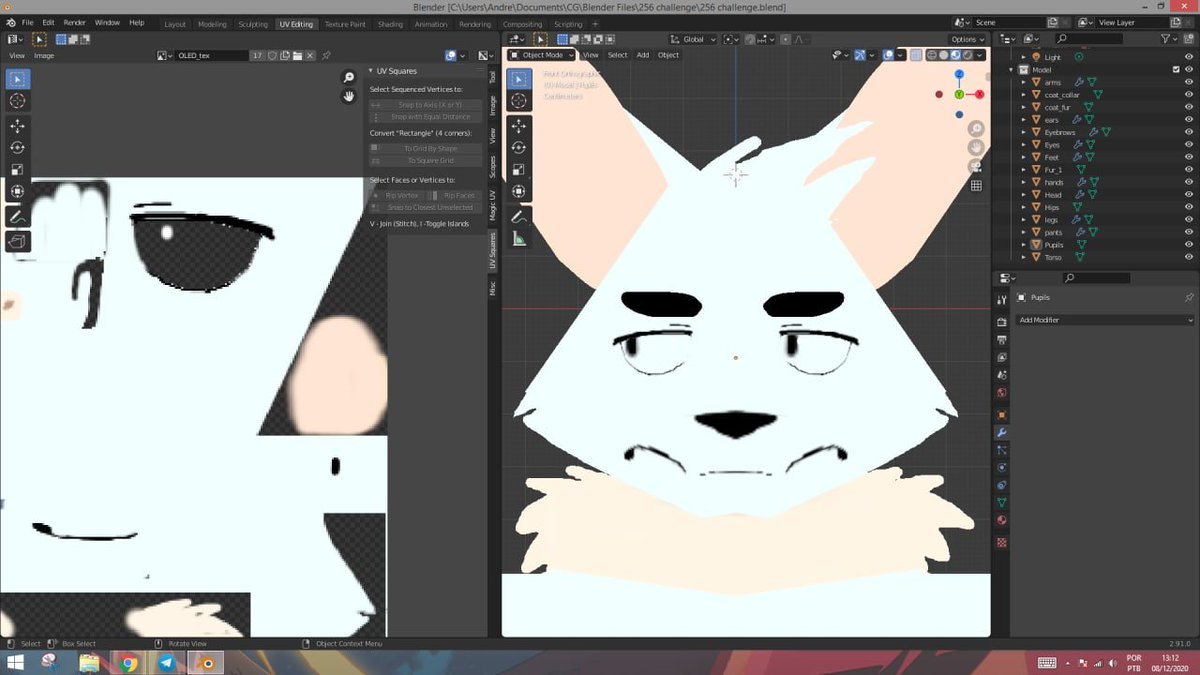
first, textures (albeit the current one is a placeholder):
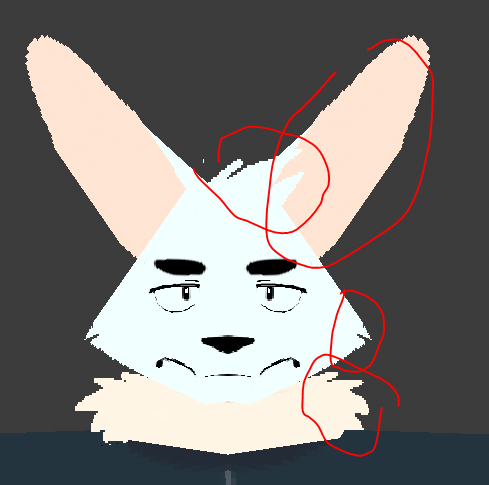
the model highly relies on transparent textures for shapes and extra details (highlighted) while keeping polys to a minimum, as they're essentially just images being projected to the faces
the model highly relies on transparent textures for shapes and extra details (highlighted) while keeping polys to a minimum, as they're essentially just images being projected to the faces
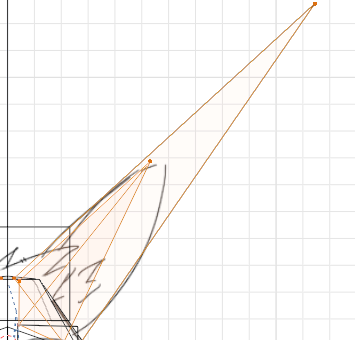
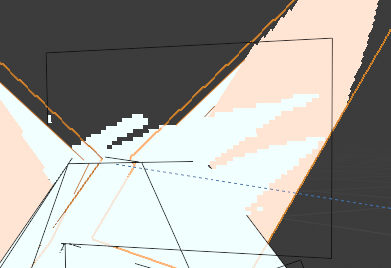
his ears use a single stretched triangle, the reason why it's stretched this much is that i had to fit the entire ear inside the triangle, and this seemed the best way to save on tris even if it occupies quite some space in the texture
other parts don't have anything special about them it's just your usual modeling with alpha textures in mind
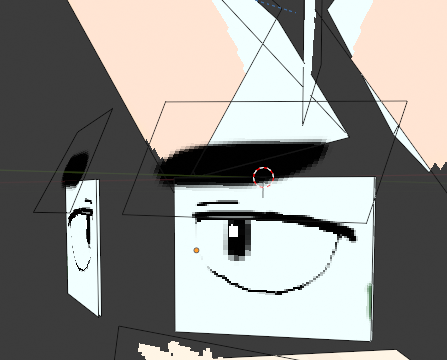
since eyes are very expressive, i thought they needed more care than most other parts of his head
so they're composed of 2 layers, the eyes itself, which also uses transparency, and the pupils
so they're composed of 2 layers, the eyes itself, which also uses transparency, and the pupils
this wasn't part of the plan at first though, i tried the traditional way first where it's just a simple image, but i found it too limiting, since that meant if i wanted him to look anywhere, i'd have to draw his pupil going up/down/right/left, and that's too many variables
so instead the layer method gives me total control over his eyes, since all i need to do is animate his pupils' UV instead
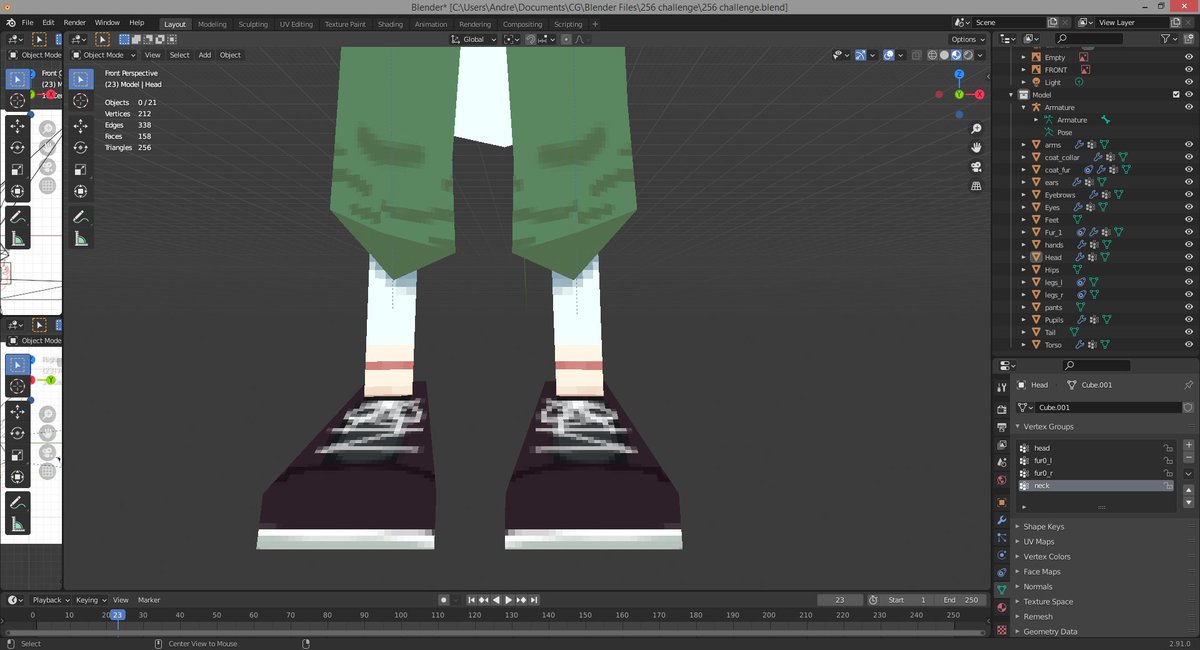
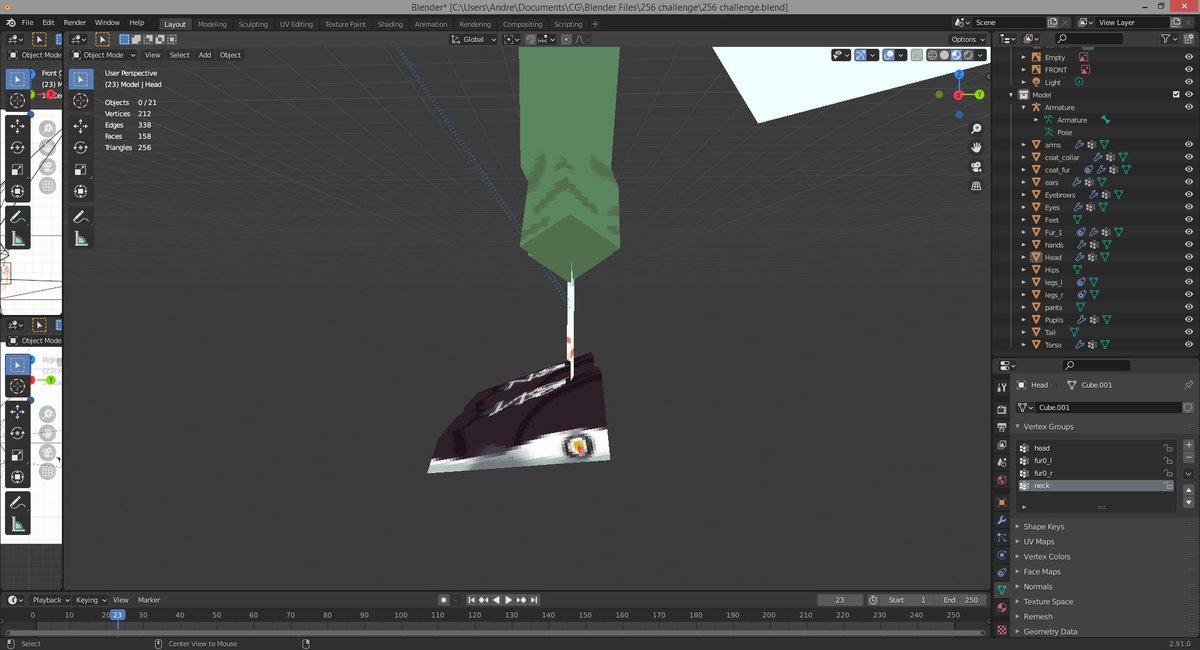
obviously, a character with that's based on that much 2D planes is usually prone to the fated "looks good in a single angle" syndrome, however the reason why i chose using solid colors, as opposed to shaded ones, comes to play here
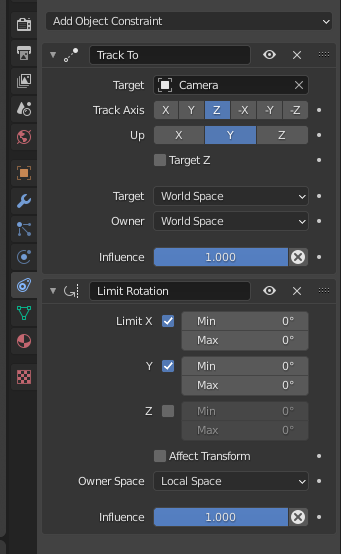
so, to get around that limitation, my plans were to work with the method most games from the 90s use, which is make X object track the camera, so they look like they have volume, or are something they're not
so every object that does that has these constraints
so every object that does that has these constraints
they follow the camera, as long as they don't cross the limits imposed by the limit rotation modifier.. cause well it would make no sense to let them rotate in all axis, as that would break the illusion
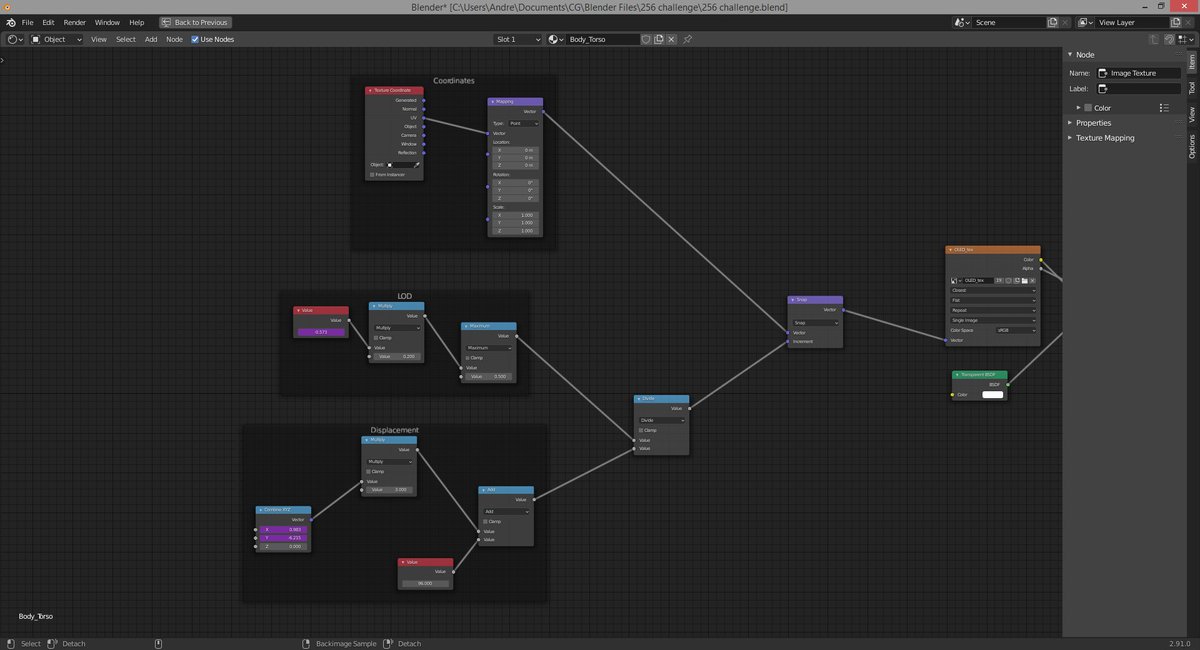
now, since I was going "full 90s" i decided I wanted a more genuine look, so today i started developing a shader that uses math to simulate the distortion that happens whenever models or cameras moved on PS1/Saturn era games
it's still a WIP, as i'm still working on it, but right now, it already displaces textures accordingly, as you move the camera
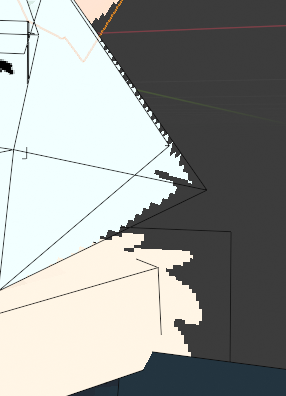
and it also responds to LoD, making the texture more pixelized and a bit more distorted as you zoom in or out
and it also responds to LoD, making the texture more pixelized and a bit more distorted as you zoom in or out
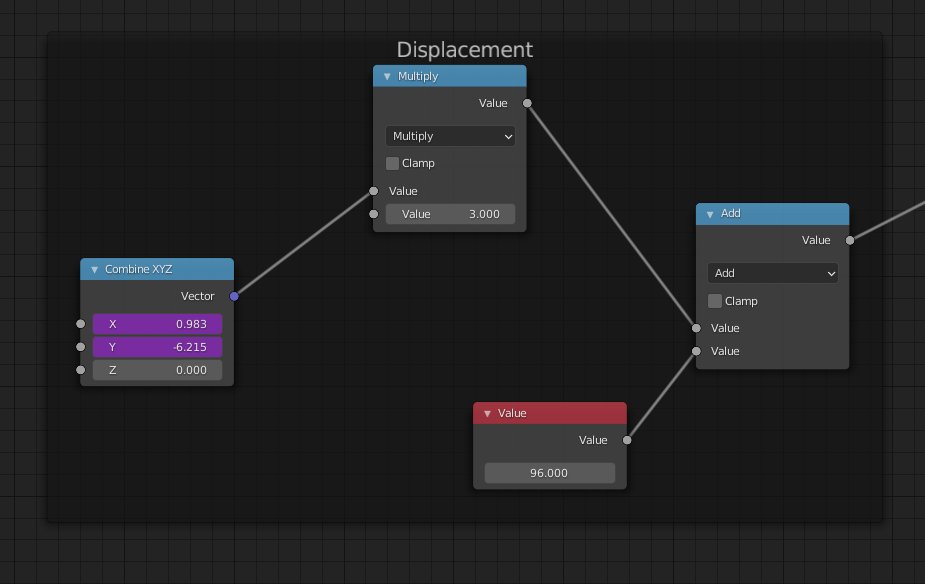
2 drivers are set, based on the camera's X and Y position
the values are then multiplied, as camera positions*, usually have small numbers like point something or 1 at best
another value is then added to that, and that'll be the power of the distortion
the values are then multiplied, as camera positions*, usually have small numbers like point something or 1 at best
another value is then added to that, and that'll be the power of the distortion
*depending on the scale of your scenes, that is
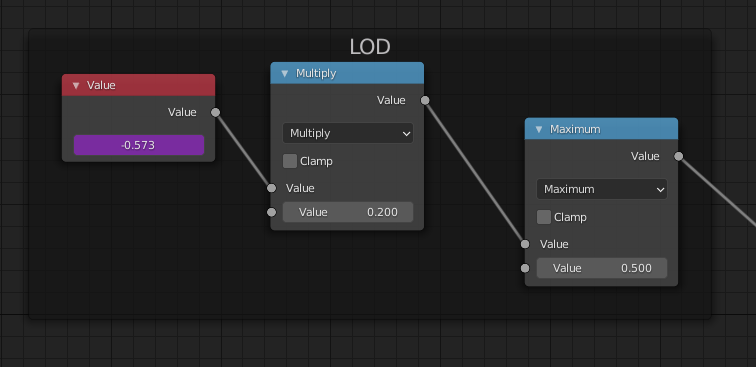
for the LoD, the camera's Z values are multiplied and then a "maximum" node is set, so it caps the value to whatever you want
the closer the less pixelated and distorted vice versa
the closer the less pixelated and distorted vice versa
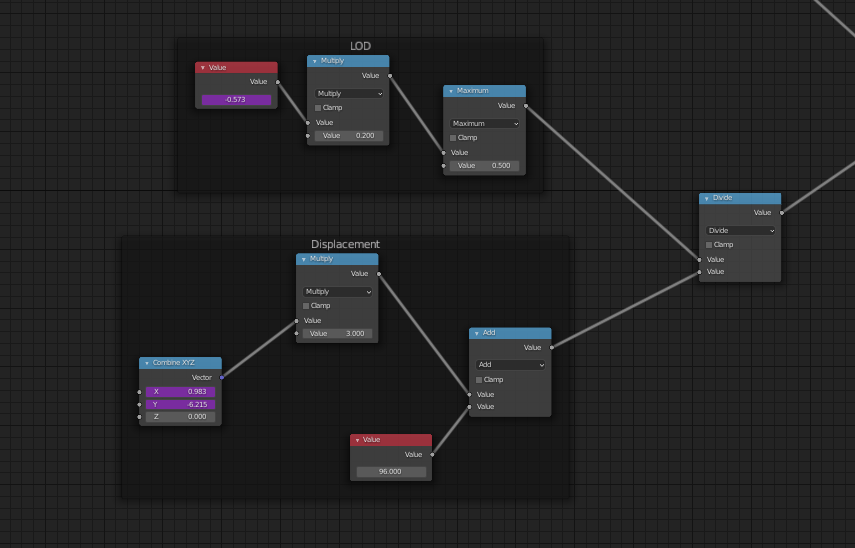
reason why it's divided is so that each "pixel" shows only a part (determined by the value on the displacement shown previously) of the image
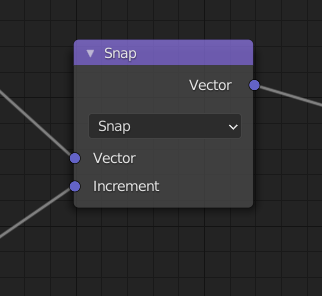
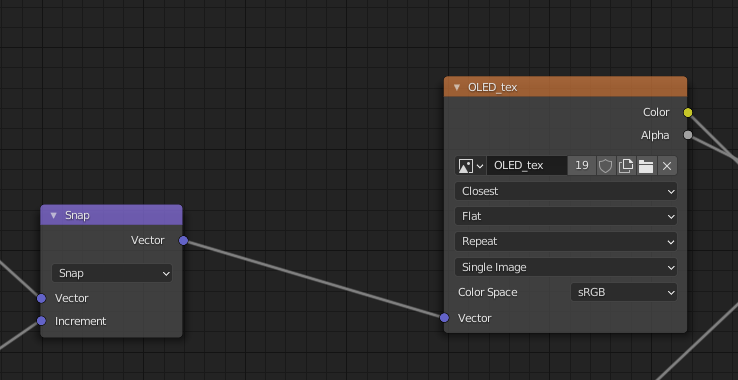
then the division value is mixed with the actual texture coordinates with a snap node
the value as an increment and the UV as vector
then the division value is mixed with the actual texture coordinates with a snap node
the value as an increment and the UV as vector
the reason why it's there, is so it corresponds with the model's UV coordinates
after all that it's sent to the texture itself where the program will read these and do its magic
after all that it's sent to the texture itself where the program will read these and do its magic
anyway this is it by now
i'm looking to add now vertex displacements to the mix so each vertex "wobbles" on its own, to give the jittery effect so many games from the era have, since they didn't process floating points or something like that lol
i'm looking to add now vertex displacements to the mix so each vertex "wobbles" on its own, to give the jittery effect so many games from the era have, since they didn't process floating points or something like that lol

 Read on Twitter