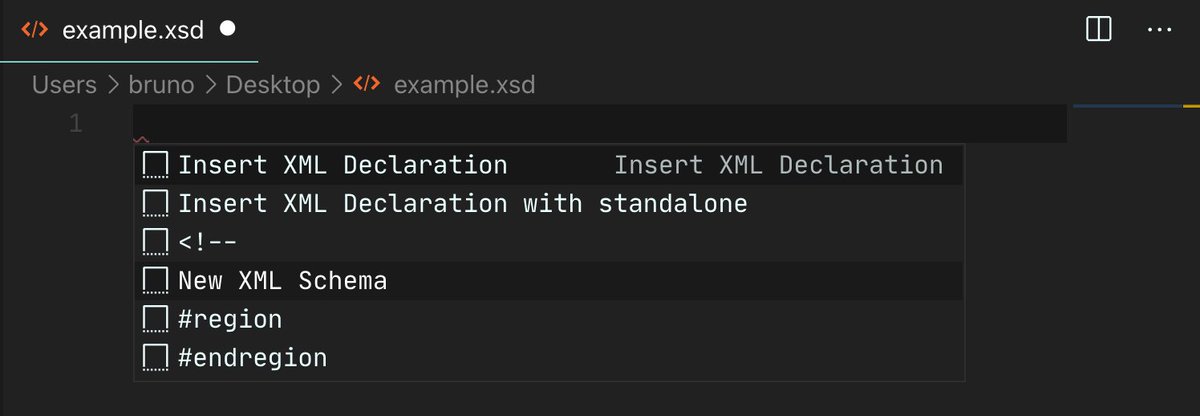
How to write a XML Schema (XSD) on Visual Studio @Code and then write an XML file.
With validation and documentation out of the box.
Using a single extension for any file you can think of.
Thread!
With validation and documentation out of the box.
Using a single extension for any file you can think of.
Thread!

Step 1: install the @RedHat extension for XML.
Step 2: create a file called "example.xsd" for your Schema. Save the file and in the editor, type Ctrl+Space and select "New XML Schema". A root element definition will be provided.
Step 3: now create a file called "example.xml" on the same folder, and save the file. Type Ctrl+Space to create a new XML document with "noNamespaceSchemaLocation".
Make sure the reference points to "example.xsd" instead of "file.xsd".
Make sure the reference points to "example.xsd" instead of "file.xsd".
Step 4: change the name of the root element in the XSD file from "root-element" to "myappdoc".
See the validation happening on the left side as you define the structure.
See the validation happening on the left side as you define the structure.
Step 5: define your document schema, and forget about having to write a custom/unique VS Code plugin to validate your custom document structure.
Also, no need to maintain a plugin just for that.
Also, the XSD becomes the documentation itself of your format.
Also, no need to maintain a plugin just for that.
Also, the XSD becomes the documentation itself of your format.
Step 6: define a complex type and enjoy decades of tooling support for XML and XSD out of the box for you.
For more information on how to write XML Schemas, you can start with the w3schools tutorial.
https://www.w3schools.com/xml/schema_intro.asp
https://www.w3schools.com/xml/schema_intro.asp

 Read on Twitter


