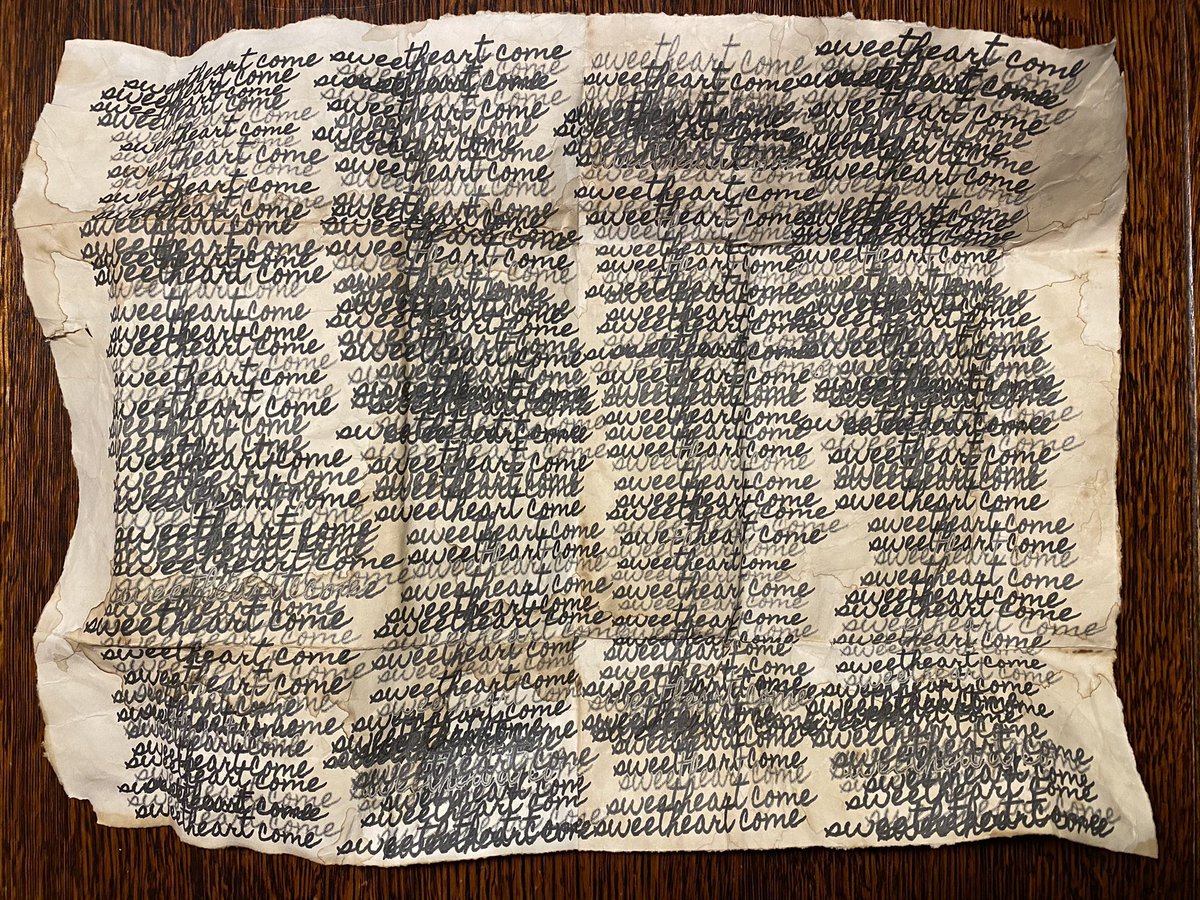
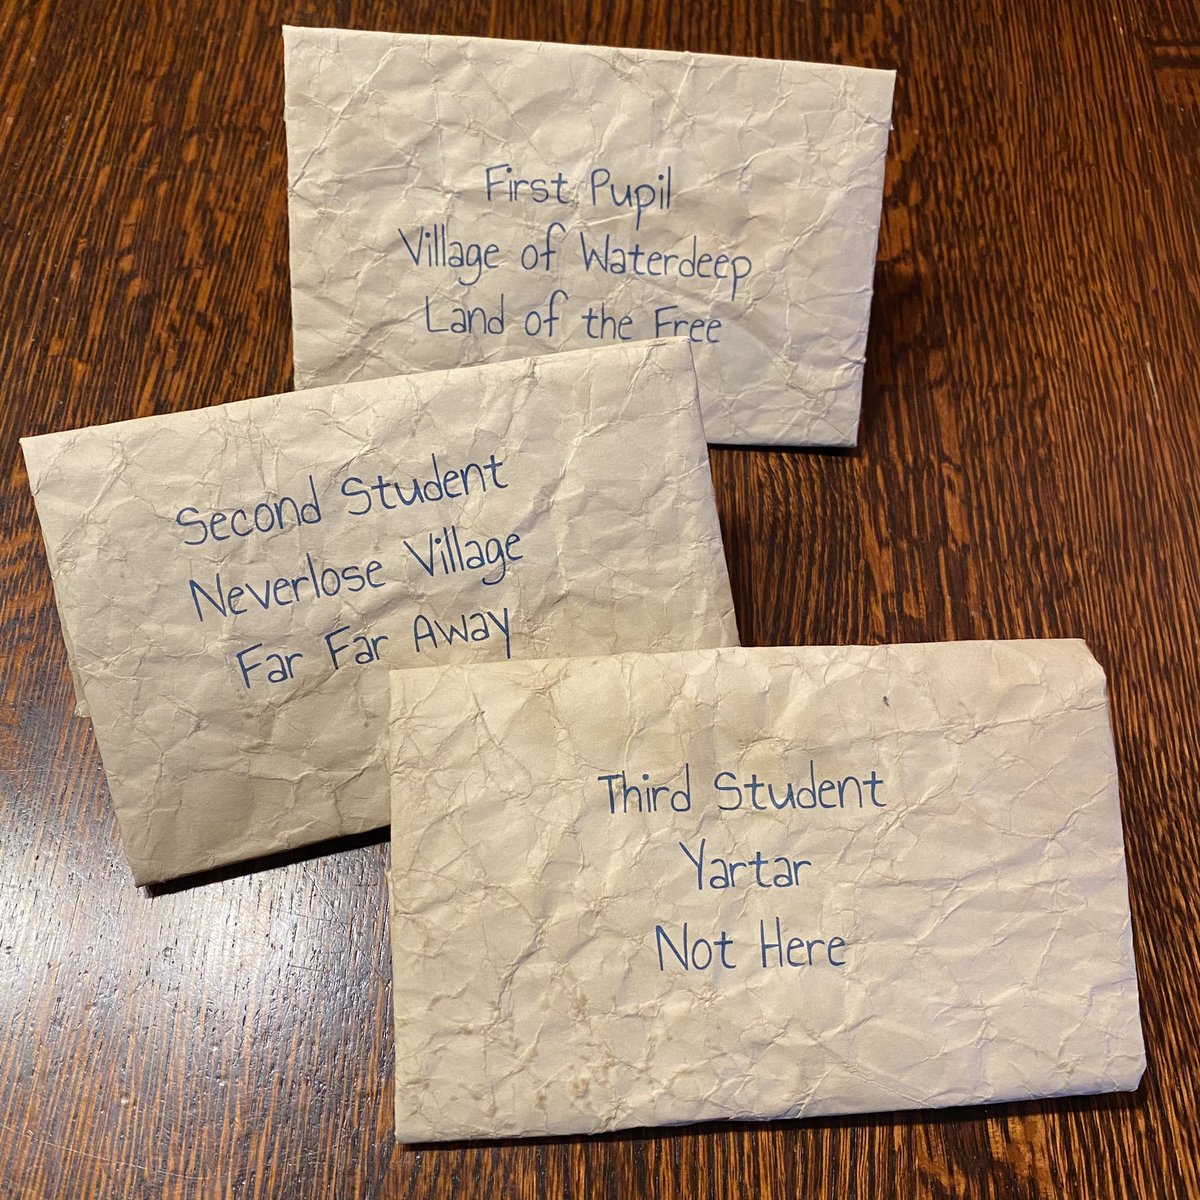
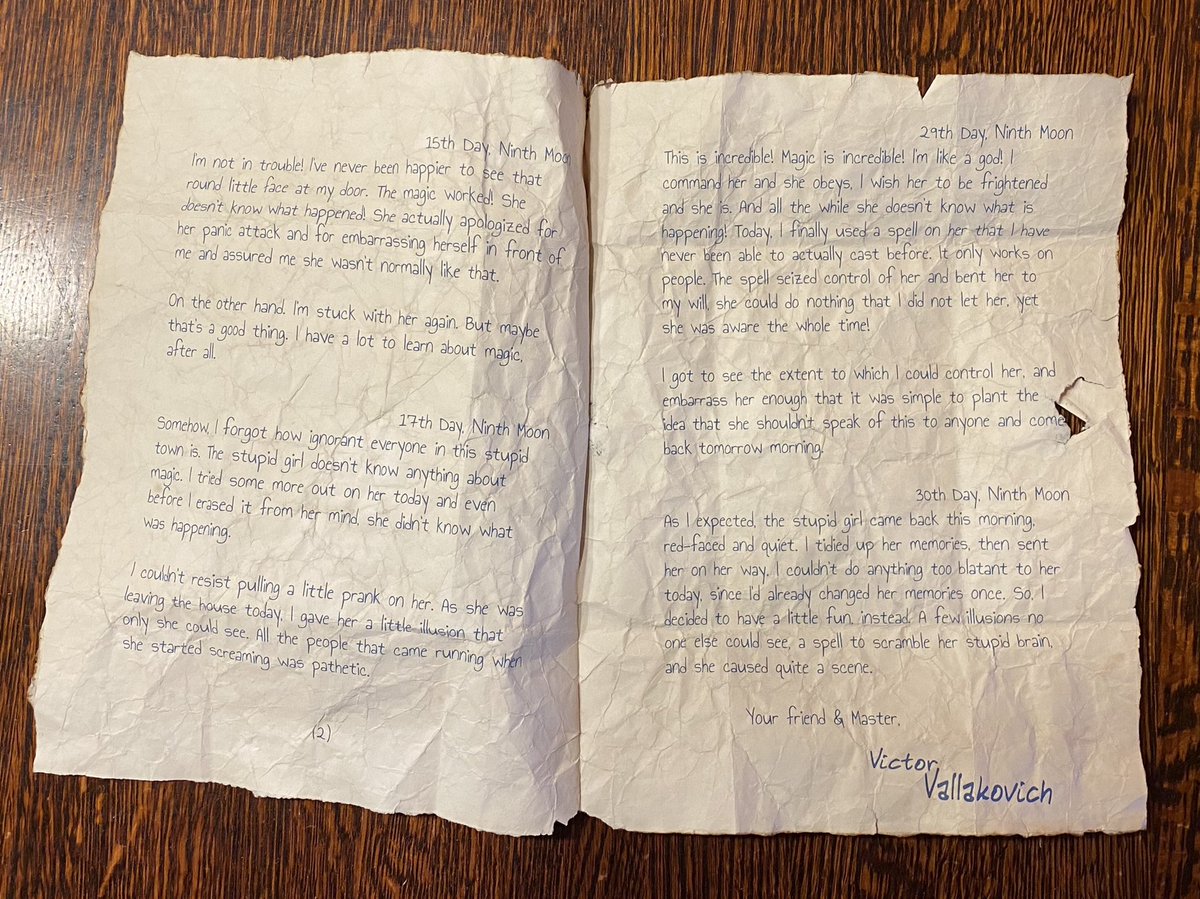
1/ Several folks have asked me to give more details about how I make my paper #dungeonsanddragons props. So I give you a thread on making a #dnd prop that I used in my #curseofstrahd game last weekend
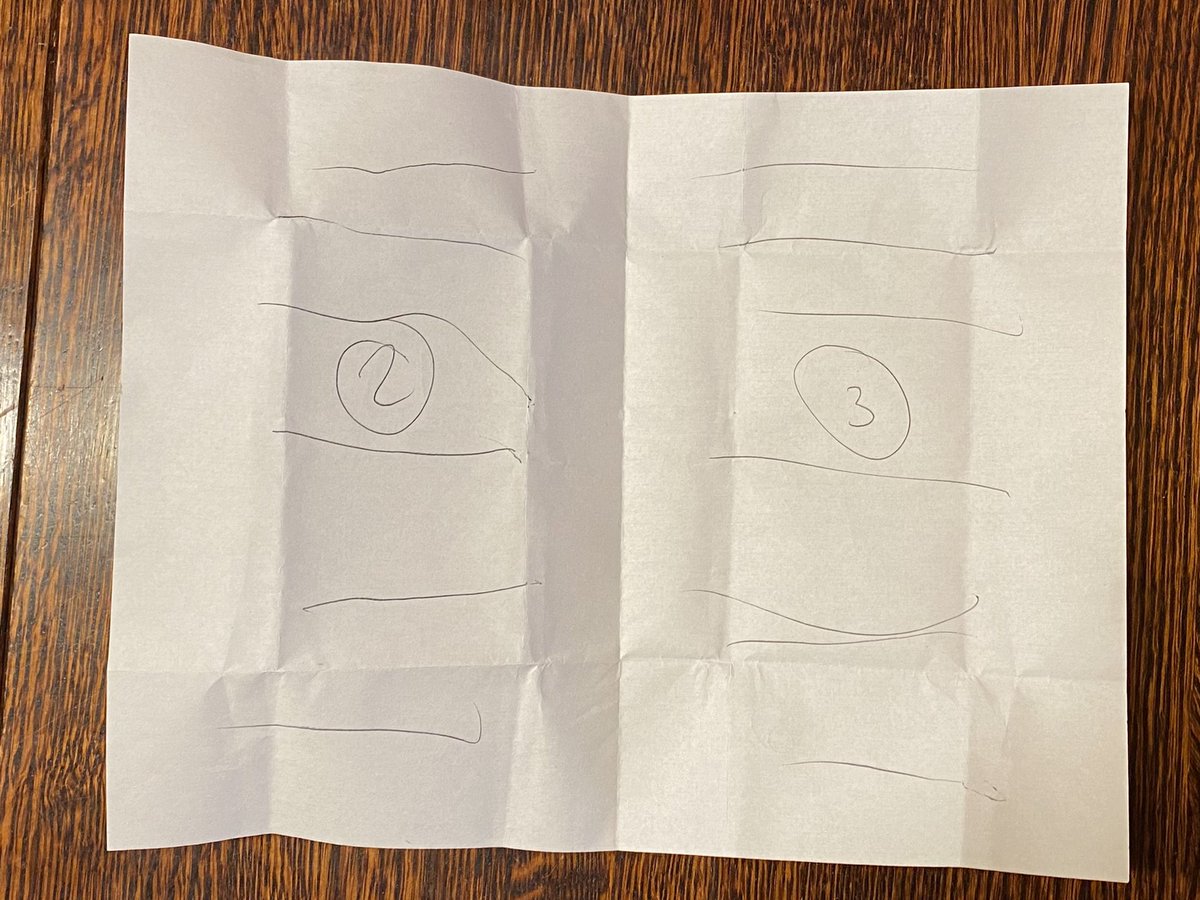
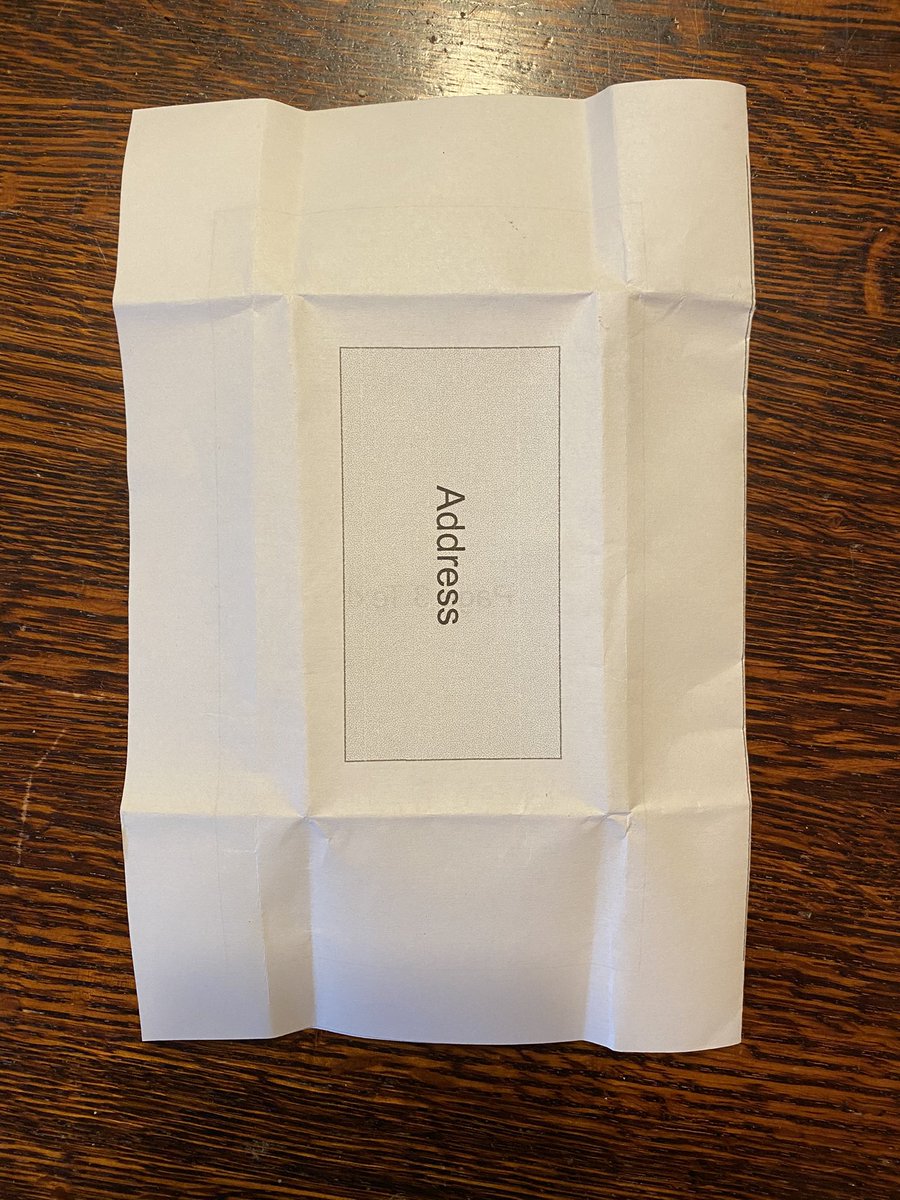
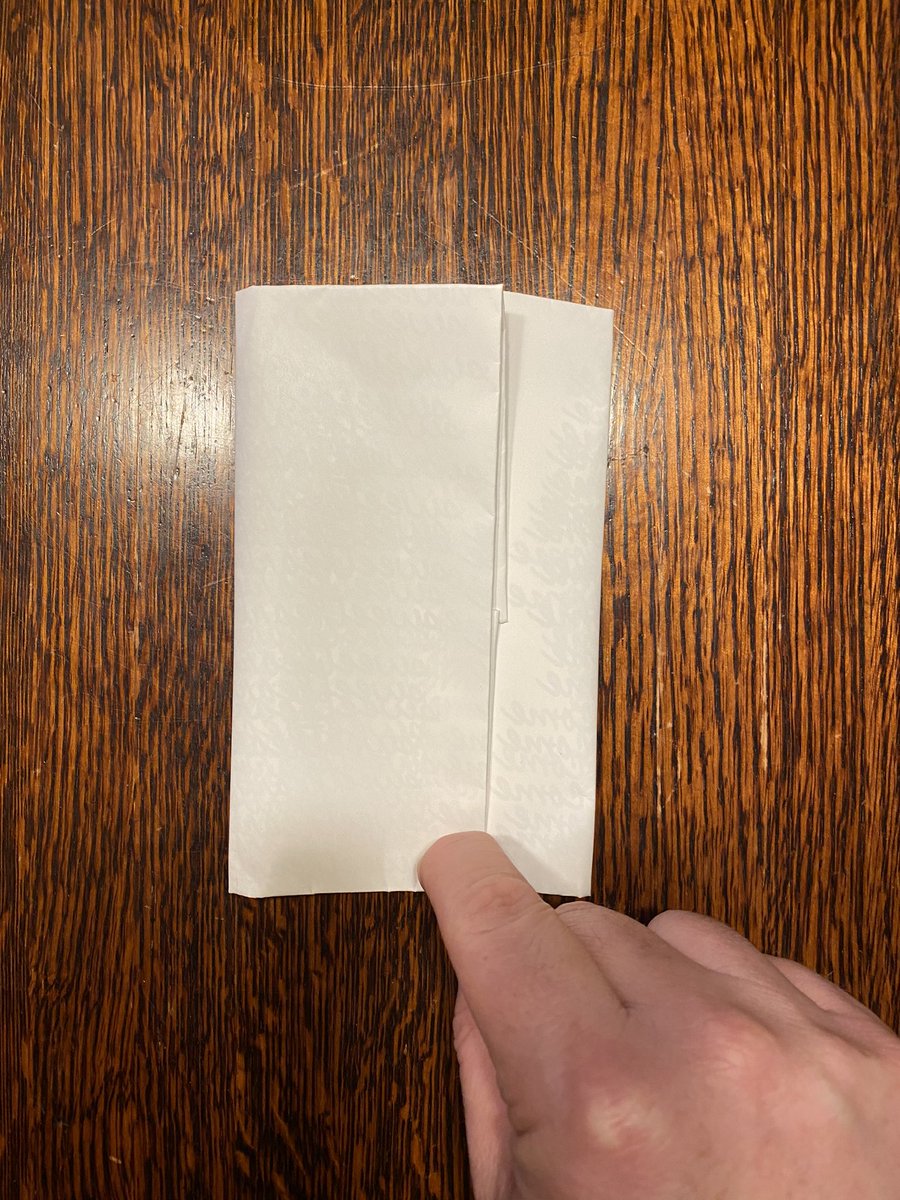
2/ My inspiration for this prop was the letters from the show #GentlemanJack (fantastic btw!). These letters were folded in a cool way that I wanted to see if I could use it. Unfortunately the letters were only briefly on screen, so I first had to figure out the fold
3/ After I had the folds figured out, I laid out a version, so I would know the placement of text. This is done on standard 8.5x11 printer paper
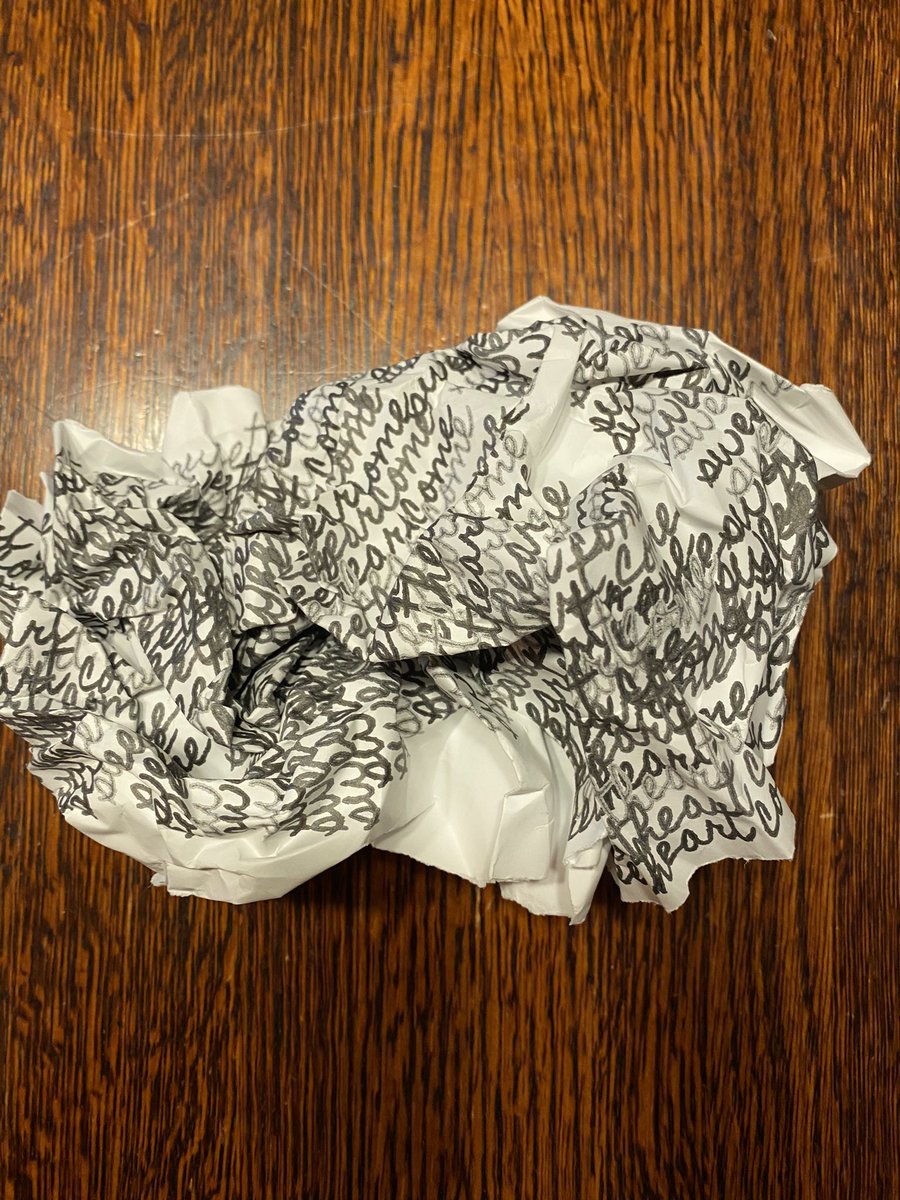
4/ The text of the letter was inspired by the a story of a young woman who was committed to the psychiatric hospital in Germany in the early 1900s. She wrote this letters to her husband repeating the phrase, Sweetheart Come, over and over again. https://medium.com/@jhorsager/sweetheart-come-the-unrequited-love-letters-of-emma-hauck-a0c9504171e4
5/ after I designed the letter, I tried printing it out on normal 8.5x11 paper, but once it was folded it was quite small and not the look that I wanted
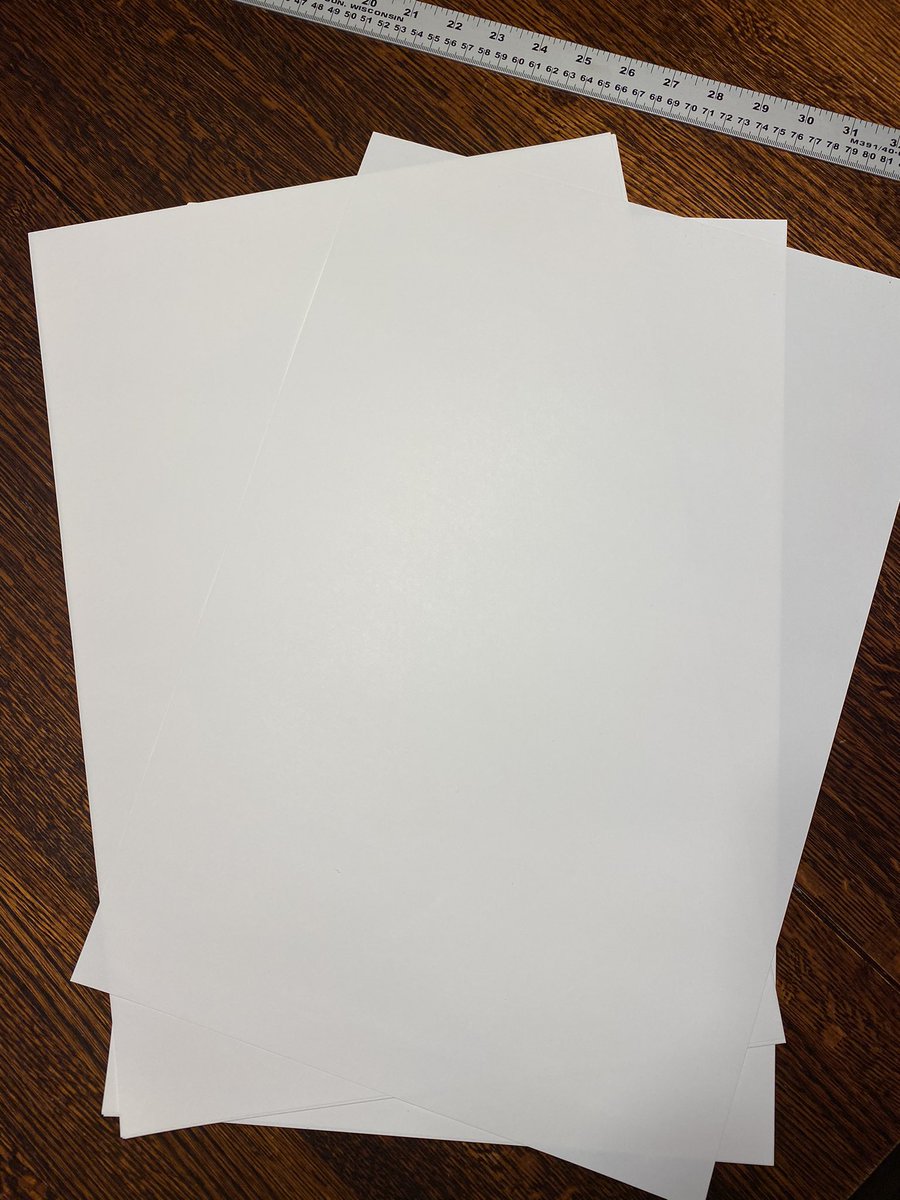
6/ So I used 13x19 plain copy paper. I like that this paper is cheap and so I don’t have to get stressed about messing up when using it. However, it is also relatively thin and so it can rip easily. However, then I tested a letter using this paper, the final size worked well.
7/ after I printed the 13x19 sheet (double sided), I then used a steel ruler to trim the page. What I like about this step is that it creates uneven edges that are also not perfectly square. As a bonus, when staining the torn edge absorb more coffee, providing a darker border
8/ after the page is trimmed to size, I folded it down. First I folded in half, then I folded the bottom and top roughly to the middle. Finally I folded the left and right sides into the middle.
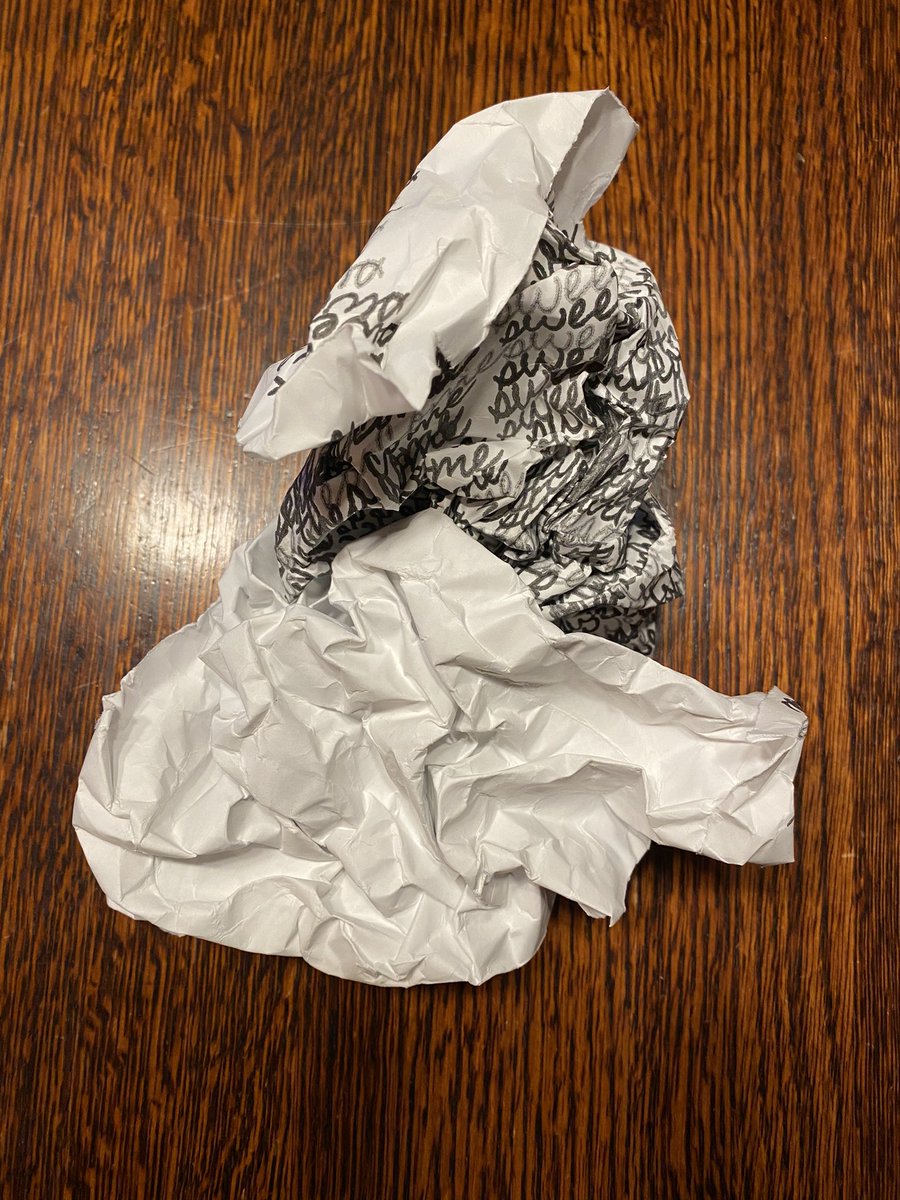
9/ Next step was to crumple it up a bunch. The downside of this paper is that it has a very smooth finish/texture and so I like to crumple it up a bunch to break that texture down.
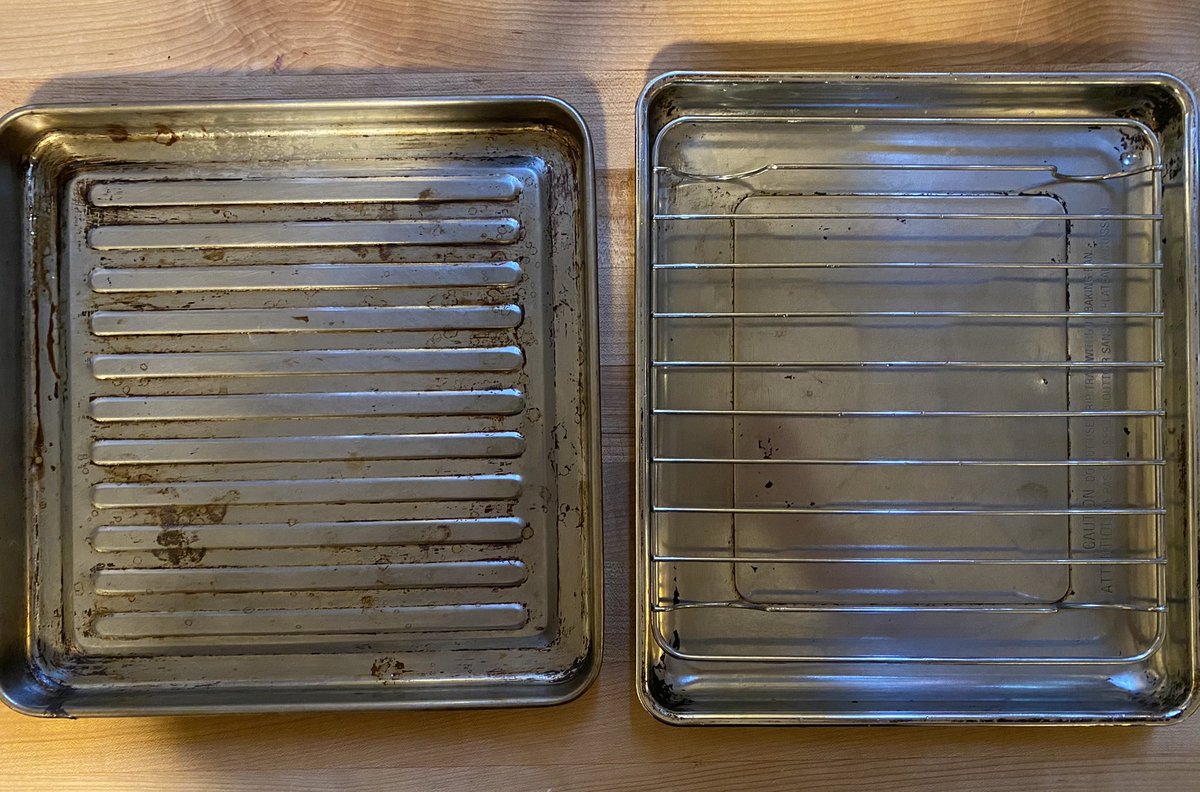
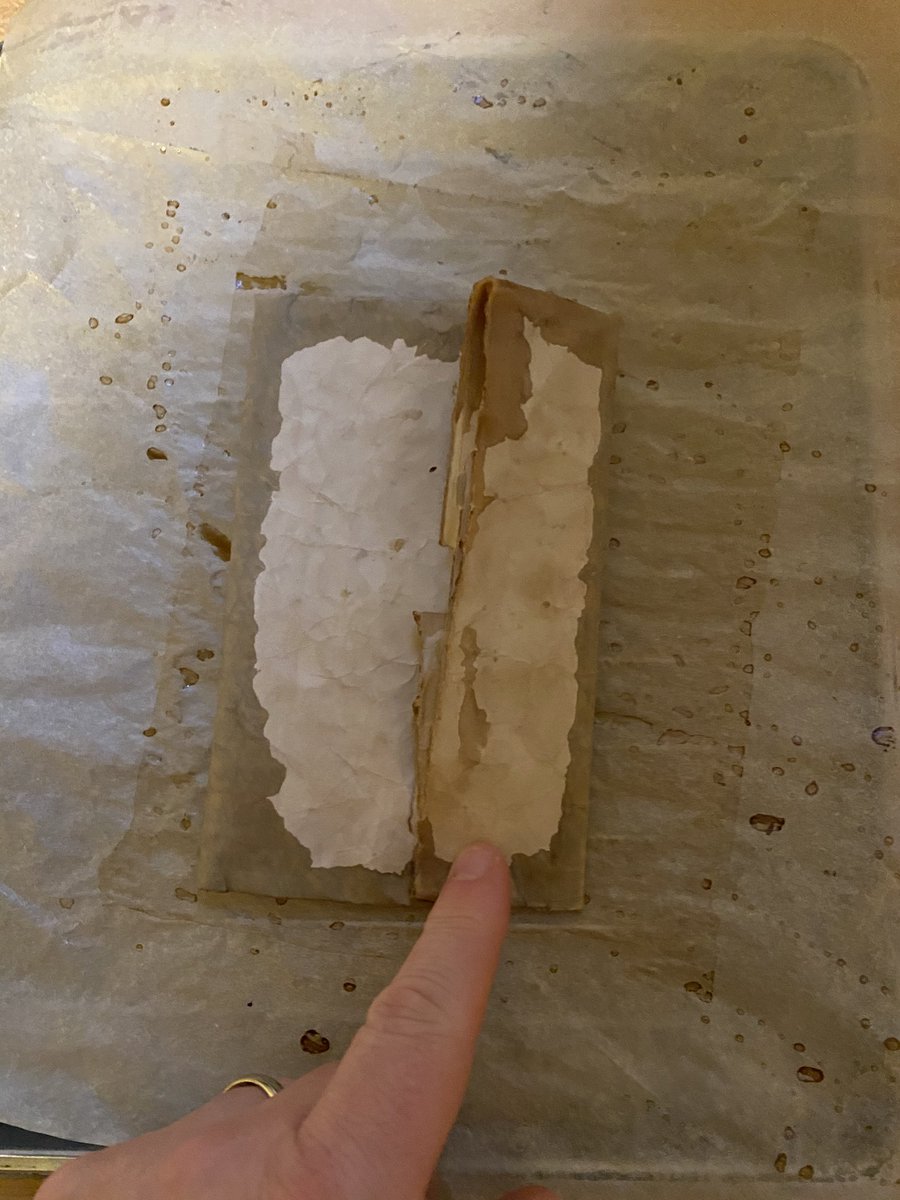
10/ To dry the paper, I use our small toaster oven on 250. And I use two metal trays: one in the sink for soaking in coffee, the other to dry the prop in the oven. The best way is to use a rack with baking parchment. The parchment keeps the prop from getting lines from the rack
11/ To stain my paper props, I love using decaf instant coffee (cheapest I can find). I make a very concentrated mixture. It is also nice to use a container with a lid, so I can reuse the stain for a few days. My advice: use decaf coffee b/c caffeine is absorbed thru your skin
12/ first I soak the prop briefly in some plain water in our sink. Then take the paper out, dump out the water, fill the tray with the decaf coffee mixture, and into this lovey bath goes the damp paper
13/ then the paper prop goes onto the tray for drying and into the toaster oven. Then I pour the left over coffee stain into my container
14/ then I wait until it dries. It can take 20-30 minutes, but I often check it and sometimes flip it over
15/ after it was dry, I wanted more color on the edges, so back into the stain it went. Well actually I only dipped the edges into the decaf coffee mixture
19/ Wow! That was a long thread. I hadn’t actually realized how many steps I follow until I started documenting them all. So at the very least, I found this educational myself. Hopefully it was was helpful for everyone else! Here are some more #dnd props using the same techniques
20/ oh, I forgot to add that if anyone wants to use this, here is the file that I made. Feel free to make a copy and use it in your games.
https://docs.google.com/presentation/d/1GF-720Js1QRFzgt0ca722UwgZBMwl-Rg9r1jcfgPVy4/edit
https://docs.google.com/presentation/d/1GF-720Js1QRFzgt0ca722UwgZBMwl-Rg9r1jcfgPVy4/edit

 Read on Twitter

