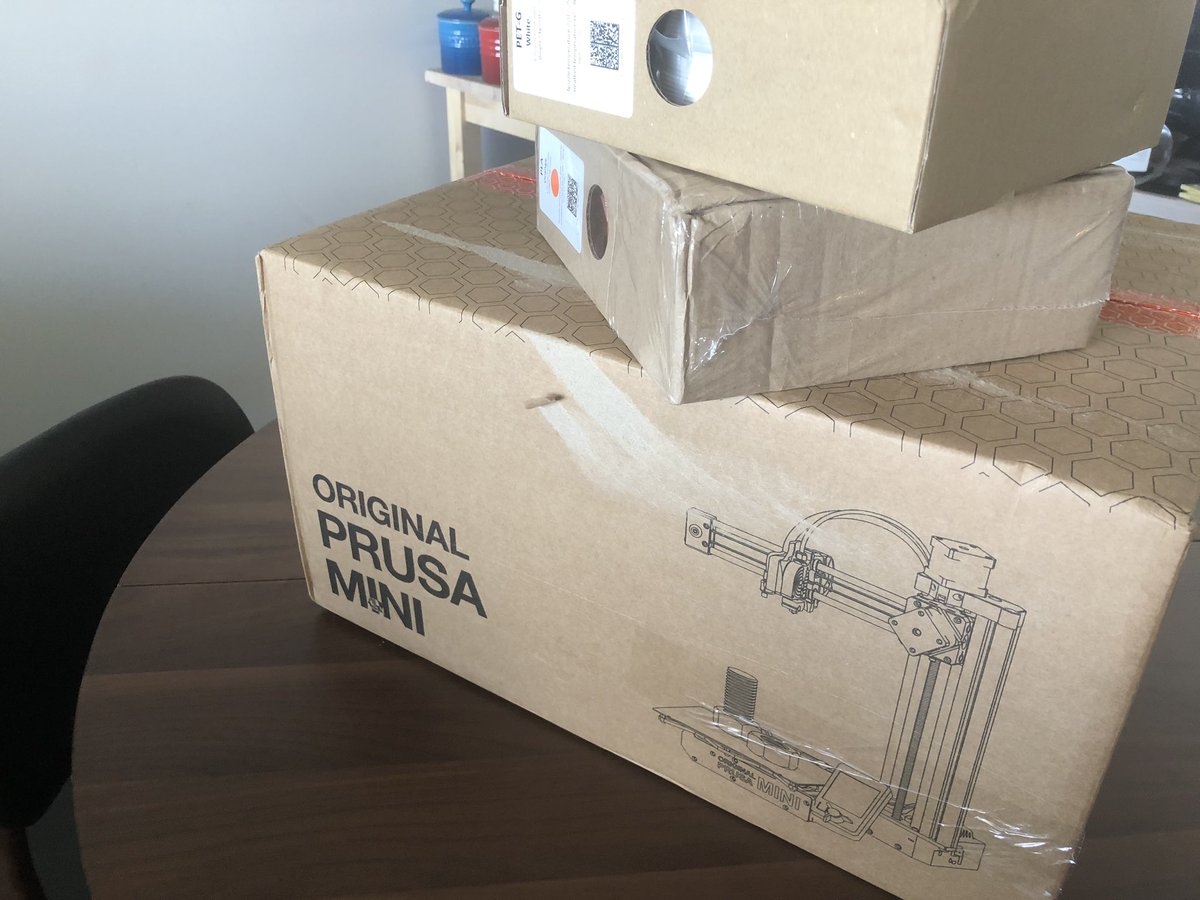
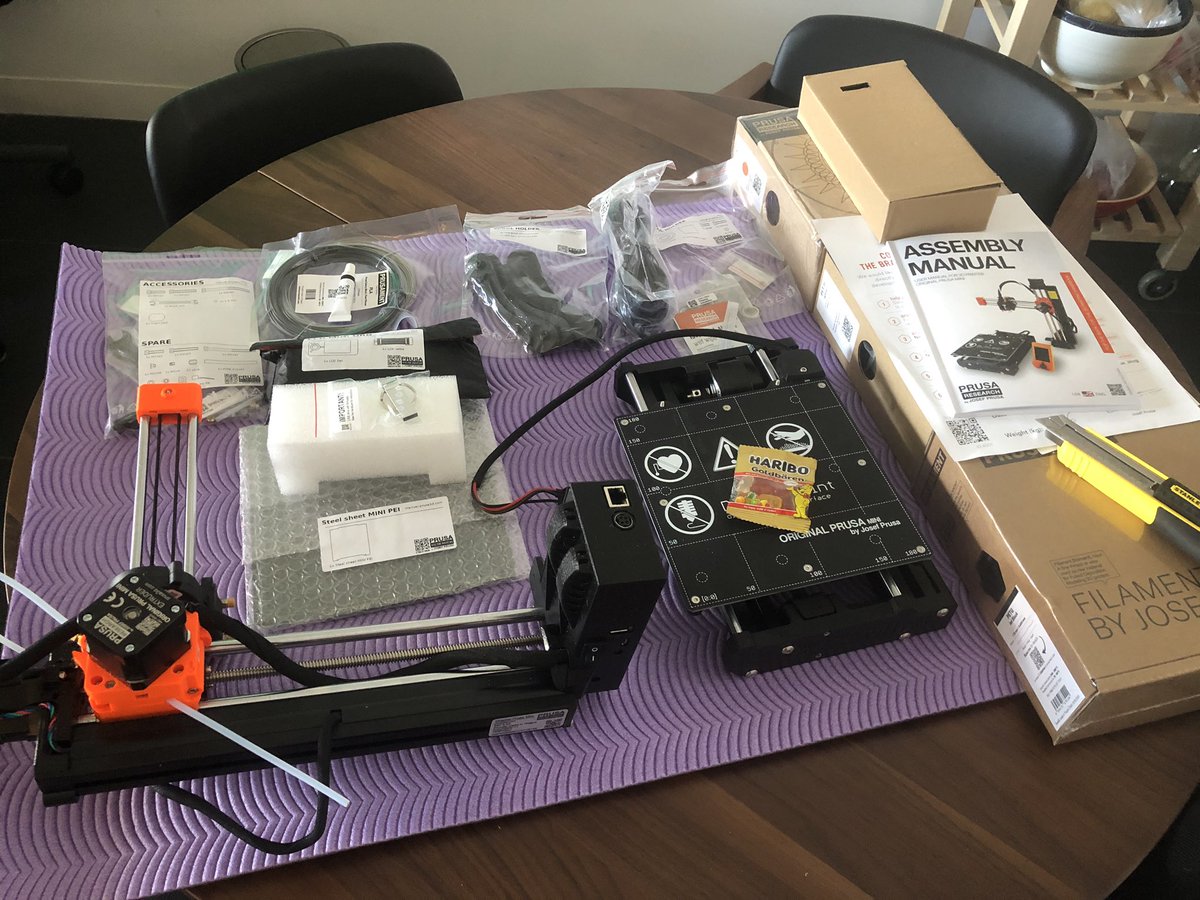
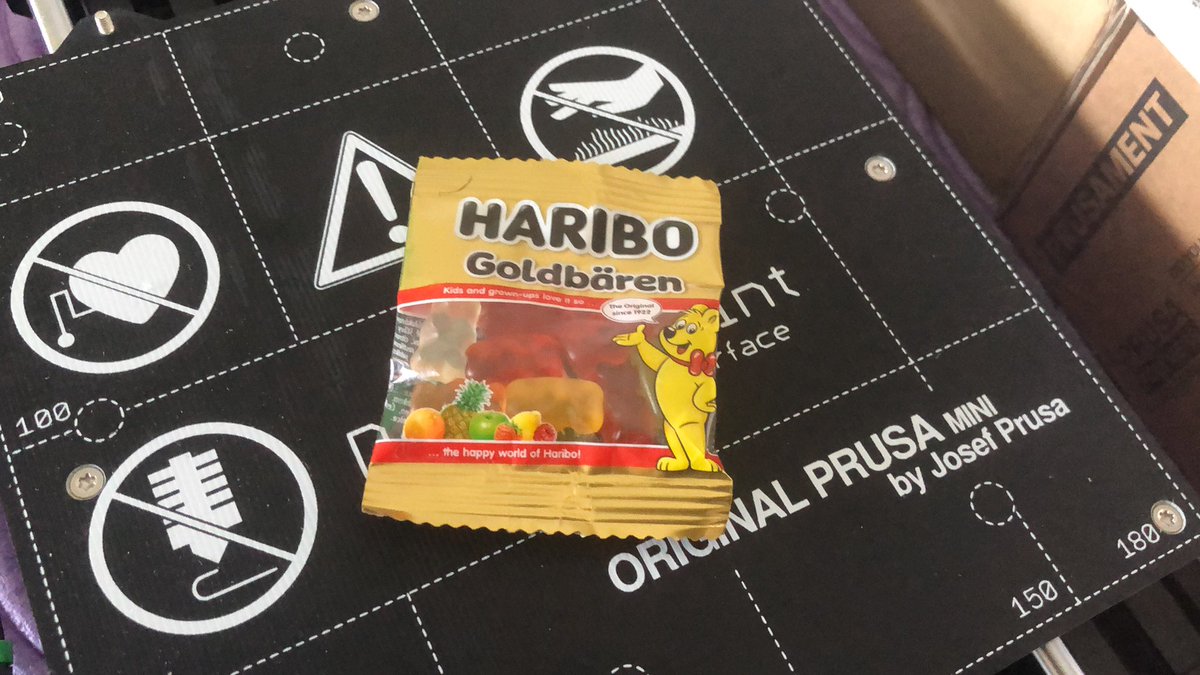
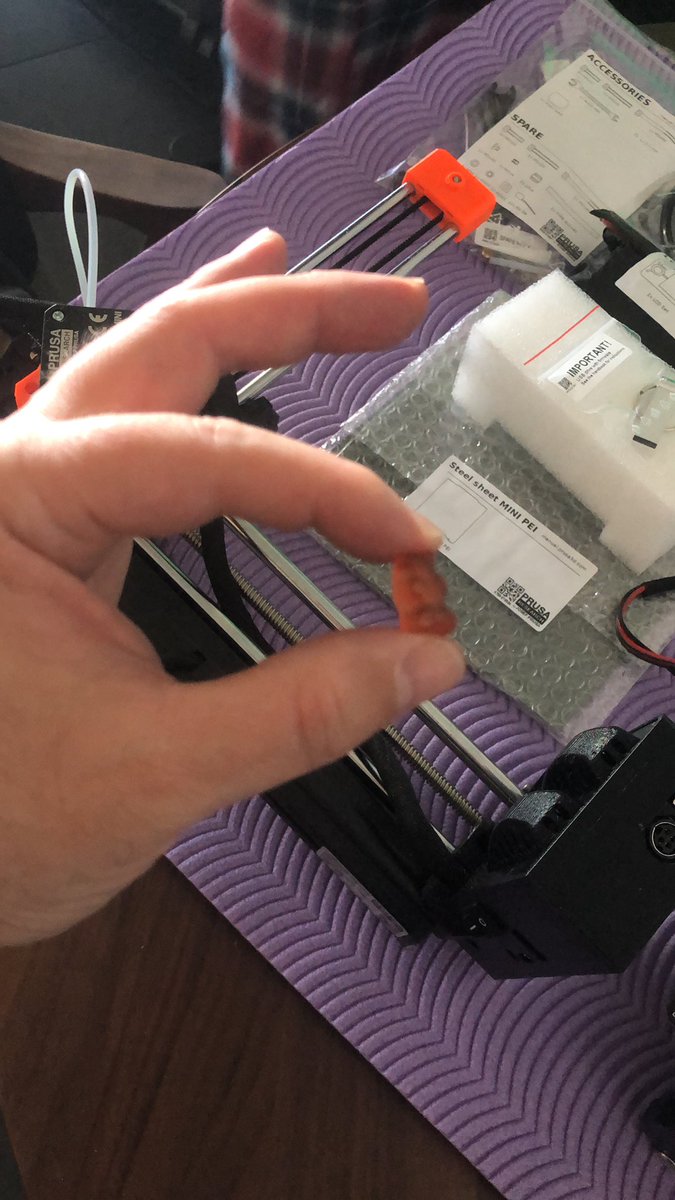
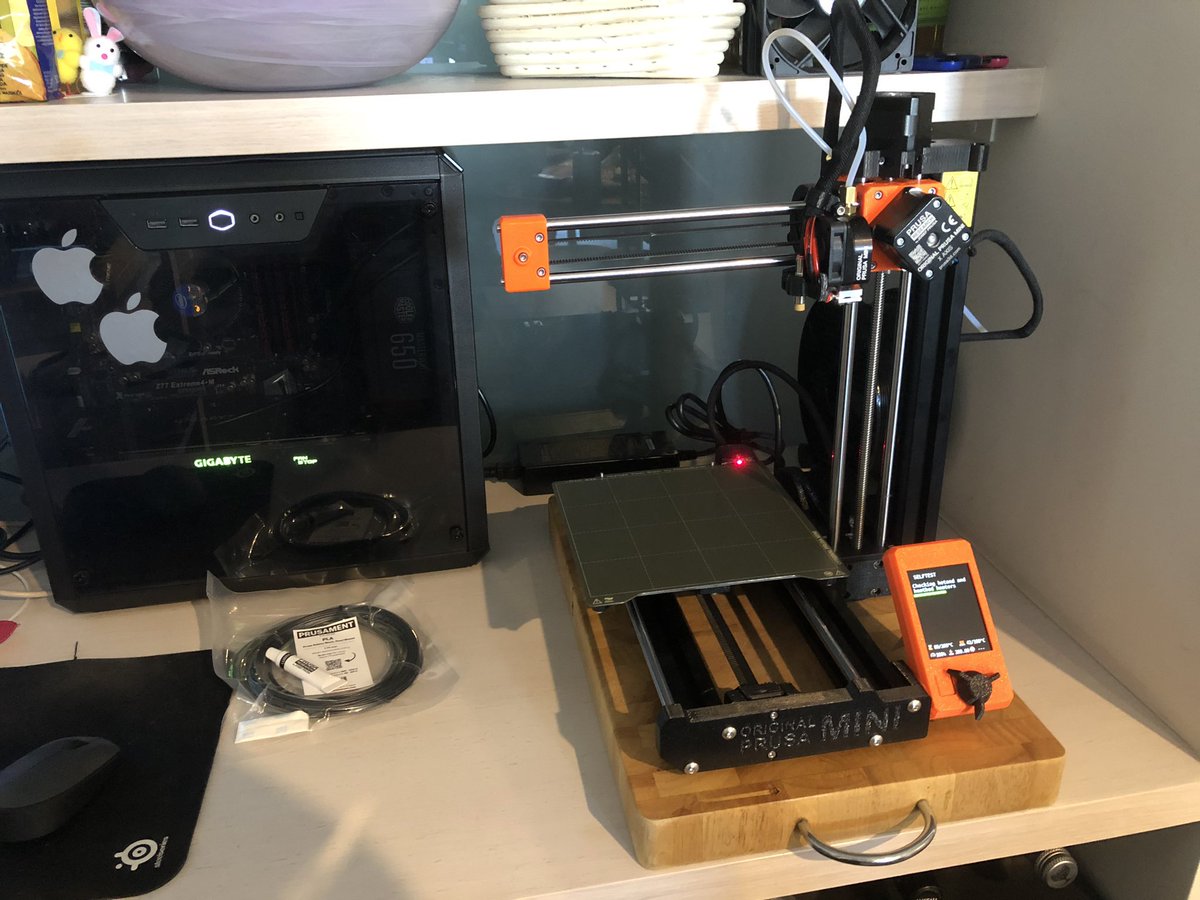
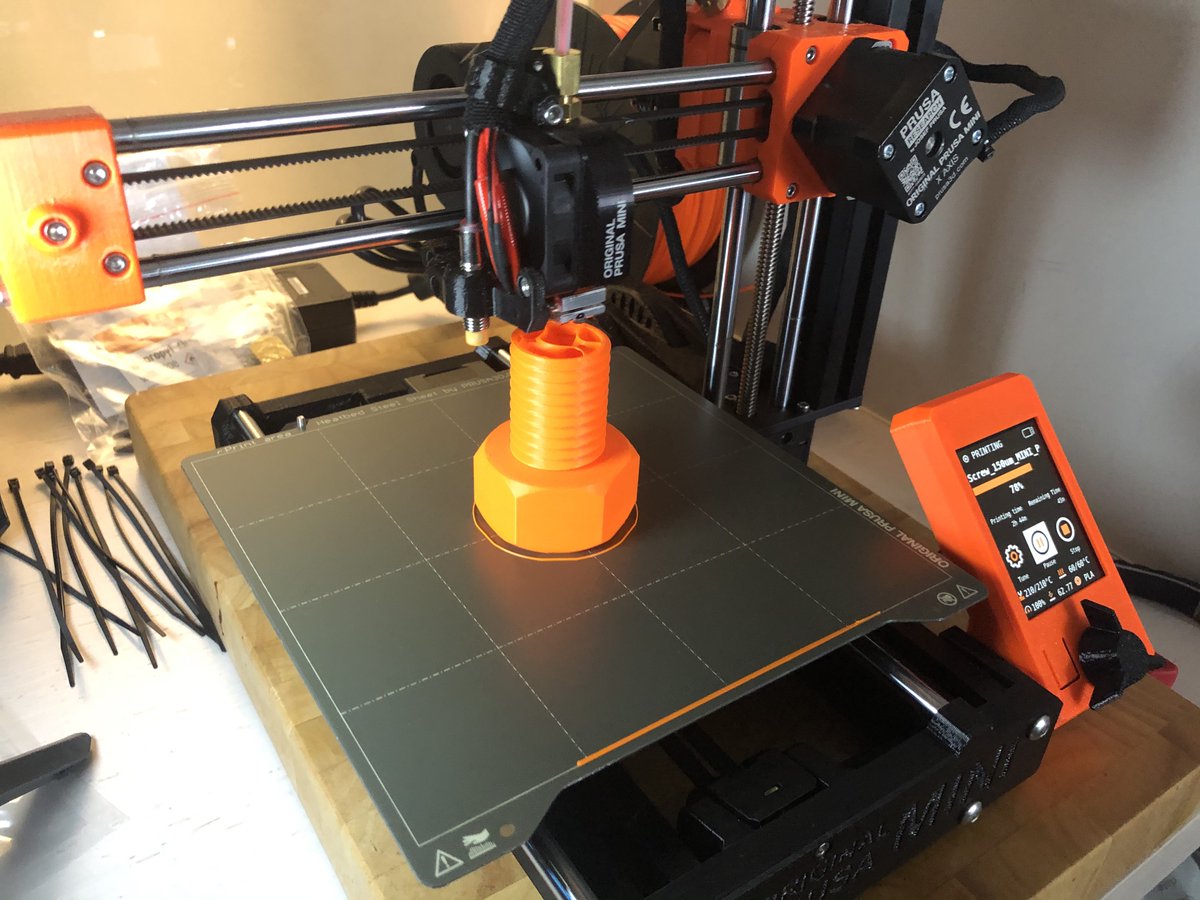
i did not follow the manual. I ate my gummies first. Oops.. Printer ruined.
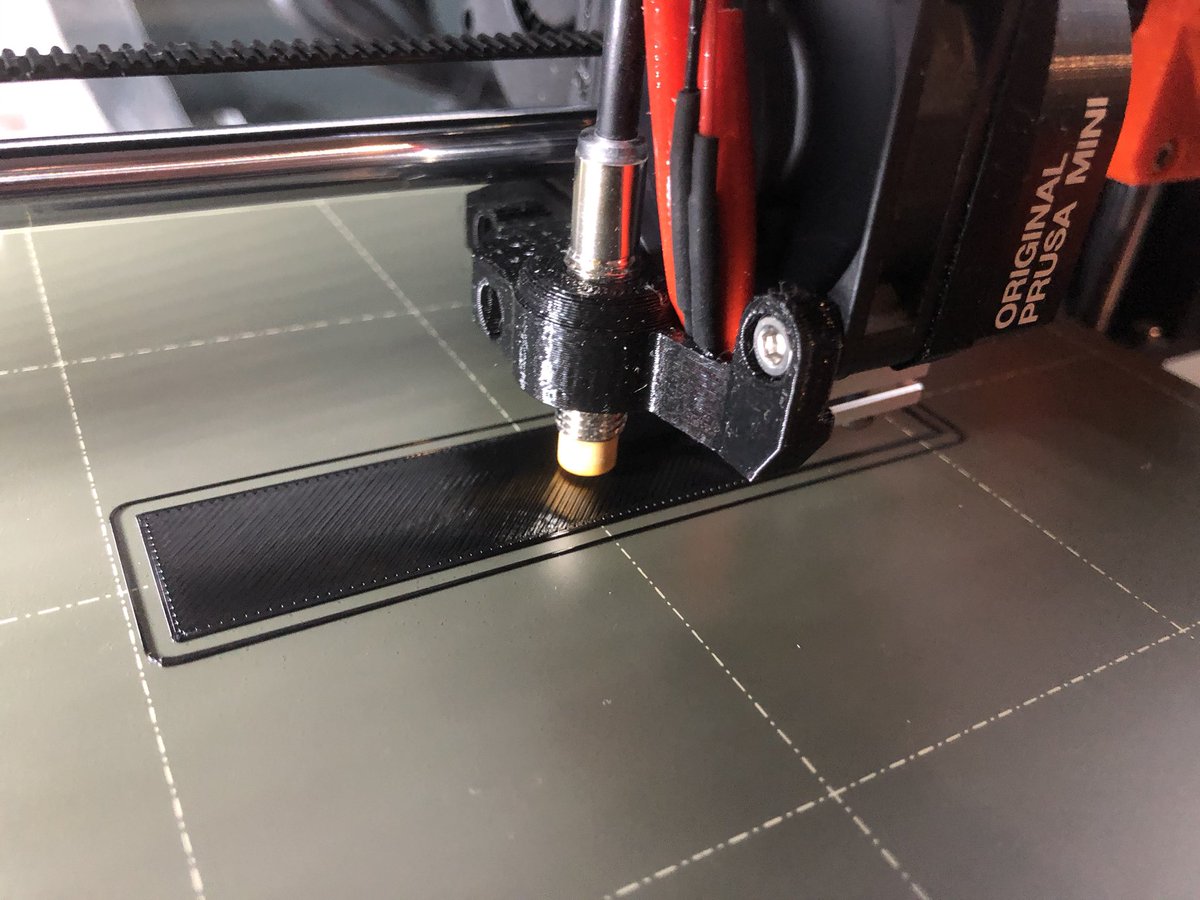
After roughly 8000 first layer calibrations where I was adjusting the head down by like 0.005 at a time until I got online and people are like go in 0.1 increments! I am now getting much closer to a decent calibration :)
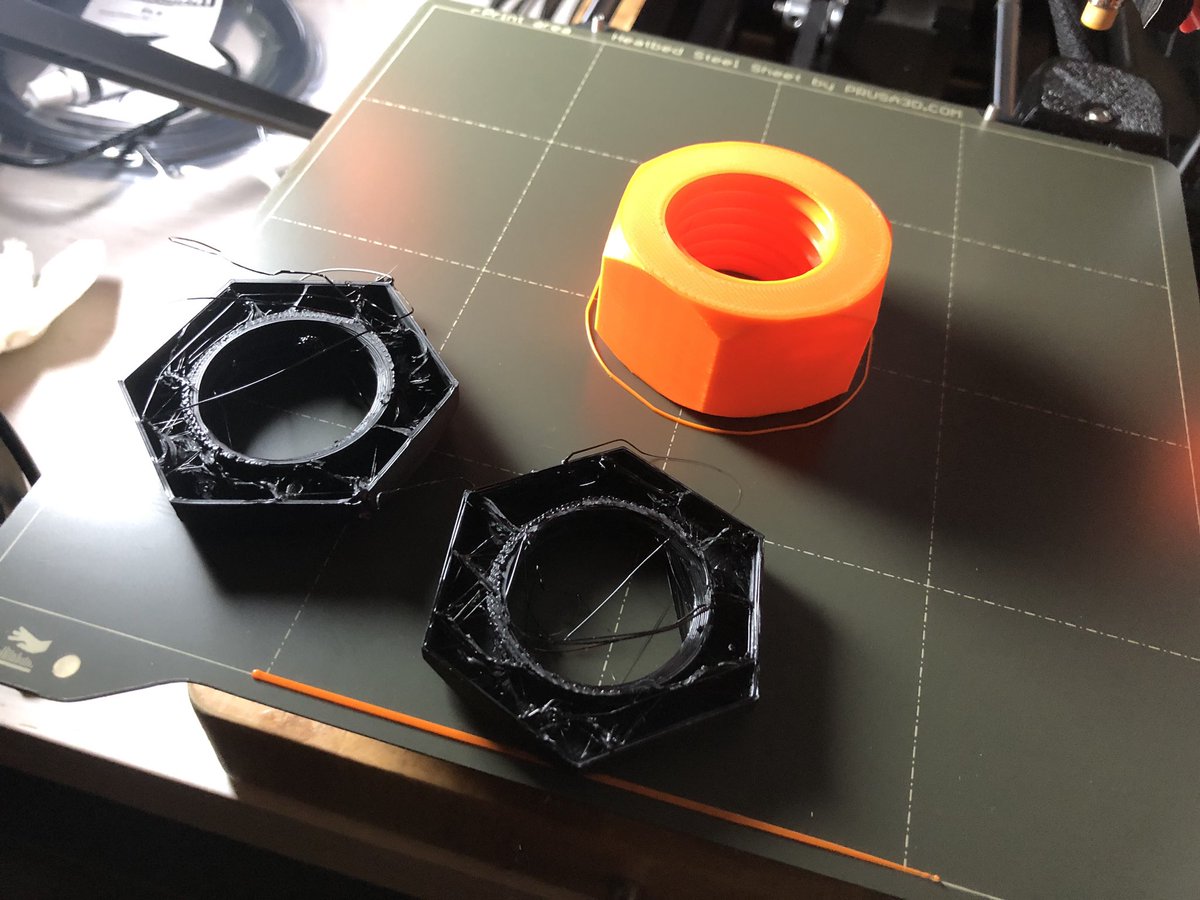
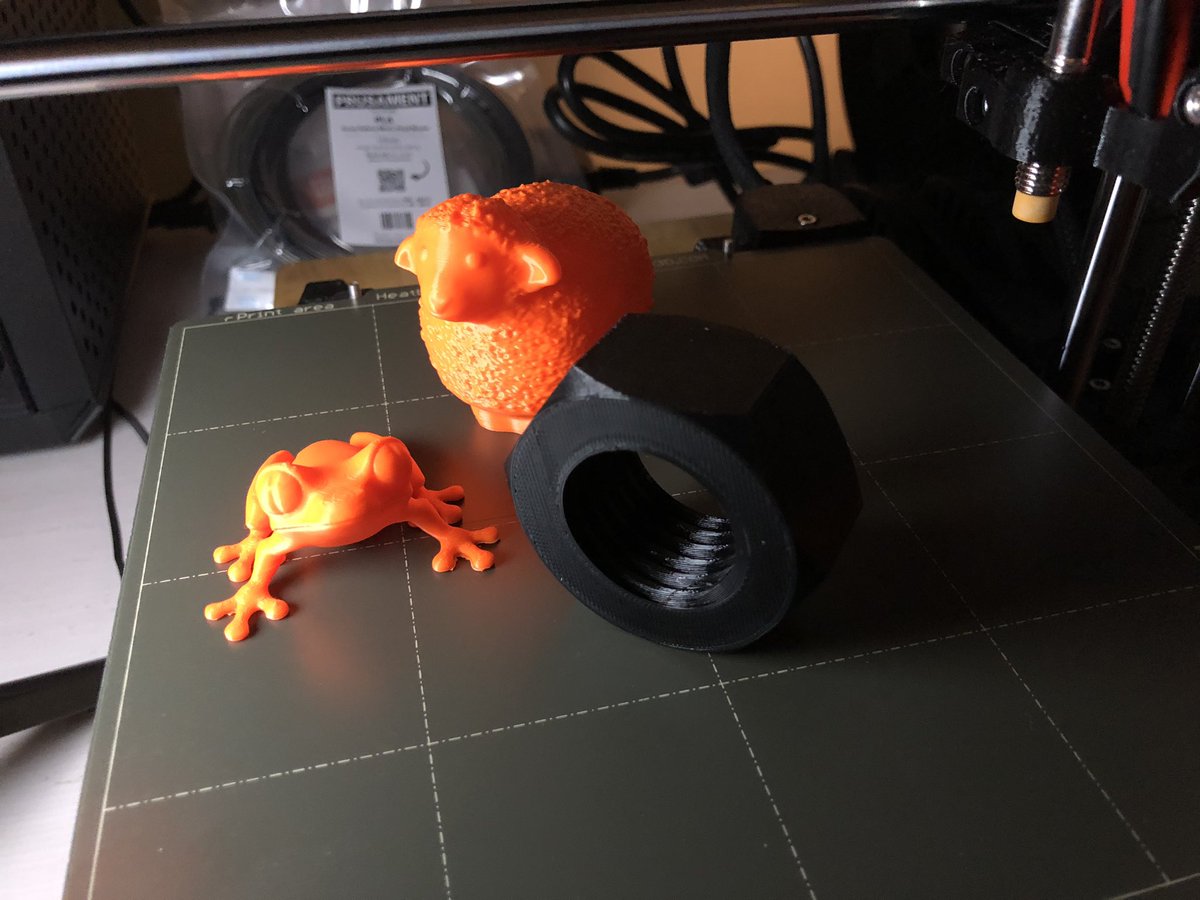
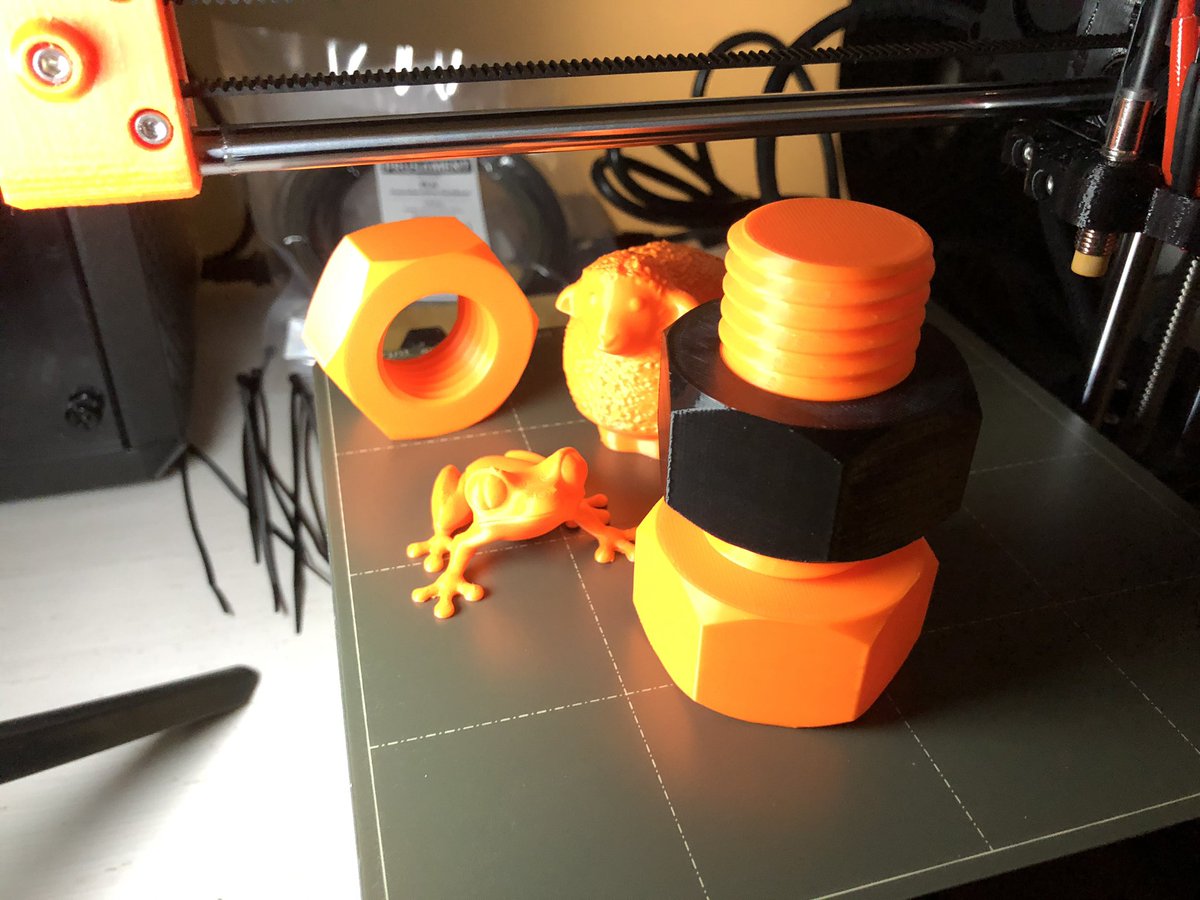
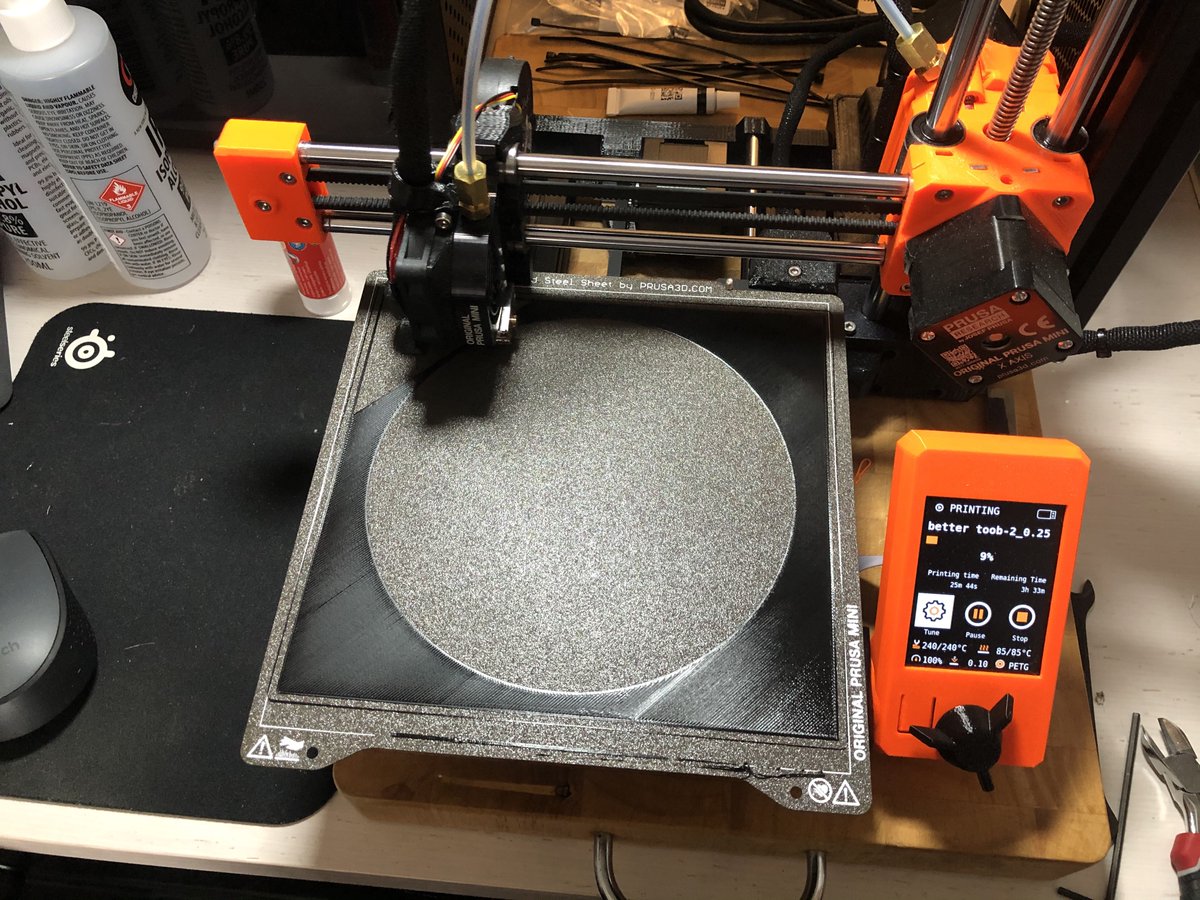
First lesson of 3D printing club is that PETG (black) is much much harder to print than PLA (orange) You should definitely start with PLA if you are me.
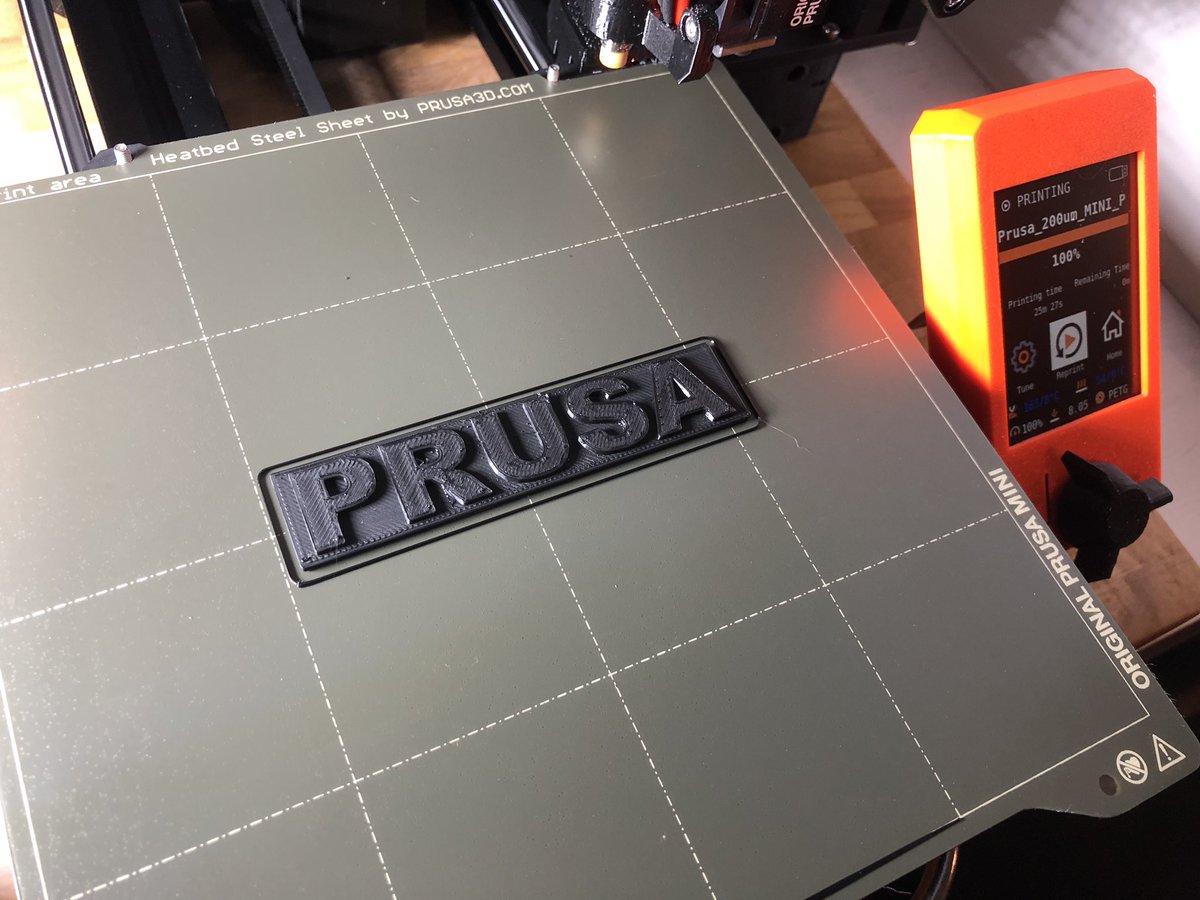
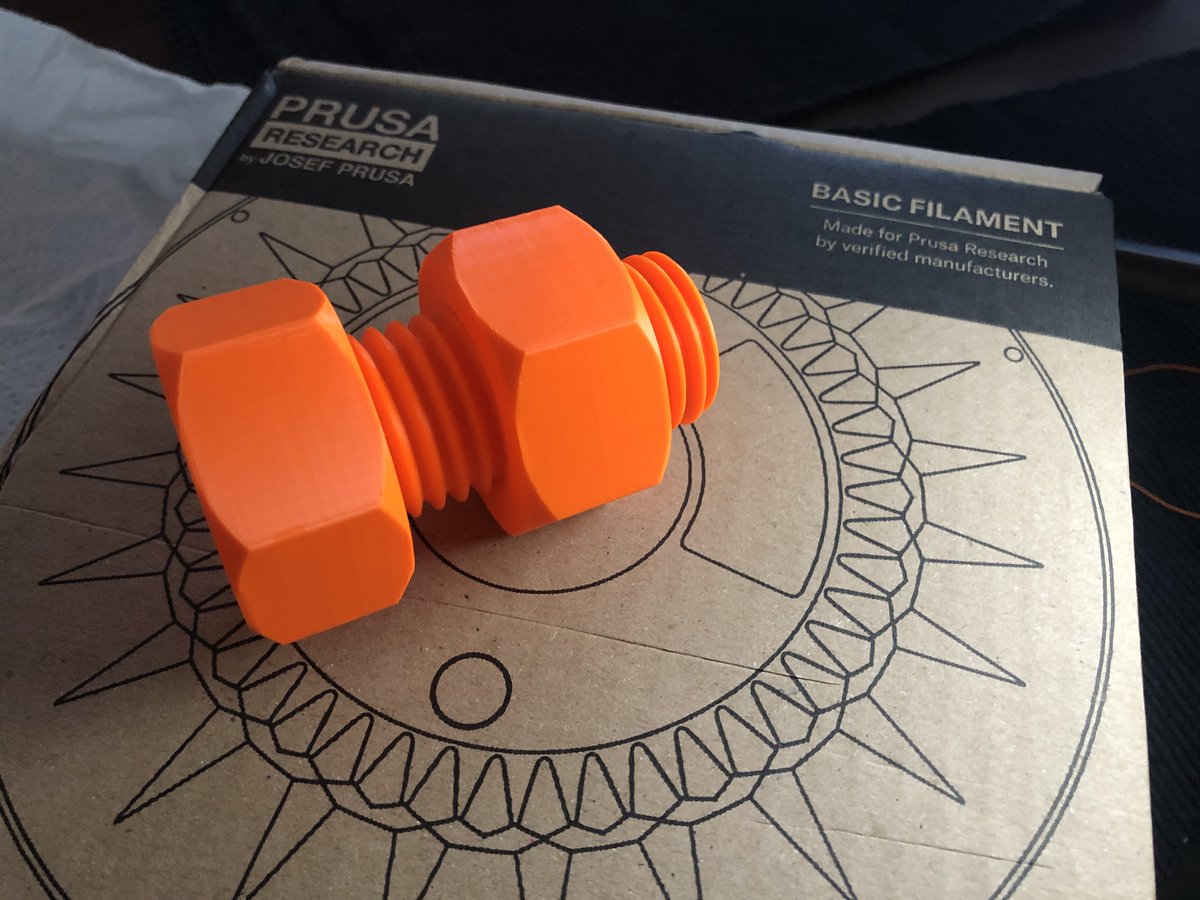
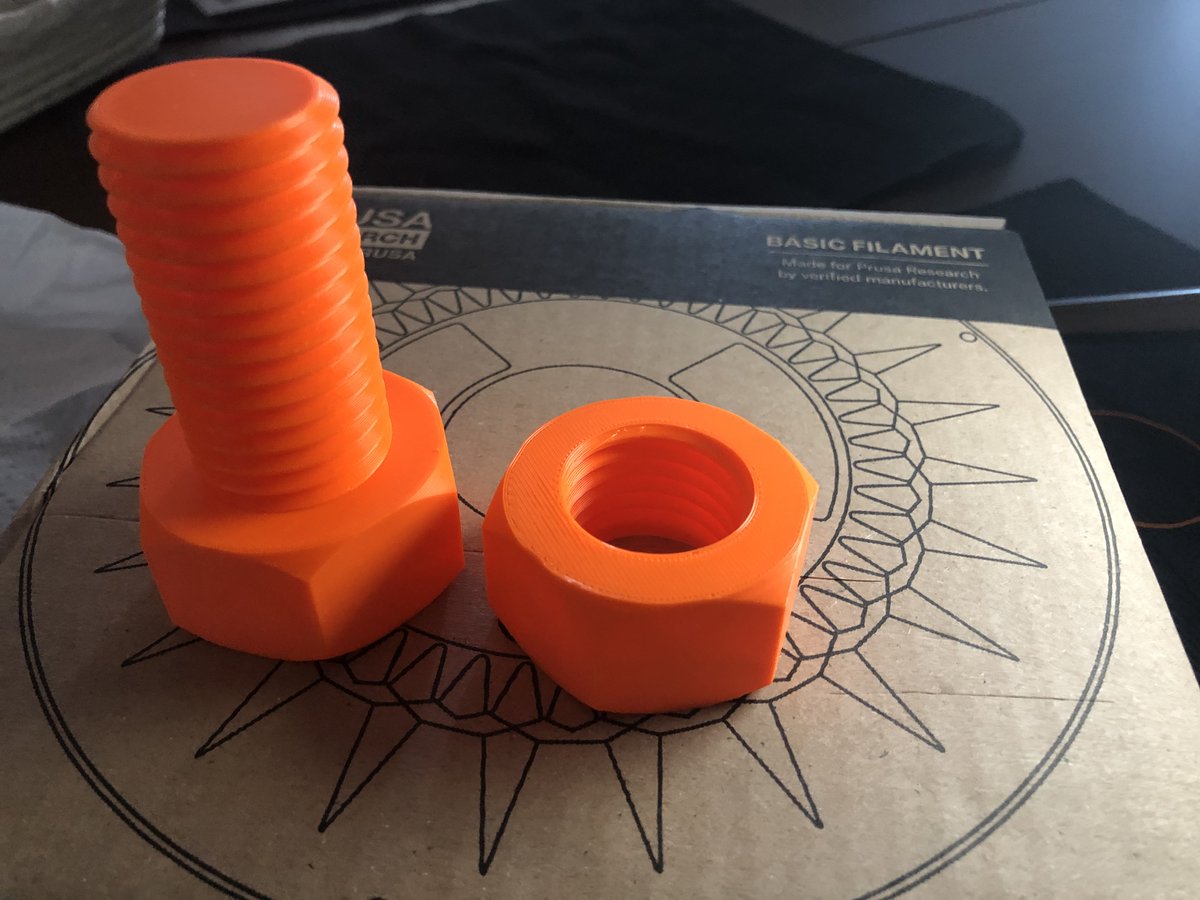
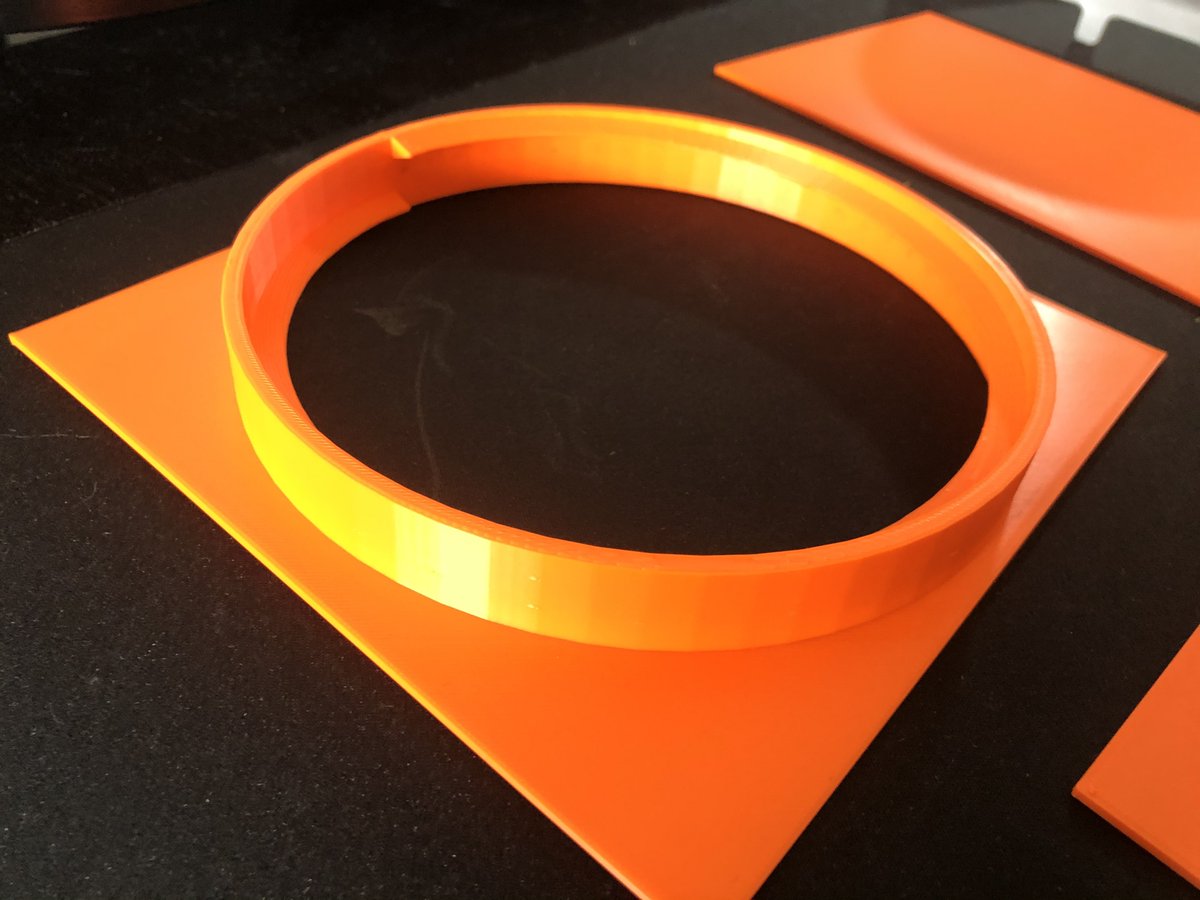
All done! Like sorta redonkulous quality, at least relative to my expectations 
Probably wont have time to try reslicing this for PETG today, but sooooon. And then once I figure out how to PETG without it being garbage, I can start to print _things_!

Probably wont have time to try reslicing this for PETG today, but sooooon. And then once I figure out how to PETG without it being garbage, I can start to print _things_!
So! Resliced the nut model for PETG and it printed great! So all PETG all the time now! It also fits the PLA screw really well. (I also printed a frog and a sheep because fuck it, why not?)
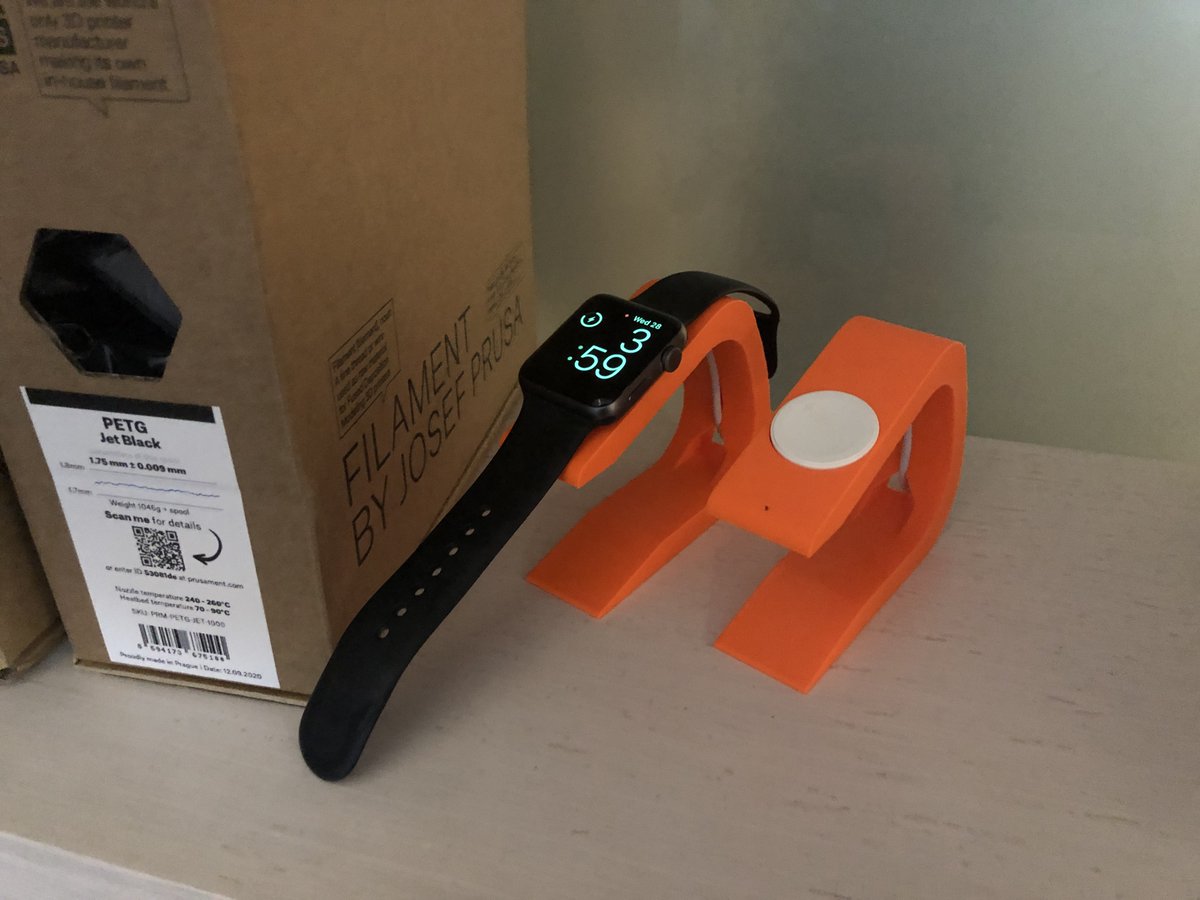
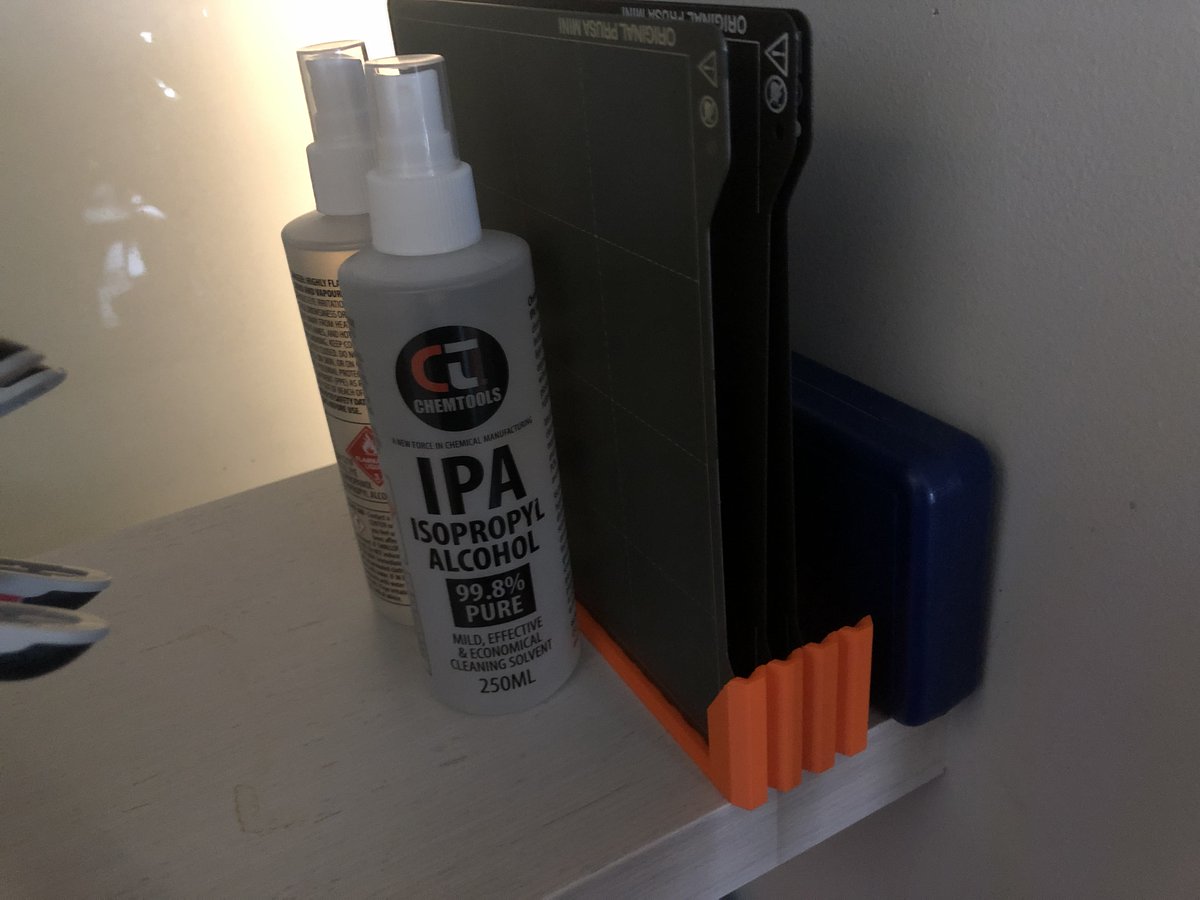
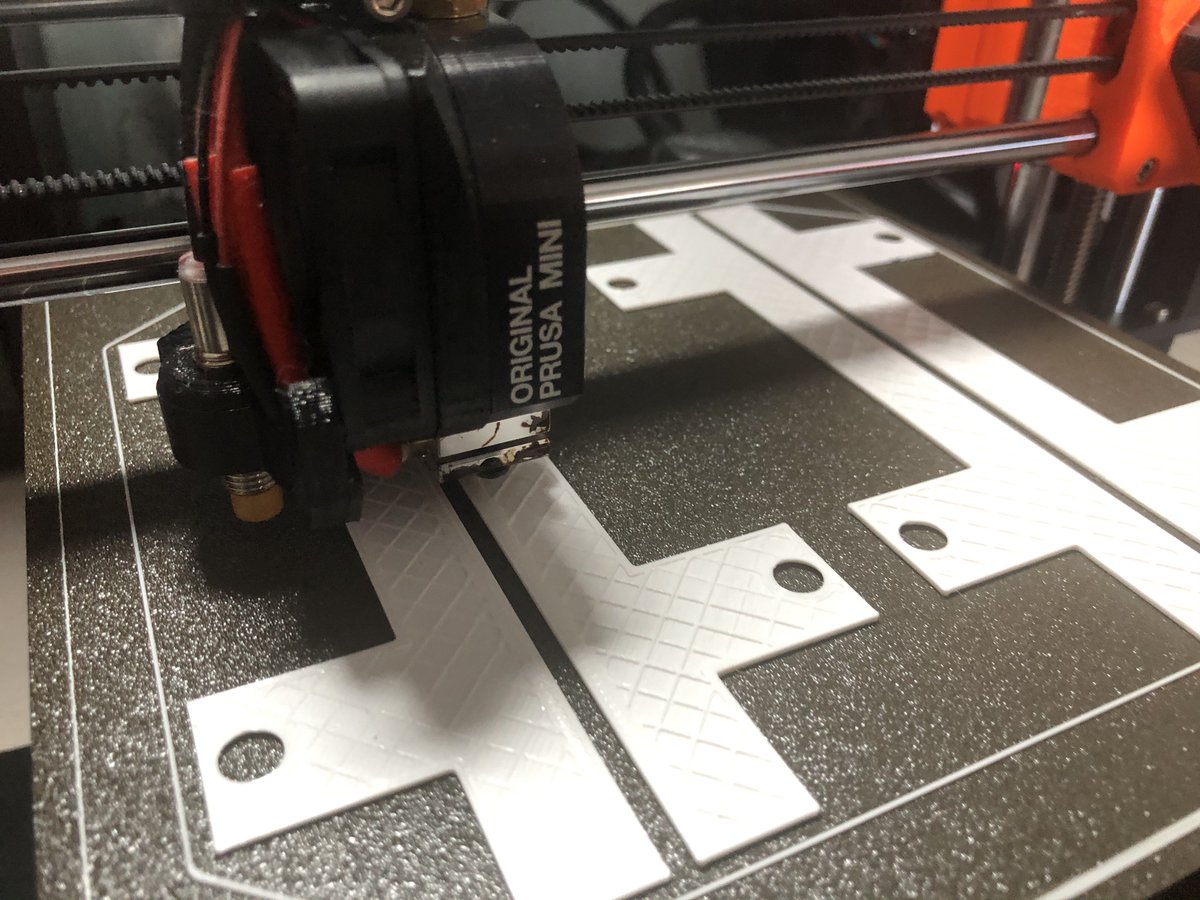
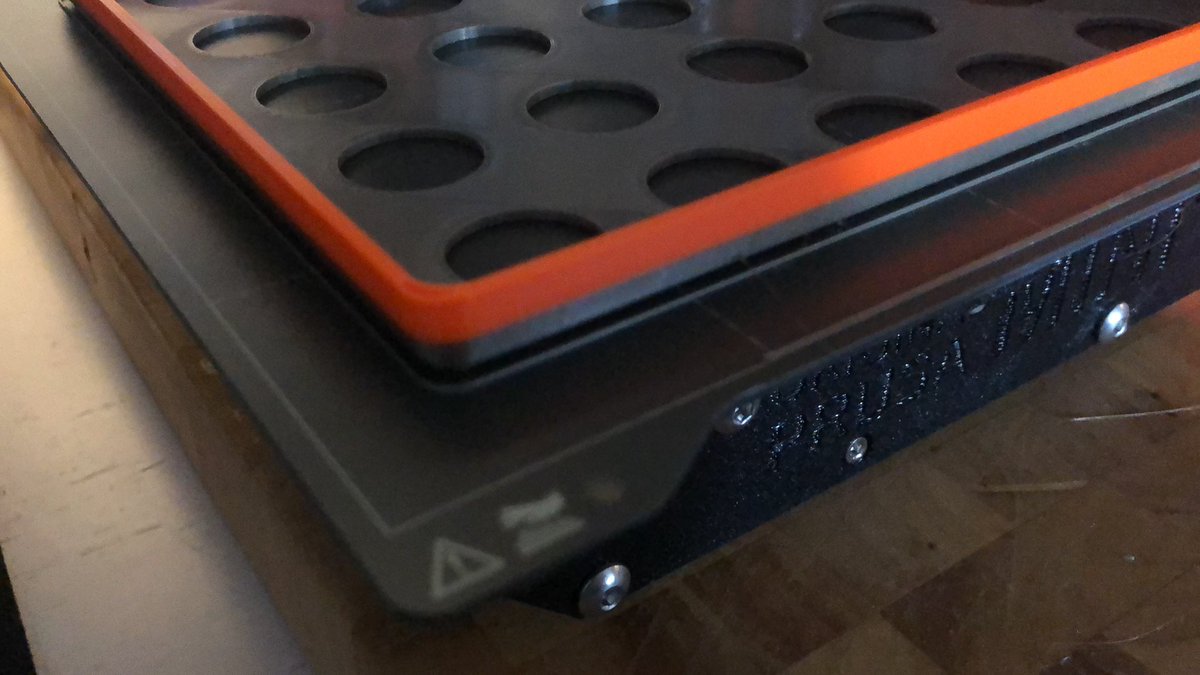
OK: Adventures in NOOB 3d printing update: I have printed many many things. Shown here: apple watch charger holders for our watches, a thing to hold the prusa print sheets
Here is a thing I learned: always print in draft mode. Sweet shambling zombie gandalf it makes iterating on a design go sooo much faster.
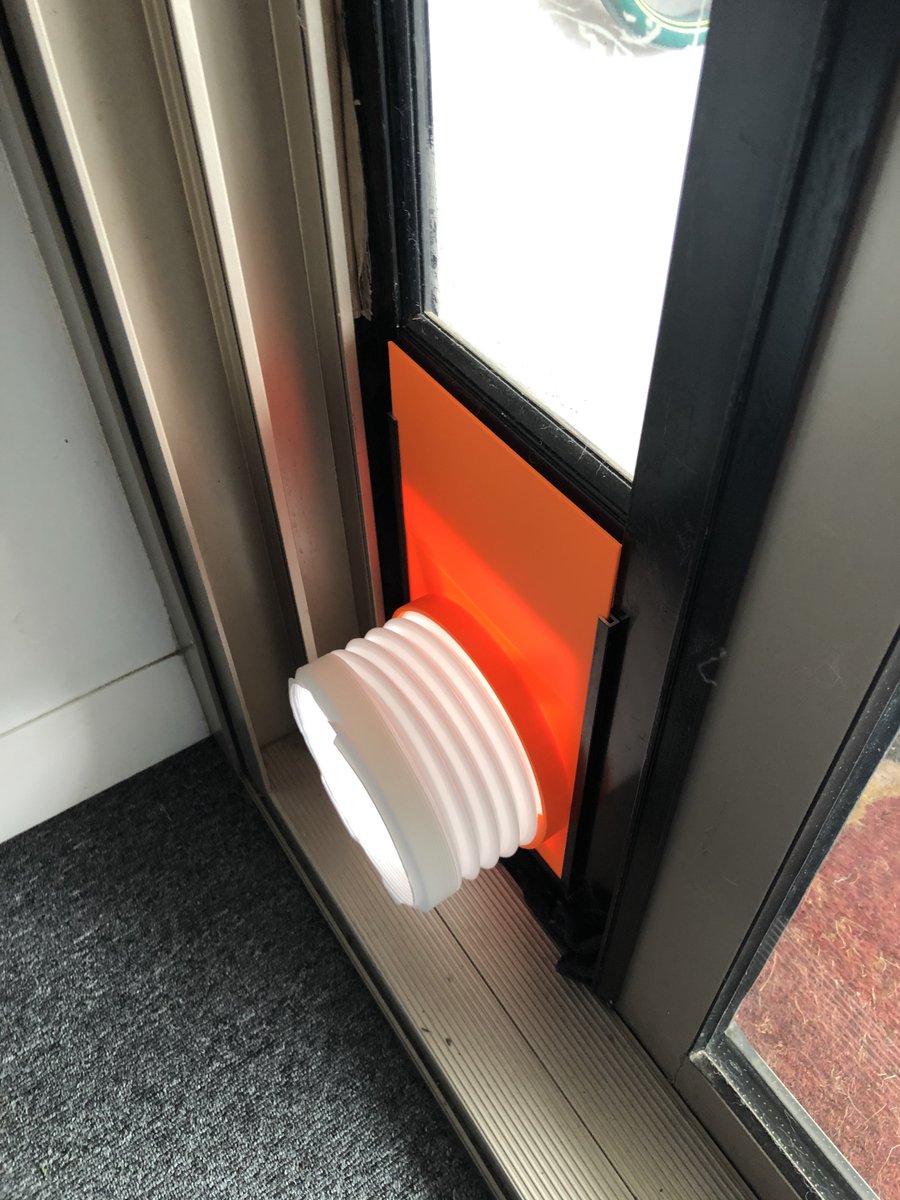
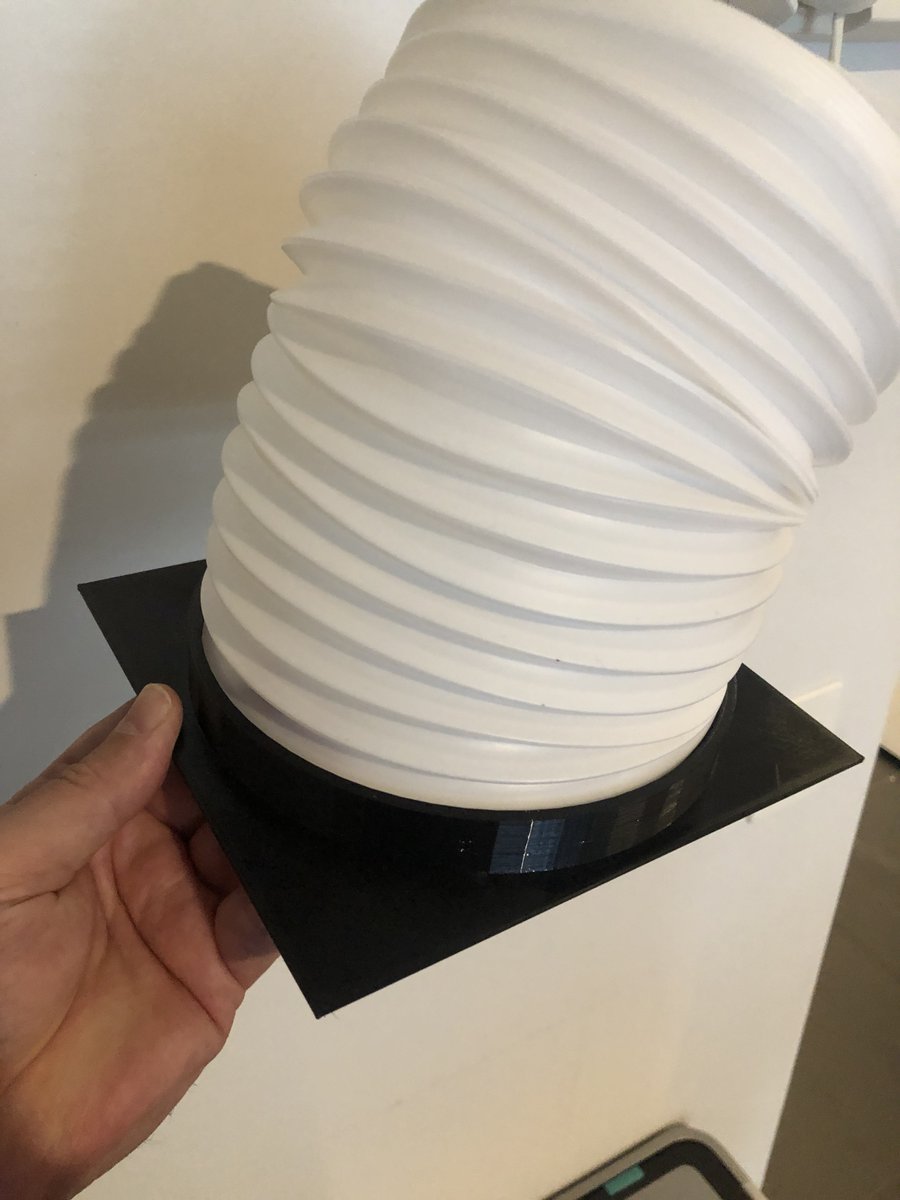
Here is one of the first things I designed myself: We have a pet door for the bunny, and also an air conditioner, this adapts them together
Here is one of the first things I designed myself: We have a pet door for the bunny, and also an air conditioner, this adapts them together
I stupidly started in PETG and in quality mode, then switched to PLA and draft mode, and everything went much smoother. Even when I figured out my threads were going the wrong way, it wasn't too bad to reprint it the right way. The original AC window adaptor is the grey one
once the PLA prototype was 'good' I switched to PETG for the final (this one I just left as draft because the AC doesn't care  )
)
 )
)
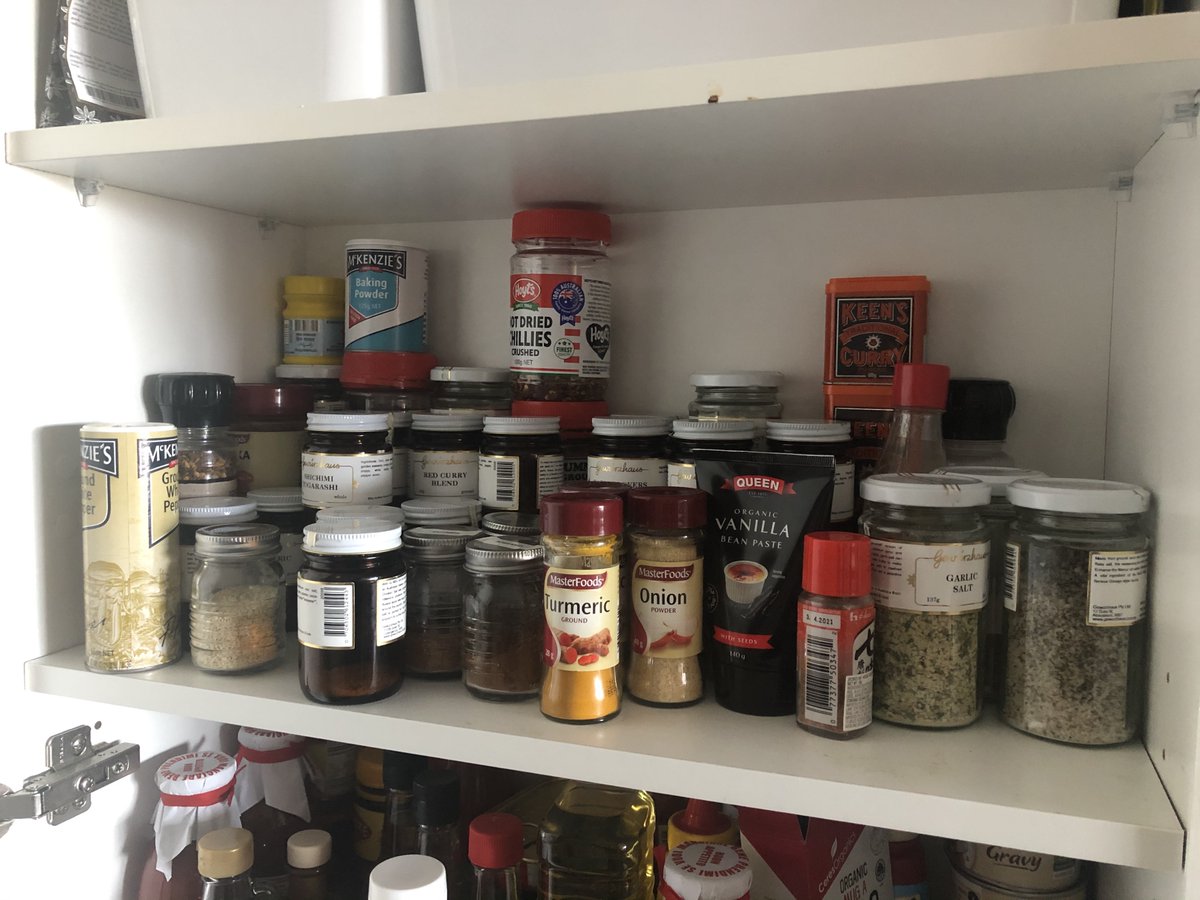
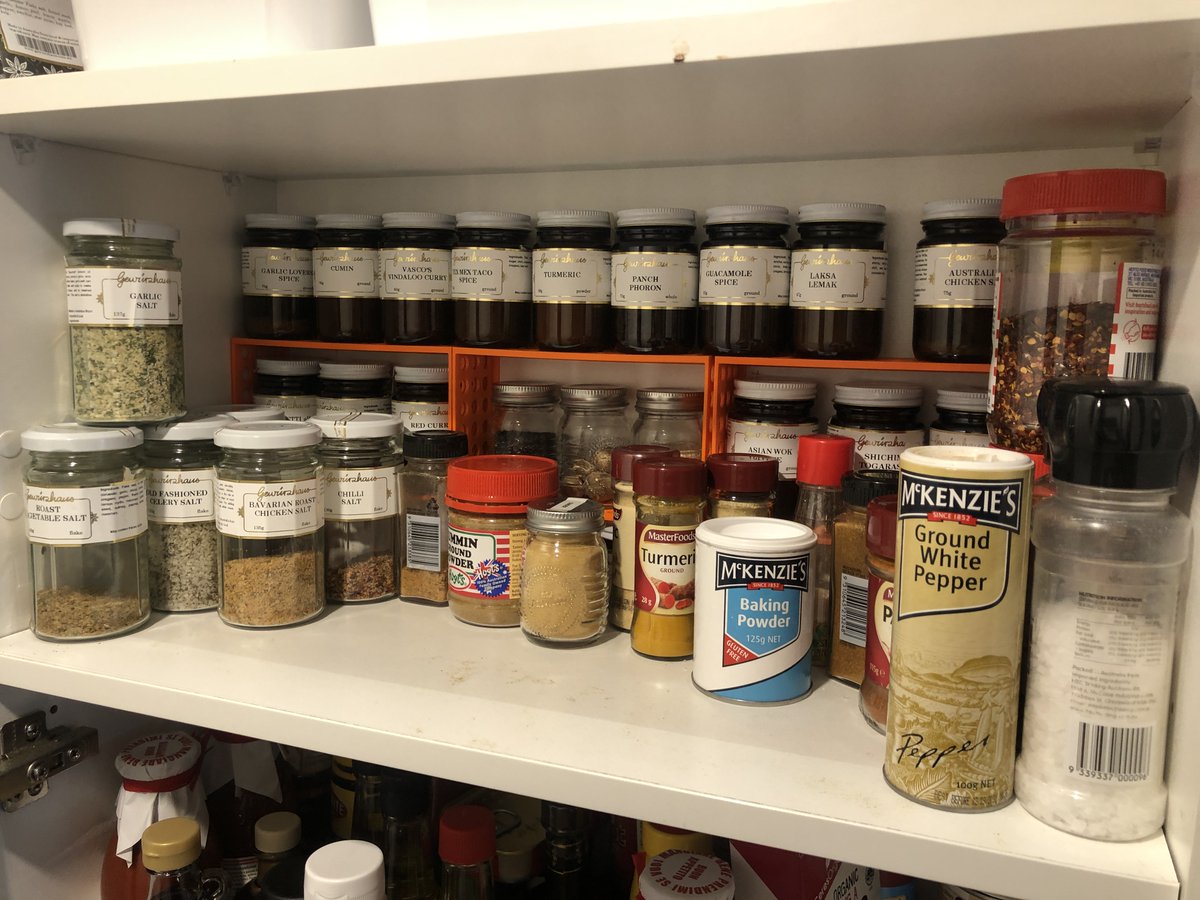
Next thing: clean up our spices. This took quite a few iterations, and I learned heaps. I may revisit this with better designs later.
More reclaiming storage for our tiny apartment: hang the stemware. This is another one where the design I landed on worked fine, but if I did it again I would approach it way more modular.
After this I started figuring out that you should design things that fit together, makes printing weird shaped objects easier. (also, fewer iterations this time, so that is a plus as well)
This has been a month of 3d printing in one big twitter blerg. next month maybe I will post some more 

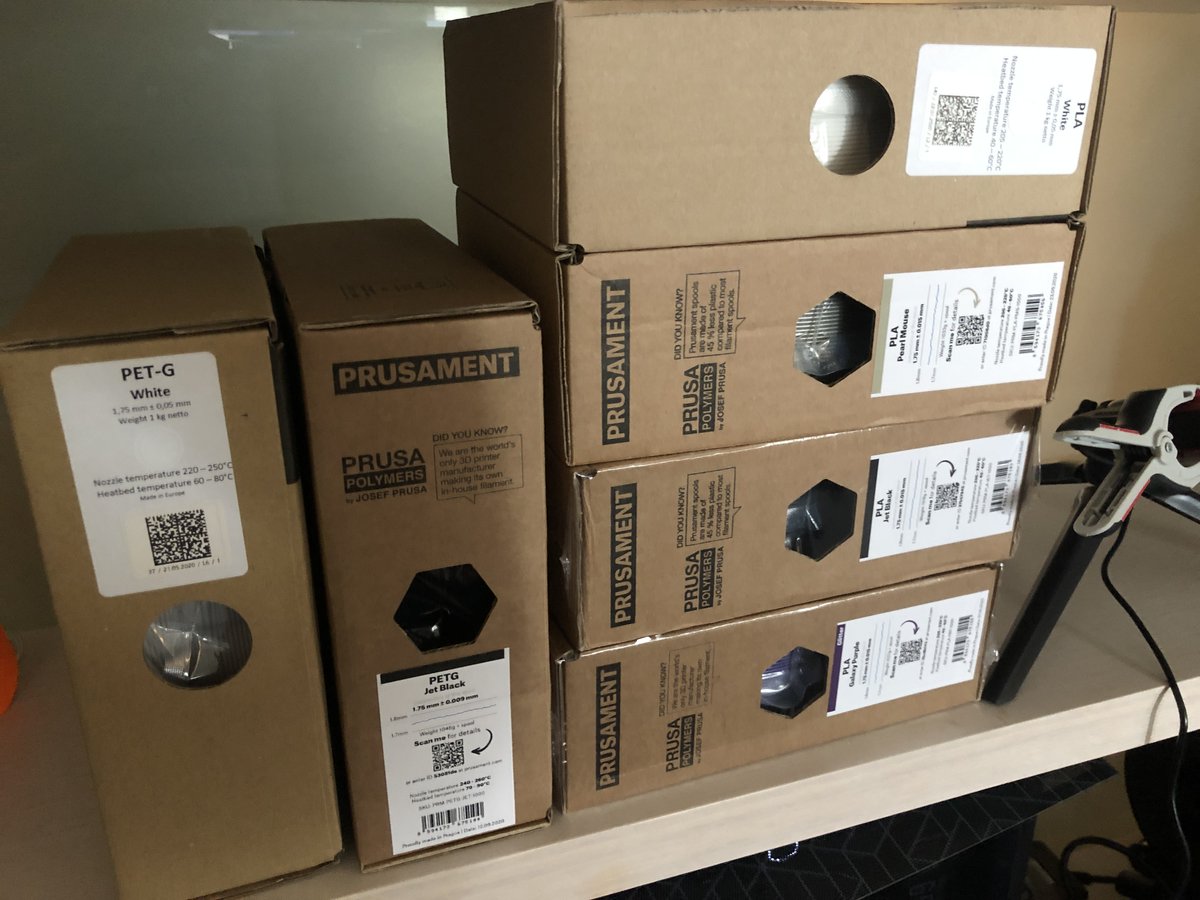
Oh, I also bought a truckload of filament because I was starting to go through it at an alarming rate.
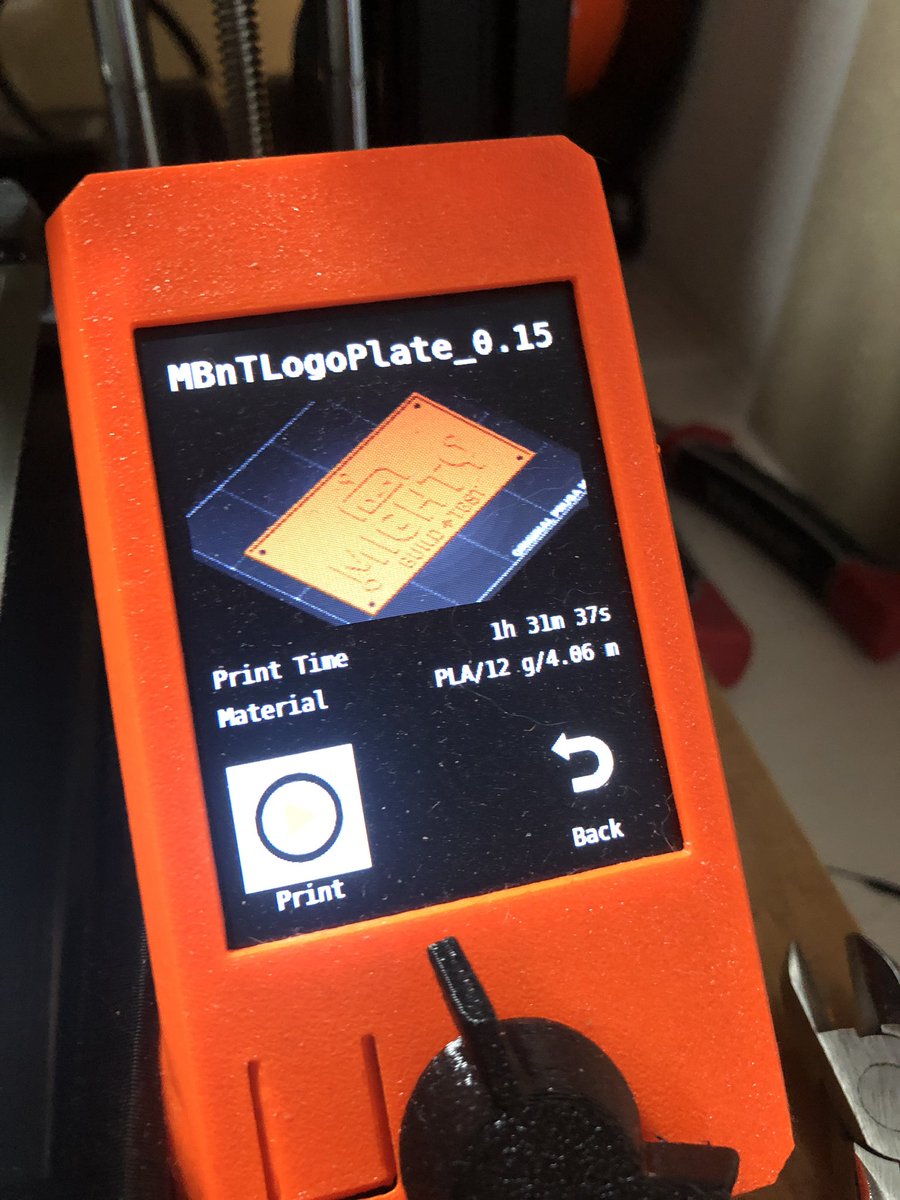
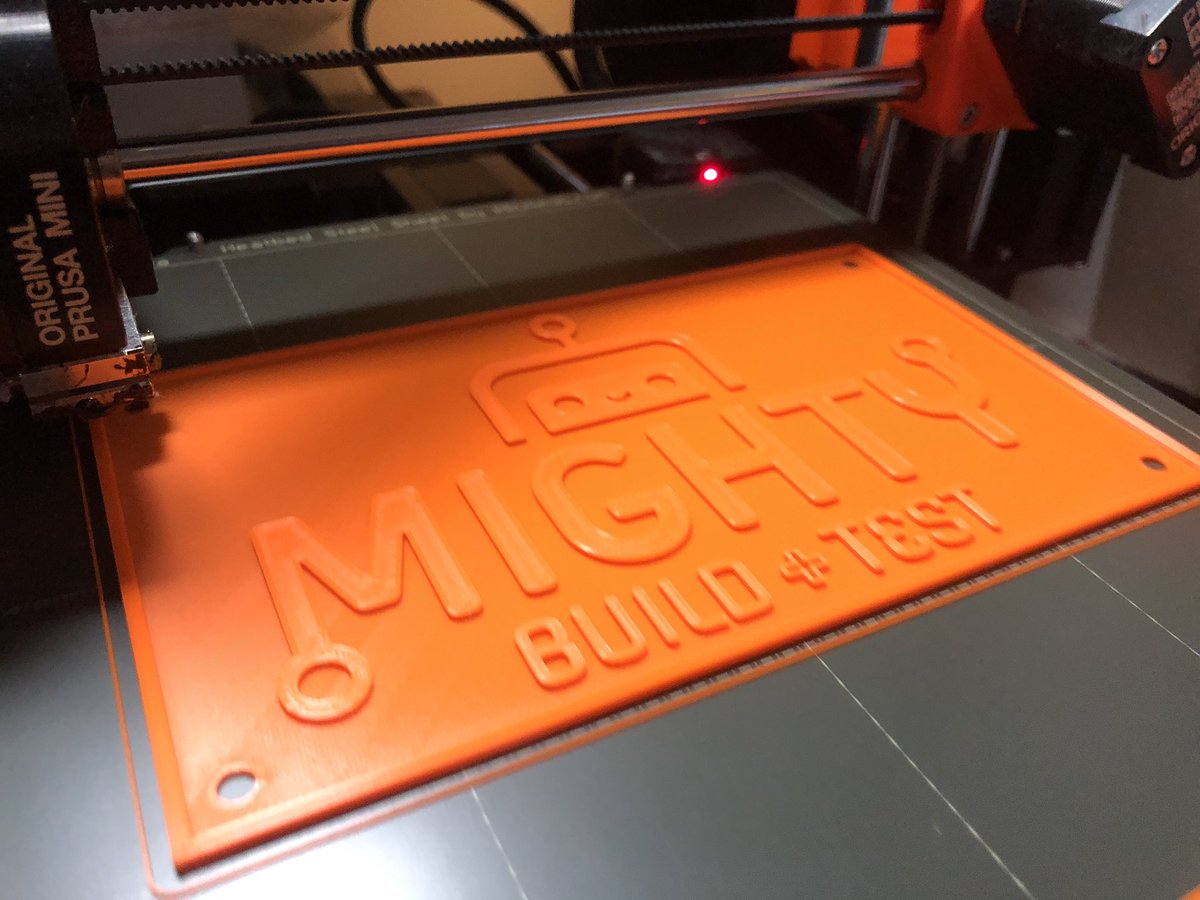
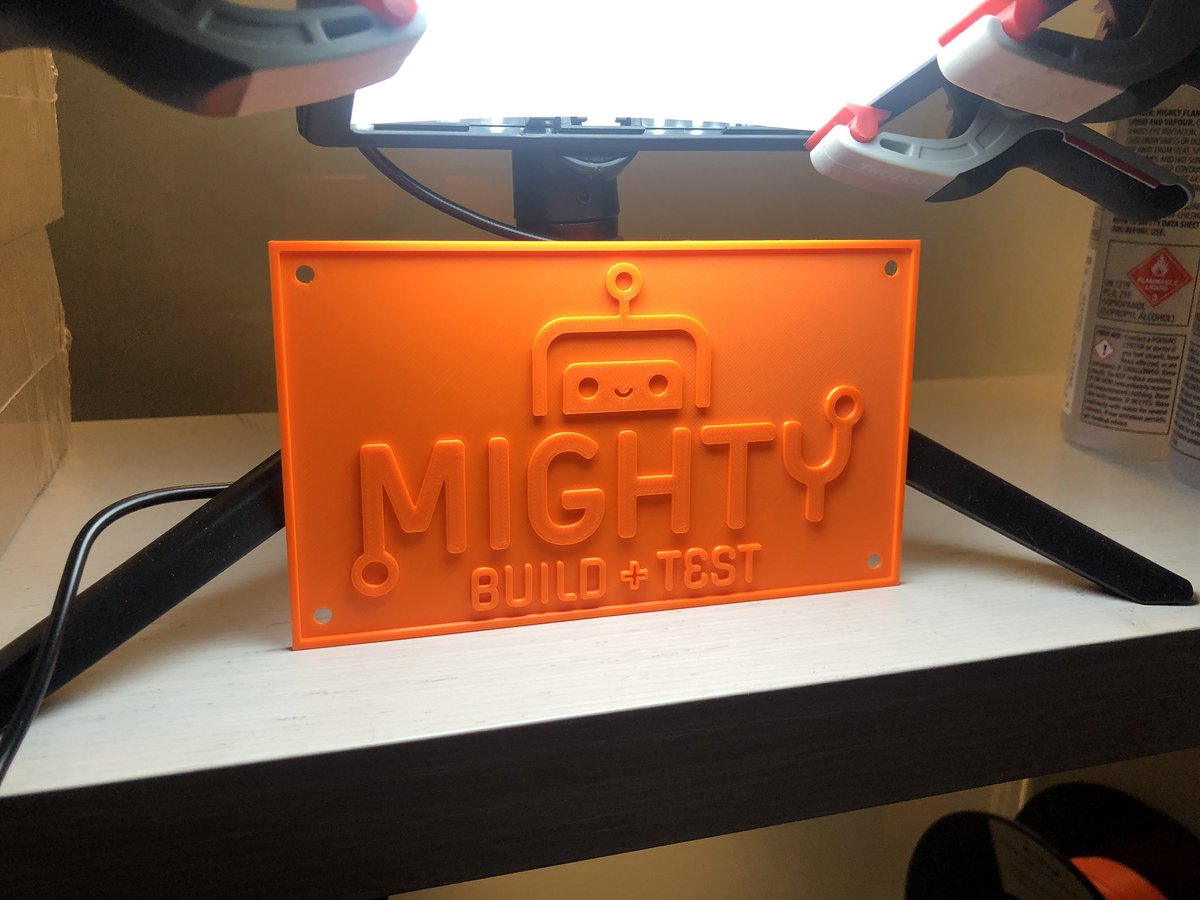
Ok. One more for today. Was inspired to try something new and see how hard it was to pull artwork across to tinkercad (turns out: not very) so I made a little nameplate from our logo svg:
Now that I can import any old SVG I can print all sorts of things from our games. One more game thing (a Piffle ball from @PiffleGame), then back to useful stuff (maybe)

Used up my first full spool. And will probably clear another one that was nearly out in a few hours. Did my first mod print filament change. Was easy! What was I worried about?
*mid-print. Gah.
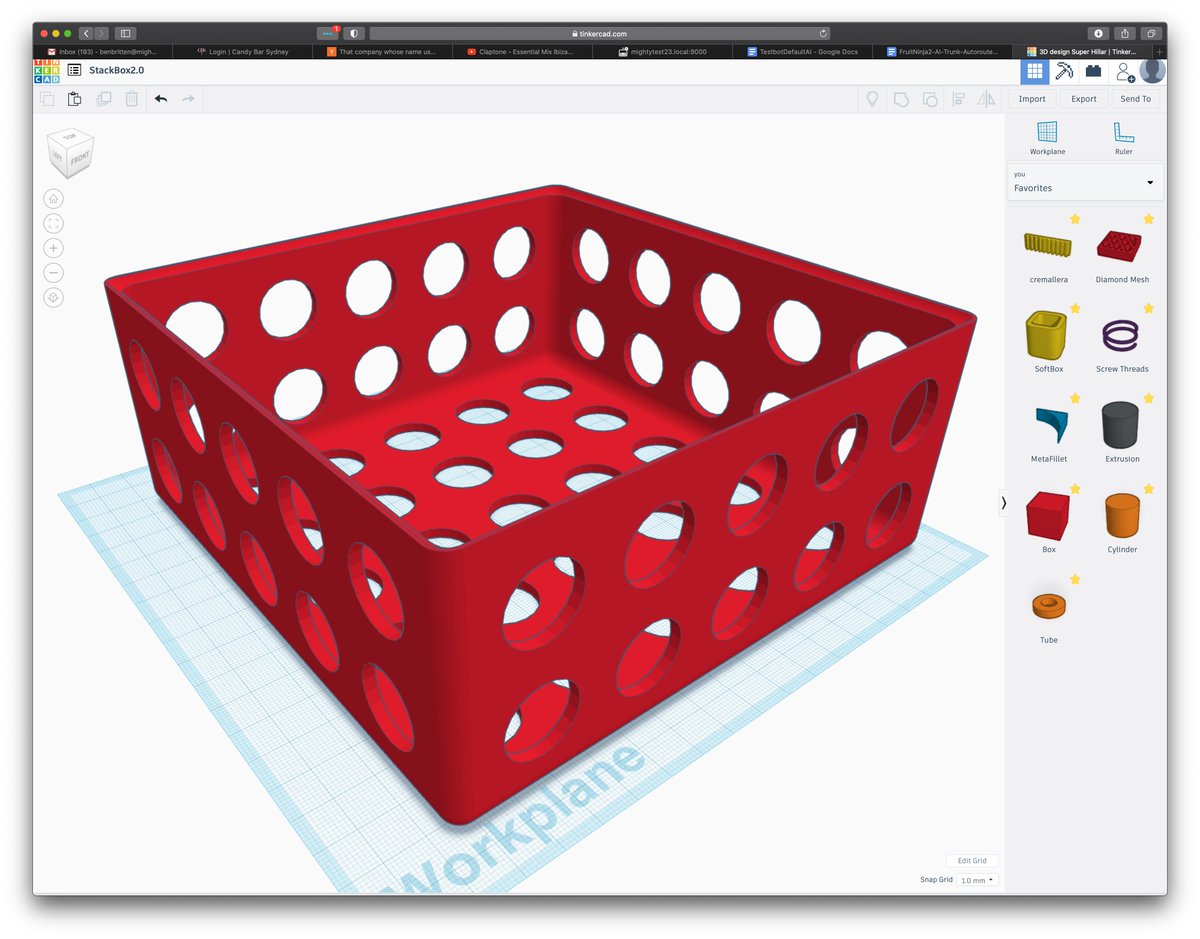
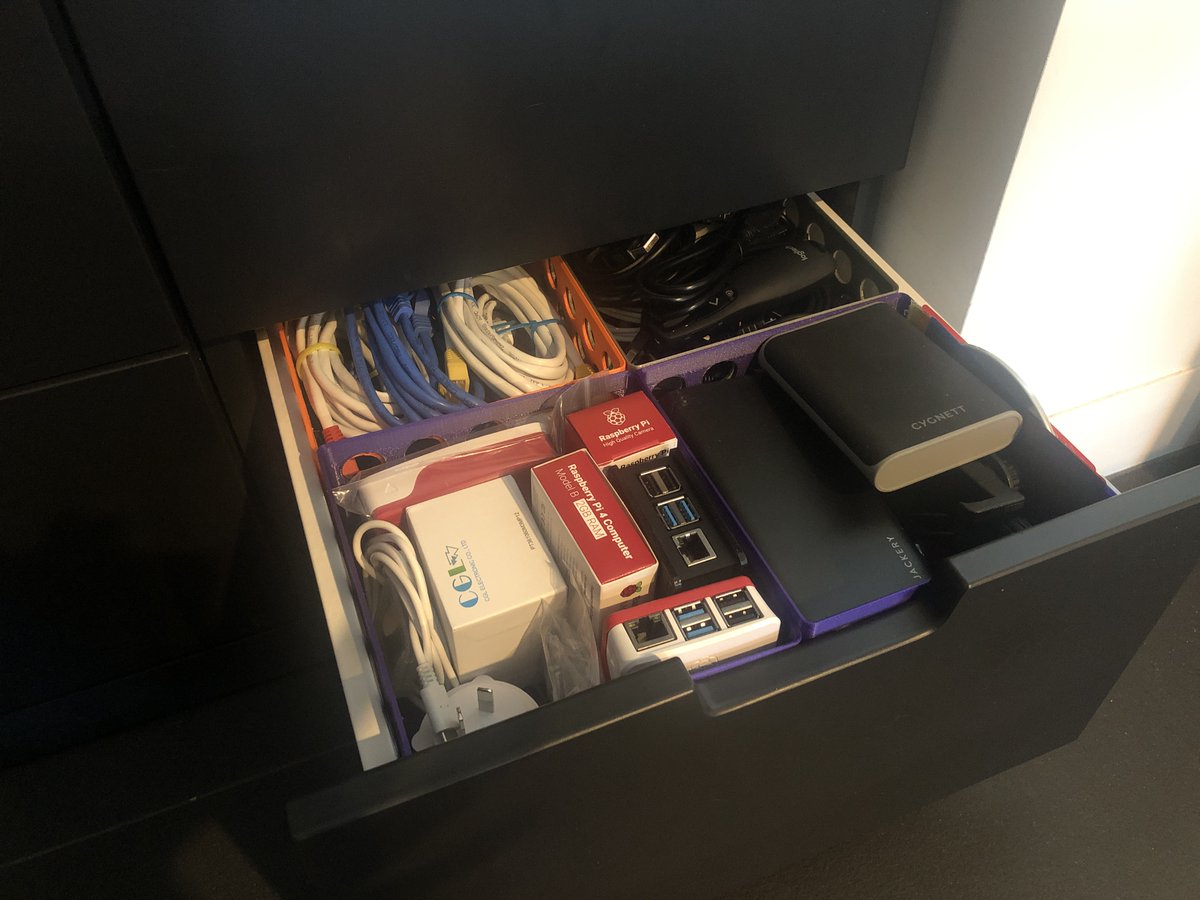
So, new project for the print-bot: fix my cable/tech debris storage. we have these ikea cabinets, and they are ok, but are fairly inefficient at storing the sorts of stuff that I store. Also keeping things separated out is important for cable management etc. so: gonna print tubs
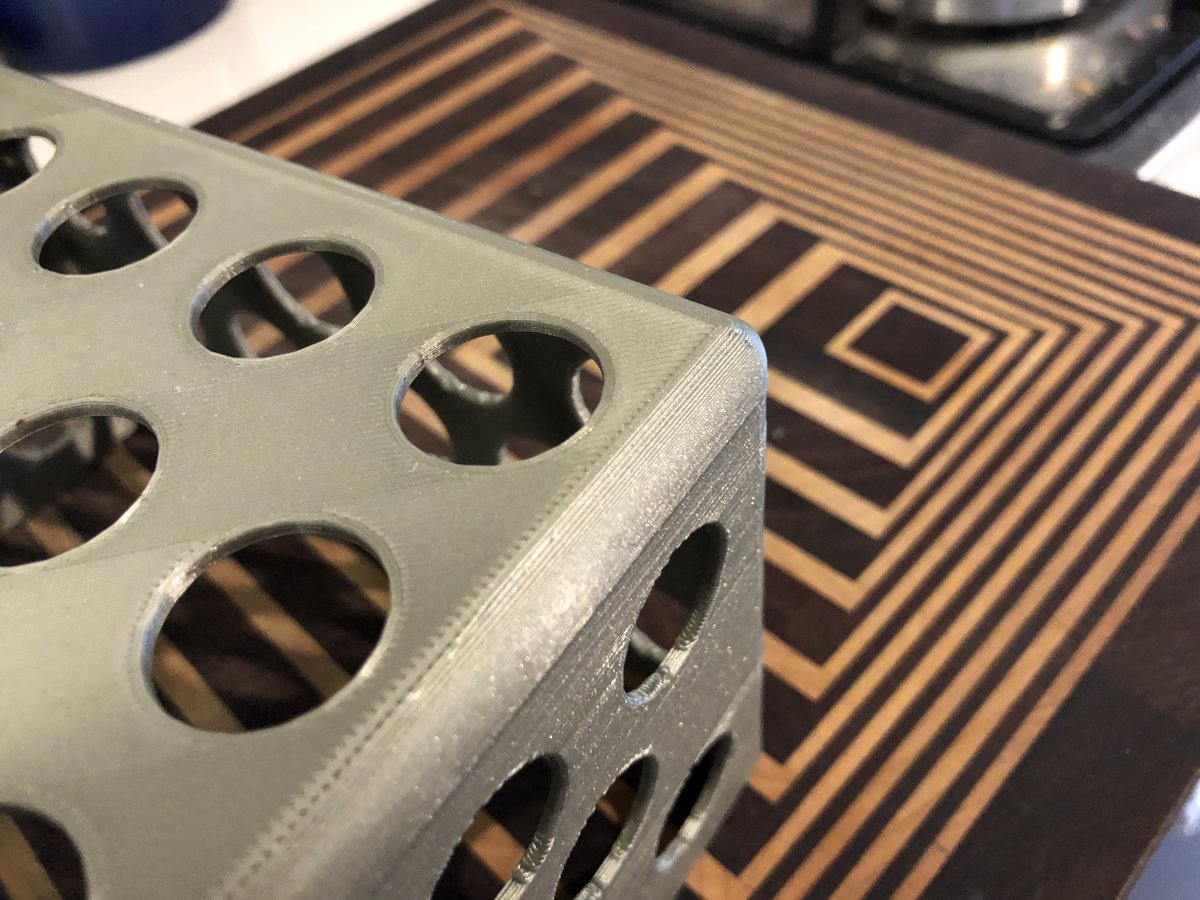
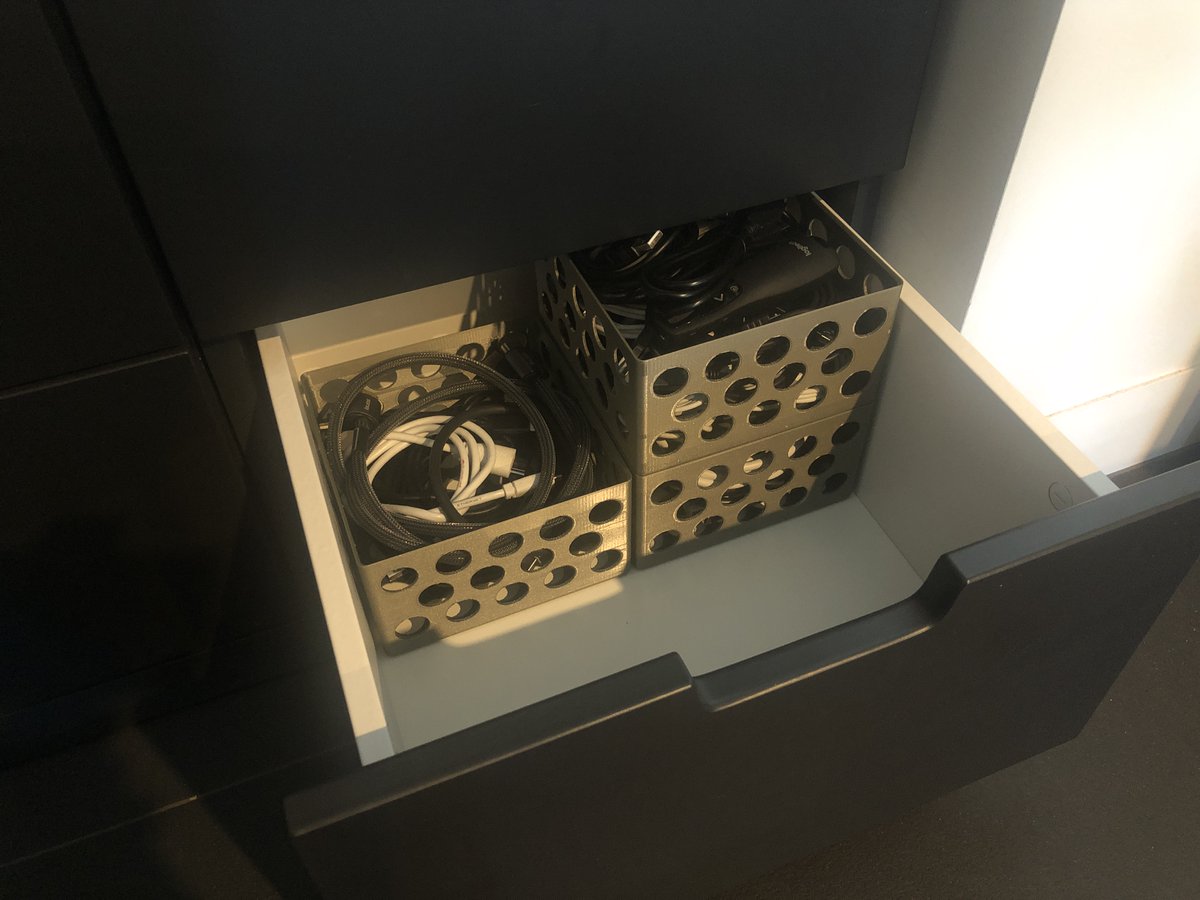
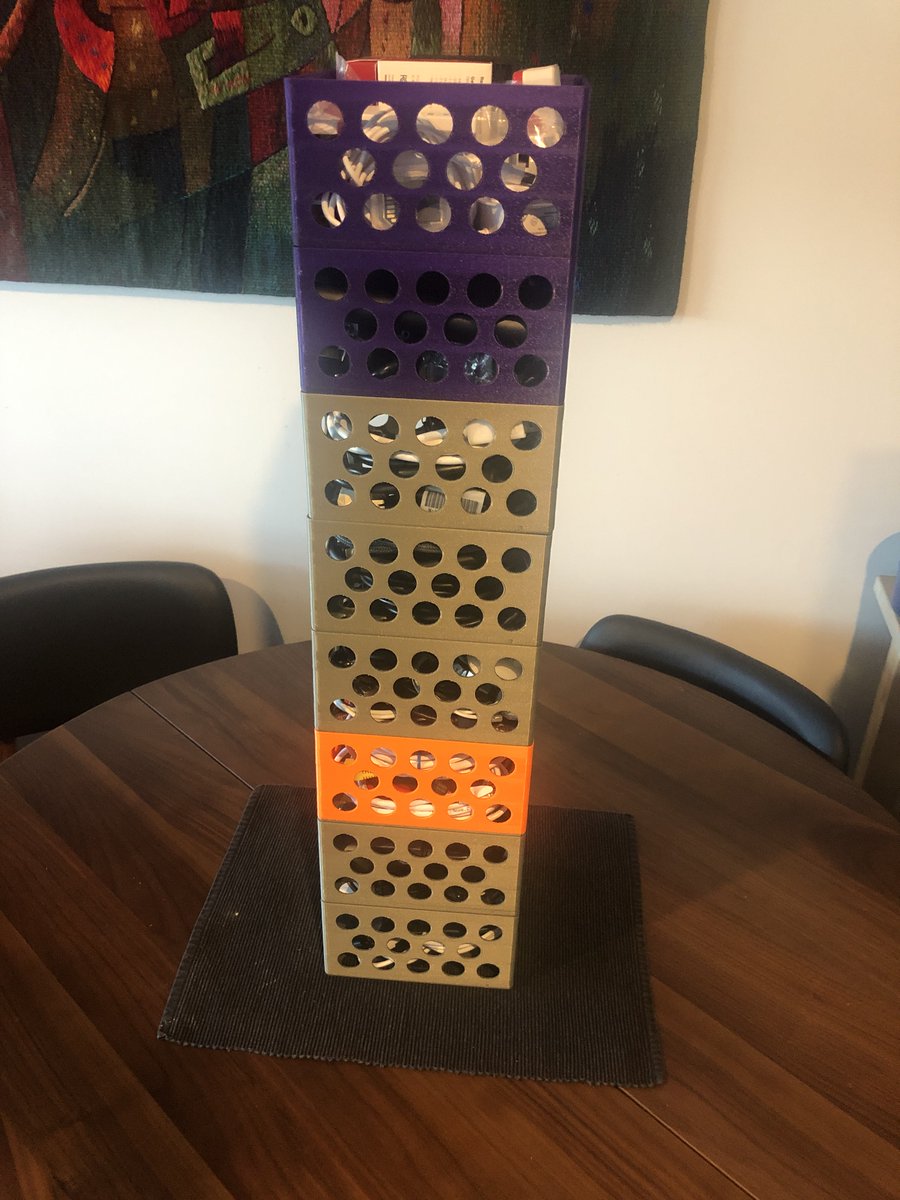
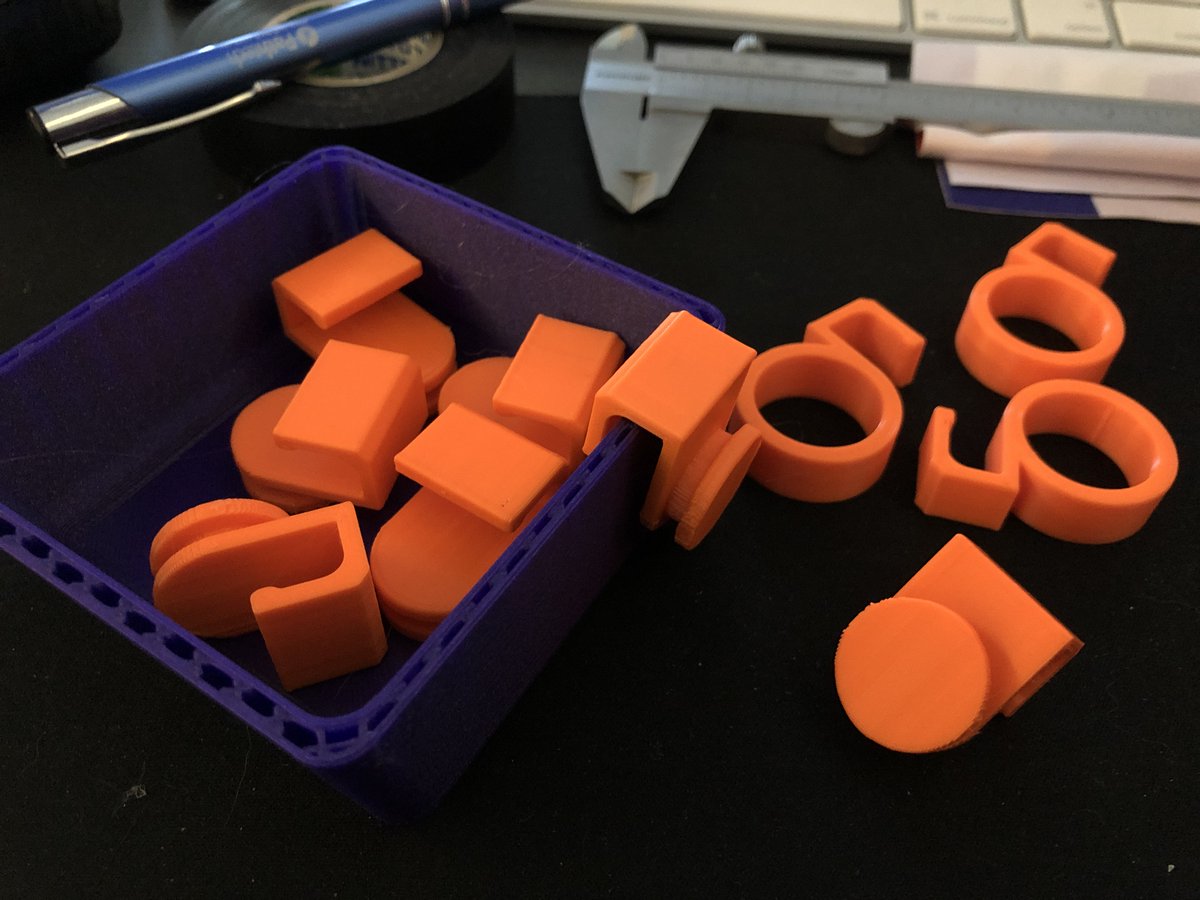
Tubs! not terribly exciting really, but custom sized to fit 8x into that drawer, and they are rounded on the base, and have a mirrored edge on the top, so that you can stack them nicely.
Turns out I could fit everything that was currently in that drawer into about 3 of these new tubs. but of course, I needed 8, and these take about 10 hours to print, so I have been printing them pretty much constantly for the last week or so.
and of course, since I got all of the stuff that had been in that drawer into 3 tubs, I ransacked a bunch of other junk piles and filled up all 8 tubs pretty easily. Here is the before and after:
and here is a gif I made, because why not? we need stupid nerd-gifs in these politically terrible times. So now I just need to print, like 40 more of these to do the whole cabinet  (really tho, I will prolly do about 10 or 12 more, as some of the other stuff already fits OK)
 (really tho, I will prolly do about 10 or 12 more, as some of the other stuff already fits OK)
Also, just a quick follow up as many people are questioning the holes, worrying that the cables will come thru and get tangled. Which is valid.
Counterpoint: how do you store your cables, you monsters? All my cables are nicely wound and bound. Nothin gettin out of those holes.
Counterpoint: how do you store your cables, you monsters? All my cables are nicely wound and bound. Nothin gettin out of those holes.

 Read on Twitter