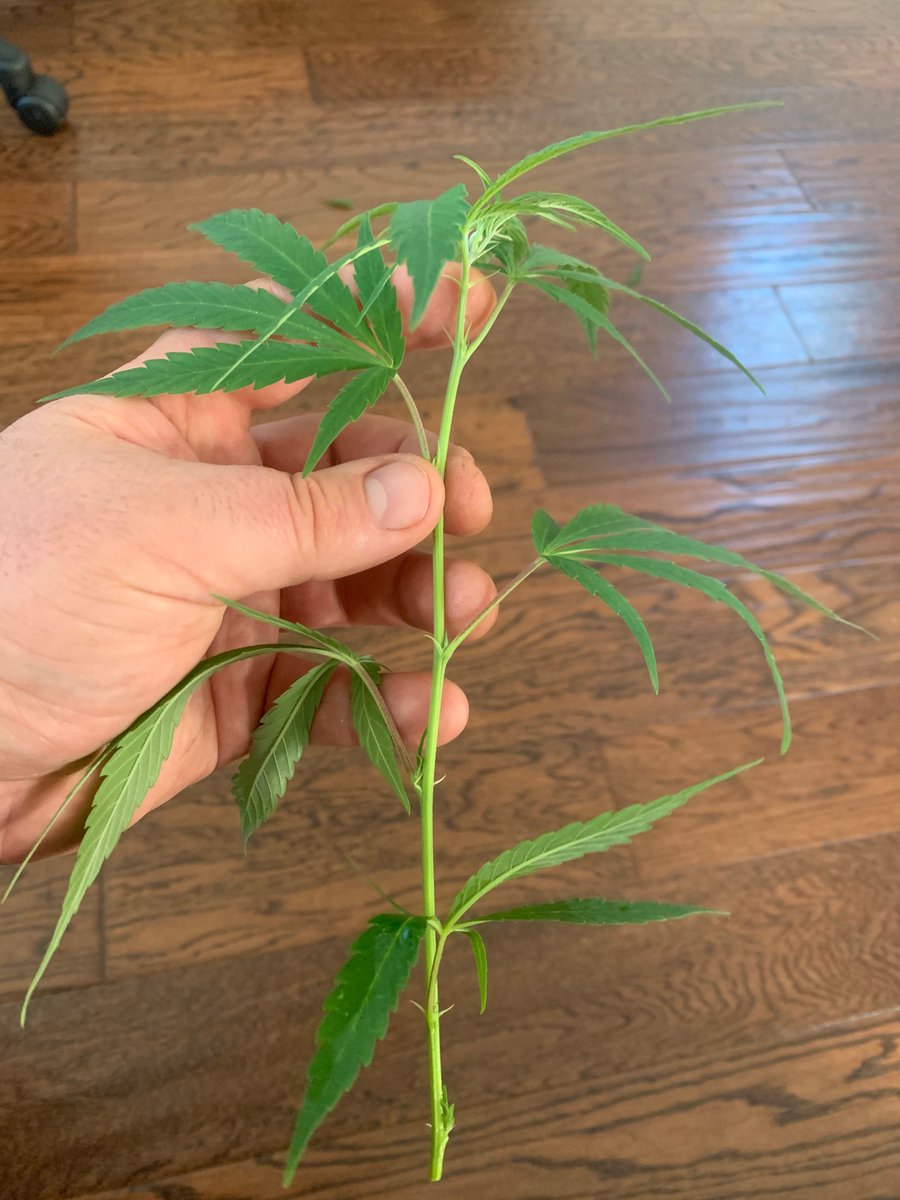
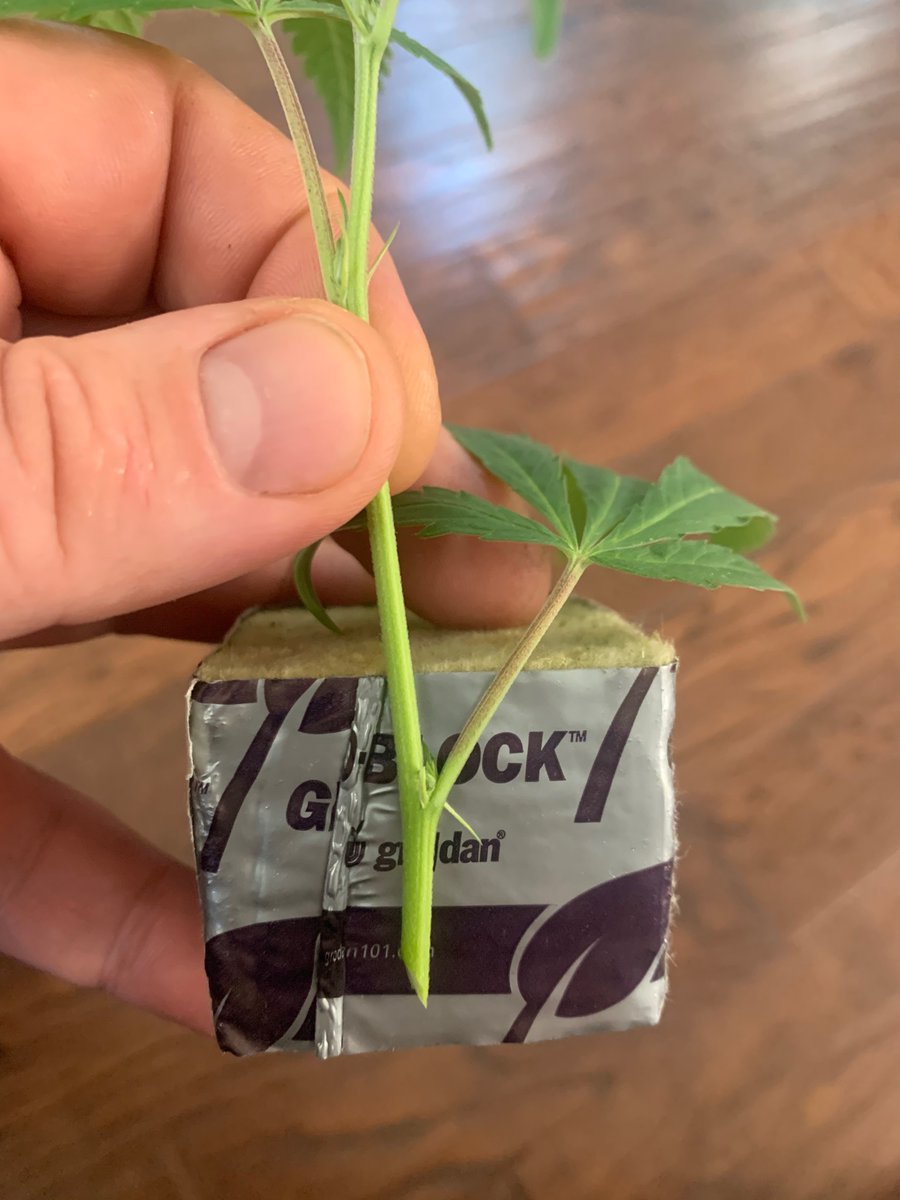
I’m cutting the branch with a sterile blade, right about where my baby finger is sitting
You want to cut the stem on a ~45 degree angle as is creates more surface area on the stem to pull water into the cutting
You want to cut the stem on a ~45 degree angle as is creates more surface area on the stem to pull water into the cutting
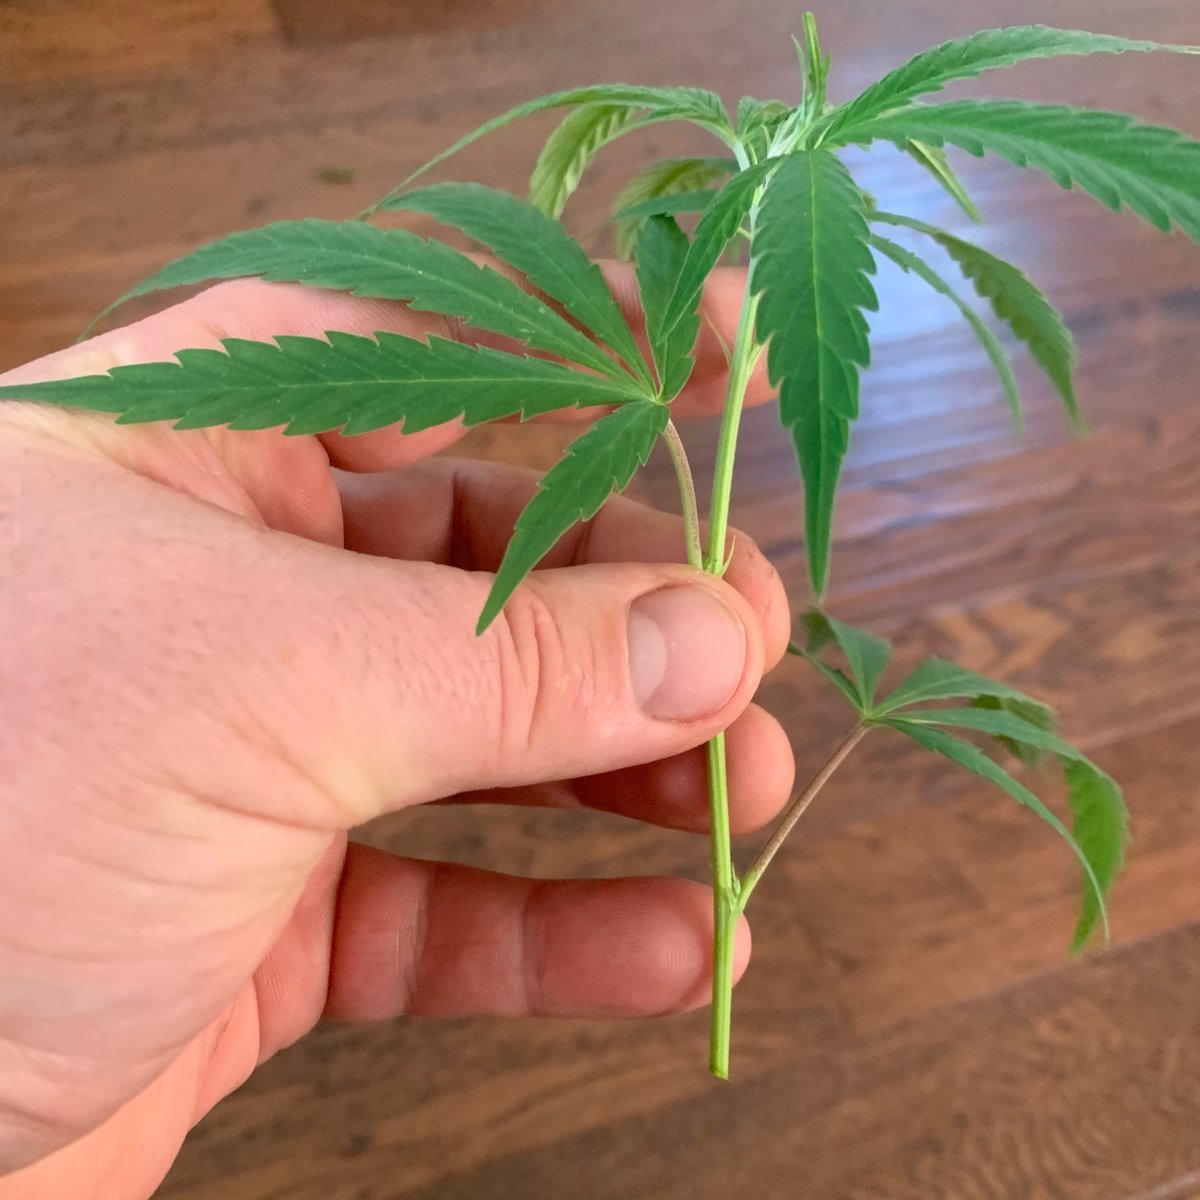
The lower leaves are to be removed with a sharp blade. Rather than cut perpendicular across the petiole (leaf stem), I cut twice at 45 degree angles to the stem - the ensure no stipules are left on the stem- we want to remove all vegetative tissue - you can see I missed a bit
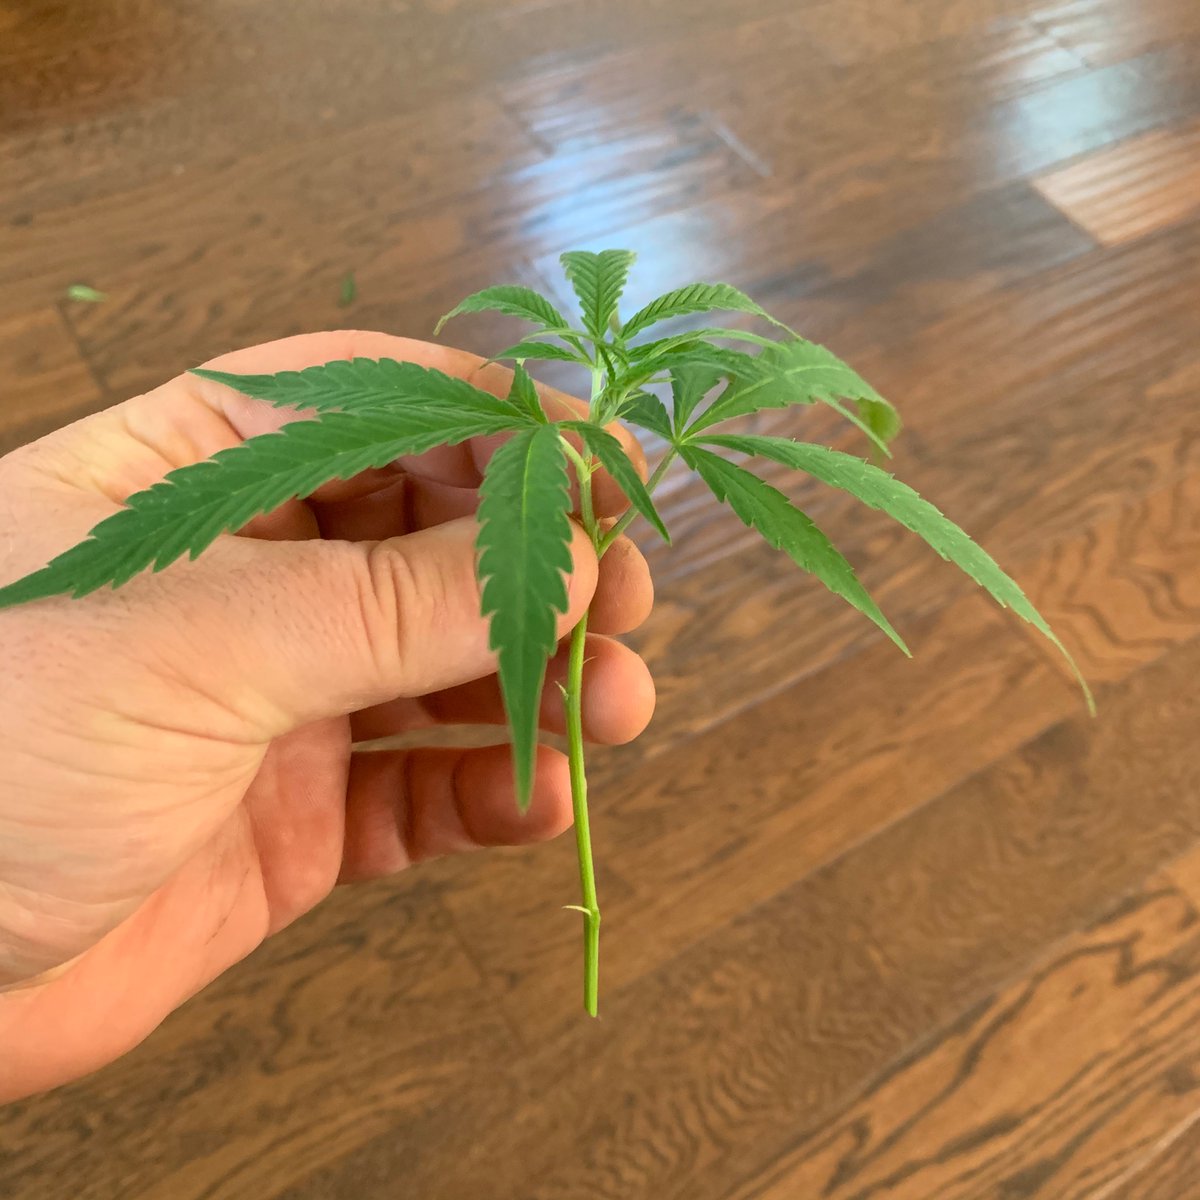
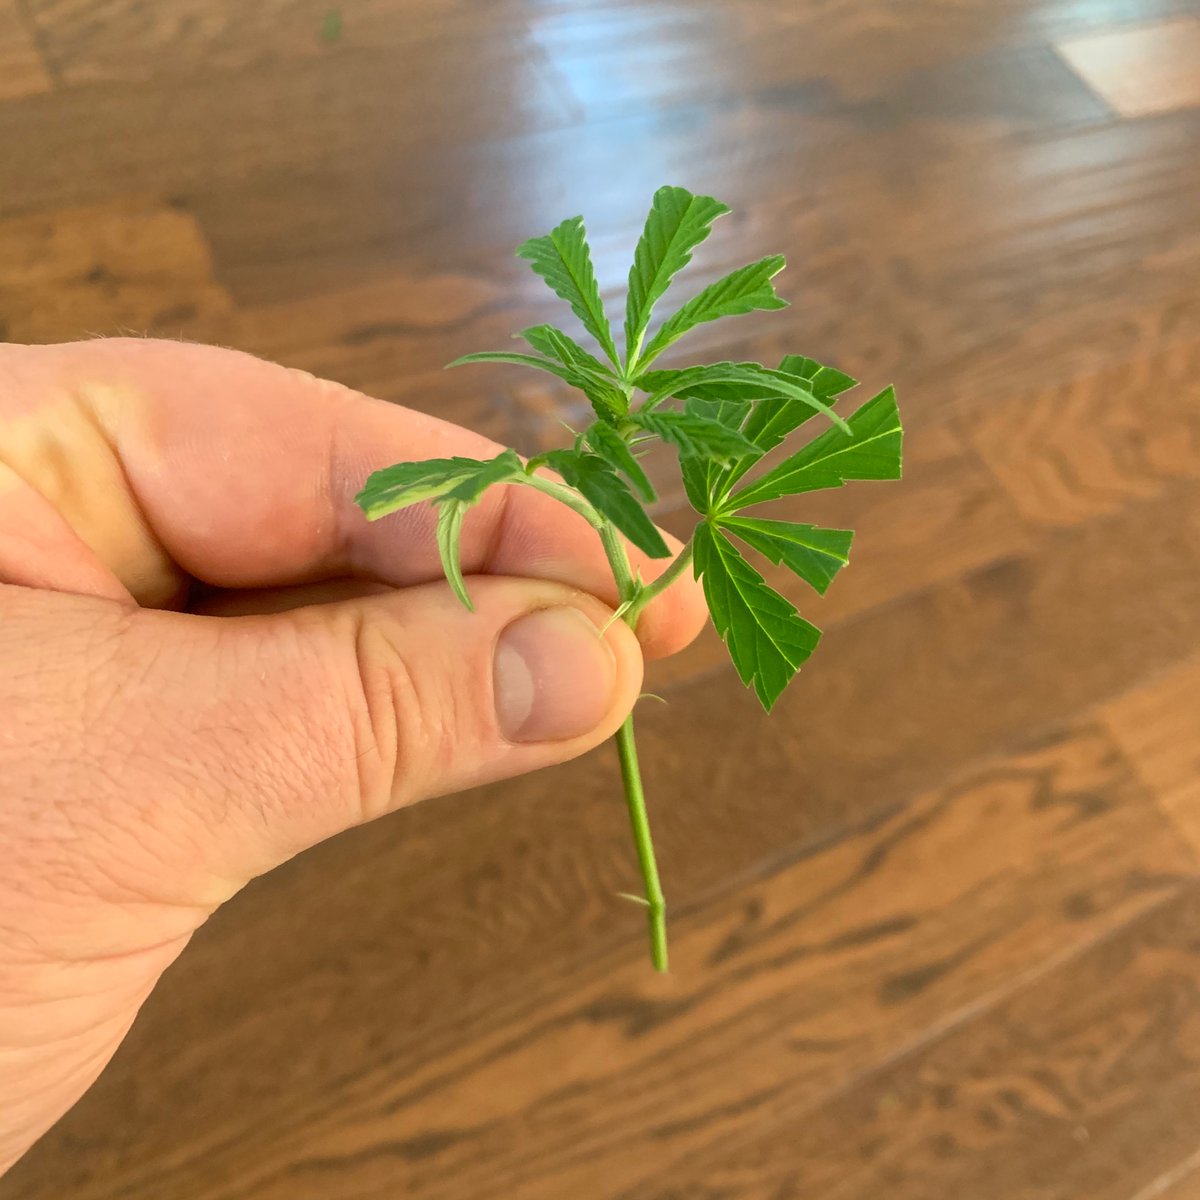
Now we trim back the laminae - the leaf blades
By trimming these back, we reduce the amount of leaf material on the plant - which actually reduces the plant’s ability to shed water (by removing stomata)
Approximately 1-2 dollar coins worth of leaf surface area is sufficient
By trimming these back, we reduce the amount of leaf material on the plant - which actually reduces the plant’s ability to shed water (by removing stomata)
Approximately 1-2 dollar coins worth of leaf surface area is sufficient
Cutting dogma is “always have at least one node in the medium (soil, rockwool, coir etc)
The dogma was from the belief that roots grow from the node (where the petiole/shoot meets the stem)
Water cloning has showed that roots actually grow from anywhere on the stem - but habits
The dogma was from the belief that roots grow from the node (where the petiole/shoot meets the stem)
Water cloning has showed that roots actually grow from anywhere on the stem - but habits
I like to do all the trimming at one time, up to a point. We’re making backups of genetics being tested here, so we just need a couple to survive. Otherwise I cut enough to root a tray.
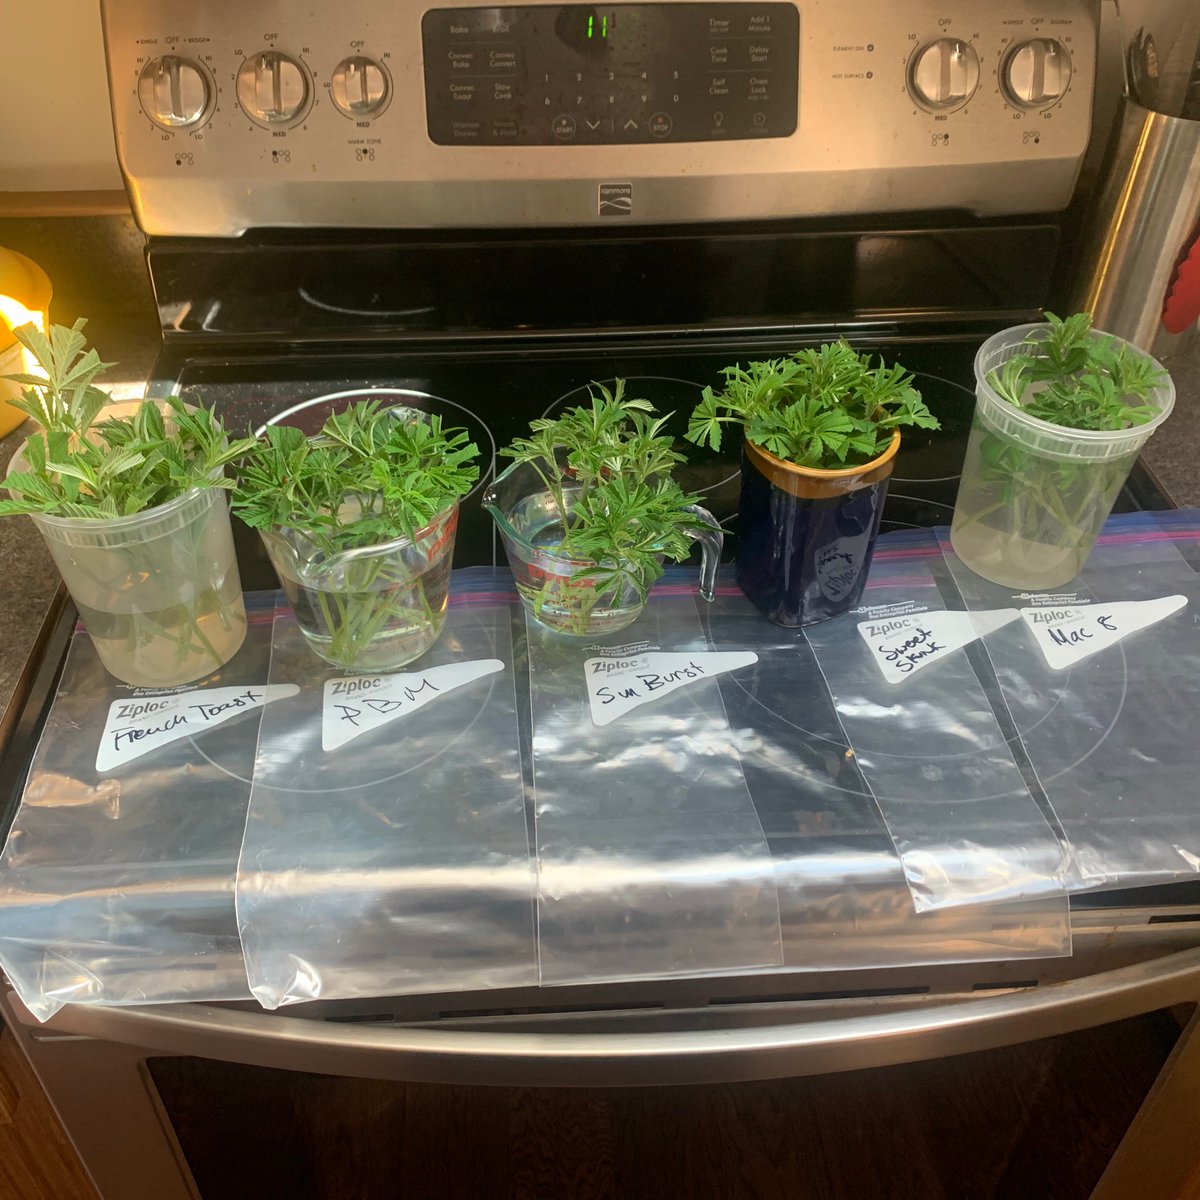
The cuttings can sit overnight in containers, these were cut last night, but trimmed today
The cuttings can sit overnight in containers, these were cut last night, but trimmed today
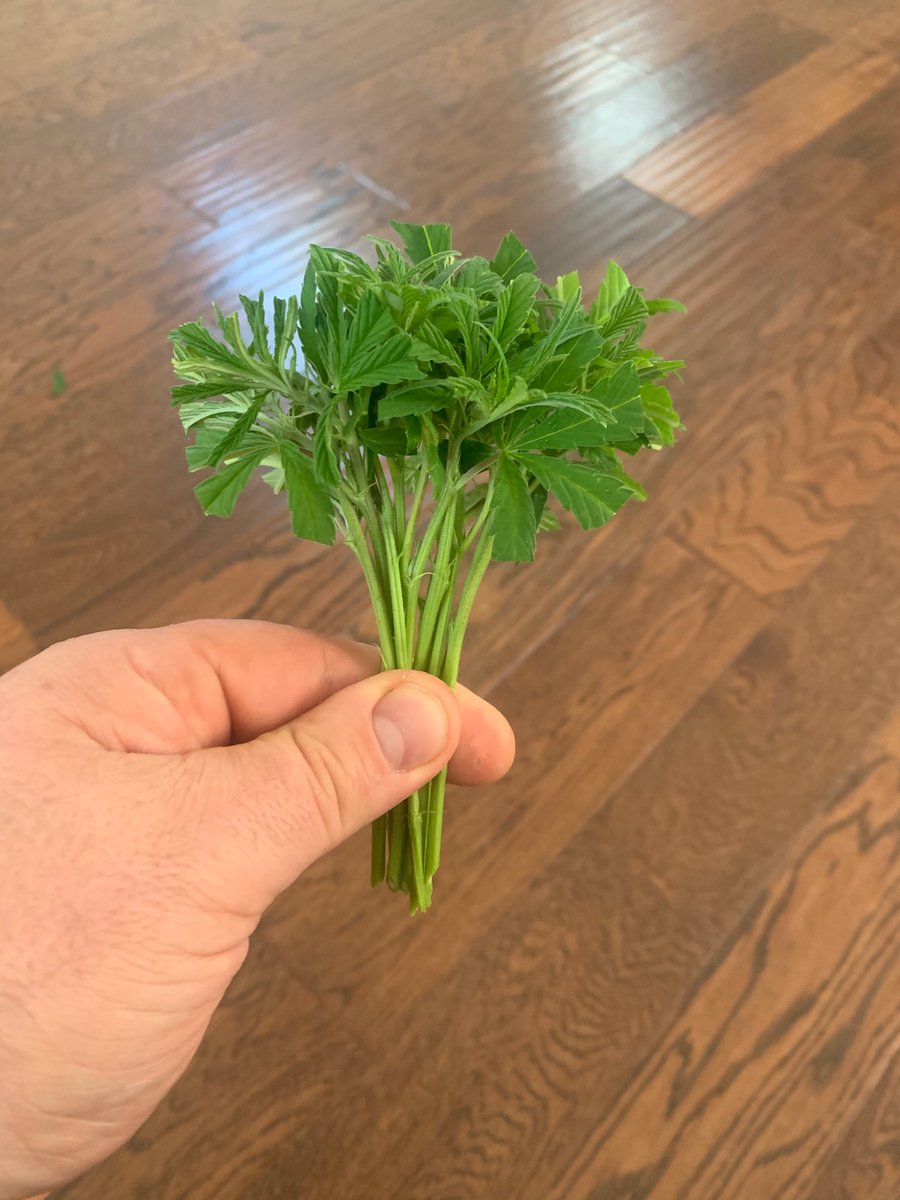
You want to try and get all the cuts to roughly the same length
The uniformity will help when we plug the cuttings into the medium & create trays
Longer cuts can shade neighbors & slow the rooting process
Ideally we want all the rooted cuttings to end up the same height
The uniformity will help when we plug the cuttings into the medium & create trays
Longer cuts can shade neighbors & slow the rooting process
Ideally we want all the rooted cuttings to end up the same height
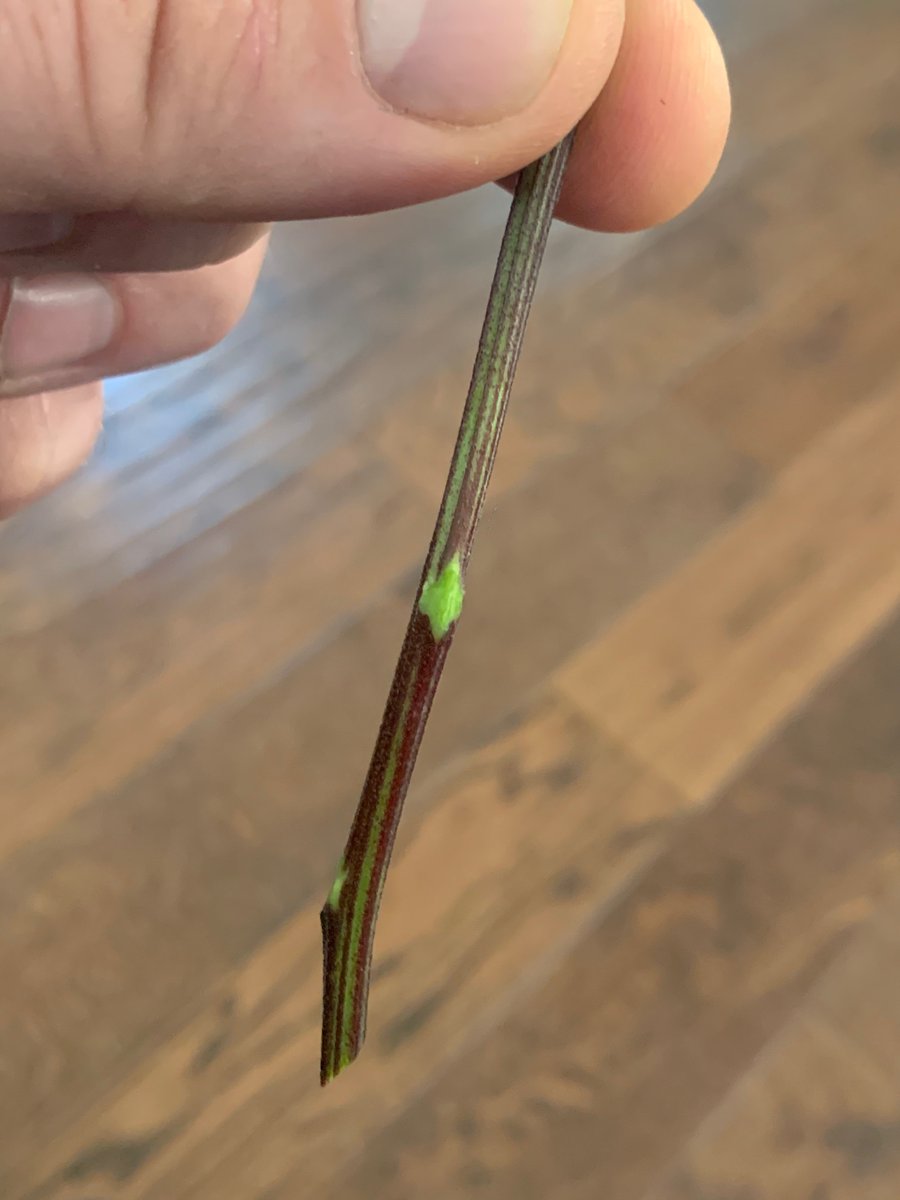
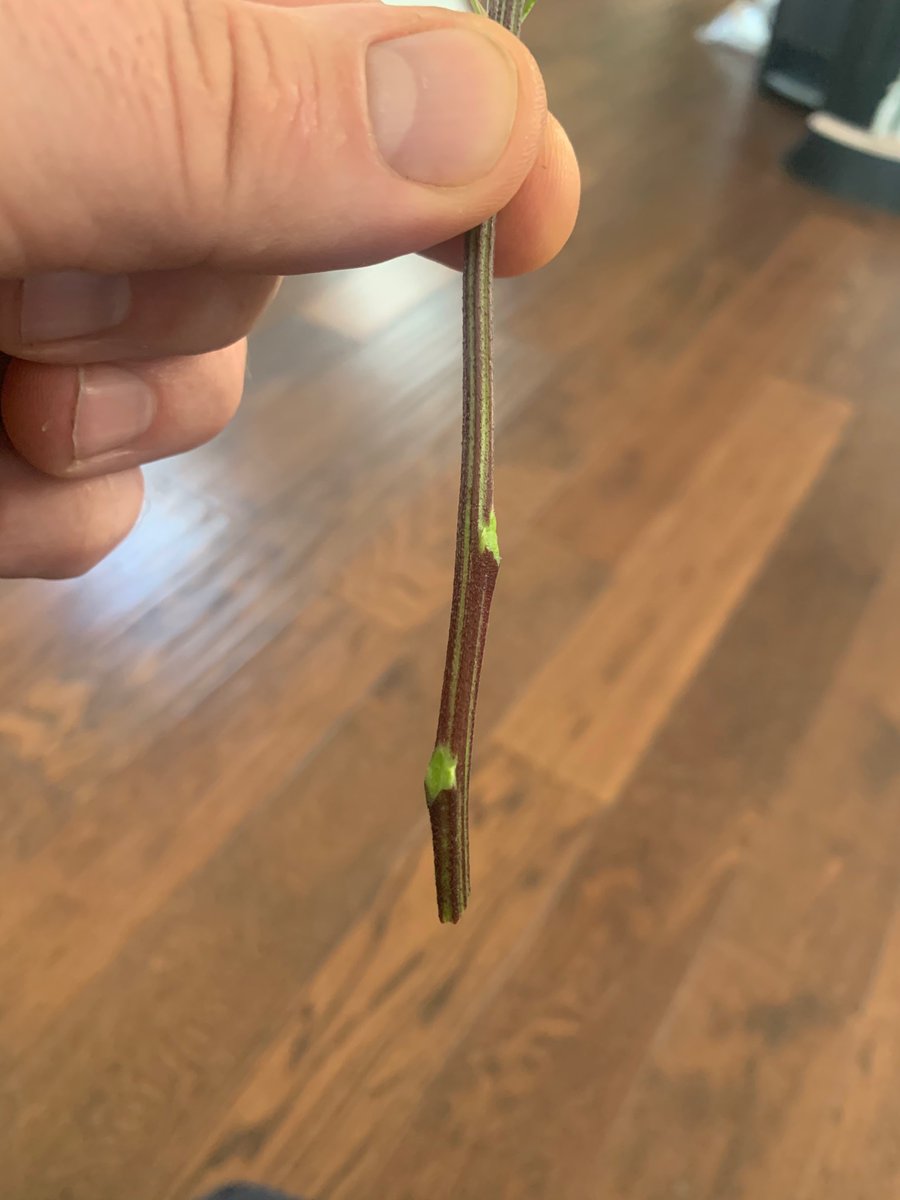
This purple stemmed Slurricane shows a properly trimmed & removed petiole / stem node
The colour contrast makes it easier to see that we have removed all shoot anatomy, stipules, etc
The colour contrast makes it easier to see that we have removed all shoot anatomy, stipules, etc
Why does it take so long to properly take cuttings?
Wash & sterilize everything!
-bucket for soaking the cubes
-10 x 20 nursery trays & inserts
- cutting blades
In a #CoVID world, know plants get viruses too, blades & hands can transfer viruses from one plant to another
Wash & sterilize everything!
-bucket for soaking the cubes
-10 x 20 nursery trays & inserts
- cutting blades
In a #CoVID world, know plants get viruses too, blades & hands can transfer viruses from one plant to another
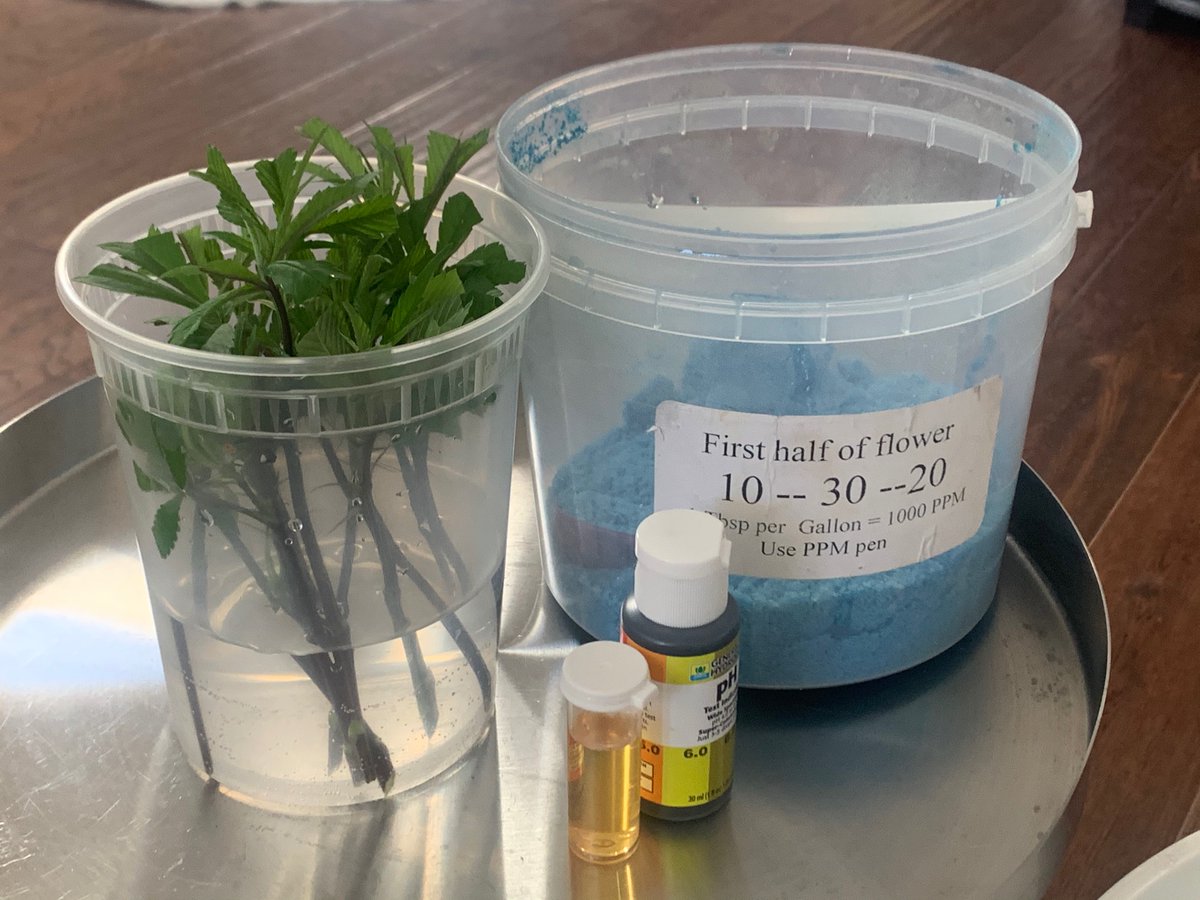
Ok sterile bucket of water
rockwool needs to be conditioned @ pH 5.5
Added one tablespoon of 10-30-20 & a teaspoon of Epsom salts (MgSO4)
The mother plants were v healthy so nutrients not necessary but a light mix will help the plants once they start to root
rockwool needs to be conditioned @ pH 5.5
Added one tablespoon of 10-30-20 & a teaspoon of Epsom salts (MgSO4)
The mother plants were v healthy so nutrients not necessary but a light mix will help the plants once they start to root
Yes, I know you prefer to use organic nutrients, or a different medium, or a pH pen, or or or...
I’m trying to teach sterility & use of household available items. Most people have miracle grow or similar ‘blue crystals’ as they are lovingly known
Feel free to go all organic
I’m trying to teach sterility & use of household available items. Most people have miracle grow or similar ‘blue crystals’ as they are lovingly known
Feel free to go all organic
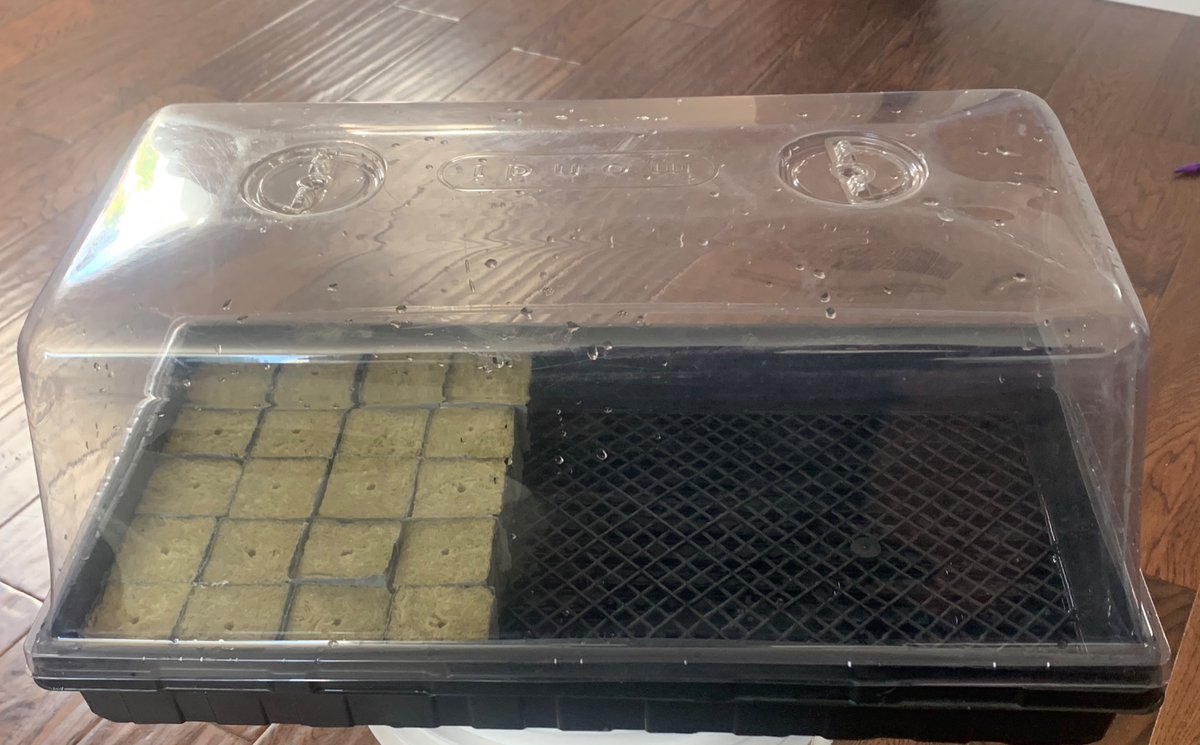
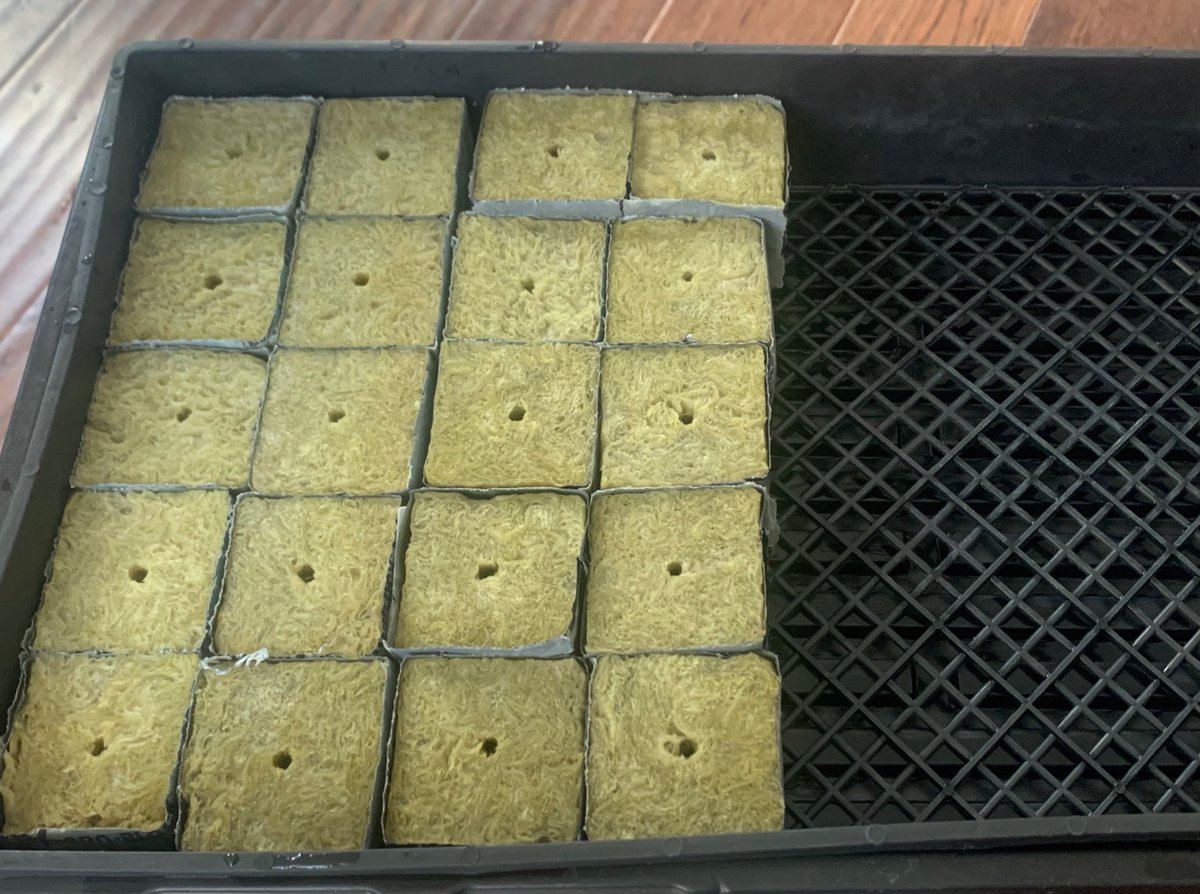
Here is the sterile dome setup w/ 2” cubes
These are larger than the 1.5” ones I most often use but these plants may sit in the cubes for a couple of weeks, so big is good
Note the mesh tray insert - this creates an airspace below the cubes (optional). Perlite also works well
These are larger than the 1.5” ones I most often use but these plants may sit in the cubes for a couple of weeks, so big is good
Note the mesh tray insert - this creates an airspace below the cubes (optional). Perlite also works well
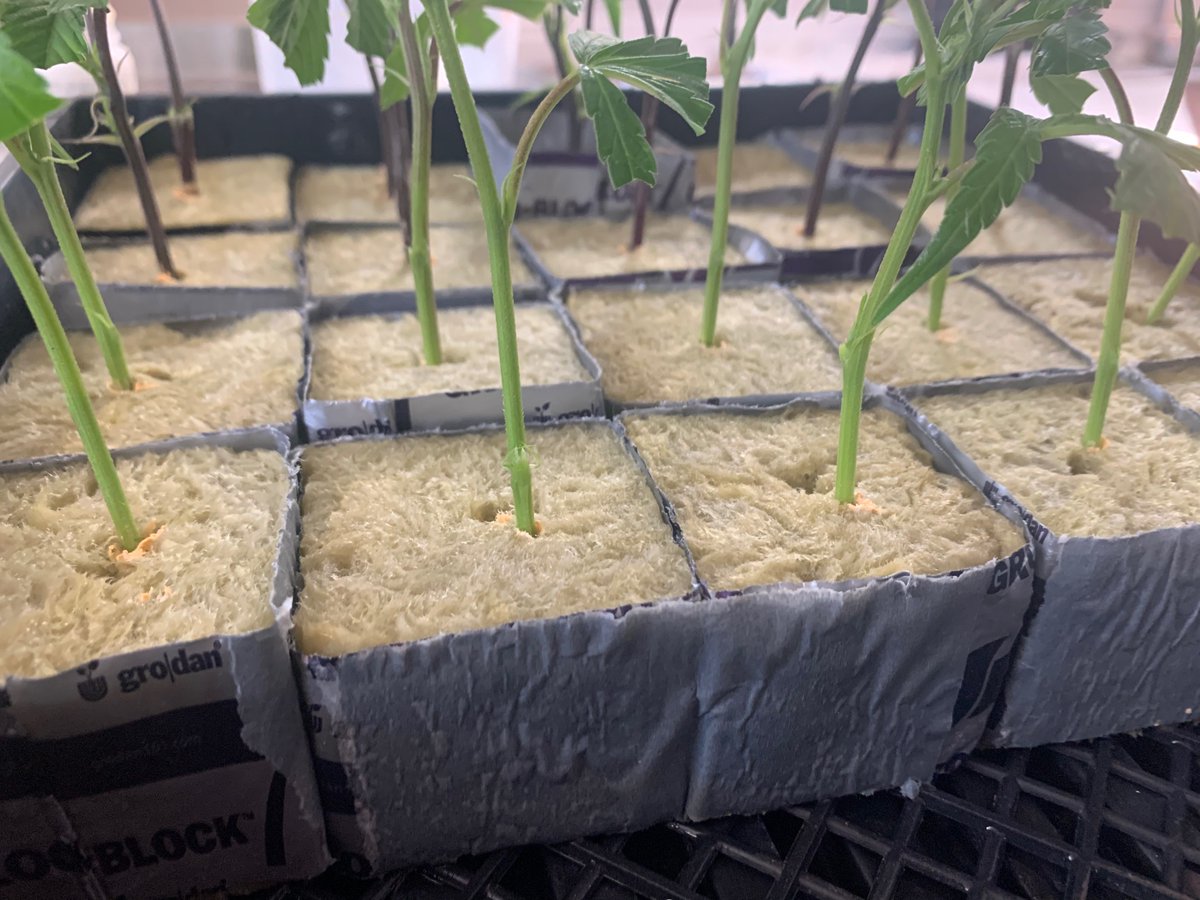
So would say not necessary, but I like to poke a small guide hole w/ a sterile tool: scissors, plastic/metal chopstick, yada. Something that will allow the stem to push through
These stems were fairly girthy so it seemed a good idea, thin stem plants seem to appreciate the help
These stems were fairly girthy so it seemed a good idea, thin stem plants seem to appreciate the help
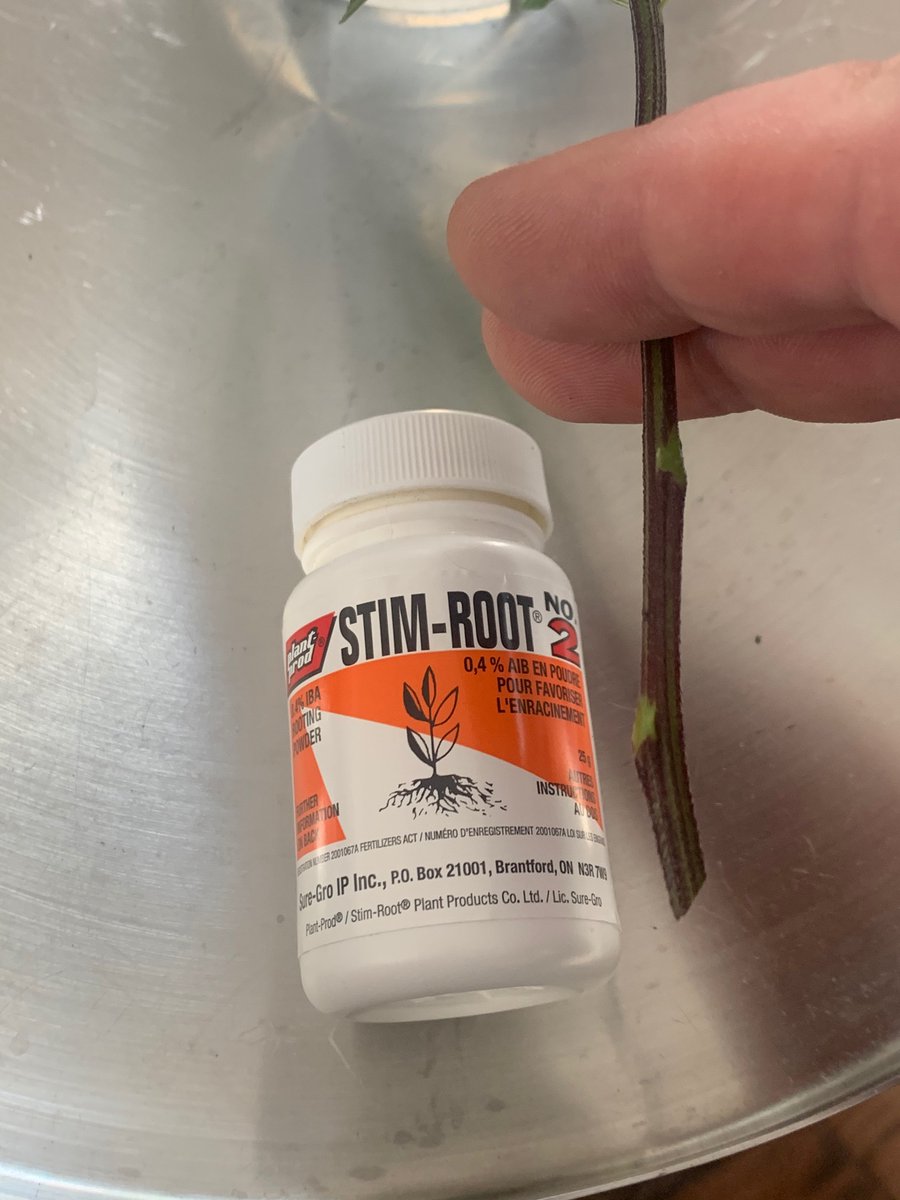
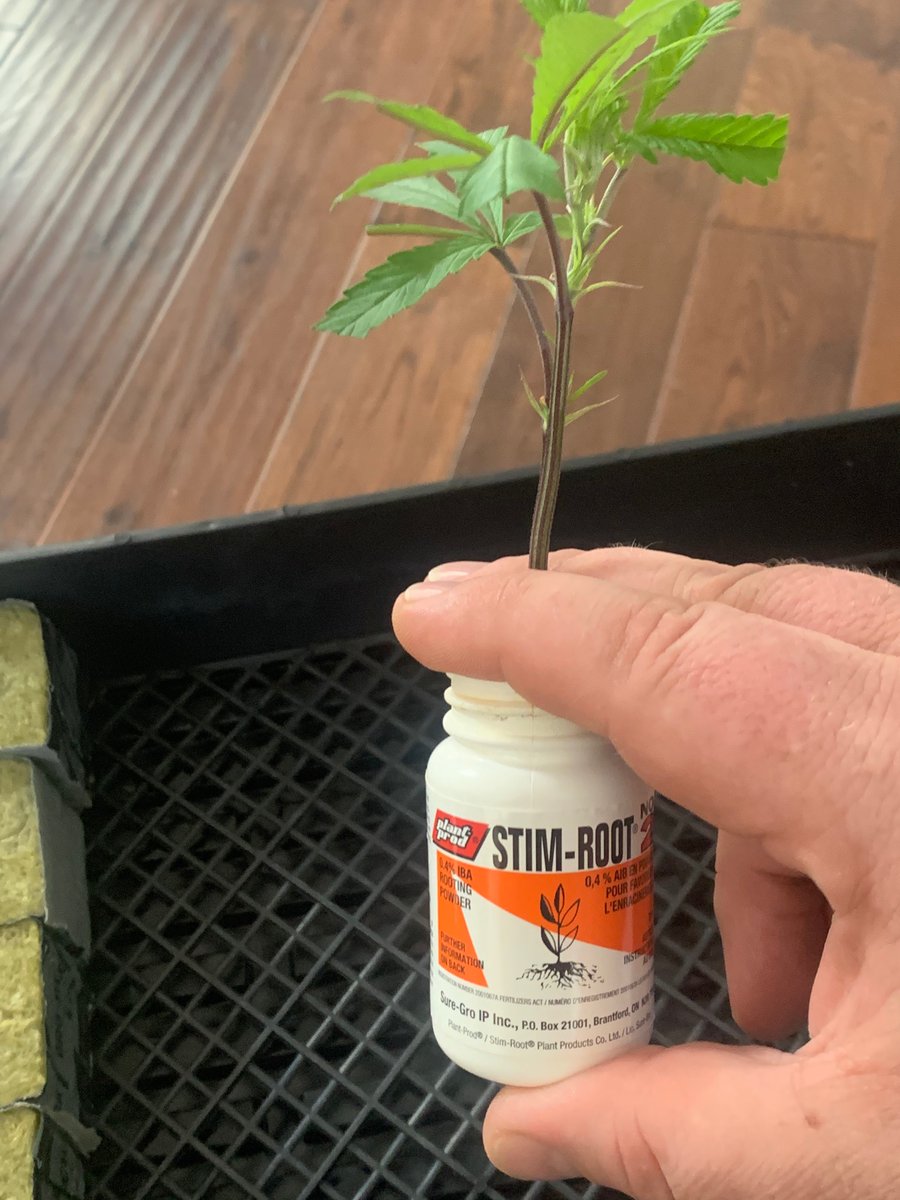
I prefer rooting hormone powder rather than gel
I buy large bottles & refill smaller containers like these, there for keeping the source uncontaminated
Take the cutting out of the water, shake off the excess water so the stem is just a little moist
Handle your stem thusly:
I buy large bottles & refill smaller containers like these, there for keeping the source uncontaminated
Take the cutting out of the water, shake off the excess water so the stem is just a little moist
Handle your stem thusly:
Dip the clone in the rooting powder, sealing the jar with your fingers
I give it a little shake to completely coat the stem
I give it a little shake to completely coat the stem
I like to hold the cube in such a way that I can feel when the step tip hits the bottom, then pull it back a little bit
2 rows of the same cultivar
Don’t forget to label your rows!!!
So important to track clones to a given plant, you will never forgive yourself when you find “the one” & can’t ID the clone copy (trust me) #NeverAgain
Don’t forget to label your rows!!!
So important to track clones to a given plant, you will never forgive yourself when you find “the one” & can’t ID the clone copy (trust me) #NeverAgain
The Mac 8’s have thinner stems
In fact I bored the holes a little wide
The stems are nice & rigid, so I pushed them in beside the hole
The important thing to remember while making cuttings is you want the stem moist, but with plenty of access oxygen
Soggy, wet is no bueno
In fact I bored the holes a little wide
The stems are nice & rigid, so I pushed them in beside the hole
The important thing to remember while making cuttings is you want the stem moist, but with plenty of access oxygen
Soggy, wet is no bueno
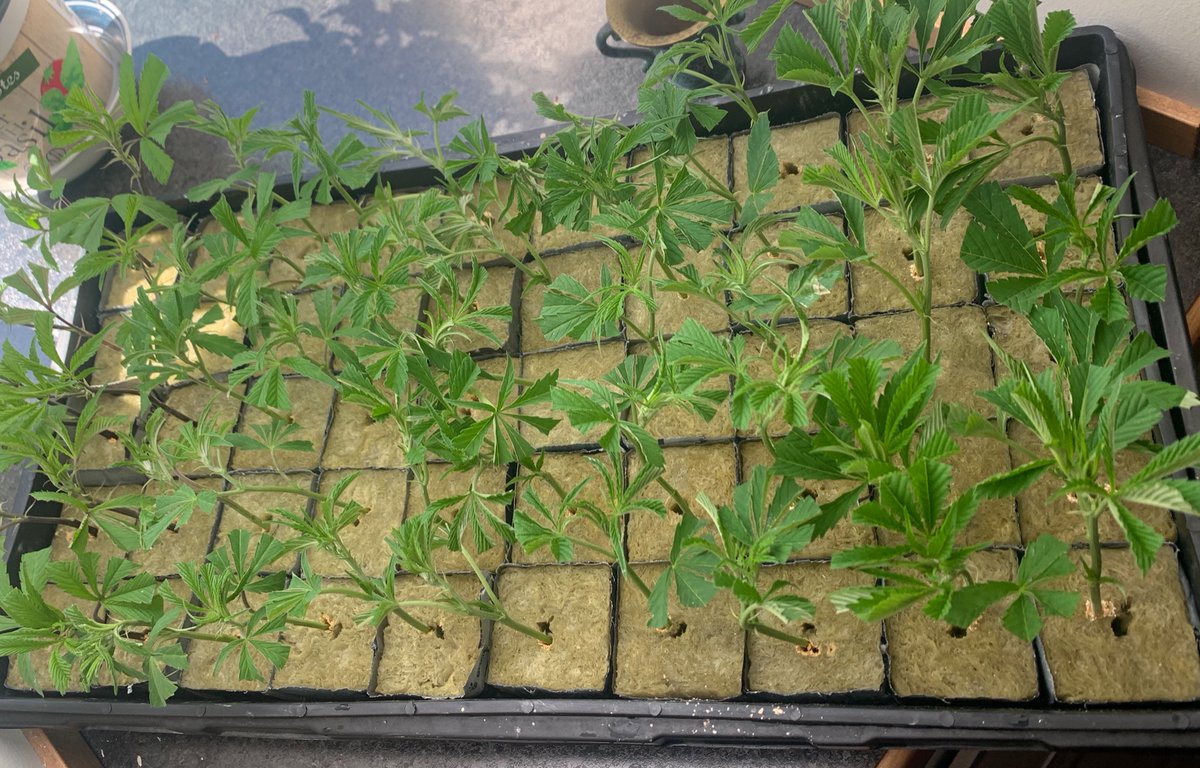
Don’t let unruly cuttings start pushing around the others in the tray, grab them and tough them up with a bend or push in the other direction
I move smallest cuts to the outside edge for best light access
After a day or so they will orient themselves towards the light source
I move smallest cuts to the outside edge for best light access
After a day or so they will orient themselves towards the light source
These will stay under indirect light, but fluorescent lights are fine
You don’t need a lot of light in fact direct light from the sun is too much in summer
This window has a white shade curtain which lets some light in- the basil in the back gets direct light, these are shaded
You don’t need a lot of light in fact direct light from the sun is too much in summer
This window has a white shade curtain which lets some light in- the basil in the back gets direct light, these are shaded
Don’t even think of removing the dome for 4-5 days unless you see dead or badly wilted cuttings. It’s rare but it can happen
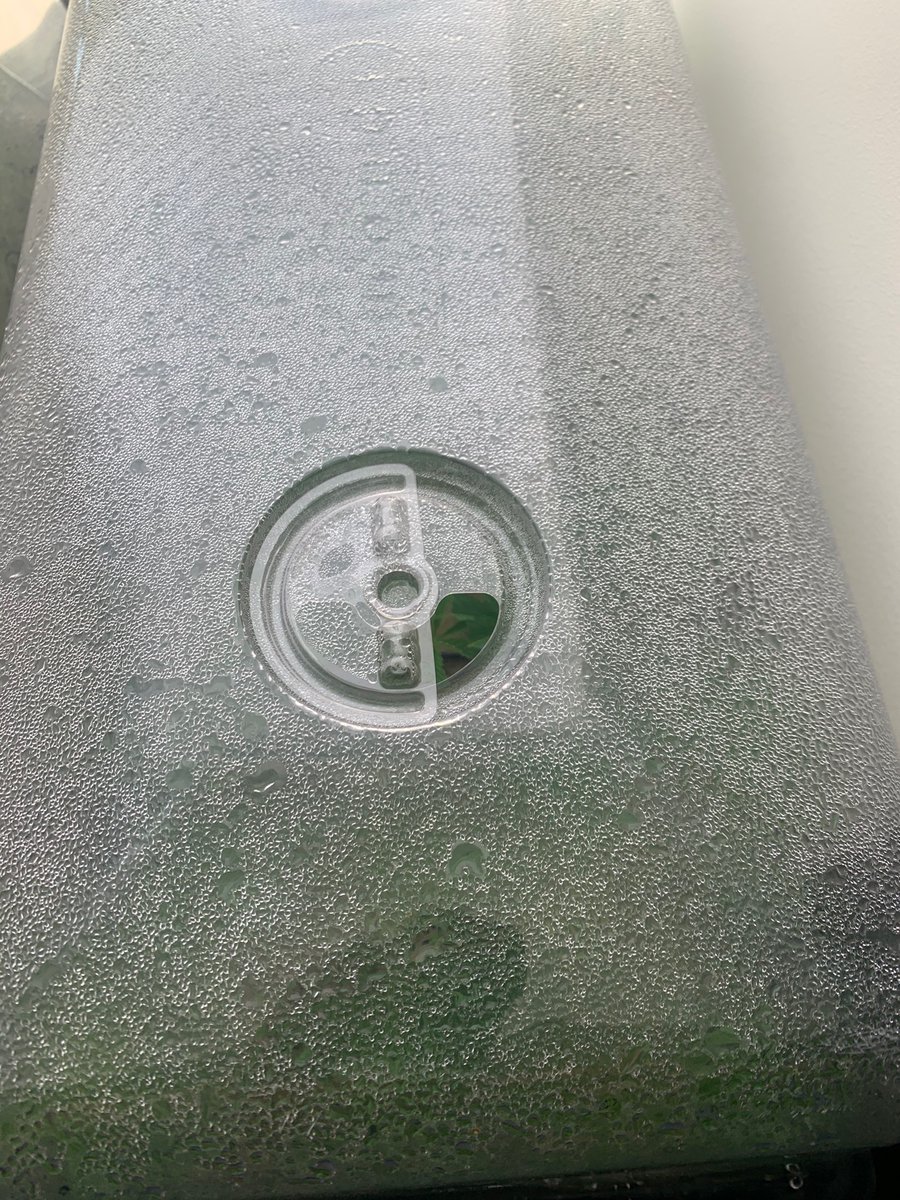
This dome has little wheel vents we’ll play with over the week
Otherwise will update as these come along, first sign of roots, when to remove dome, etc
This dome has little wheel vents we’ll play with over the week
Otherwise will update as these come along, first sign of roots, when to remove dome, etc

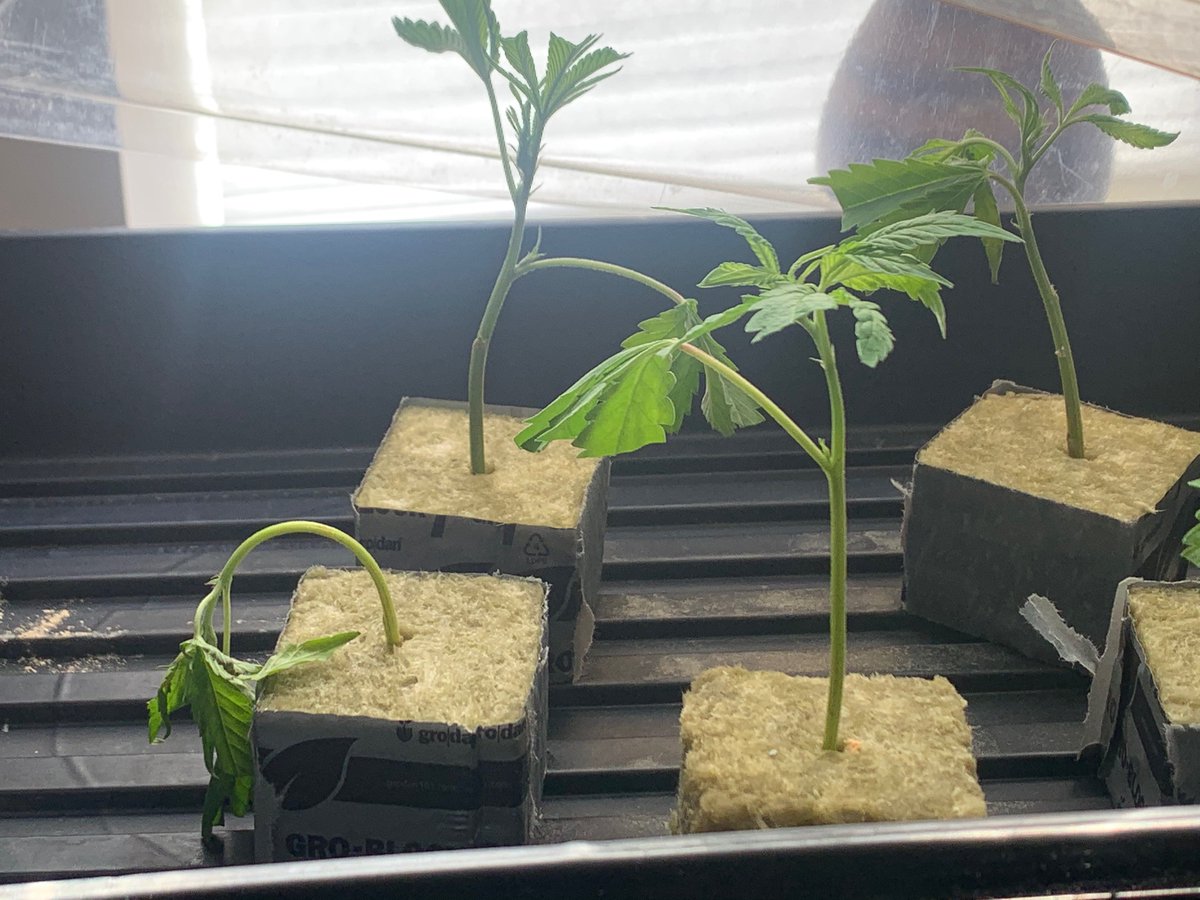
This is called 𝙏𝙪𝙧𝙜𝙤𝙧 𝙥𝙧𝙚𝙨𝙨𝙪𝙧𝙚
Turgor is what makes living plant tissue rigid
Loss of turgor, resulting from the loss of water from plant cells, causes leaves to wilt
Since everyone is turgid & humidity is very high under the dome, turned the vent dial 1/4 turn
Turgor is what makes living plant tissue rigid
Loss of turgor, resulting from the loss of water from plant cells, causes leaves to wilt
Since everyone is turgid & humidity is very high under the dome, turned the vent dial 1/4 turn

 Read on Twitter