Hello everyone! Christine here. Before we get started I have some notes:
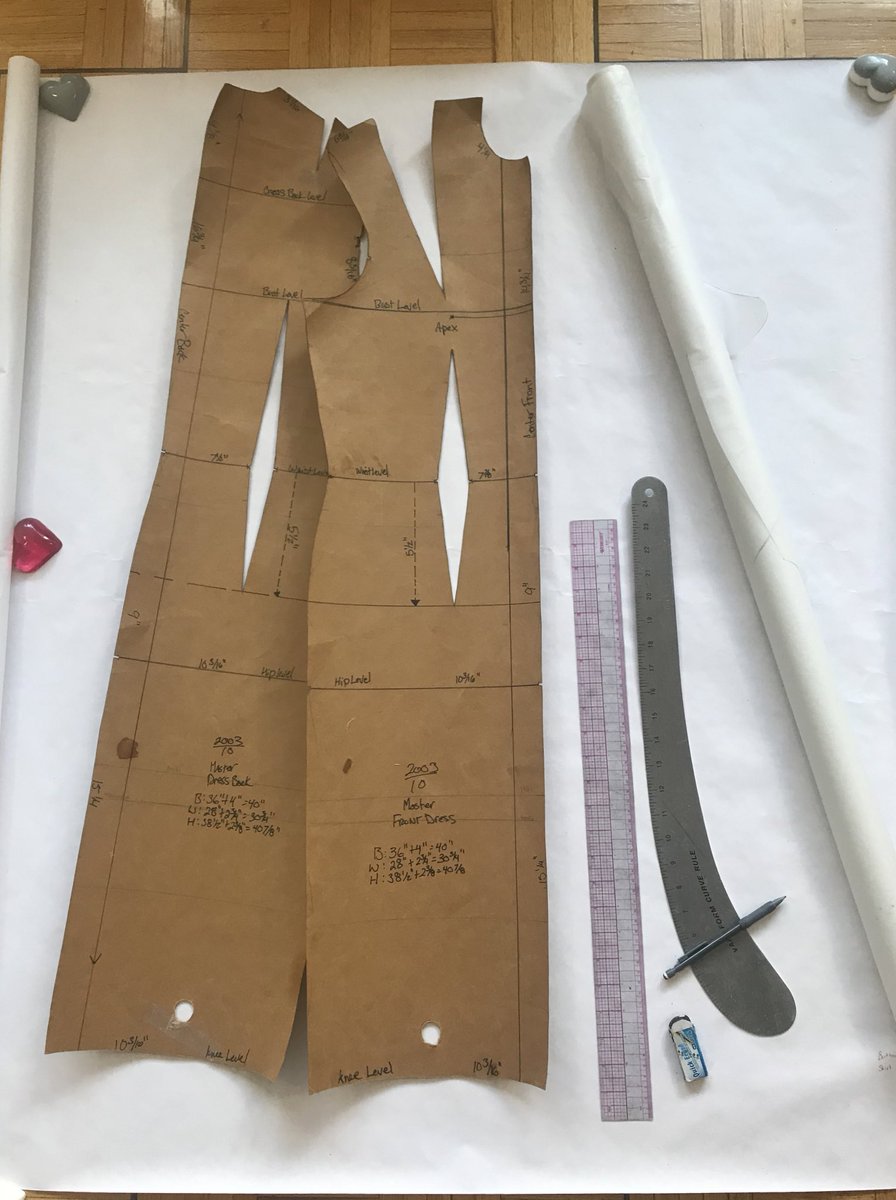
-I am drafting this from my blocks I own. Most commercial pattern companies have something similar to these for you to buy.
-I am drafting this from my blocks I own. Most commercial pattern companies have something similar to these for you to buy.
They are known as the "gingham dress" because you can use the 1" square pattern in the fabric to line up and measure where to let out and take in seams to fit you properly. This is the most basic dress. it's kinda ugly but you can make anything from it.
These are the ones I have found thus far:
https://mccall.com/m2718
https://mccall.com/b5627
https://mccall.com/v1004
https://mccall.com/m2718
https://mccall.com/b5627
https://mccall.com/v1004
You can also find them online digitally. But if you work with commercial patterns normally, I would suggest sticking with the commercial ones to keep you in the same size range.
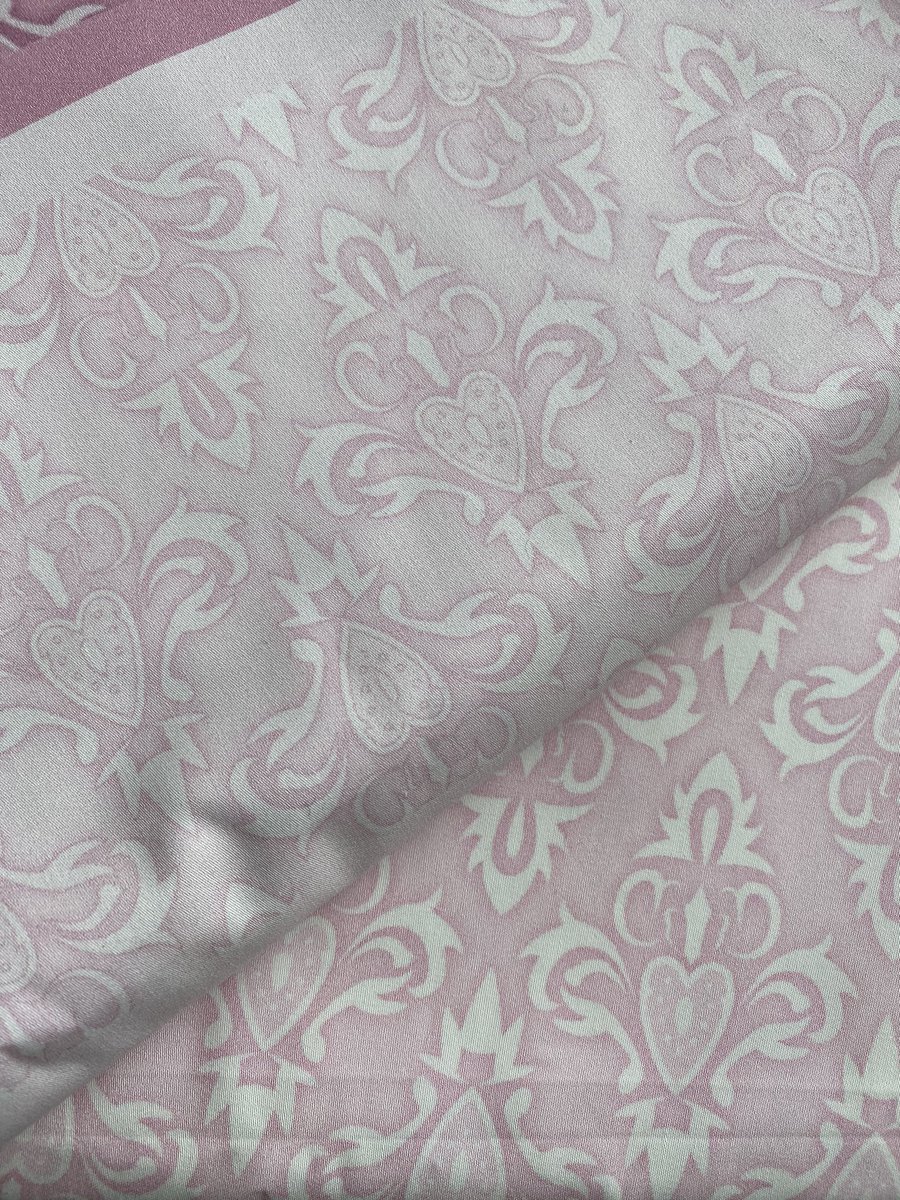
- I am using our first pass at the new Aerith fabrics for this dress. Jenn and I will be tweaking it a bit before we put it up for sale.
We have 2 fabrics for her this time around, an all over print for the dress, and a border print that includes:
-bottom ruffle
-bottom trim
-lattice work and more than enough pink to make matching bias tape
-bottom ruffle
-bottom trim
-lattice work and more than enough pink to make matching bias tape
All you will need for the draft is:
-block
-paper to draft in
-tracing paper or tissue paper to transfer your pattern
-see through ruler
-French curve
-pencil and eraser
The writing in the bottom corner is my skirt length and how wide my buttons are.
-block
-paper to draft in
-tracing paper or tissue paper to transfer your pattern
-see through ruler
-French curve
-pencil and eraser
The writing in the bottom corner is my skirt length and how wide my buttons are.
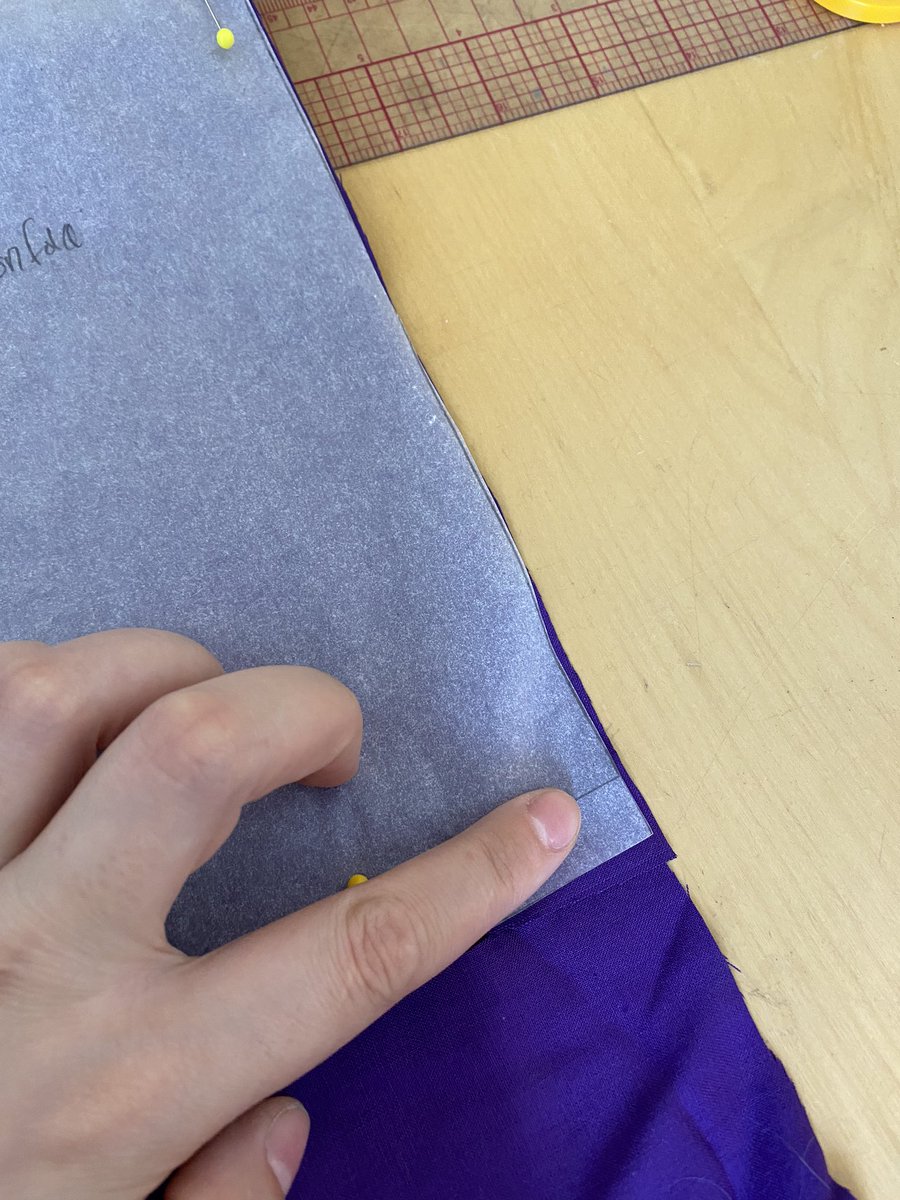
The first thing is to just trace off the blocks. You will need to transfer the bust dart of the commercial patters (where my ruler is) to the shoulder. To do this, find the middle of the shoulder and mark it.
If the pattern doesn’t have a bust Apex, you can make one by marking off 1 inch above the waist dart. To transfer the dart, you trace off all of the front but the shoulder dart, then turn the pattern using the apex as your pivot point to close one dart and open the other.
This is really hard to do by myself haha, but this is what I mean when I say pivot on the apex. You literally just turn and line up the block pieces.
With blocks/fitting dress they are made for sleeves, so there is ease for sleeves. This is extra fabric in the bust area so that you can still lift your arms in dresses made out of woven fabric. When you want to convert it to sleeve less you need to remove this ease.
On my blocks it’s an extra 4” so I removed 1” from the side seams. When adding/removing ease, you need to do it to all pieces evenly. I am currently treating it as 2 front and 2 back pieces so I needed to remove 1” from each.
I also marked off 3” from the bust apex (basically where your nipple is) this will be the start of the bust cups in the dress.
The back just needs to be lined up to how much you drop the front. I am slightly bigger than my block so I am just nixing the darts in the back.
For the bust cups I extended the cup by 1/2” on both sides to make the curve nicer. I then added the extension for the buttons. You want to keep buttons in the centre of your project, so you need to add half of the button’s width to the outer edge to not loose space.
In the case of Aerith, there is bias tape down the front so I had to add that to my extension as well. My buttons are 1/2” wide so my extension is 1/4” + 1/2” bias tape = 3/4” extention.
Buttons must be at the neck/bust/waist to keep a garment closed but after those are marked, you just need to split the measurement into how many buttons you’d like.
I got lucky and mine worked out to be 2” apart.
Now on to the skirt and it’s time to pull the pattern.
I got lucky and mine worked out to be 2” apart.
Now on to the skirt and it’s time to pull the pattern.
(The paper I’m using to draft on hates my erasers haha)
The skirt is one big rectangle, with hidden pockets on the side. You can draft the pockets on the inside, but I prefer to do them on the outside so I can add at 1/2” lip of the real fabric before the pocket lining to hide it
The skirt is one big rectangle, with hidden pockets on the side. You can draft the pockets on the inside, but I prefer to do them on the outside so I can add at 1/2” lip of the real fabric before the pocket lining to hide it
The front doesn’t need seam allowance since it is being covered in bias, so if you did not want to make 2 skirt patterns, you could use the same piece for both the front and back, just make sure you mark the buttons/button holes and to cut the back on the fold.
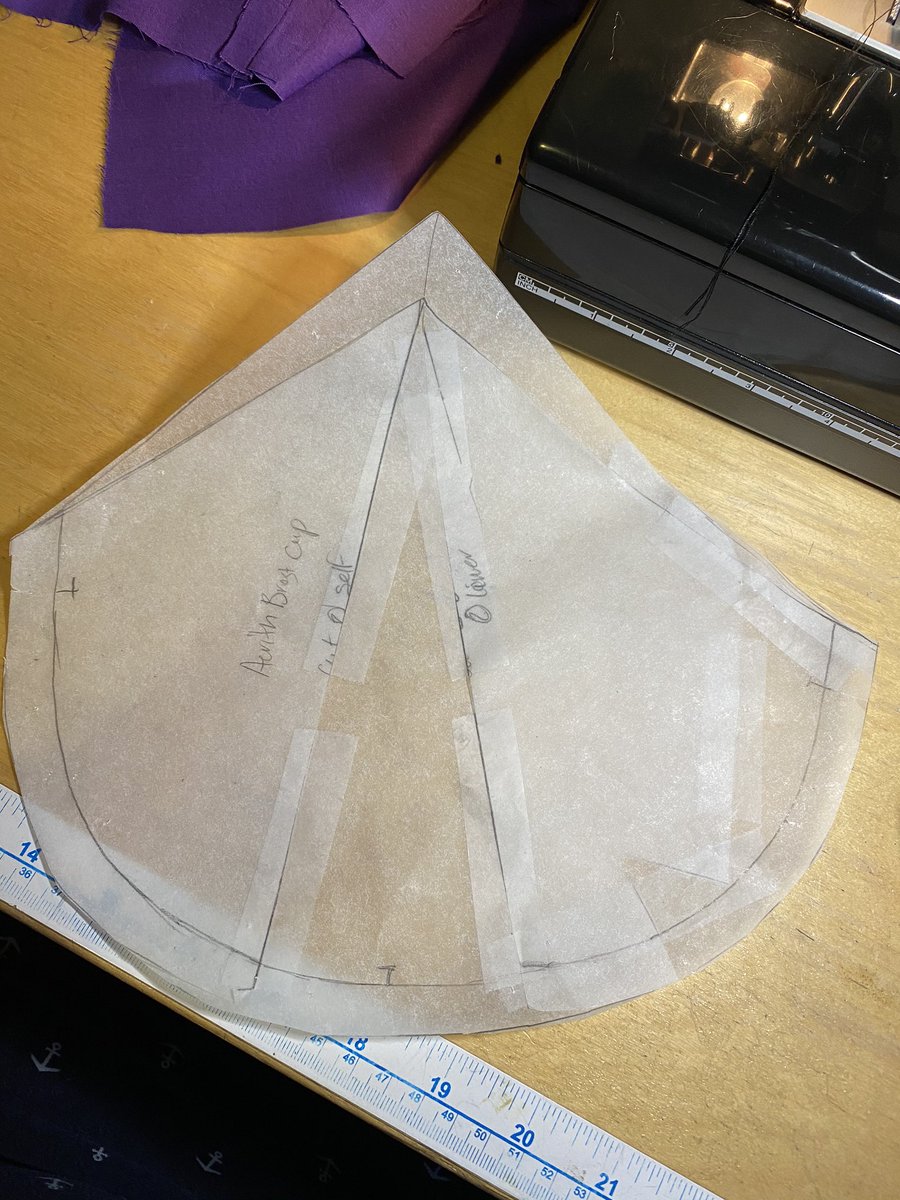
This is why the bust dart needs to go to the shoulder. When you trace off the cup, you trace one side, then line up the top and trace off the other, closing the line on the bottom to creat gathering. I opened mine further to add in a couple of inches of gathering.
The notches on the sides are 3/4” from the edge so that there is no gathering where the bias tape will be stitched down.
And that is the entire pulled pattern!
That’s all for tonight! I have tons of prewashed fabric to iron now.
That’s all for tonight! I have tons of prewashed fabric to iron now.
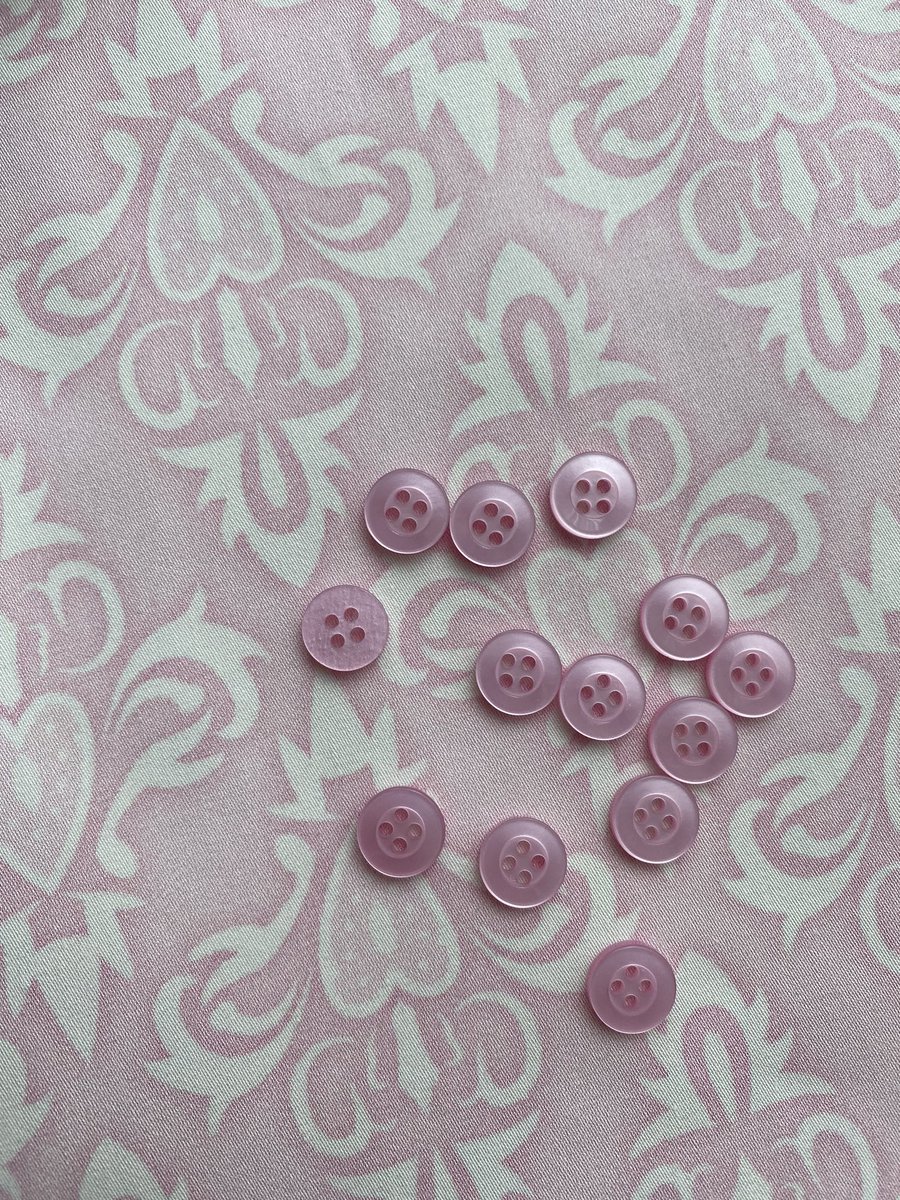
My buttons should be here tomorrow 

 so I will be doing a sew along with me on Sunday for the mock up and the finished dress!


 so I will be doing a sew along with me on Sunday for the mock up and the finished dress!
I appoligies for not following up on this!
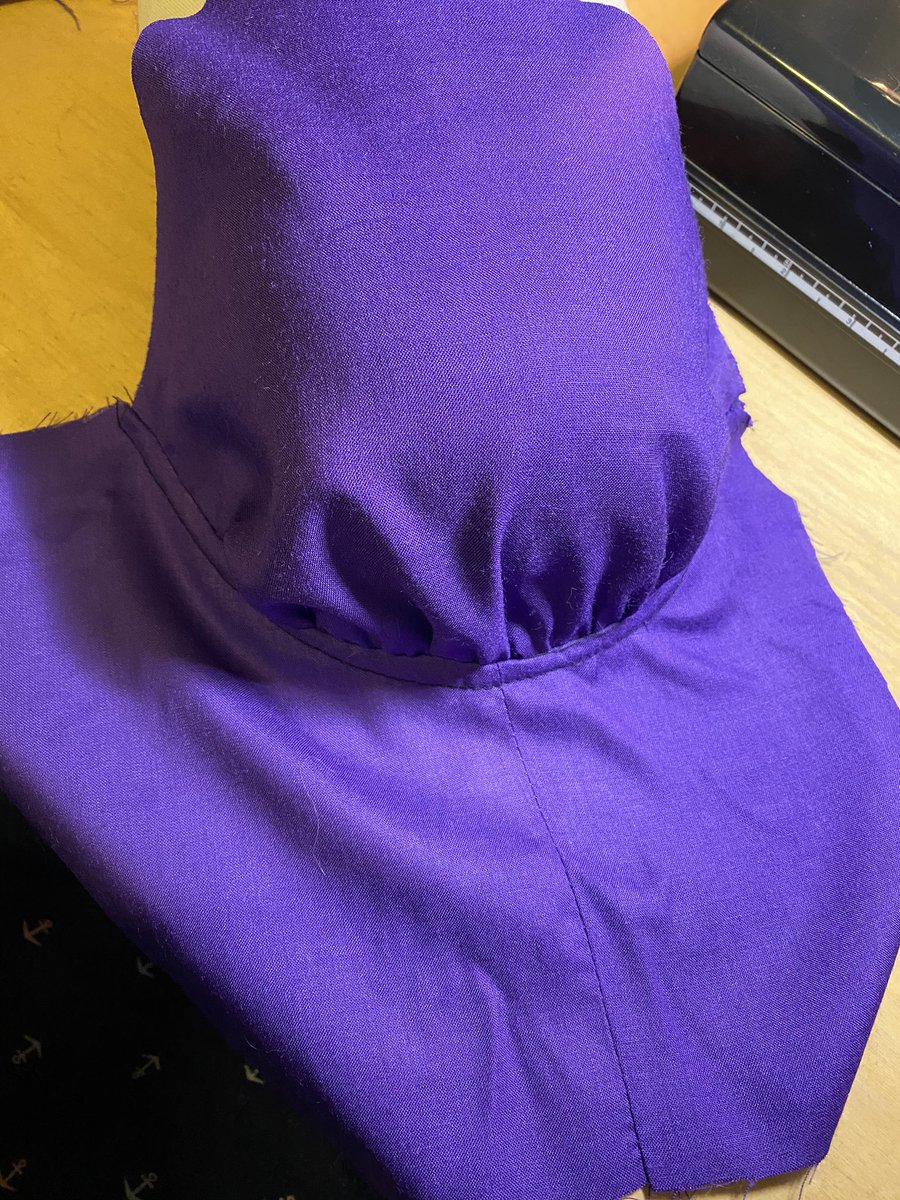
I am sewing the dress tonight! First up the mock up.
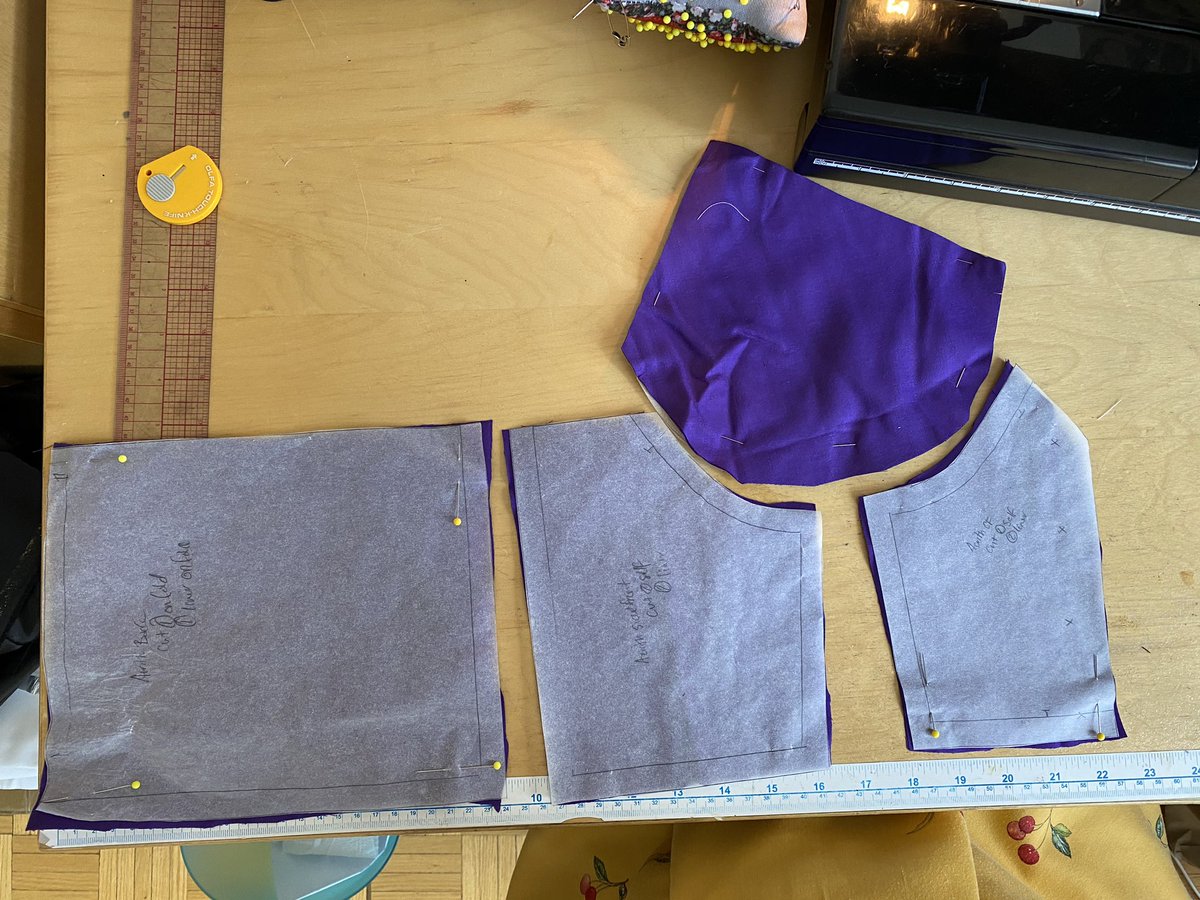
You only need to fit the bodice of the dress as the skirt is just a gathered rectangle. (But breast cup was cut upside down just to fit the pieces better)
I am sewing the dress tonight! First up the mock up.
You only need to fit the bodice of the dress as the skirt is just a gathered rectangle. (But breast cup was cut upside down just to fit the pieces better)
Some notes on my pattern:
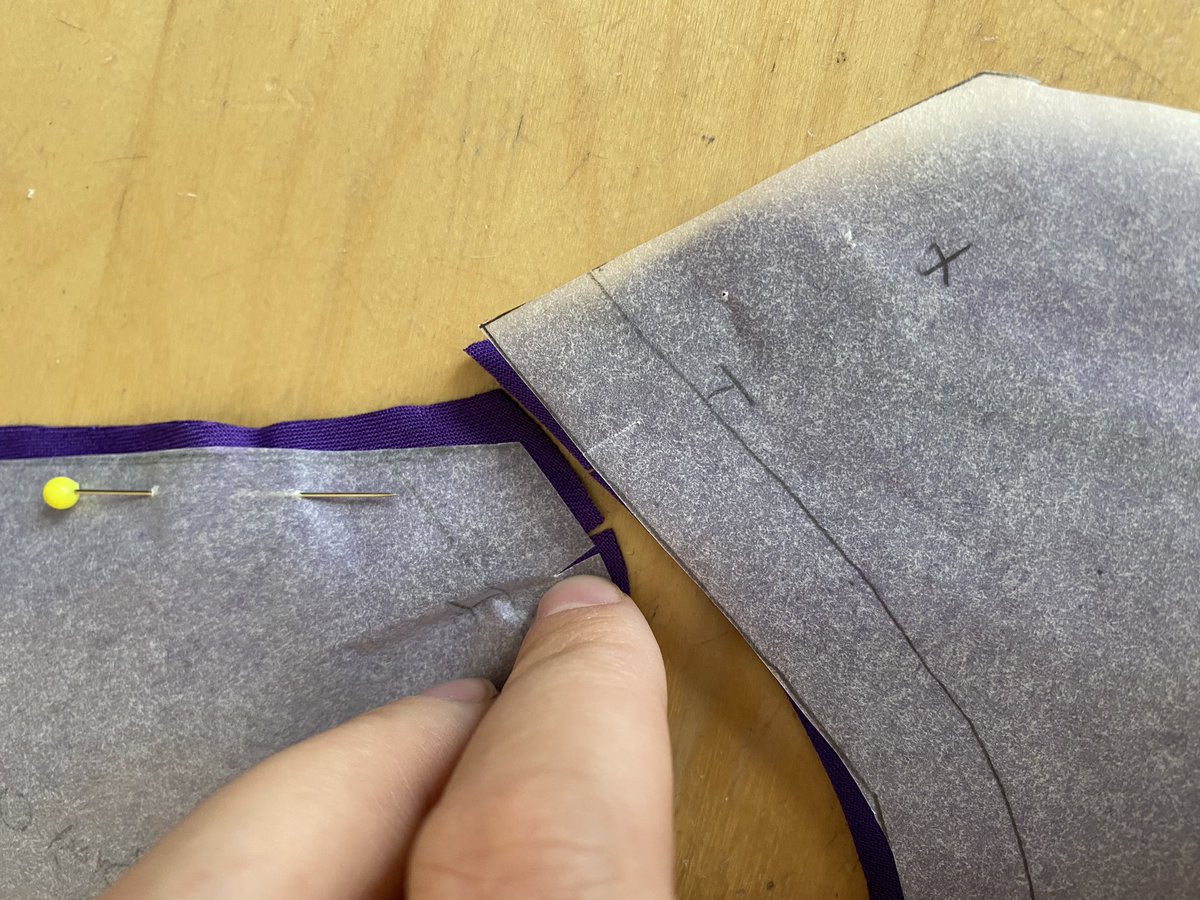
This notch on the waist doesn’t need to be cut for the mock up. This is just my marker for where the gathering stops before the edge so that is doesn’t go into where the buttons sit.
This notch on the waist doesn’t need to be cut for the mock up. This is just my marker for where the gathering stops before the edge so that is doesn’t go into where the buttons sit.
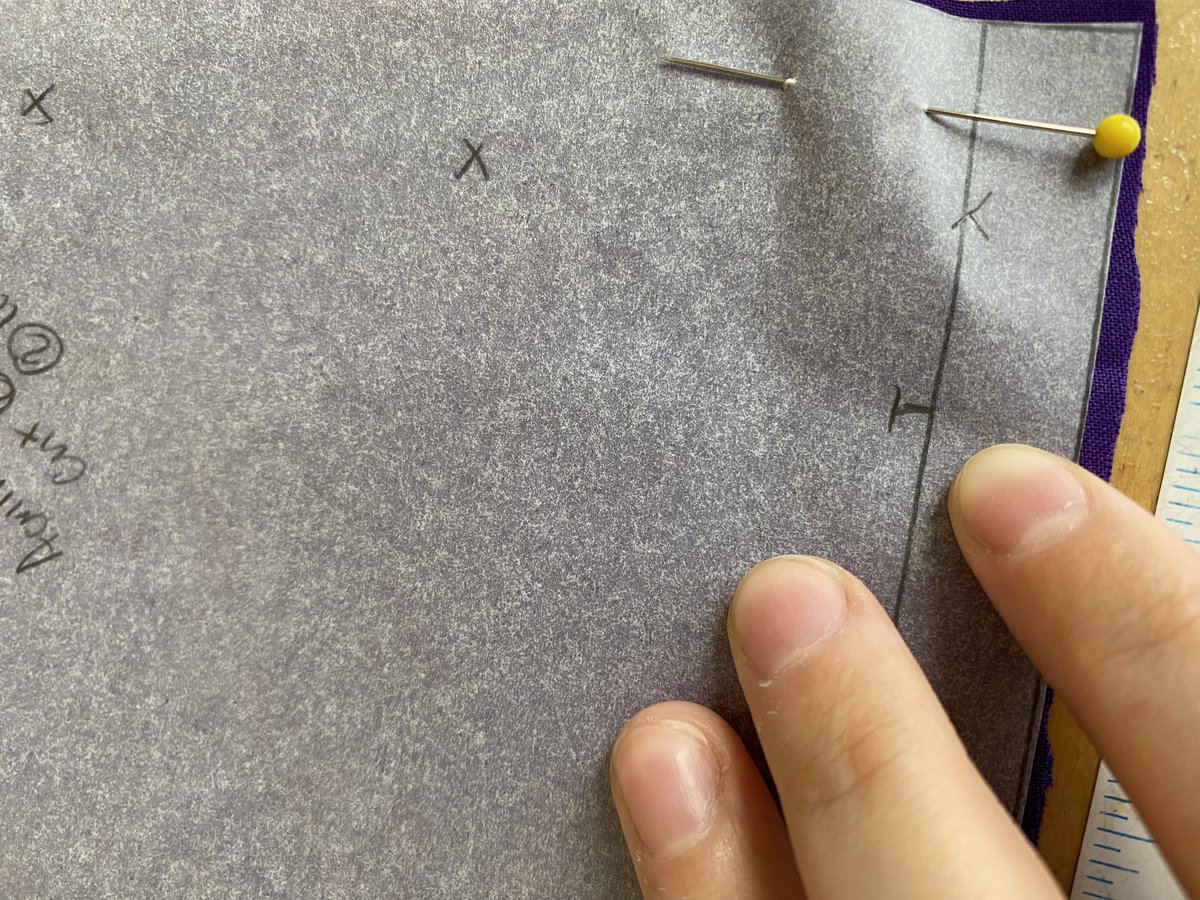
The same for these notches on the bodice and breast cups. I stoped them 3/4” away from the edge so that I don’t have bulk in my 1/2 wide bias tape.
And lastly the top of all the bodice pieces and breast cups, along with the front edge do not have seam allowence on them. You do not need any when you are finishing the edge with bias.
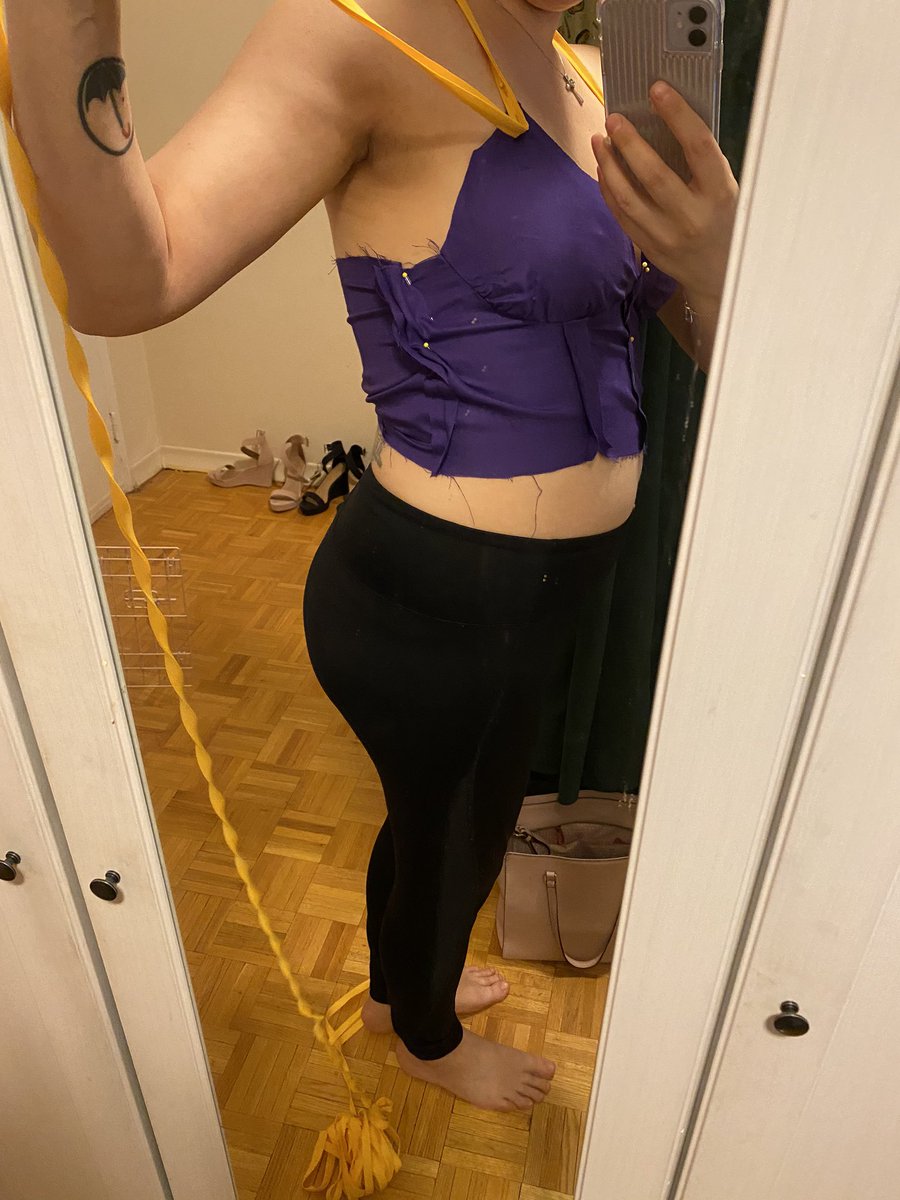
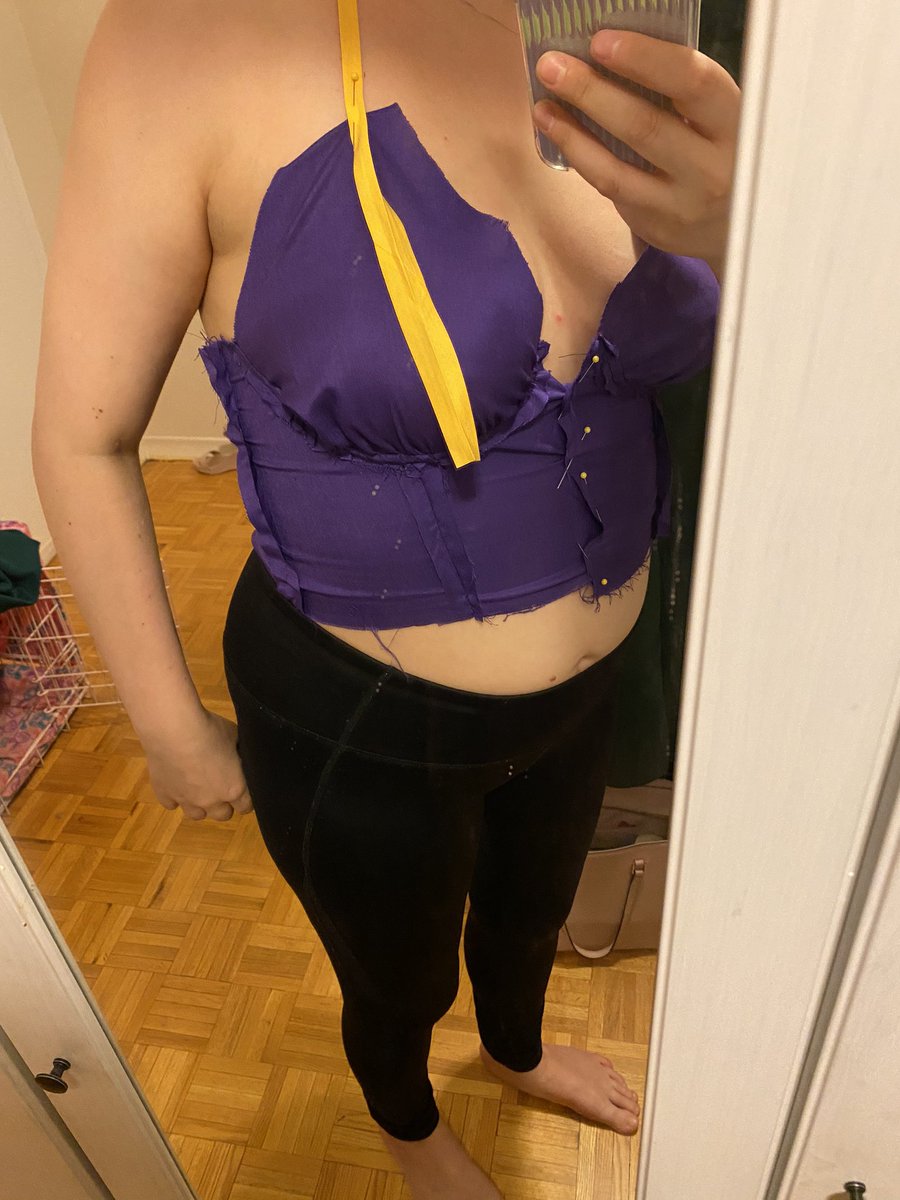
I took a break to grab some dinner, but the first mock up is done. If I only had minor alterations I would just after and start the final. But as you can see I have a lot like my bias tape strap stand in.
I am going to:
-add more gathering to the breast cups. I had previously added 4 inches but that was not enough.
I have to remove about 3 inches from the top and about an inch from the waist.
-add more gathering to the breast cups. I had previously added 4 inches but that was not enough.
I have to remove about 3 inches from the top and about an inch from the waist.
-try adding an underwire to see if that pulls the middle in or if the floating is just from the pull of my breasts in my cups.
On to alterations and mock up no. 2
On to alterations and mock up no. 2
For the cup I slashed it open in the Center of the cup and added 3 inches. I also added 1” to the top because I didn’t like where it sat.
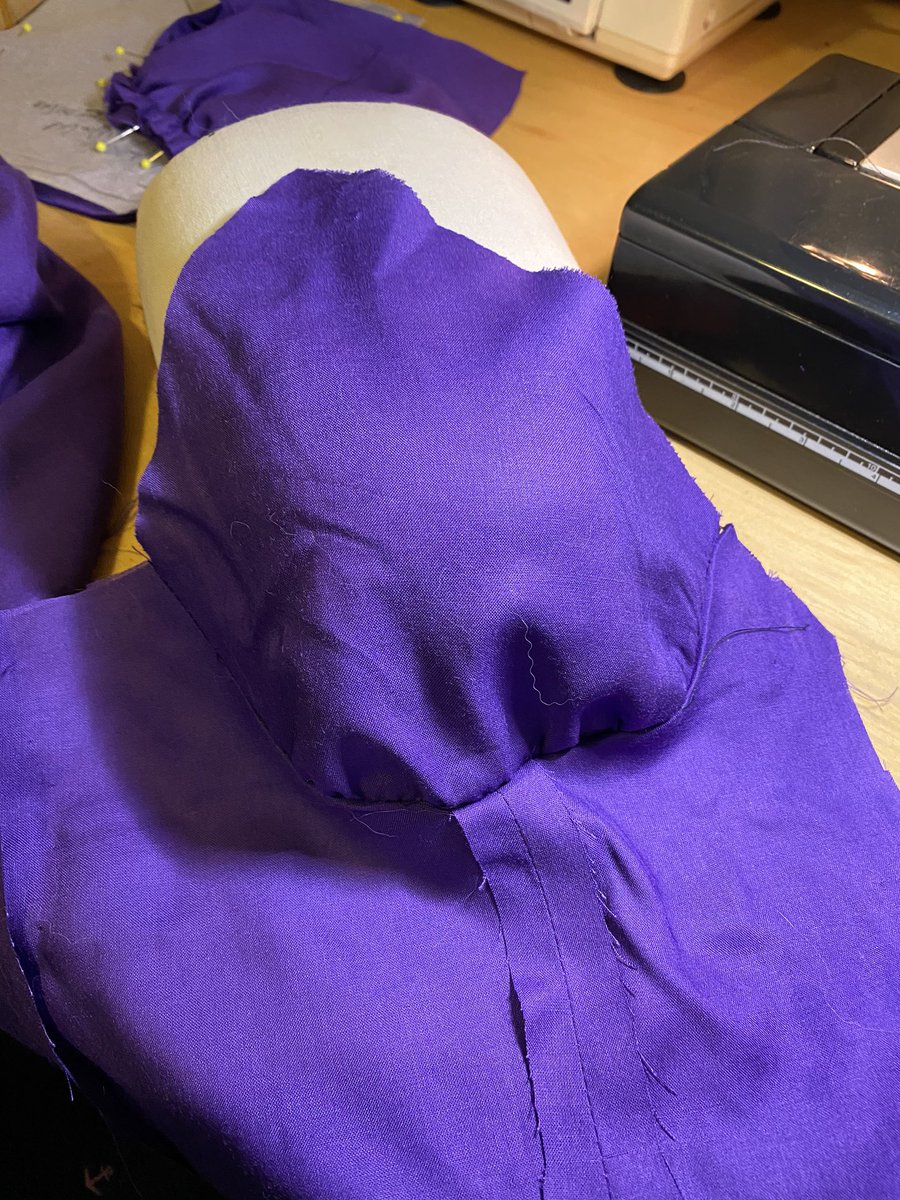
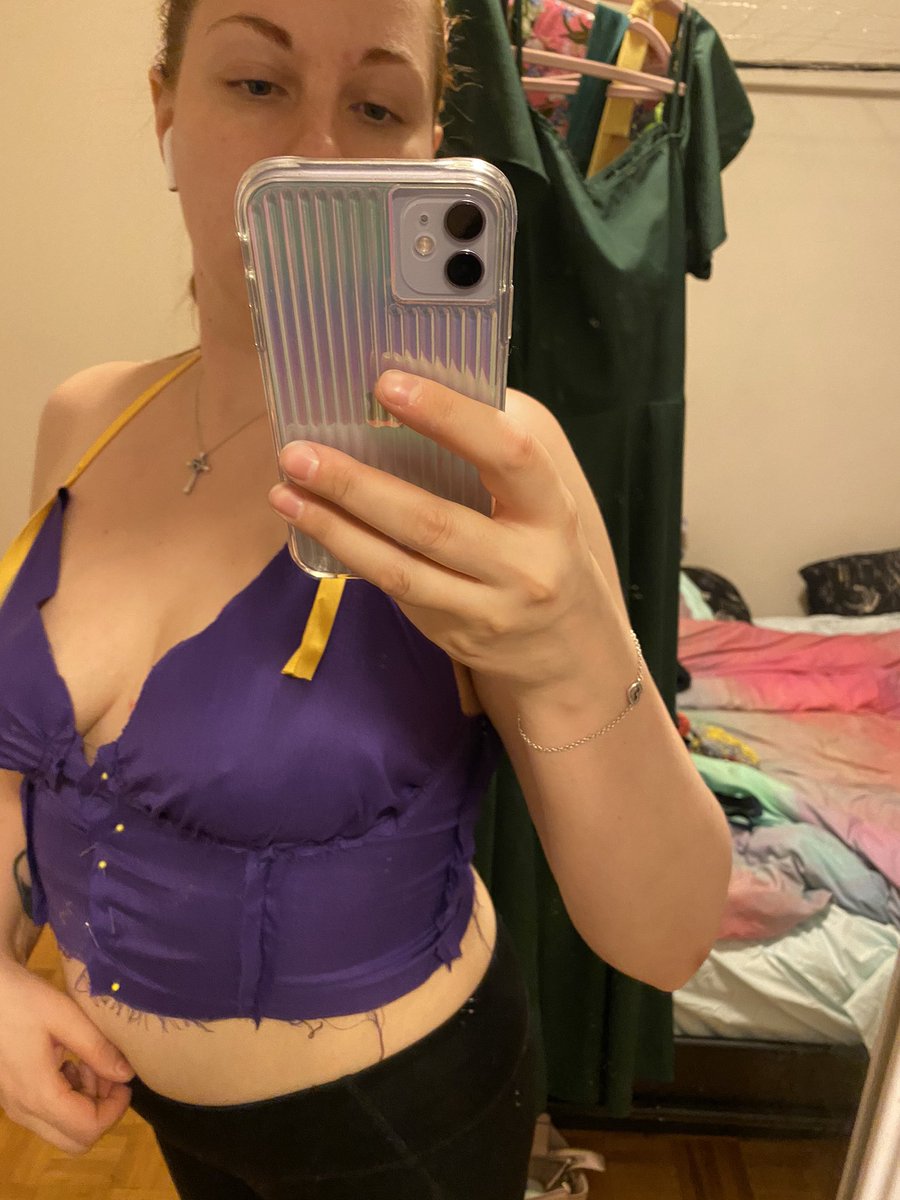
As you can see from mock up 1 to 2 the added bulk and underwire help to shape the cup nicer.
As you can see from mock up 1 to 2 the added bulk and underwire help to shape the cup nicer.
I have D cup sized breasts so I am taking extra support steps for me. Because the design has the bias underbust detail, I can just completely hide the casing for the underwire in there.
So I tried it with both the underwire (L) and no underwire (R), and I decided that the underwire exploded just a little too much of me. However from adding in all that extra fabric the cups fit much better now.
There is some slight bubbling in the first photos because it is pinned as a haulter top which it is not meant to be, when I pull the step over my shoulder the way it should be, they all disappear.
I am going to let it out slightly at the waist and then on to the final tomorrow!
I am going to let it out slightly at the waist and then on to the final tomorrow!
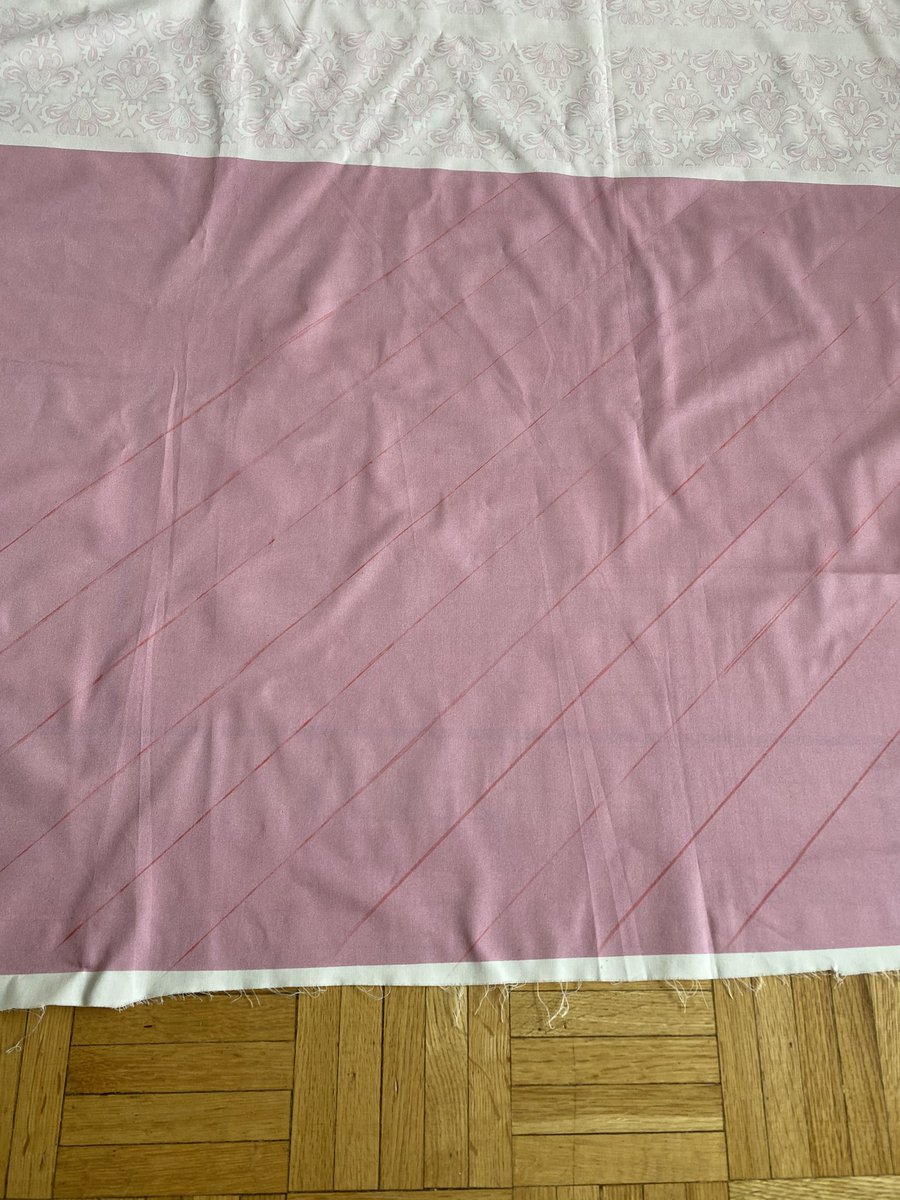
The bottom of the trim panels is just a solid dark pink to make matching bias tape.
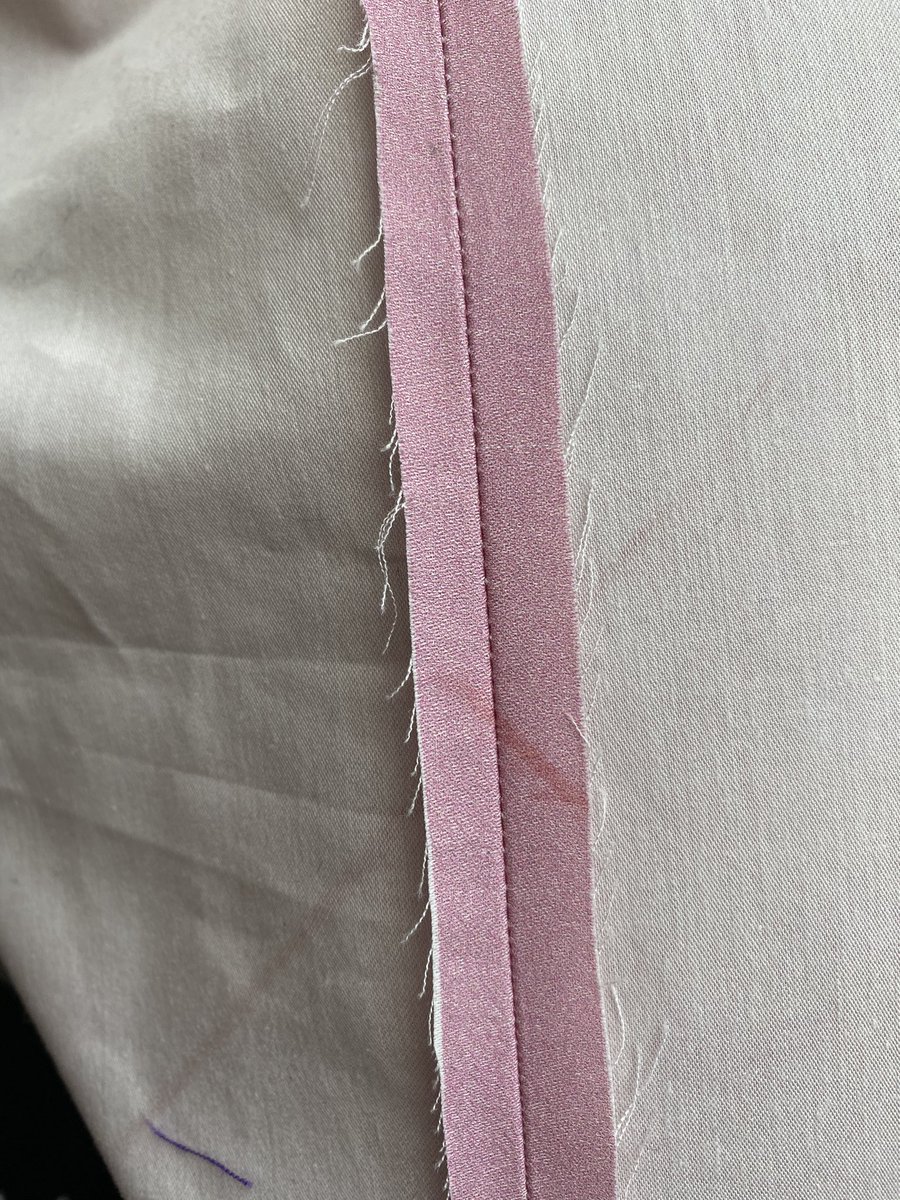
For anyone that hasn’t made bias tape before, it is called that because it is cut on the bias for woven fabric. The bias is a 45 degree angle from the grain and cross wise grain.
For anyone that hasn’t made bias tape before, it is called that because it is cut on the bias for woven fabric. The bias is a 45 degree angle from the grain and cross wise grain.
To cut bias, you want to mark off your lines with either a dress makers’ pen or tailor’s wax, not chalk. You want this to sta on while you work with it.
Find the bias (if you have a quilting rule it is super easy as it has angles printed on it!) and mark off your line. Then keep tracing off lines until you cross the entire bottom.
I am doing 1/2” wide bias for this, so I marked off 2” wide sections to fold down.
I am doing 1/2” wide bias for this, so I marked off 2” wide sections to fold down.
You want to make sure that your bias tape is 4 times wider than how wide you want the finished width. Then cut out the ends and the outer edges of the bias. Do not cut all the strips out yet.
You’ll end up with a shape like FE first photo. When pinning it together, you need to line up the marks you made, off setting the the first line. Once this is sewn you cut along that line to make your bias.
Note: I have right sides out just to show the way it lines up.
Note: I have right sides out just to show the way it lines up.
When you pin it together, you will get a really weird shape like this (why I showed how to line it up with the right sides. )
Just keep cutting, cutting, cutting.
But slowly, take your time. You want it to all be nice, straight, and even.
But slowly, take your time. You want it to all be nice, straight, and even.

 Read on Twitter
