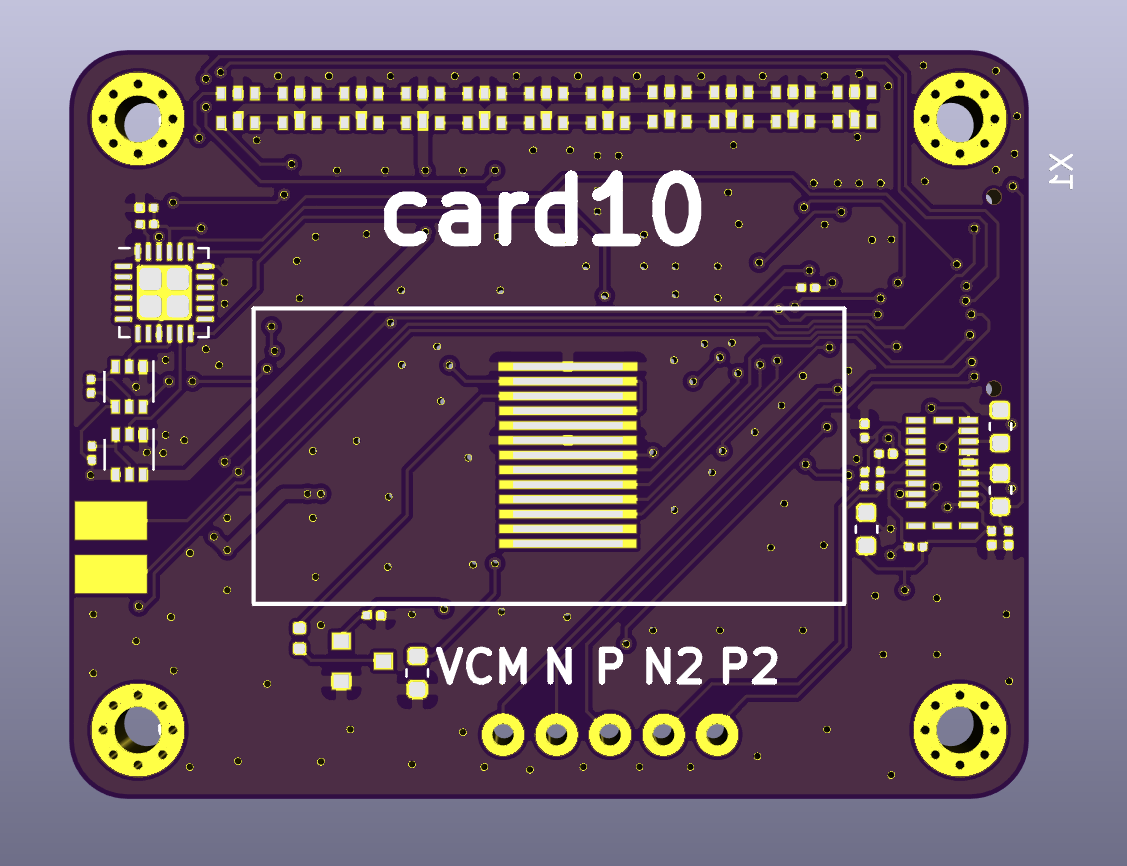
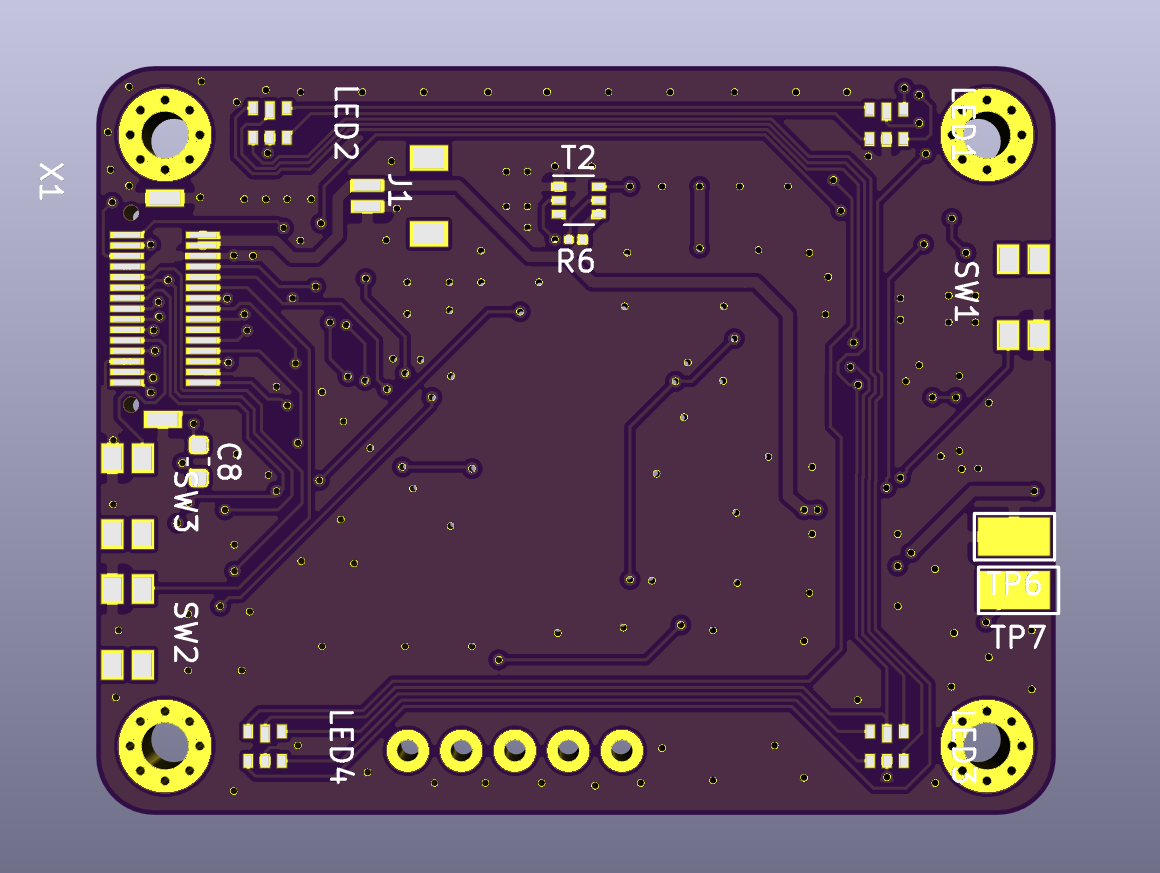
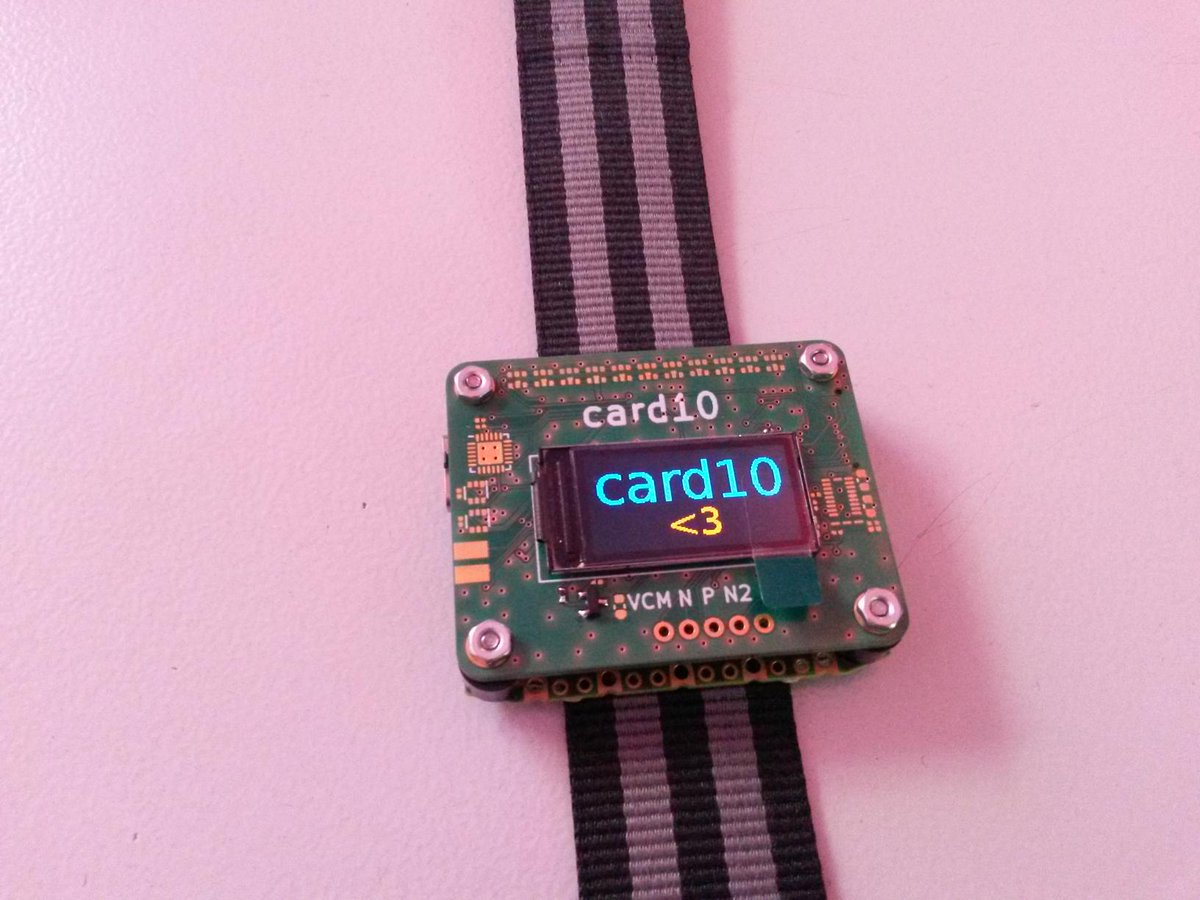
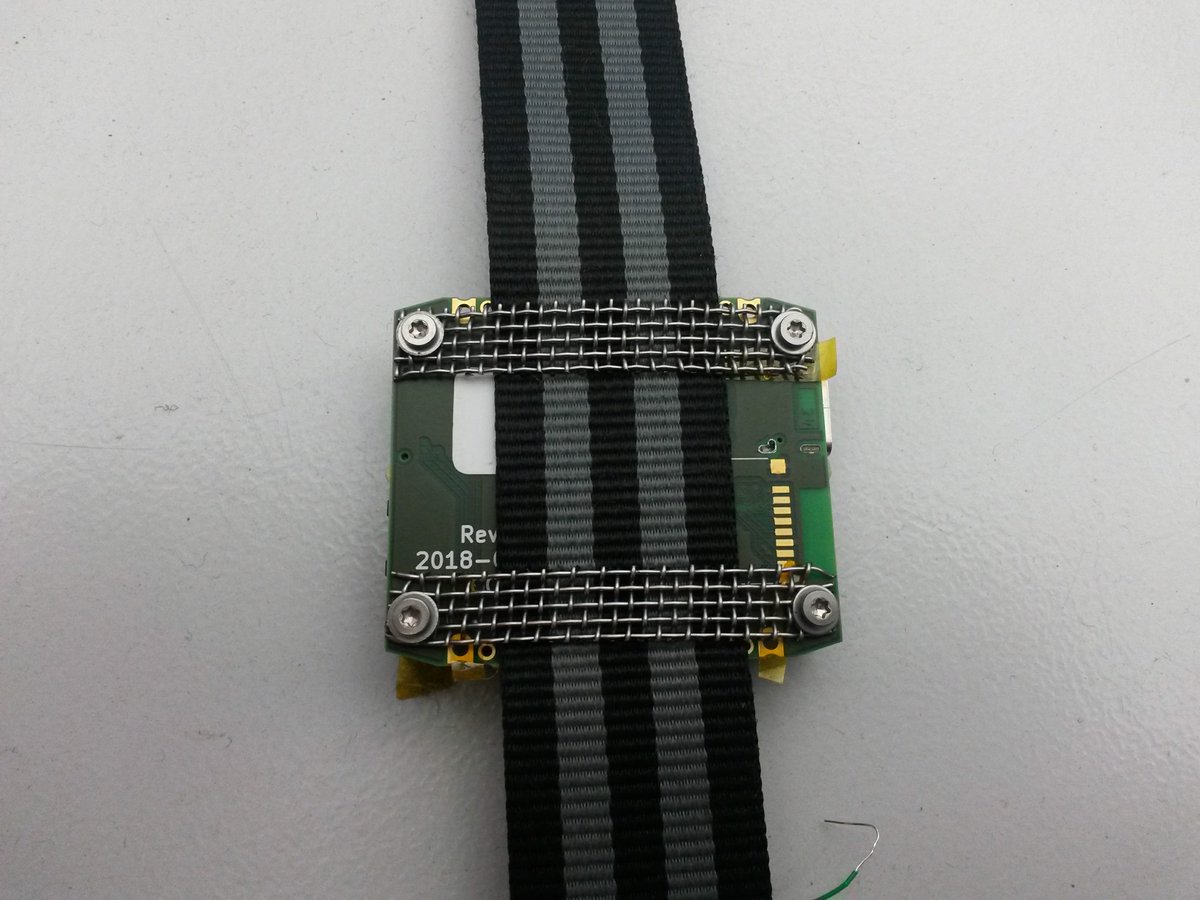
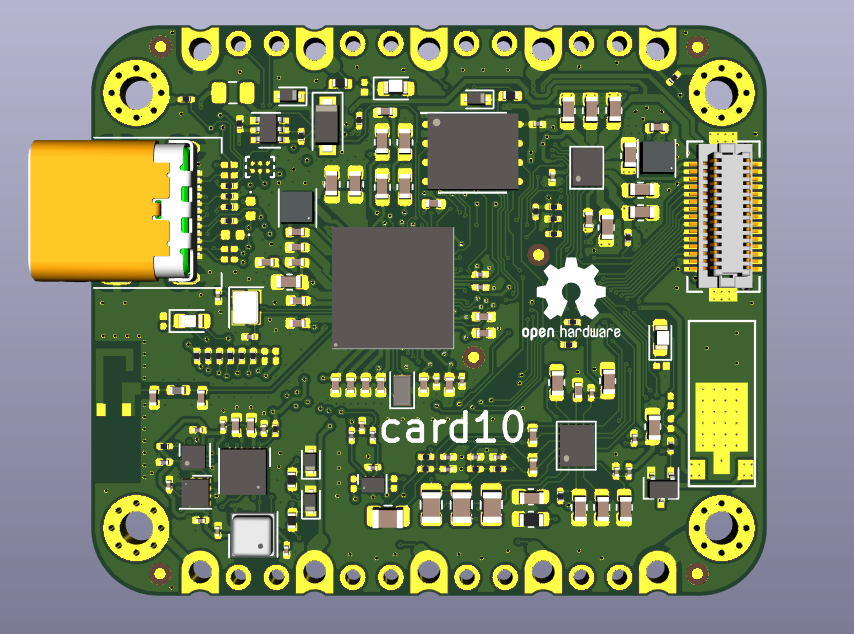
Today one year ago the @card10badge project really started to get going. Over the next half a year I'd like to take you on a journey how it happened.
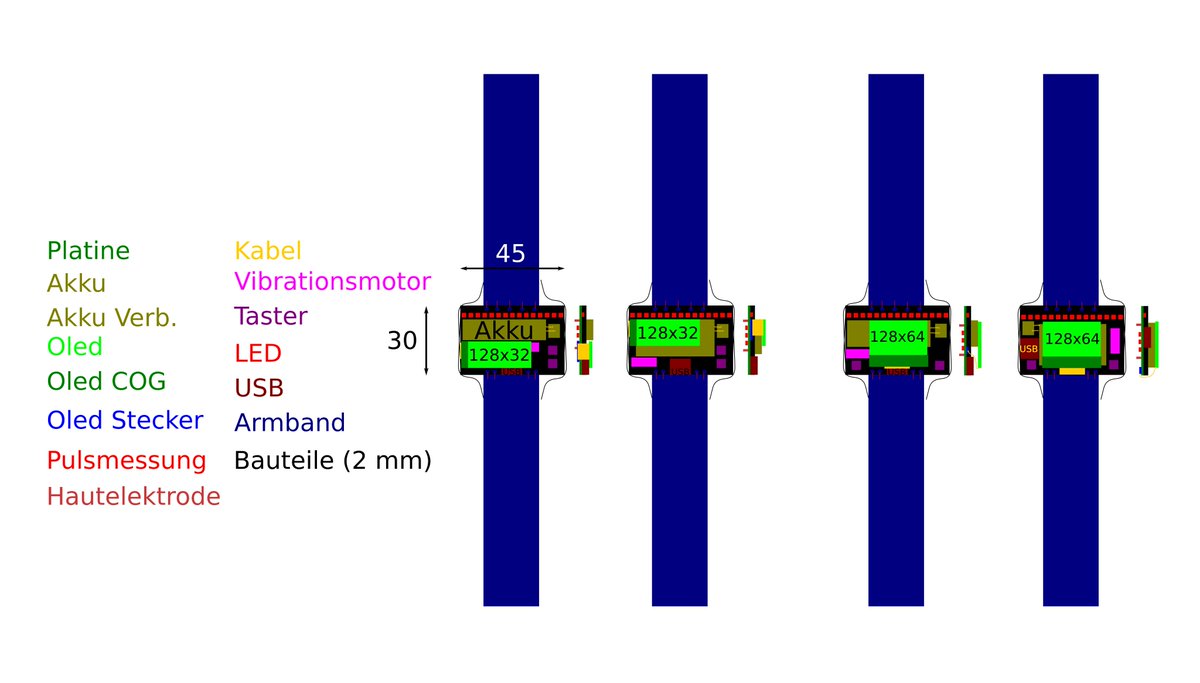
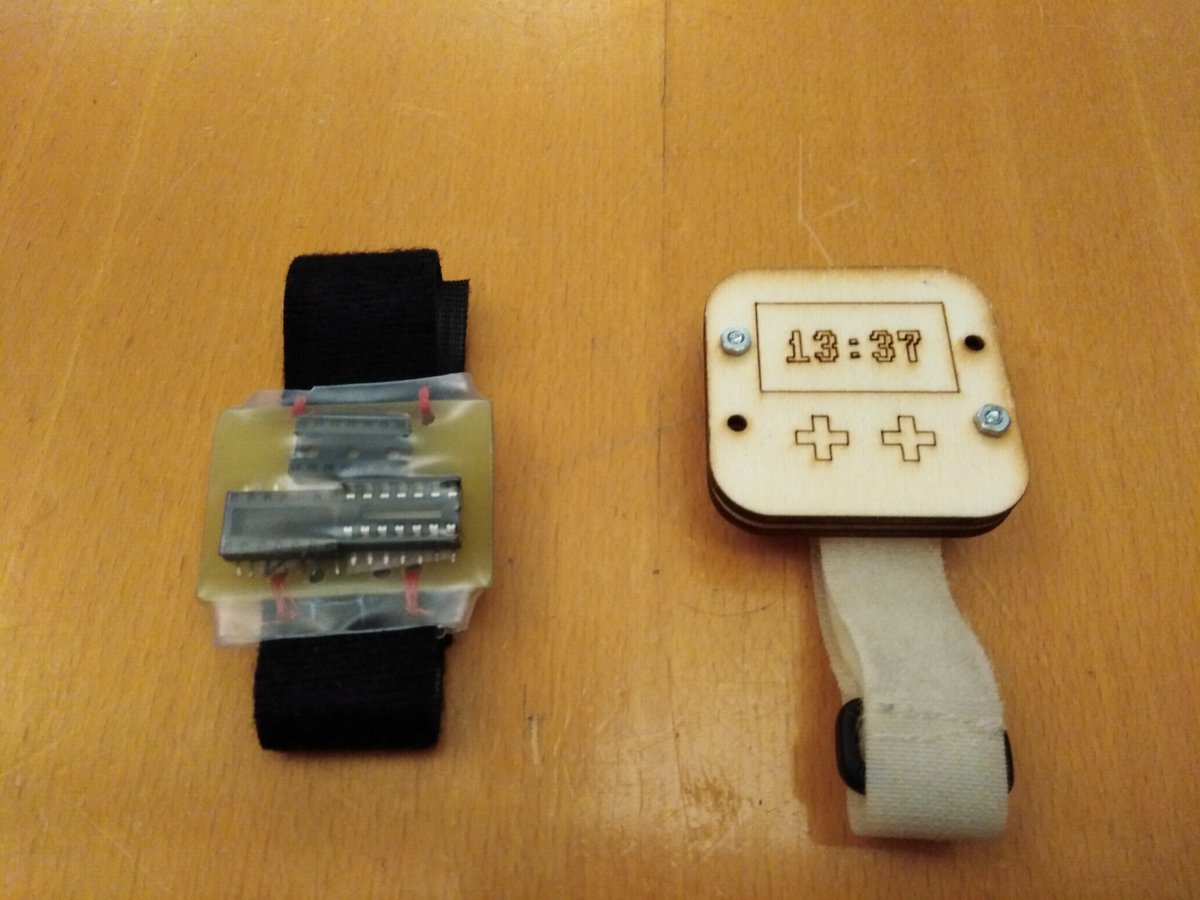
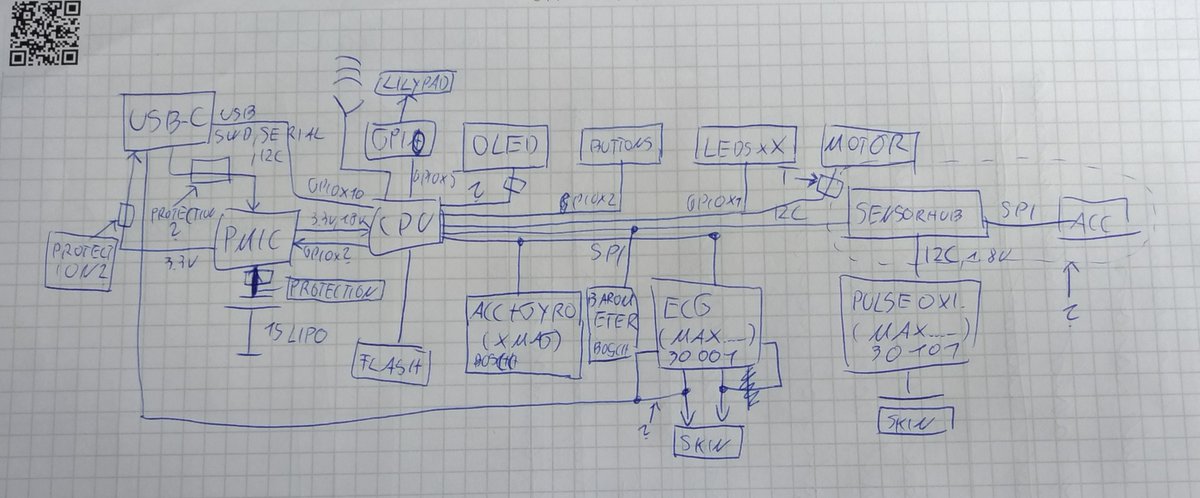
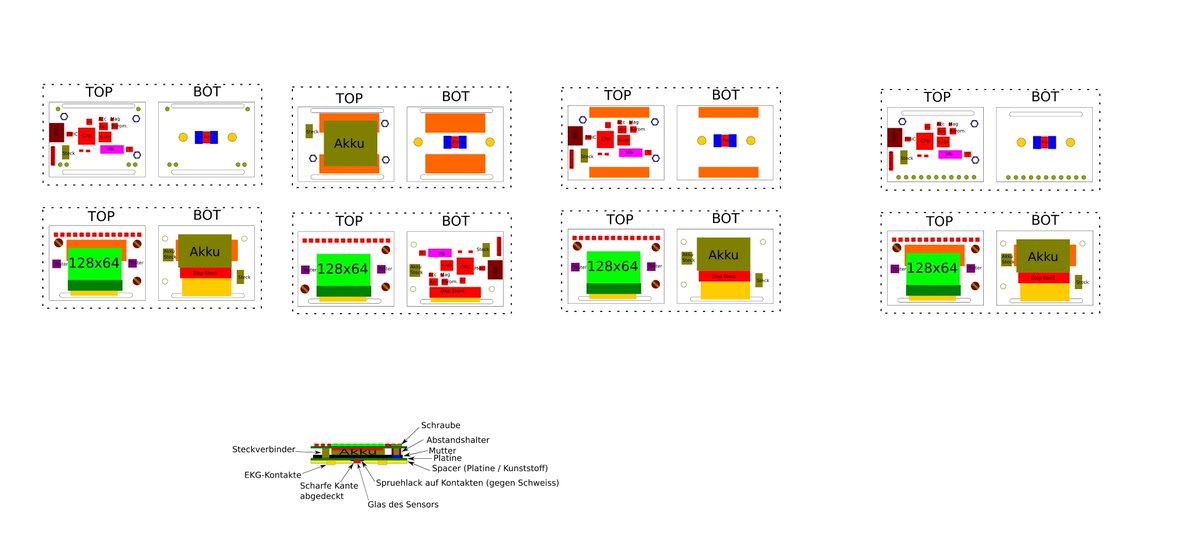
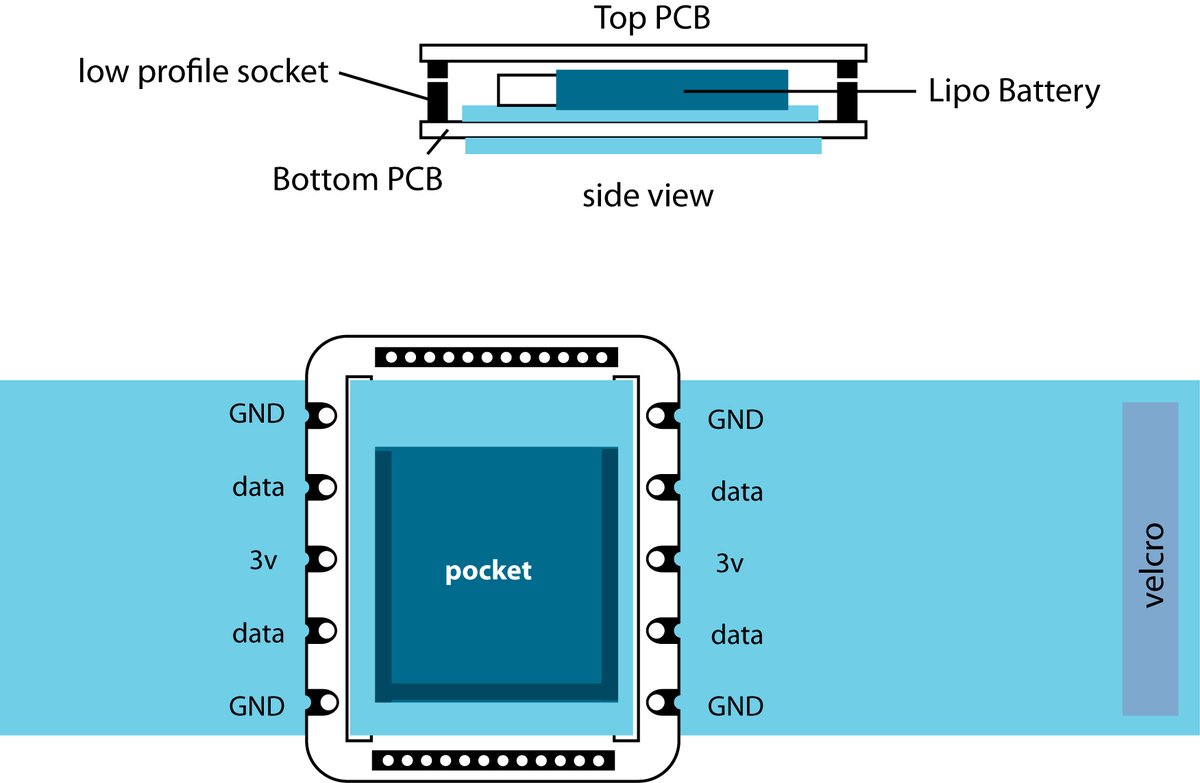
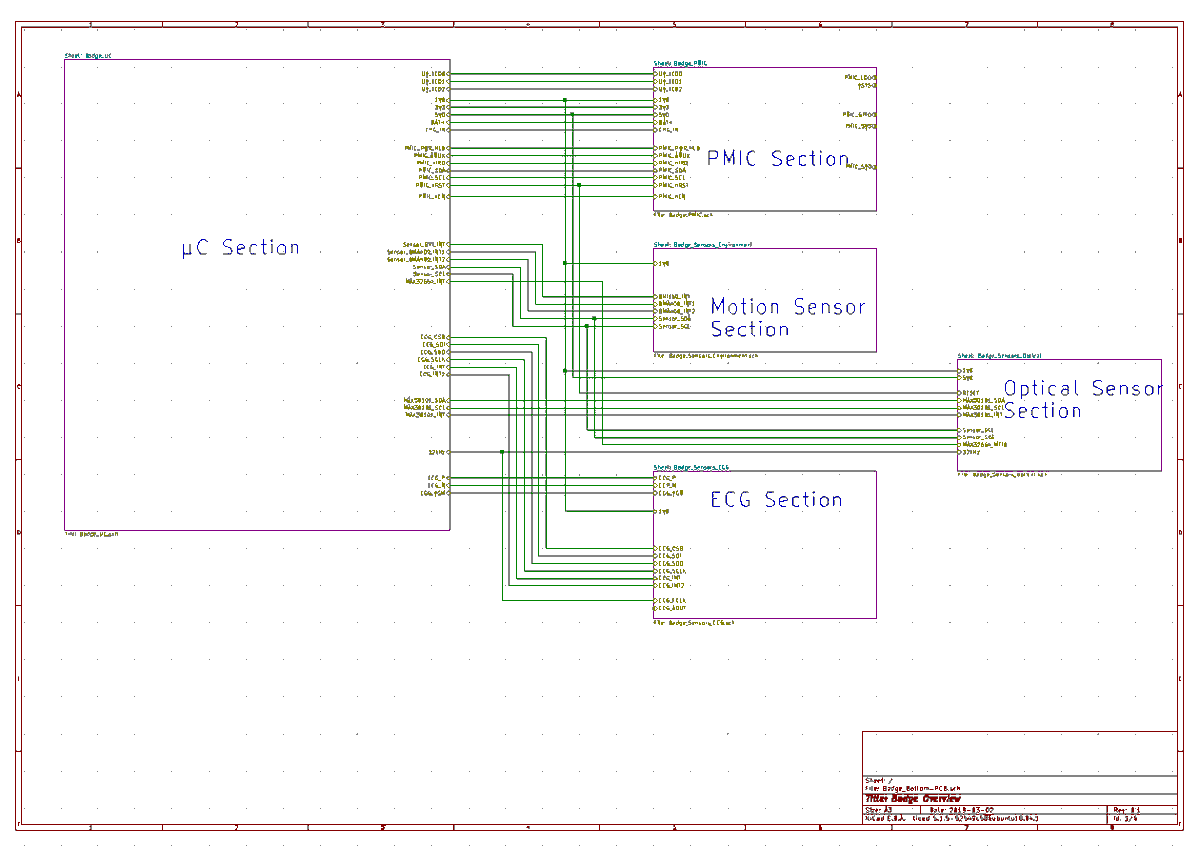
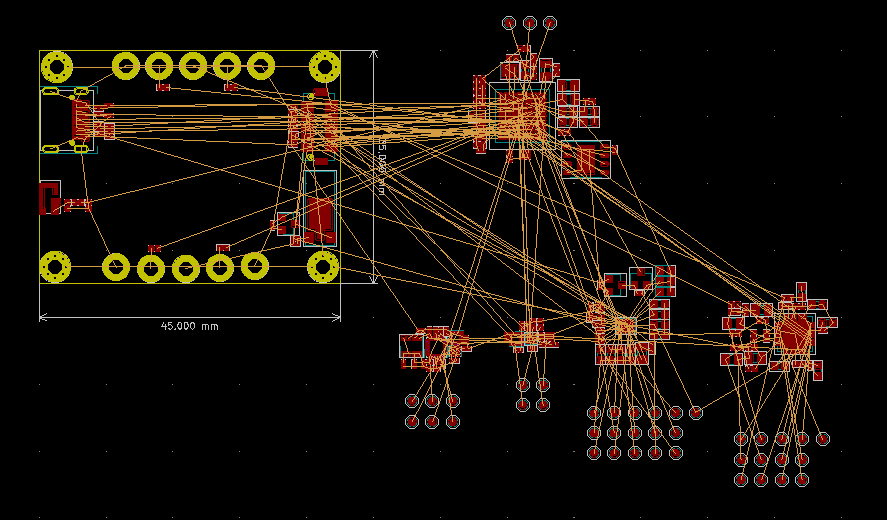
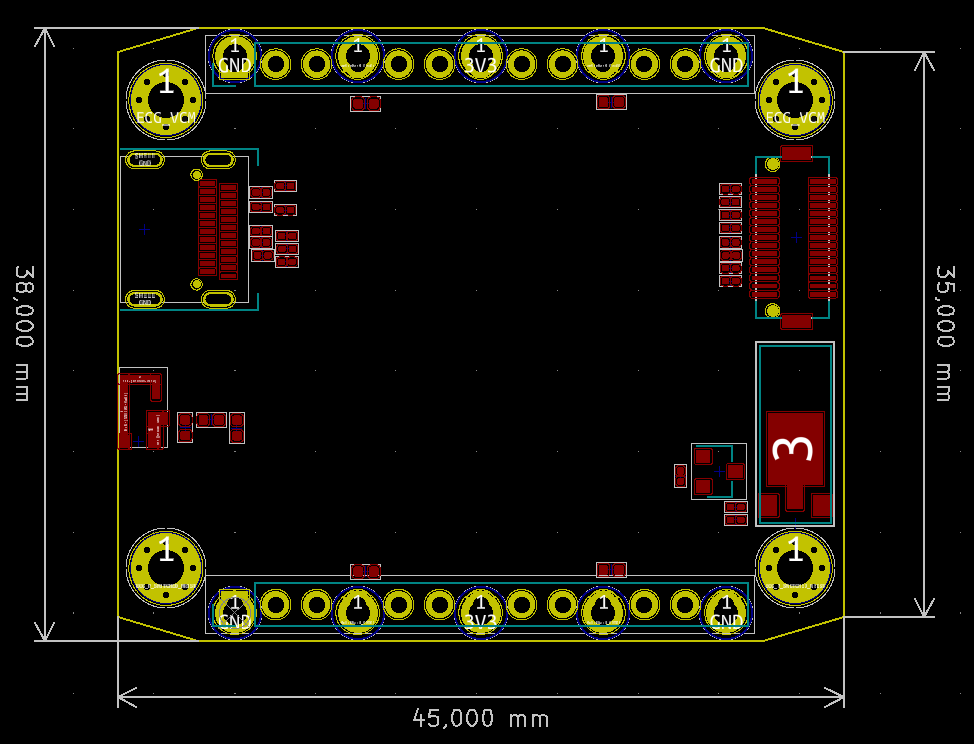
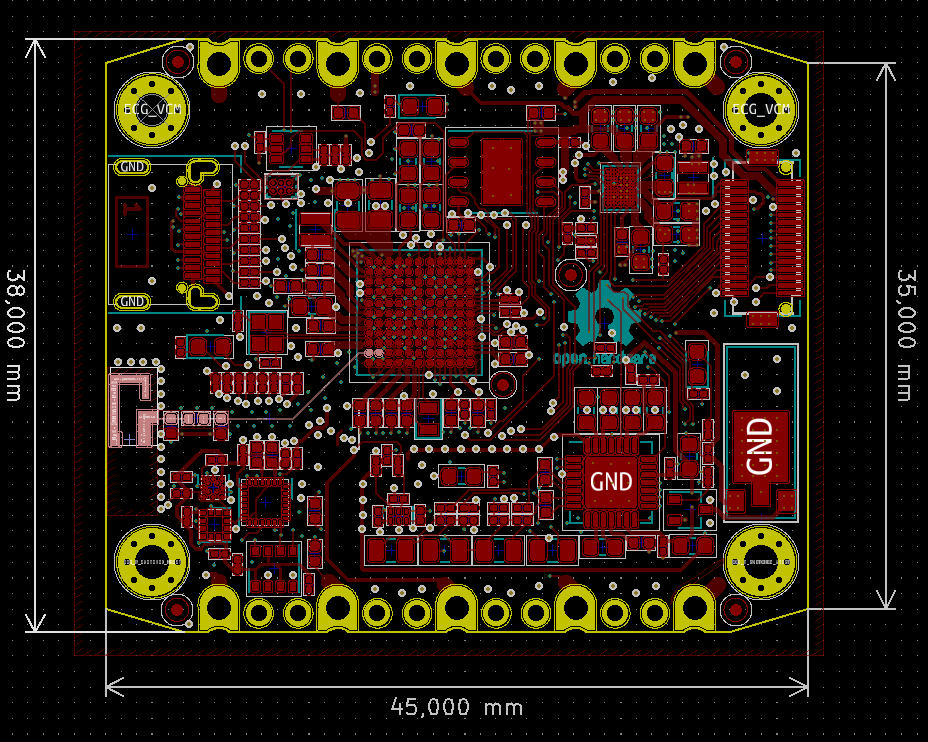
Off we go with the things we already had on February 24th: A Block diagram, some crude models and basic size considerations.
Off we go with the things we already had on February 24th: A Block diagram, some crude models and basic size considerations.
Well, this series didn't work out quite as expected. Let's increase playback speed and catch up with today.
As mentioned this was the next day: https://twitter.com/schne1der_/status/1232056337082830854
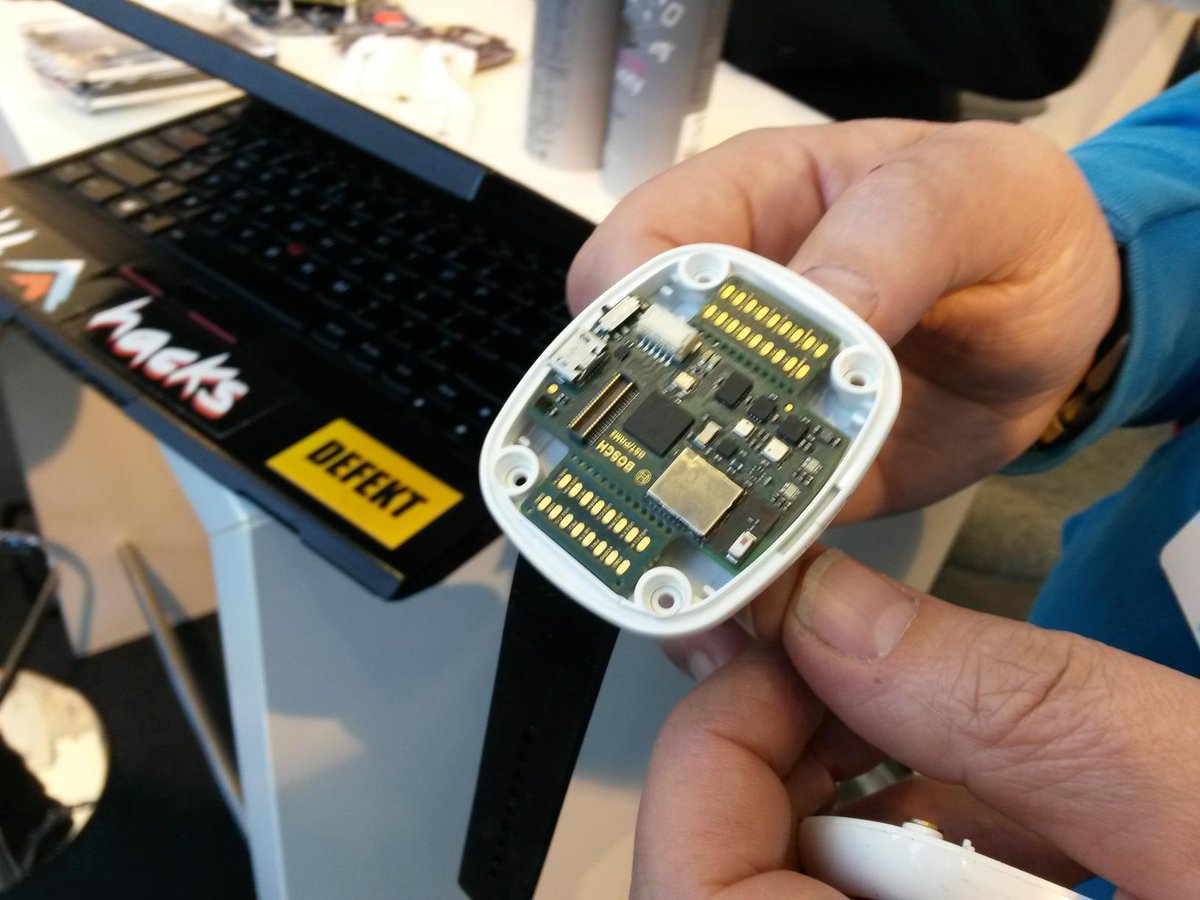
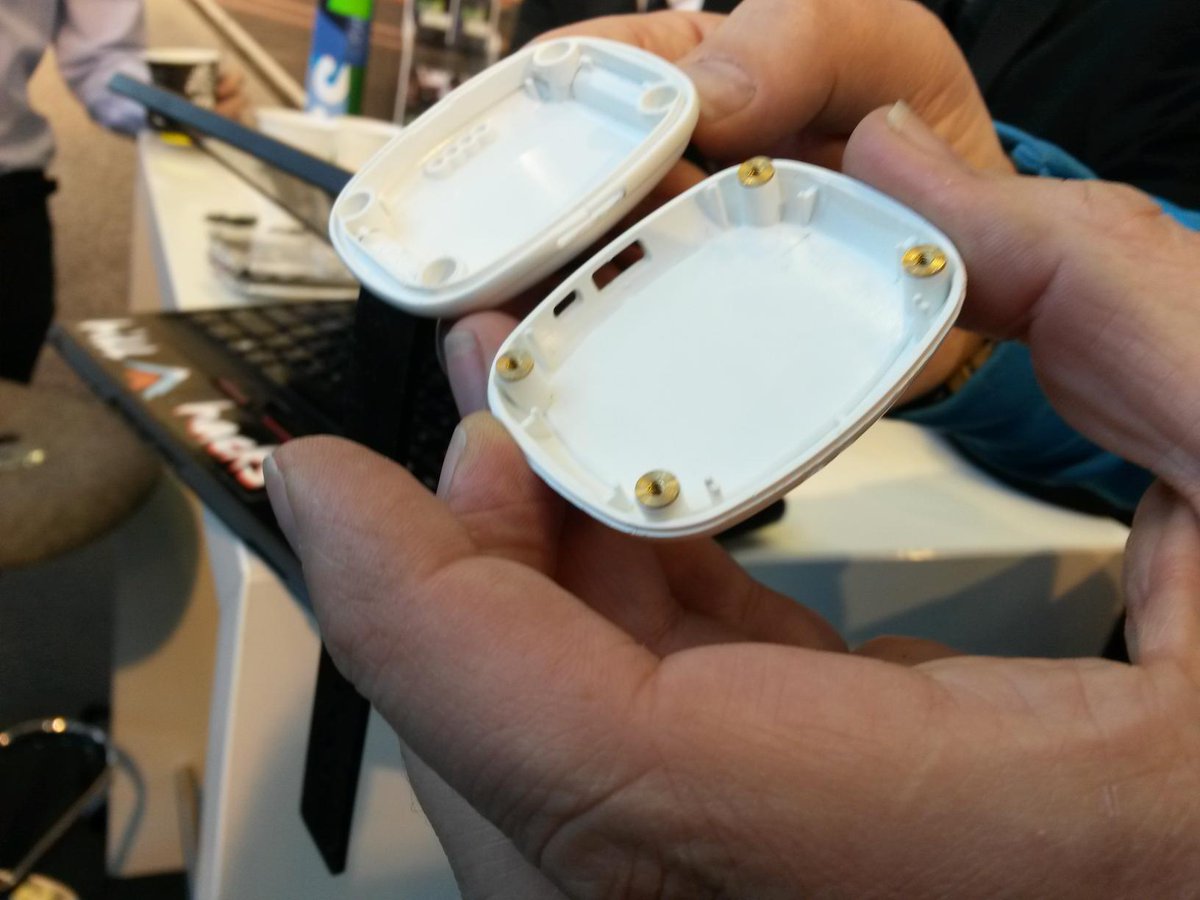
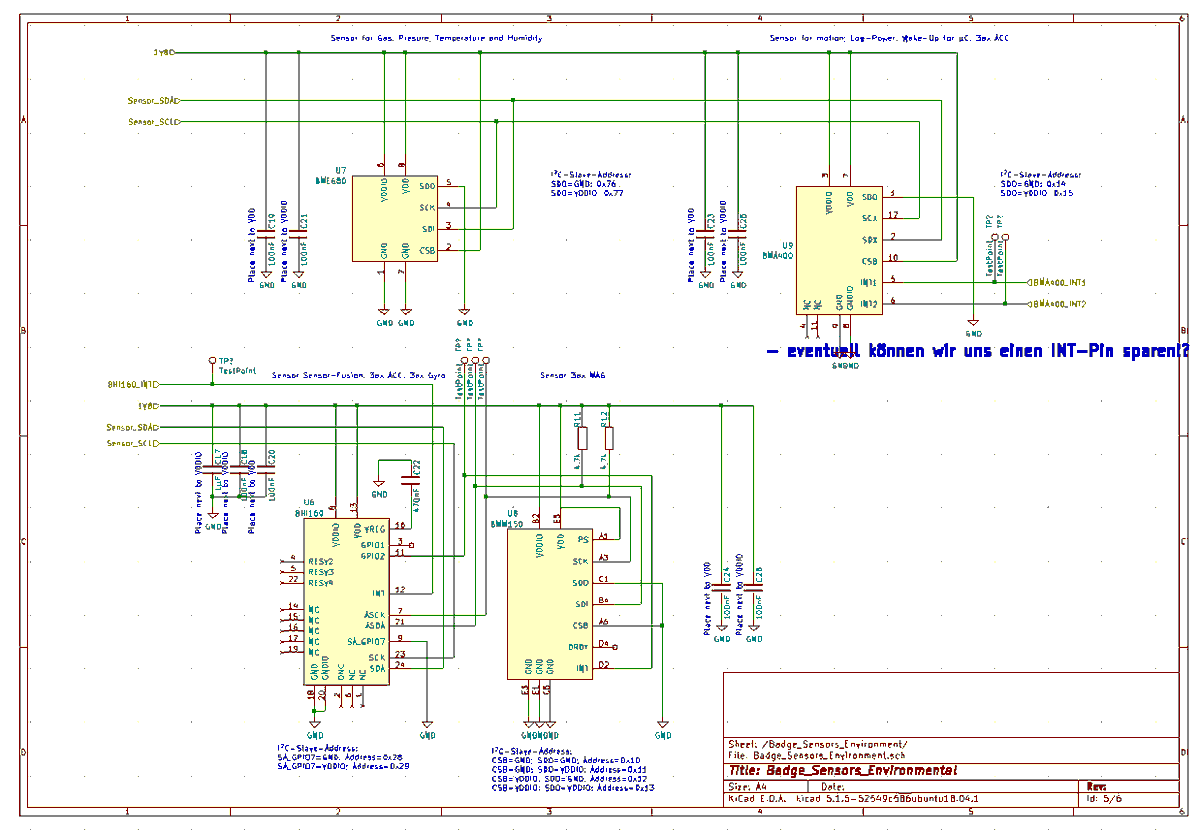
February 26: We meet @BoschMEMS together with @FDunschen at @embedded_world to discuss how we could work together with them. Things go well and offer us to donate BHI160, BMM150, BME680 and BMA400 sensors for the @card10badge. They even had suggestions for a suitable case:
March 1: The idea of two stacked PCBs for the @card10badge starts to become our favorite. Mainly to protect the battery.
March 2/3: Over the weekend we meet in Berlin at @clubdiscordia to prototype our ideas for the @card10badge . Many of them were thought up together with the wonderful people from @kobakant
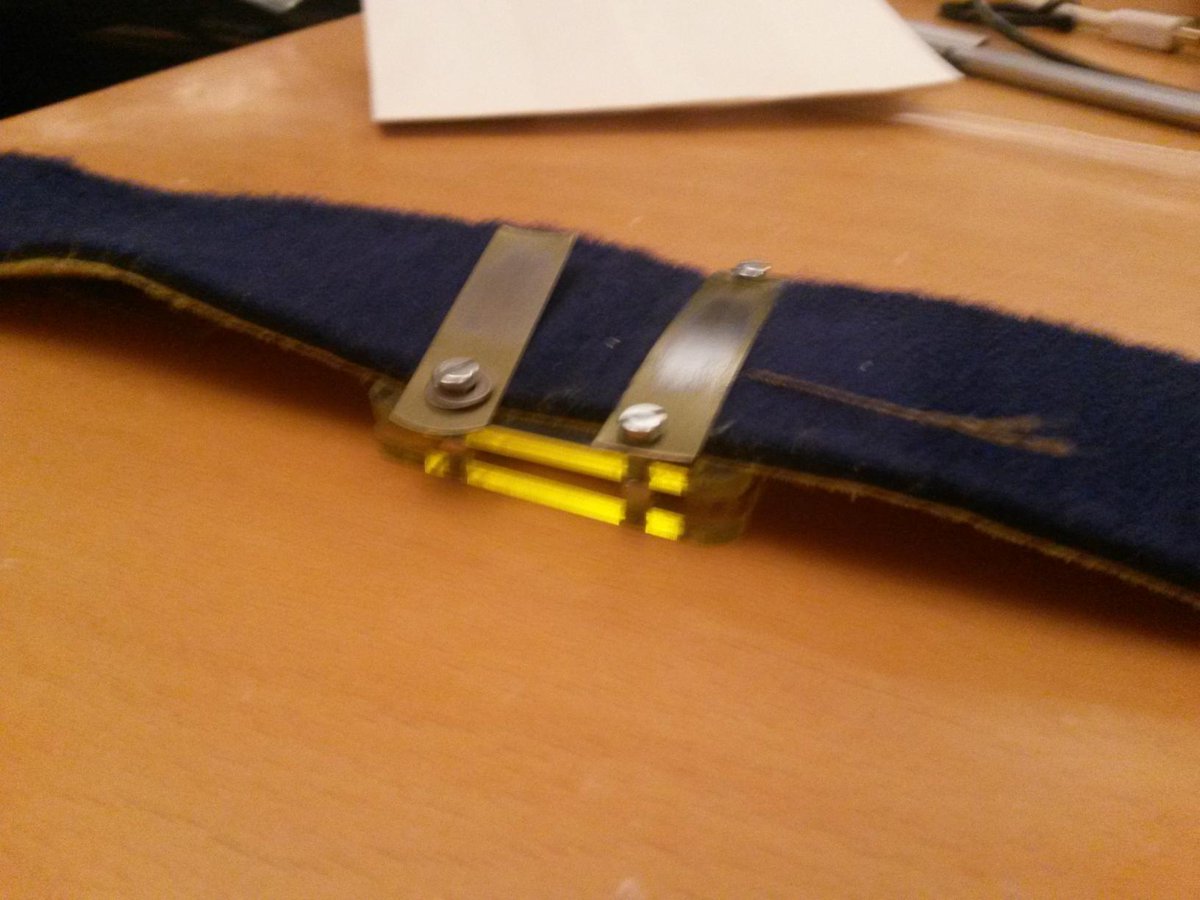
March 2/3: We discover that having two metal strips on the bottom of the @card10badge is a practicable to contact the skin. We also decide to place the optical sensor on top to guarantee performance with all skin colors.
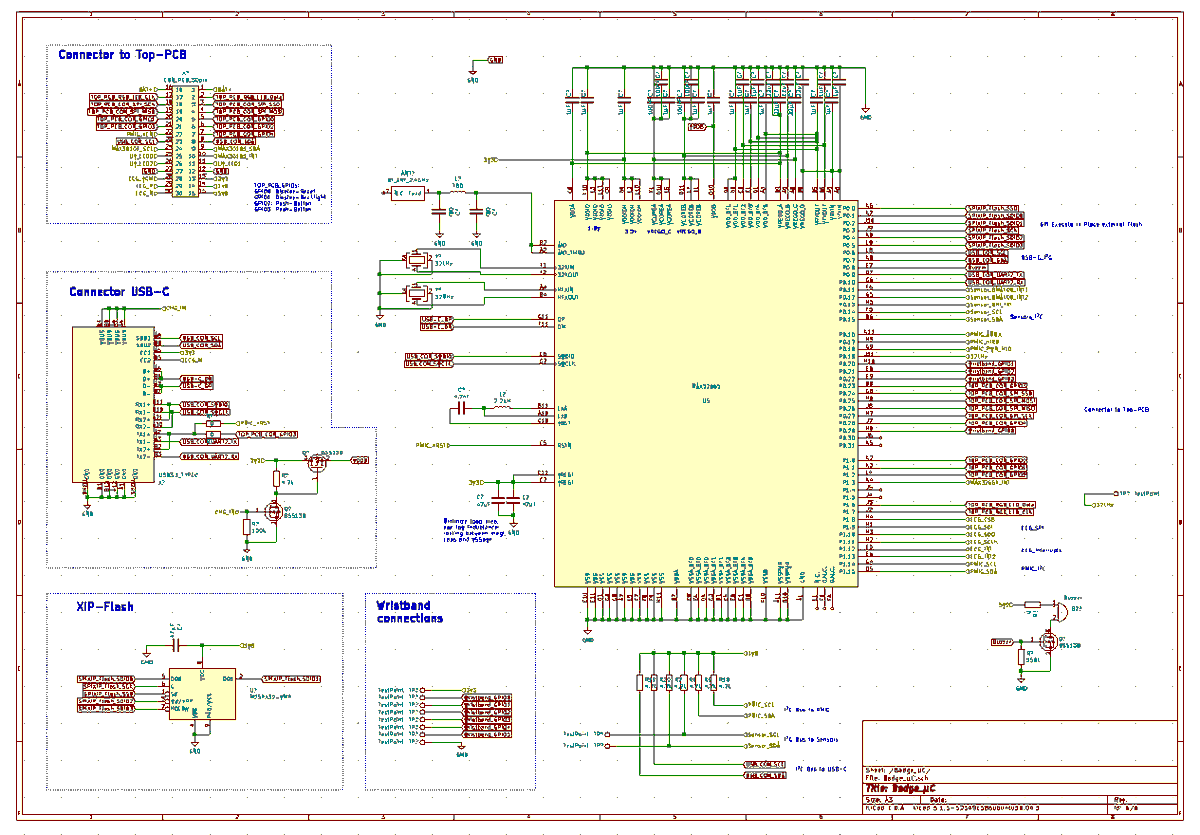
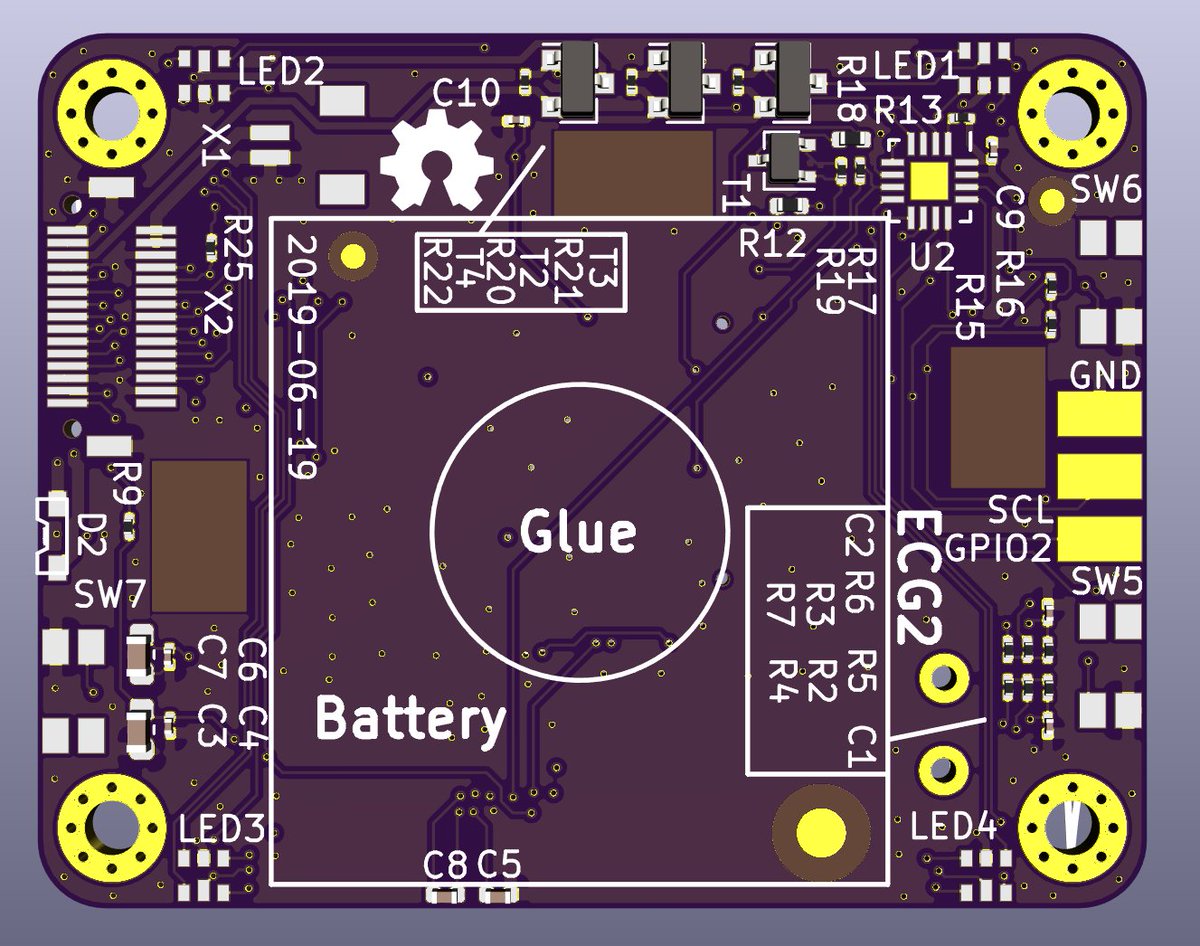
March 9: The schematic of the (yet unnamed) bottom board of the @card10badge starts to resemble its final form. Not much to say for the layout yet...
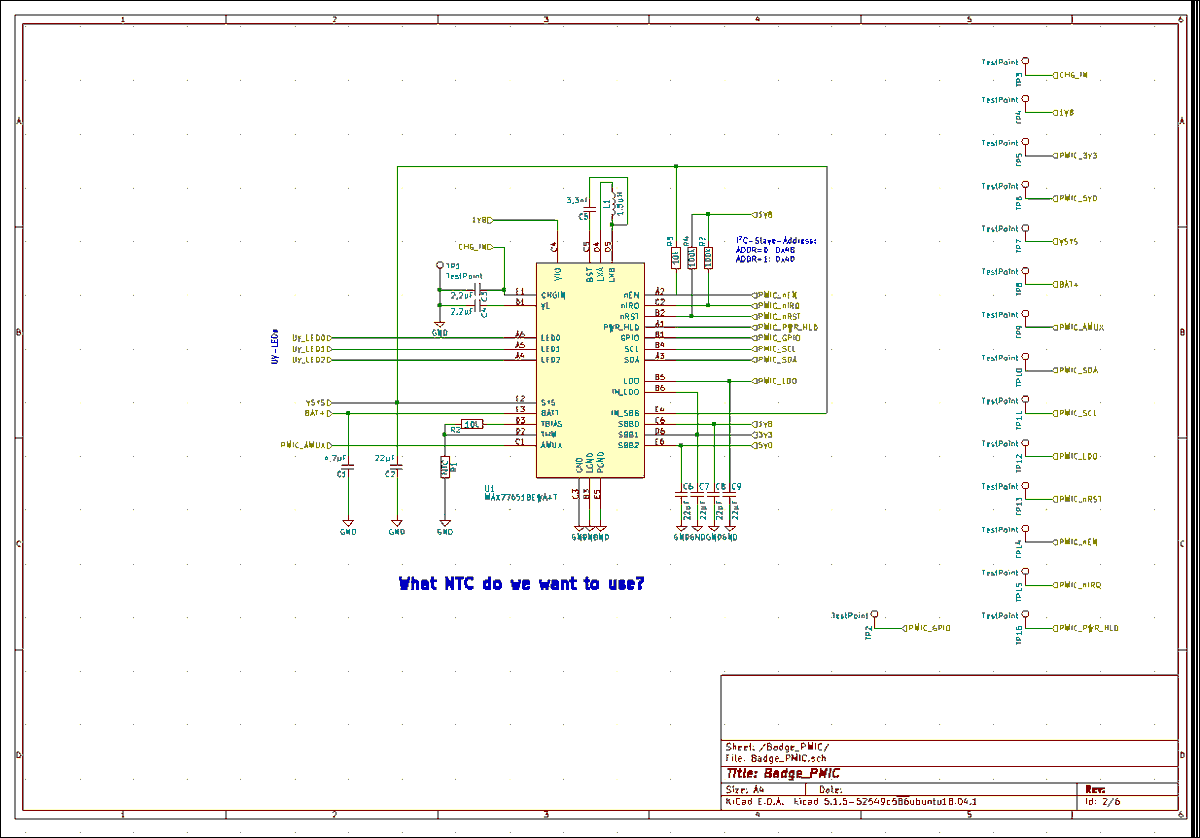
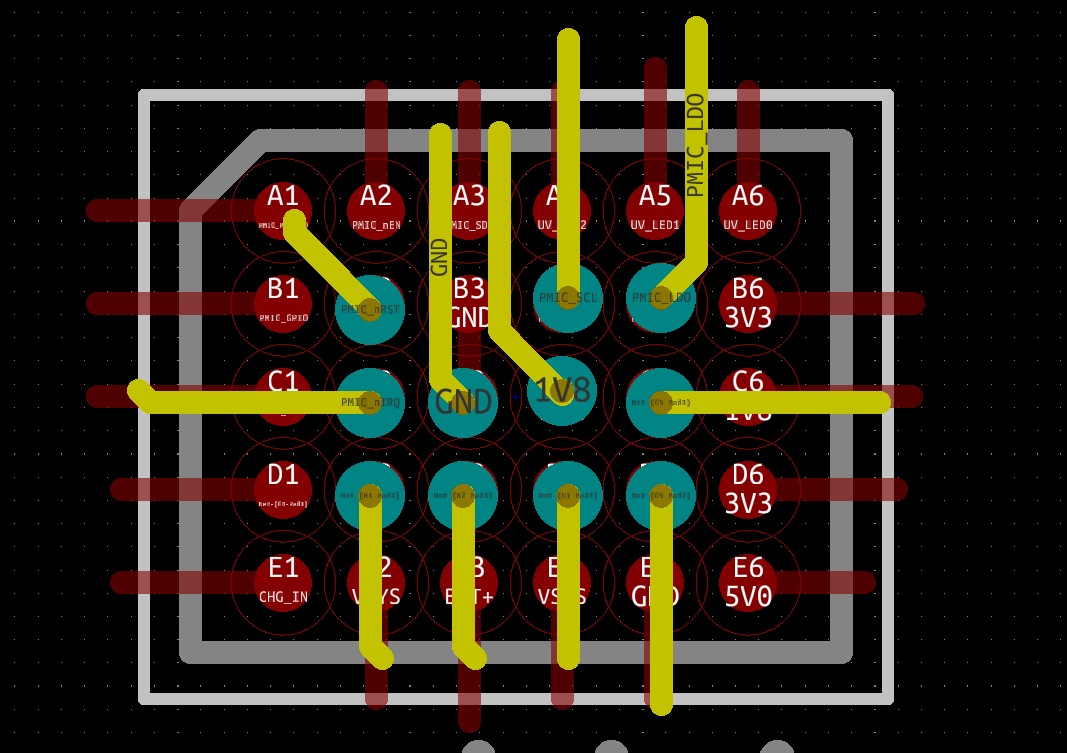
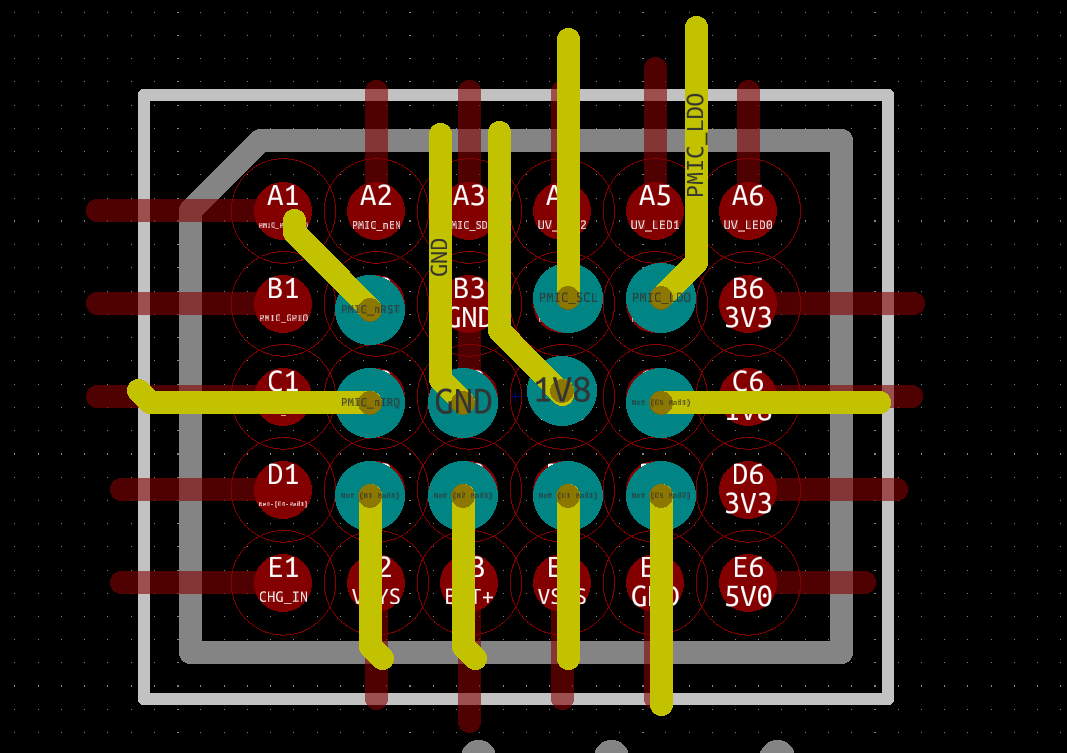
March 12: The PCB technology to be used for the @card10badge starts to become a major issue. The 0.5 mm BGA of the power management chip seemed to be the driving factor. Experiments show that it will need capped and plated microvias. Luckily they don't have to be stacked.
March 17: The @card10badge layout is a heap of components and mainly used to figure out what kind of PCB technology will be needed. It turns out that a 4 layer PCB with laser drilled 300 um microvias will be enough for the 0.65 mm pitch MCU as well.
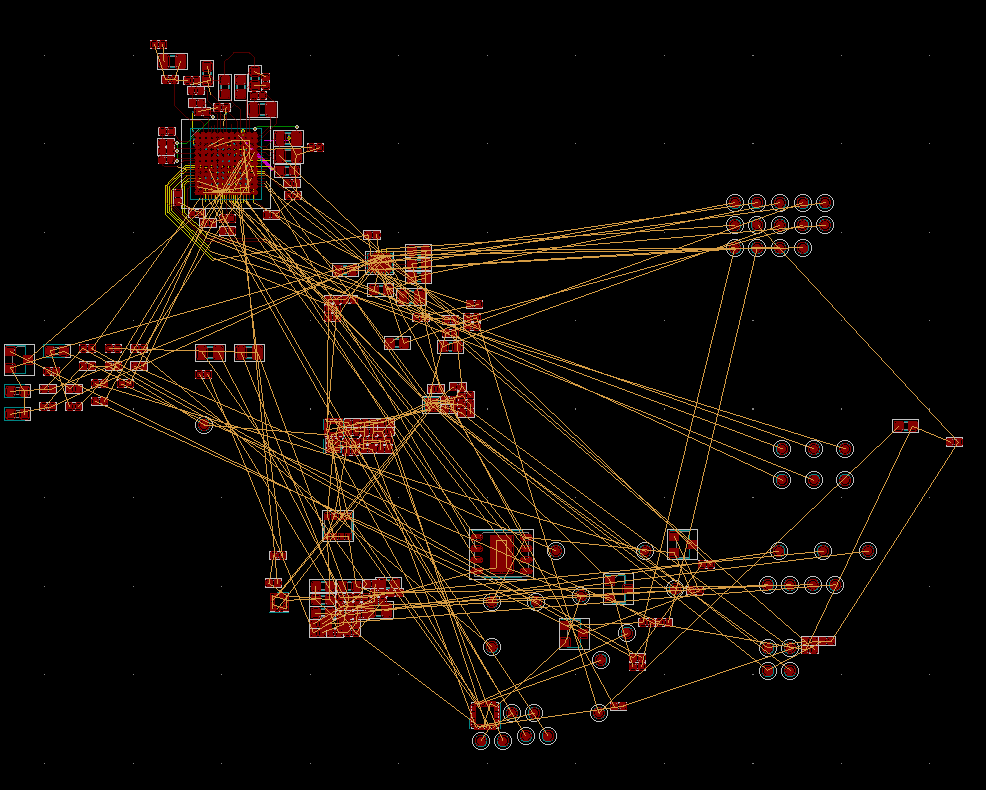
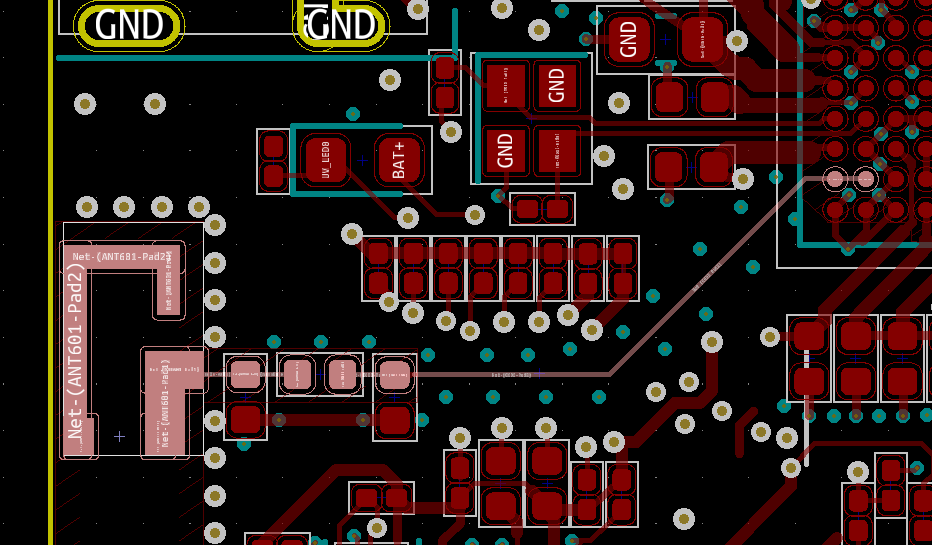
March 19: After completion of the initial schematic of the @card1obadge it becomes clear that it will be a challenge to fit all the components on the PCB. Minimum size is mainly driven by connectors, the antenna, vibration motor and wristband connections.
March 24: After an intense weekend we settle on a slightly larger bottom board and make the wrist band connections a bit more space efficient. Location of USB-C is chosen to allow wearing the @card10badge with a cable attached (important for the wired ECG functionality).
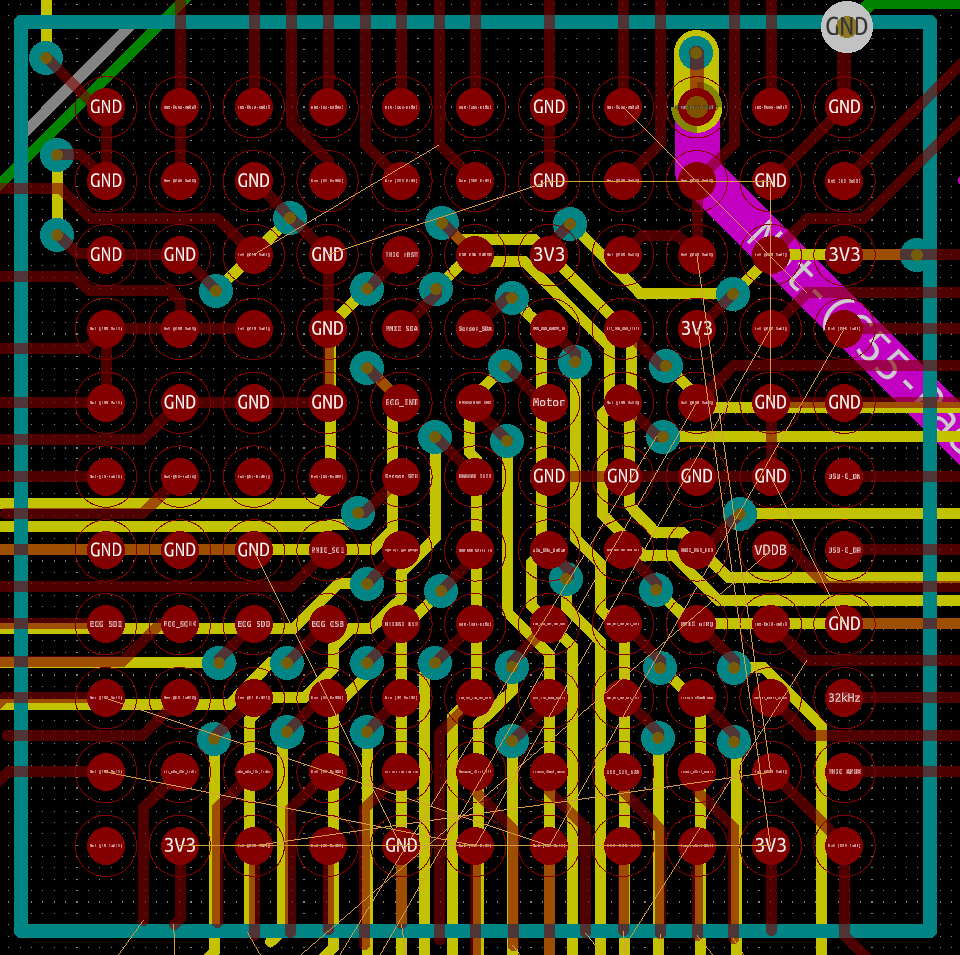
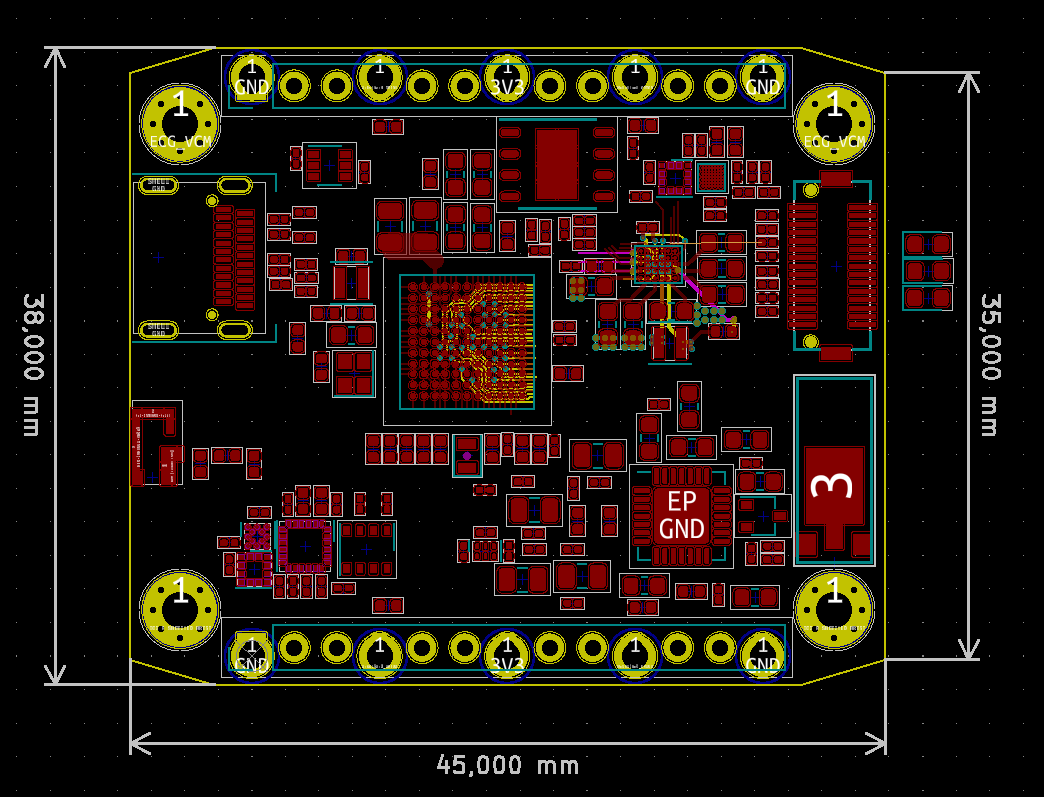
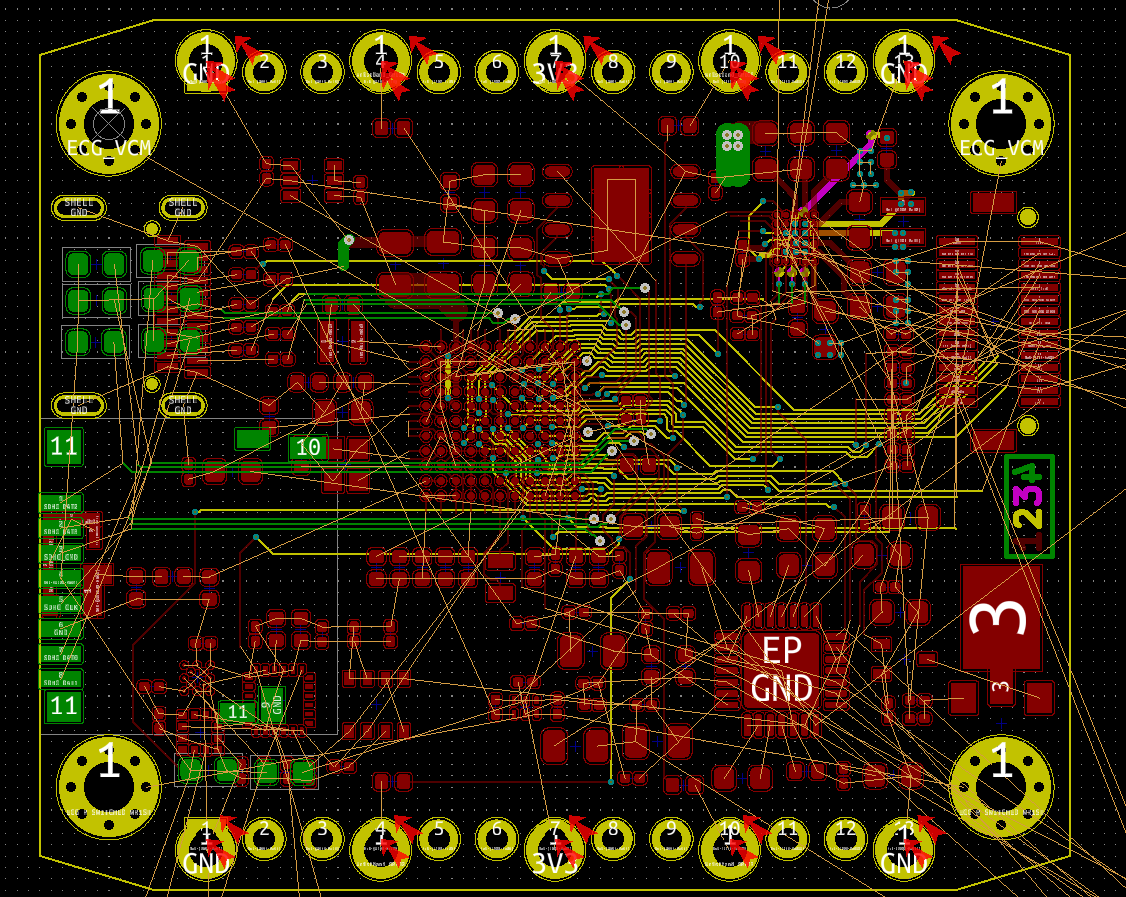
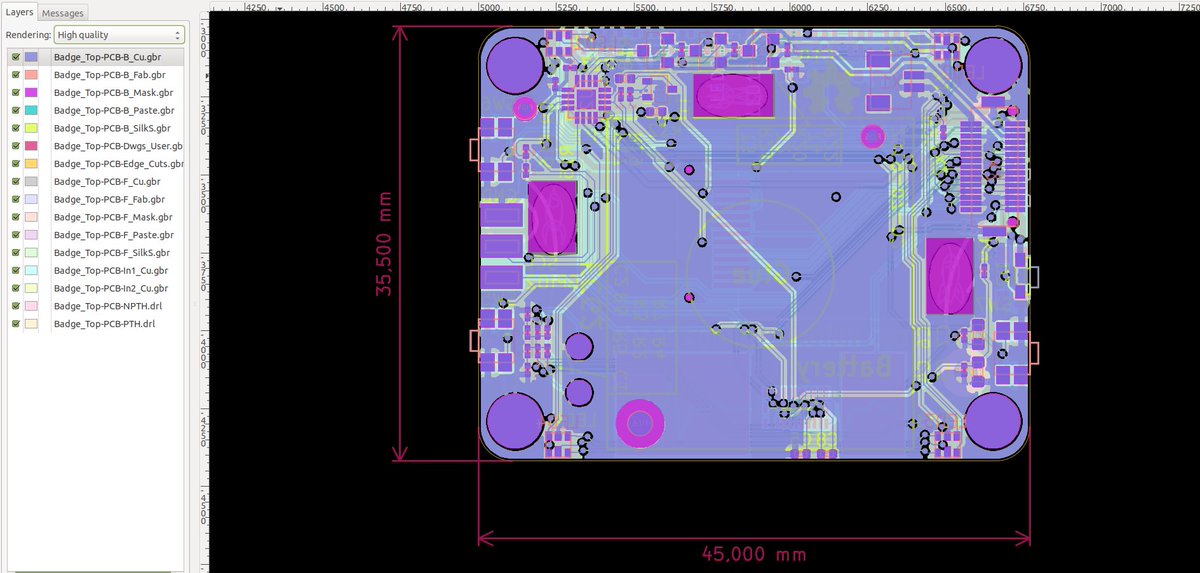
March 25: Components have been arranged and some already have a fan-out to verify the chosen design parameters: 4 layers, 100 um tracks, 100 um clearance, 450 um (buried) vias, 200 um via drill, 300 um microvias, 100 um microvia drill, microvias in-pad, filled&capped @card10badge
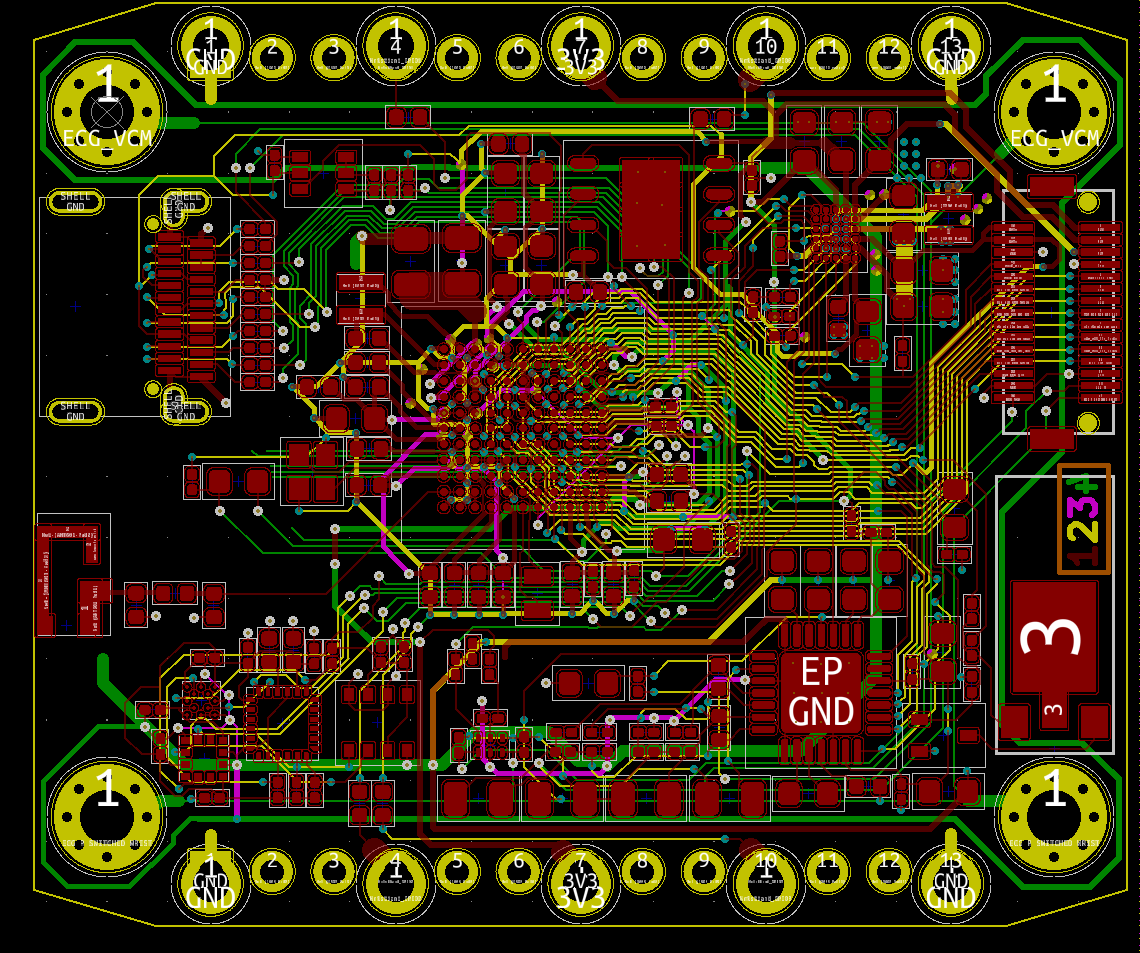
March 29: Progress on the layout of the @card10badge. The @kicad_pcb push&shove function turns out to be an amazing tool. Care is taken to keep the inner layers dedicated to power around the various power pins of the MCU and power management chip.
April 2: The initial layout of the @card10badge is done and goes into internal review. The micro SD card socket is gone as it was interfering with the antenna. Time is running out to get prototype PCBs done before Eastern (April 19).
April 5: The wristband connections undergo another revision. They are now breadboard compatible and allow more contact area with conductive thread. The micro SD card socket is added again. @card10badge
April 8: The layout is sent to the express board house in Berlin. 24 PCBs will be ready by April 18 (8 working days).
We know that if the prototypes don't work, we might have to cancel the project. HDI PCB lead times indicate that there might be no second chance. @card10badge
We know that if the prototypes don't work, we might have to cancel the project. HDI PCB lead times indicate that there might be no second chance. @card10badge
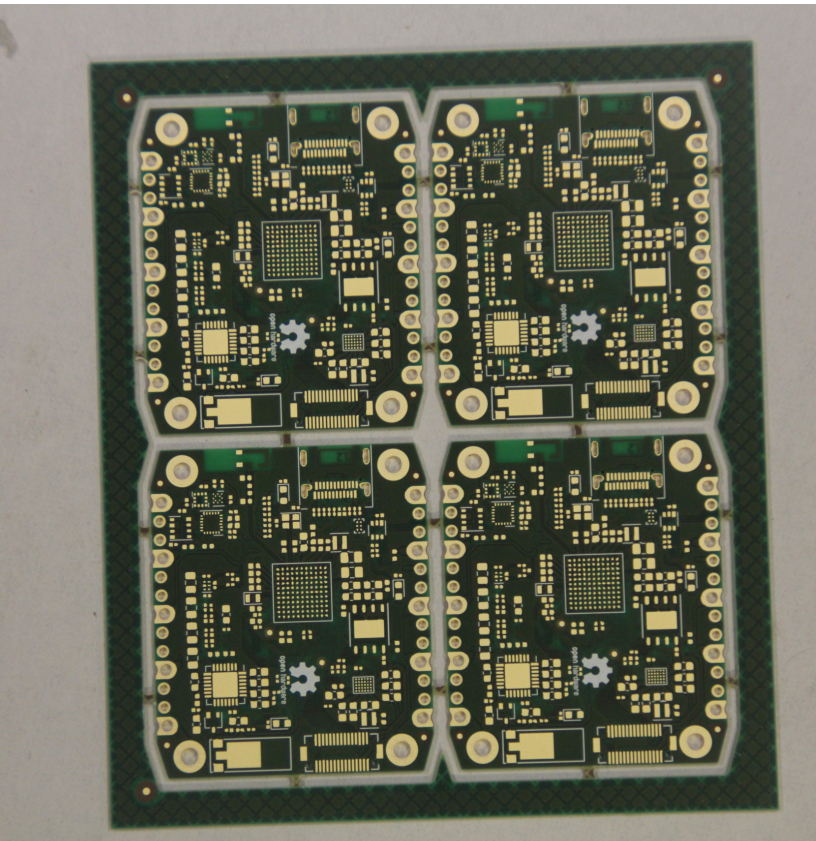
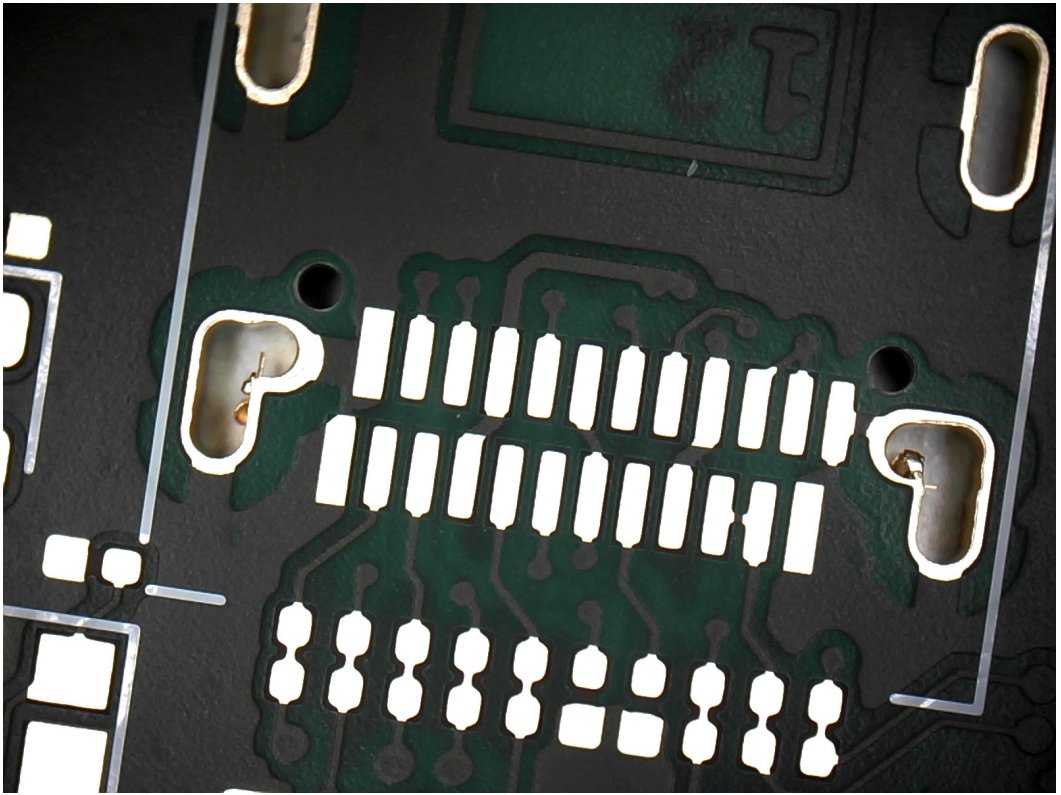
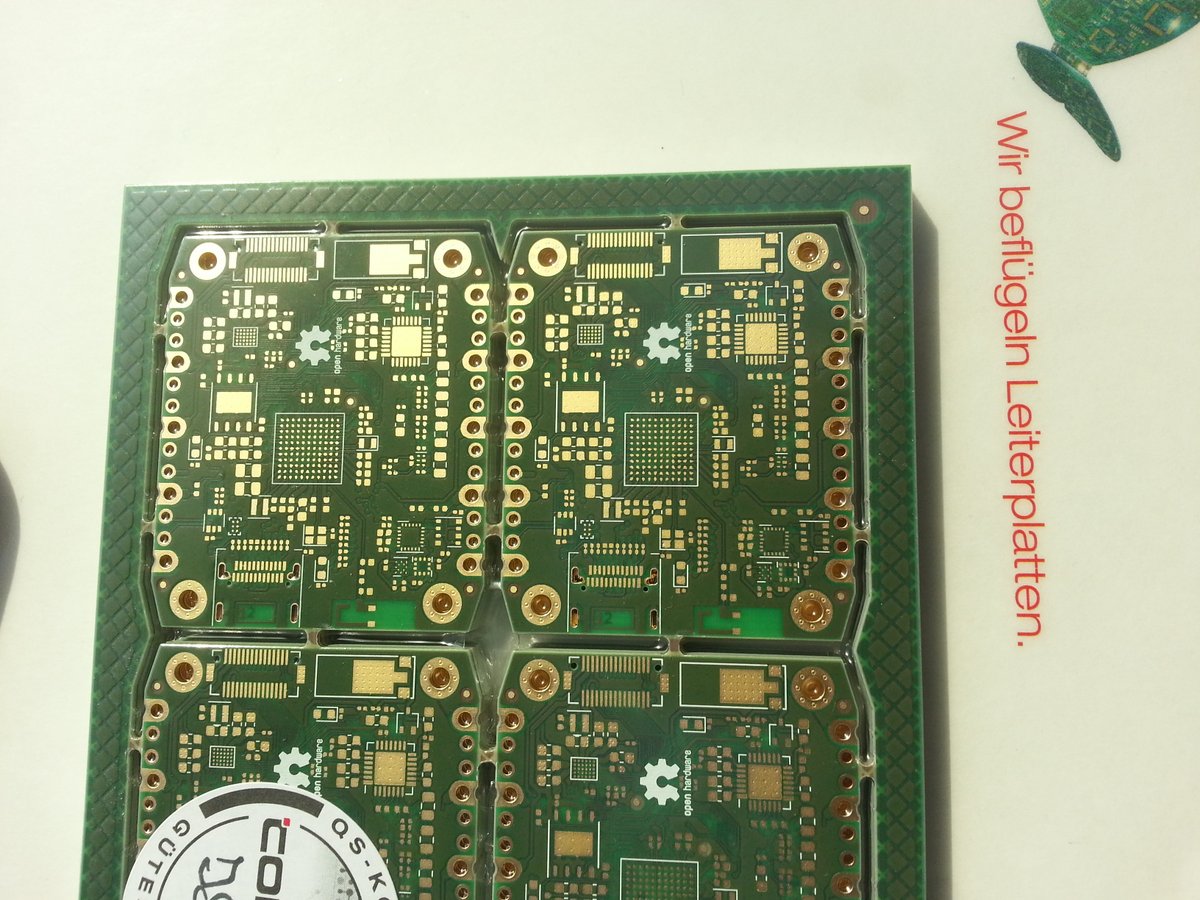
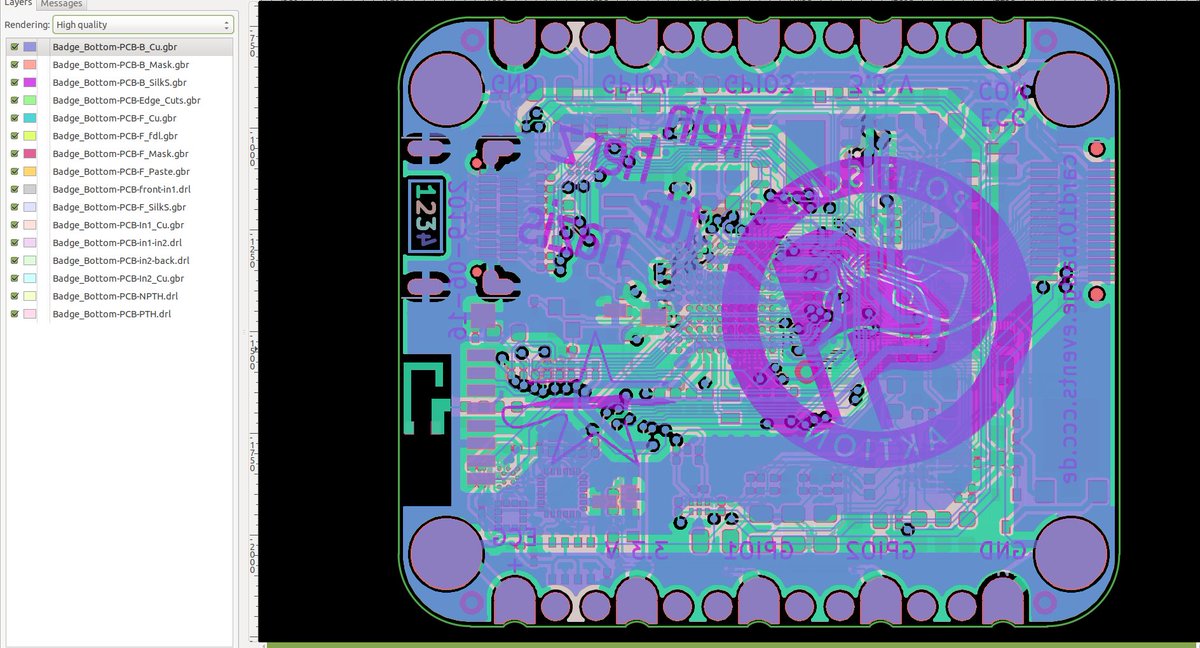
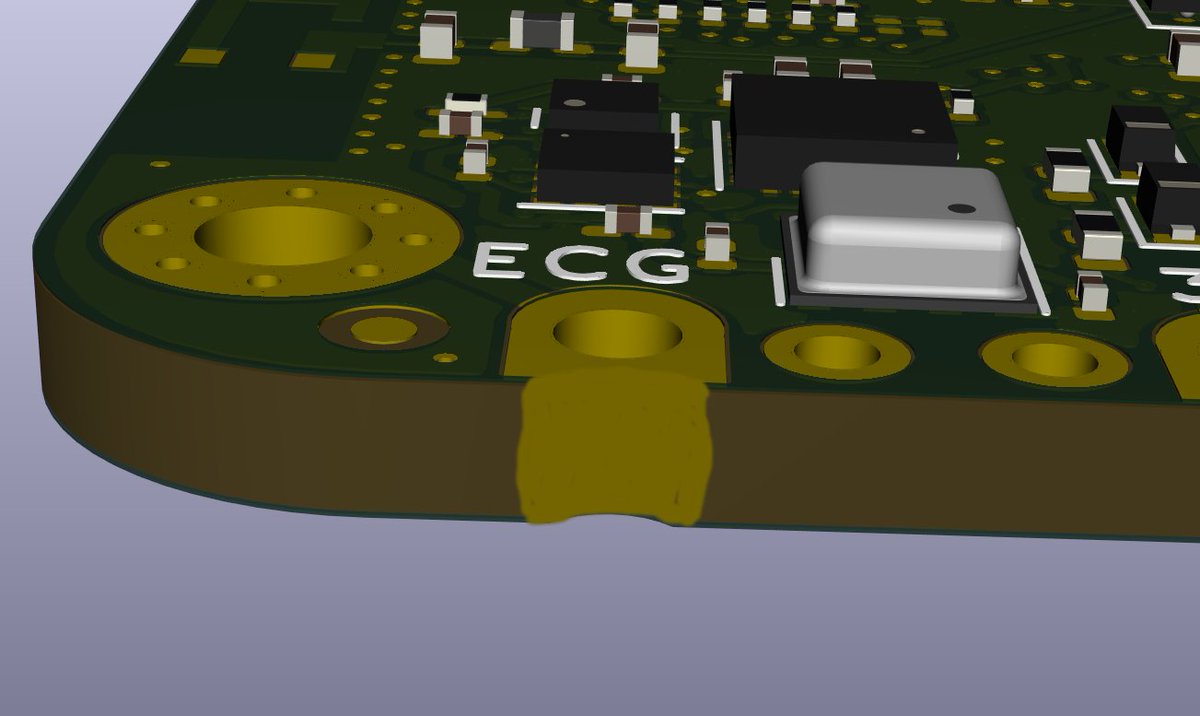
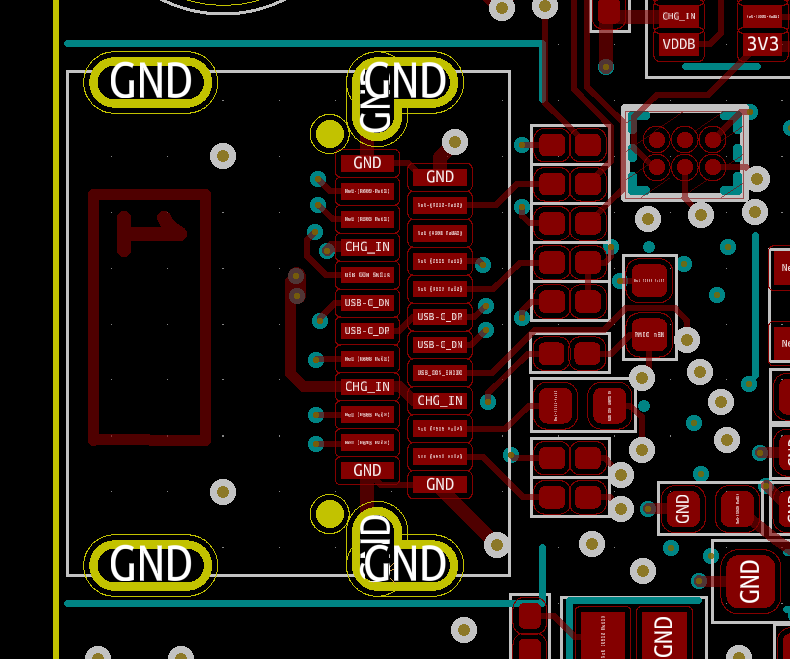
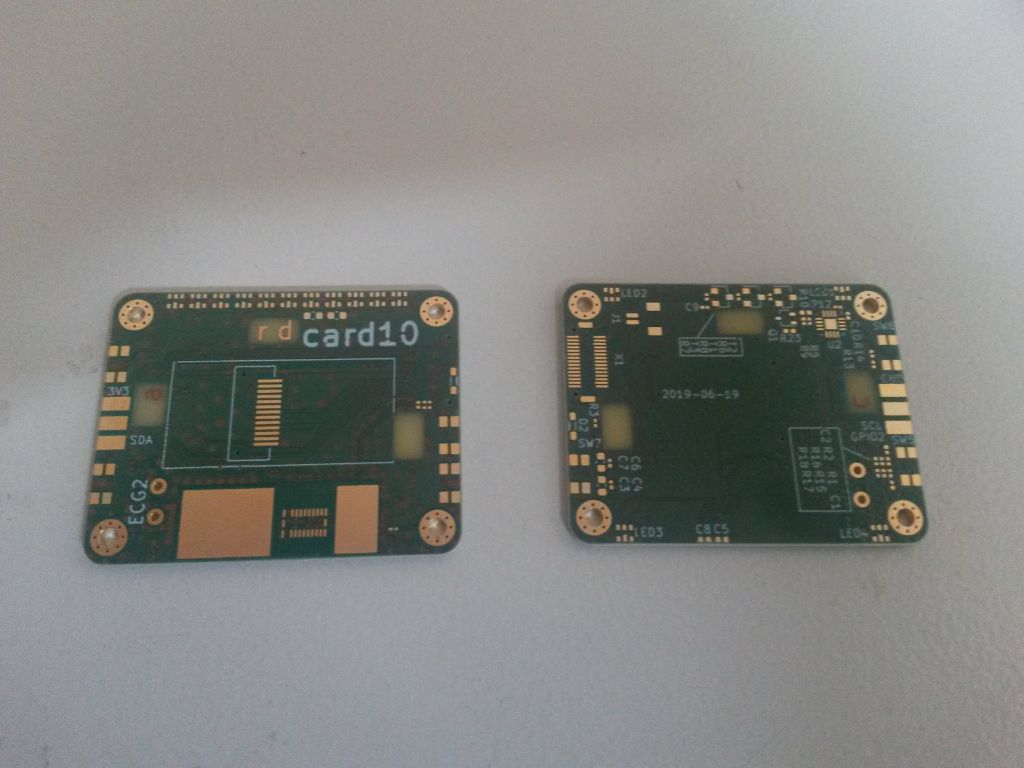
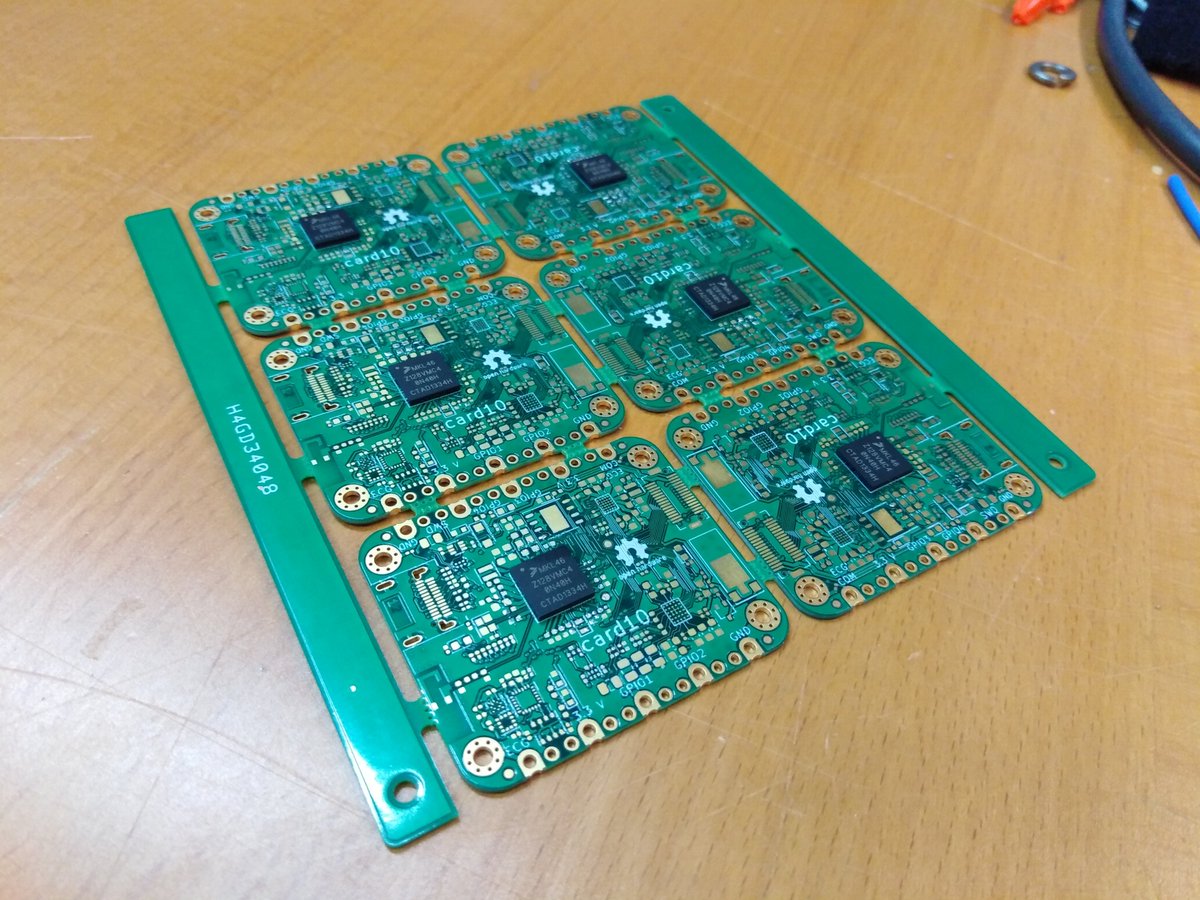
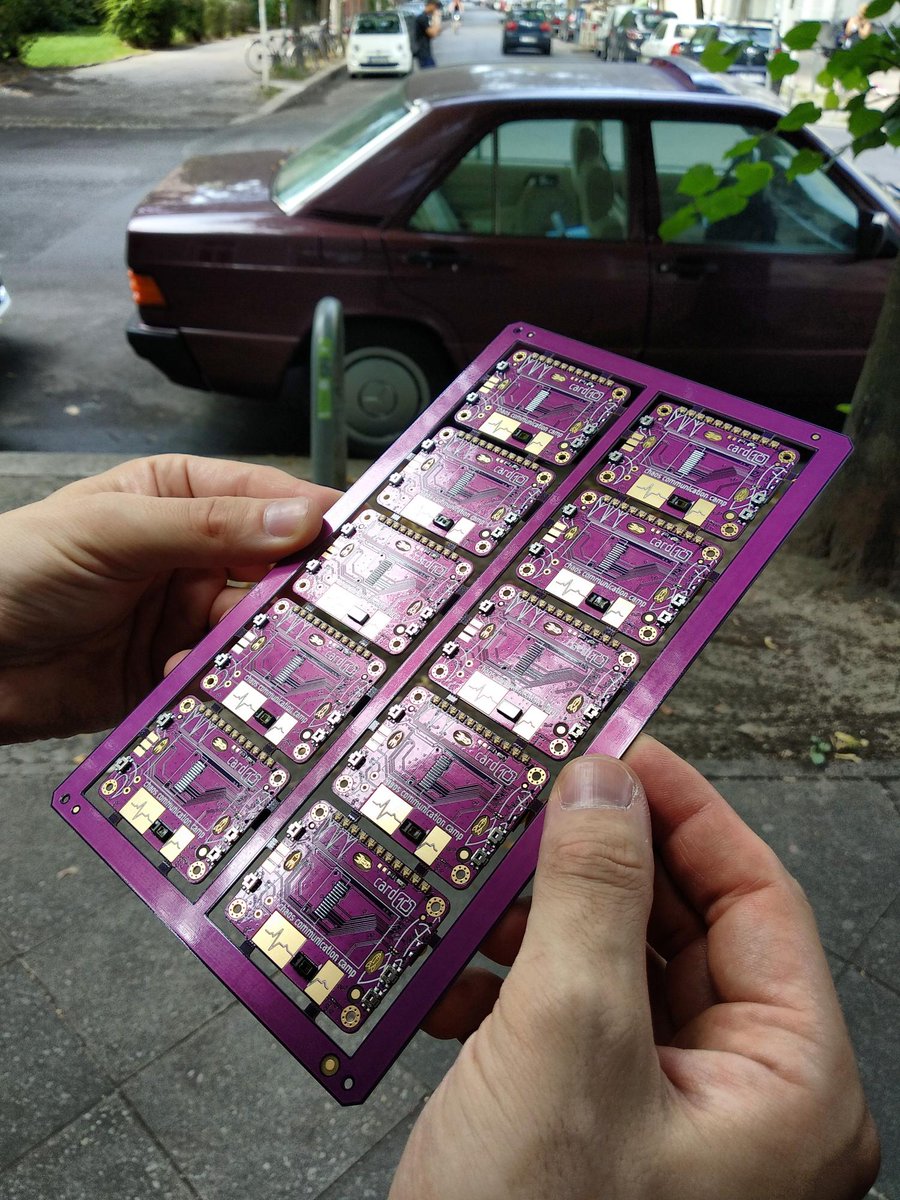
April 16: After only 7 working days the @card10badge prototype PCBs are finished and we receive pictures of them. Except for a small issue with the routed slots of the USB-C socket they seem fine.
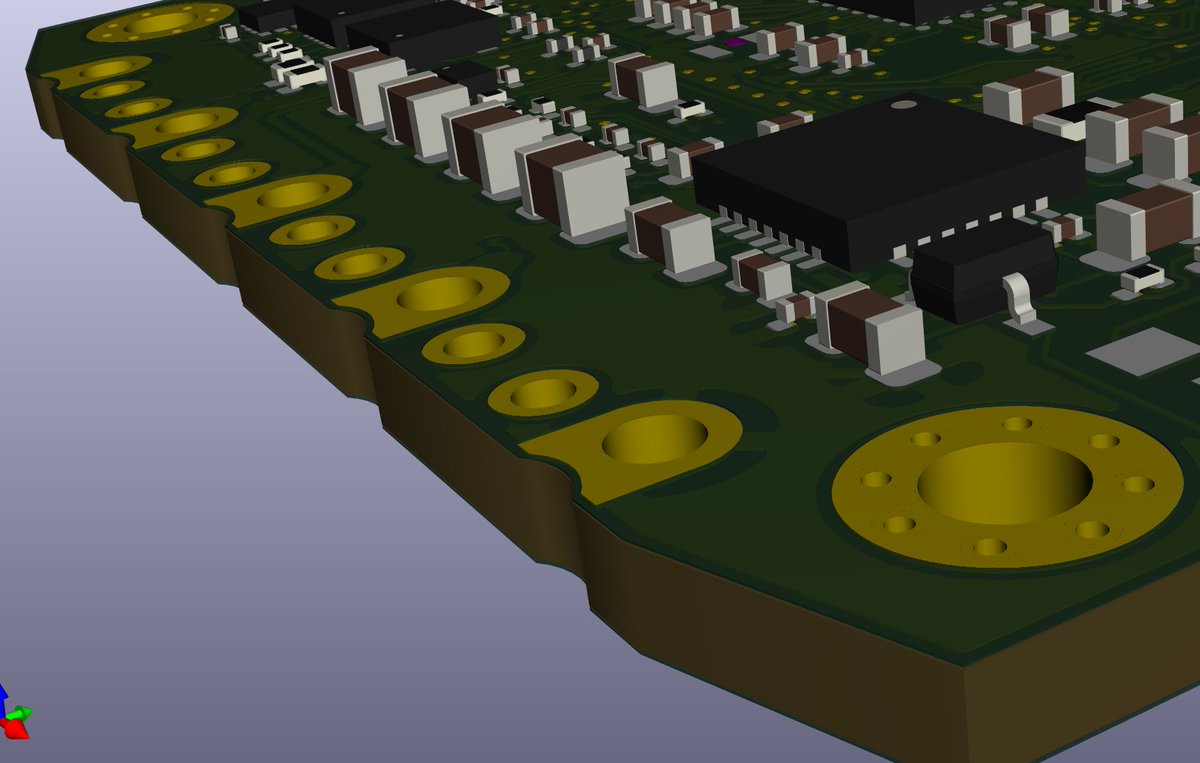
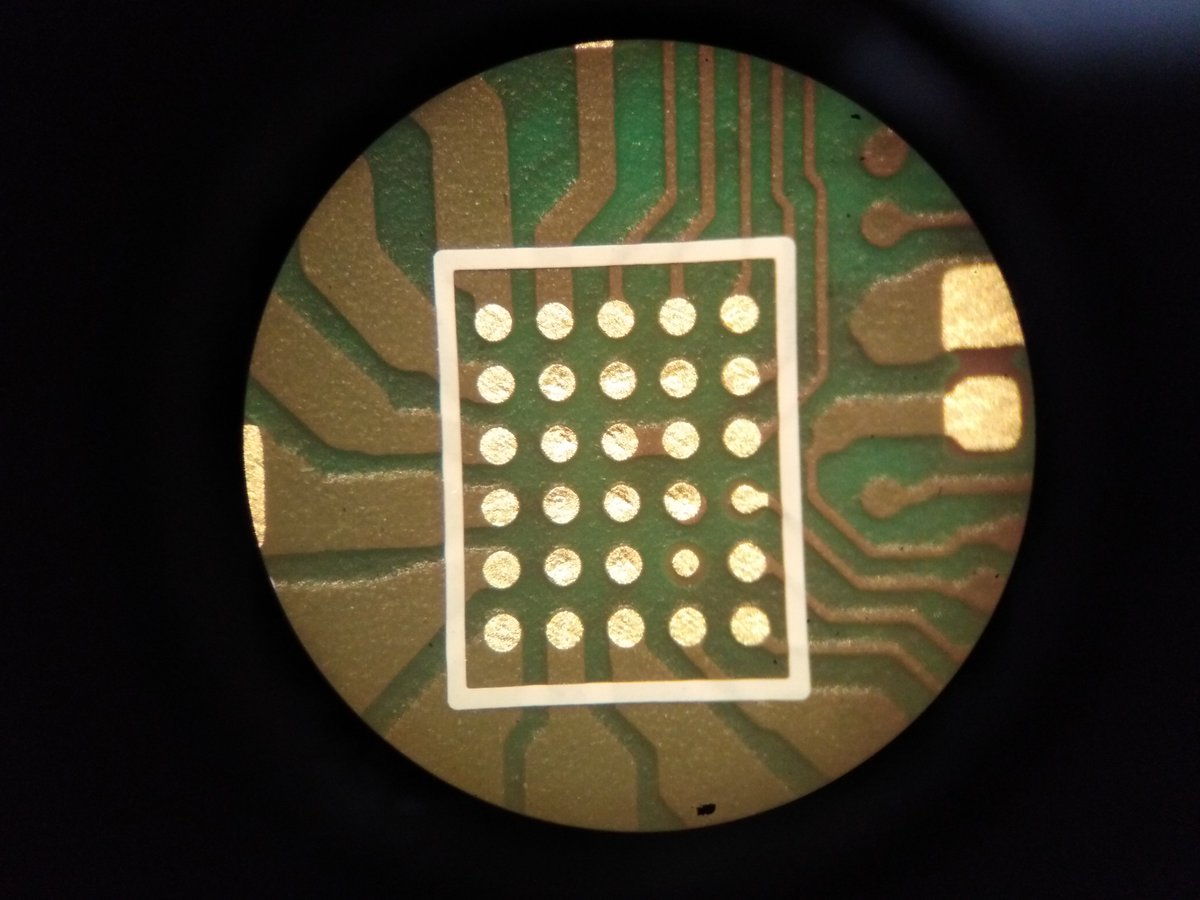
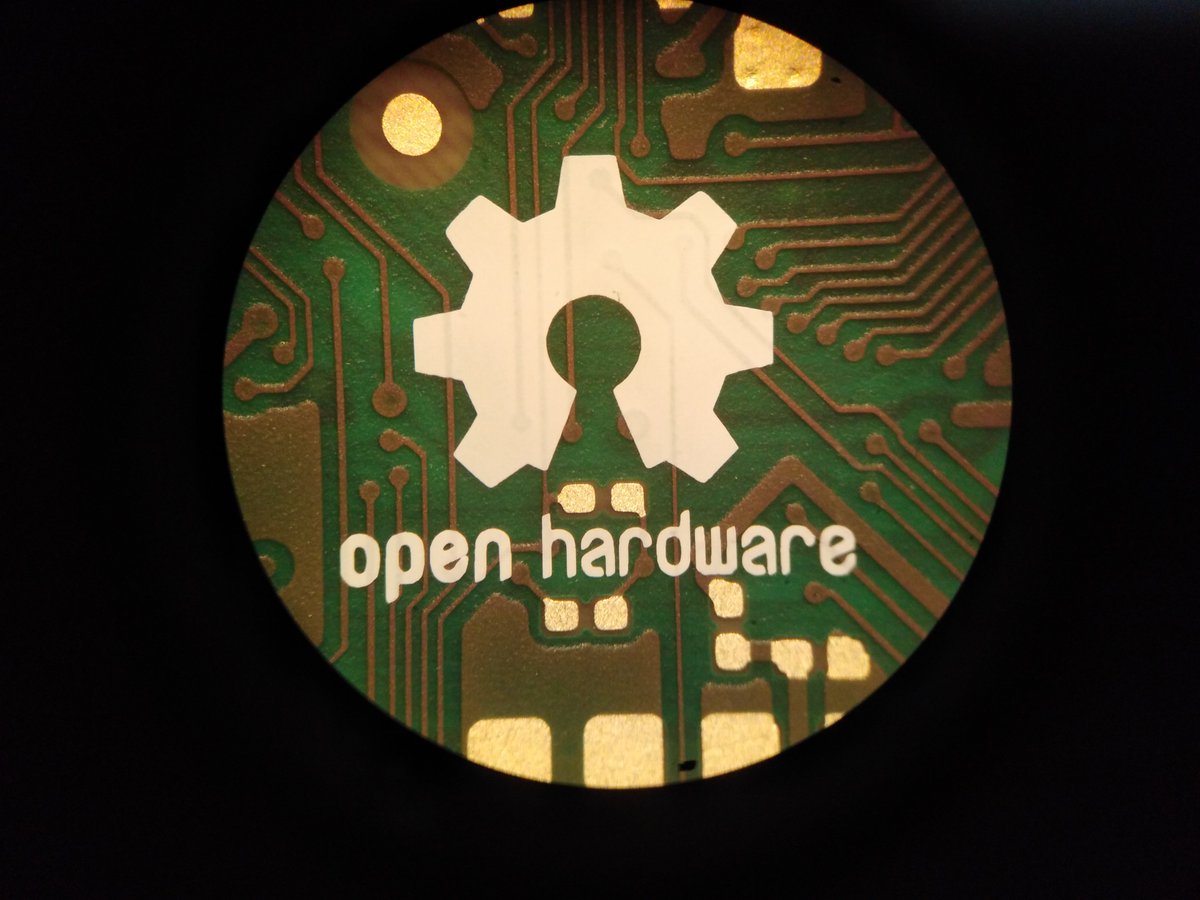
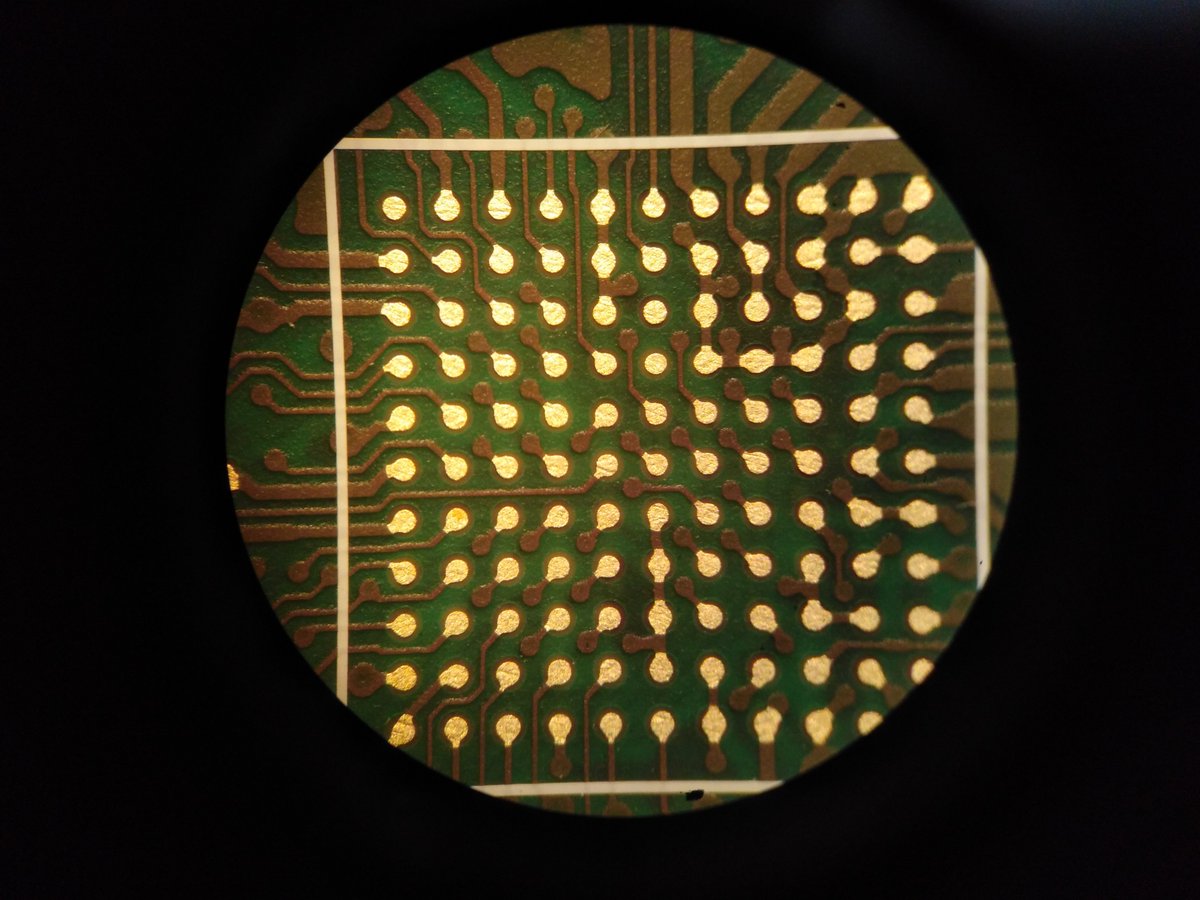
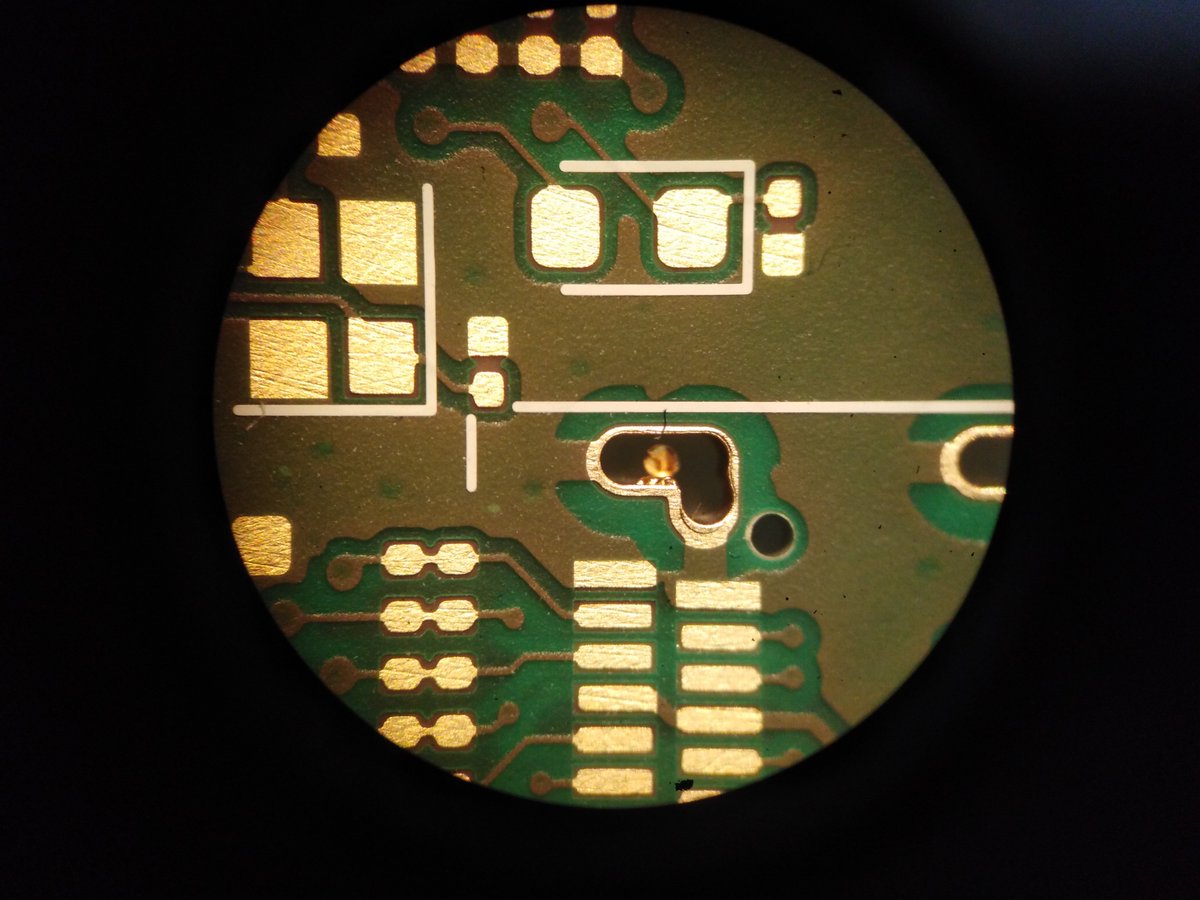
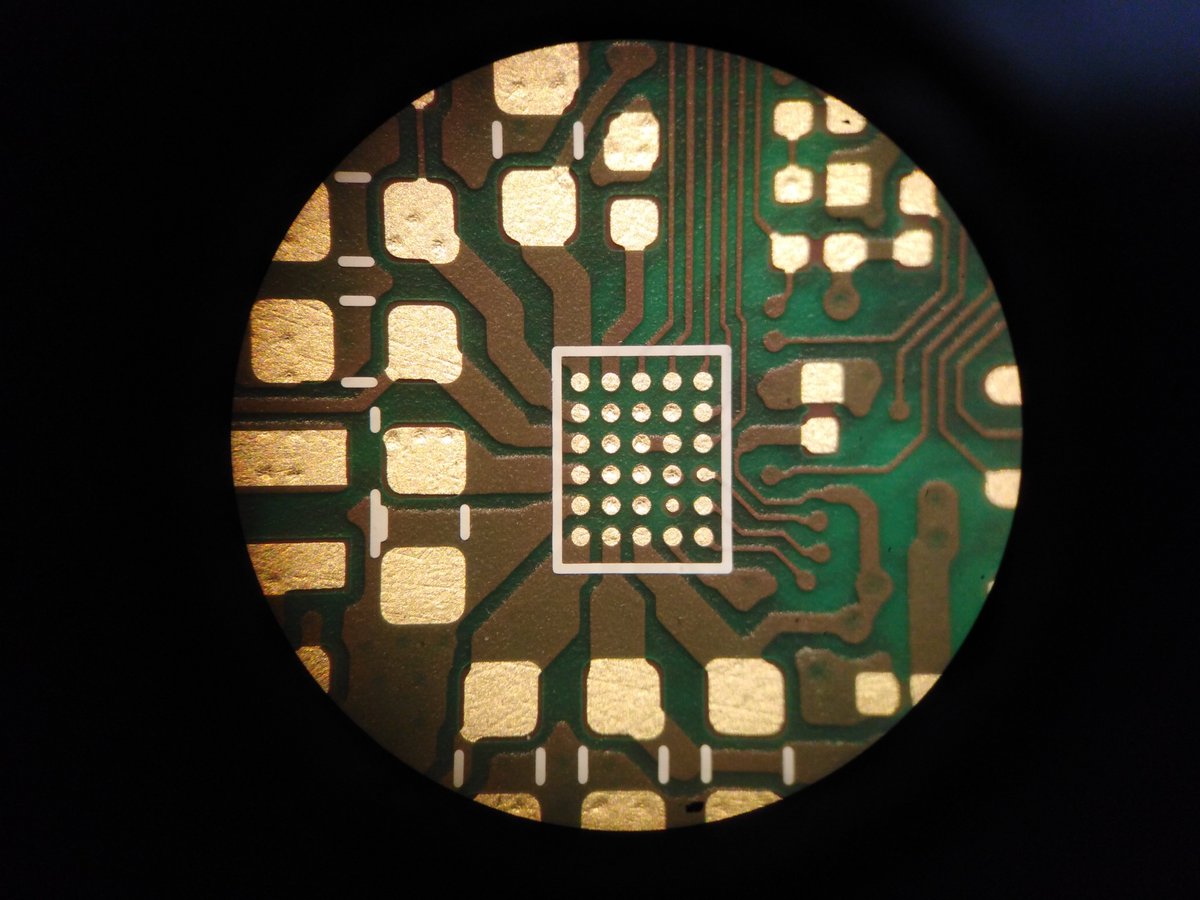
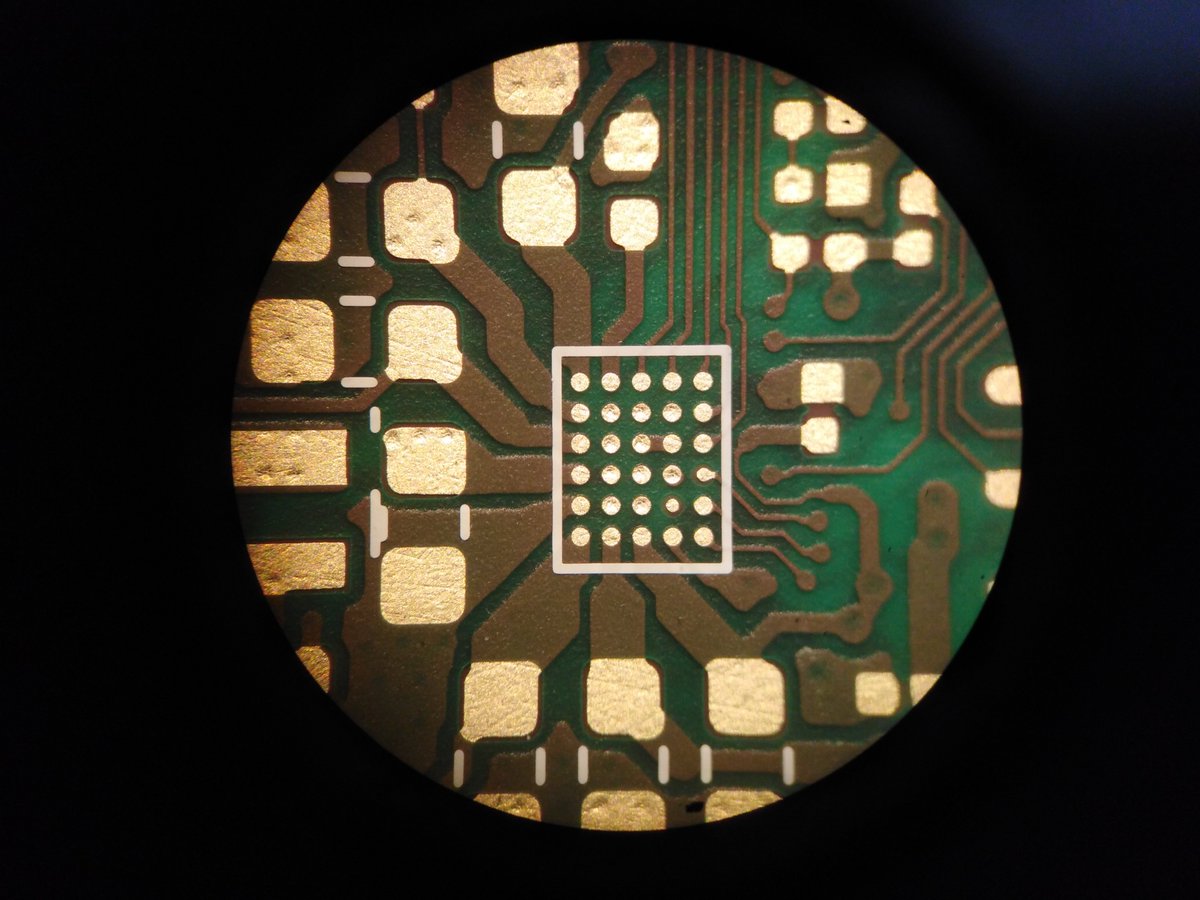
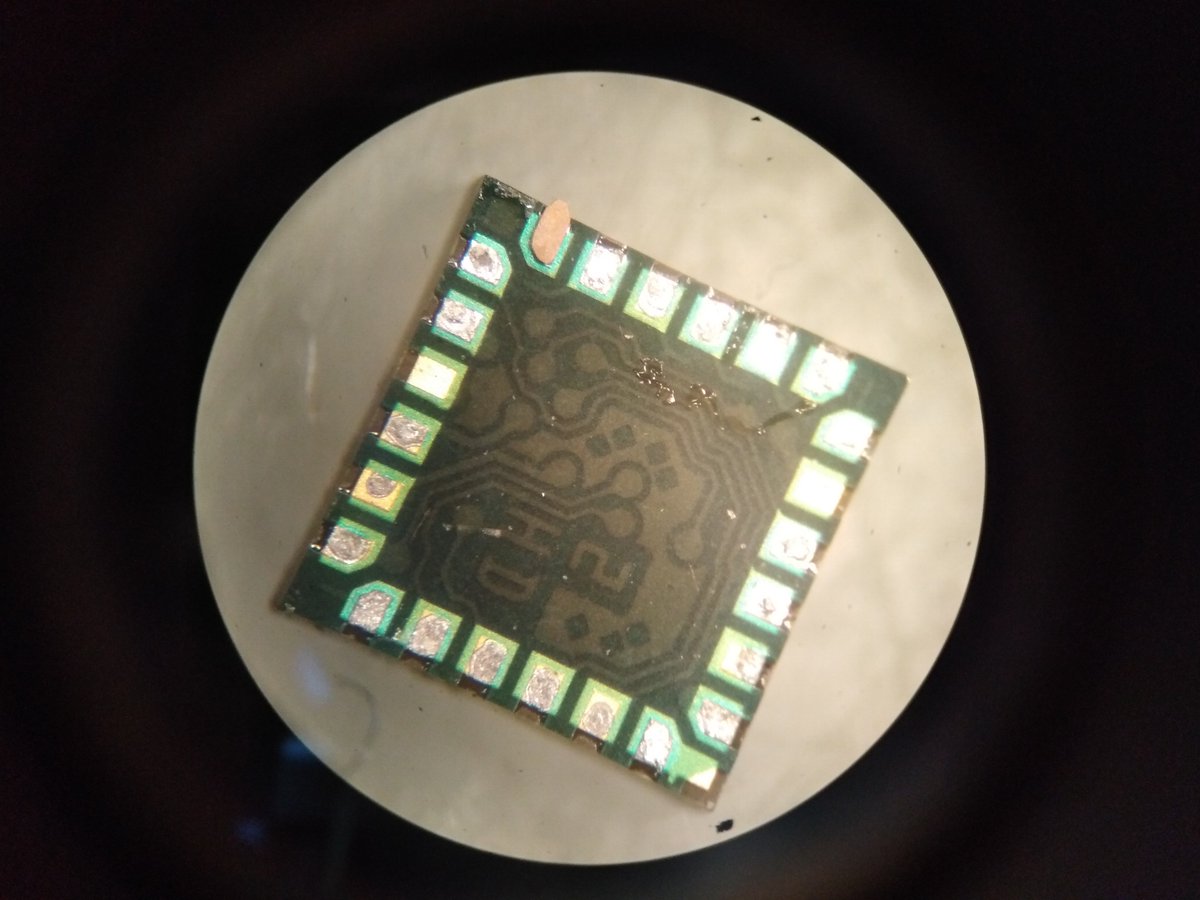
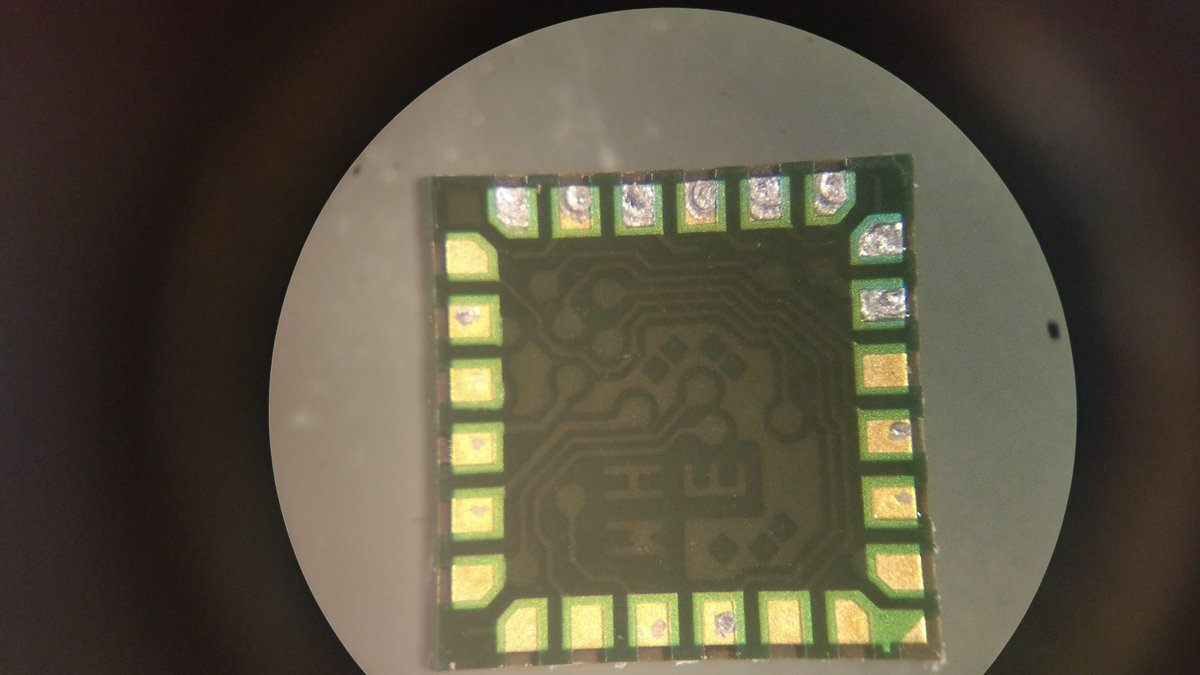
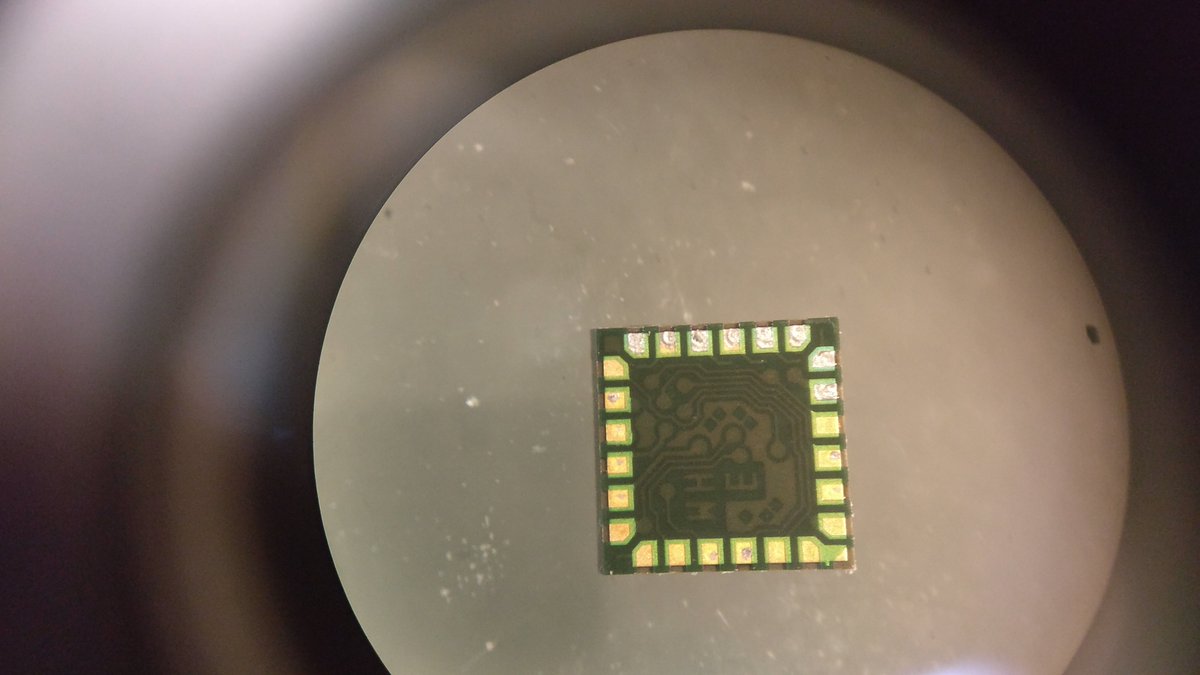
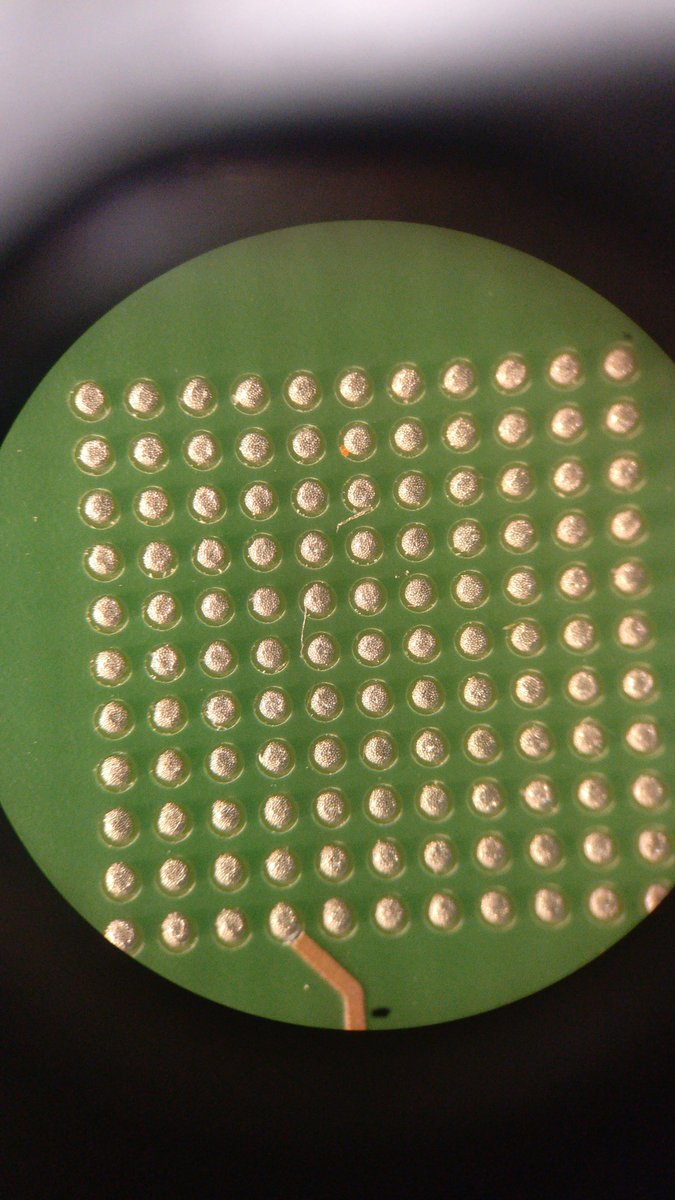
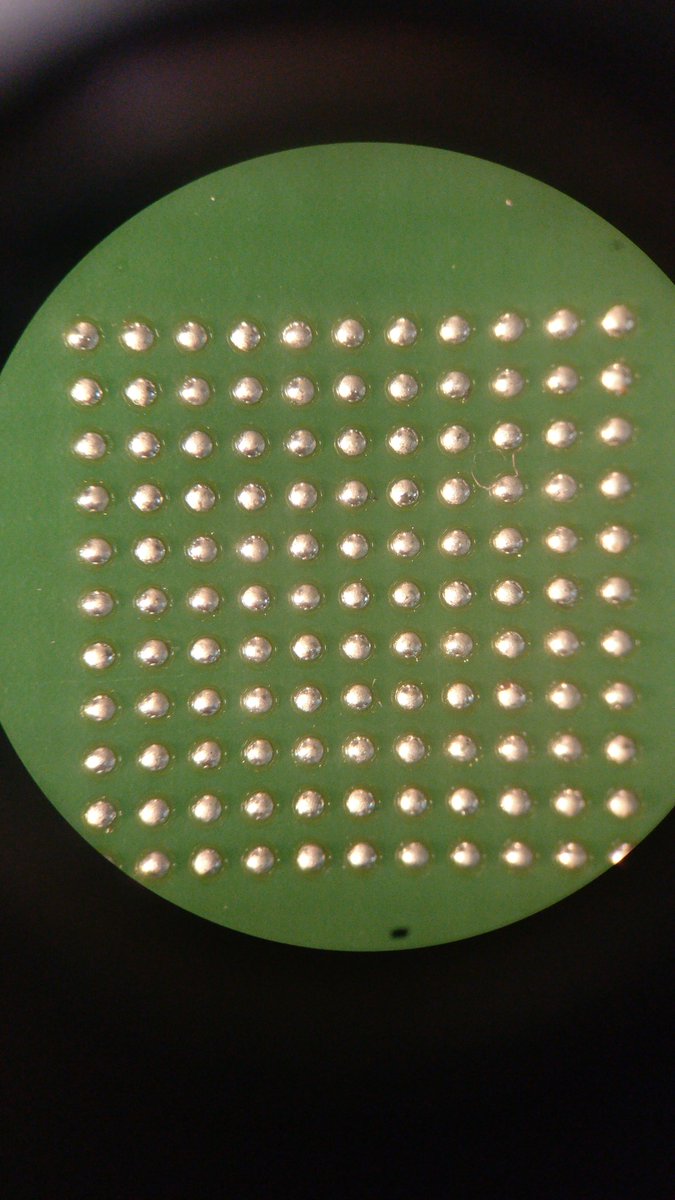
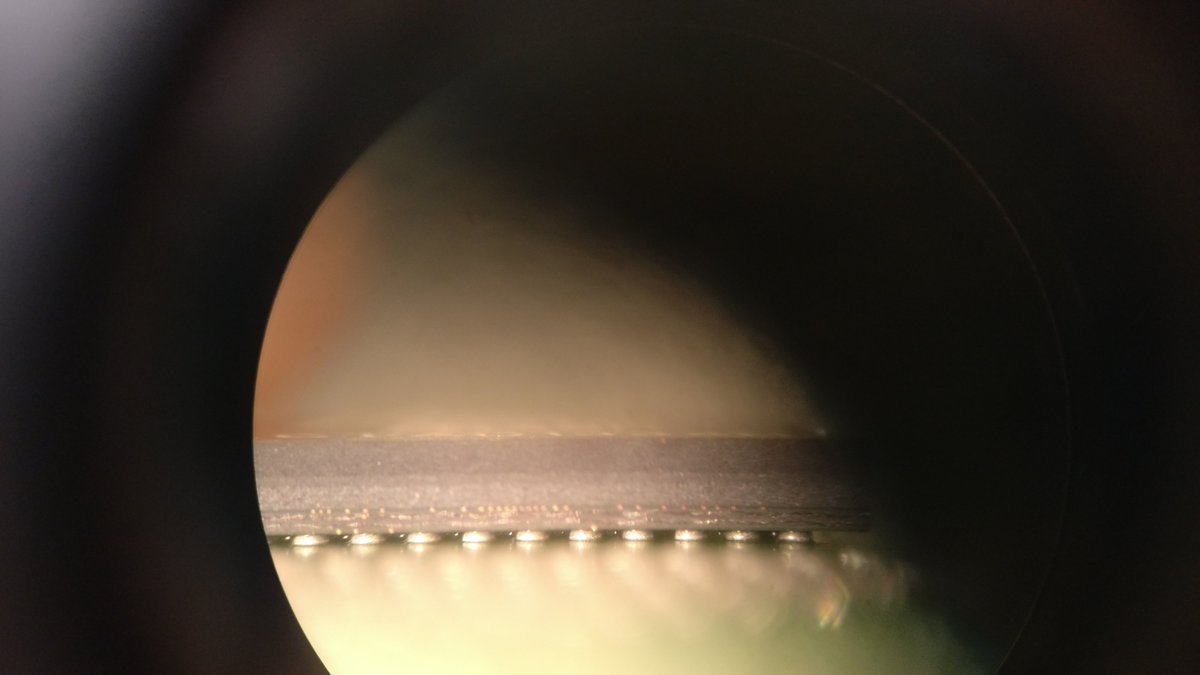
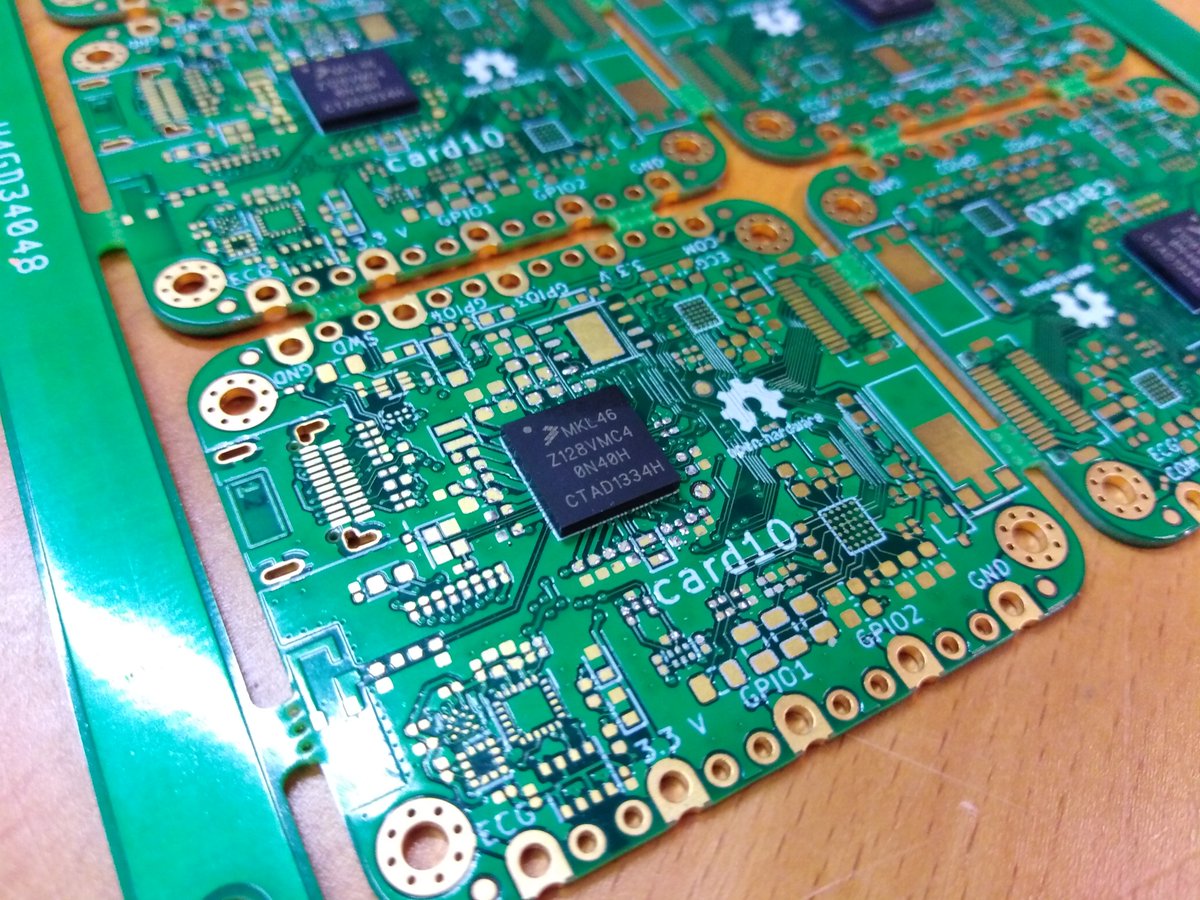
Close ups of the PCB: We were happy to see that the solder mask defined pads of the 0.5 mm BGA were looking good. If you look closely you can see that two pads are slightly smaller so the via-in-pad of another pad could be offset by a tiny but necessary amount. @card10badge
April 18: We meet with our preferred EMS and discuss when and how to get the prototype PCBs stuffed. Samples of some key components from partners have not yet arrived (our fault) and Eastern is just around the corner. We agree on May 6.
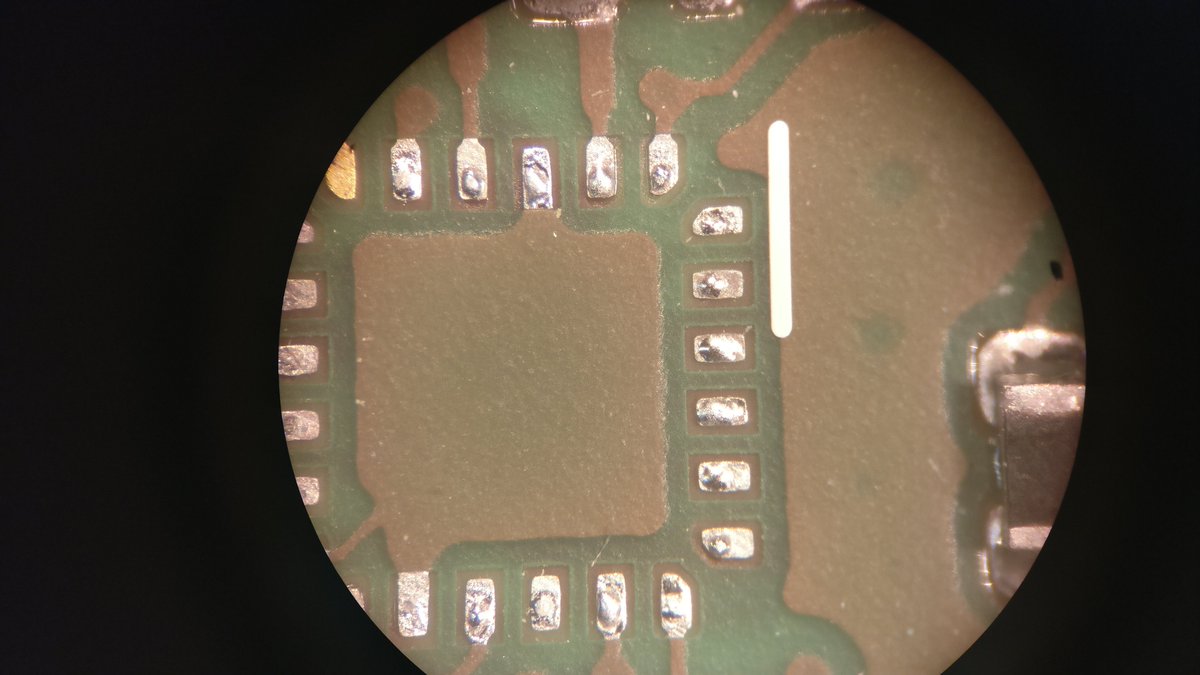
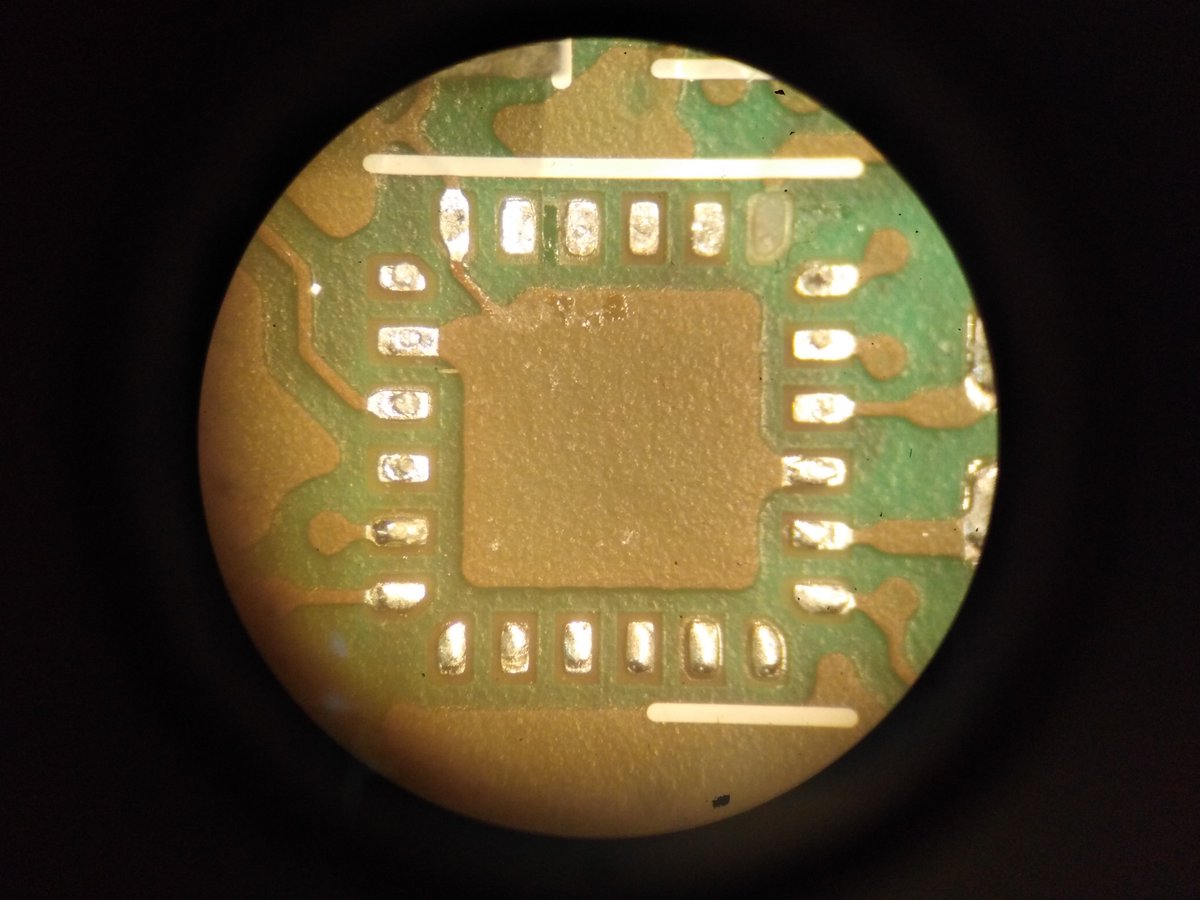
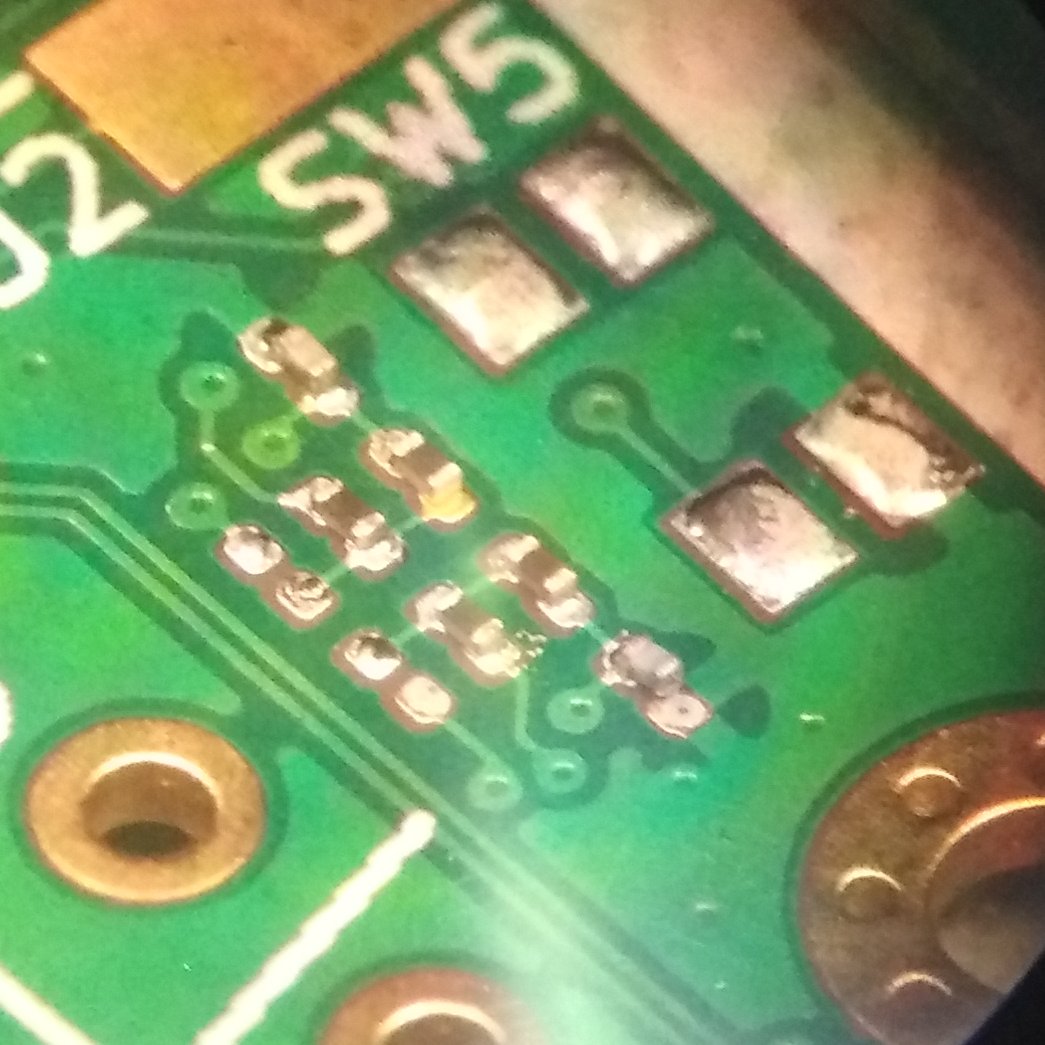
April 18: The EMS mentions to us that the missing thermals on the 0201 parts might lead to excessive tombstoning. Under the microscope you can see the very different pad sizes of these small components. We start to doubt this design decision...
April 20: We open up the project to the public and give talk at the Easterhegg in 2019 in Vienna: https://media.ccc.de/v/eh19-200-cccamp-badge-talk (German)
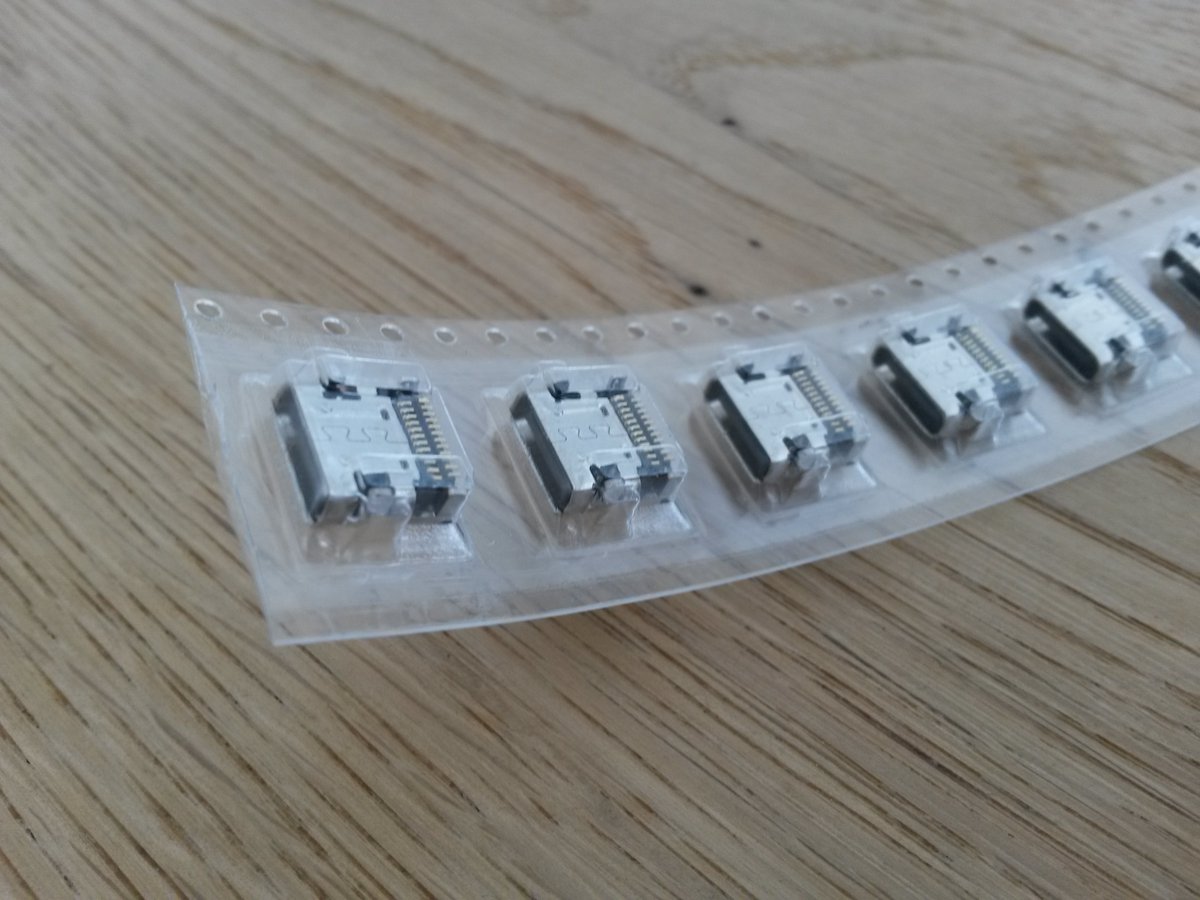
May 2: The samples of USB-C sockets, flash chips, vibration motors and LEDs arrive from @AllnetChina. In the meantime the samples of the (yet unreleased) MAX32666 BLE SoC arrived from @maximintegrated. It's Thursday and we are ready for prototype assembly on Monday. @card10badge
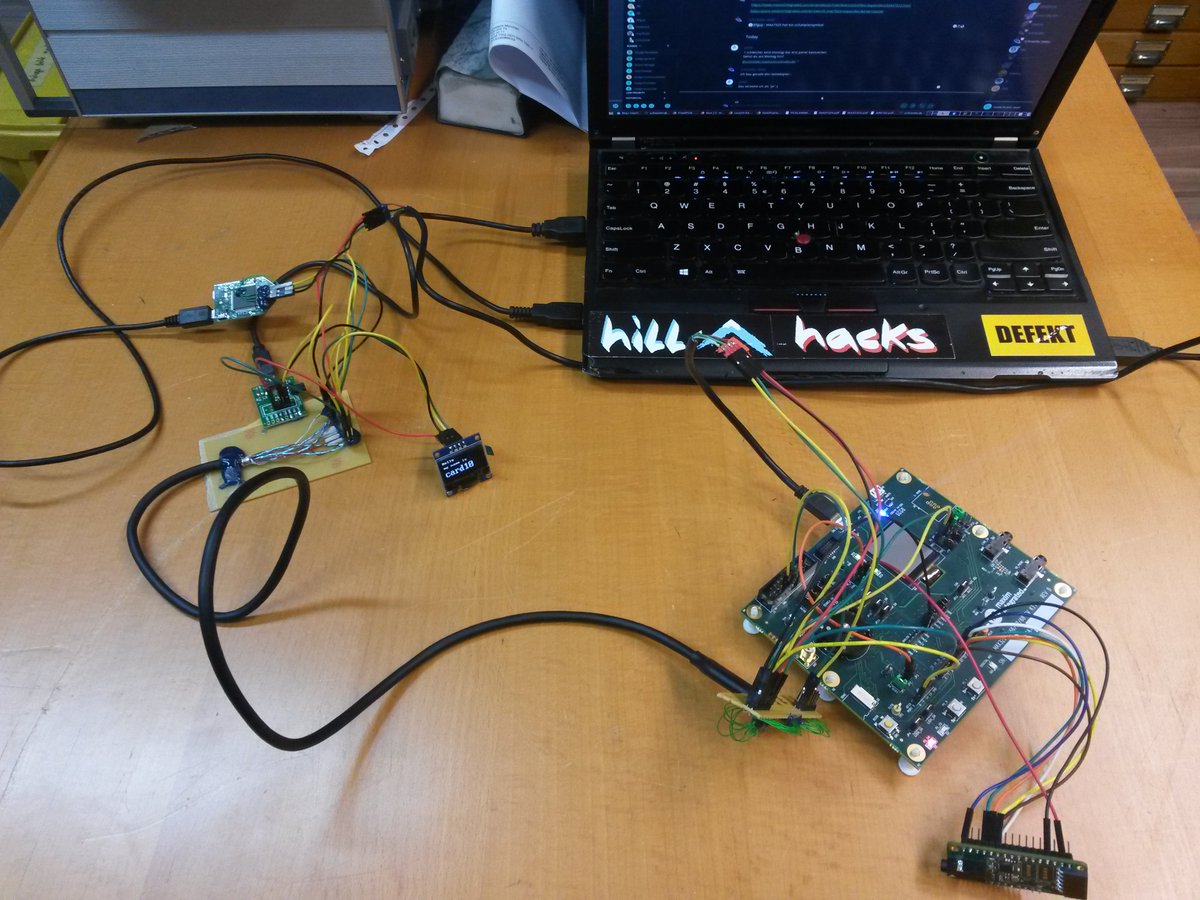
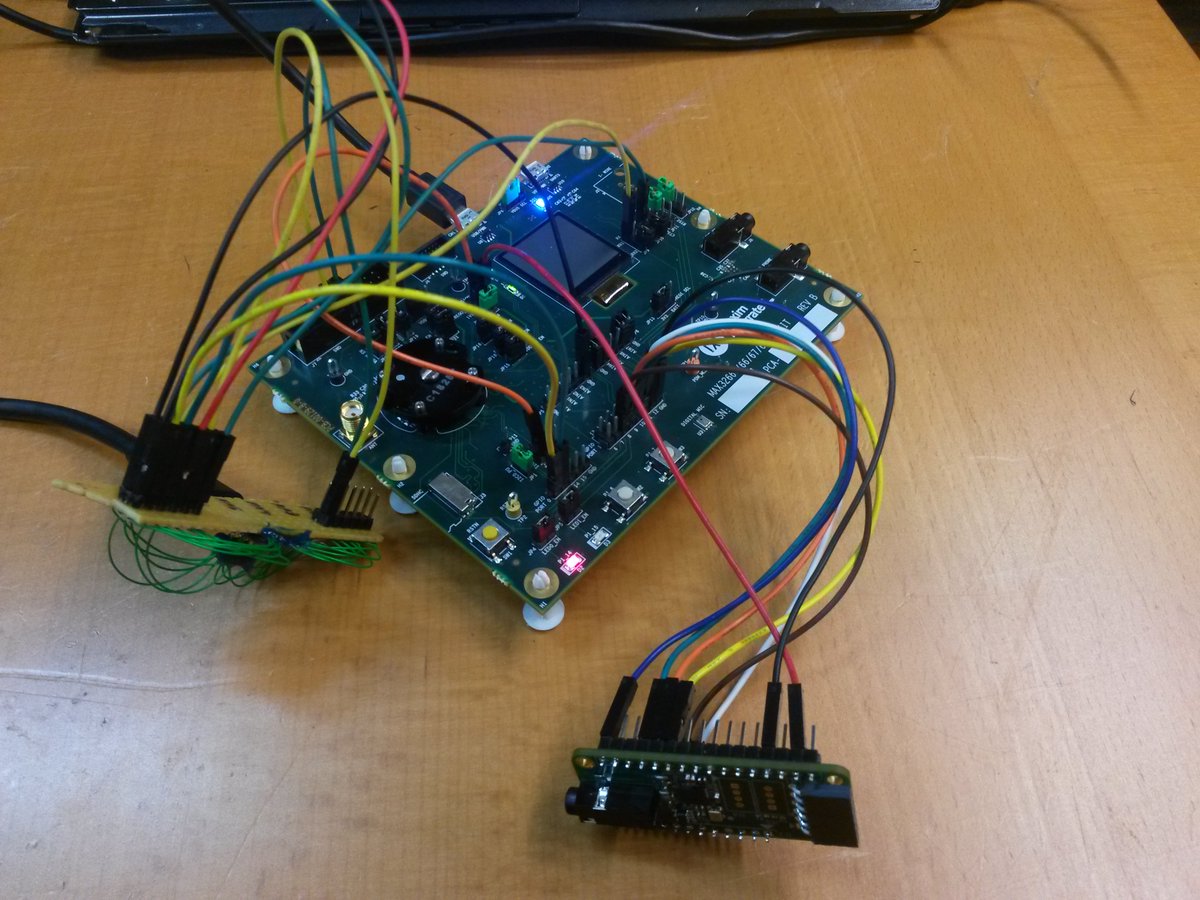
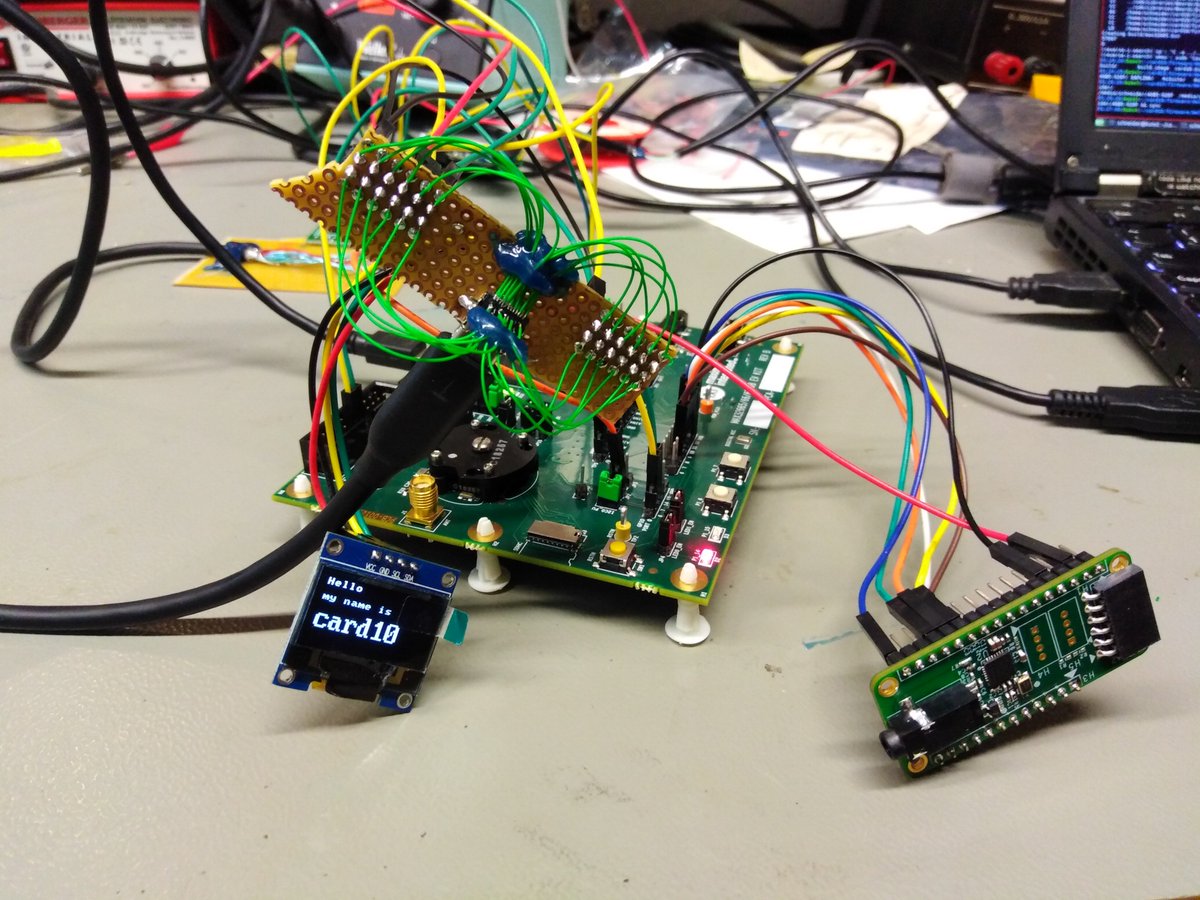
May 3: With procurement of components sorted we dive into prototyping the firmware so we have something to test on Monday. Devboards get modified and strung together. The first ECG data sees the light of day. @card10badge
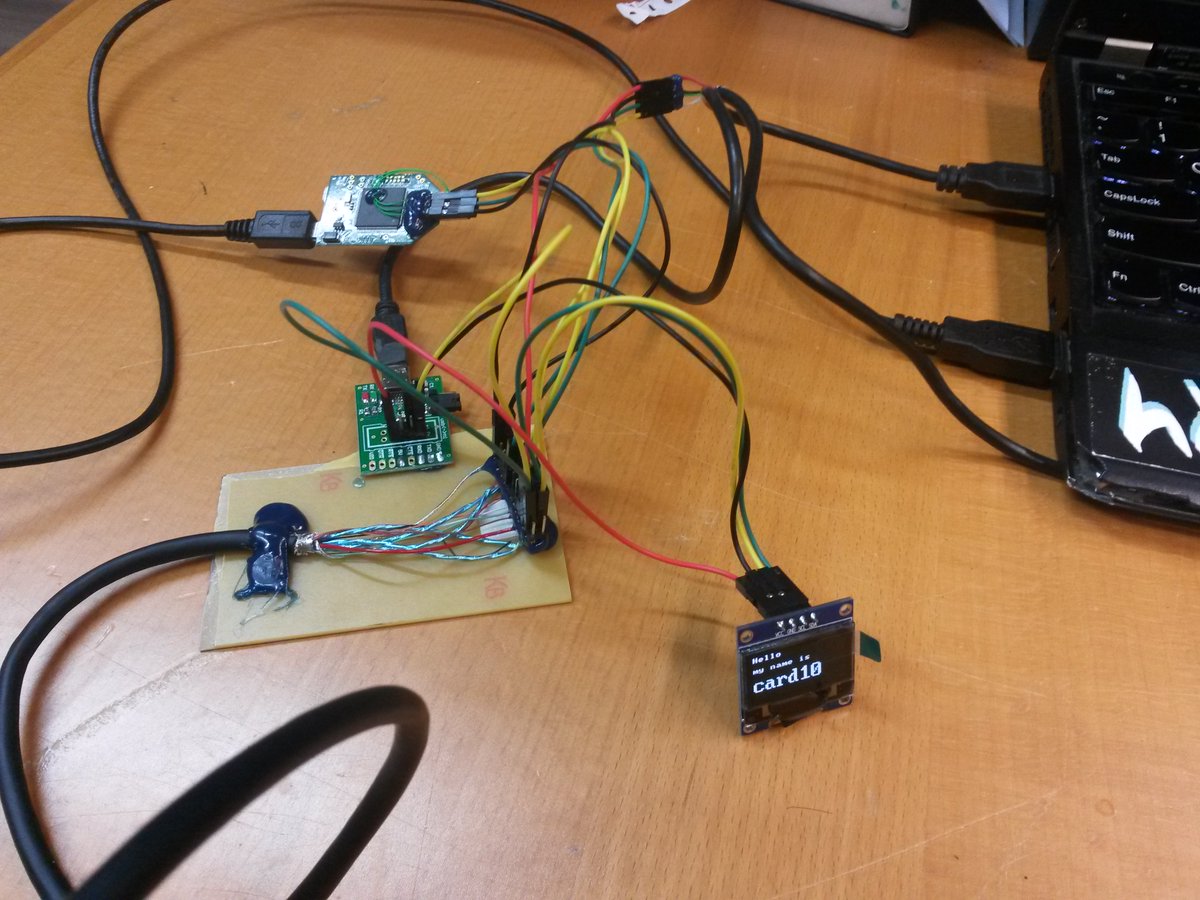
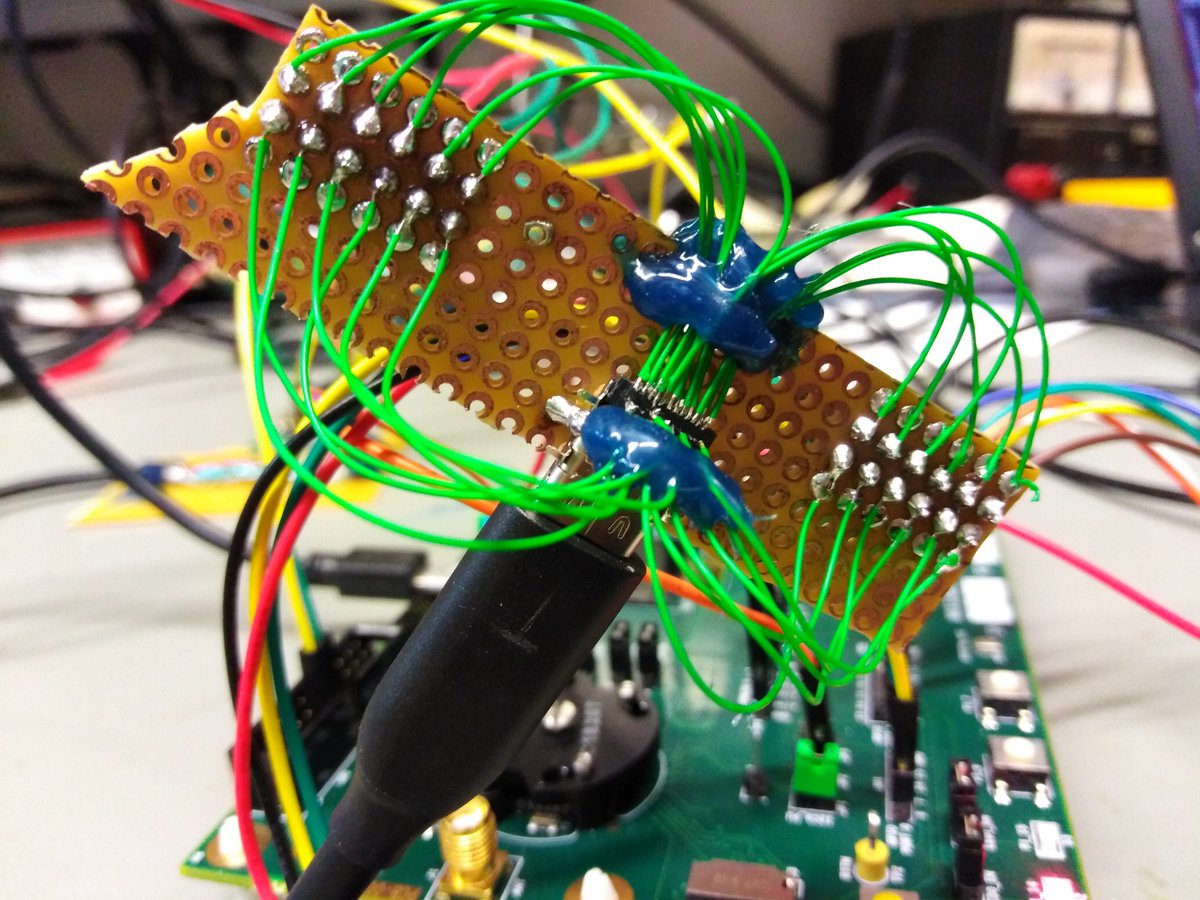
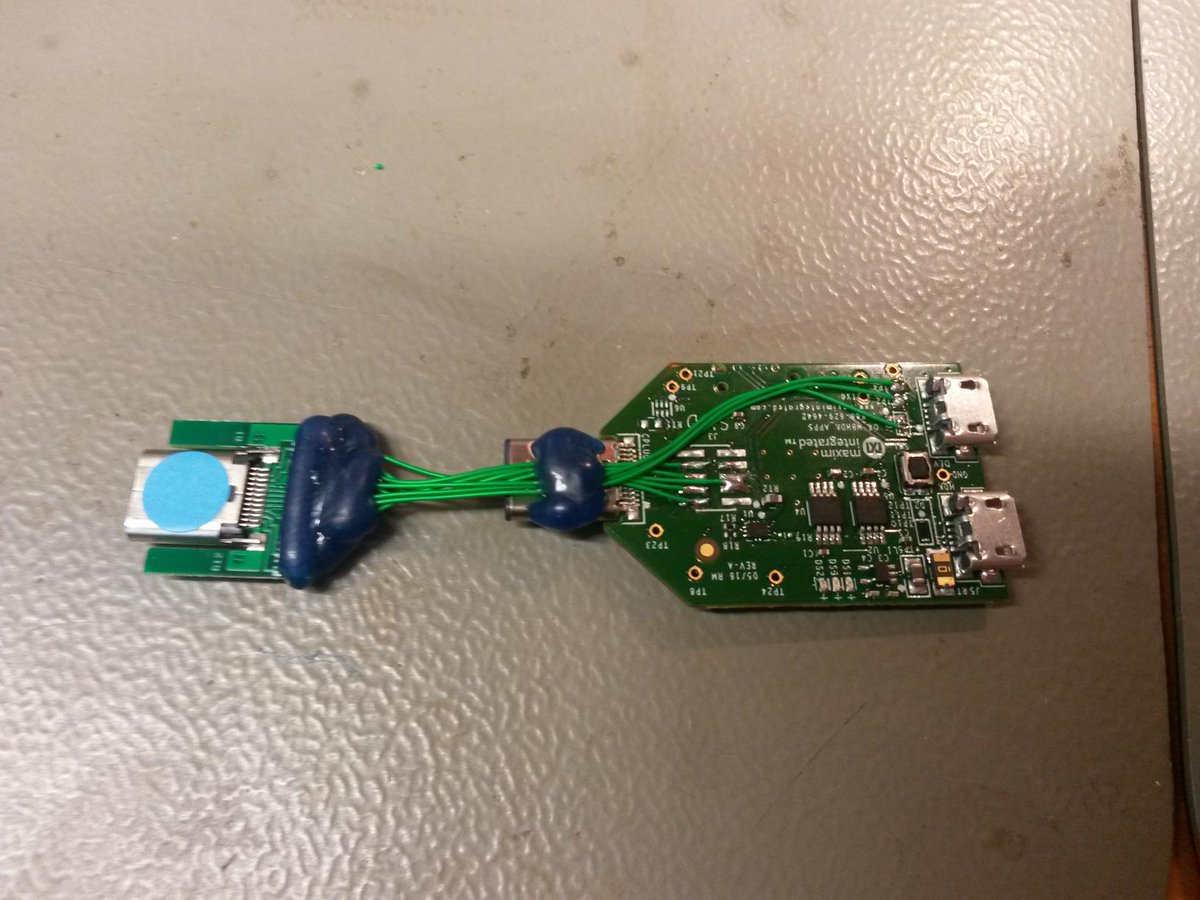
May 5: We build some hand soldered USB-C breakout adapters which carry SWD, UART and I2C of the device under test. This will also be our test jig for the @card10badge prototypes.
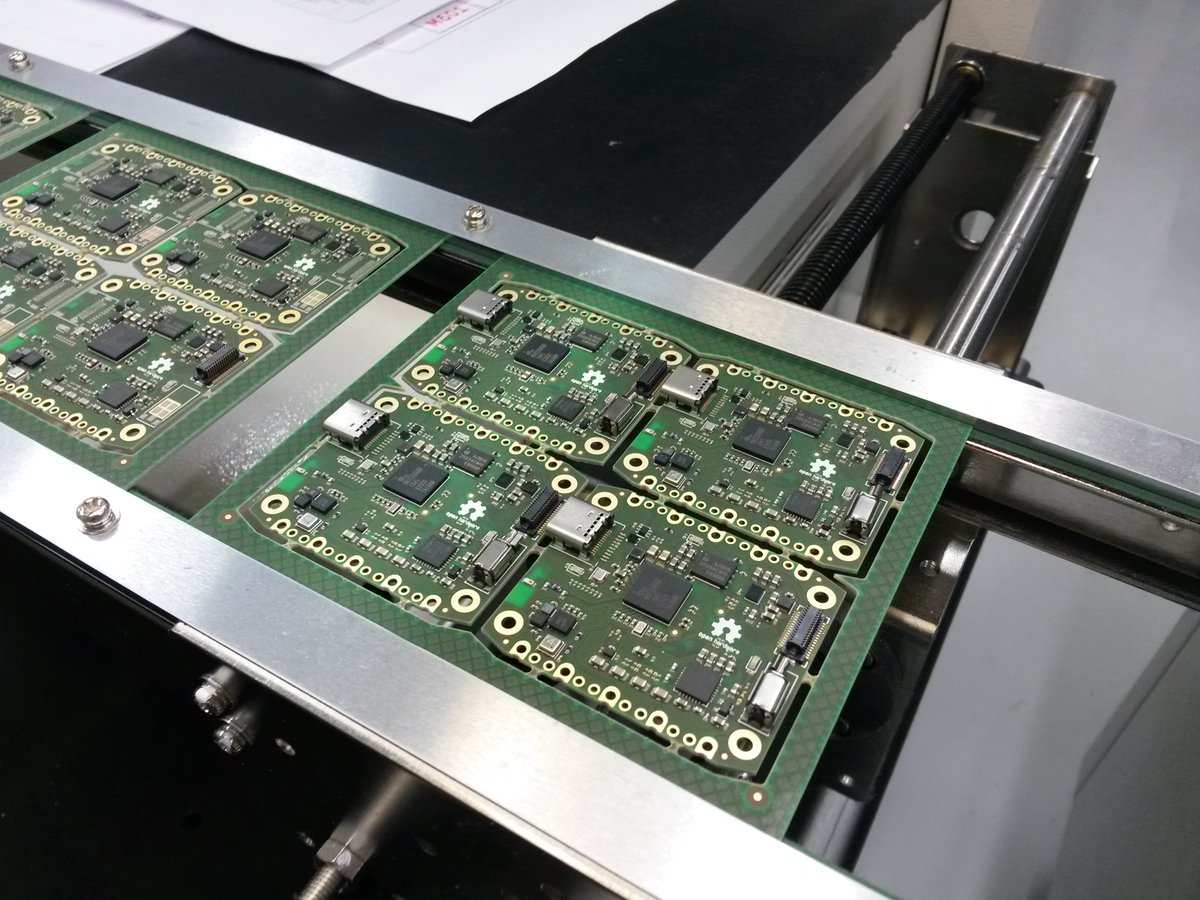
May 6: Twenty prototypes get assembled in Berlin by one of our contract manufacturers. Despite their fears regarding tombstoning all goes well and the assembled @card10badge PCBs look great:
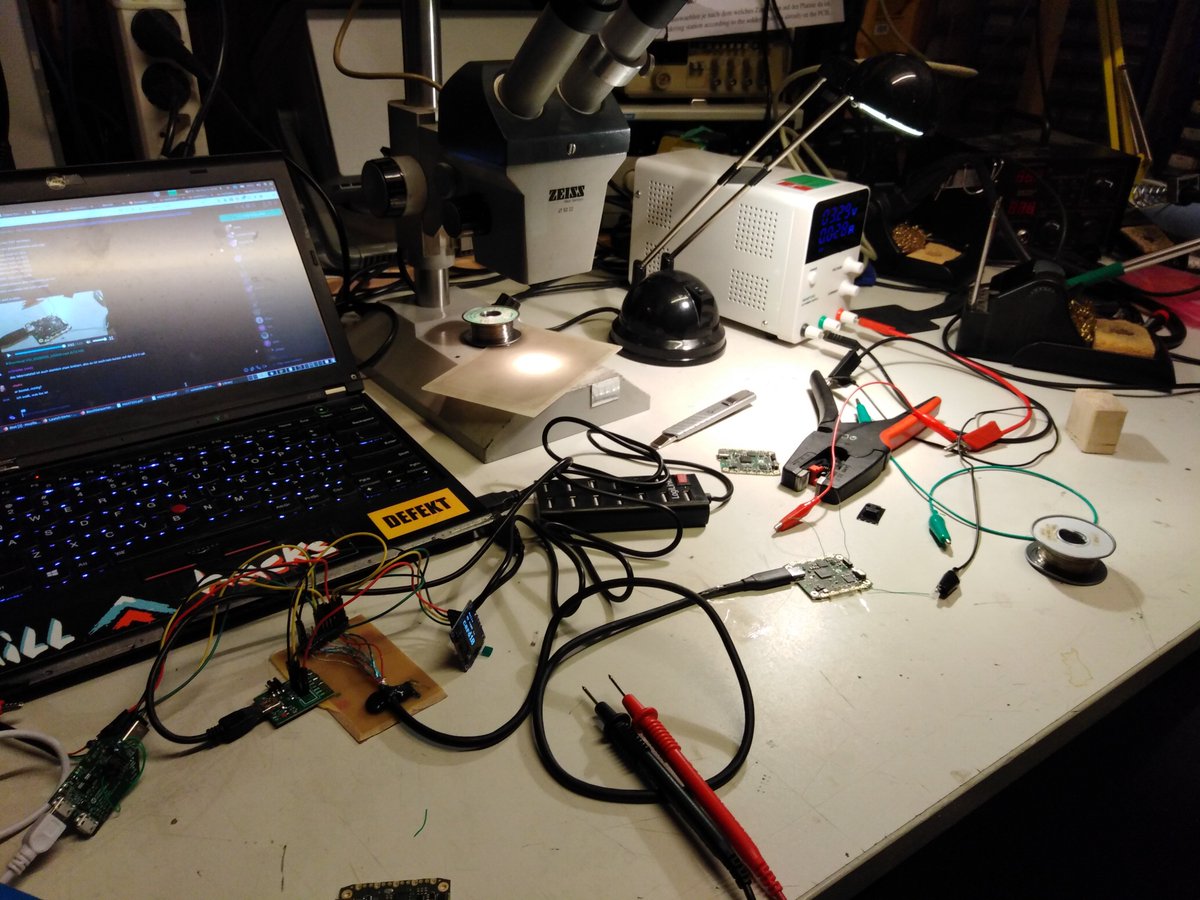
Initial tries to get the @card10badge prototypes working are not fruitful, though. None of the boards turn on when supplied via the USB-C connector. It looks like the Power Management Chip does not turn on. Our CM calls it a day and we continue debugging at @clubdiscordia.
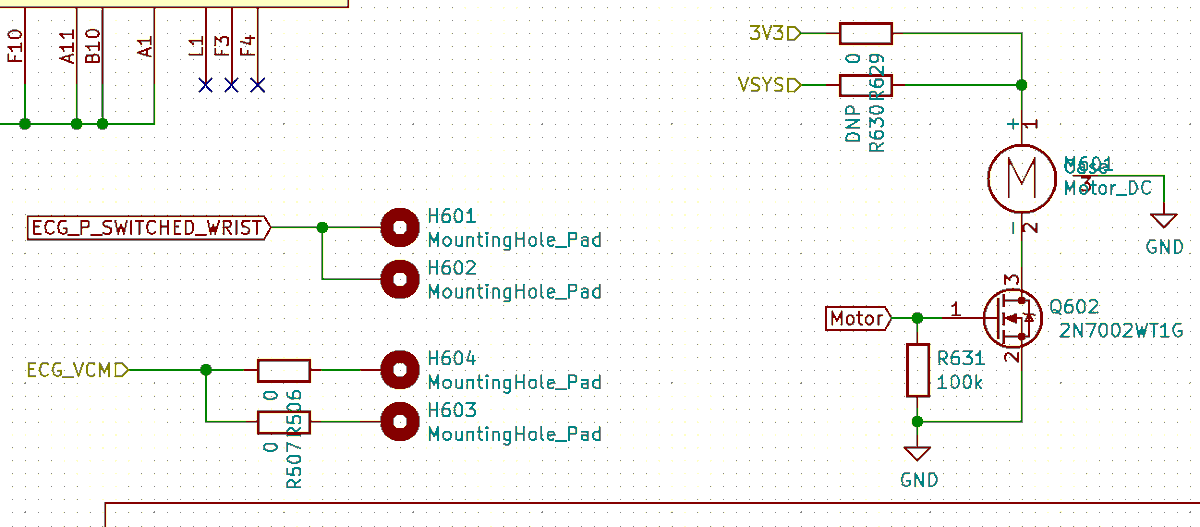
Powering the board using an external 3.3 V power supply lets the CPU boot and enumerate all peripherals on the I2C bus. There seems to be no short circuit and power consumption is very moderate (way below the limits of the PMIC). Even the vibration motor works:
It is very worrying that one of the hardest to debug parts of the system (smallest pitch, high integration, hard to measure) seems to be the cause. Lots of datasheet reading and interpretation ensues.
The day ends and a brave soul puts in a night shift to try and get to the bottom of this issue.
We know that if we are not able to find a solution in which we have very high confidence, the @card10badge project will fail. There is no time for a second prototype.
We know that if we are not able to find a solution in which we have very high confidence, the @card10badge project will fail. There is no time for a second prototype.
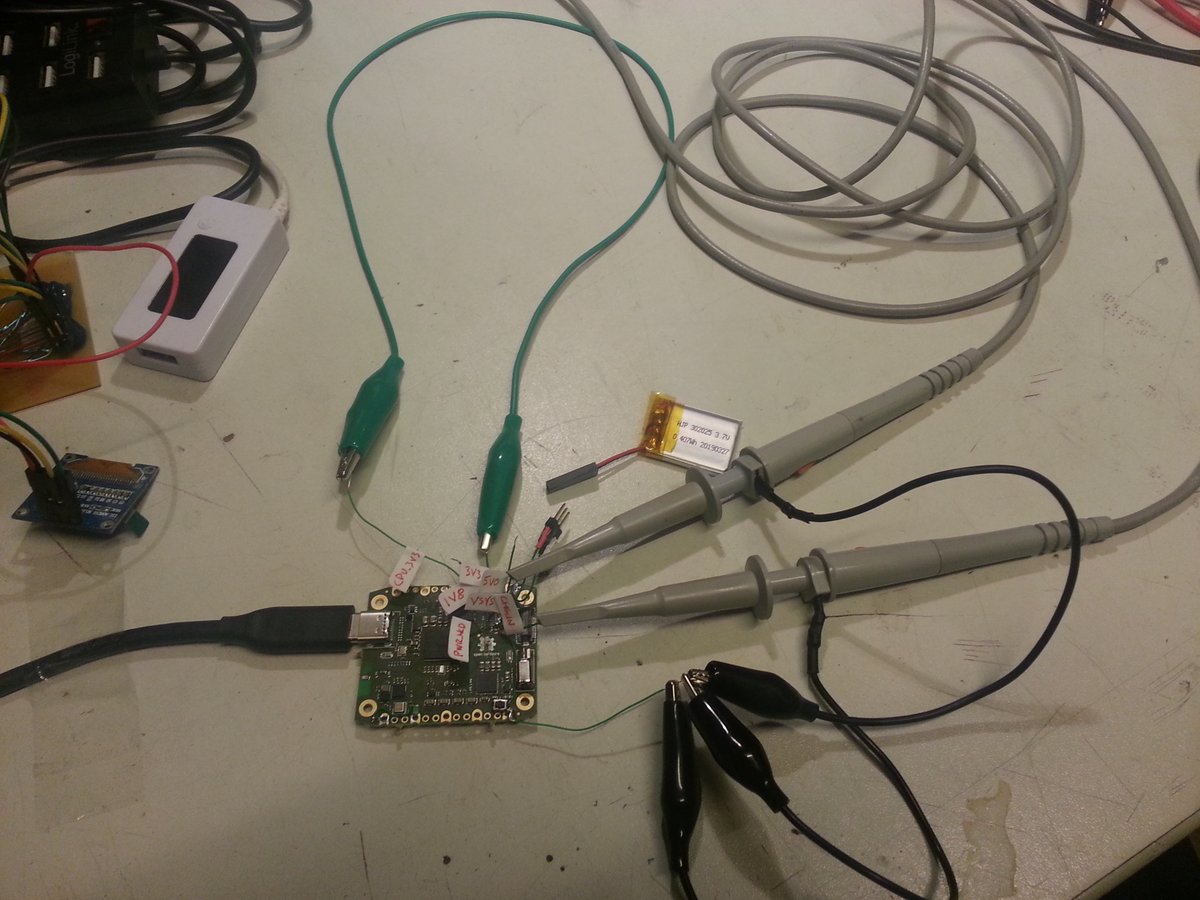
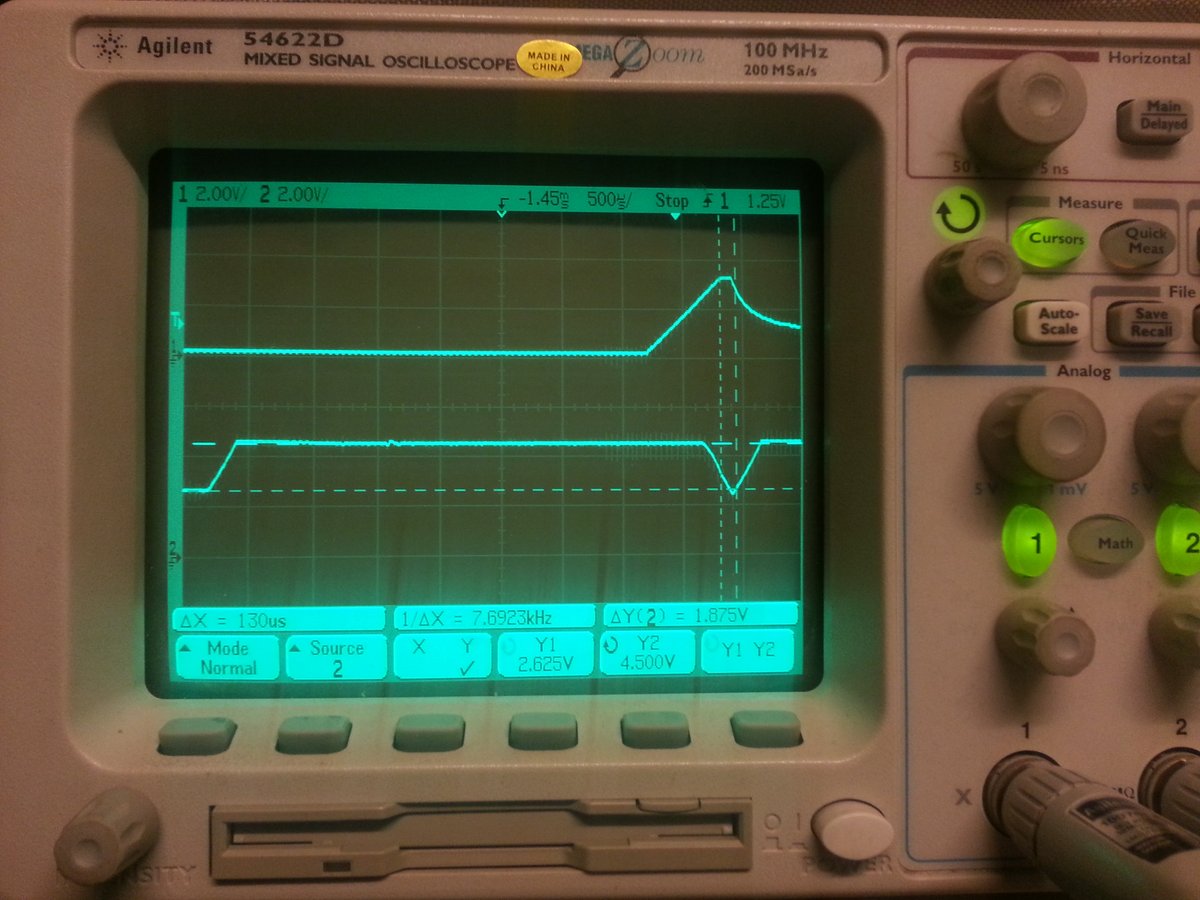
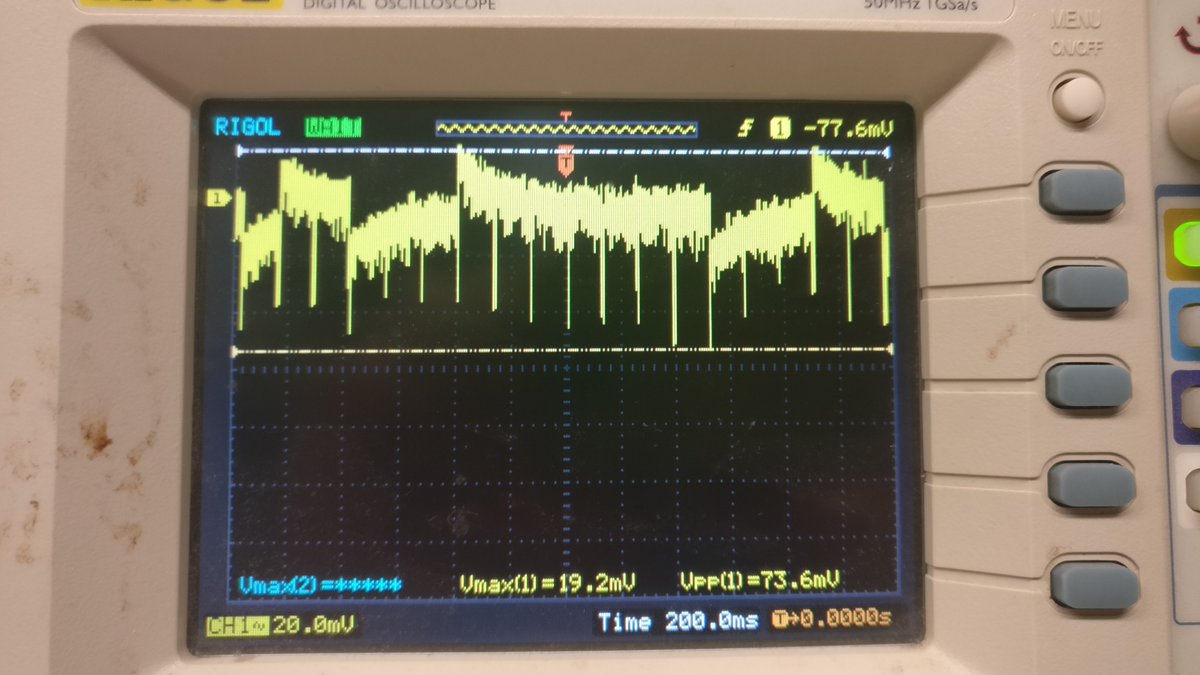
May 7: The day begins with measurements of the different power rails (there are 3 regulated ones). The PMIC does indeed turn on when pressing the power button but immediately shuts down again:
Suddenly some good news in the morning: The @card10badge prototypes do boot up when a battery is attached. Apparently the PMIC is running into its initial 100 mA current limit on the USB input when no (or an empty) battery is attached:
It feels like we just had a near death experience. What we don't know yet: There are multiple more to come in the next months right until the first days of #CCCamp2019...
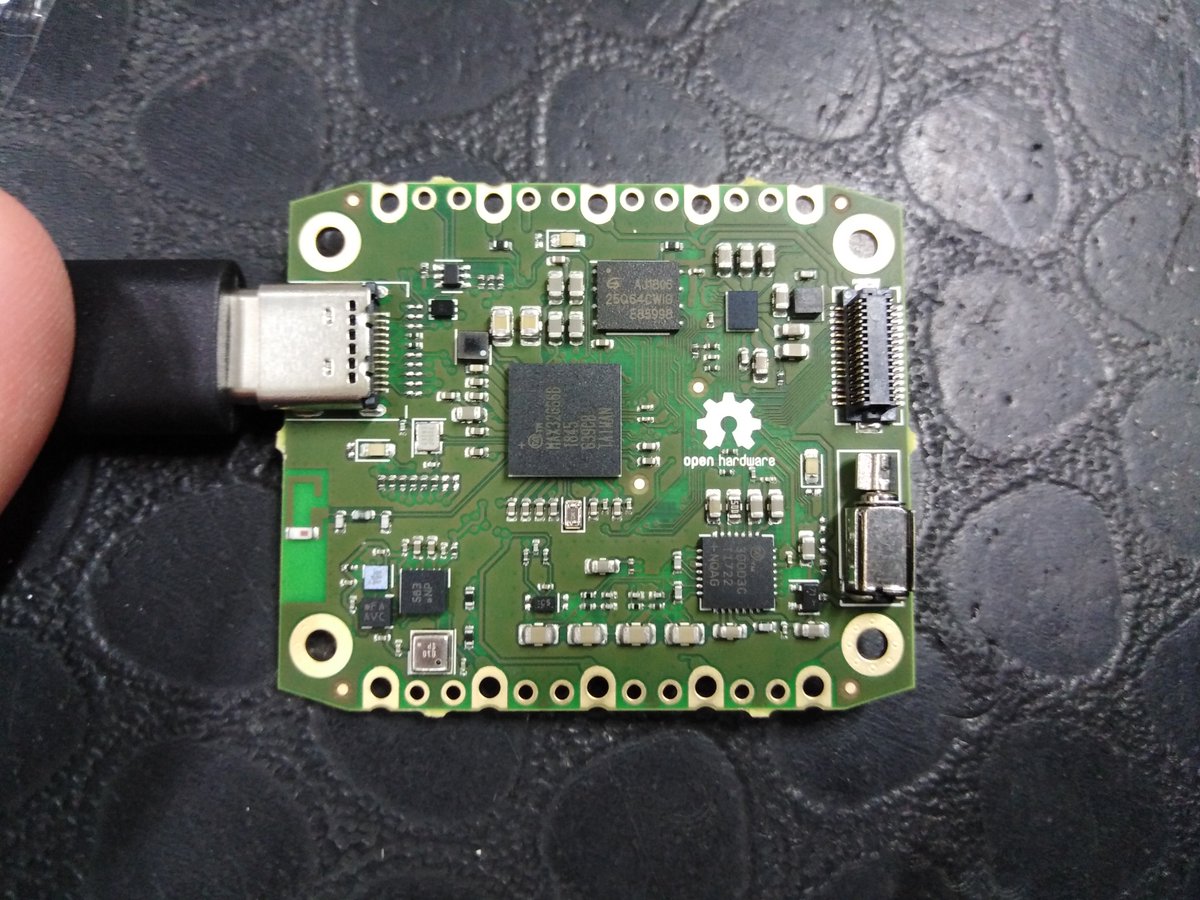
A few hours later we have the first @card10badge booting up under its own power. We still don't have a design for the second PCB or even selected the display we want to use:
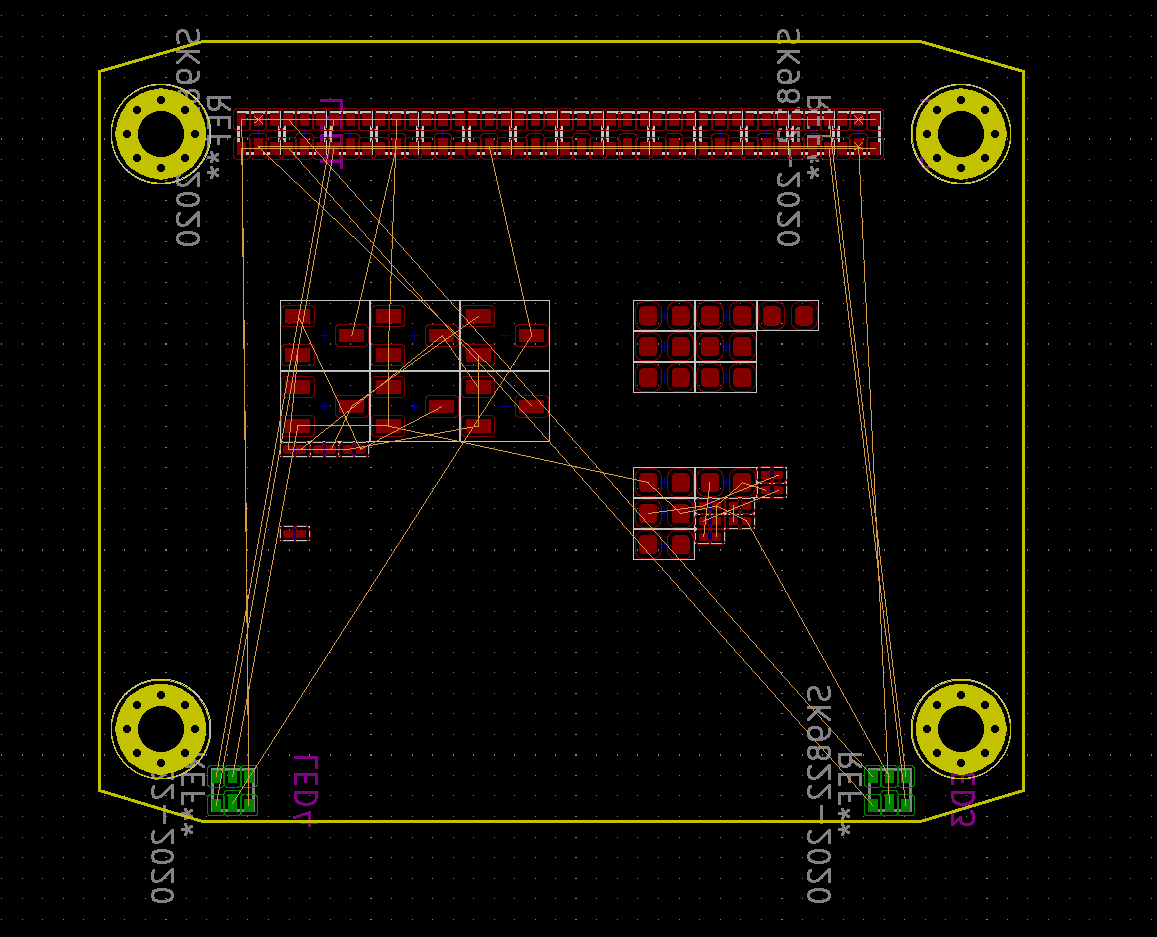
The day ends and we start thinking about the (yet also unnamed) "top board". The layout is very bare bones at the moment: A few resistors, transistors and RGB LEDs.
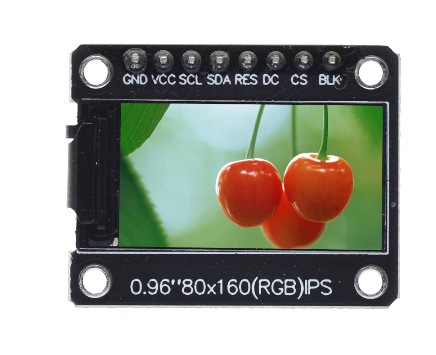
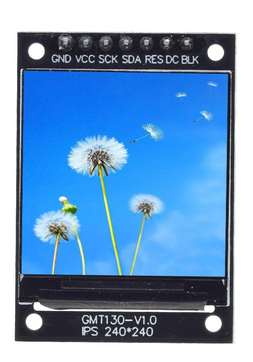
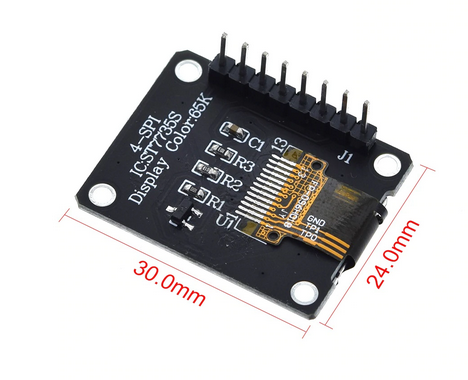
The topic "which display?" is back on the agenda. We don't have a really good candidate yet. On Aliexpress there are a few TFT LCDs available which look like they are meant for watches. We consider them a fallback if we don't find something more suitable.
Main considerations for the display:
- How big is it? We need some free space for other components around it.
- Where is its connector located? It should not collide with the battery.
- Can it be replaced without soldering?
- How much does it cost?
- How big is it? We need some free space for other components around it.
- Where is its connector located? It should not collide with the battery.
- Can it be replaced without soldering?
- How much does it cost?
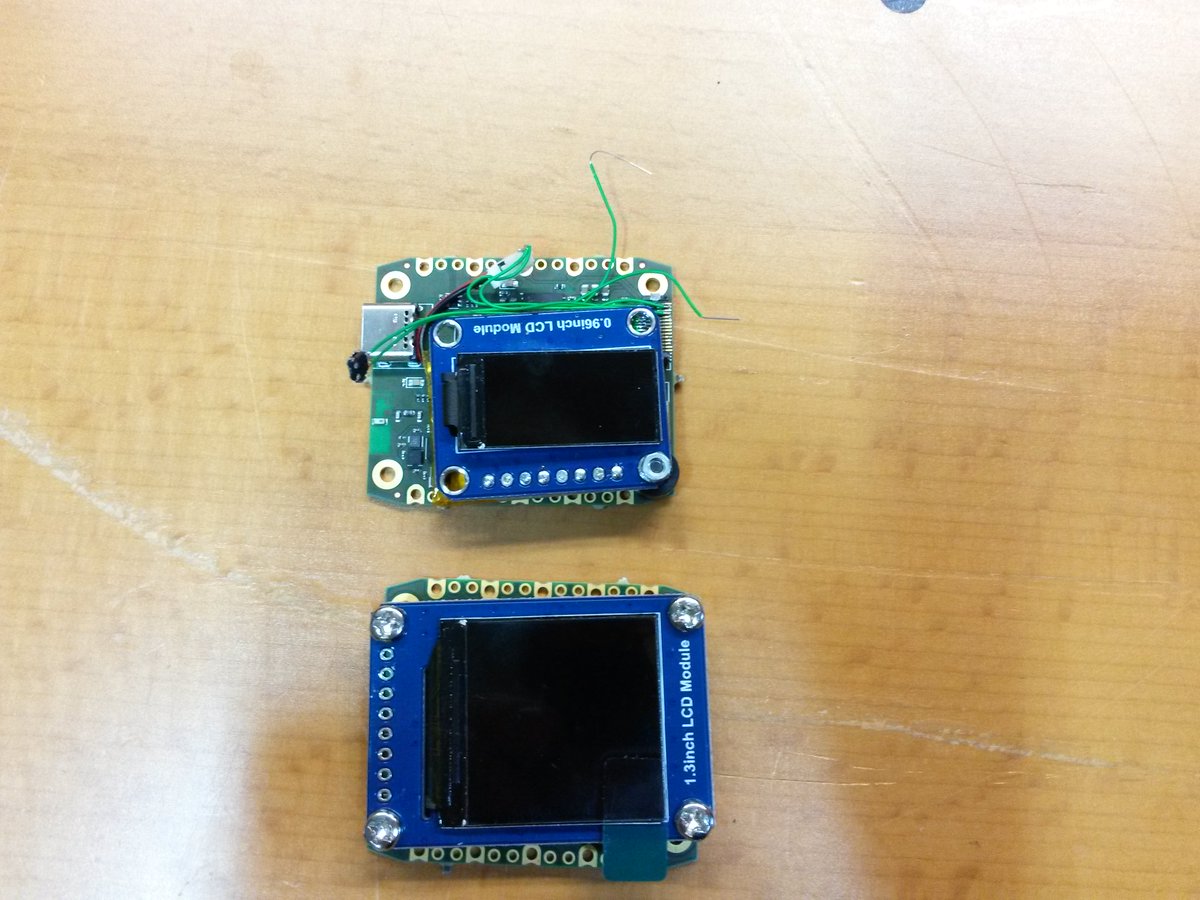
The 80x160 display would certainly fit the available space. The 240x240 might be too large. We also want to add a row of LEDs, an optical pulse sensor and some buttons.
Both share one major disadvantage: They need to be (hand) soldered and can't be replaced easily.
Both share one major disadvantage: They need to be (hand) soldered and can't be replaced easily.
May 8: We realize that the PMIC issue is not solved yet:
The PMIC will not charge the battery unless instructed so by the CPU. The problem: The CPU can not start if the battery is empty.
We start to think about circuit level hacks to get around this issue.
The PMIC will not charge the battery unless instructed so by the CPU. The problem: The CPU can not start if the battery is empty.
We start to think about circuit level hacks to get around this issue.
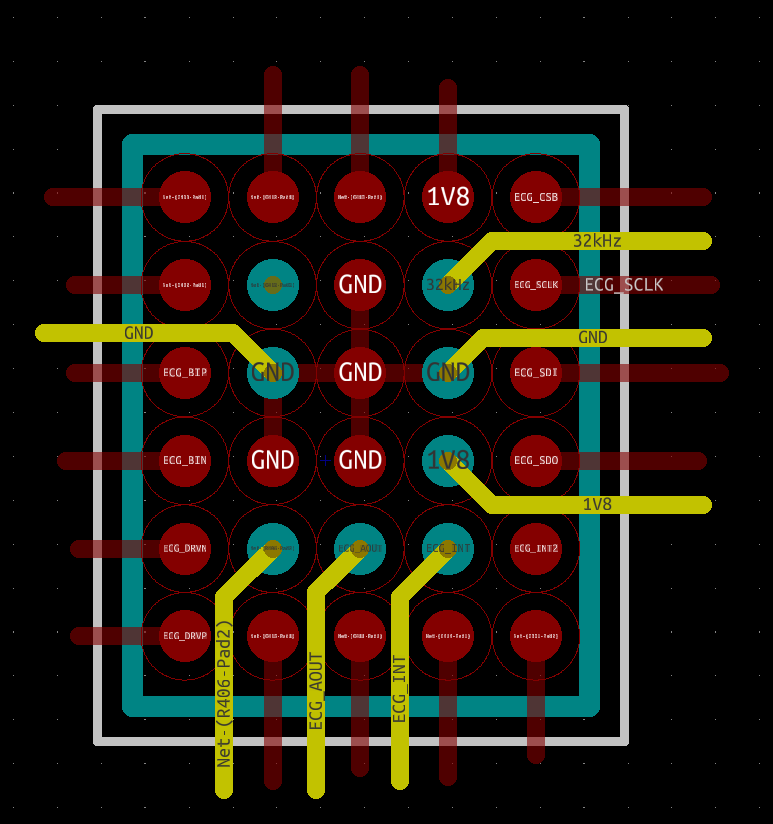
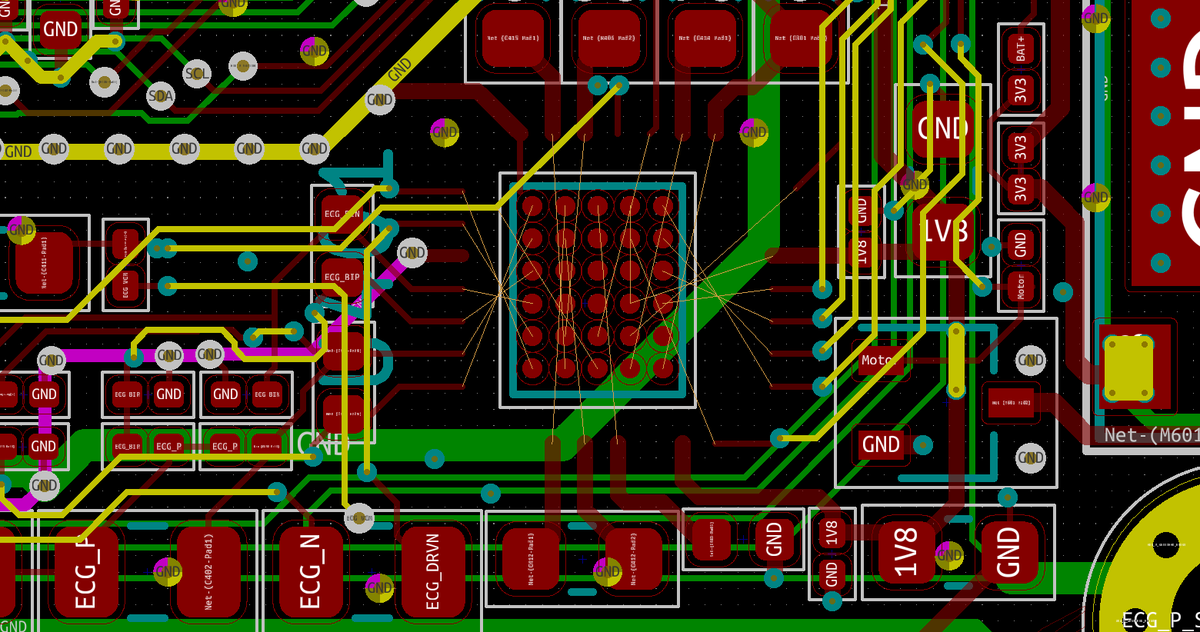
May 9: New day, new problem: The ECG+Bio-Z chip which we want to use will not be available in a QFN package. If we stick with the QFN package (which is used on the prototypes),we lose the Bio-Z (skin resistance) measurement.
The chip which supports both is only available as a BGA and would require us to redesign that whole section of the PCB:
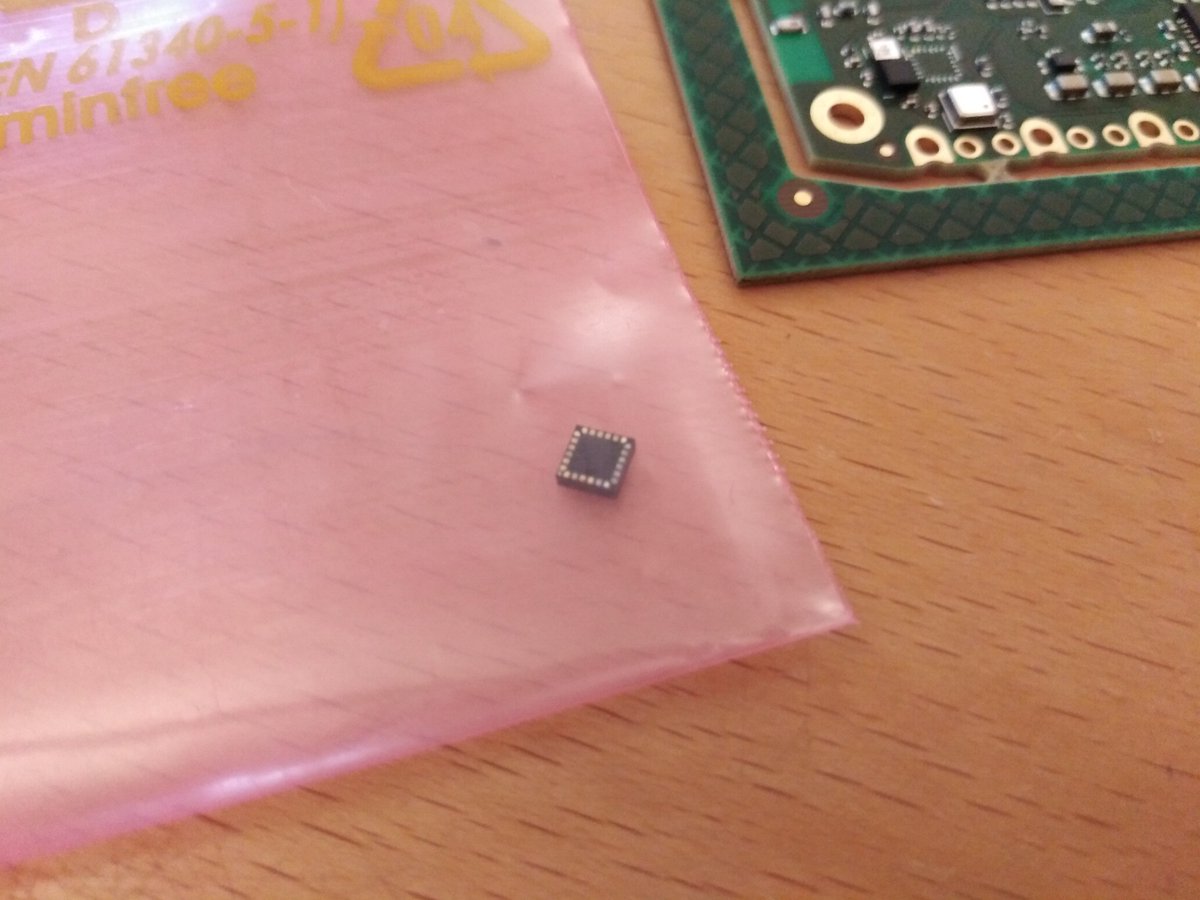
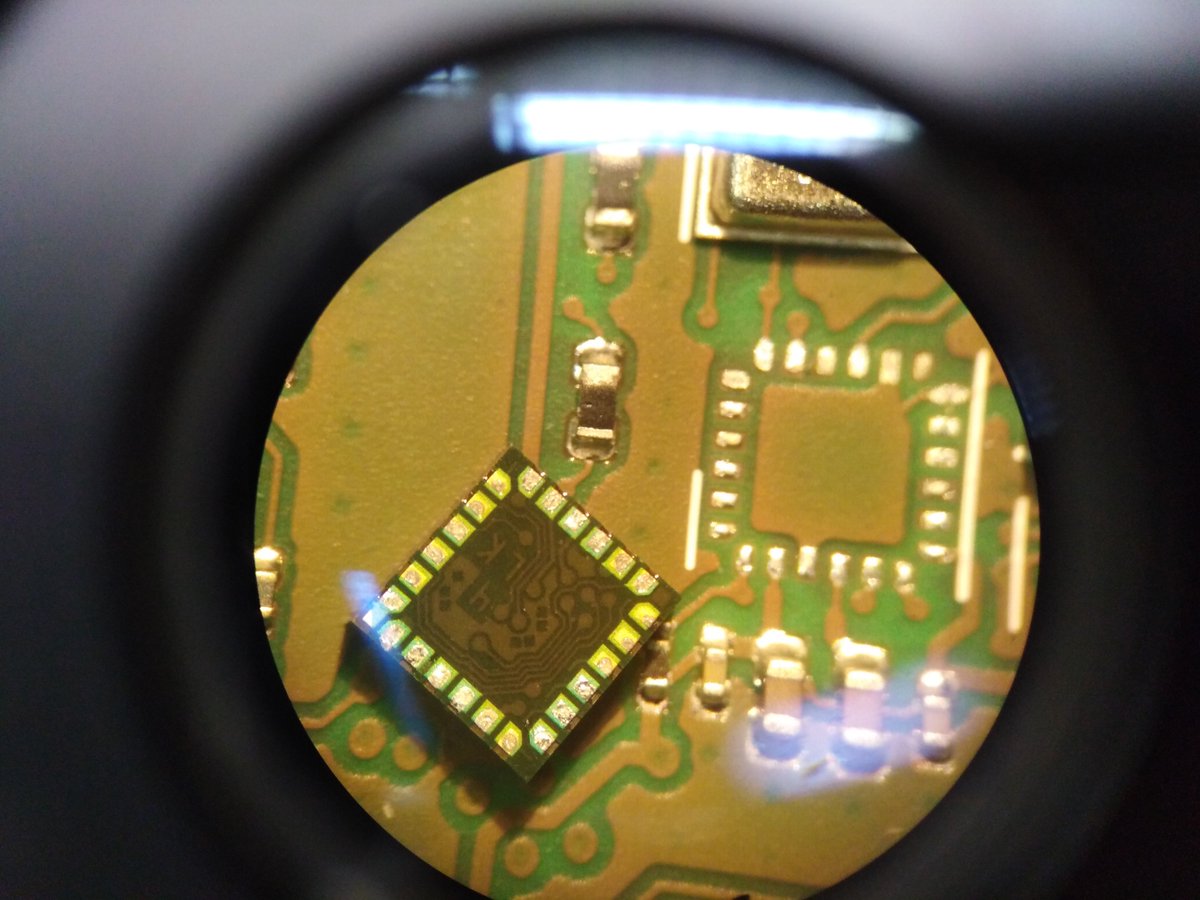
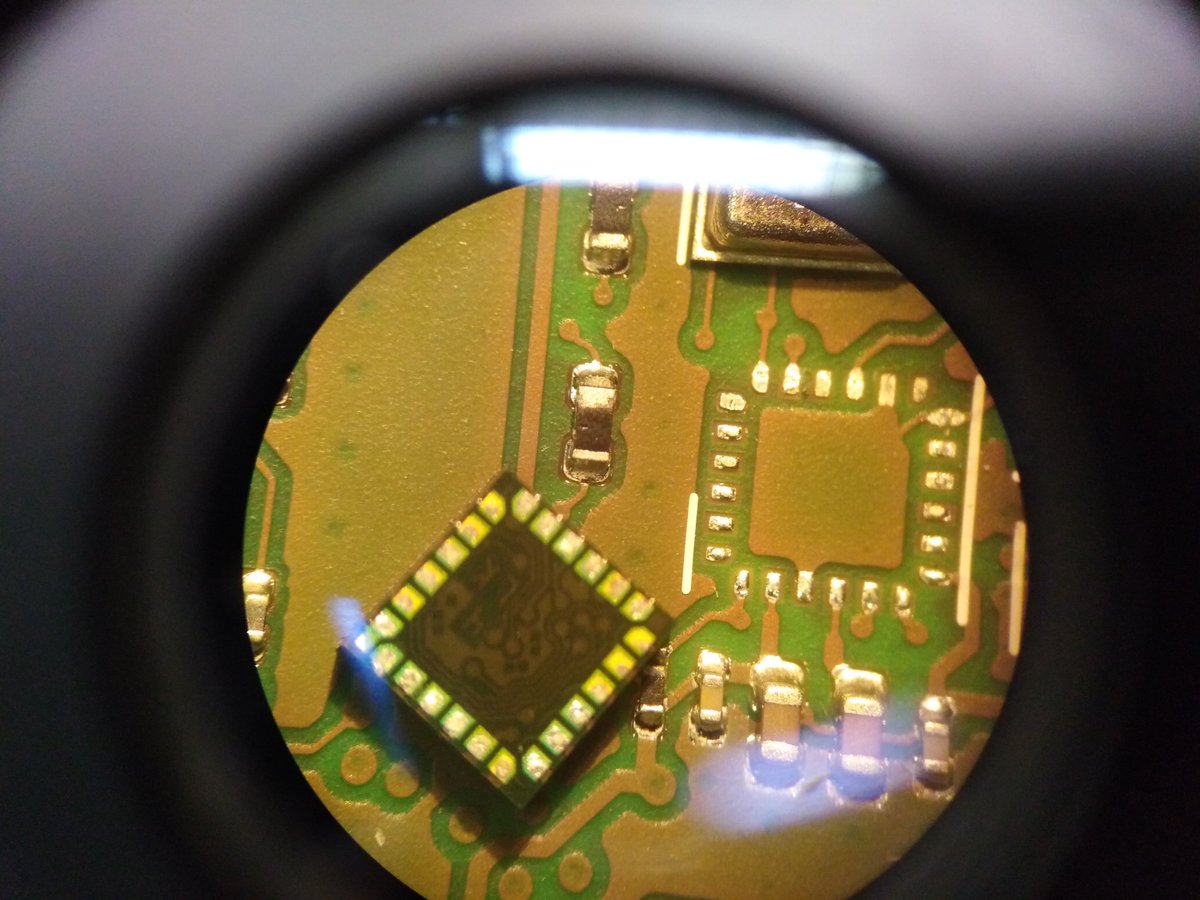
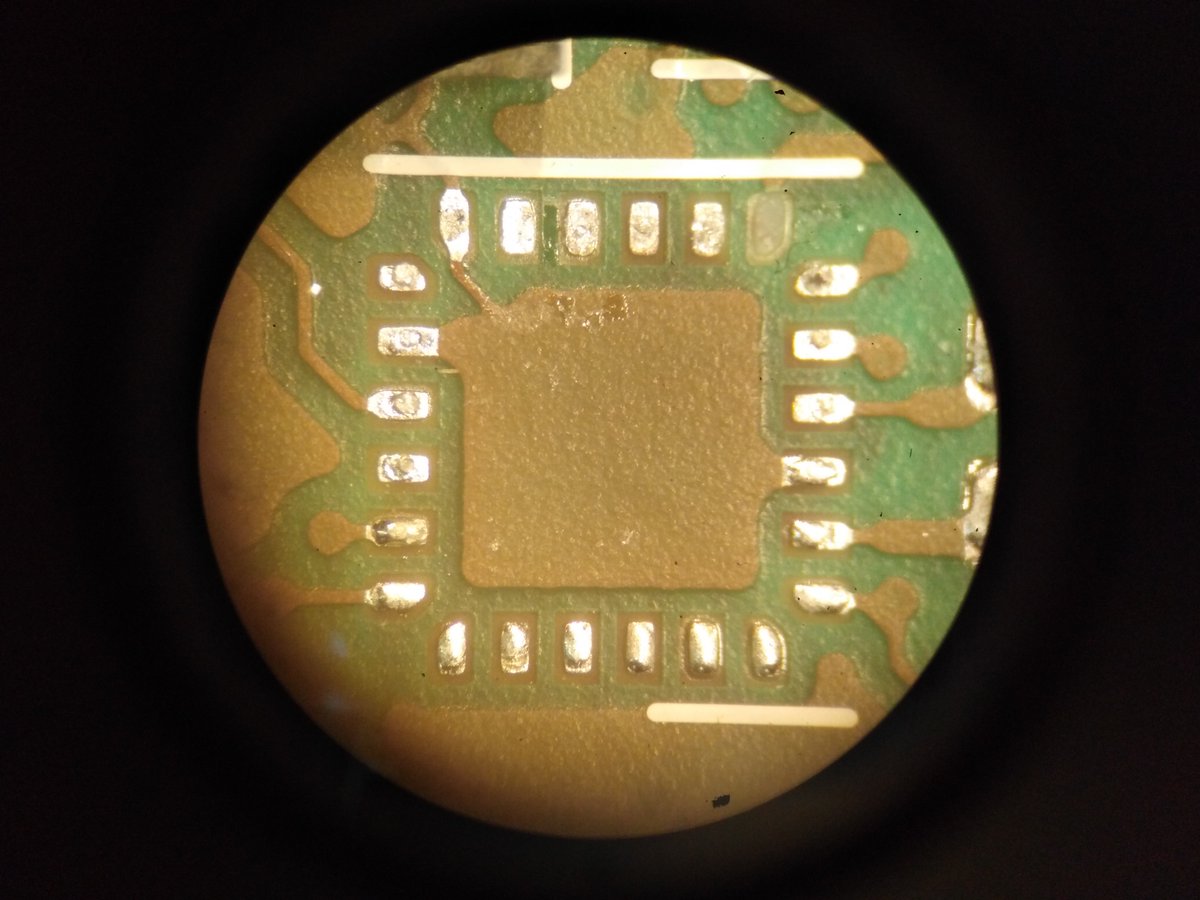
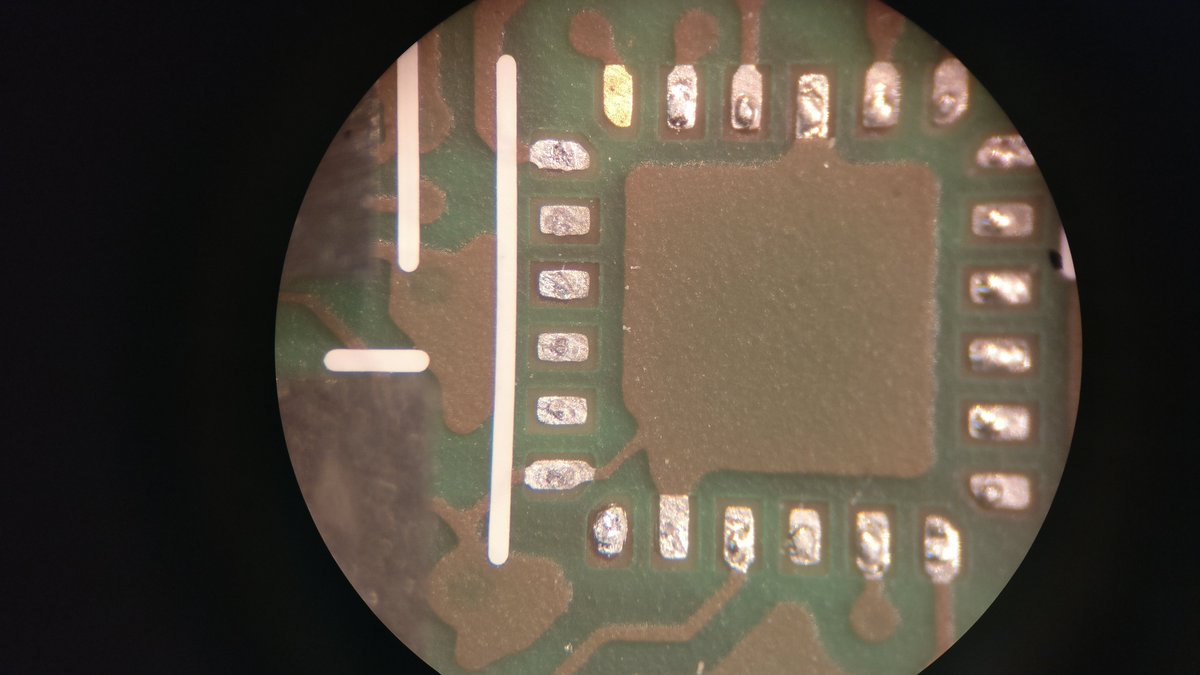
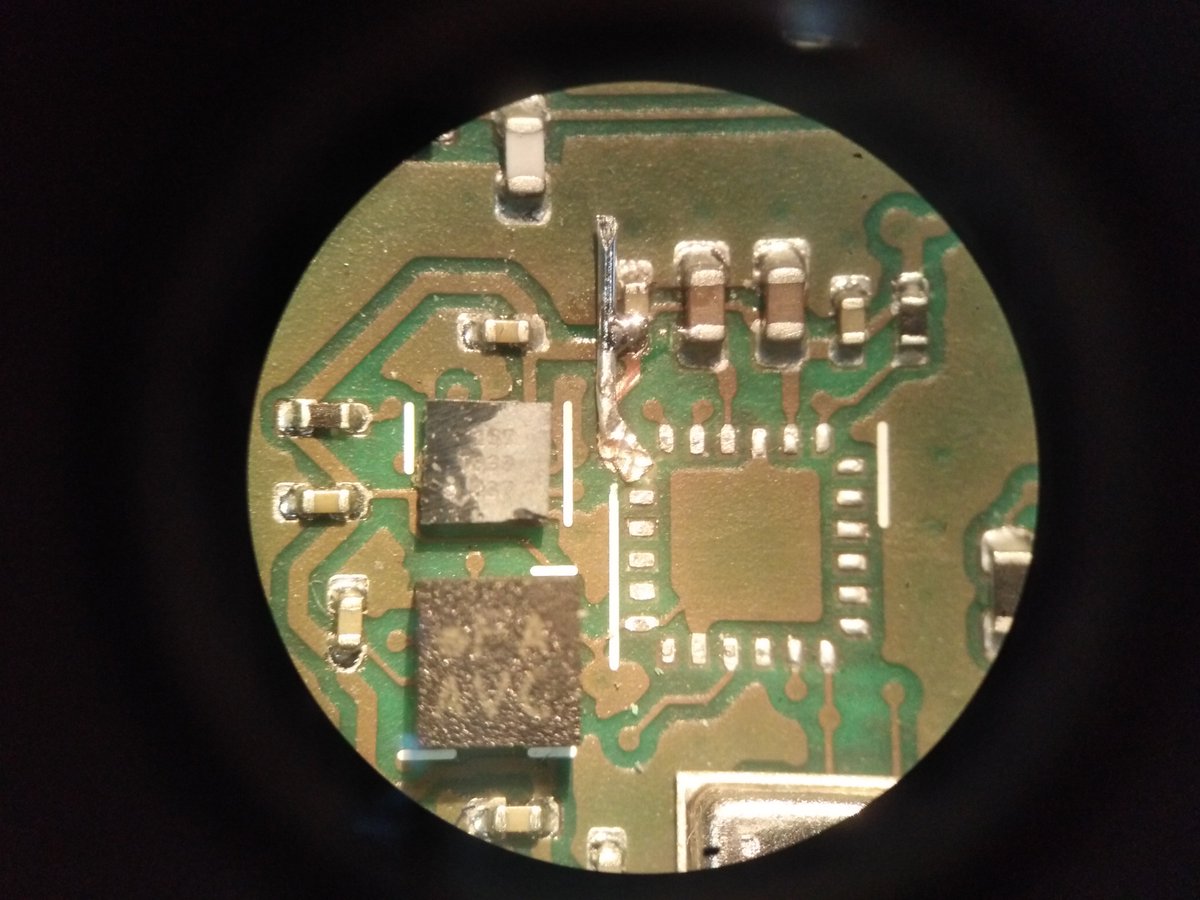
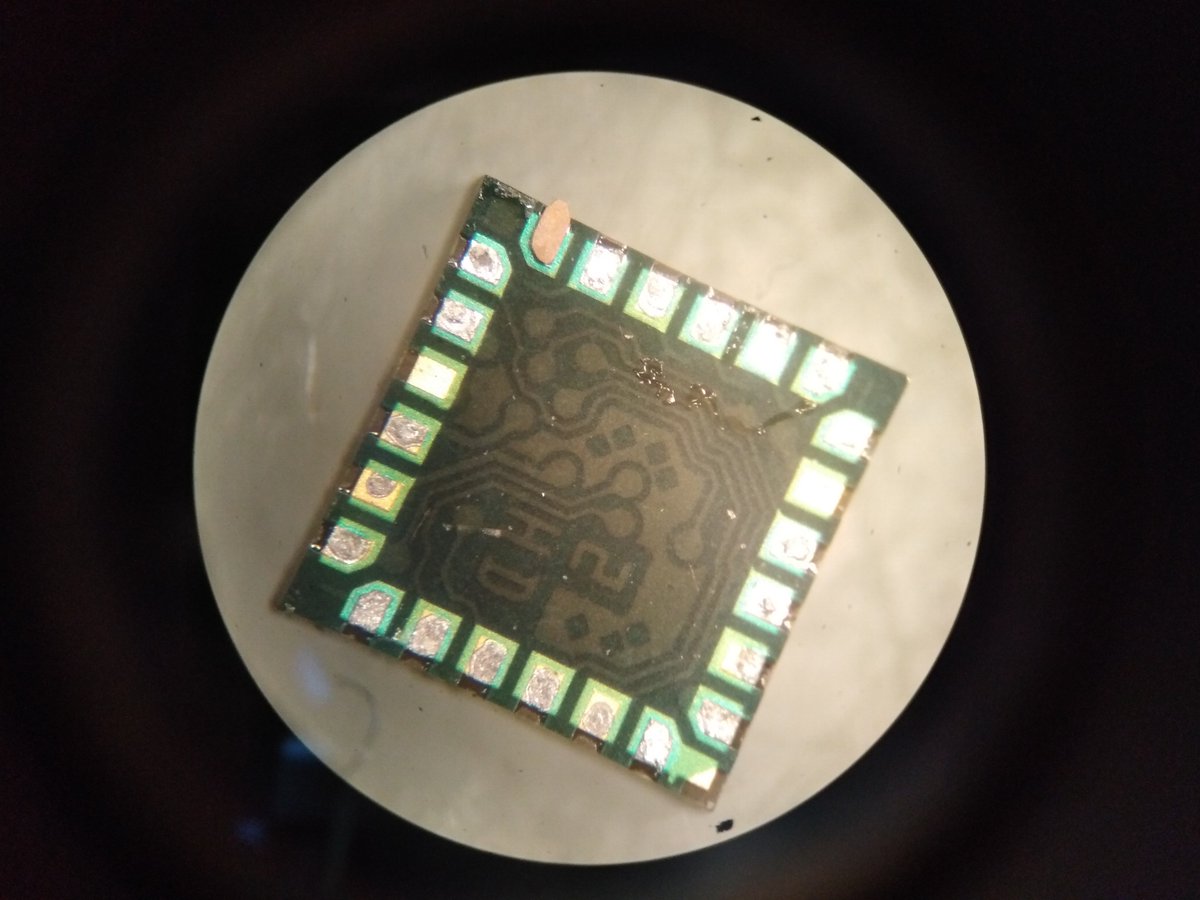
While handling the prototypes we notice a lose part in one of the bags. A QFN has come lose. This might explain why on some PCBs that part is not working. Certainly not a good sign. Maybe the 80 um solder stencil was too thin? Why do some of the pads still look golden on the PCB?
May 12: We decide that it is worth the risk to use the 0.5 mm BGA version of the MAX30101 ECG+Bio-Z chip. So far we never had issues with BGAs. This was also a lesson learned with the @rad1obadge.
May 13: The decision where to source the neoprene material for the wristband needs to be taken. We are looking at multiple sellers, some mentioned here: http://www.kobakant.at/DIY/?p=457
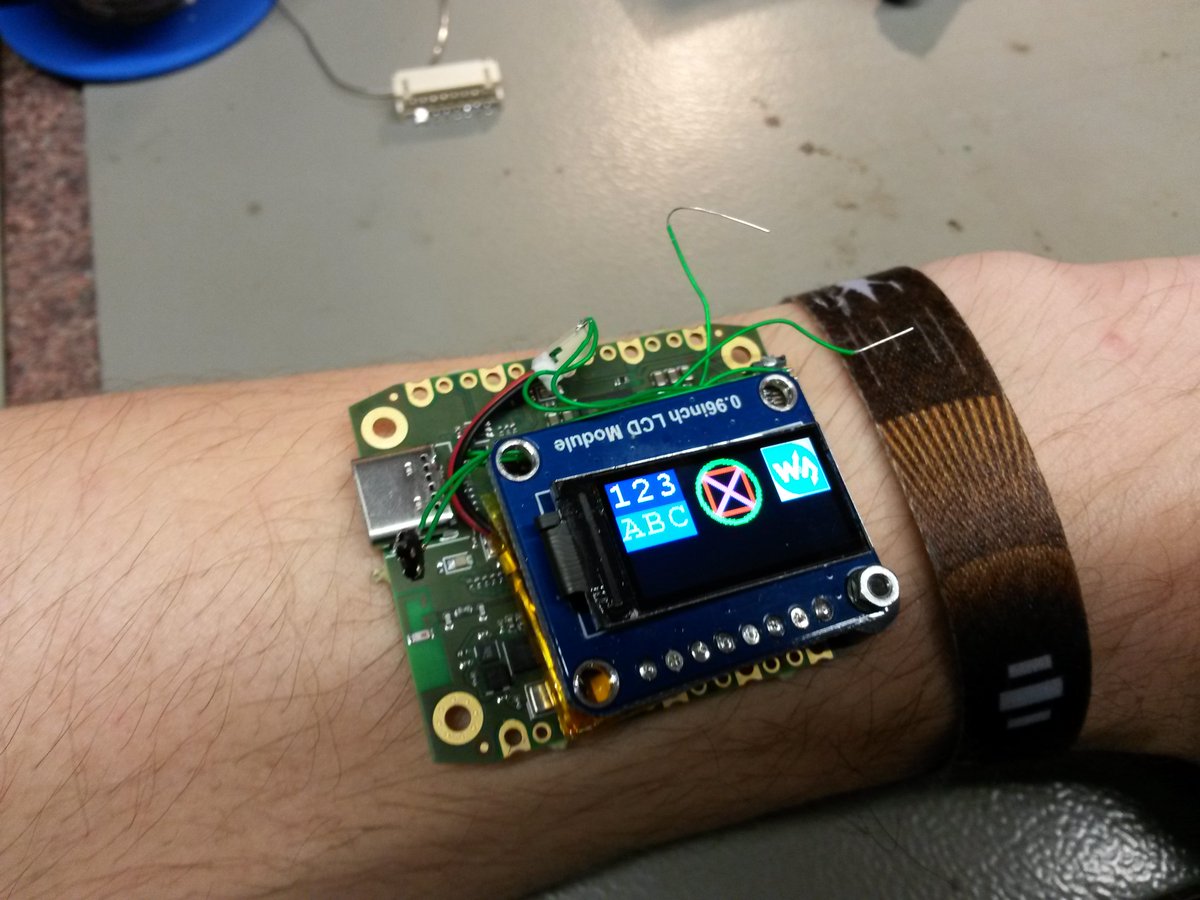
May 14: We measure the current consumption of our two display candidates:
OLED:
- Off: 4 uA
- 1 pixel on: 77 uA
- all pixels on: 23 mA
IPS:
- Off: 0-10 uA
- 0% backlight: 2.1 mA
- 20% backlight: 5.4 mA
- 100% backlight: 20.7 mA
OLED:
- Off: 4 uA
- 1 pixel on: 77 uA
- all pixels on: 23 mA
IPS:
- Off: 0-10 uA
- 0% backlight: 2.1 mA
- 20% backlight: 5.4 mA
- 100% backlight: 20.7 mA
At 20% backlight the IPS is still pretty bright and looks much better. We decide to go with it.
Things are starting to come together:
Things are starting to come together:
The 240x240 pixel display looks like it is just a tiny bit to big for the @card10badge if we want to place any other components below or above it. It also essentially consumes twice the energy for its backlight.
May 15: We place the order for the first prototypes of the top PCB. It is still a very rough prototype. It uses 0201 components just like the bottom PCB. A decision will will come to haunt us in the future....
What we already know: We will replace the I2C port expander with one from @NXP which provides configurable open-drain outputs and pin change interrupts. The open-drain outputs are needed to drive P-channel MOSFETs attached to the battery.
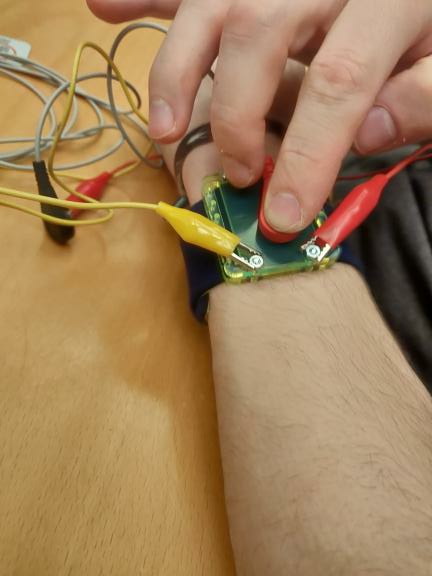
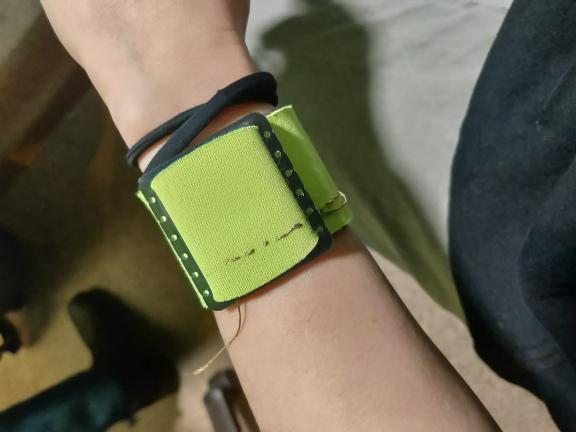
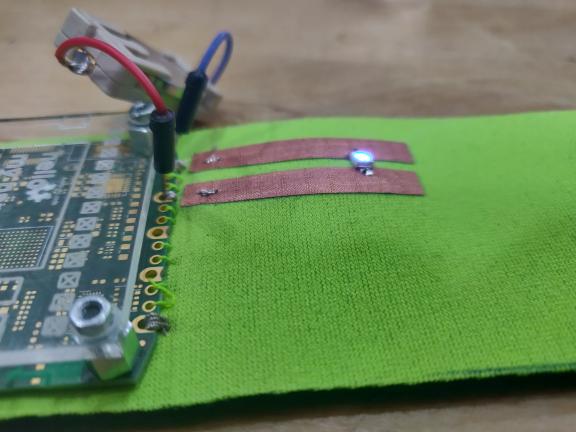
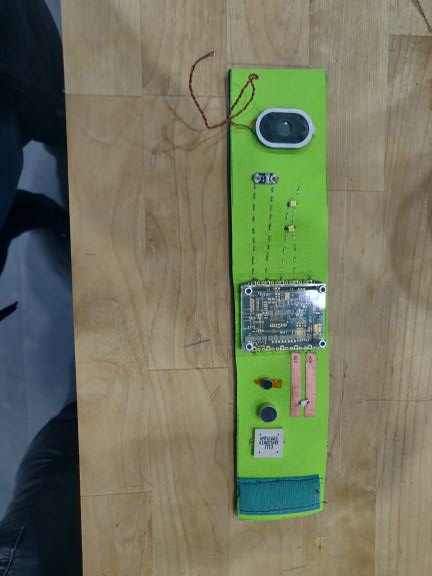
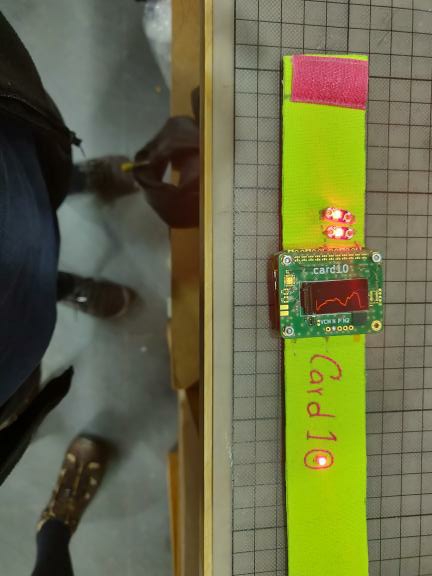
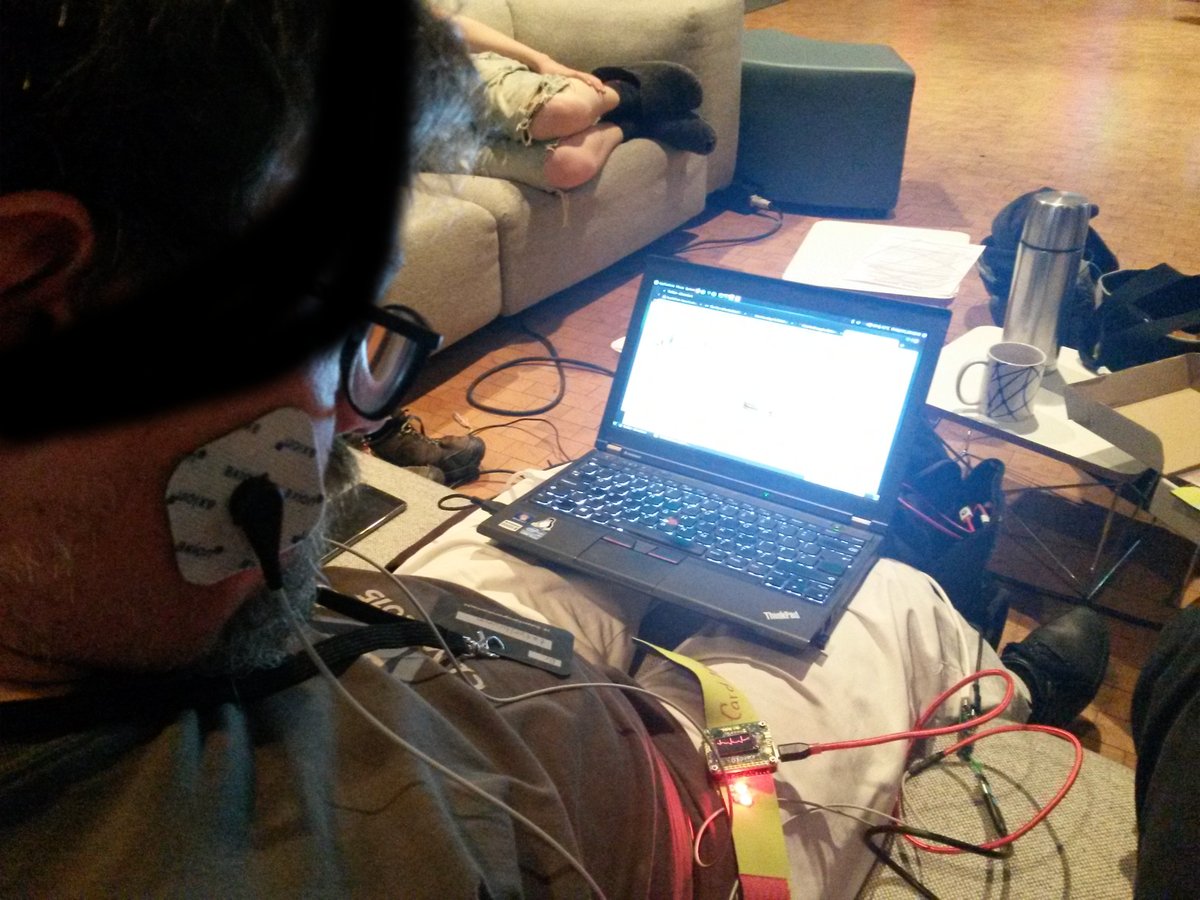
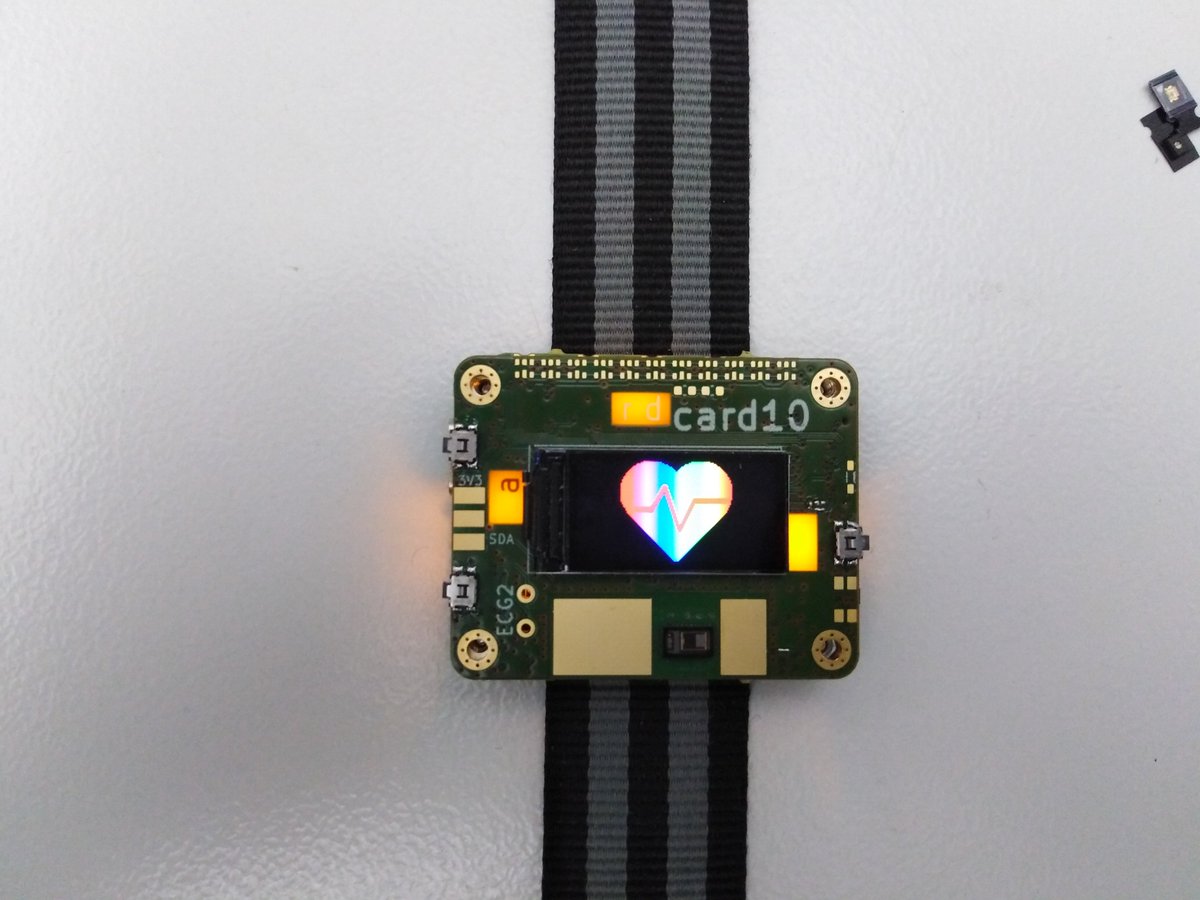
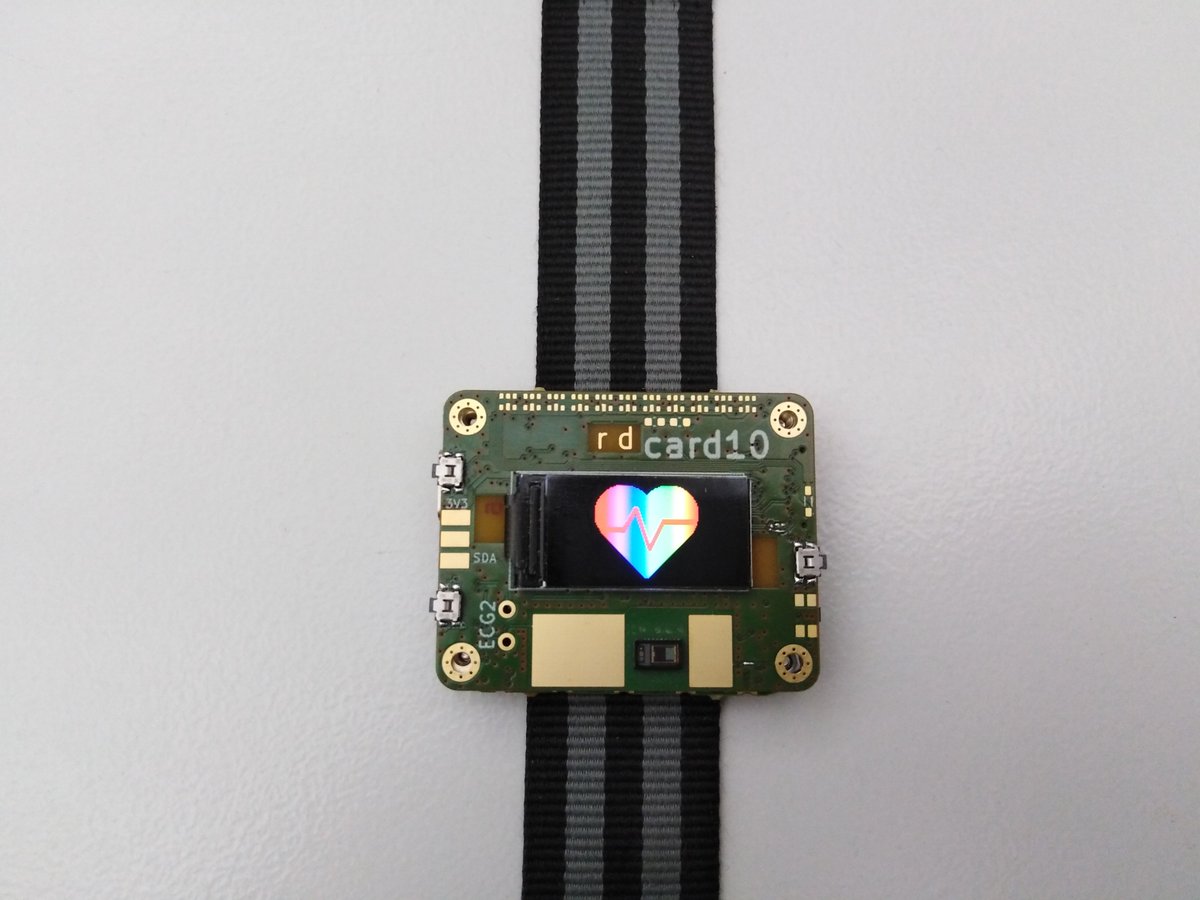
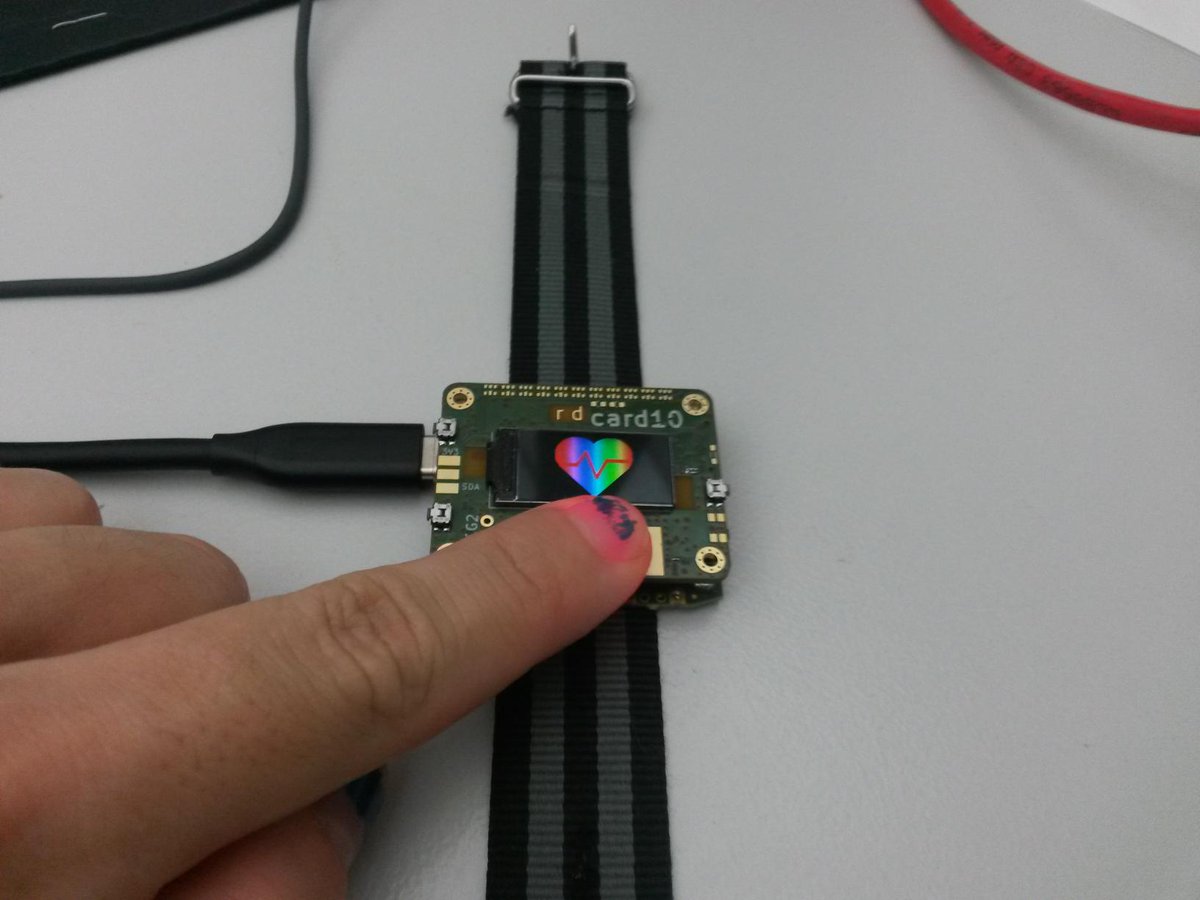
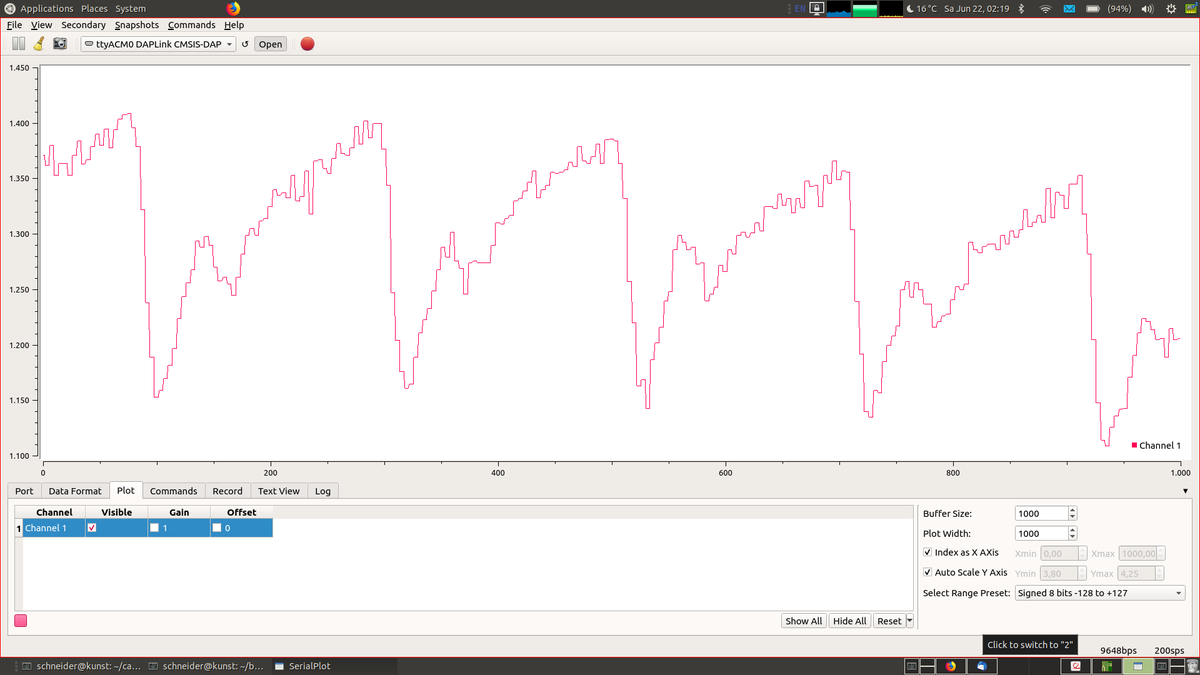
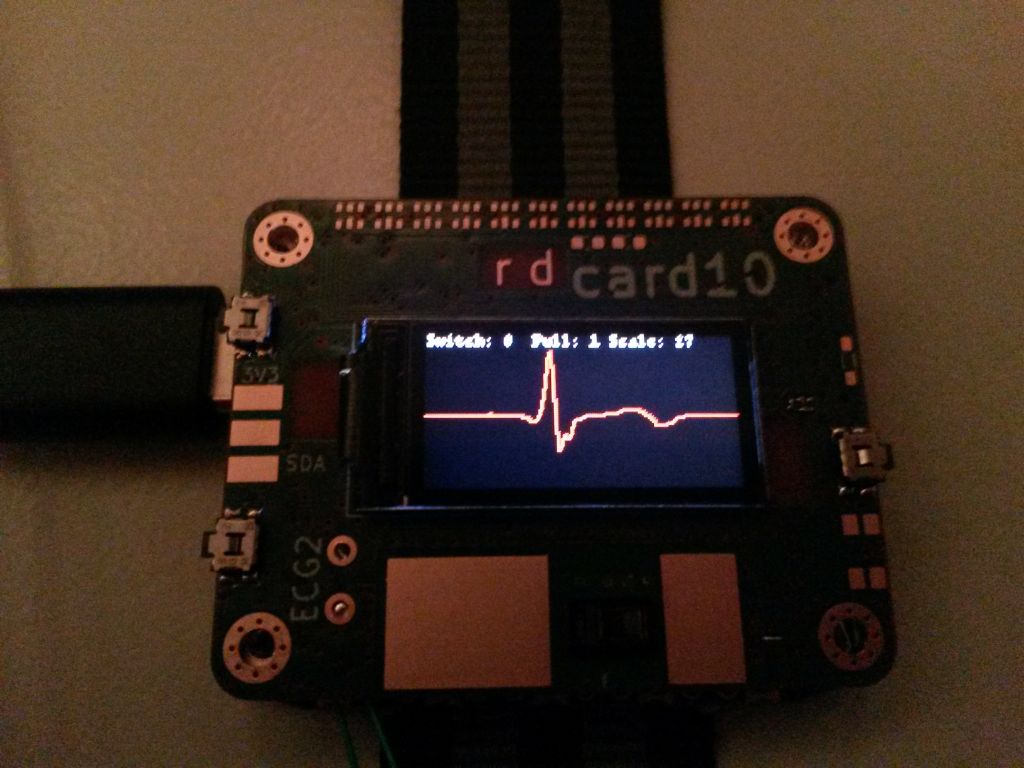
May 19: With a simple wristband attached we get the first ECG signals while mounted on an arm:
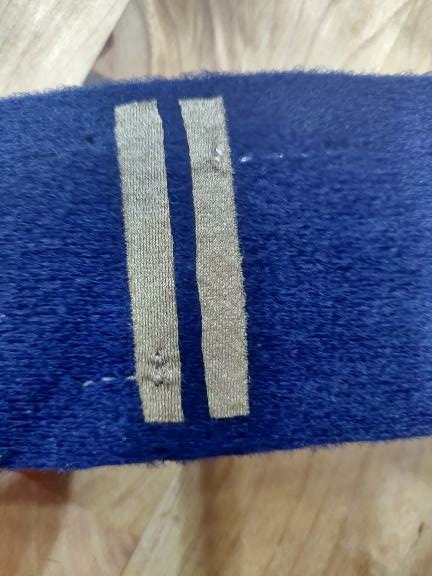
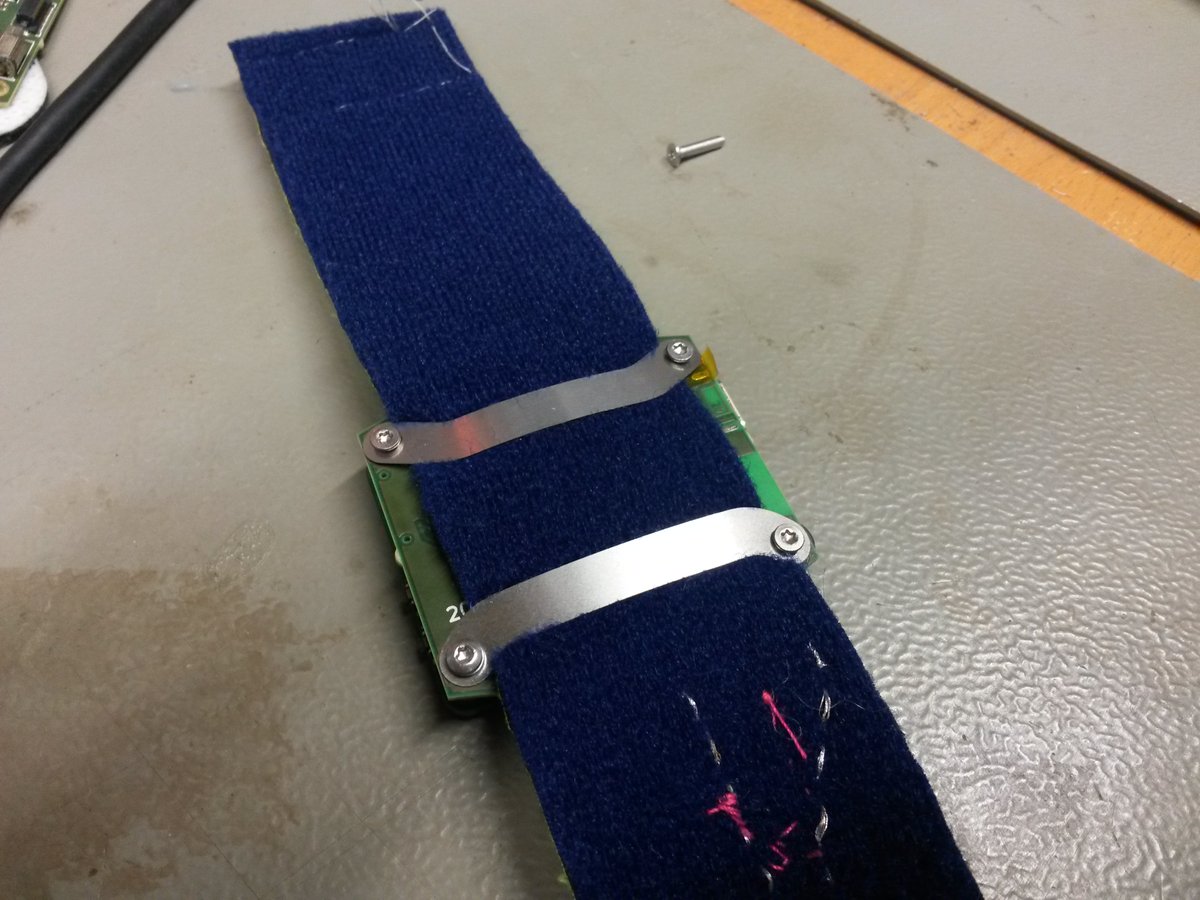
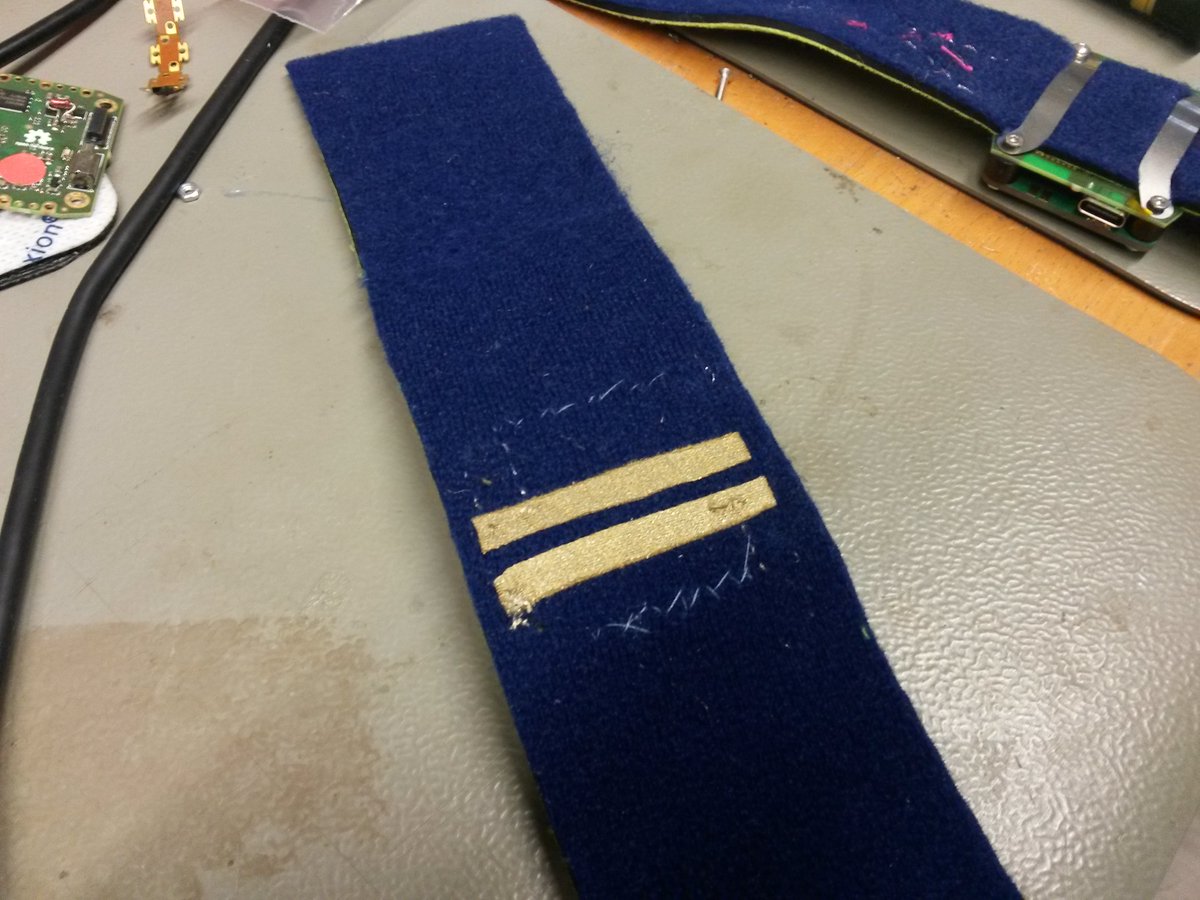
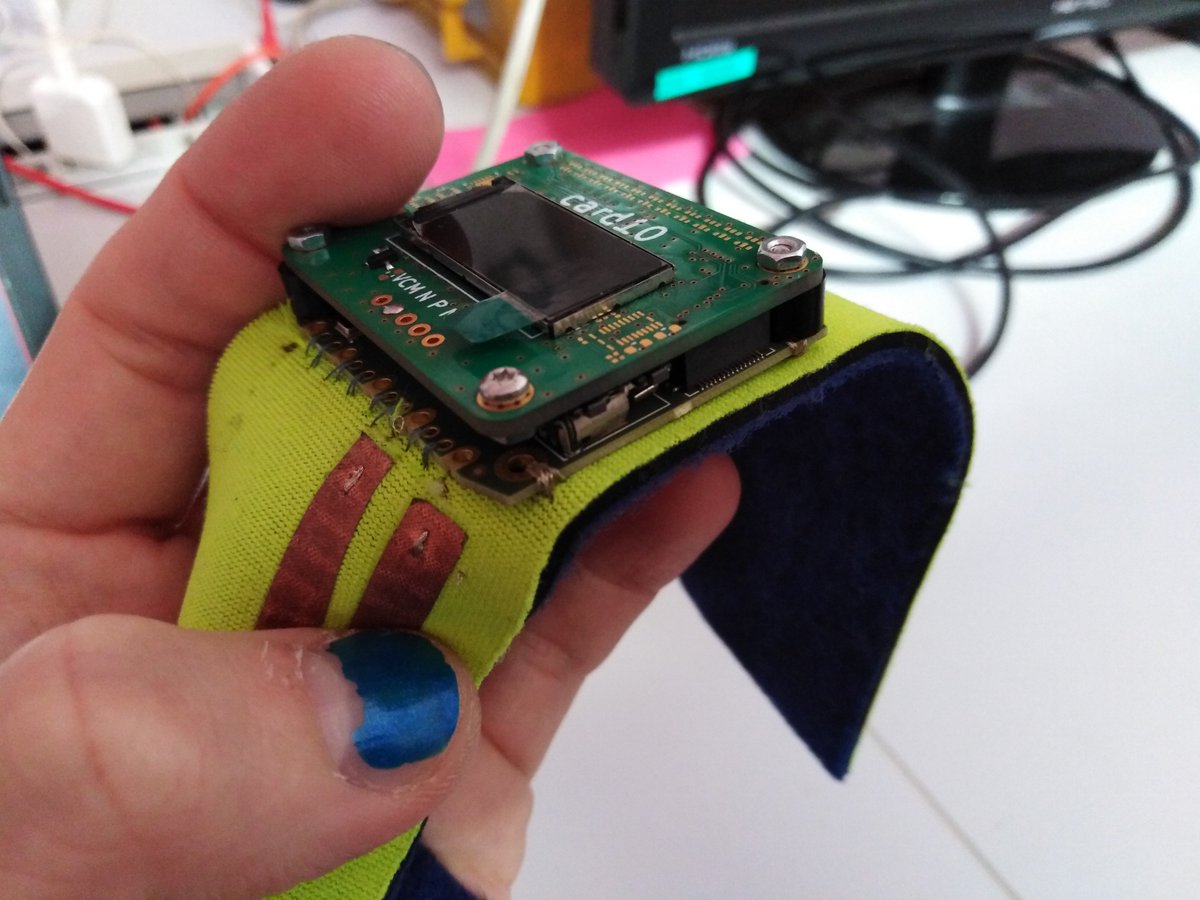
Two hatched metal strips made out of an unknown metal provide electrical contact to the skin. We still have to figure out how to source 11000 of something similar to these.
Staying true to "The future will be colorful" from the original announcement we play around a bit with some of the RGB LEDs:
May 20: Expenses for #CCCamp2019 are skyrocketing and it looks doubtful that there will be enough money left from the ticket price to support the @card10badge.
This presents us with multiple issues:
- We don't want the @card10badge to become a status symbol by selling it.
- We need to order parts soon but we don't know for how many badges.
- Producing fewer units will increase the price of each.
- We don't want the @card10badge to become a status symbol by selling it.
- We need to order parts soon but we don't know for how many badges.
- Producing fewer units will increase the price of each.
In total this might put an end to the project due to financial, logistical and especially motivational issues.
After a lot of back and forth we come up with a plan: We will allow people to "order" a @card10badge together with their camp ticket. The (minimum) price will be set above the the actual production cost to subsidize badges for the community.
We hope that enough people will add a @card10badge to their order so we can distribute a badge to everyone at @CCCamp2019. Thankfully camp orga is onboard with our plan. We hope that our sponsors will be as well.
May 21: From here on we enter uncharted territory: We never before had to sell something and exceptions will be high. We need to carefully word the text of the presale to make our aim clear without pressuring people. At the same time we need to manage their expectations.
We get an OK from most sponsors and positive signals from another one. Good enough for us.
Despite all the uncertainty we hold another workshop for the wristband in Berlin. Sadly UPS is not fast enough to send a full prototype from Munich to Berlin in time. Another workshop is already planned for the weekend though.
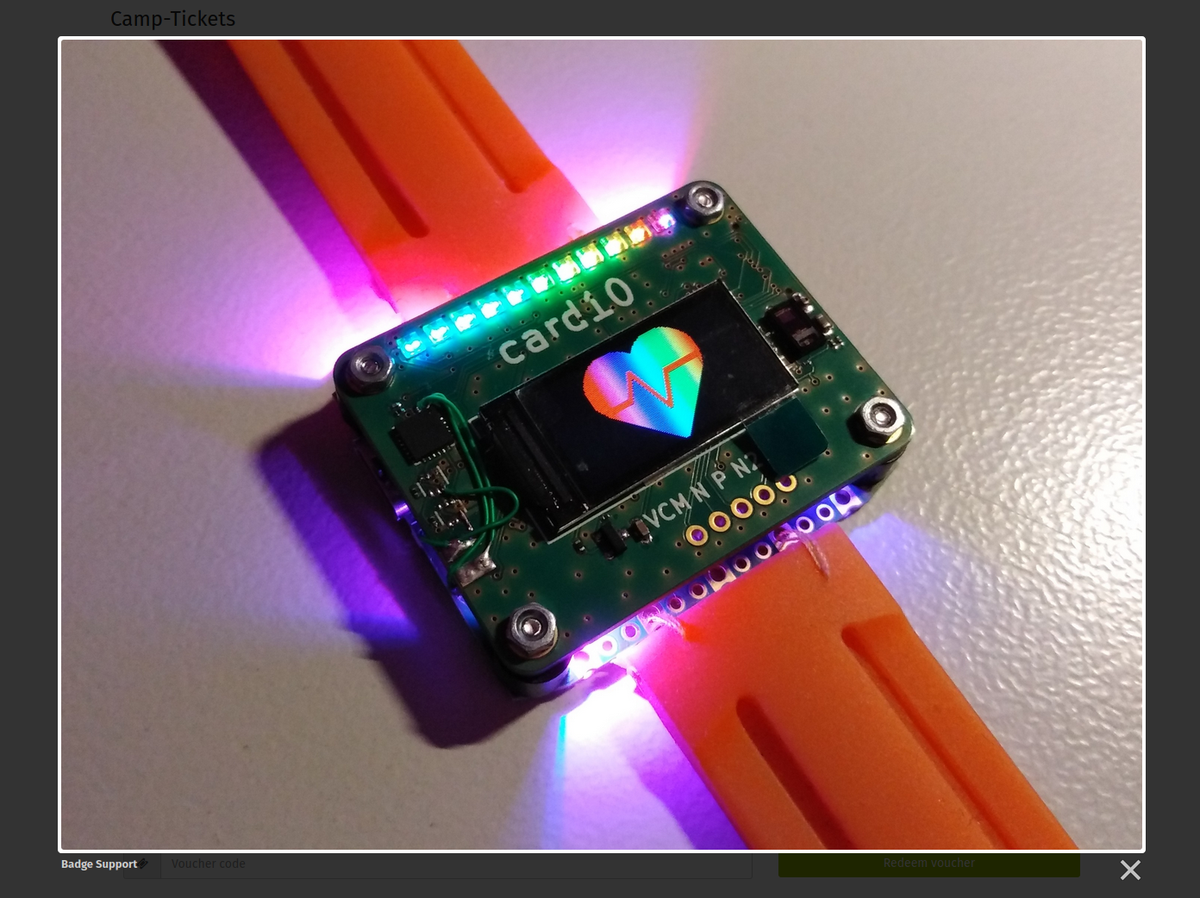
May 22: The presale for #CCCamp2019 starts and this is how the @card10badge gets known to every camp attendee:
The tension starts to rise. We don't know how long the presale will run and its outcome might have a drastic effect on the project.
After these distractions it's back to work: Around 50% of the IMUs (remember the QFN above?) are not working and we need to start distributing prototypes. It turns out that the soldering of these parts certainly is sub-optimal:
We also come up with a simpler debug adapter. It turns out that the data lines on the USB connector of the @card10badge prototypes are swapped. By chance the original debug adapter had them swapped as well, masking the bug...
Meanwhile in Munich: The first compass demo on the @card10badge using the @BoschMEMS BHI160 + BMM150 sensor fusion:
The numbers of the presale are looking good. Around 75% of all tickets include support for the @card10badge. We place our first order for critical components with @digikey: 4000 Euros worth of board-to-board connectors:
May 27: The first prototype is shipped to http://badge.team @SHA2017Badge: https://twitter.com/card10badge/status/1133026798202171392
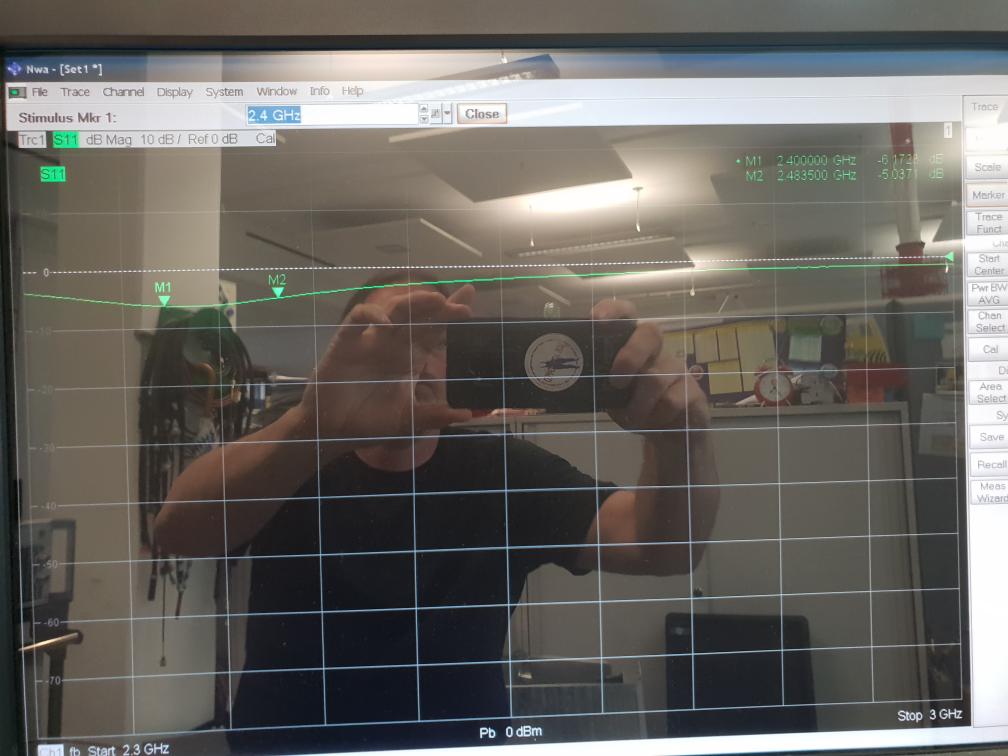
May 28: The @card10badge uses a @maximintegrated MAX32666 with BLE. The chip antenna we are using is absolutely tiny. A quick check shows an at least half decent matching for its size:
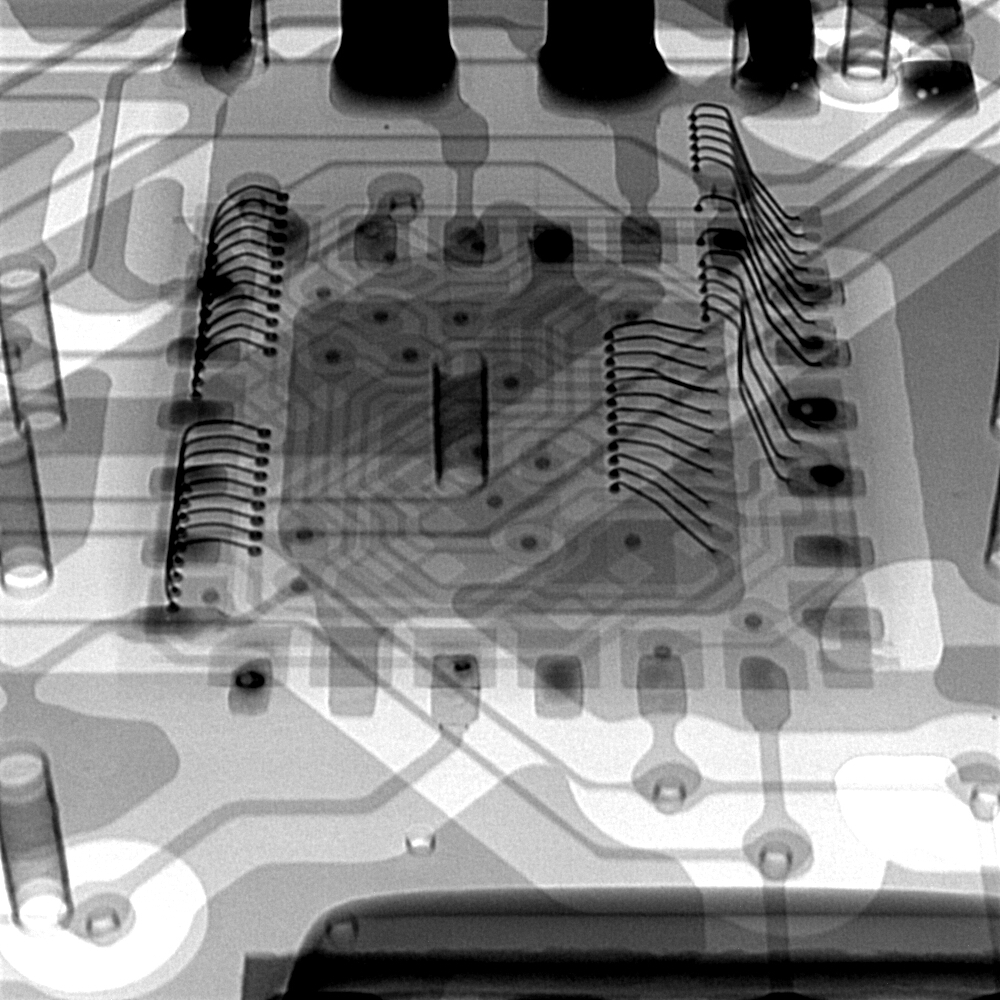
Another QFN departs a board and it has even worse soldering. There is even a pad on the PCB which has no solder at all. We decide to X-ray some of the other boards to see what is going on.
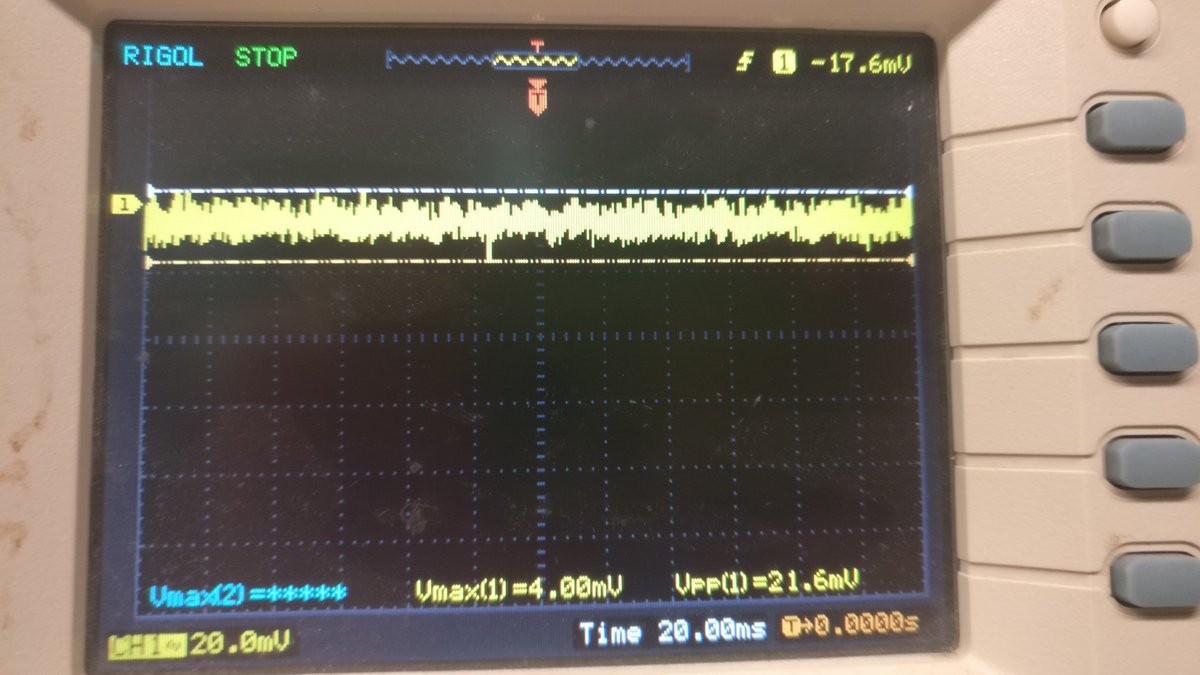
We still have the problem that the @card10badge has a a too high inrush current. One option is to reduce the decoupling capacitance and introduce some series resistance. Changing from 2x47 uF to 47 uF + 27 Ohms works but shows a lot of ripple on the supply line of the CPU:
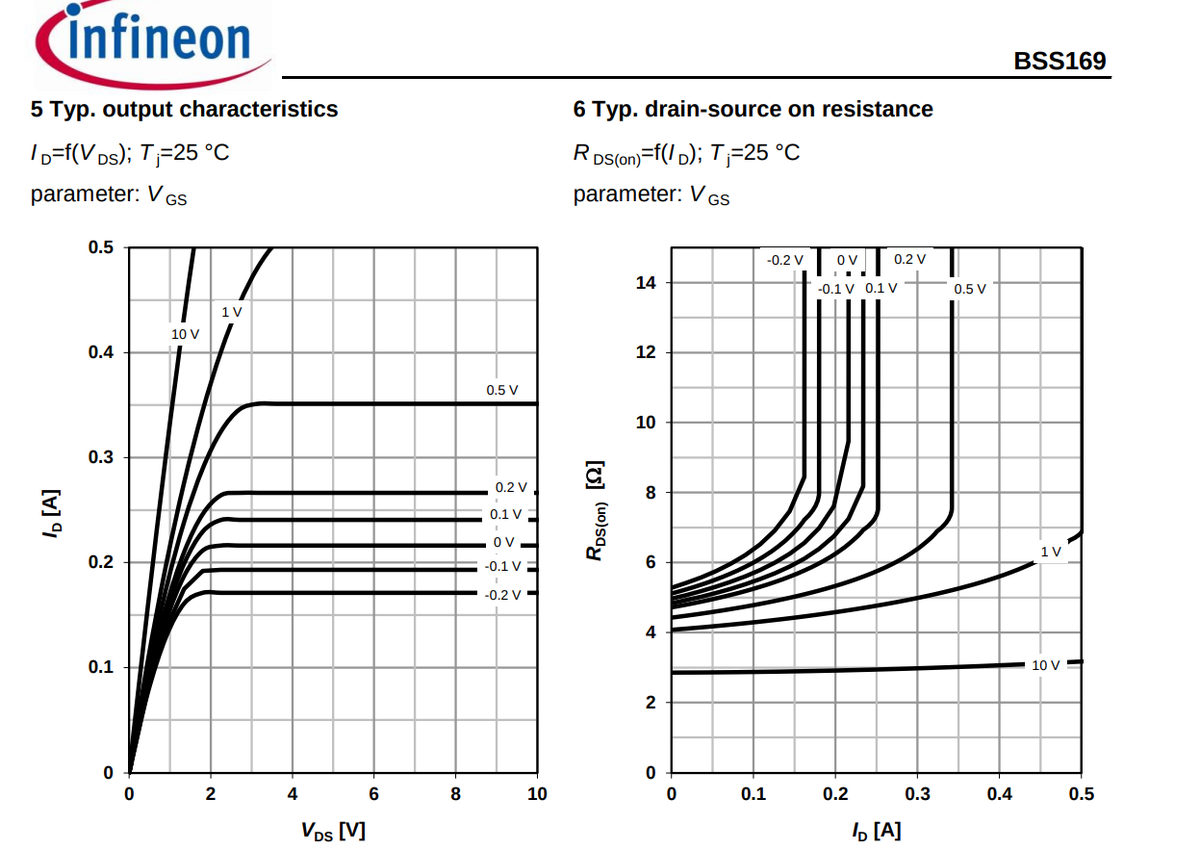
Another option is to add a current limiter using a depletion mode MOSFET. Problems here are the additional cost, needed board space and increased complexity (remember: there will be no second prototype):
May 31: #GPN19 is happening and we hold a workshop there. @BoschMEMS also visits, handing us 4 full reels of BMA400, BME680, BHI160 and BMM150 sensors. A workshop attendee discovers that you can measure a pulse on your cheeks:
June 2: It looks like we have found an economical solution for the electrodes: Laser cut stainless steel made from solder paste stencil material. The drawback: that steel contains nickle. We need to make sure to offer alternatives like silver based fabric during camp:
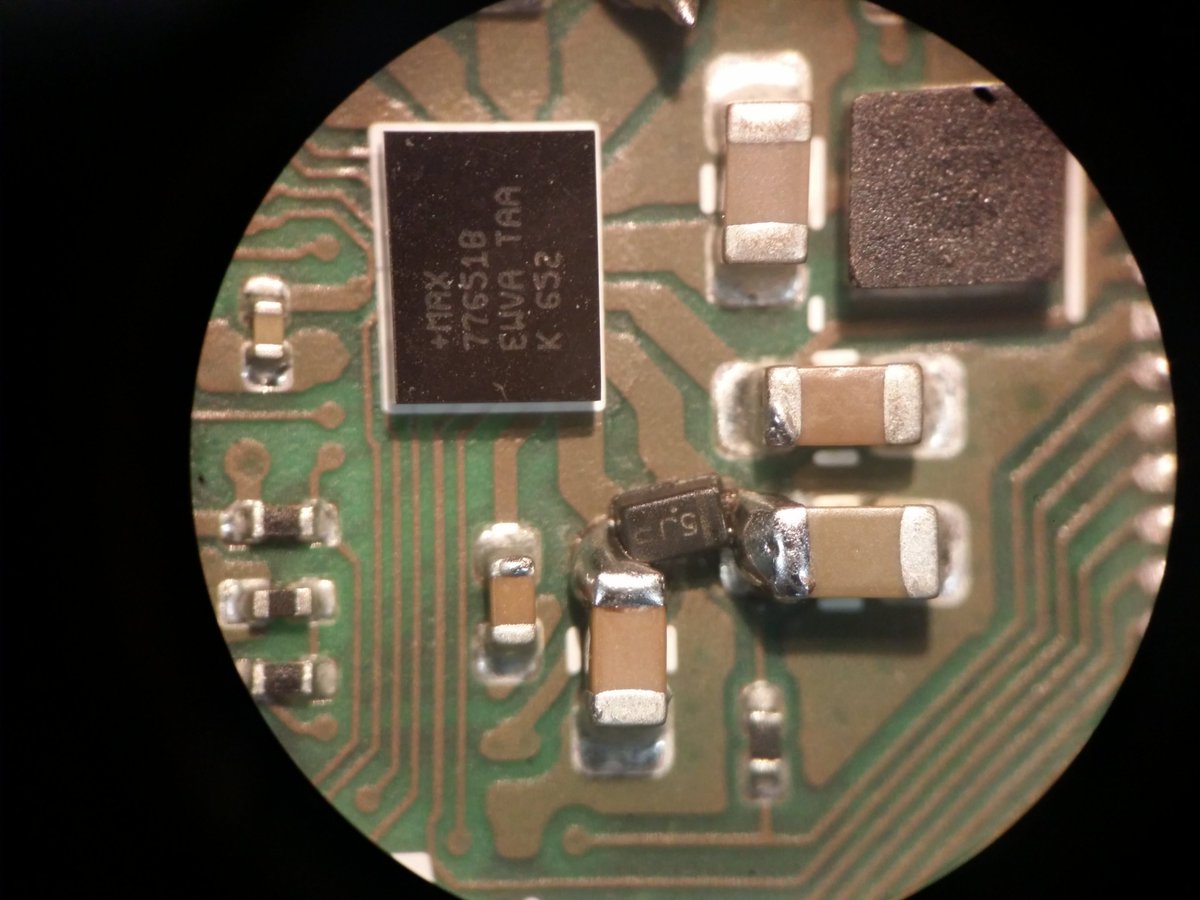
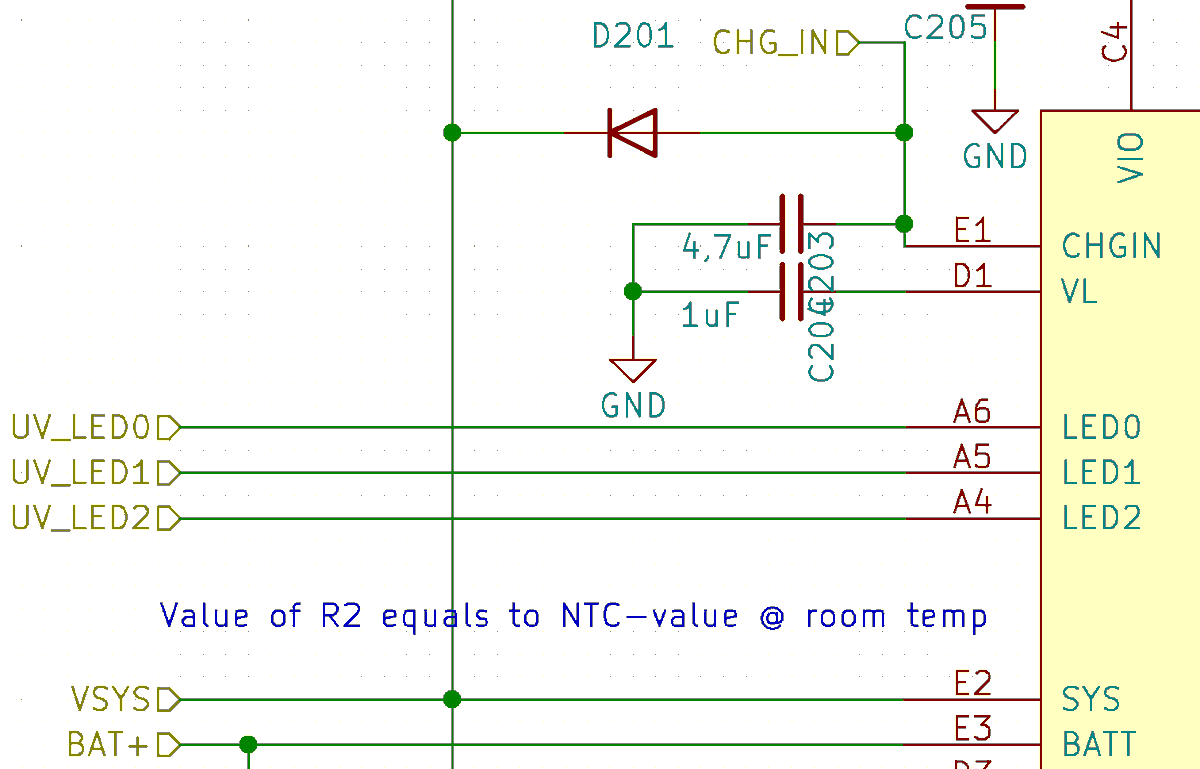
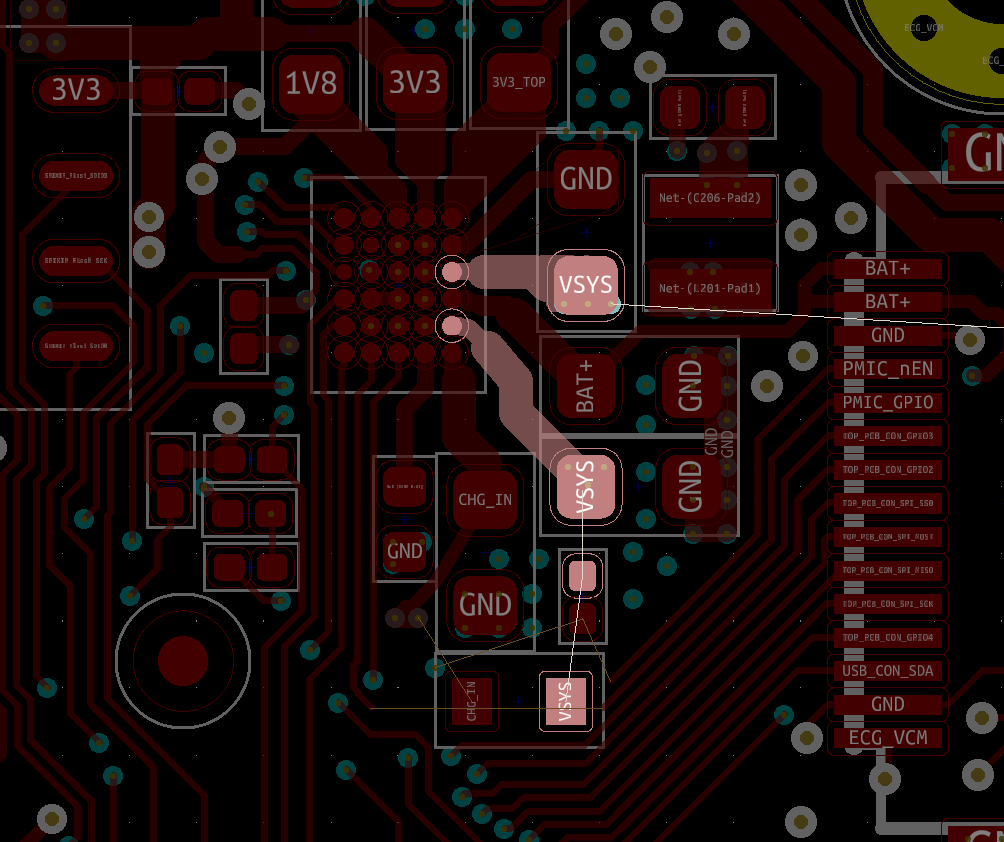
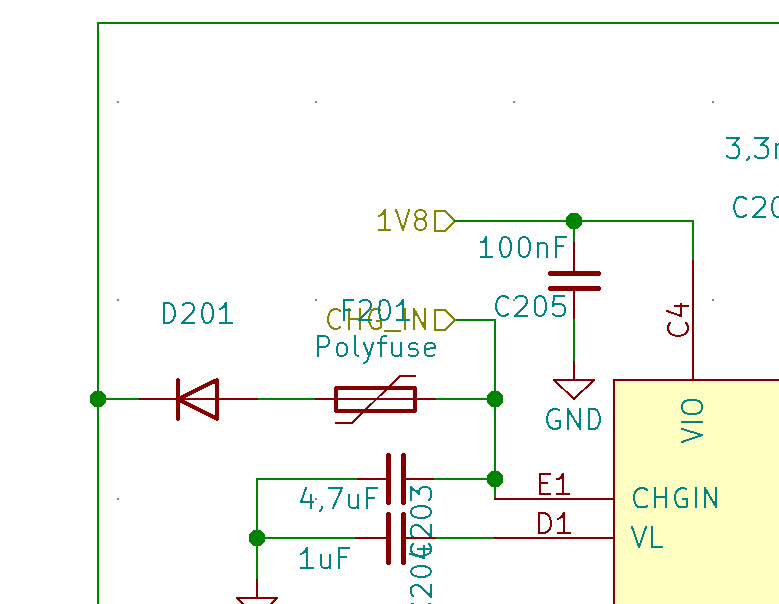
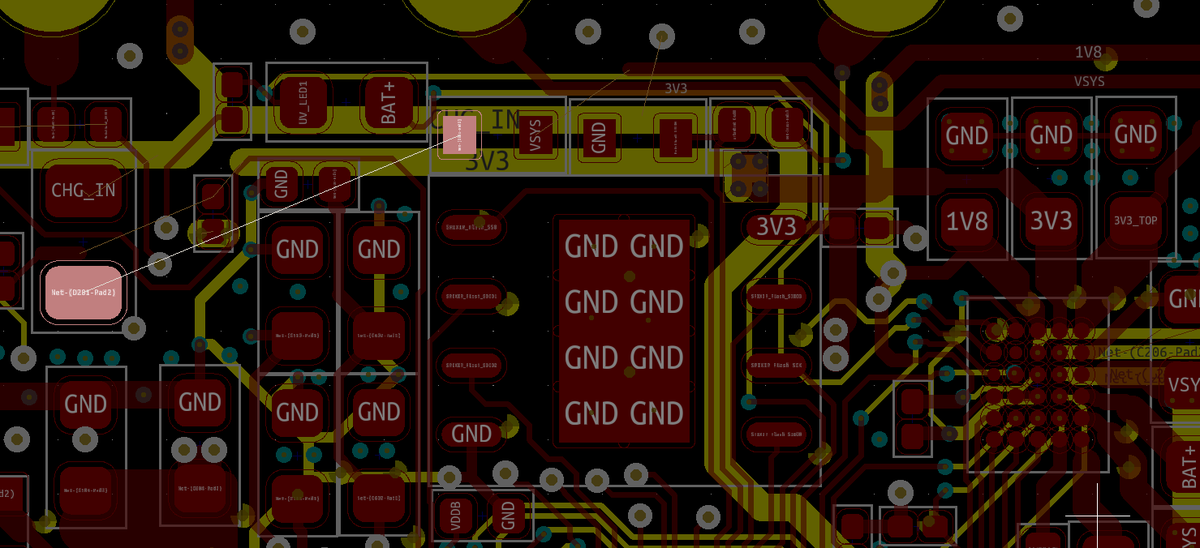
June 2: We are getting closer to a solution for the over current condition with no/an empty battery: A simple diode between the USB input and an internal voltage rail (VSYS):
At boot the diode shunts current from USB to the internal rail (which sits in front of the DC/DC converter). After boot we raise the rail in software so that the diode essentially turns off. It is a hack, but it is simple, cheap and we have confidence that it will work.
The downside: We sacrifice the the over voltage protection (up to 28 V) that the PMIC offers on the USB input .
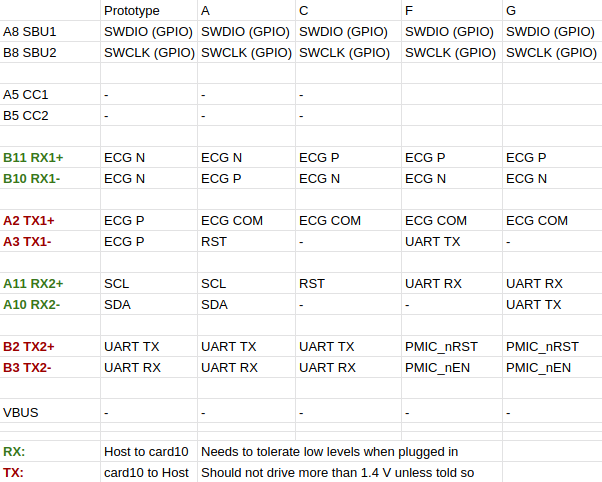
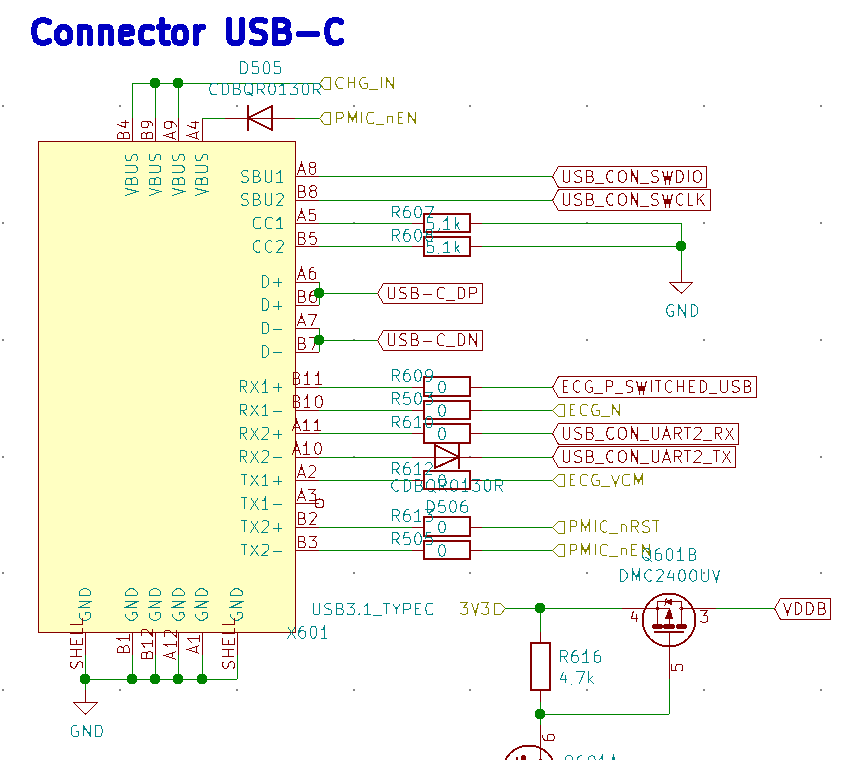
We are heavily discussing what to put onto the extra pins of the USB-C connector. There are a lot of possibilities as well as a lot of constraints. At some point we even considered allowing the @card10badge to power other devices via USB-C.
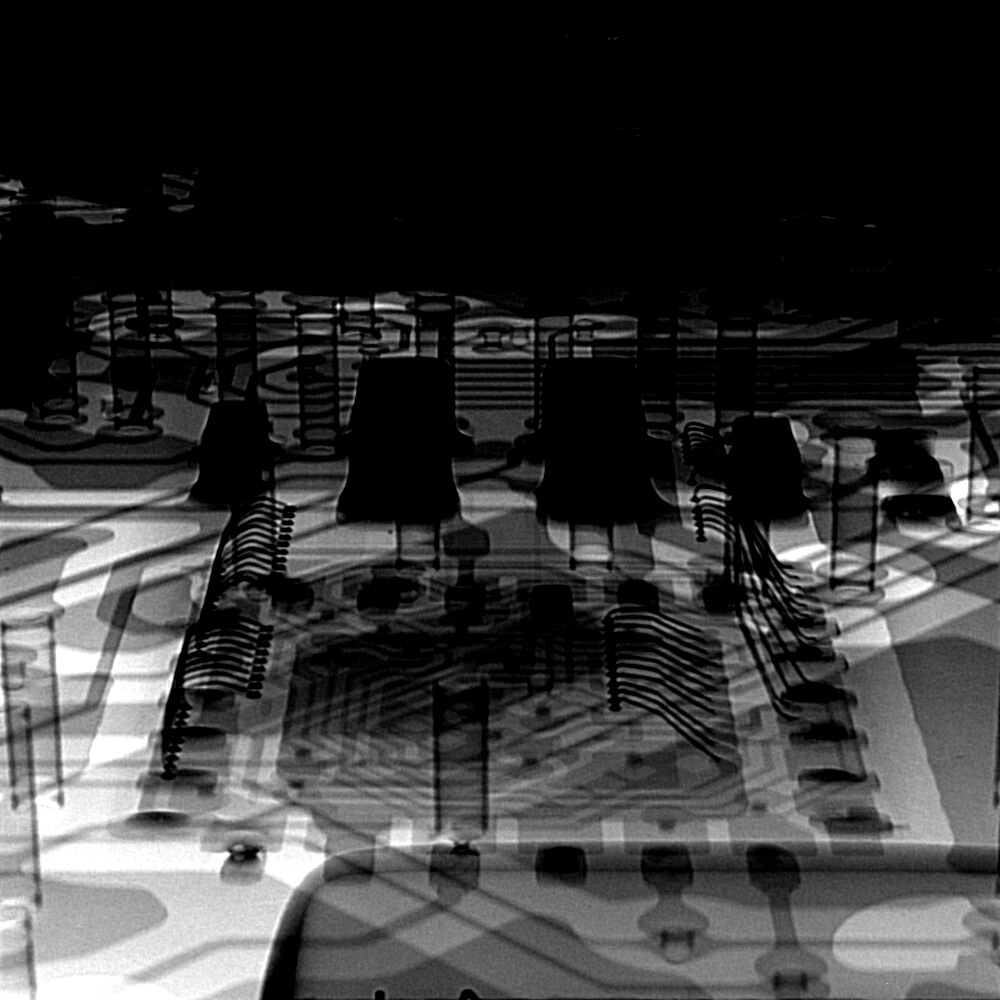
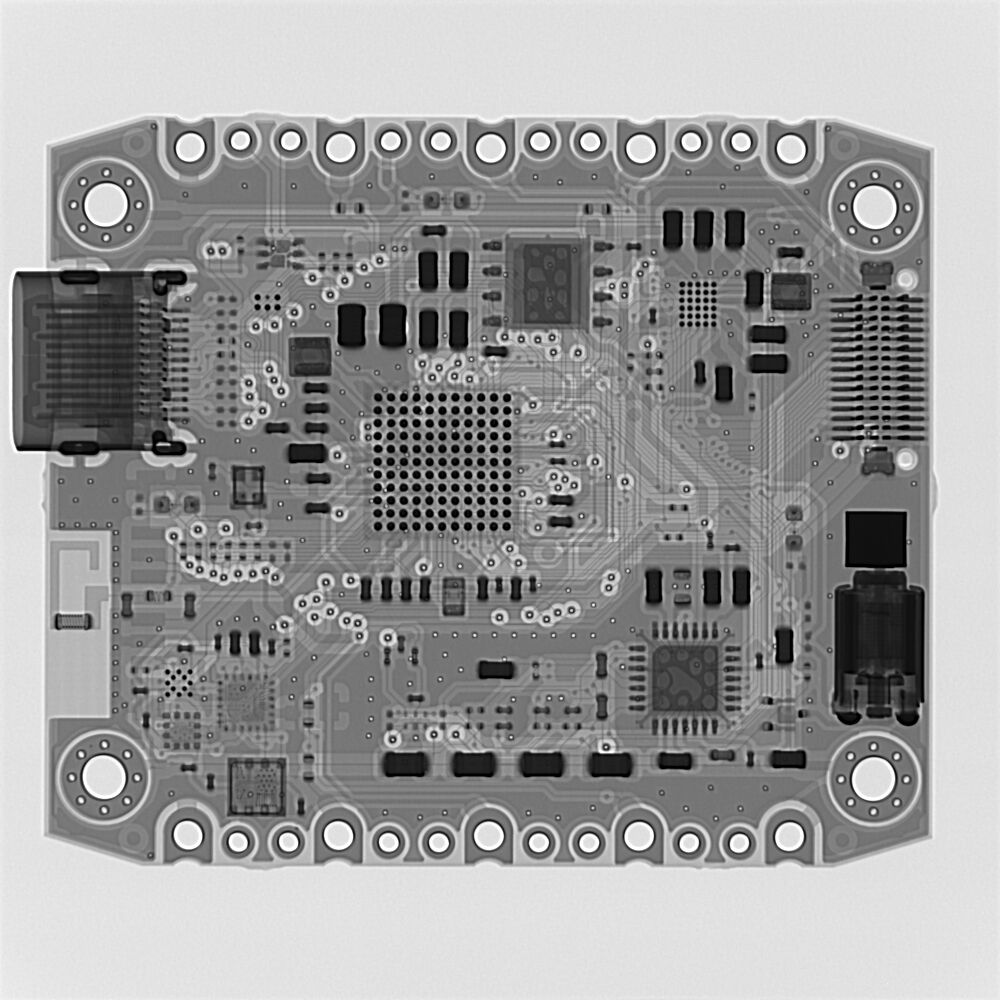
June 4: The X-rays of the BHI160 on the @card10badge come back. They look mesmerizing:
To the untrained eye they might not say much, but this is what we got from the operators:
- Too little solder paste
- Voiding inside the solder joints
We figure that maybe the 80 um solder paste stencil really should have been a 100 um one. Maybe also bad handling during SMT
- Too little solder paste
- Voiding inside the solder joints
We figure that maybe the 80 um solder paste stencil really should have been a 100 um one. Maybe also bad handling during SMT
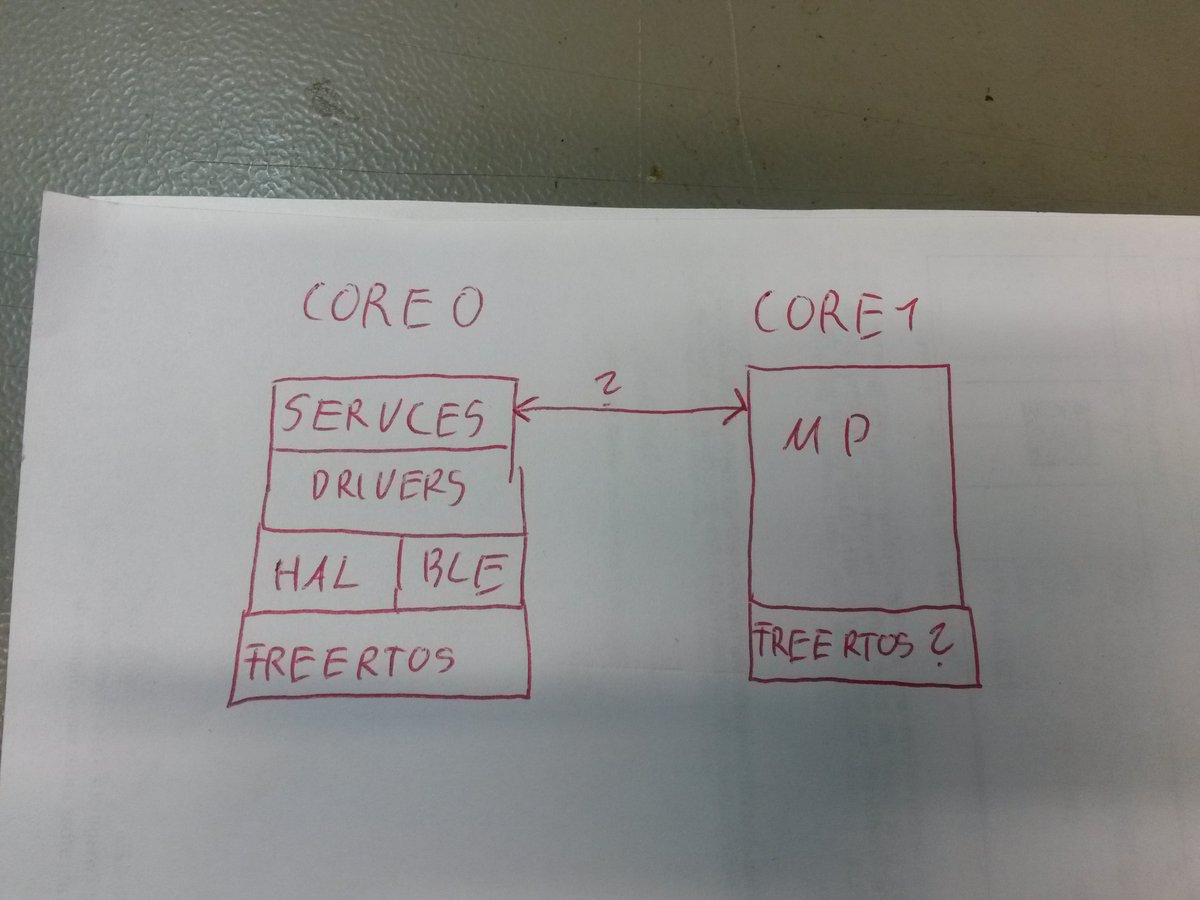
June 6: The first ideas for the firmware of the @card10badge start to materialize. We want to run MicroPython on one core and have the other core provide something similar to system calls.
Here is one of the very first live @micropython interactions on the @card10badge. Cycling the RGB LEDs using both cores and the interactive interpreter.
June 7: We realize that a short circuit from VSYS (which is accessible on the top board) to GND will make the diode that we introduced release its magic smoke. A self resetting fuse will hopefully protect it.
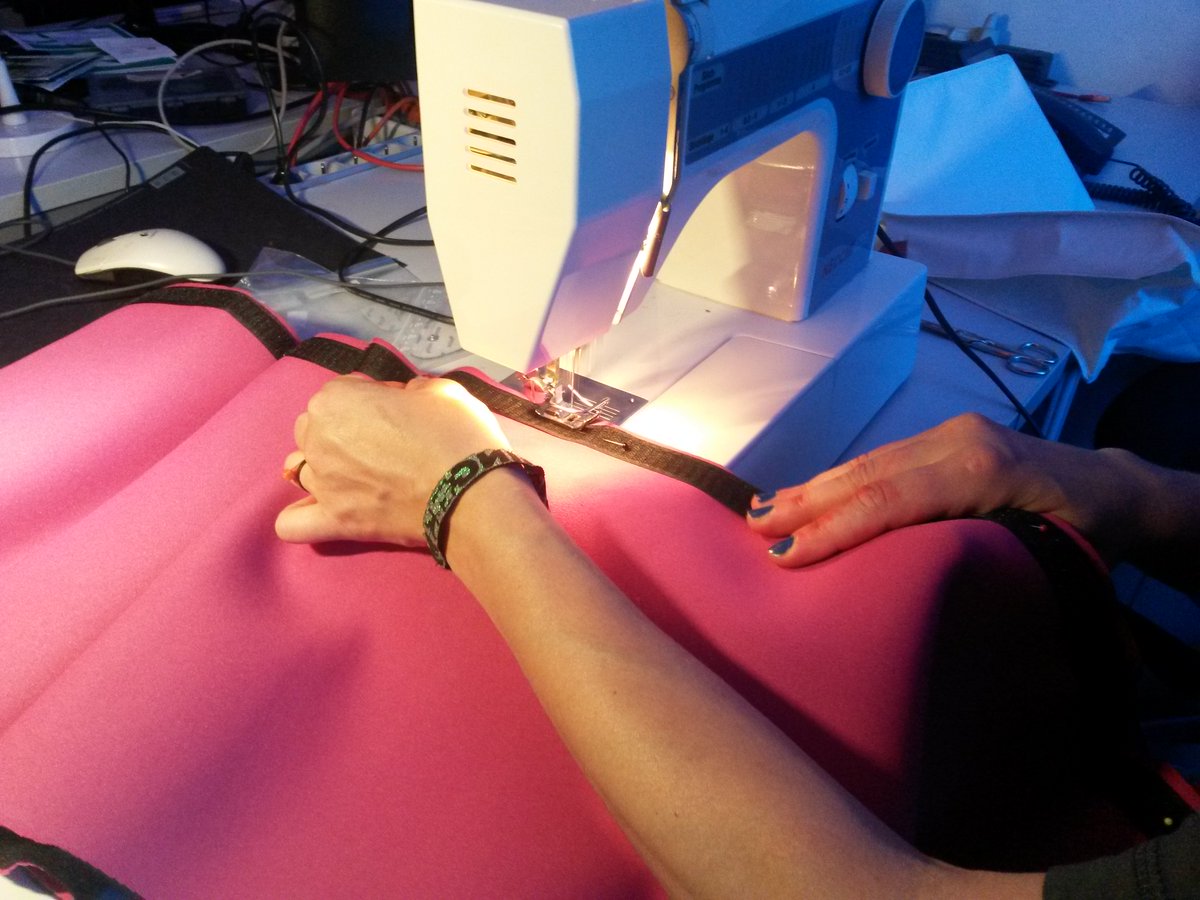
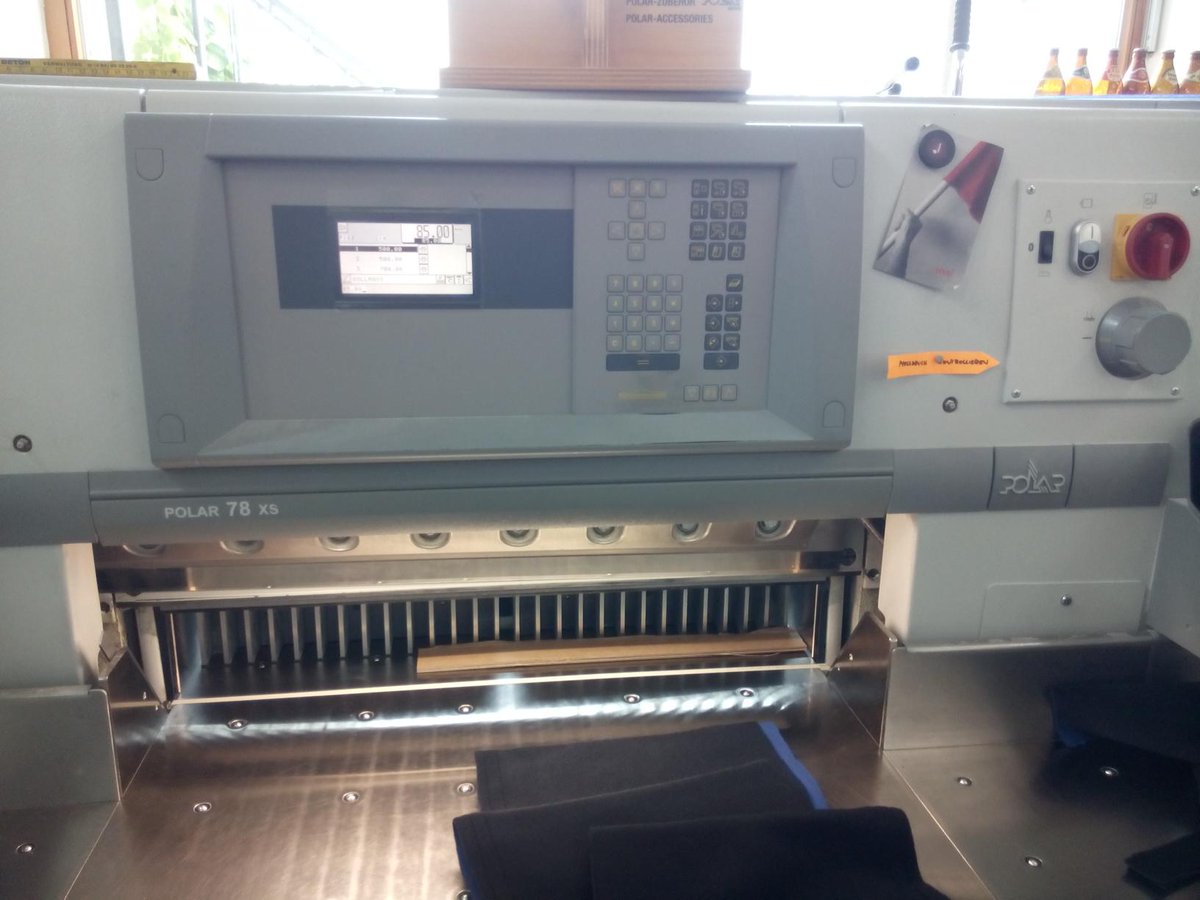
While trying to cut the neoprene wristband material for the @card10badge we realize that house hold tools are likely not going to do the job. We start looking for more heavy-duty options. Thousands of cuts with high precision have to be made very soon.
June 11: We discover an issue with the display and polarized sunglasses. The display is meant to be oriented vertically and not horizontally like on the @card10badge. This means the two polarization filters cause the image to go black when viewed though sunglasses:
We are already in contact with the manufacturer (many thanks too @AllnetChina!) to customize the displays flex PCB. We try to also get them to change the polarization filter for us, but it seems like that will be too much effort.
Thankfully it turns out that the issue goes away if the protective foil is left on the display.
June 11: We get in touch with our Bavarian contract manufacturer. We'd like to populate the bottom boards sometime between July 22 and August 2. That should give us plenty of time to do any manual work afterwards.
June 12: The CM comes back to us and mentions that they didn't here from us for quite some time and therefore did not allocate manufacturing time for us. They are trying to find a solution but can't commit yet.
This could become another major issue. We have to stuff around 800.000 components. Some of them 0201 parts or 400 um pitch BGAs. Finding another manufacturer in time will not be easy or cheap...
What is clear: They certainly don't have the capacity to assemble the top boards for us. The search for another contract manufacturer begins. An obvious first candidate: Our prototype manufacturer in Berlin.
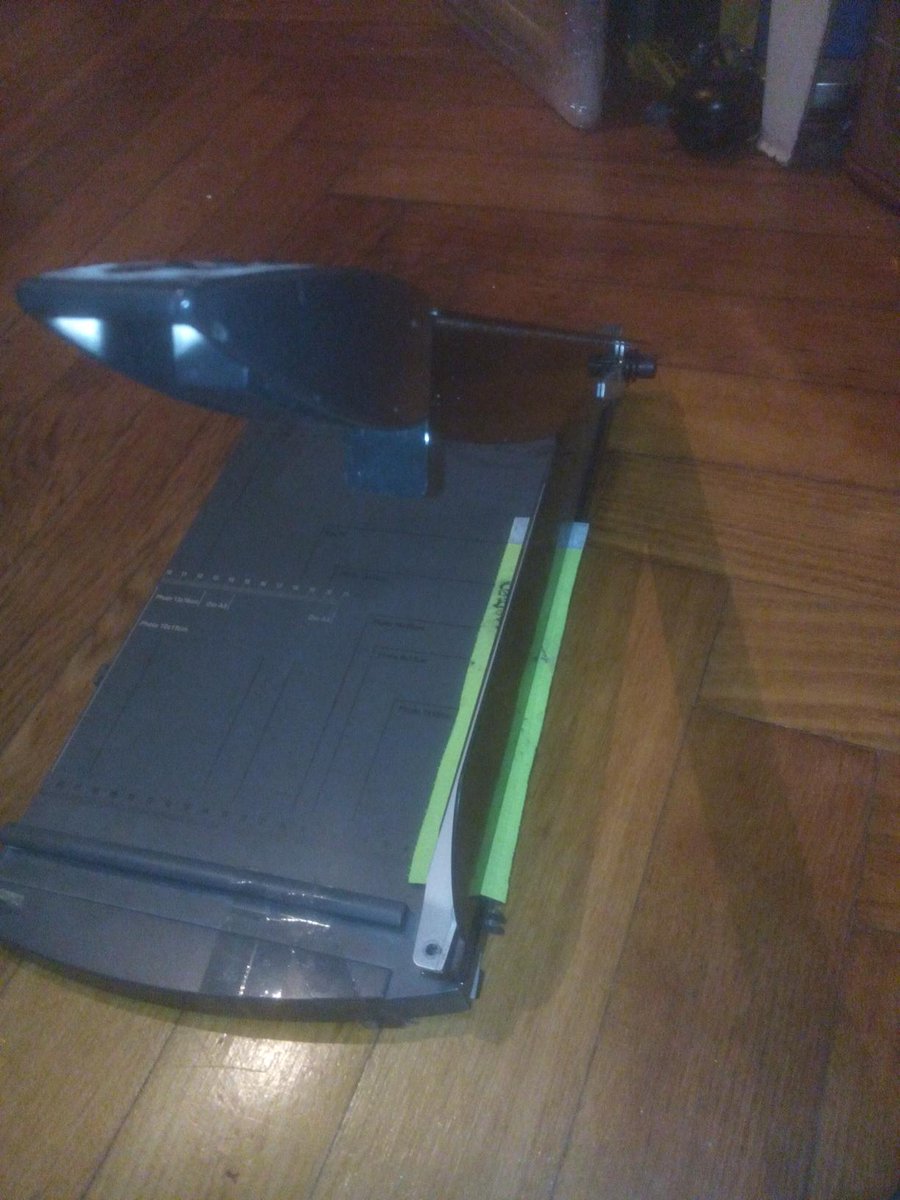
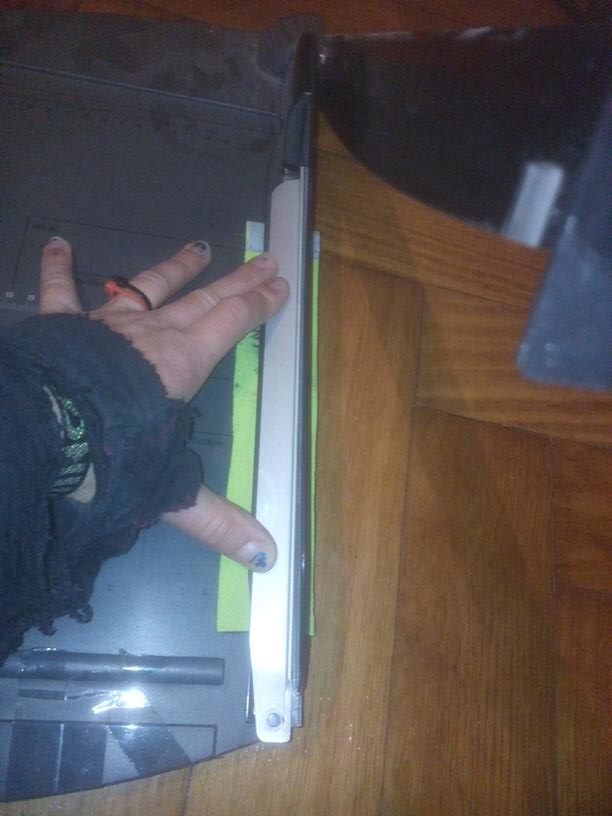
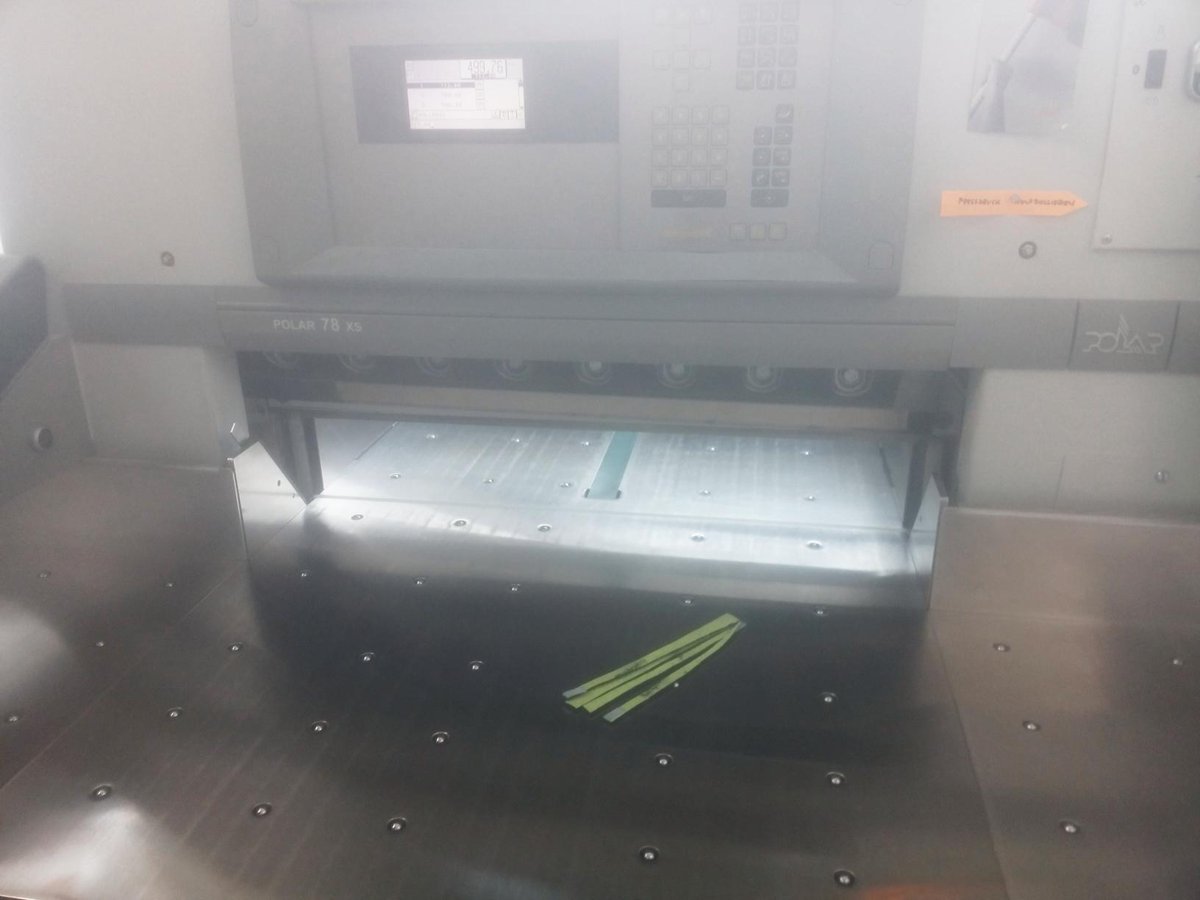
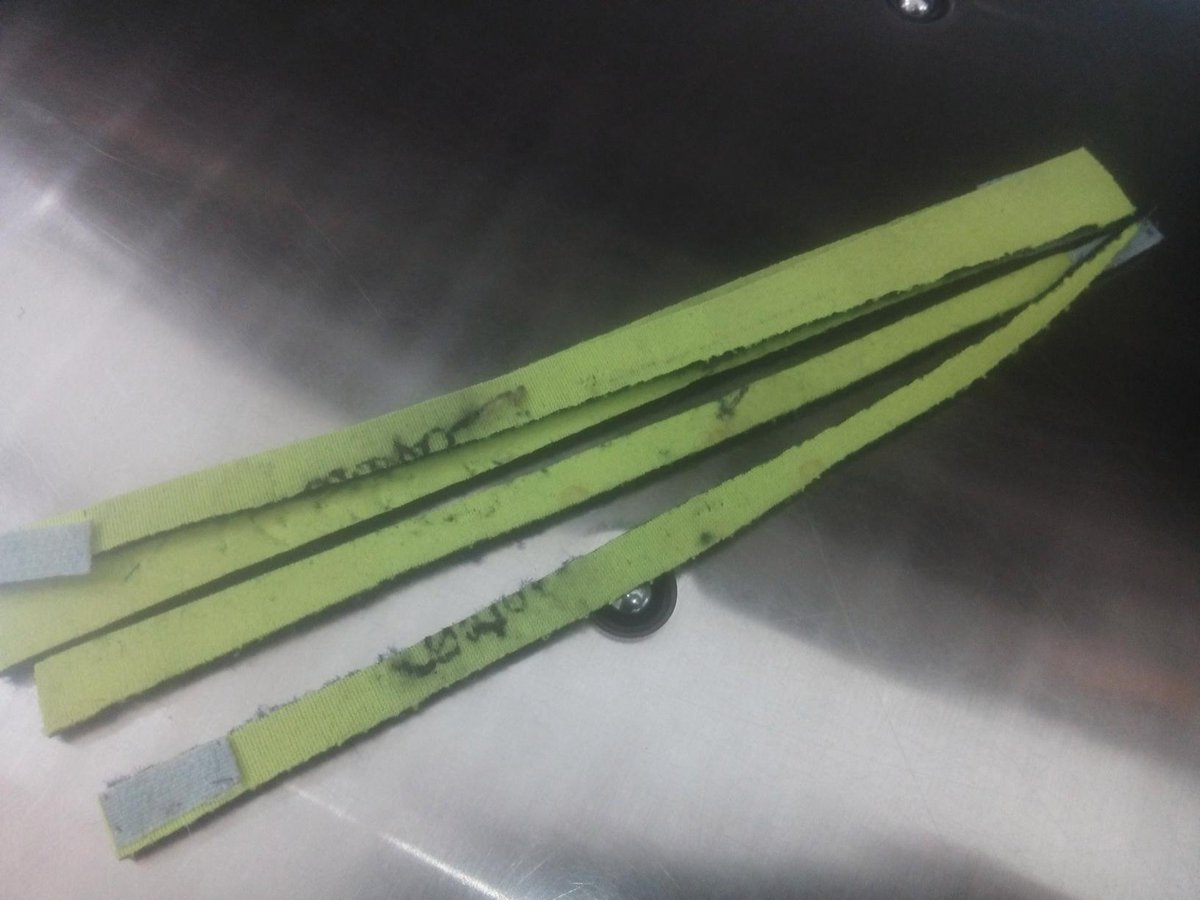
The good news for today: We make progress in finding a suitable way to cut the wrist bands: An industrial paper cutting machine seems to do a really good job and is able to cut multiple layers in one go:
June 14: Our CM says they might be able to shift other work and open a window starting July 22. They are trying to get an OK from the affected customer. It is made clear to us that this will be the only window available to us.
HDI PCB delivery times for such quantities usually being 6 weeks, it becomes clear that we need to order the bottom board by the beginning of next week. It is now Friday and we have until Monday to get the layout finished.
We ask twitter for a final design review: https://twitter.com/card10badge/status/1139484091970129925
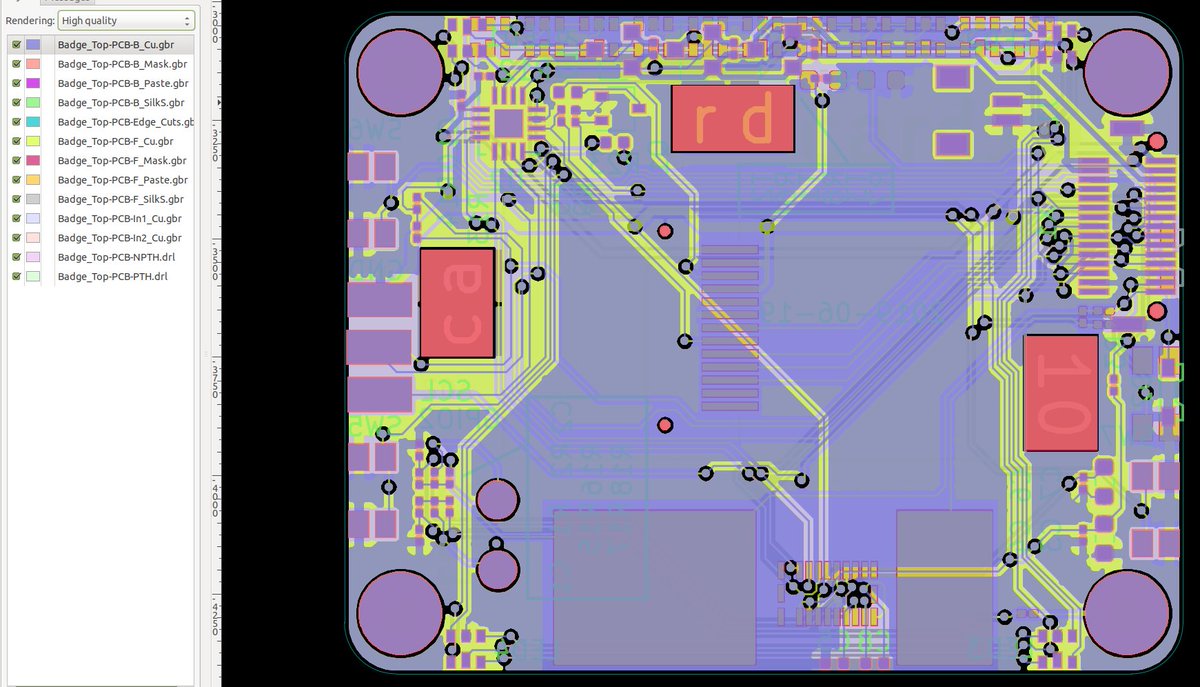
June 17: A major mile stone: We order the final PCBs for the bottom board of the @card10badge:
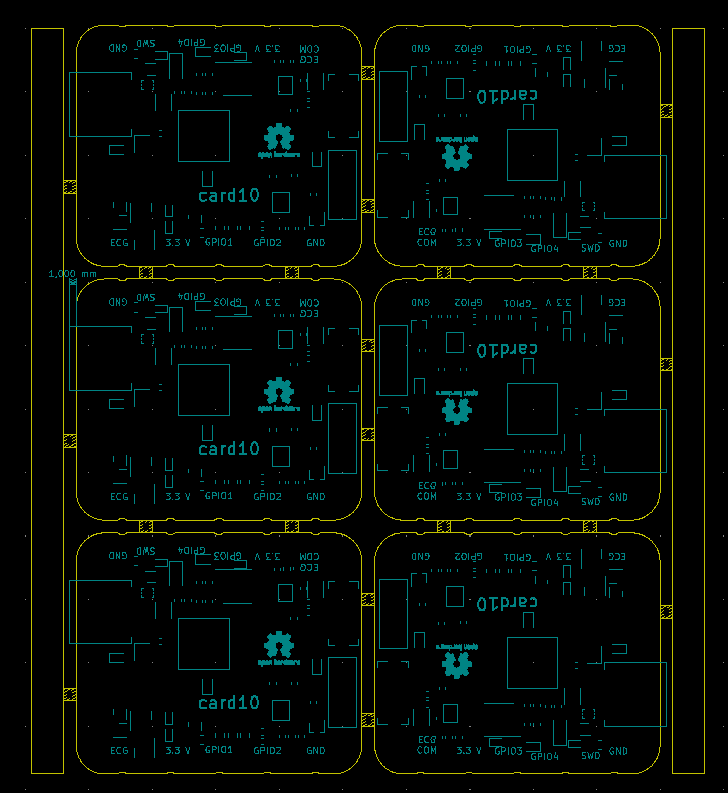
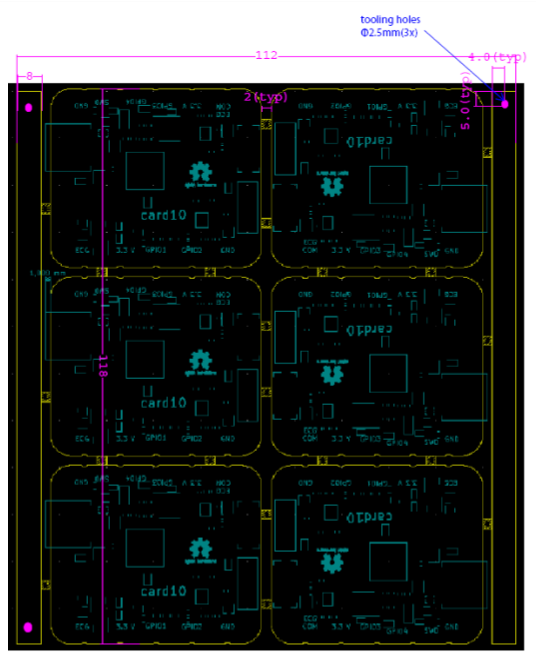
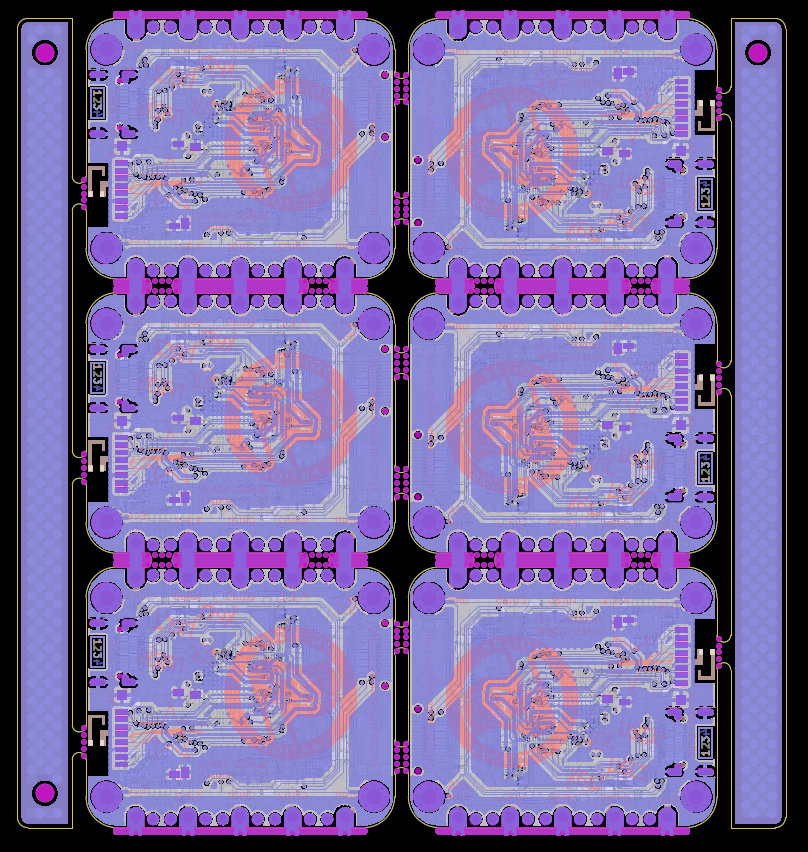
As usual we only send the Gerbers for a single board and a simple drawing for the panel.
As usual we only send the Gerbers for a single board and a simple drawing for the panel.
Quite a few changes compared to the prototype:
- The bypass diode hack
- A software switchable 3.3 V rail for low power operation
- Lots of 0 Ohm resistors for assembly variants
- The RGB-LEDs move from 3.3 V to the raw battery voltage
- Updated USB-C pinout
- The bypass diode hack
- A software switchable 3.3 V rail for low power operation
- Lots of 0 Ohm resistors for assembly variants
- The RGB-LEDs move from 3.3 V to the raw battery voltage
- Updated USB-C pinout
- ESD protection for the wristband pins
- ESD protection for the wirstband pins
- ECG chip changes from QFN to BGA
- Minor changes for better PCB yield
- ESD protection for the wirstband pins
- ECG chip changes from QFN to BGA
- Minor changes for better PCB yield
We specifically added quite a few 0 Ohm resistors in tricky parts of the circuit where only the final PCB will show if the changes are going to work out.
Also June 17: The first fish start swimming on the @card10badge: https://twitter.com/card10badge/status/1140715802817191936
June 18: We order the second round of top board prototypes. Changes:
- Experimental windows above the LEDs of the bottom board
- Large pads for finger bases ECG measurements
- PPG sensor next to the ECG pads for blood pressure estimation
- New I2C port expander from @nxp
- Experimental windows above the LEDs of the bottom board
- Large pads for finger bases ECG measurements
- PPG sensor next to the ECG pads for blood pressure estimation
- New I2C port expander from @nxp
June 19: The Engineering Questions (EQ) for the bottom board come in:
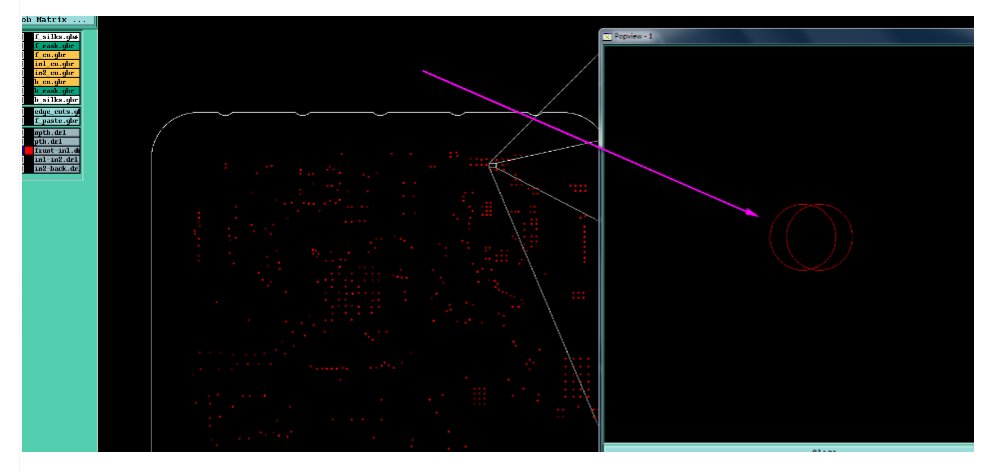
- A duplicated via(!)
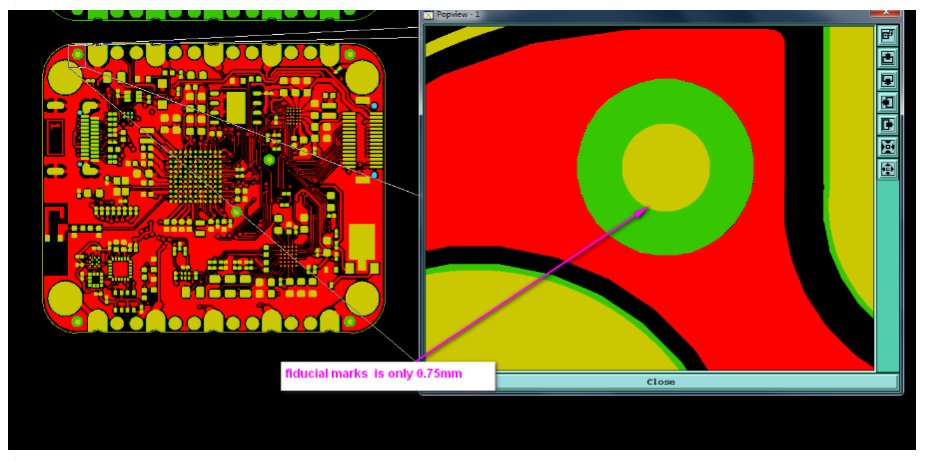
- They think the fiducials are a bit small
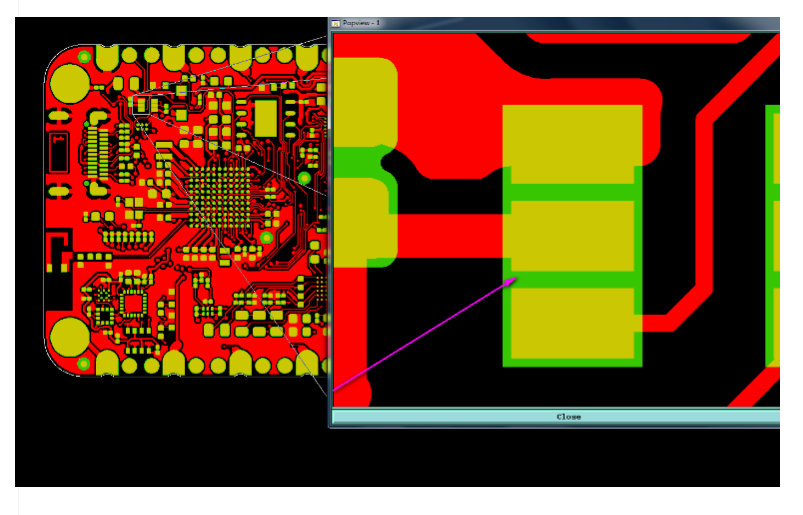
- One component has not enough space between the pads for solder mask
- The want to add some tooling holes to the panel
- A duplicated via(!)
- They think the fiducials are a bit small
- One component has not enough space between the pads for solder mask
- The want to add some tooling holes to the panel
All in all nothing crazy, just the missing solder mask between the pads of that KiCad provided SOT-563 seem a bit risky. We don't really want to change the Gerbers anymore. Issues while soldering a component could be critical though.
Their suggestion: Shaving the pads a bit to prevent solder bridges. We accept and also ask them to add solder mask between the pads if possible.
There are soooo many options for wristband colors, but we can only chose a few. We ask twitter for help: https://twitter.com/card10badge/status/1141247741252833280
Our prototype manufacturer sends a quote for the assembly of the top boards. It is more than double than what we had budgeted. We start negotiating with them as well as looking for another CM.
June 20: The board house comes back regarding the SOT-563. They don't want to shave the pads even more which would be needed to put solder mask in between. We consider the risk OK and accept their proposal. Receiving the PCBs in time seems to be more important.
June 21: The PCBs for the second top board prototype arrive. They get quickly get converted into real prototypes:
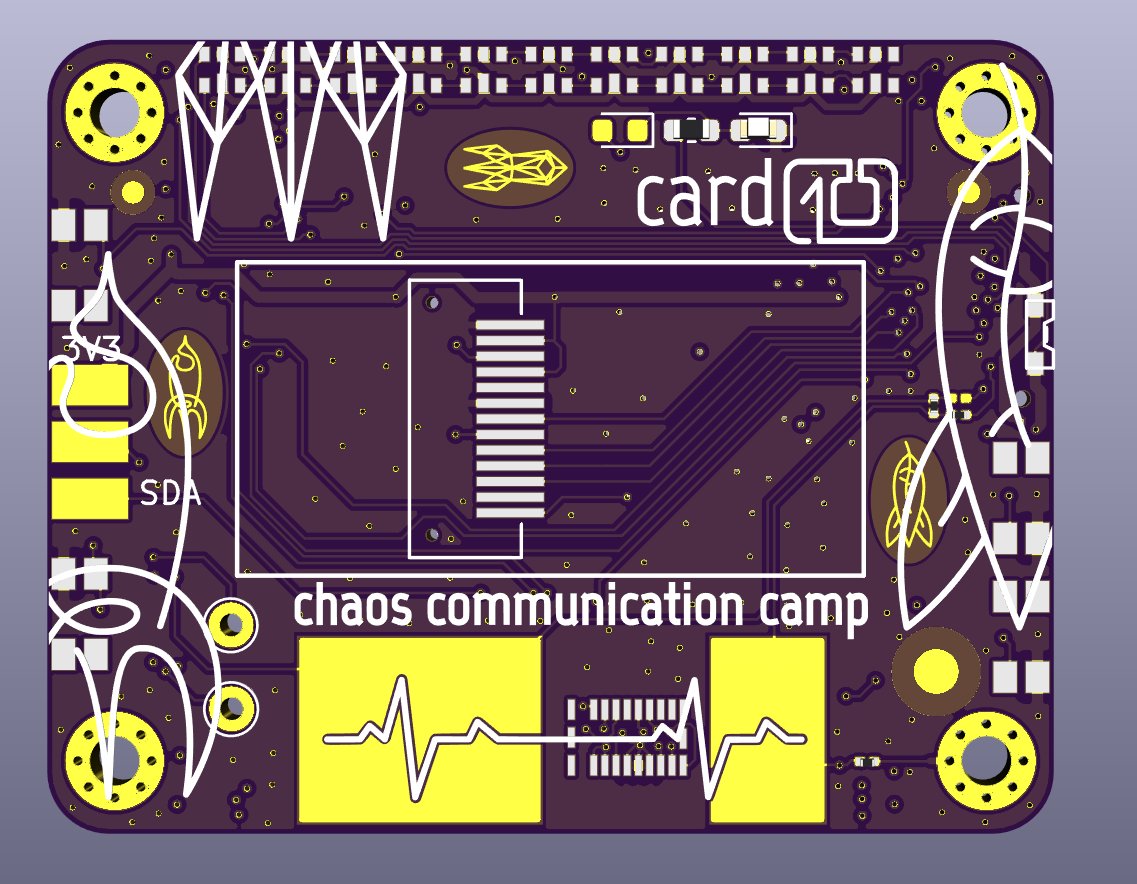
The windows for the LEDs seem to somehow work. The plan is to place the three #CCCamp2019 rockets there and illuminate them using the LEDs of the bottom board:
The optical PPG sensor seems to work. After a lot of effort the second ECG channel also produces something useful. Things are looking good.
June 24: We receive the final Gerber files of the @card10badge bottom board for approval. They look acceptable and we can finally(!) confirm the production. It has been a week since we've ordered them.
June 25: We get the confirmation for the final dates for the assembly of the bottom board. Assembly will start July 24.
We also get a new quote for from another CM for assembling the top board. It is quite a bit more competitive than the one from our prototype manufacturer. The only problem: They can't handle 0201 parts. It is 2019 and there is a lesson to be learned here :/
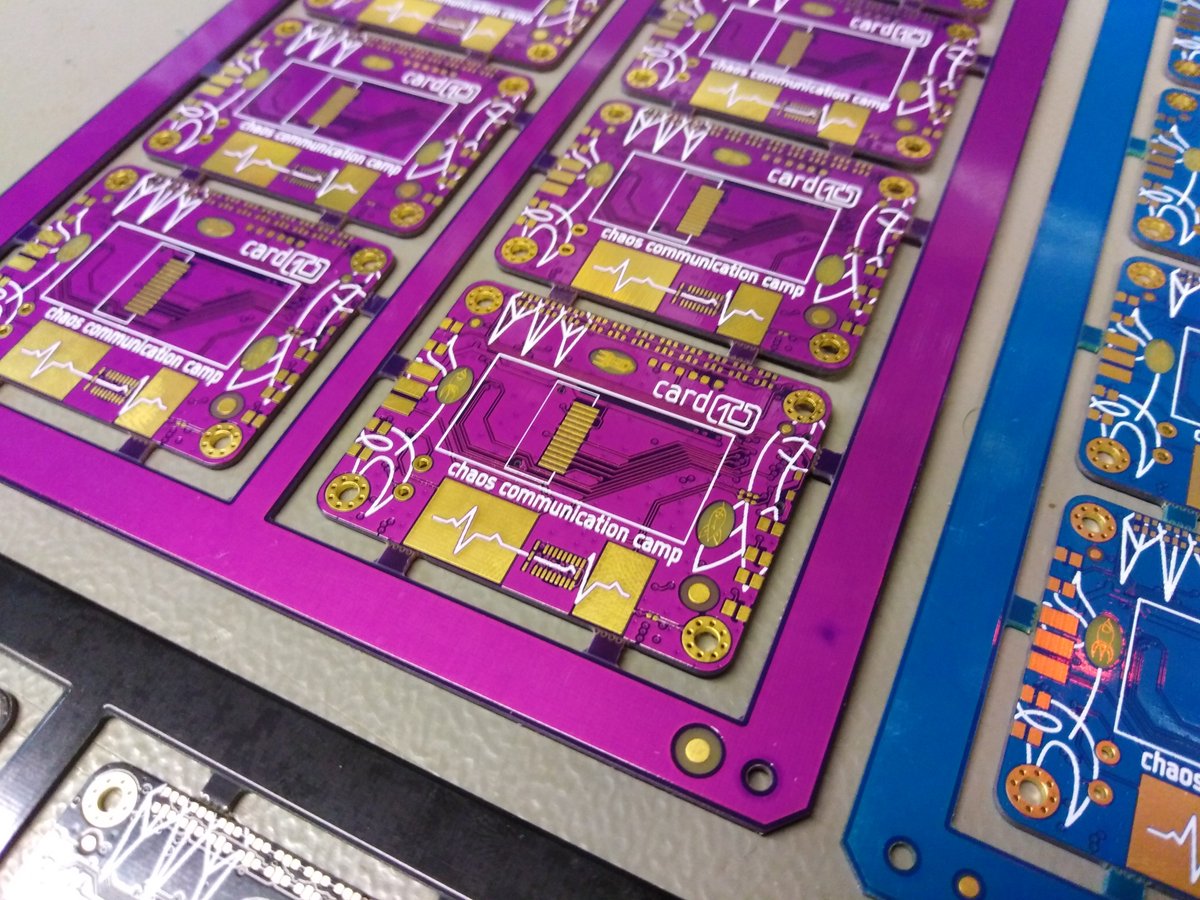
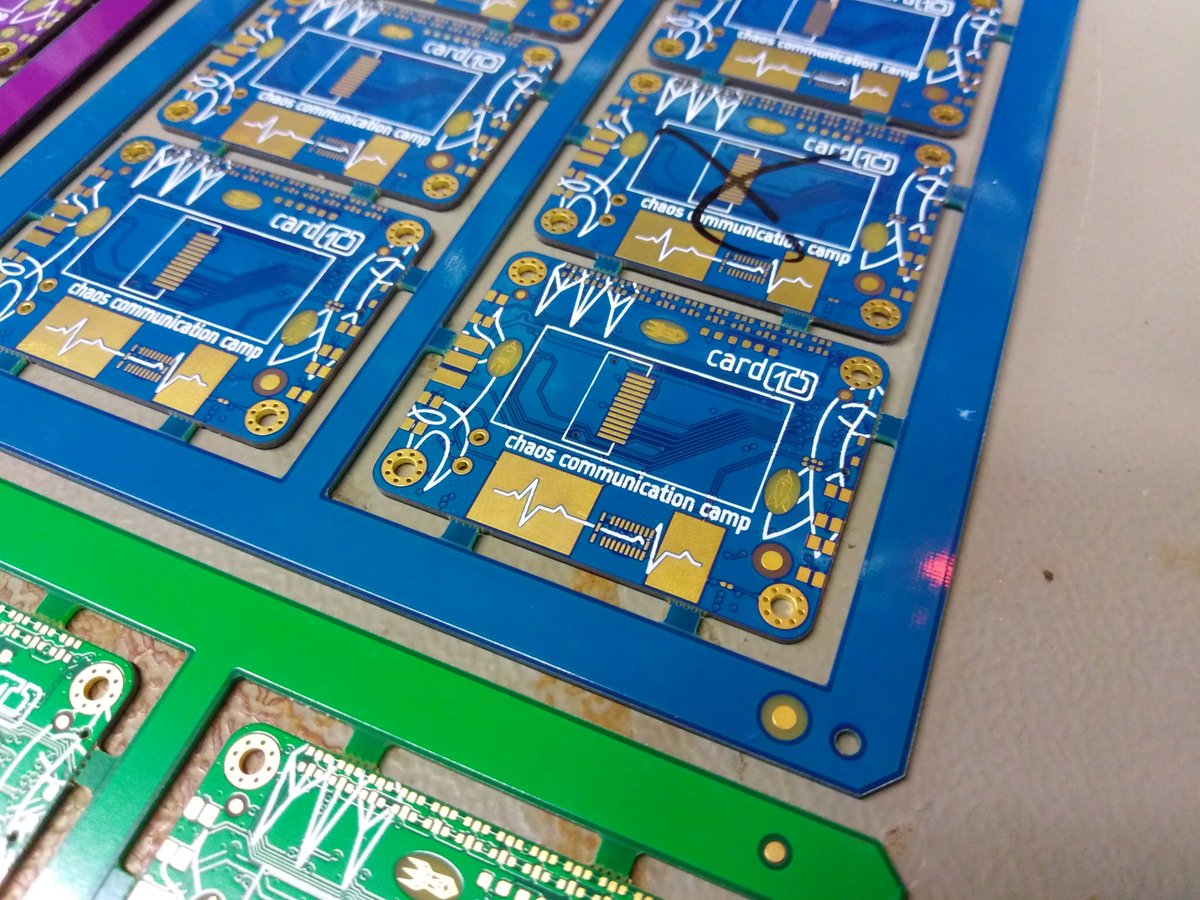
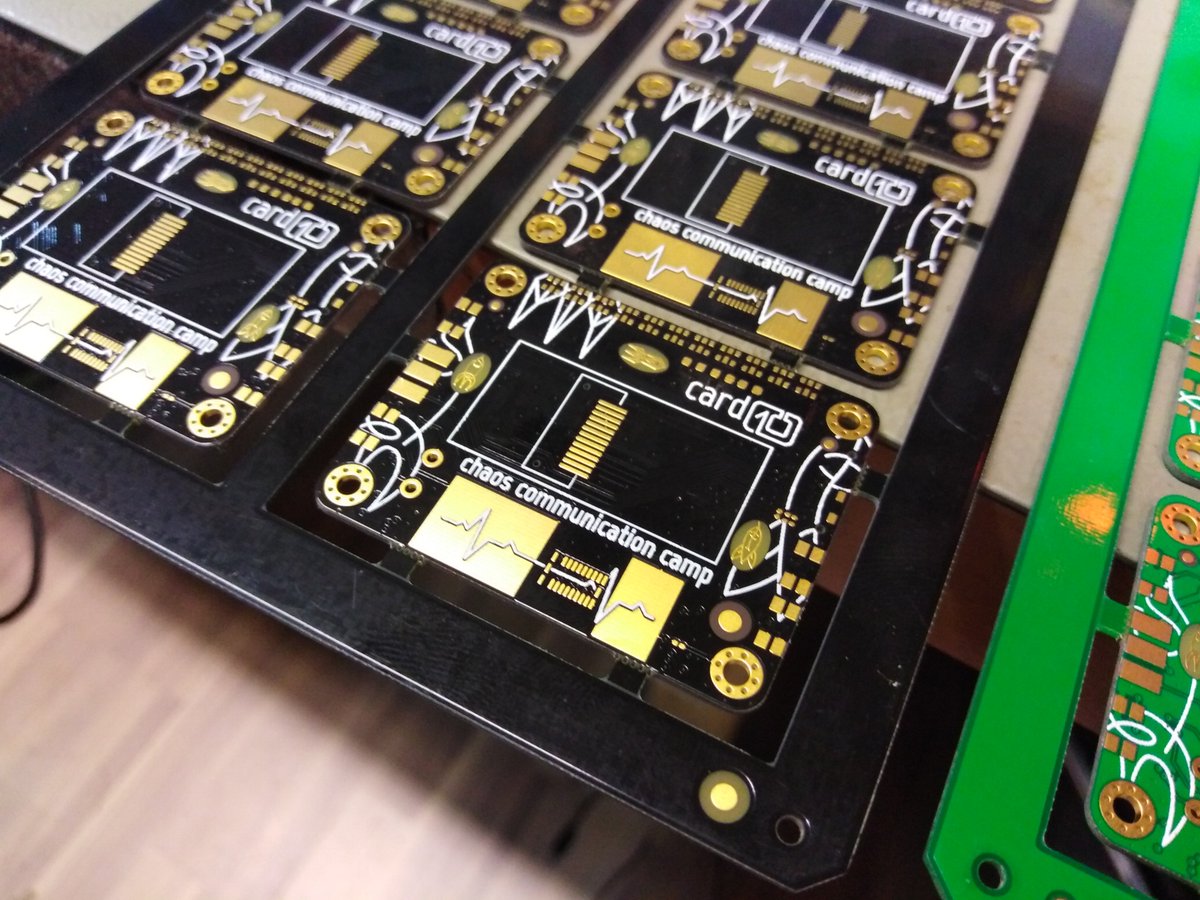
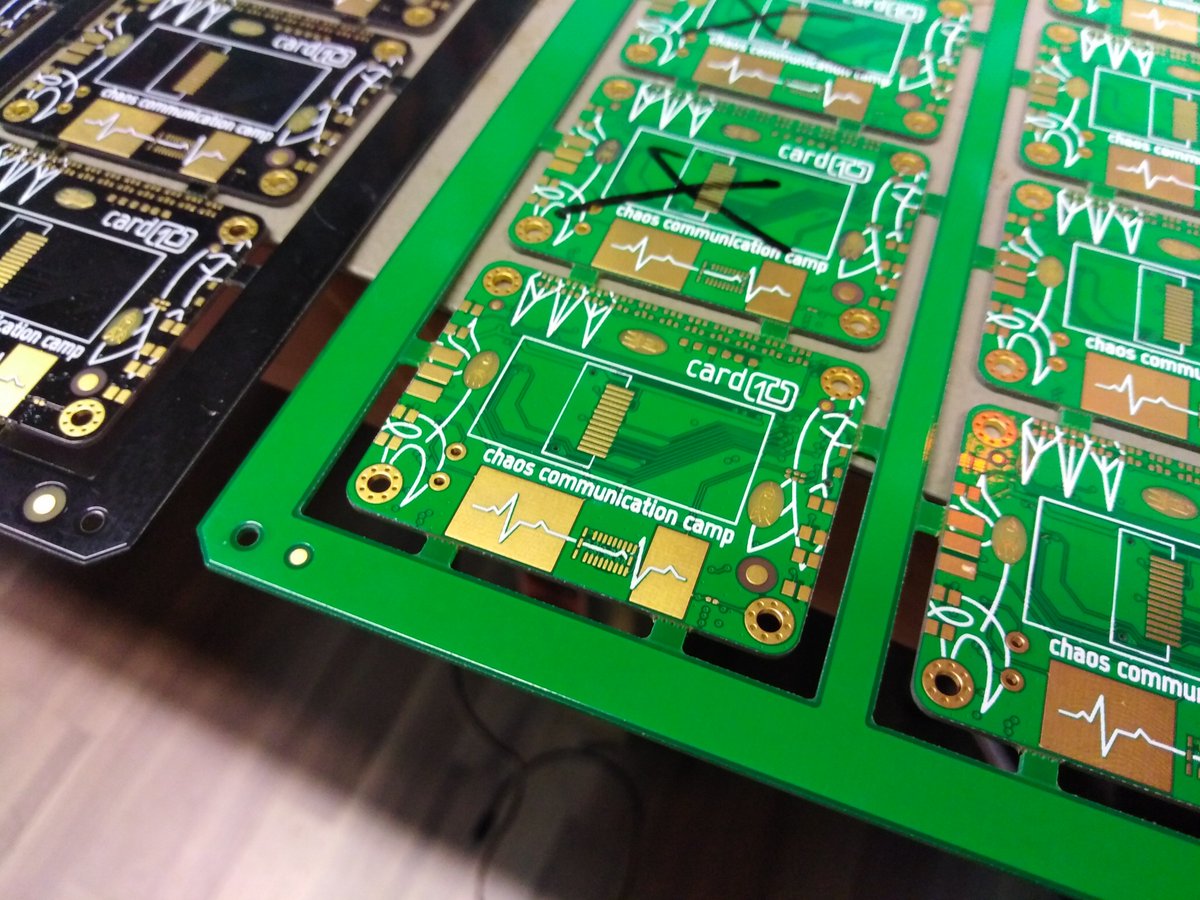
July 3: We place the order for the top board. They will be made with black, purple, blue and green solder mask.
July 4: We spend a lot of time on discussing the different options for the crystals and their load capacitors. The datasheet of the CPU does not match the schematics of the evaluation boards.
It looks like the 32 kHz crystal must have a very particular load capacitance which is hard to get at the moment: 32.768kHz, C_L = 6pF, ESR < 90kOhm, C_0 < 2 F, 2.0 mm x 1.2 mm
Our crystal dealer only has old stock from 2017 which we have to accept.
Our crystal dealer only has old stock from 2017 which we have to accept.
July 8: Due to some tragic and unforeseeable circumstances the CPU of the @card10badge will only be delivered earliest August 5. With this news our complete timeline for the bottom board vanishes into thin air.
Not only will we certainly miss the date that our CM gave us. The delivery date of the CPUs is now also extremely close to the beginning of #CCCamp2019: August 21.
July 9: We get a confirmation that the top boards will be delivered on July 24.
We start contemplating if it is possible to assemble the whole bottom board expect the CPU in July and then somehow solder the CPU at a later date. That would make it easier to find another CM for the final assembly.
It would be necessary to run a second application of solder paste to do that. Some quick calculation based on existing solder paste jet printers shows: A suitable machine would be busy printing solder paste for almost 5 days...
There are faster solder paste printers but we need one which has a rather large clearance from the board as there are already tall components on it:
We quickly get some new offers from other CMs to see what might be possible. We find two CMs which could do the assembly starting August 12. Just one week before #CCCamp2019. The roblem: they are either much more expensive or abroad.
July 10: Our Bavarian CM fully understands the situation (apparently they were already expecting something like this) and makes it possible to shift the window to August 13. According to them the final boards will be finished Monday, August 19.
Only two days before #CCCamp2019!
Only two days before #CCCamp2019!
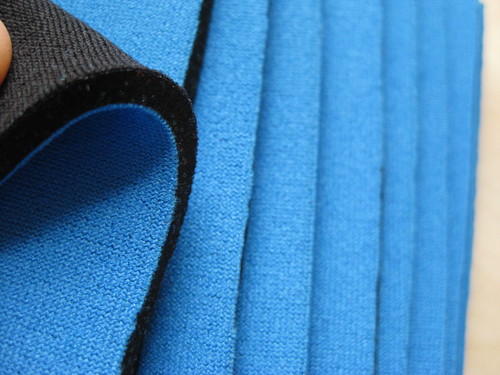
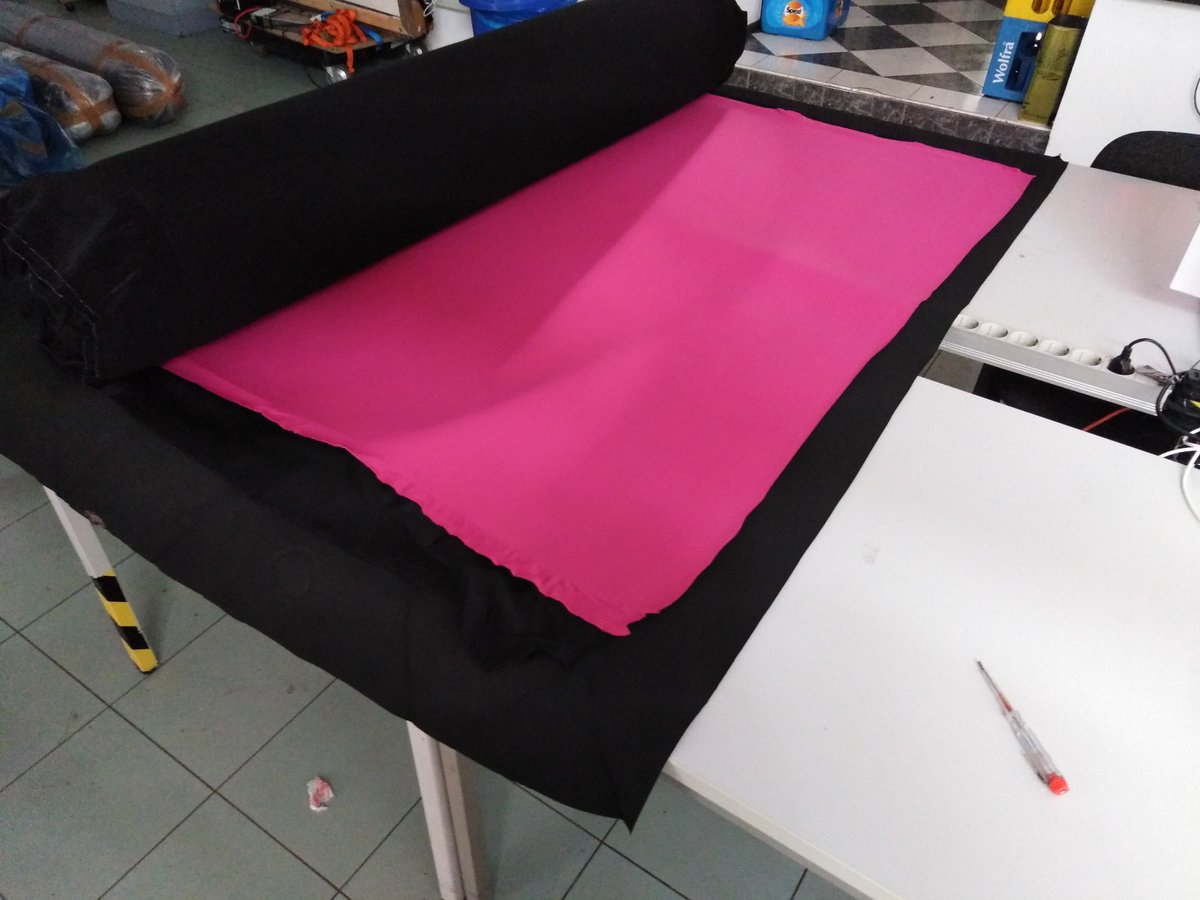
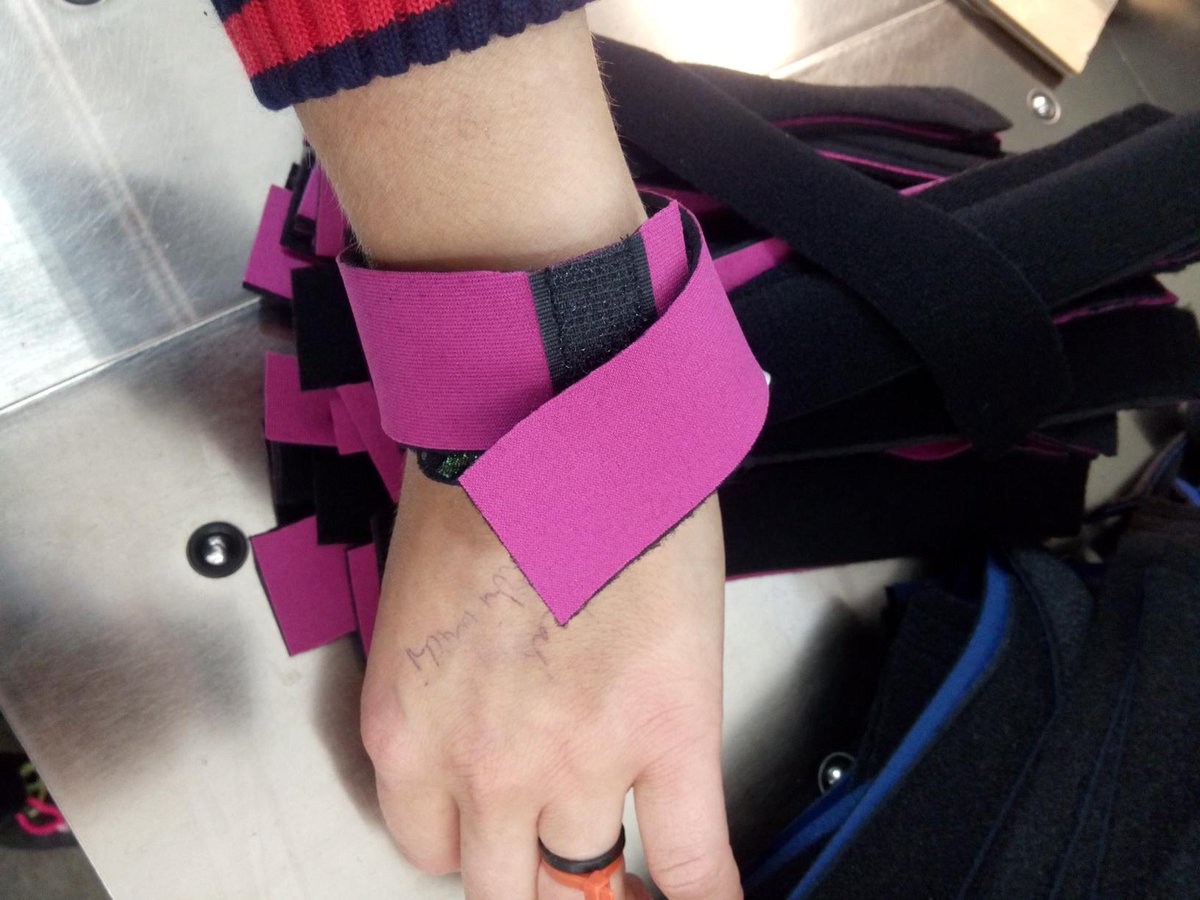
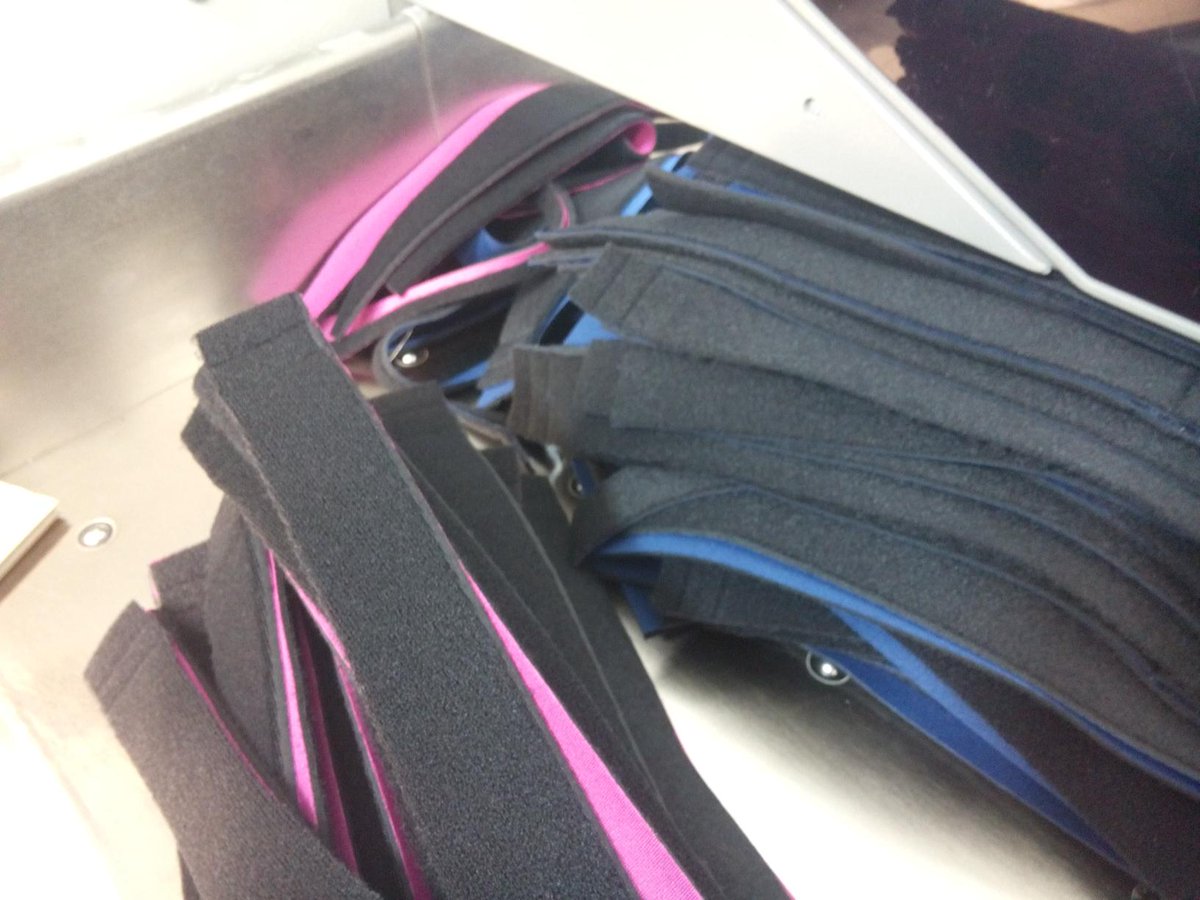
July 12: The neoprene fabric arrives. It's going to need an enormous amount of manual labor to make wristbands out of it.
July 13: "Top" and "Bottom" boards finally get real names: "Harmonic Board" and "Fundamental Board".
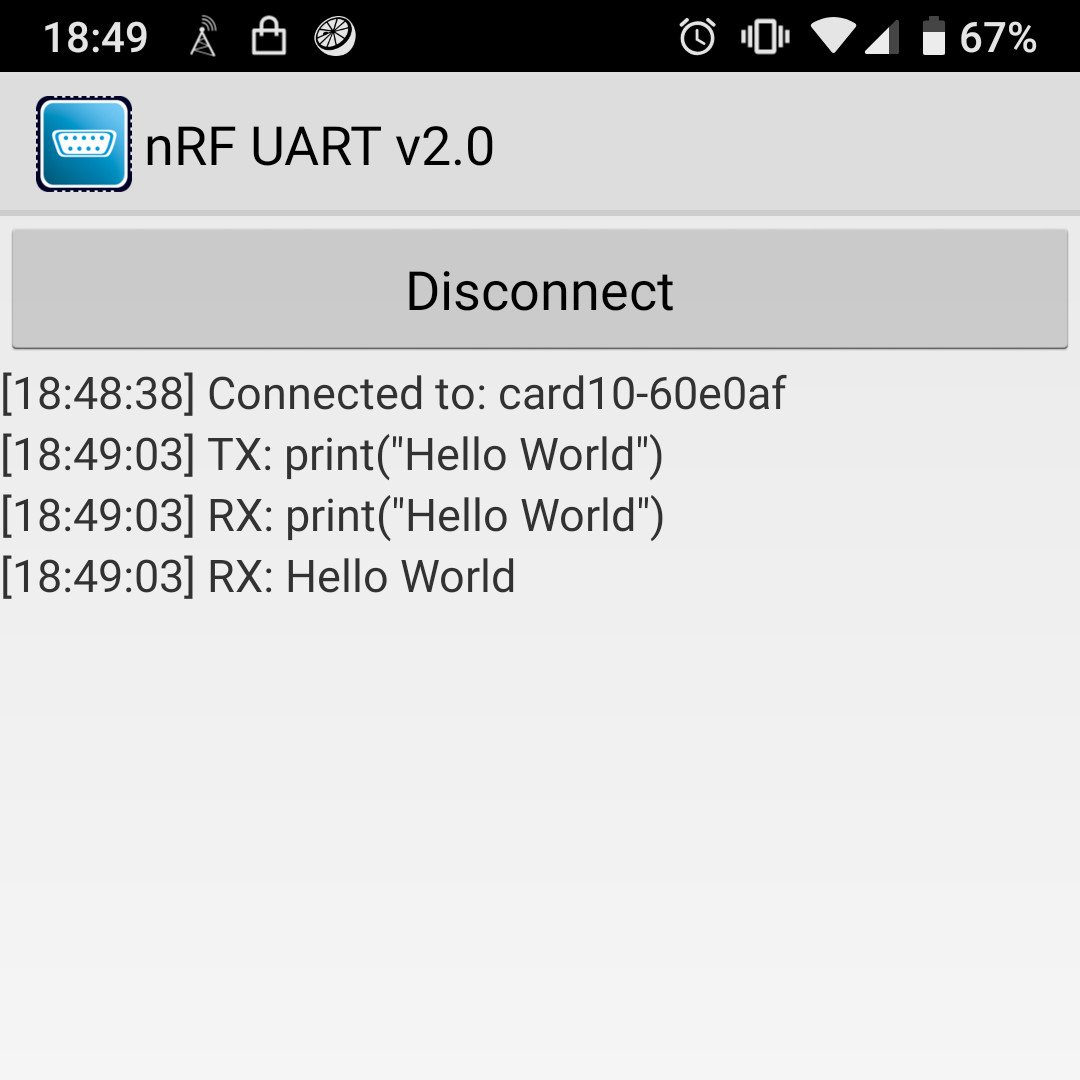
July 14: After a lot of effort we get BLE integrated into the main firmware. The first application: An interface to the #MicroPython parser:
It really is:
July 16: We have a public call to get involved with firmware development for the @card10badge. Prototypes are ready to be shipped out to people and hackerspaces which want to contribute. https://twitter.com/card10badge/status/1151209962498076672
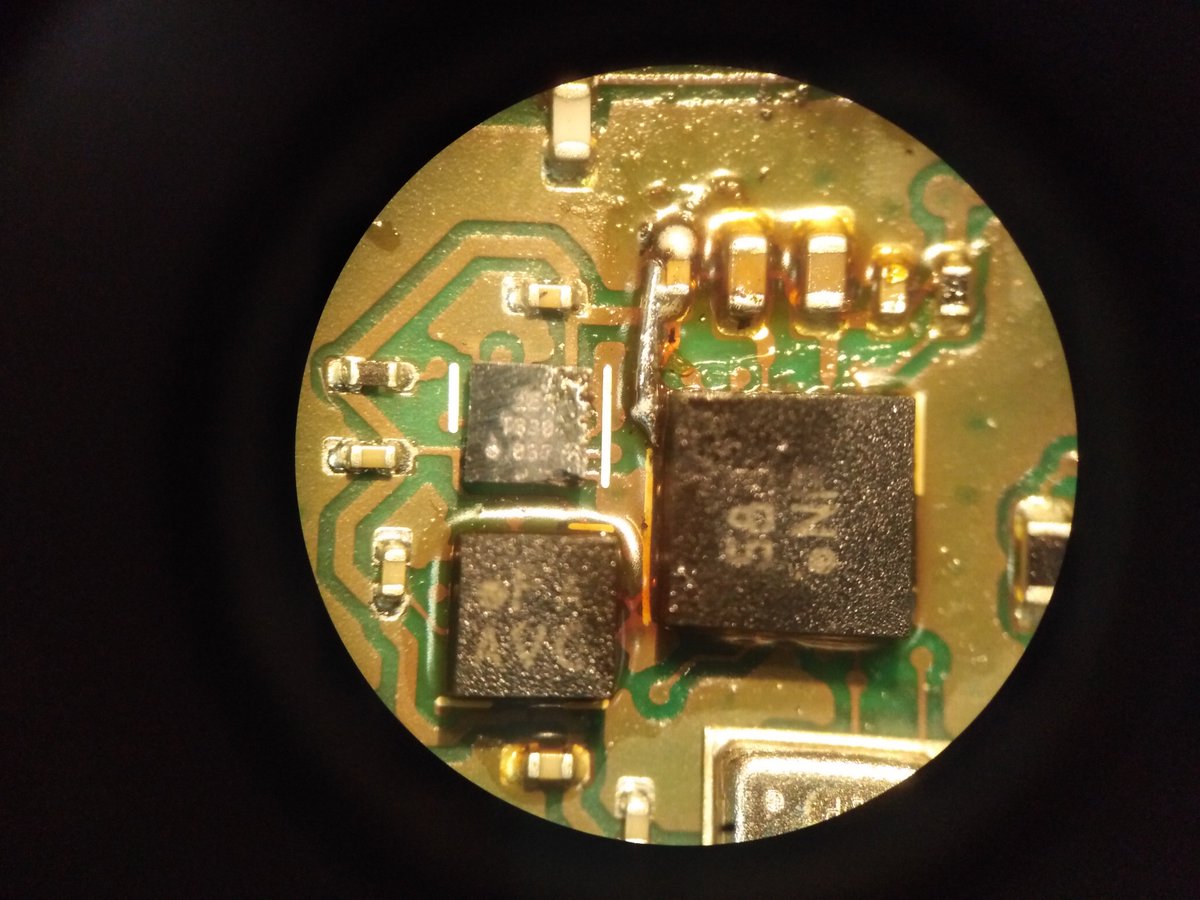
July 19: We really try to make every last prototype work. Even if that requires some "creative" soldering:
July 21: Sewing and cutting thousands of wristbands for the @card10badge is in full swing:
July 22: By chance, the first "app" ported to the @card10badge is a watch face from our flip dot project: https://github.com/muccc/flipdots/blob/master/scripts/clock.py
July 23: The last shipment of components (imported, from distributors and sponsors) leaves Munich for our CM in Berlin that will assemble the Harmonic Boards:
July 25: After some major delays we get a tracking number for the batteries from China. A major milestone as we had to place a lot of trust in our supplier to supply good quality batteries.
The problem: The tracking number we got is for a shipment addressed to someone else!
The problem: The tracking number we got is for a shipment addressed to someone else!
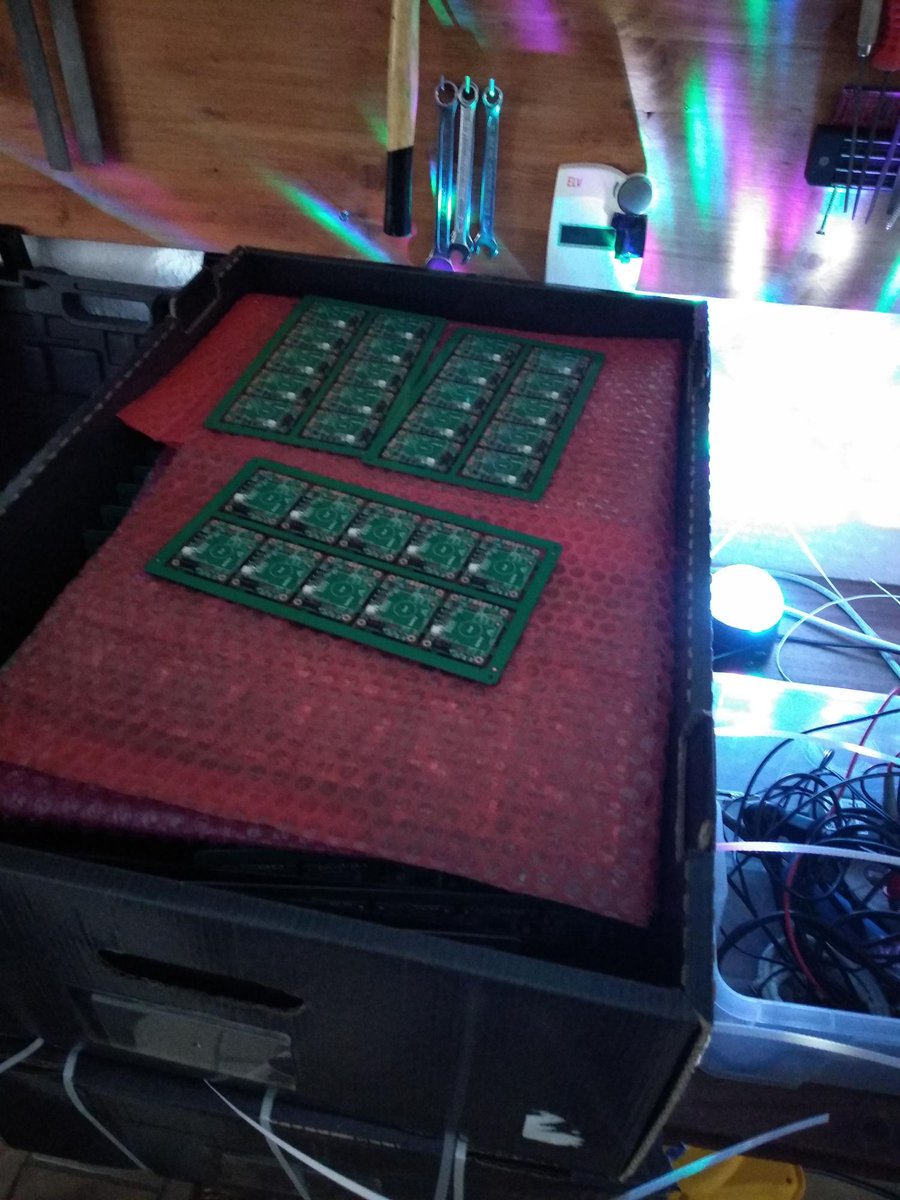
July 26: It's Friday and the PCBs for the Harmonic Board arrive at the CM in Berlin. We arrange to pick up a few panels to inspect them in Munich. Production might start mid next week.
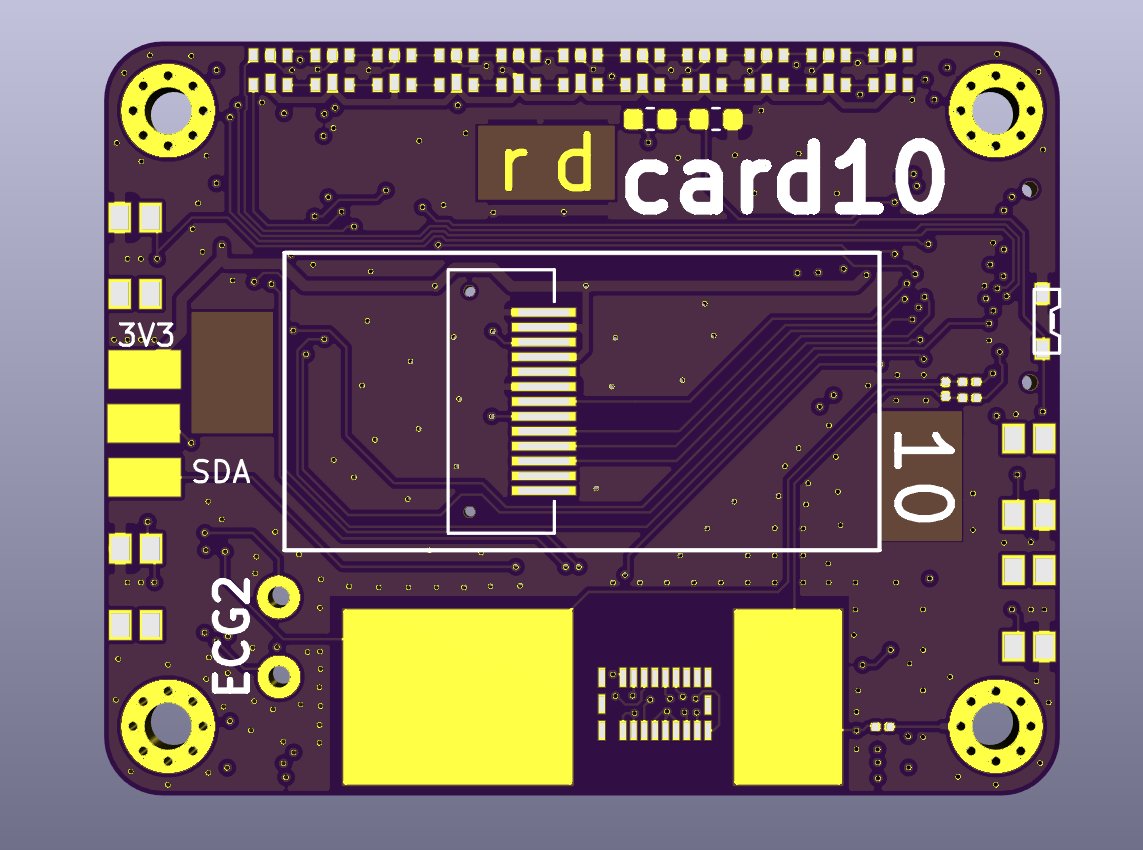
July 29: The samples of the PCBs for the Harmonic Board of the @card10badge arrive in Munich. They look awesome:
July 30: We find the first mistake in the Harmonic Board: the side emitting LED is emitting to the wrong side. We simply misinterpreted the datasheet :/
The batteries finally ship. This time address and weight of the shipment are correct.
July 31: We get informed that the CPUs will be ready August 13. In the Philippines. That same day we want to start the PCB assembly. In Germany.
Due to a Bavarian(!) bank holiday on August 15 UPS/Fedex will only be able to deliver the shipment on Friday, August 16. Camp is still scheduled to start Wednesday, August 21.
We are back to square one and have to:
- Talk to our CM. Again.
- Try to get (at least some) CPUs earlier.
- Think about creative ways how to emergency assemble the CPU by hand at camp.
- Talk to our CM. Again.
- Try to get (at least some) CPUs earlier.
- Think about creative ways how to emergency assemble the CPU by hand at camp.
One option would be to simply fly to the Philippines, hand-carry the CPUs to Munich on an early flight, clear customs directly at the airport and deliver the CPUs to our CM on Wednesday morning.
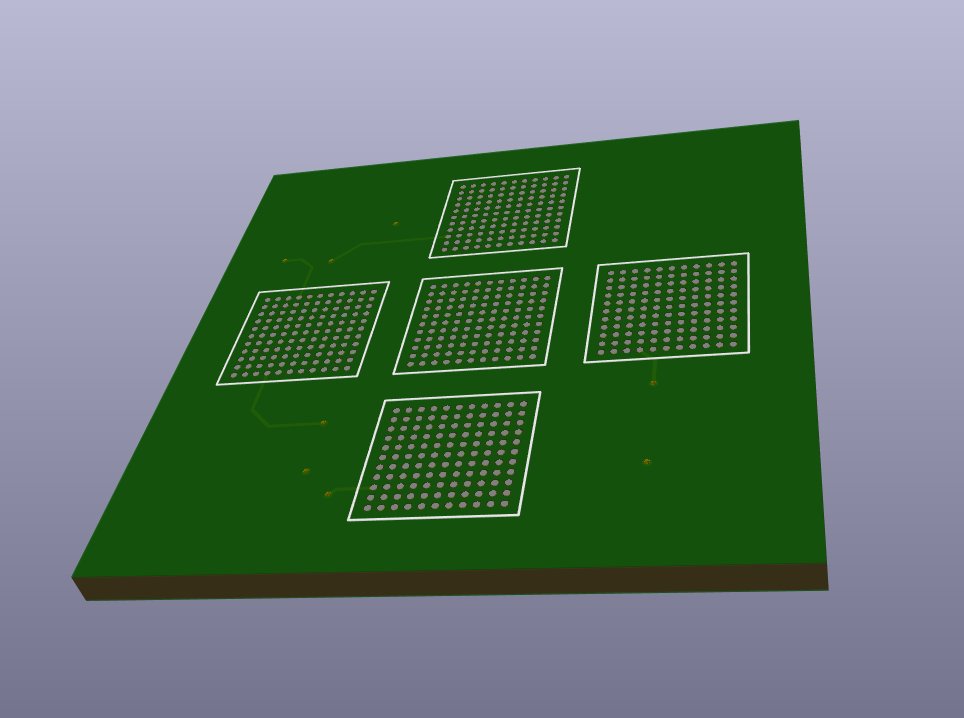
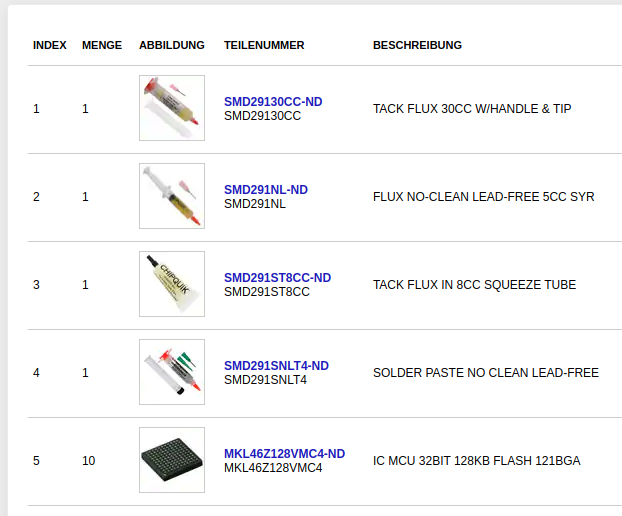
We order everything needed to test emergency assembly of the 0.8 mm pitch BGA:
- Some random other chip in the same package
- Small test boards with just the BGA footprint
- Selection of different fluxes and lead free solder paste
- Some random other chip in the same package
- Small test boards with just the BGA footprint
- Selection of different fluxes and lead free solder paste
The tricky part will be: There will already be molten solder on the pads of the BGA footprint. That will make it difficult to keep the BGA in place during reflow. The hope is that a "tacky" flux helps.
August 1: The majority of PCBs for the Fundamental Board arrive at the CM in Bavaria. We ask for a few panels so we can perform our BGA soldering experiments.
August 2: Assembly of the Harmonic Board starts in Berlin. The process is not very smooth. The paste printing has issues and many components are not placed accurately. The pick'n'place estimates that it will take 10 working days to assemble all boards.
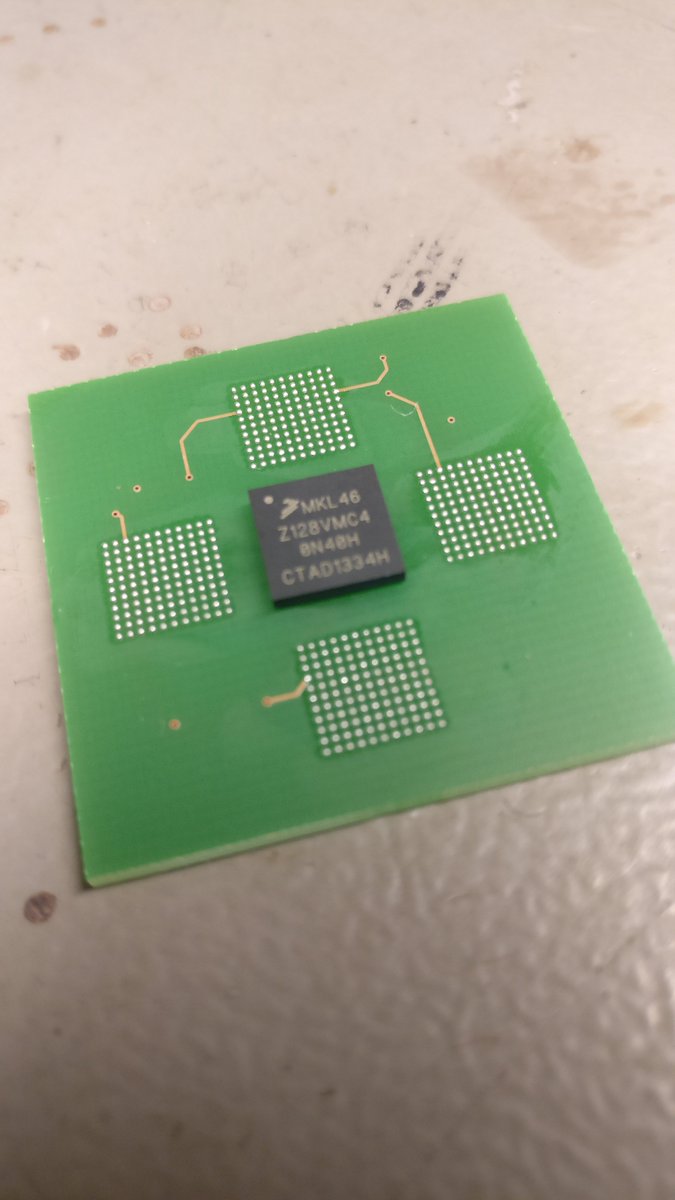
August 3: We practice emergency BGA assembly:
- Put solder paste on a PCB
- Reflow it once
- Apply a thin(!) layer of (tacky) flux
- Place the BGA
- Reflow once more on a hot plate
The results are encouraging:
- Put solder paste on a PCB
- Reflow it once
- Apply a thin(!) layer of (tacky) flux
- Place the BGA
- Reflow once more on a hot plate
The results are encouraging:
We try once more with a full @card10badge panel. The process works quite well and it takes us about 60 seconds to reflow a single panel. To make sure, we will also X-ray them soon.
August 6: The CPUs are almost ready!
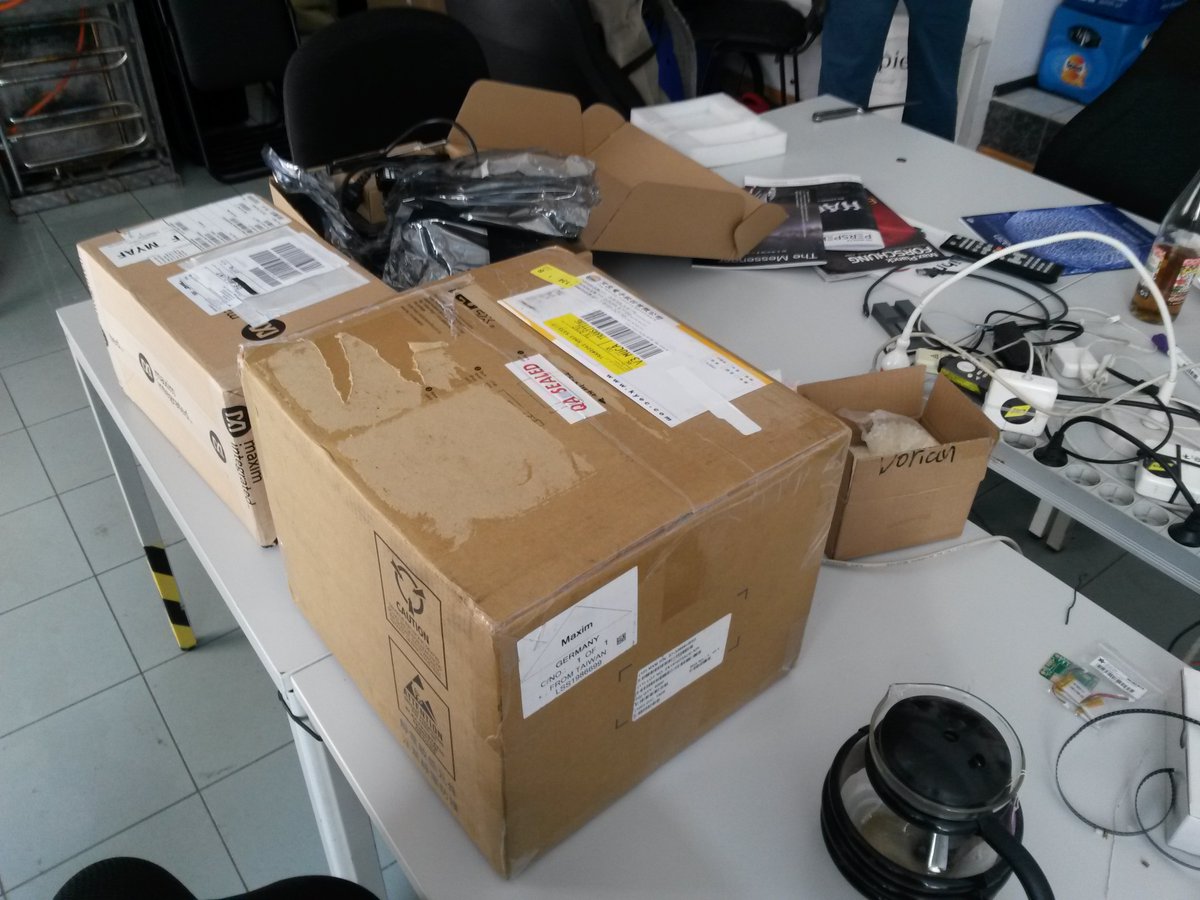
Thanks to a very dedicated team at @maximintegrated we will get a drop shipment directly from the IC test house in Taiwan to reduce shipping time. Next steps: Preparing customs/compliance documents so that there are no surprises.
Thanks to a very dedicated team at @maximintegrated we will get a drop shipment directly from the IC test house in Taiwan to reduce shipping time. Next steps: Preparing customs/compliance documents so that there are no surprises.
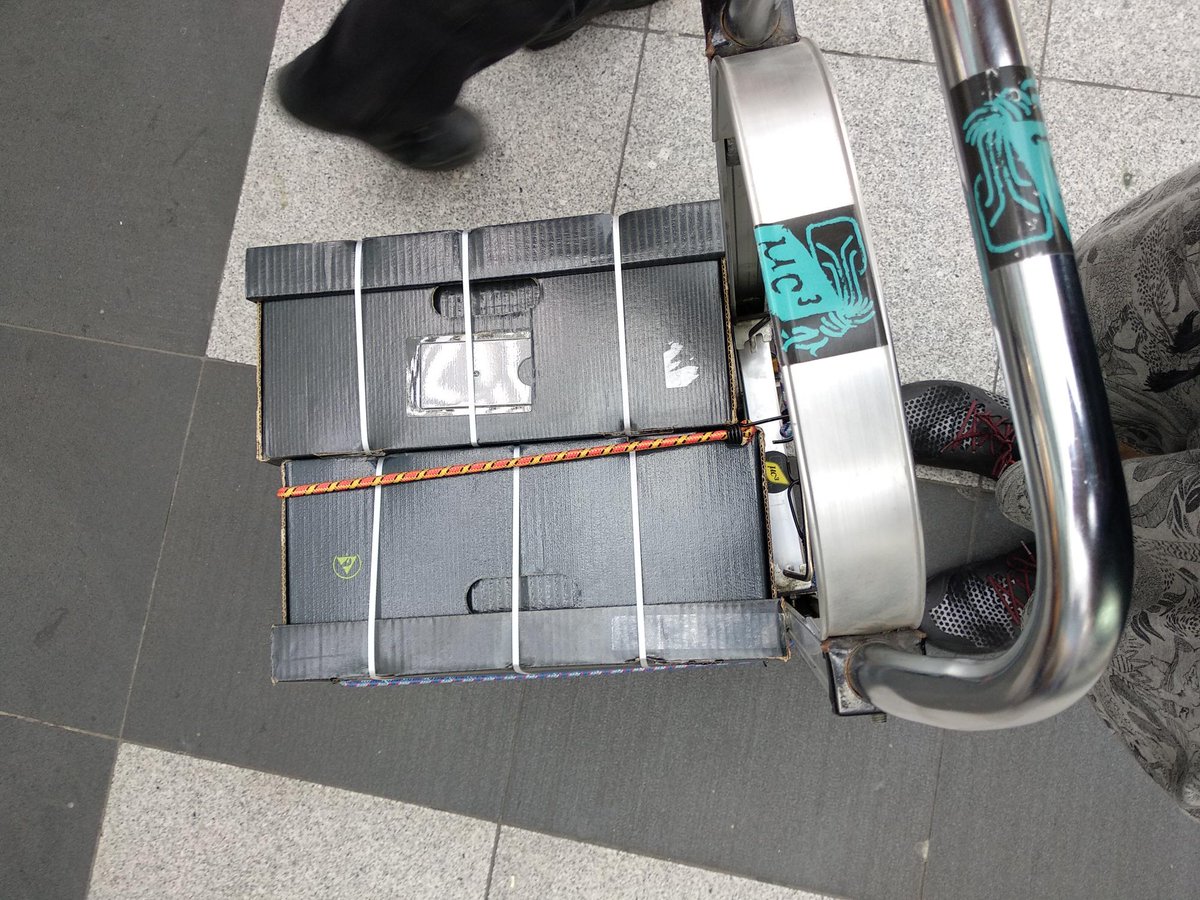
August 8: The displays arrive in Munich. We decide to transport some of them to Berlin via train tomorrow. The first Harmonic Boards should be ready by then.
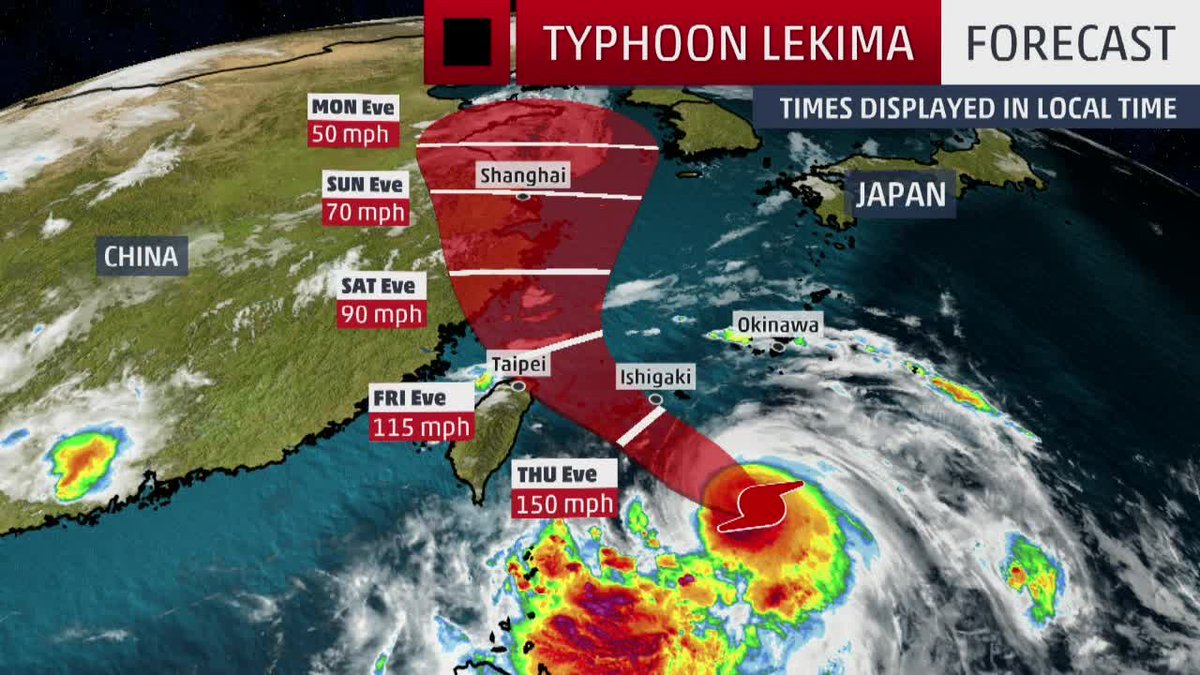
August 9: It is Friday and a typhoon strikes Taipei. No flights leave the airport. Fedex does not even pickup the package and it looks like they do not offer pickups on Saturday.
The teams in the the US and Taiwan try to somehow find a solution to ship on Saturday. We have no other option than to wait.
At the same time in Berlin: The first 1500 Harmonic Boards are ready and we pick them up.
We also get an explanation for the bad results a week ago: The final PCBs are 0.5 mm thinner than what the CM expected, resulting in issues with paste printing and component placement.
We also get an explanation for the bad results a week ago: The final PCBs are 0.5 mm thinner than what the CM expected, resulting in issues with paste printing and component placement.
August 10: The CPUs are with Fedex and scheduled for delivery on August 13. It looks like we might reach our target date for assembling the Fundamental Boards.
Together with lots of volunteers we spend the weekend at @xHain_hackspace, separating the PCBs and soldering displays: https://twitter.com/card10badge/status/1160113771286859776
August 11: 1200 Harmonic Boards were soldered over the weekend. We are ready for more. https://twitter.com/card10badge/status/1160321666632880128
August 12: The X-rays show that 1 out of the 6 BGAs soldered by us has an issue. The others have good solder joints. Luckily we will likely not have to go down that road.

 Read on Twitter