#OTD The Destruction of Worthington Force
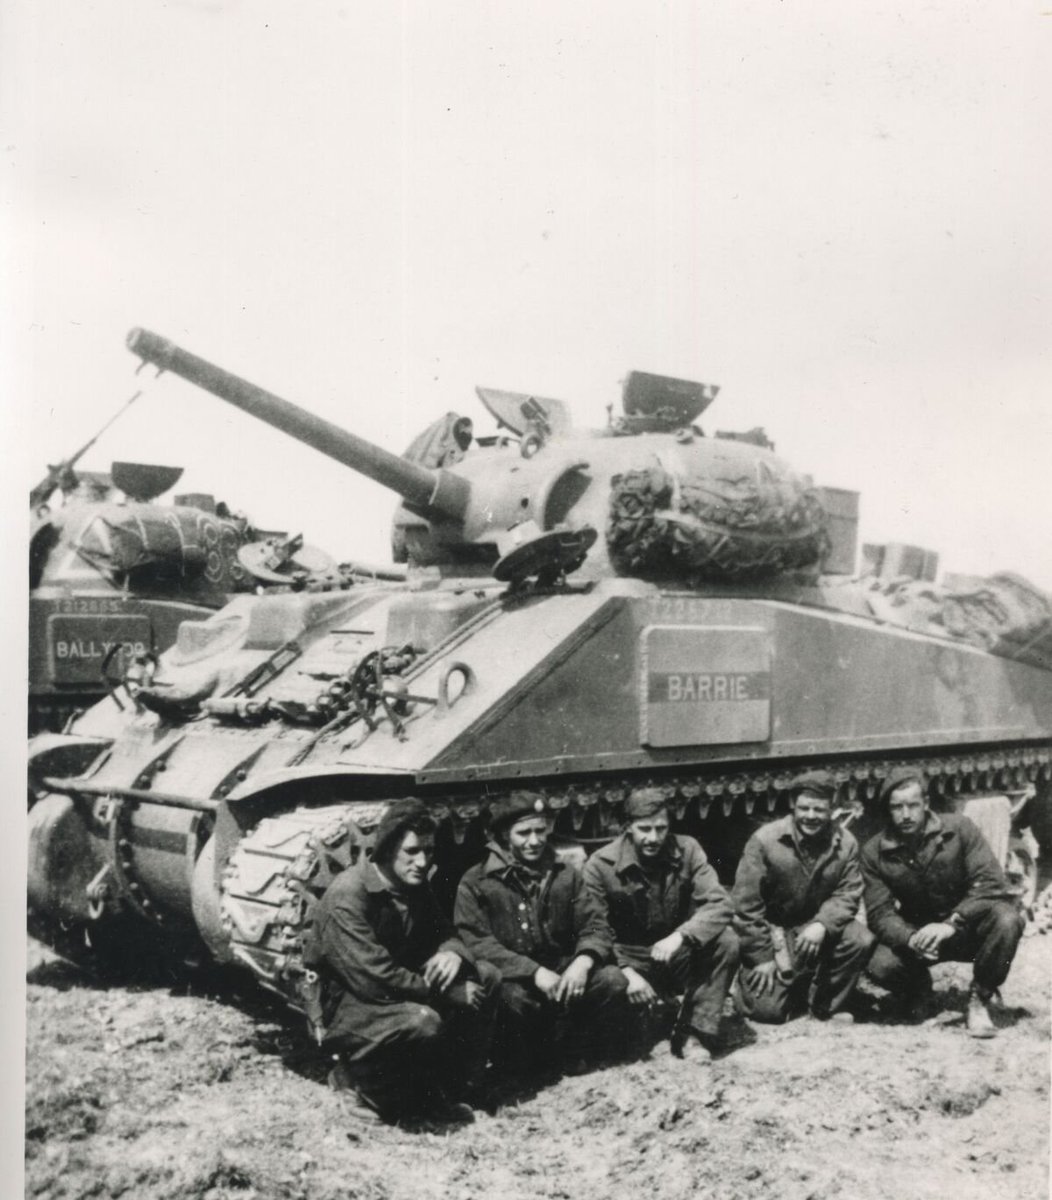
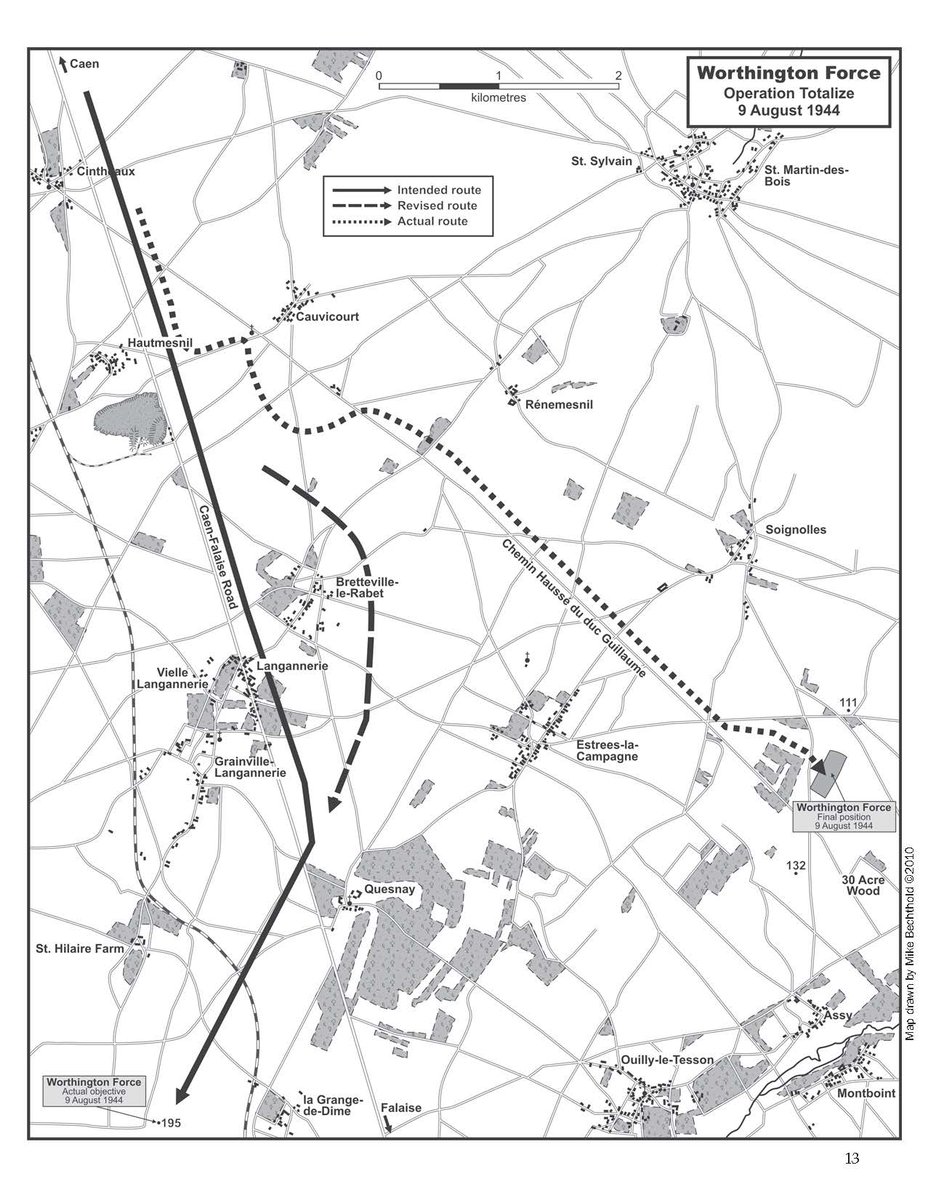
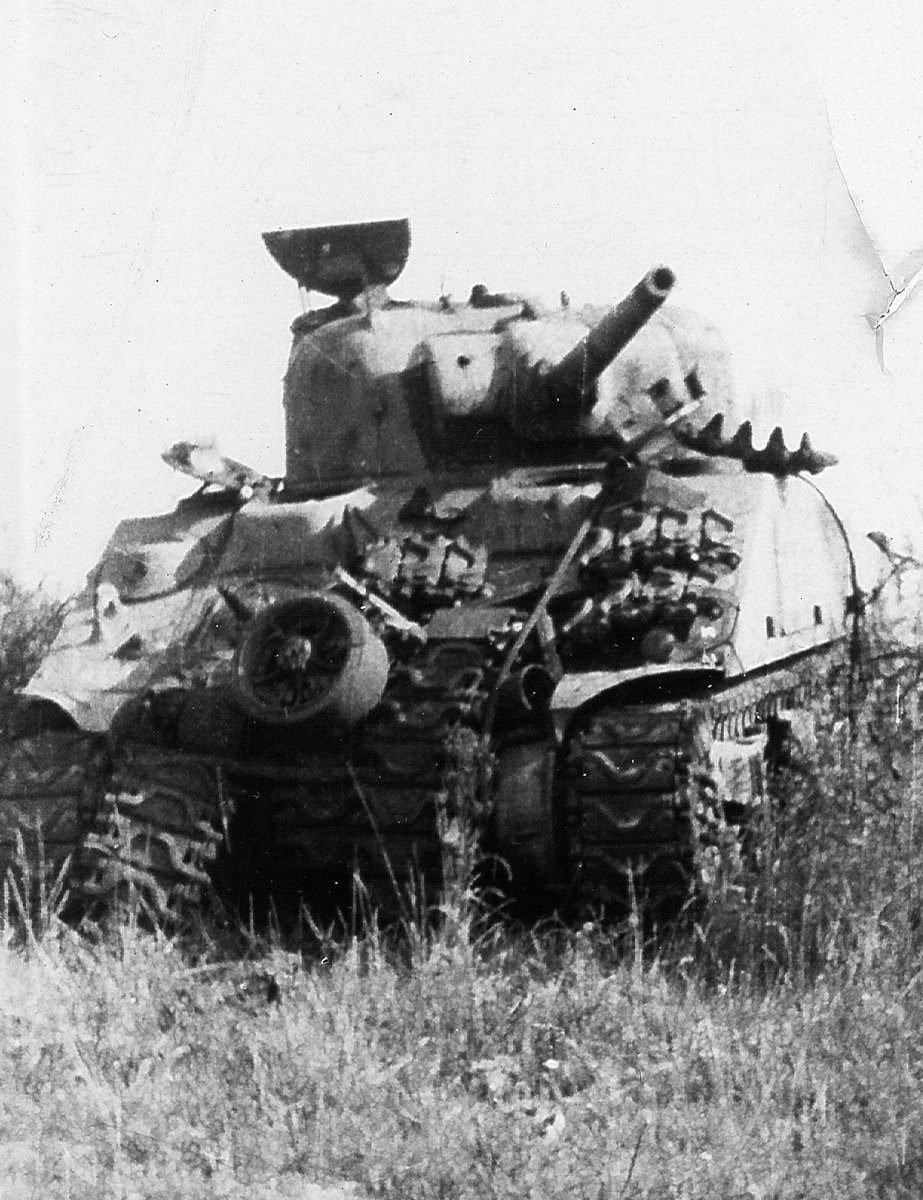
During Op Totalize Worthington Force, made up of the tanks of the British Columbia Regiment and the infantry of the Algonquin Regiment, were ordered to make a night march to capture Point 195.
During Op Totalize Worthington Force, made up of the tanks of the British Columbia Regiment and the infantry of the Algonquin Regiment, were ordered to make a night march to capture Point 195.
Somehow, WF got lost and ended up near Point 140. Nobody knew it was there, including the men of the battlegroup, and over the course of the day the battlegroup was destroyed by determined German counterattacks.
Remarkably, their story was captured in air photos taken on the day of the battle. One of the mysteries of the day is how did the battlegroup get so lost.
One theory, supported by evidence in the air photos, is that in the dark, and under fire, the battlegroup identified the wrong road. Instead of the Caen-Falaise highway, they followed a old Roman road, another rare straight road in Normandy.
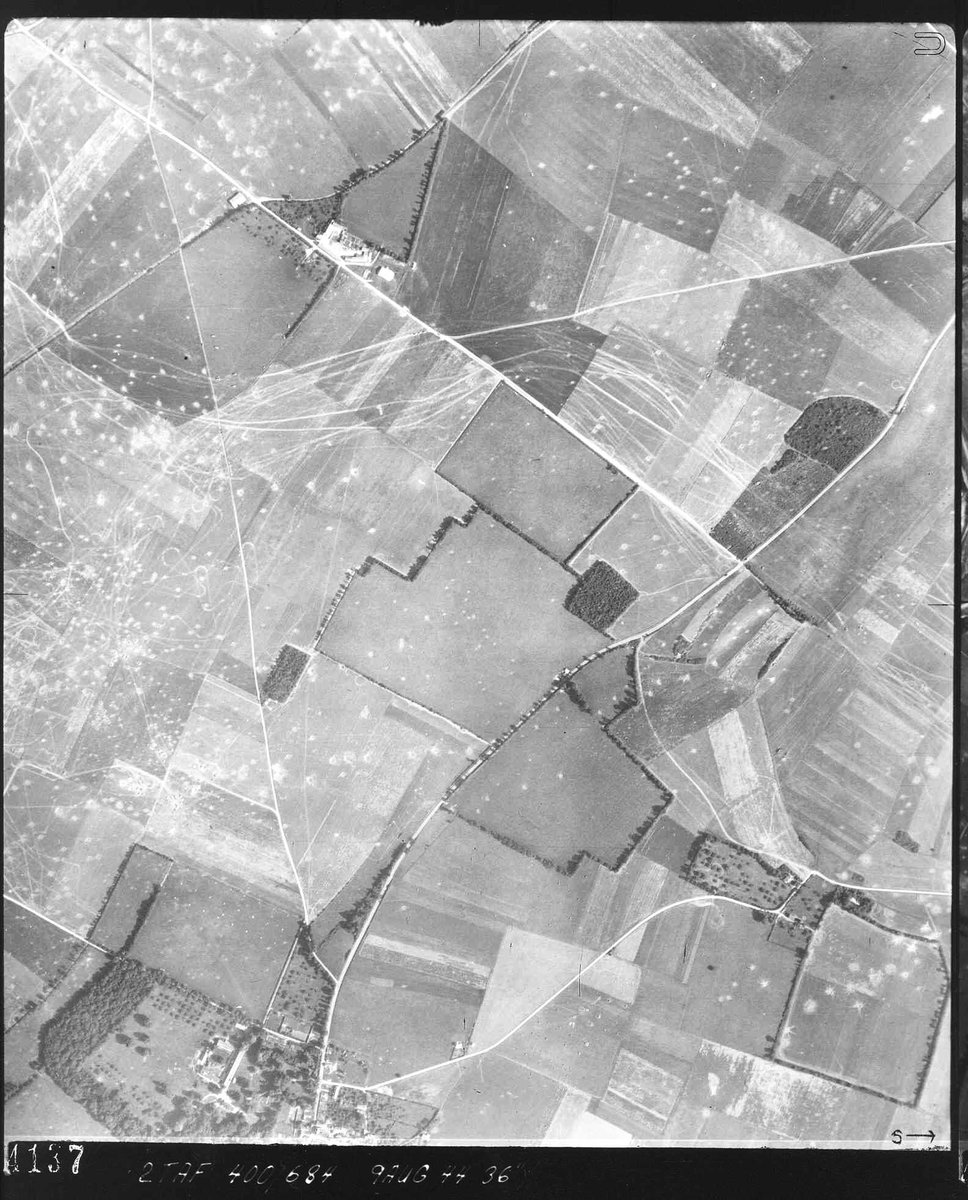
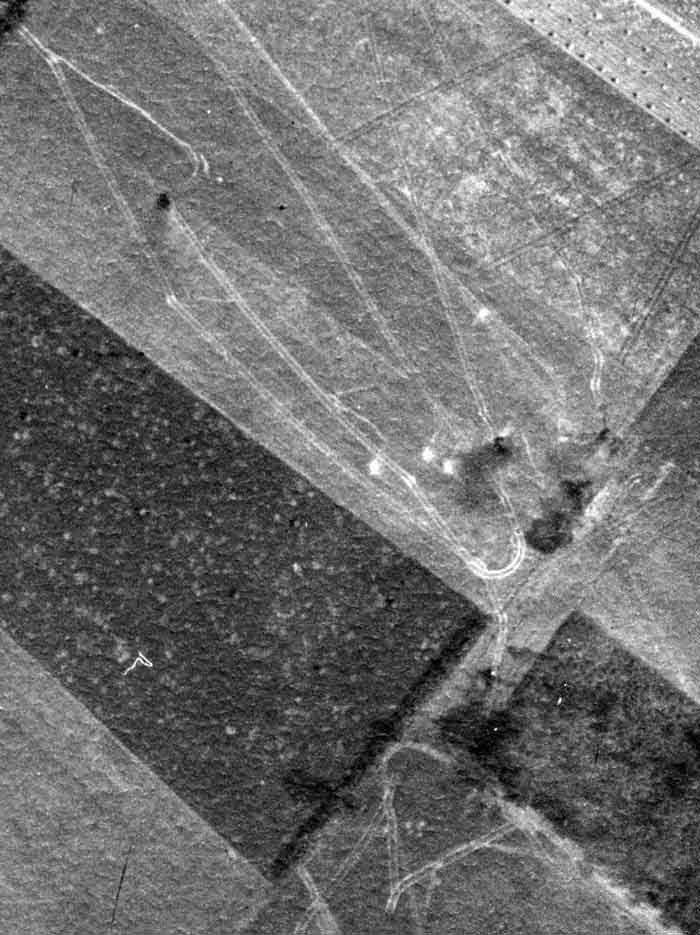
The straight road starting at the top left corner and extending to the centre of the photo is the Roman road. The tracks show that as the battlegroup moved south, roughly parallel to the Caen-Falaise highway (just off the photo to the left) it moved west.
After crossing this wide, straight road the battlegroup wheeled right and followed this road to its final position near Hill 111. In the confusion of the early morning battle, with visibility obscured by smoke, mist and dust, this road was mistaken for the Caen-Falaise highway.
The battlegroup ended up in a rectangular field it made its stand. Around the perimeter of the field you will see where Worthington deployed his tanks to protect their position. The smaller vehicles are the half-tracks which carried the infantry of the Algonquin Regiment.
Worthington’s own tank and command post are visible around the tree near the centre of the position. The small white squares and the white line in the position are air recognition panels displayed to prevent attacks by friendly aircraft.
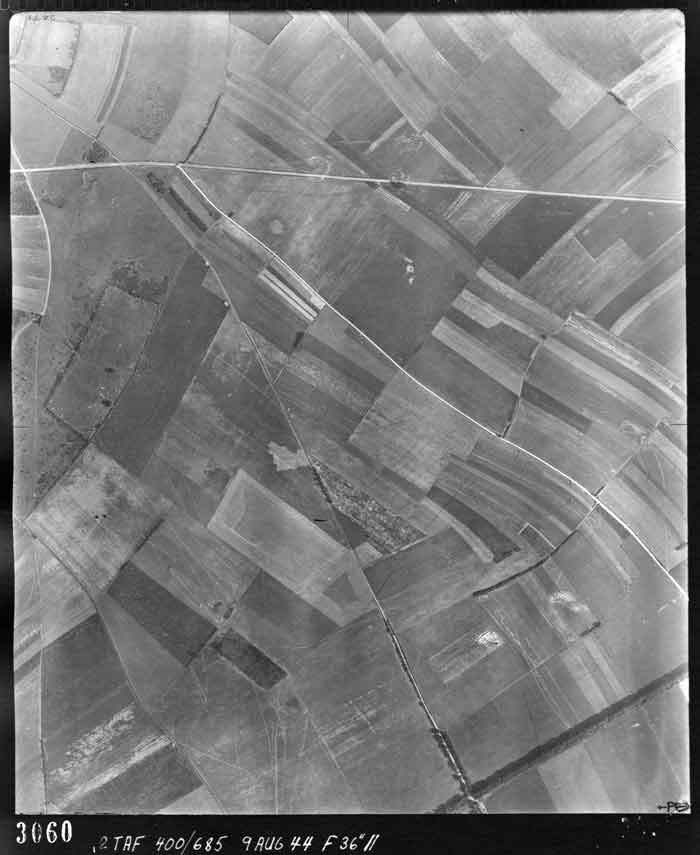
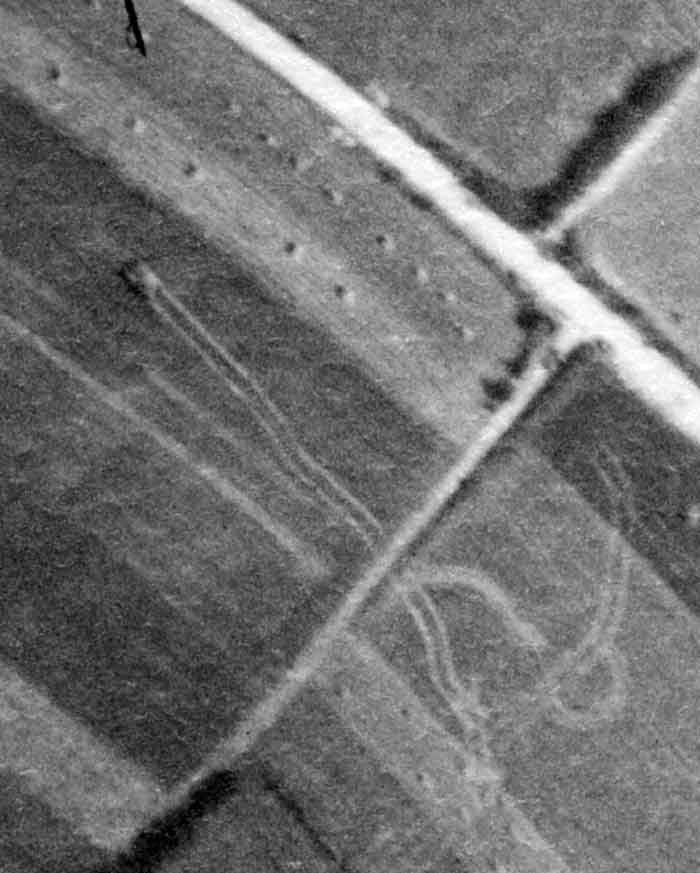
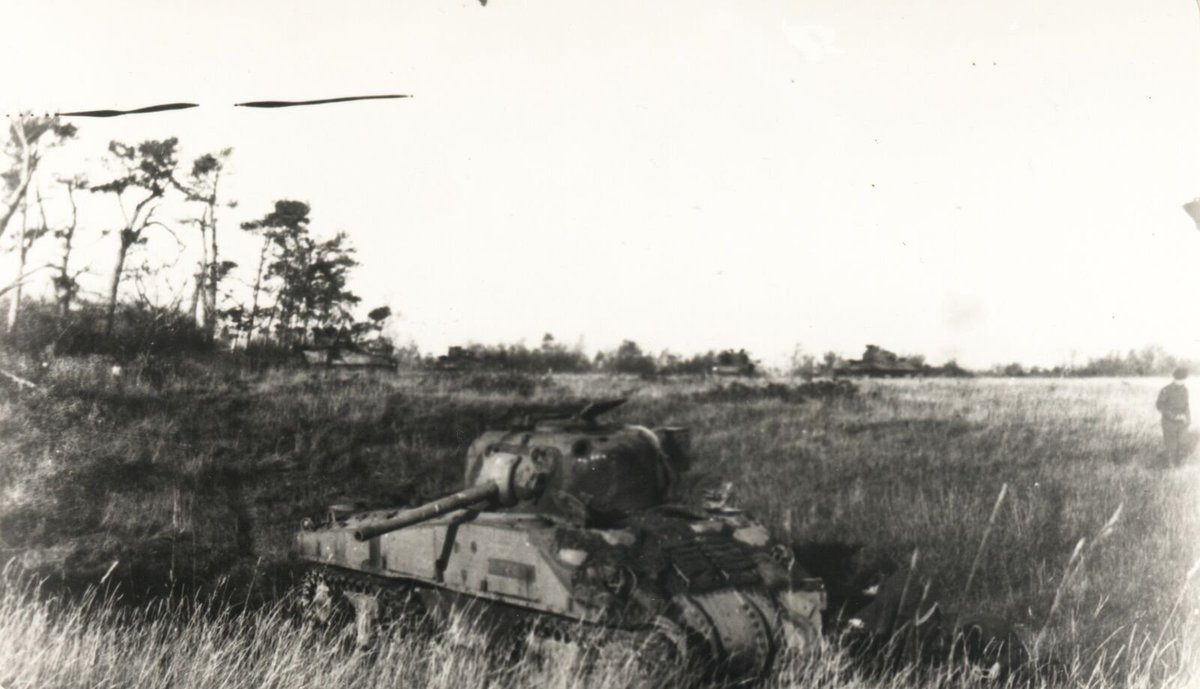
This image shows a tank troop Worthington despatched to deal with German fire that was coming from a small wood (bottom right of photo) a little less than a kilometre south of the main Canadian position. Just as they reached the wood all 4 tanks were destroyed by German fire.
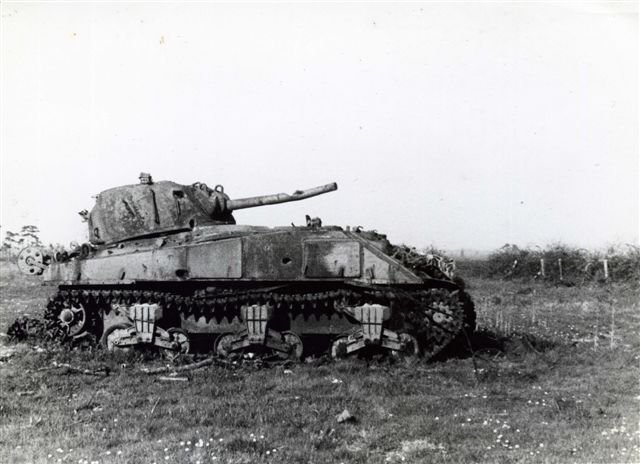
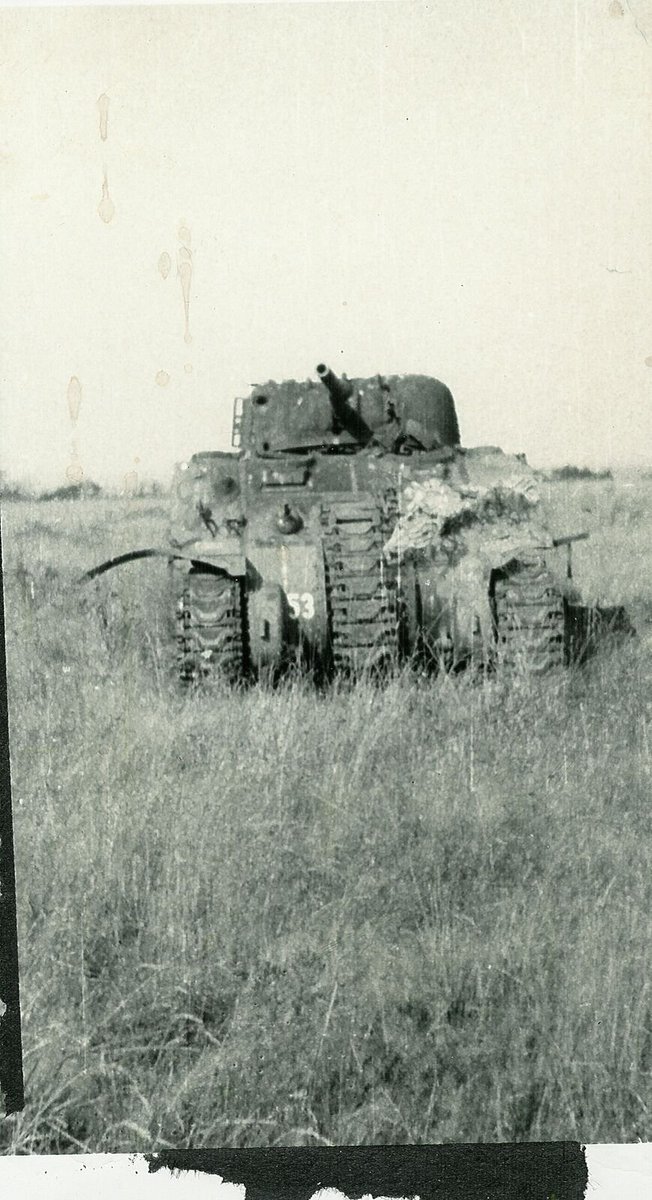
This image is taken to the SW of the field where the battlegroup was located. A German tank (likely a Panther) faces the rectangular field. It likely helped destroy the Shermans shown in the previous image, and has now turned its attention to the main Canadian position.
Unfortunately, nobody came to their rescue. Though small bodies of troops
were able to escape, Worthington Force was destroyed losing 240 men
killed, wounded and captured, 47 tanks and numerous other armoured
vehicles and half-tracks.
were able to escape, Worthington Force was destroyed losing 240 men
killed, wounded and captured, 47 tanks and numerous other armoured
vehicles and half-tracks.
You can find the full story of Worthington Force here: http://scholars.wlu.ca/cmh/vol19/iss2/2/

 Read on Twitter